Miz Chef

Cooking Up a Healthy Life


Leave a comment

Concord Grape Jam


IMG_3519Once again, I was the beneficiary of unwanted CSA produce. This time it was Concord grapes. My friends didn’t want them because they are too seedy.

I do understand what they mean—the seeds inside a Concord grape take up half the volume of the entire grape, and as delicious as that little burst of Concord flesh is, it’s a very small burst for all the spitting of seeds that follows. Plus, the skin is tart.

I know this because I once had Concord grapes growing in my yard. But the vines never yielded enough for me to do much with them except have a little snack. The birds got to a lot of them before I did, too.IMG_3505

Anyway, I am the recipient of unwanted foodstuffs because my friends know that I will put them to use somehow. In this case, I chose to make grape jam.

I’ve made fruit preserves before, and homemade cranberry sauce has become one of my personal Thanksgiving traditions, but I’d never made grape jam before. Turns out, it’s incredibly simple. You don’t even have to remove the seeds. You just have to remove the skins. Granted, this is a bit time consuming, but it is not at all difficult. Unlike other grape varieties, Concord grapes pop out of their skins very easily. One gentle little squeeze, and out they come. But a little patience is required to do them all. I suggest wearing latex gloves when you do this, or you might end up looking like the purple people-eater.

The rule of thumb for sugar is 1 cup per 1 pound of grapes. I had about 1 ½ pounds of grapes, so I used that many cups of sugar. The result, if I do say so myself, was delicious. The jam was sweet but not cloying (which I hate) and fresh tasting (unlike many jellies, which taste “chemically” from the preservatives).

Because my batch was rather small, I decided not to jar it with the standard canning method. I just put them in 2 little jars and, because of the sugar, they will last in the refrigerator for several weeks. However, if you’re going to make more than I made, or want to make it for long-term storage, you can find instructions for canning here:

Ball (as in Ball jars)

National Center for Home Food Preservation

Simply Canning

You can add flavorings to it, like vanilla or lavender, or create any combination of flavors that you like. Enjoy this on muffins and toast, in yogurt and oatmeal, or in a classic PB&J.

Concord Grape Jam

1 ½ pounds Concord grapes
1 ½ cups granulated sugar
1 tablespoon + 2 teaspoons lemon juice

Wash and drain the grapes. Pop them out of their skins.

IMG_3507

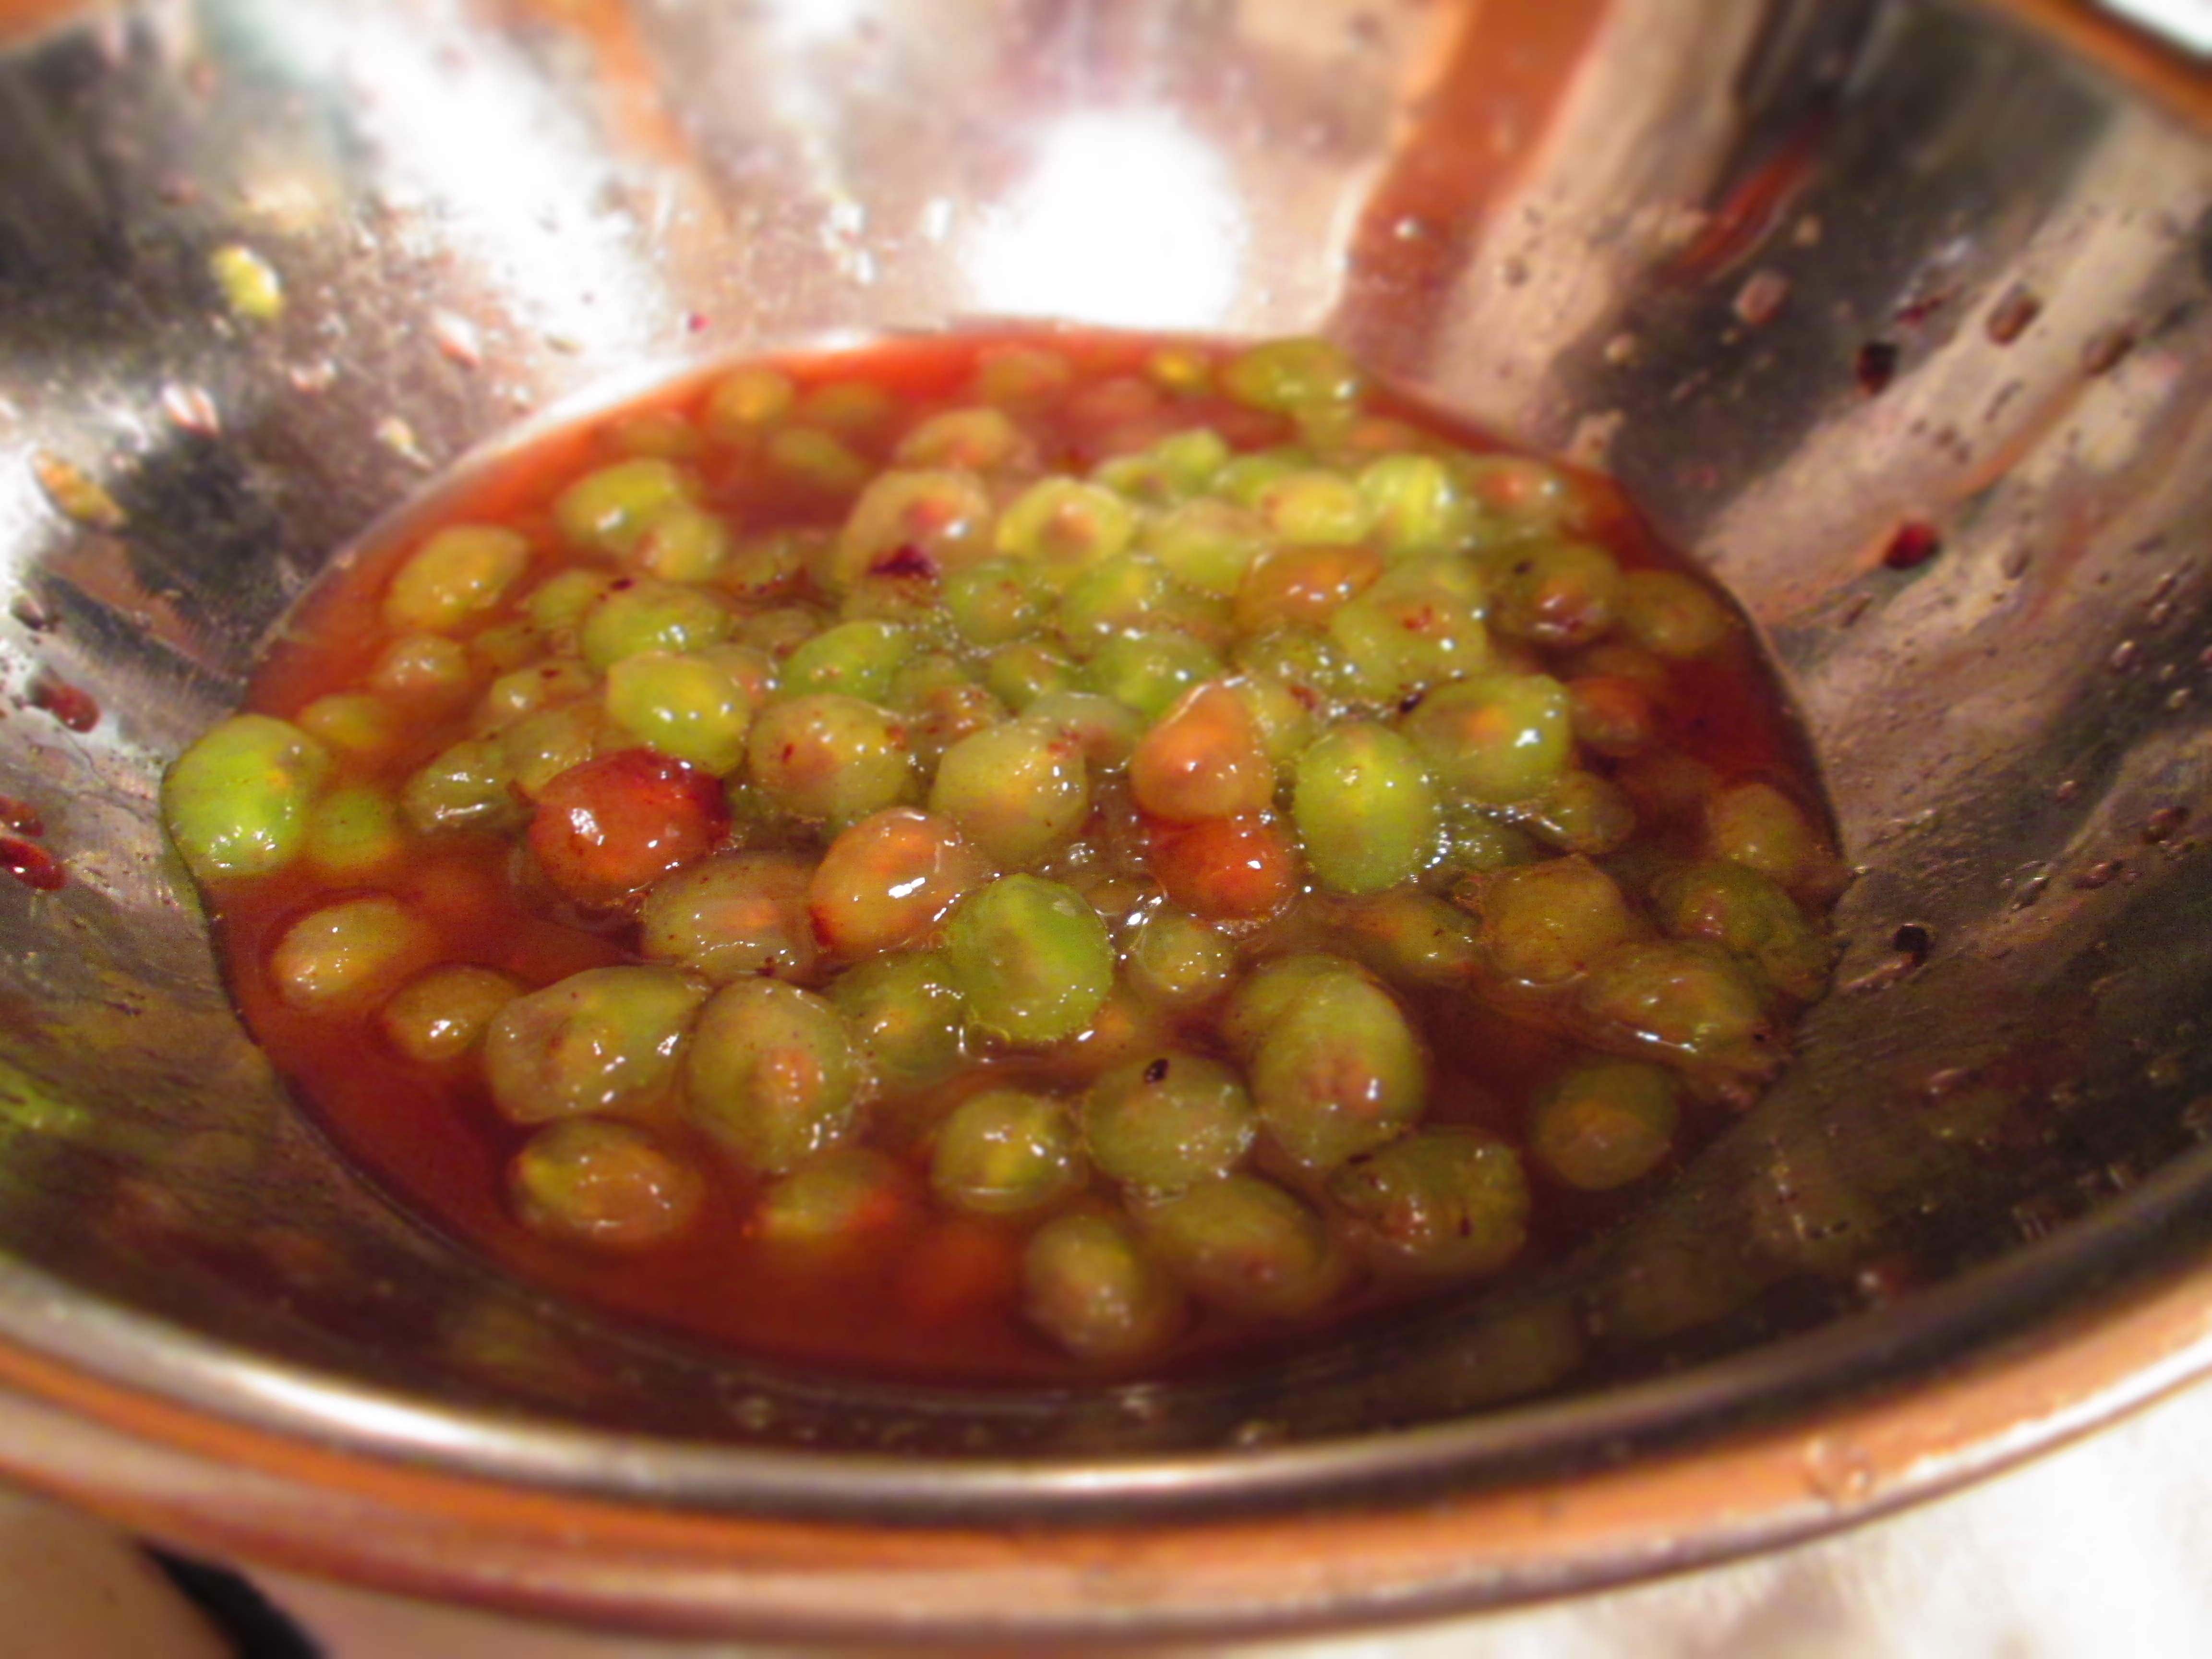
Place the skins in the bowl of a food processor. Add ½ cup sugar to the skins. Process until pureed.

IMG_3508 IMG_3509

Place the pulp in a medium saucepan along with remaining 1 cup sugar and lemon juice. Add the skin puree and mix. Bring to a boil; lower the heat to medium-low and simmer, stirring frequently, for about 15 minutes. Skim foam from top, as needed.

IMG_3513

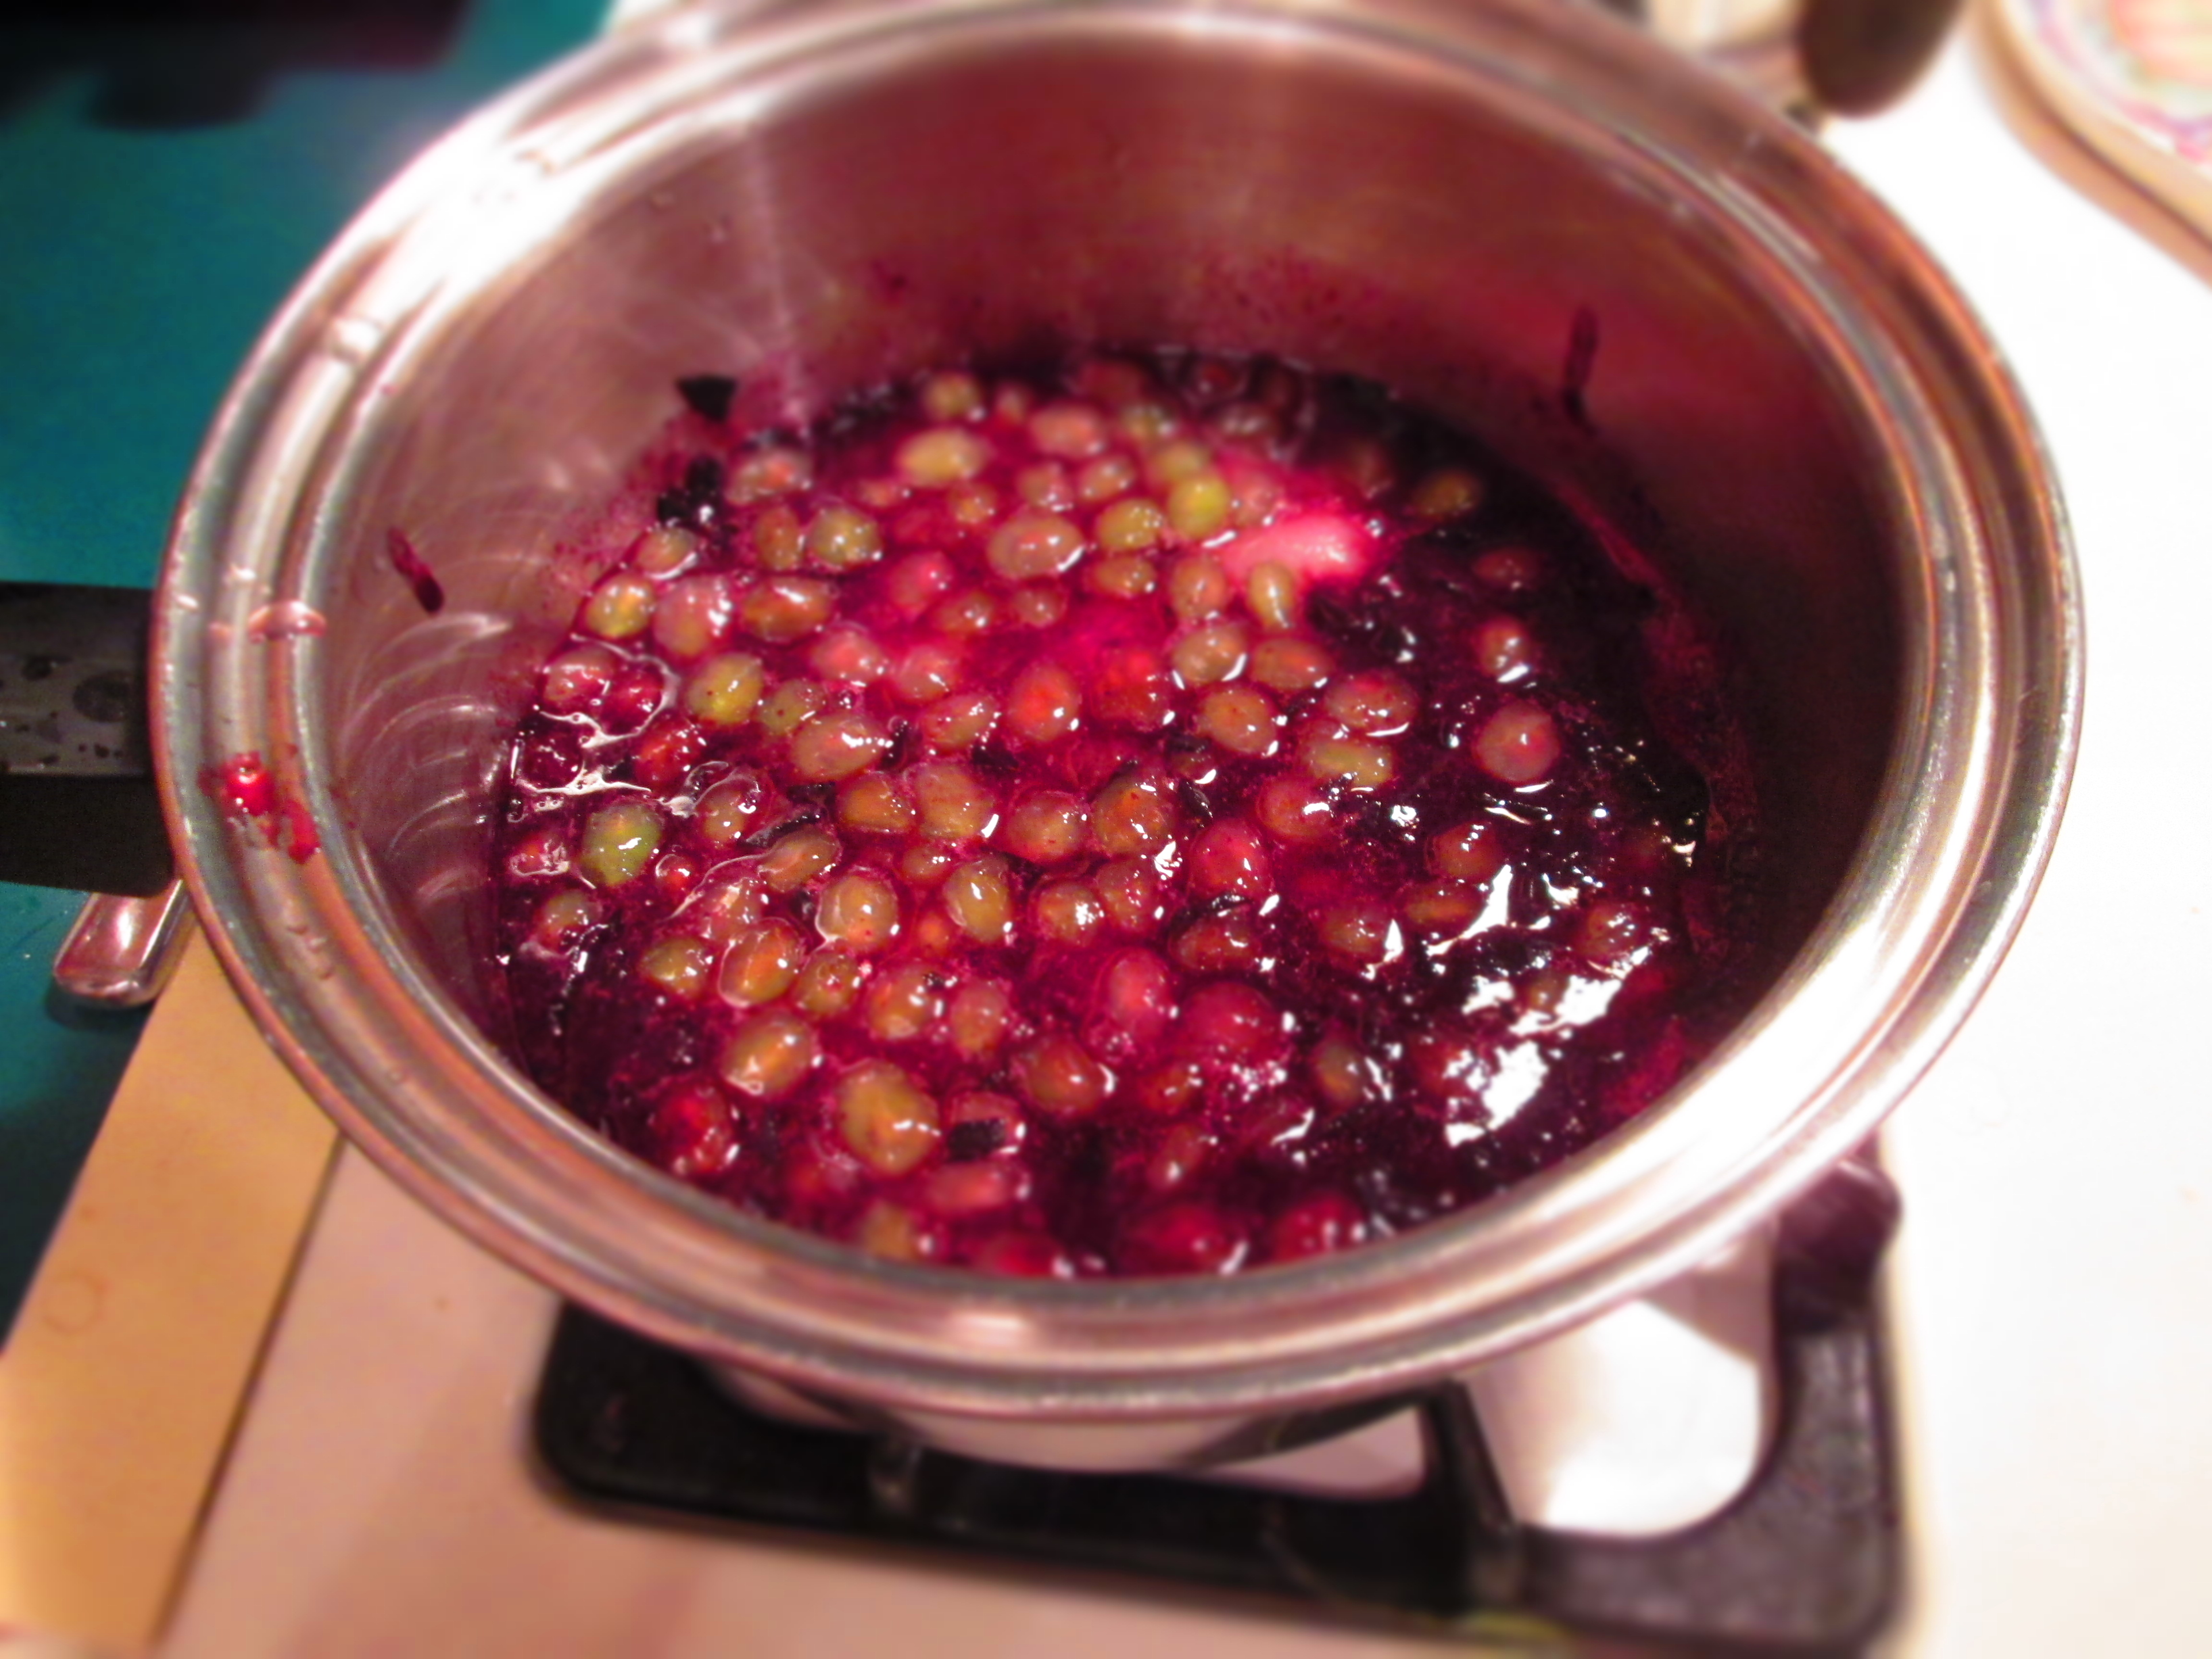
Set a mesh strainer over a bowl. Press the jam through strainer; return the contents of the bowl to the pot, and discard solids. Return to a boil; lower heat again and continue simmering, stirring frequently, for about 30 minutes. The jam will still be loose but will gel as it cools down.

IMG_3515

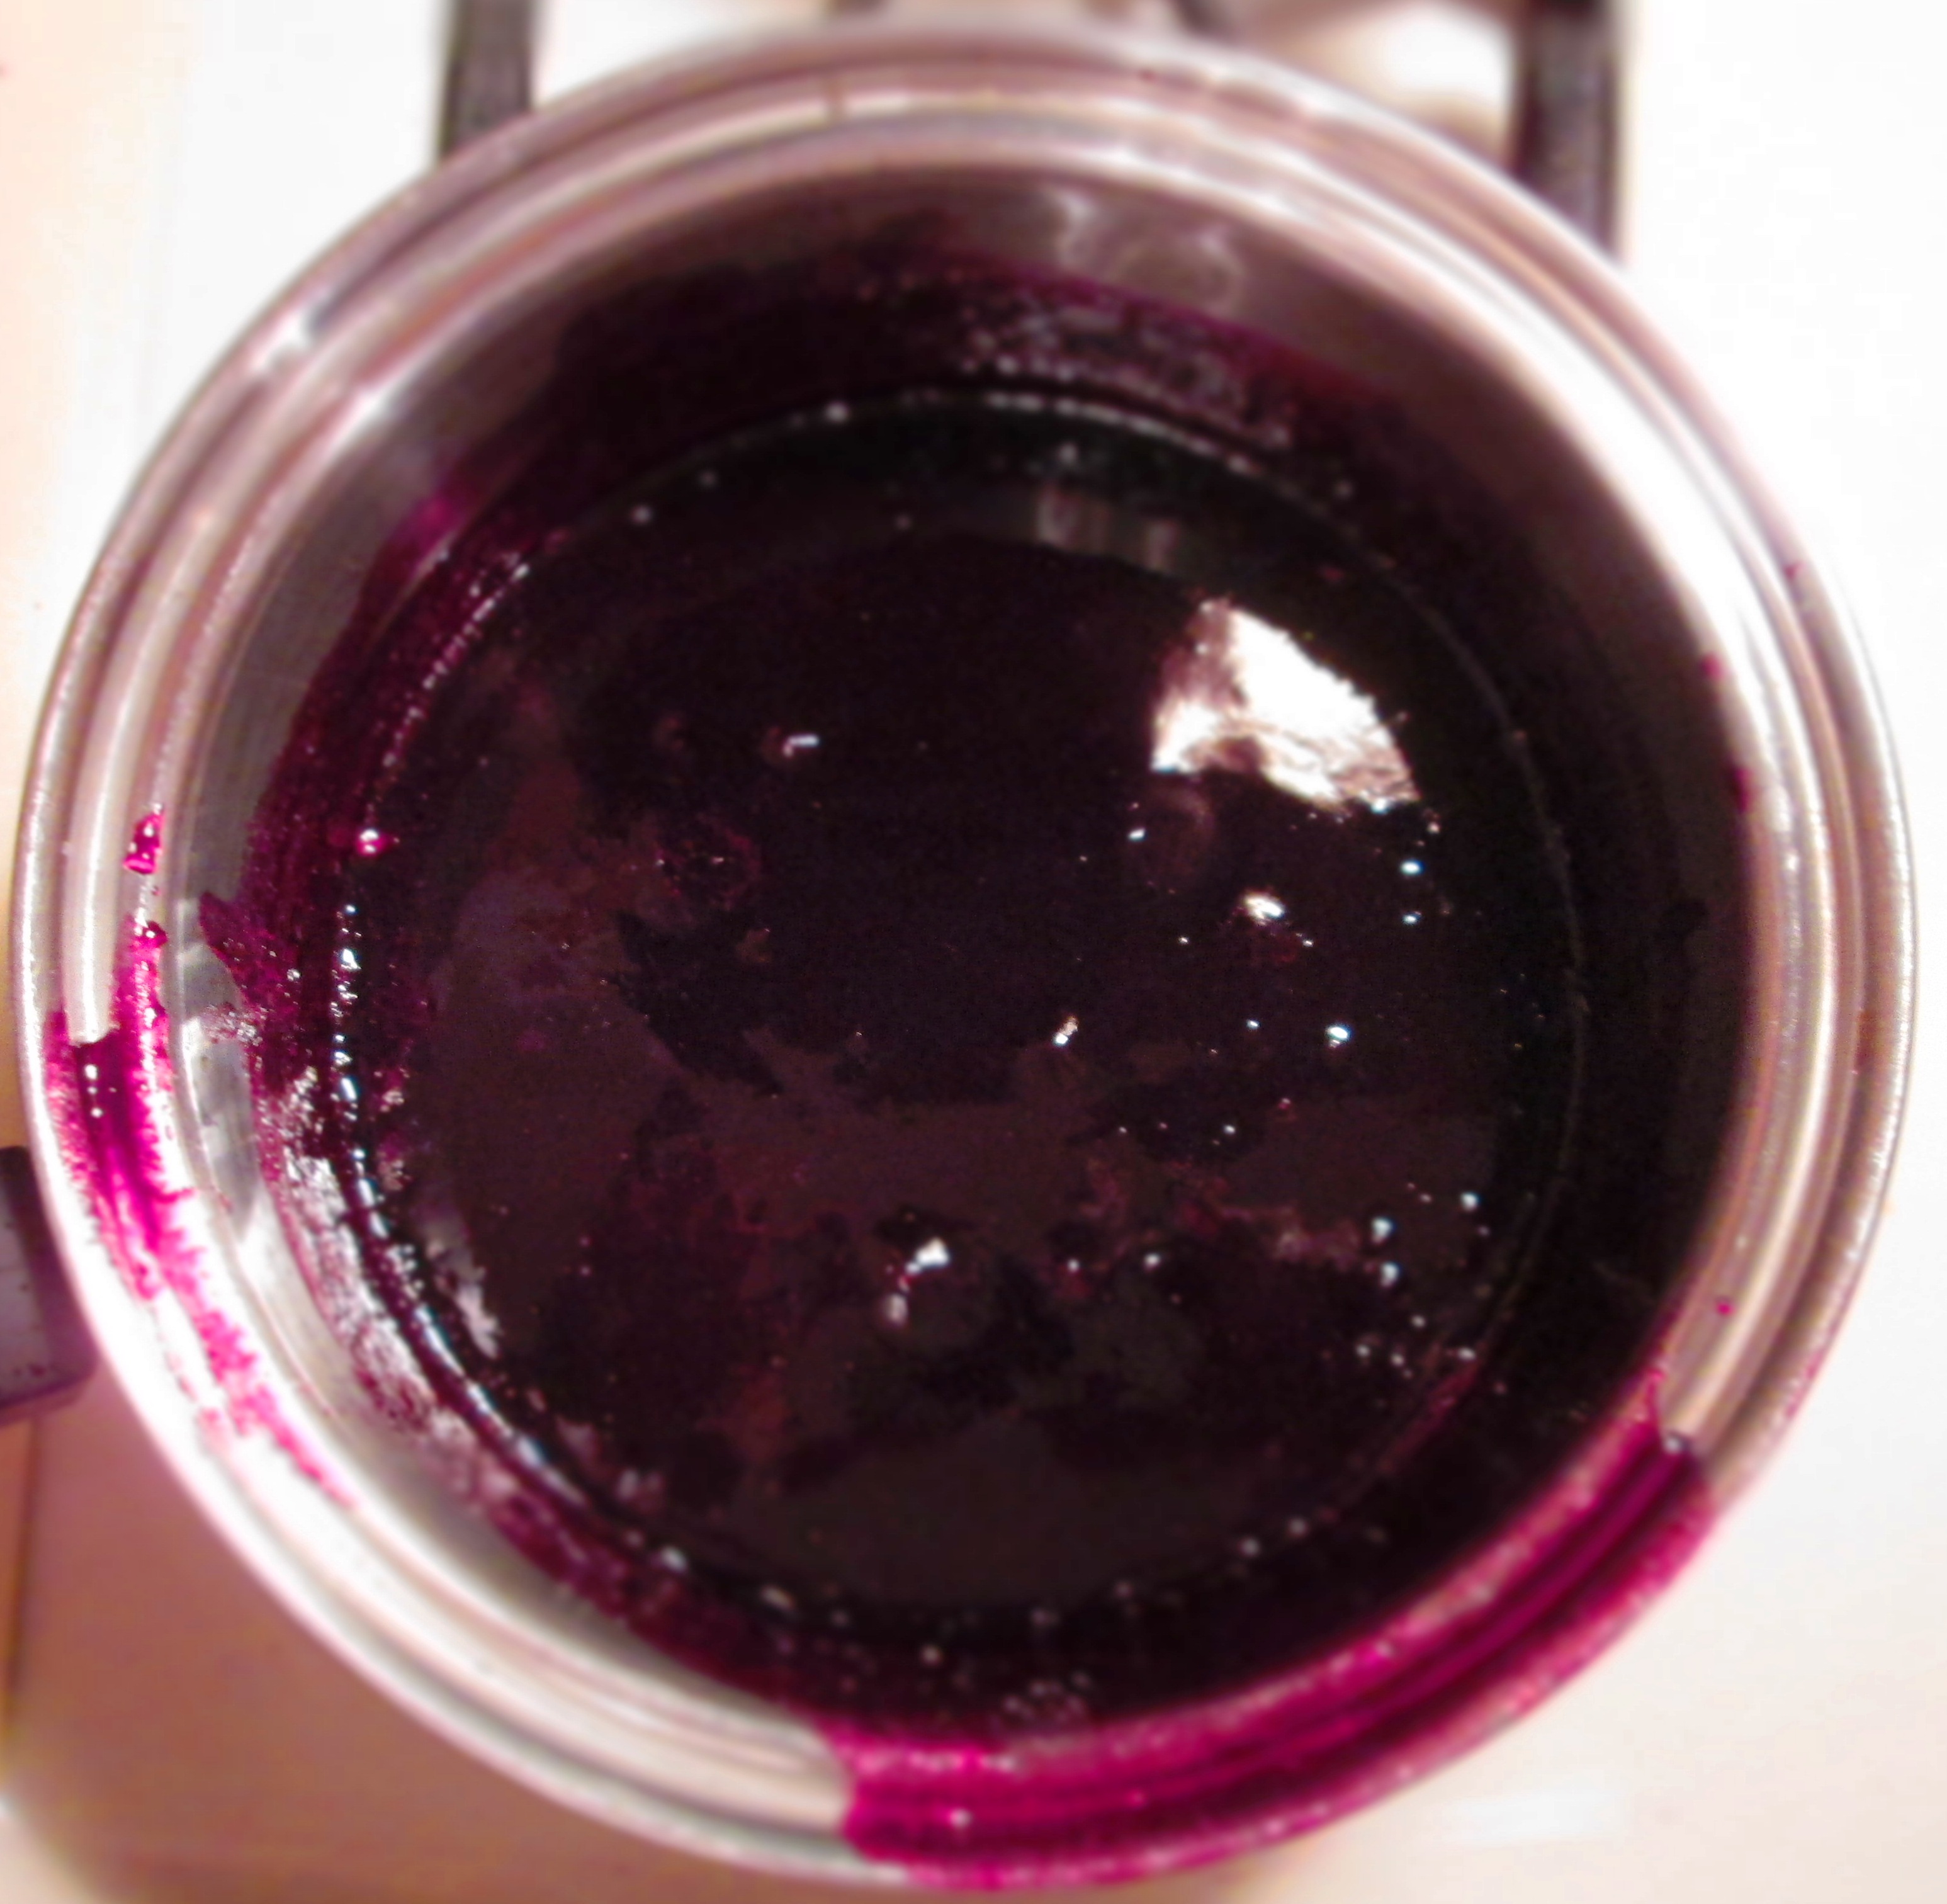
Place in clean jars with tight-fitting lids. For long-term storage, use a standard canning process.

Makes about 1 ½ cups jam.

IMG_3525


Leave a comment

Going Flakey with Quinoa

IMG_3478

I call Jackson Heights, Queens, the United Nations because half of the world’s cultures, nationalities, and identities can be found there. And where there are ethnic enclaves, there are markets that cater to those enclaves.IMG_3474

This New York neighborhood is home to just about every Central and South American nation you can find on the map, and I’m always going home with some new product I’ve never seen or tried before.

My forays into various ethnic markets have introduced me to many different grains in many different forms, from rice flakes to lotus nut puffs (okay, not technically a grain) to cracked corn. This past week, I found quinoa flakes.

The package recommends putting a couple of tablespoons into a smoothie or yogurt, and I’ve read suggestions to put it in baked goods in place of flour or oats. But I figured it would make a good breakfast porridge, too. I cooked a small quantity by itself, just to see what it was like. It tasted like…well…quinoa. It even had the little signature “strings” of cooked quinoa. But I found it to be a bit blah. Kind of like baby food.IMG_3484

So then I blended it with rolled oats and made a half-and-half porridge. I added some maple syrup to give it some flavor, and topped it off with some chopped pecans for texture. It turned out much lighter than regular oatmeal, but because quinoa has protein, it’s filling nevertheless. And because it’s lighter, I think it would make a great breakfast for someone who is sick or has stomach issues.

Here’s the recipe for my preparation:

IMG_3488

Quinoa-Oat Porridge

½ cup quinoa flakes
½ cup rolled oats
Pinch salt

Optional toppings:
Maple syrup
Honey
Chopped nuts
Fruit

Bring 2 cups water to a boil in a small pot. Add quinoa flakes, oat, and salt; lower heat, cover, and simmer 5 minutes, or until desired thickness. You can add more water if you want it looser.

Transfer to 2 bowls. Top with whatever toppings you like.


Leave a comment

Kale-Bean Soup with Amaranth

IMG_3431With all the greens flourishing right about now, I’ve been having a craving for bean soup with greens. Why in the world would I crave soup in the dead heat of summer, you ask. I can have soup any time of the year. I absolutely love it. Yes, it can be warm and comforting in winter, but summer also calls for comfort of a different sort.

Plus, studies have shown that eating warming dishes such as soup can actually acclimate you better to the heat by elevating your body temperature, thereby making the weather more tolerable.

Anyway, someone gave me a tiny little bunch of kale and I thought that it was the perfect opportunity to make that beans-and-greens soup. I decided to add some amaranth to it—I love pasta and grains in my soup and amaranth is an exceptionally healthy choice.

Amaranth has been grown in Central and South America and consumed by the regional people for hundreds of years. It’s been an important source of protein for the indigenous people of those regions, and it is less expensive and, consequently, less controversial than quinoa.

Amaranth is a very rich source of protein, and it is more digestible than that of other grains. It’s also an excellent source of lysine, an important amino acid. Amaranth has the most calcium of any grain next to teff. It also is a better source than other grains of magnesium, iron, copper, and fiber. Amaranth is a good source of zinc, potassium, phosphorus, folate, niacin, and riboflavin, and vitamins A, C, E, K, B5, and B6, as well as antioxidants, which fight cancer. It has been shown to lower cholesterol and blood pressure, reduce inflammation, boost the immune system, and—don’t hold me to this—helps prevent premature graying. For carb counters, it’s lower in carbs than other grains and it’s gluten free.

So, here’s my impromptu recipe for Kale-Bean Soup with Amaranth. These are approximate amounts, so use however much you like of anything. Soup is very forgiving where quantities of ingredients are concerned. Enjoy.

Kale-Bean Soup with Amaranth

Makes 4 servings.

1 small bunch kale
2 teaspoons olive oil
¼ cup diced onion
3 large garlic cloves, minced
1 teaspoon kosher salt
½ cup diced tomatoes
2 cups vegetable broth (or 2 cups water + 2 bouillon cubes)
¼ cup amaranth
1 cup cooked beans (whichever you prefer)

Wash the kale and remove thick stems. Chop into bite-sized pieces.

In a medium pot, heat oil; add onion, garlic, and salt. Sauté until onion is translucent, about 2 or 3 minutes.

IMG_3419

Add tomatoes and sauté another minute.

IMG_3421

Pour in broth and let it come to a boil. Add amaranth; lower heat to medium-low and simmer until is cooked, about 10 minutes.

IMG_3425

Add kale and beans and continue cooking until kale is tender (this can take anywhere from 5 to 10 minutes, depending on the size and “toughness” of the kale). Adjust seasoning to taste.

Serve as is or with grated cheese and/or crusty bread.