I hope you are all doing all right during the COVID-19 lockdown. Many of you are spending your time trying out new culinary delights, so I thought I’d throw this one into the mix.
I happened to get a container of beautiful fresh currants in a recent Misfits Market box and decided to do the simplest (and most practical) thing with it: jam.
Fresh currants are somewhat hard to find (at least in my part of the world), so this is a (really) small batch recipe. This will essentially give you enough jam for about 4 pieces of toast (or 2, if you like to slather it on).
Red Currant Jam
6 oz. red currants ¼ c + 3 tablespoons sugar
Wash the currants well by placing them in a bowl of water and adding a little vegetable wash or dish soap. Rinse them well in a mesh strainer (especially if you use dish soap).
Remove the stems and discard them. If you’re going to use the traditional canning method, prepare a small jar.
Place the currants in a small nonreactive (non-aluminum) pot and crush them lightly with a fork or potato masher.Add the sugar and 2 teaspoons water and stir. Bring to a boil over high heat. Continue to boil, stirring frequently, until the mixture coats the back of a spoon without dripping, about 10 to 15 minutes.Spoon the jam into a clean jar and seal it. If you’ve sealed it using the canning method, the jam will keep sealed up to a year. Otherwise, refrigerate up to 3 weeks.
Hi there. This week, I decided to take a little rest stop on my ongoing journey through my Regions of Italy project.
So I got these two Meyer lemons in my Misfits Market box and was trying to figure out what to do with them. Two is not enough to do any kind of substantial lemon dessert (like a pie). What could I make with just two? Then it occurred to me that I could make a nice little batch of marmalade. So that’s what I did. The recipe is very simple. As you can see, there are only two ingredients, plus water. That’s it.
Originally from China, Meyers lemons are a cross between lemons and a mandarin oranges. It has sweeter flavor than regular lemons with a distinct orangey taste. The skin, rather than being “lemon yellow,” has an orange blush to it. It’s also edible.
Quarter the lemons length wise, then slice each quarter thinly. Remove as many seeds as possible.Place the lemons in a medium saucepan (not aluminum!) and add 1 1/3 cups water. Cover the pot and leave it out at room temperature overnight (at least 12 hours).Bring the pot to a boil, then lower the heat to medium-low. Simmer, uncovered, until the liquid is reduced to half, about 20 minutes.
Add the sugar and return to a boil. Simmer over medium heat, uncovered, until the mixture is thick. Stir occasionally and skim off any foam from the top. This should take about 15 minutes. You’ll know it’s done by doing the plate test: Place a small plate or bowl in the freezer for a few minutes, then take it out and drop a little of the lemon liquid on it. After a minute, it should gel up.Transfer the marmalade to a small jar with a tight-fitting lid and seal while hot. If you want to store the marmalade for long term, boil the jars for 5 to 10 minutes. Otherwise, it should stay in the refrigerator up to 6 weeks.
Jalapenos are great chiles. They provide a little heat and a little chile flavor without blowing your head off. If you’re anything like me, eating a dish that’s too spicy numbs your palate and you can’t taste anything else. So, jalapenos are one of my favorite chiles to use because it’s low on the Scoville Scale.
If you’re not familiar with it, the Scoville scale was created in 1912 by Wilbur Scoville to measure the heat of chile peppers, indicated by Scoville Units. The more capsaicin a pepper has, the higher the Scoville Units. A jalapeno has 2,500 to 8,000 Units. Lower on the scale is the poblano, which has 1,000 to 1,500 Units. Cayenne peppers have 30,000 to 50,000 Units. A Scotch bonnet, one of the hottest peppers in the world, has 100,000–350,000 Units. Now THAT will blow your head off.
However, as much as I may like jalapenos, and as versatile as they are, there are only so many peppers I can use in a week. I have found that when I have an abundance of them (thanks to a backyard garden), pickling them is a great way to use them.
It’s incredibly easy to pickle jalapenos, and they can be used in so many dishes to add a special zing to it. Use them on burgers and sandwiches, in stews and chilis, in casseroles, and anything else you want to have a zippy flavor.
Easy Pickled Jalapenos
½ pound jalapenos 1 cup apple cider vinegar 3 large garlic cloves, sliced thickly 1 tablespoon kosher salt 1 teaspoon peppercorns 1 small carrot, sliced ¼-inch thick
Rinse and dry the jalapenos. Cut off the tops, then slice them into 1/4-inch rings.In a small-medium saucepan, combine the vinegar, garlic, salt, and peppercorns with 1 cup water.Bring the pot to a boil; lower the heat to a simmer.
Add the jalapenos and carrot, and simmer 2 minutes. Remove the pot from heat and let cool about 10 to 15 minutes.With a slotted spoon, transfer the jalapenos and carrot to a clean jar with a tight-fitting lid.Pour the brine into the jar, making sure that everything is submerged.Seal the jar and refrigerate for a week.
A while back, while scrolling through photos of food on Instagram, I came across a picture of a peanut butter and jelly sandwich. It was enticing.
Let me just say that while I love peanut butter, I’m not fond of jelly. So, ever since I was a kid, I’ve been eating peanut butter sandwiches, sans jelly.
But the PB&J in this photo was so delicious looking, so scrumptious, that it made me think for a moment that maybe I’d been wrong. Maybe I’d judged jelly too harshly. Maybe I should give it another try.
Mmm, no. I’m old enough to know what I like and don’t like. Honey, yes. Jelly, no.
Then, a thought hit me. What if…now, hear me out…what if I made a peanut butter and cranberry sandwich? I had a jar of homemade cranberry sauce left over from Thanksgiving. I’ve used cranberry sauce for many things—why not a sandwich?
And, so, I did. And it was crazy good. I mean crazy AND good.
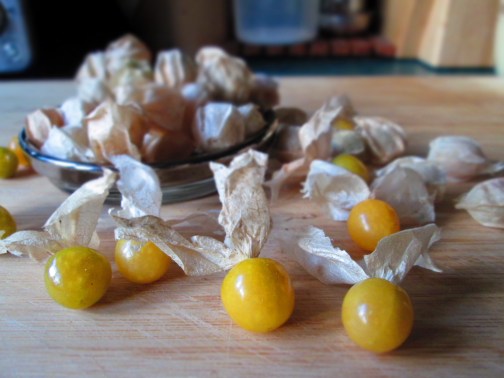
So, what exactly are husk cherries? That’s what I wanted to know when I spotted them at the Union Square farmers’ Market in Manhattan. At first I thought they were gooseberries because they looked exactly like gooseberries—they were golden globes covered in a paper-thin, skin-like husk.
But the sign said “husk cherries.” Naturally, I bought some.
Native to the New World, husk cherries are not cherries at all. Sometimes also called husk tomatoes, Cape gooseberries, and ground cherries, they’re a type of flowering plant belonging to the nightshade family.
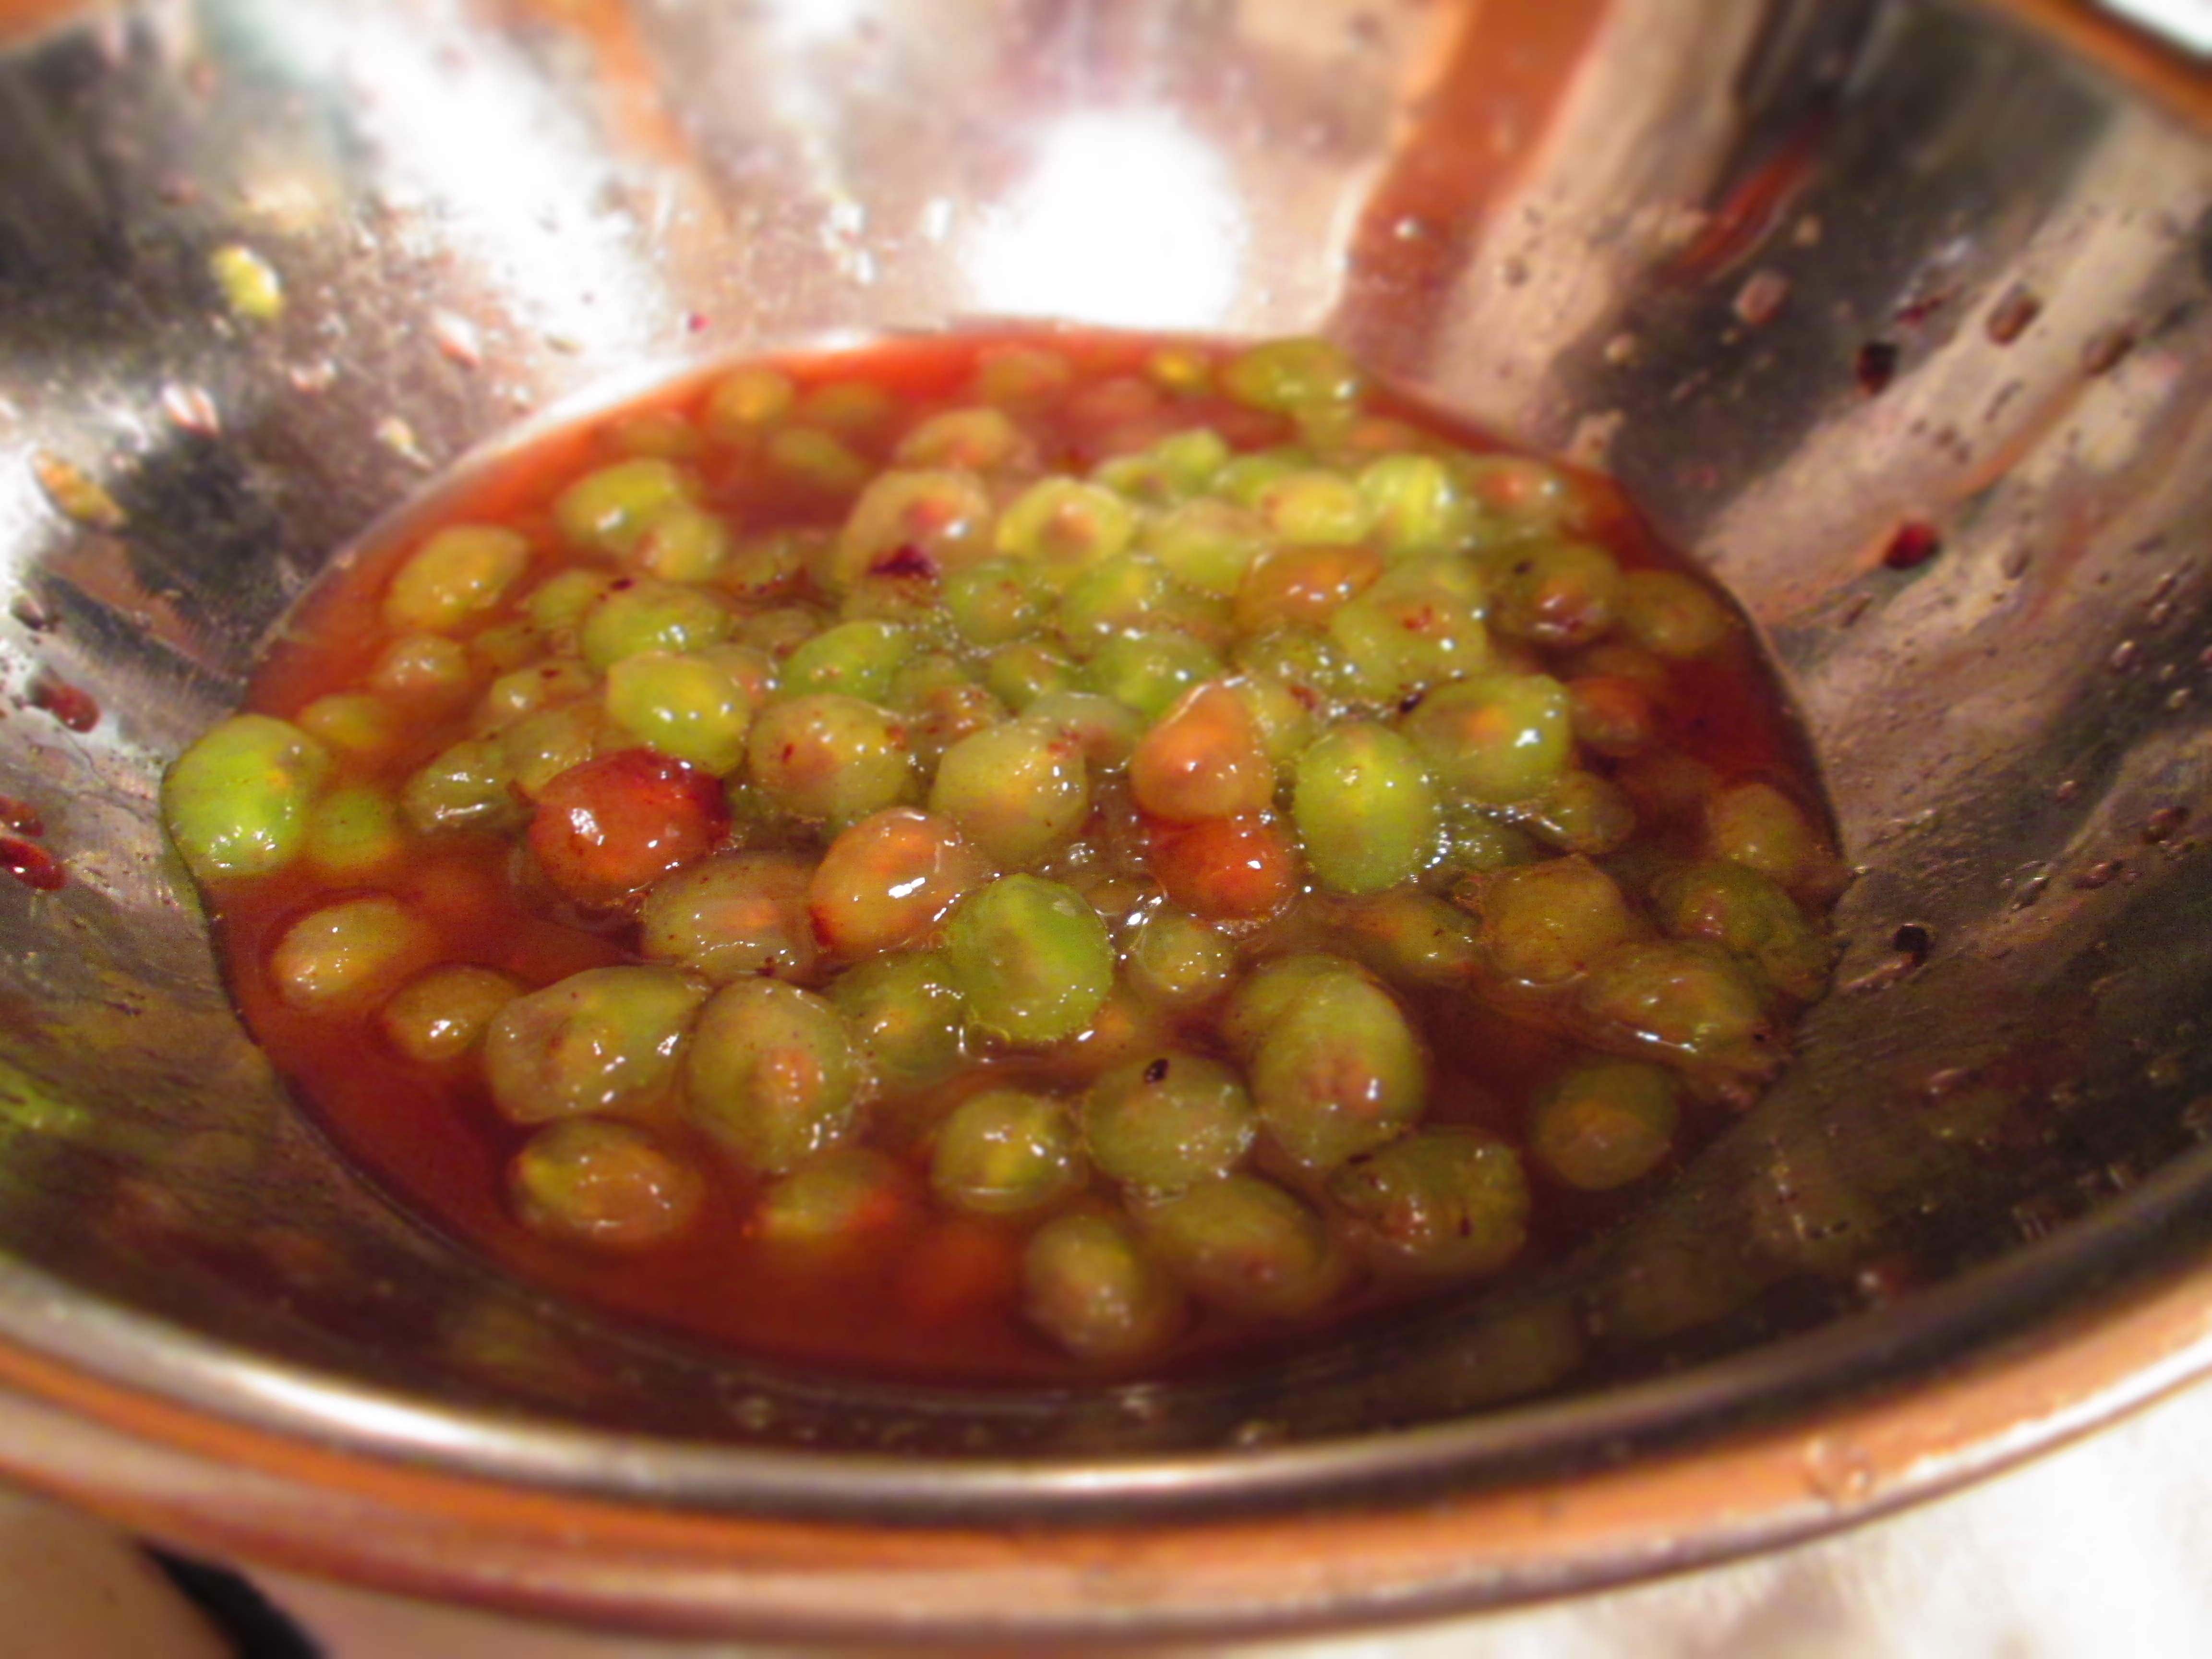
Their flavor is quite unique. It’s like a cross between a tomato, a papaya, and a pineapple. Sweet and savory at the same time. The easiest and no-brainer way to use them is in a salsa, which is exactly how Native Americans peoples used them, as well as eating them out of hand.
I think if food-loving people were smart, they’d introduce themselves to husk cherries and make them better known to the world. They’re really a great little fruit/vegetable. If you ever see them, buy a small bagful and give this recipe a try.
Enjoy!
Husk Cherry Salsa
Makes approximately 1½ cups.
1 cup husk cherries ¼ cup finely chopped red onion 2 tablespoons extra virgin olive oil 1 tablespoon minced chile of your choice ¼ minced cilantro 2 tablespoons lemon or lime juice ¼ teaspoon sea salt
Freshly ground black pepper to taste
Remove the husks from the cherries by peeling the husks back and twisting them off. Rinse the cherries in cool water and set on paper towels to drain. Cut the cherries in half and place them in a bowl.Add the remaining ingredients and mix well. Taste and adjust seasoning, if necessary. Serve with tortilla chips or pita bread, or use as a relish for fish, chicken, pork, or vegetables.
A few years ago, I introduced a recipe for Cranberry Sauce with a Sorghum Twist. I think using sorghum syrup is a great way to enjoy traditional dishes without using white cane sugar.
In my cranberry sauce, it also adds a different dimension to the flavor. And it’s still one of my favorite cranberry sauce recipes.
So, below is a reprint of my original post from 2013. I hope you like it. Have a fun, safe, and peaceful Thanksgiving.
Once again, I was the beneficiary of unwanted CSA produce. This time it was Concord grapes. My friends didn’t want them because they are too seedy.
I do understand what they mean—the seeds inside a Concord grape take up half the volume of the entire grape, and as delicious as that little burst of Concord flesh is, it’s a very small burst for all the spitting of seeds that follows. Plus, the skin is tart.
I know this because I once had Concord grapes growing in my yard. But the vines never yielded enough for me to do much with them except have a little snack. The birds got to a lot of them before I did, too.
Anyway, I am the recipient of unwanted foodstuffs because my friends know that I will put them to use somehow. In this case, I chose to make grape jam.
I’ve made fruit preserves before, and homemade cranberry sauce has become one of my personal Thanksgiving traditions, but I’d never made grape jam before. Turns out, it’s incredibly simple. You don’t even have to remove the seeds. You just have to remove the skins. Granted, this is a bit time consuming, but it is not at all difficult. Unlike other grape varieties, Concord grapes pop out of their skins very easily. One gentle little squeeze, and out they come. But a little patience is required to do them all. I suggest wearing latex gloves when you do this, or you might end up looking like the purple people-eater.
The rule of thumb for sugar is 1 cup per 1 pound of grapes. I had about 1 ½ pounds of grapes, so I used that many cups of sugar. The result, if I do say so myself, was delicious. The jam was sweet but not cloying (which I hate) and fresh tasting (unlike many jellies, which taste “chemically” from the preservatives).
Because my batch was rather small, I decided not to jar it with the standard canning method. I just put them in 2 little jars and, because of the sugar, they will last in the refrigerator for several weeks. However, if you’re going to make more than I made, or want to make it for long-term storage, you can find instructions for canning here:
You can add flavorings to it, like vanilla or lavender, or create any combination of flavors that you like. Enjoy this on muffins and toast, in yogurt and oatmeal, or in a classic PB&J.
Concord Grape Jam
1 ½ pounds Concord grapes
1 ½ cups granulated sugar
1 tablespoon + 2 teaspoons lemon juice
Wash and drain the grapes. Pop them out of their skins.
Place the skins in the bowl of a food processor. Add ½ cup sugar to the skins. Process until pureed.
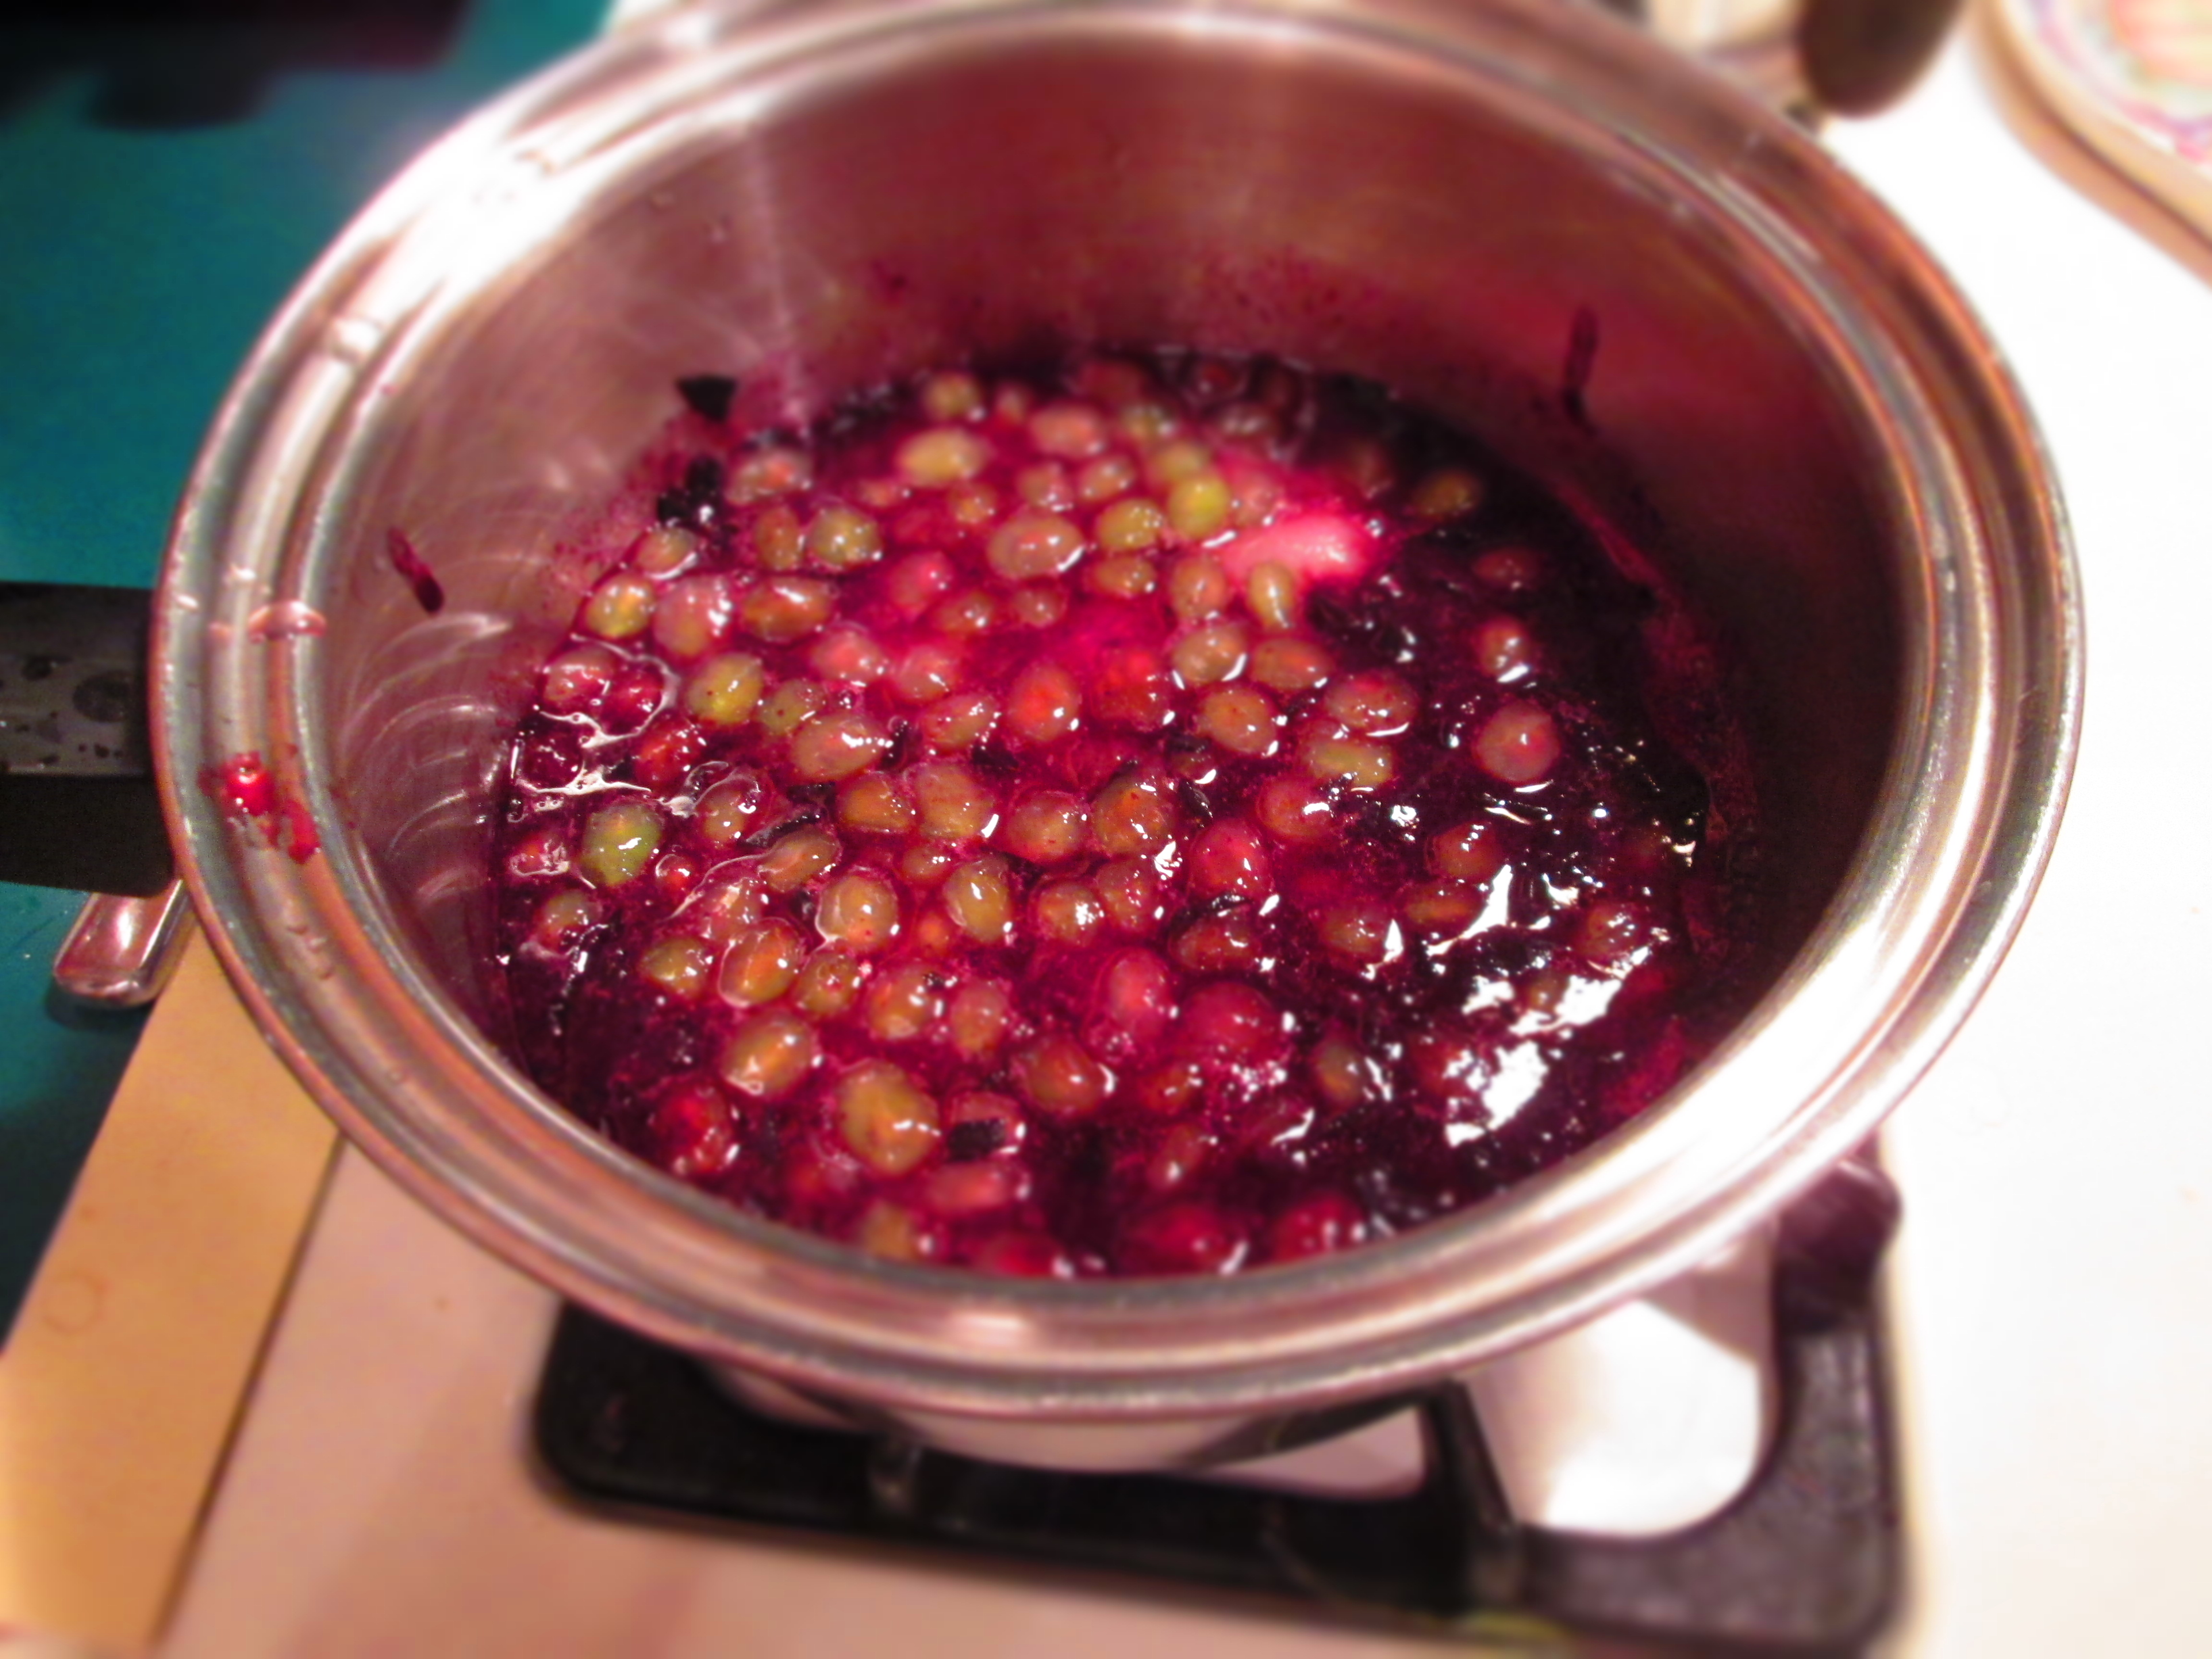
Place the pulp in a medium saucepan along with remaining 1 cup sugar and lemon juice. Add the skin puree and mix. Bring to a boil; lower the heat to medium-low and simmer, stirring frequently, for about 15 minutes. Skim foam from top, as needed.
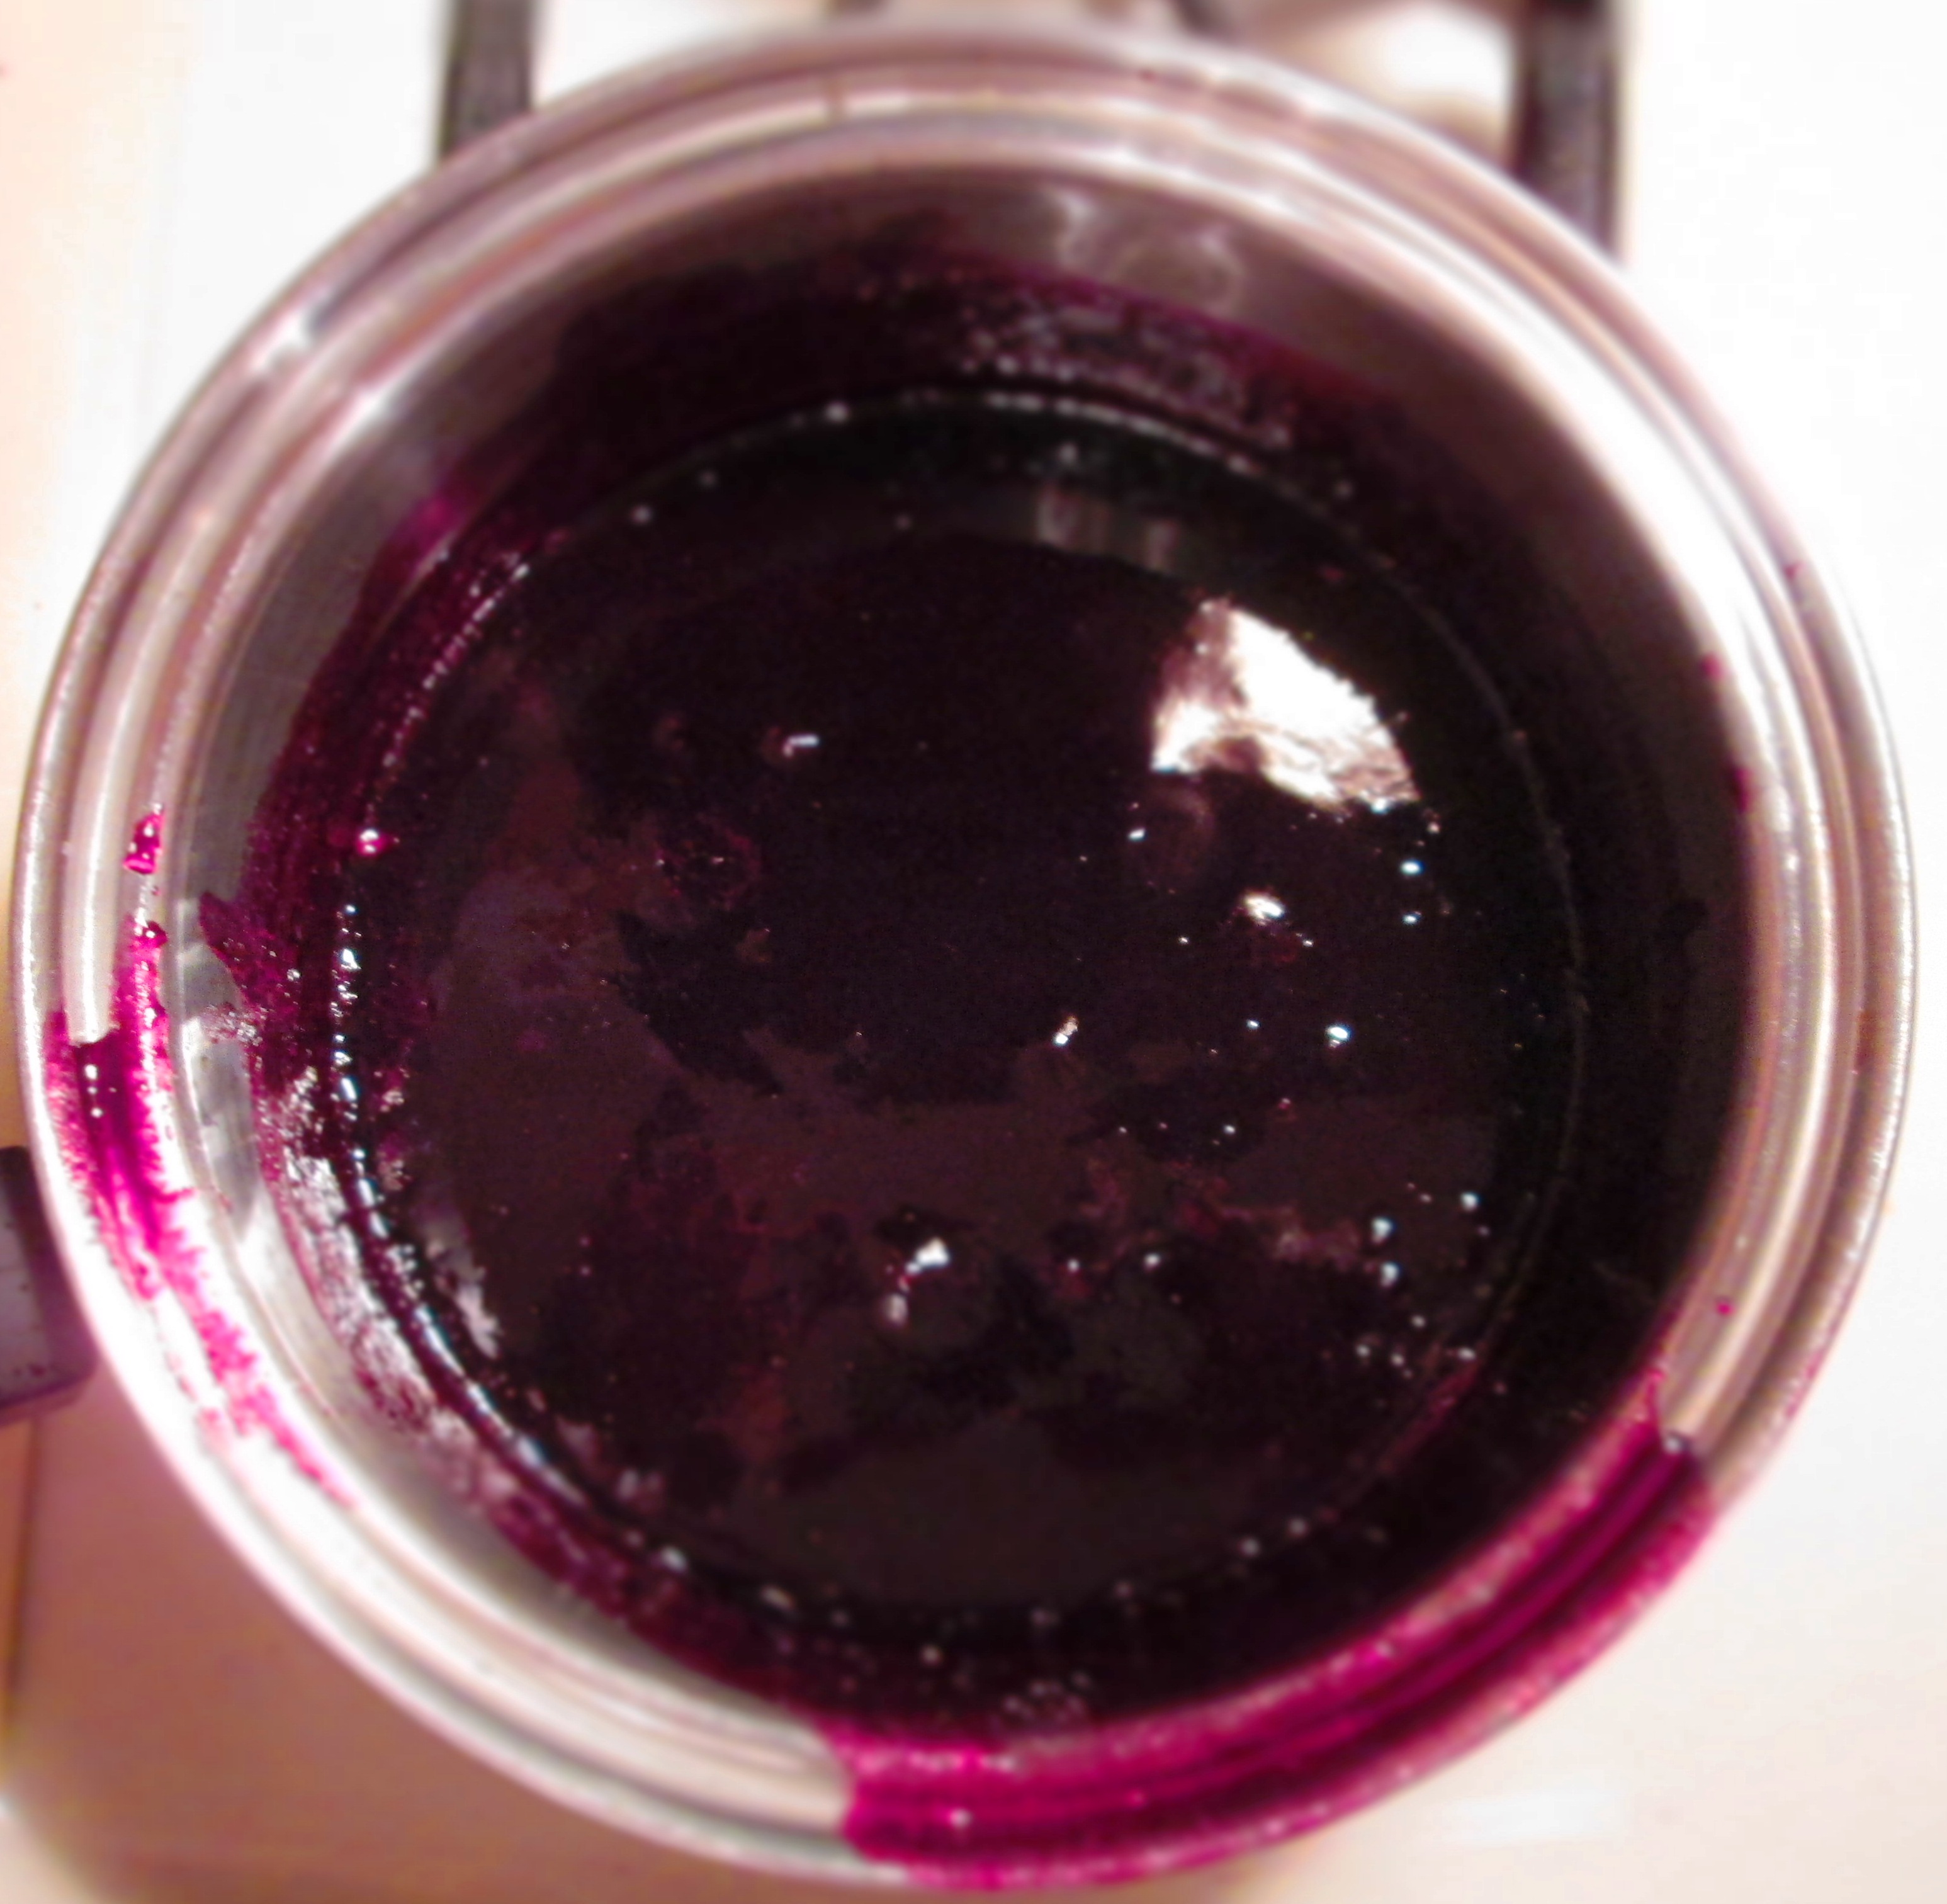
Set a mesh strainer over a bowl. Press the jam through strainer; return the contents of the bowl to the pot, and discard solids. Return to a boil; lower heat again and continue simmering, stirring frequently, for about 30 minutes. The jam will still be loose but will gel as it cools down.
Place in clean jars with tight-fitting lids. For long-term storage, use a standard canning process.
Well, here we are again, preparing for that iconic American holiday, the Most Important Meal of the Year: Thanksgiving.
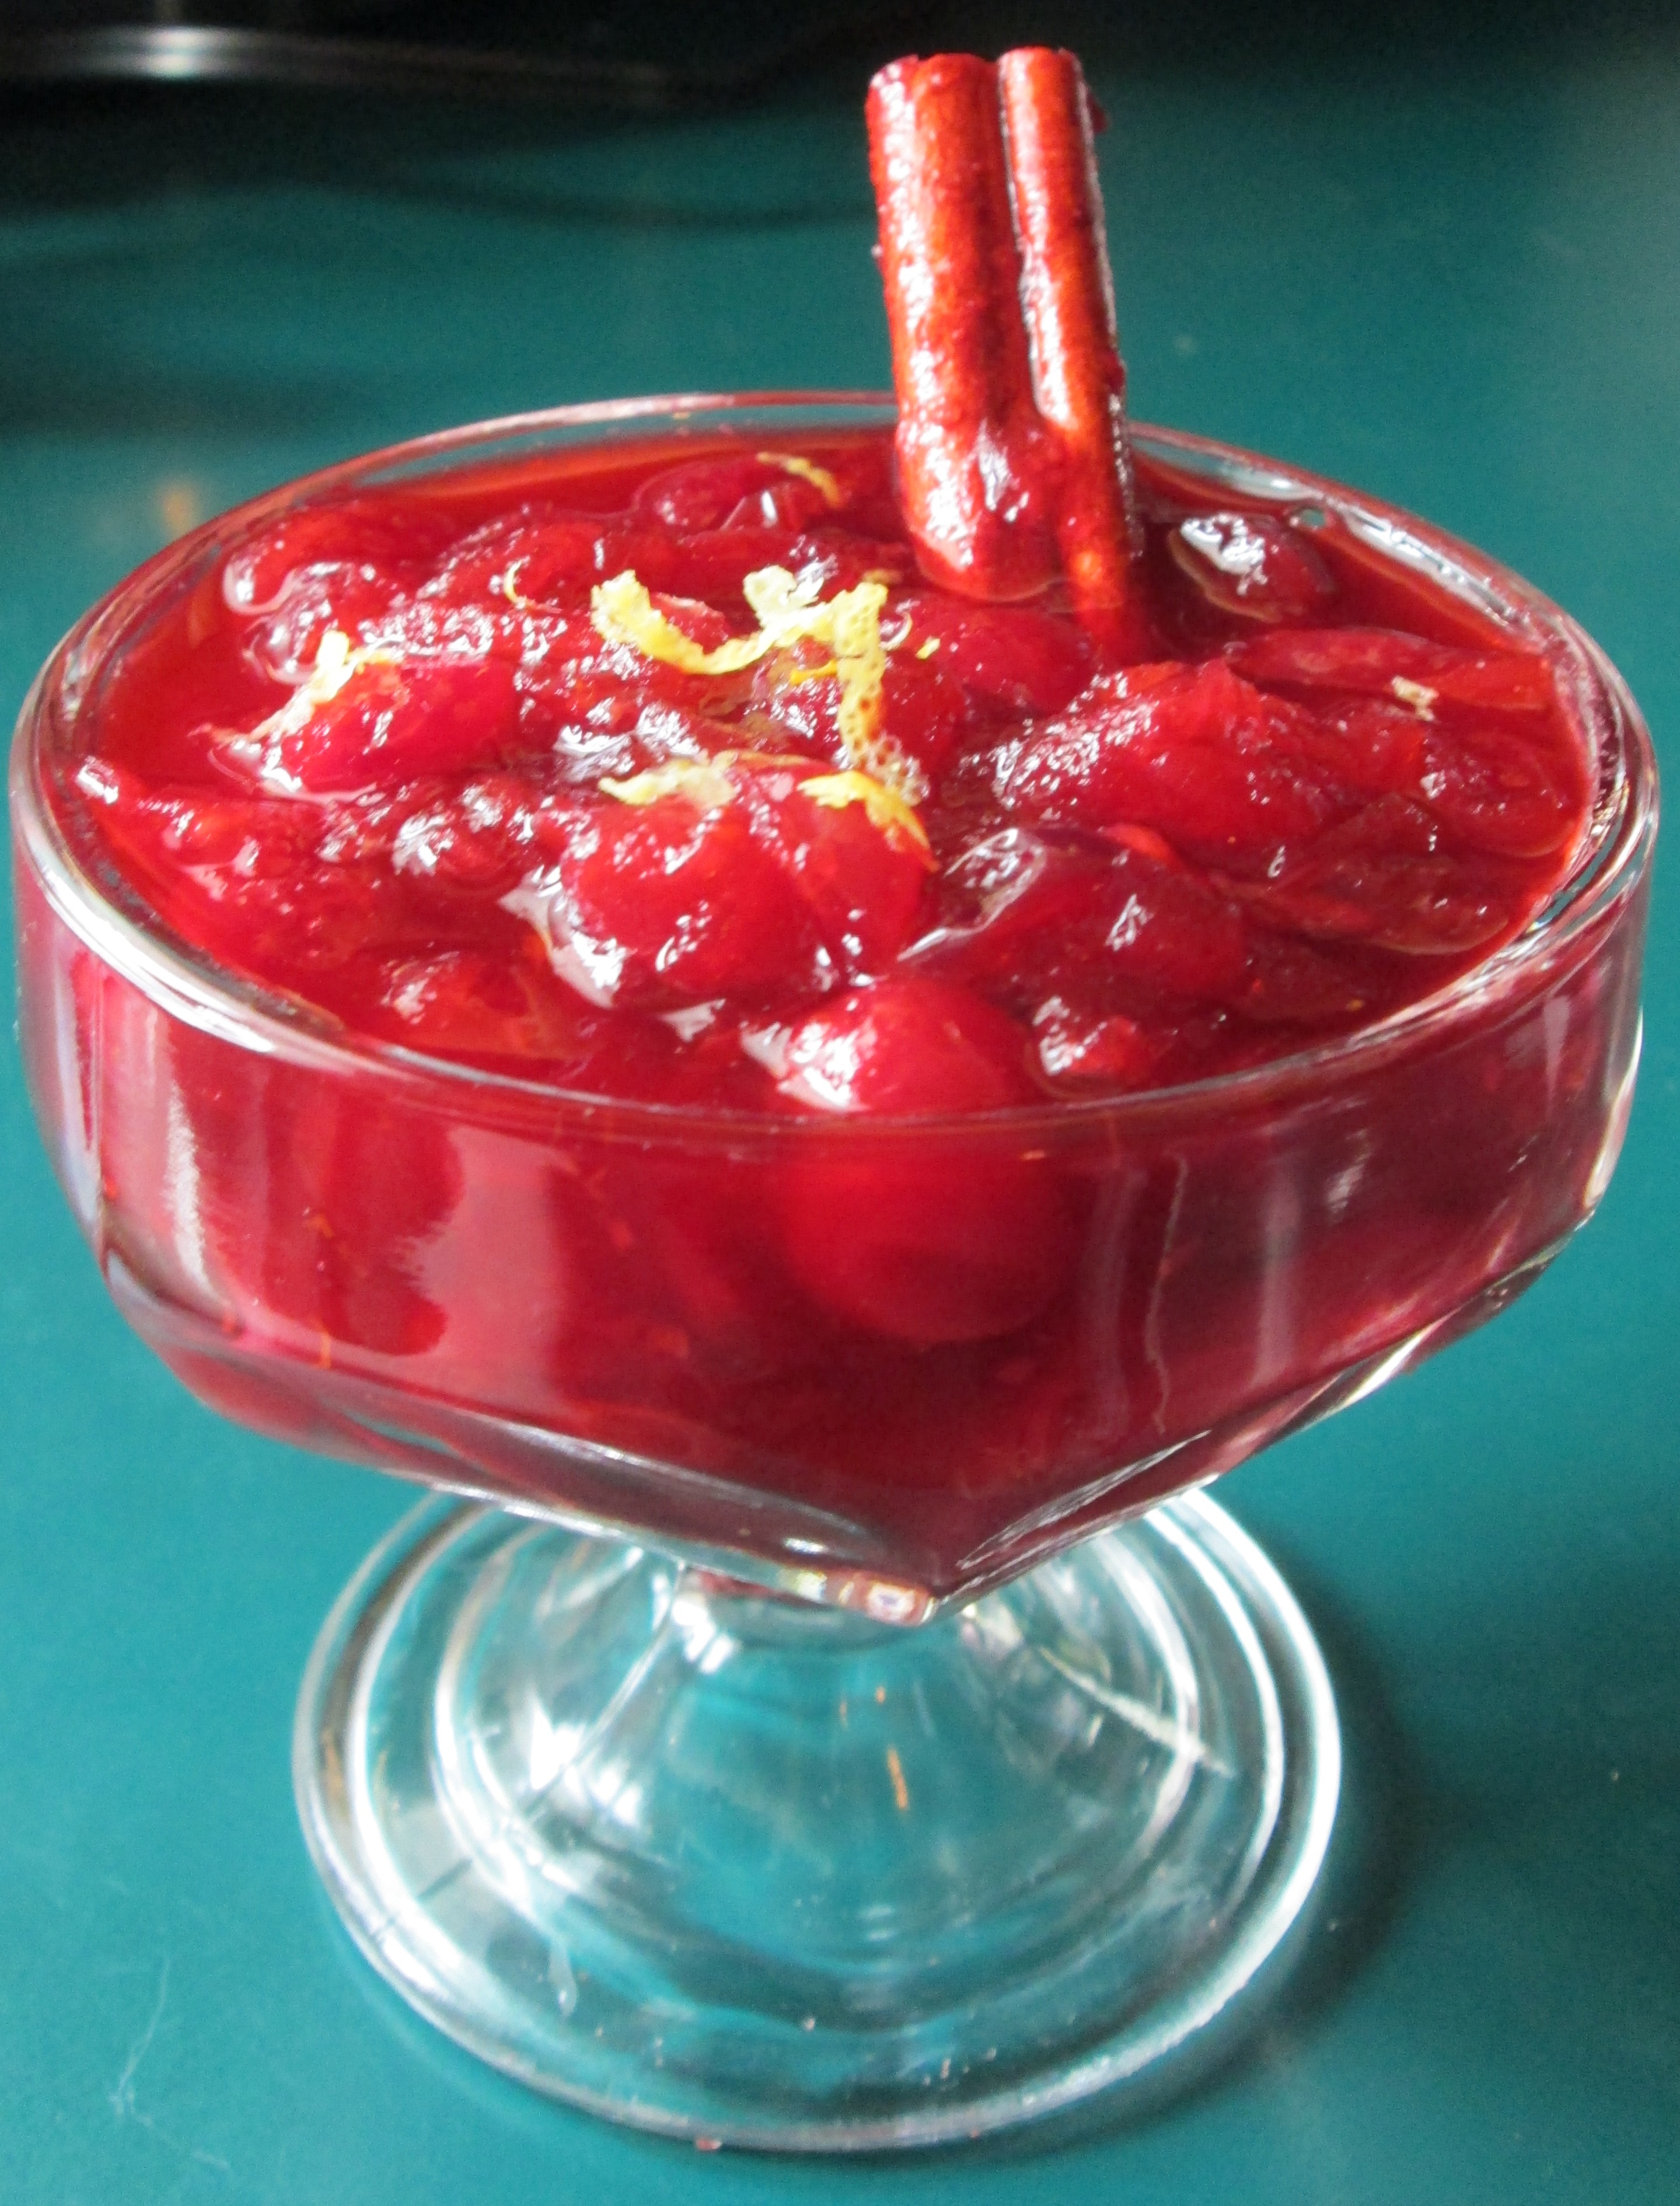
Every year, I make fresh cranberry sauce. Some people prefer the canned variety to freshly made, but when I see that gelled log with can rings around it, I can’t help but feel that I can do better. In fact, anyone can. Fresh cranberry sauce is extremely simple, and the end product is so much better than the canned log. (Although, I know some of you feel like it’s truly not a traditional Thanksgiving without that log with the rings around it, so I say, whatever floats your boat.)
Cranberries are a tart fruit and cranberry sauce requires plenty of sugar to make it palatable enough for most people. But I always cringe a little when I start dumping the amount of sugar that most recipes call for into my pot of cranberries. So, this year, I decided to try some of the sorghum molasses that I brought up from a trip to the South.
The recipe I’ve always used calls for 2 cups granulated sugar. That’s a lot of sugar. So, I started with 1 cup brown sugar. Brown sugar is a nicer product to use than granulated sugar because it lend the sauce a delicate molasses flavor and it thickens it up better. My sauce was still a little too tart, but I really didn’t want to add any more sugar, so I reached for the sorghum molasses. I started with 2 tablespoons and I liked the results. However, I knew that most people would want it sweeter (I don’t have a big sweet tooth), so I added 2 more tablespoons. It worked wonderfully.
Sorghum molasses is a Southern staple, but it can be found in specialty stores elsewhere in the U.S. If you can’t find it, substitute brown rice syrup, barley malt syrup, or honey (the honey will be sweeter than the others).
If you’re looking for that cloying candy-sweet taste of canned cranberry sauce, this isn’t it. But if you want something that is a little more complex, texturally pleasing, and not as loaded with refined sugar, give this a try.
Cranberry Sauce with a Sorghum Twist
Makes 3 cups
1 16-oz. package fresh cranberries
1 cup loosely packed brown sugar
¼ cup sorghum molasses
1 teaspoon grated orange zest
1 teaspoon grated lemon zest
1 cinnamon stick
¼ teaspoon nutmeg or ground cloves
1 whole star anise
Tiny pinch sea salt
Combine all ingredients with 1 ½ cups water in a 2-quart pot. Bring to a boil; lower the heat to low and simmer until cranberries start to pop. Continue simmering and stirring for about 5 minutes, smashing the cranberries along the sides of the pot (you can leave some whole). Taste and adjust sweetener level to your taste.
Remove from heat and let cool. Transfer to a jar or bowl and refrigerate until needed. Remove the cinnamon stick and star anise before serving or use them for garnish.
Variation: Add a tablespoon of raspberry or cherry liqueur or ½ teaspoon vanilla extract.
Summer is almost over. Technically, we have until September 22, but the kids are back in school, the stores are already displaying holiday merchandise, and my neighbor’s trees have red leaves in them. As much as I love autumn, I’m always sad when the summer comes to a close. It’s never long enough, is it?
Minty Peach Salsa
But there’s still time to enjoy some summer activity and summer deliciousness, including the wonderful stone fruit that are still available. And if you grow your own mint, it’s probably out of control by now. Here’s a way to use both: Minty Peach Salsa.
This salsa was inspired by a peach salsa I bought at a farmer’s market in Virginia. I set out to replicate it and made a few modifications to make it a little less sweet and a bit spicier. It’s very simple and perfect for those last summer picnics or barbecues. It also makes a great condiment for grilled veggies, chicken, or fish.
You can substitute the peach with nectarines, plums, or apricots, but I find that peach works the best. It has the right flavor and texture to complement the other ingredients.
Enjoy the salsa and what’s left of summer!
Minty Peach Salsa
Makes about 2 ½ cups.
2 cups chopped peaches
1/3 cup chopped shallot or finely chopped Vidalia onion
¾ cup chopped red pepper
1 small jalapeno, minced
2 tablespoon minced mint
1 tablespoon apple cider vinegar
½ teaspoon sea salt
½ teaspoon sugar
½ teaspoon garlic powder
1/2 teaspoon chili powder
2 teaspoon spiced rum (optional)
1. Combine all ingredients in a medium bowl. Refrigerate for an hour before serving to allow the flavors to blend.
2. Taste for seasoning and adjust, if necessary, before serving. Serve with tortilla or pita chips.


 Add the sugar and 2 teaspoons water and stir. Bring to a boil over high heat. Continue to boil, stirring frequently, until the mixture coats the back of a spoon without dripping, about 10 to 15 minutes.
 Spoon the jam into a clean jar and seal it. If you’ve sealed it using the canning method, the jam will keep sealed up to a year. Otherwise, refrigerate up to 3 weeks.


 Rinse and dry the jalapenos. Cut off the tops, then slice them into 1/4-inch rings.
 In a small-medium saucepan, combine the vinegar, garlic, salt, and peppercorns with 1 cup water.
 Bring the pot to a boil; lower the heat to a simmer.
 With a slotted spoon, transfer the jalapenos and carrot to a clean jar with a tight-fitting lid.
 Pour the brine into the jar, making sure that everything is submerged.
 Seal the jar and refrigerate for a week.