Miz Chef

Cooking Up a Healthy Life


Leave a comment

Meyer Lemon Marmalade

Hi there. This week, I decided to take a little rest stop on my ongoing journey through my Regions of Italy project. 

So I got these two Meyer lemons in my Misfits Market box and was trying to figure out what to do with them. Two is not enough to do any kind of substantial lemon dessert (like a pie). What could I make with just two? Then it occurred to me that I could make a nice little batch of marmalade. So that’s what I did. The recipe is very simple. As you can see, there are only two ingredients, plus water. That’s it.

Originally from China, Meyers lemons are a cross between lemons and a mandarin oranges. It has sweeter flavor than regular lemons with a distinct orangey taste. The skin, rather than being “lemon yellow,” has an orange blush to it. It’s also edible. 

Meyer Lemon Marmalade

2 Meyer lemons, washed, preferably organic
1¼ cups sugar

Quarter the lemons length wise, then slice each quarter thinly. Remove as many seeds as possible.
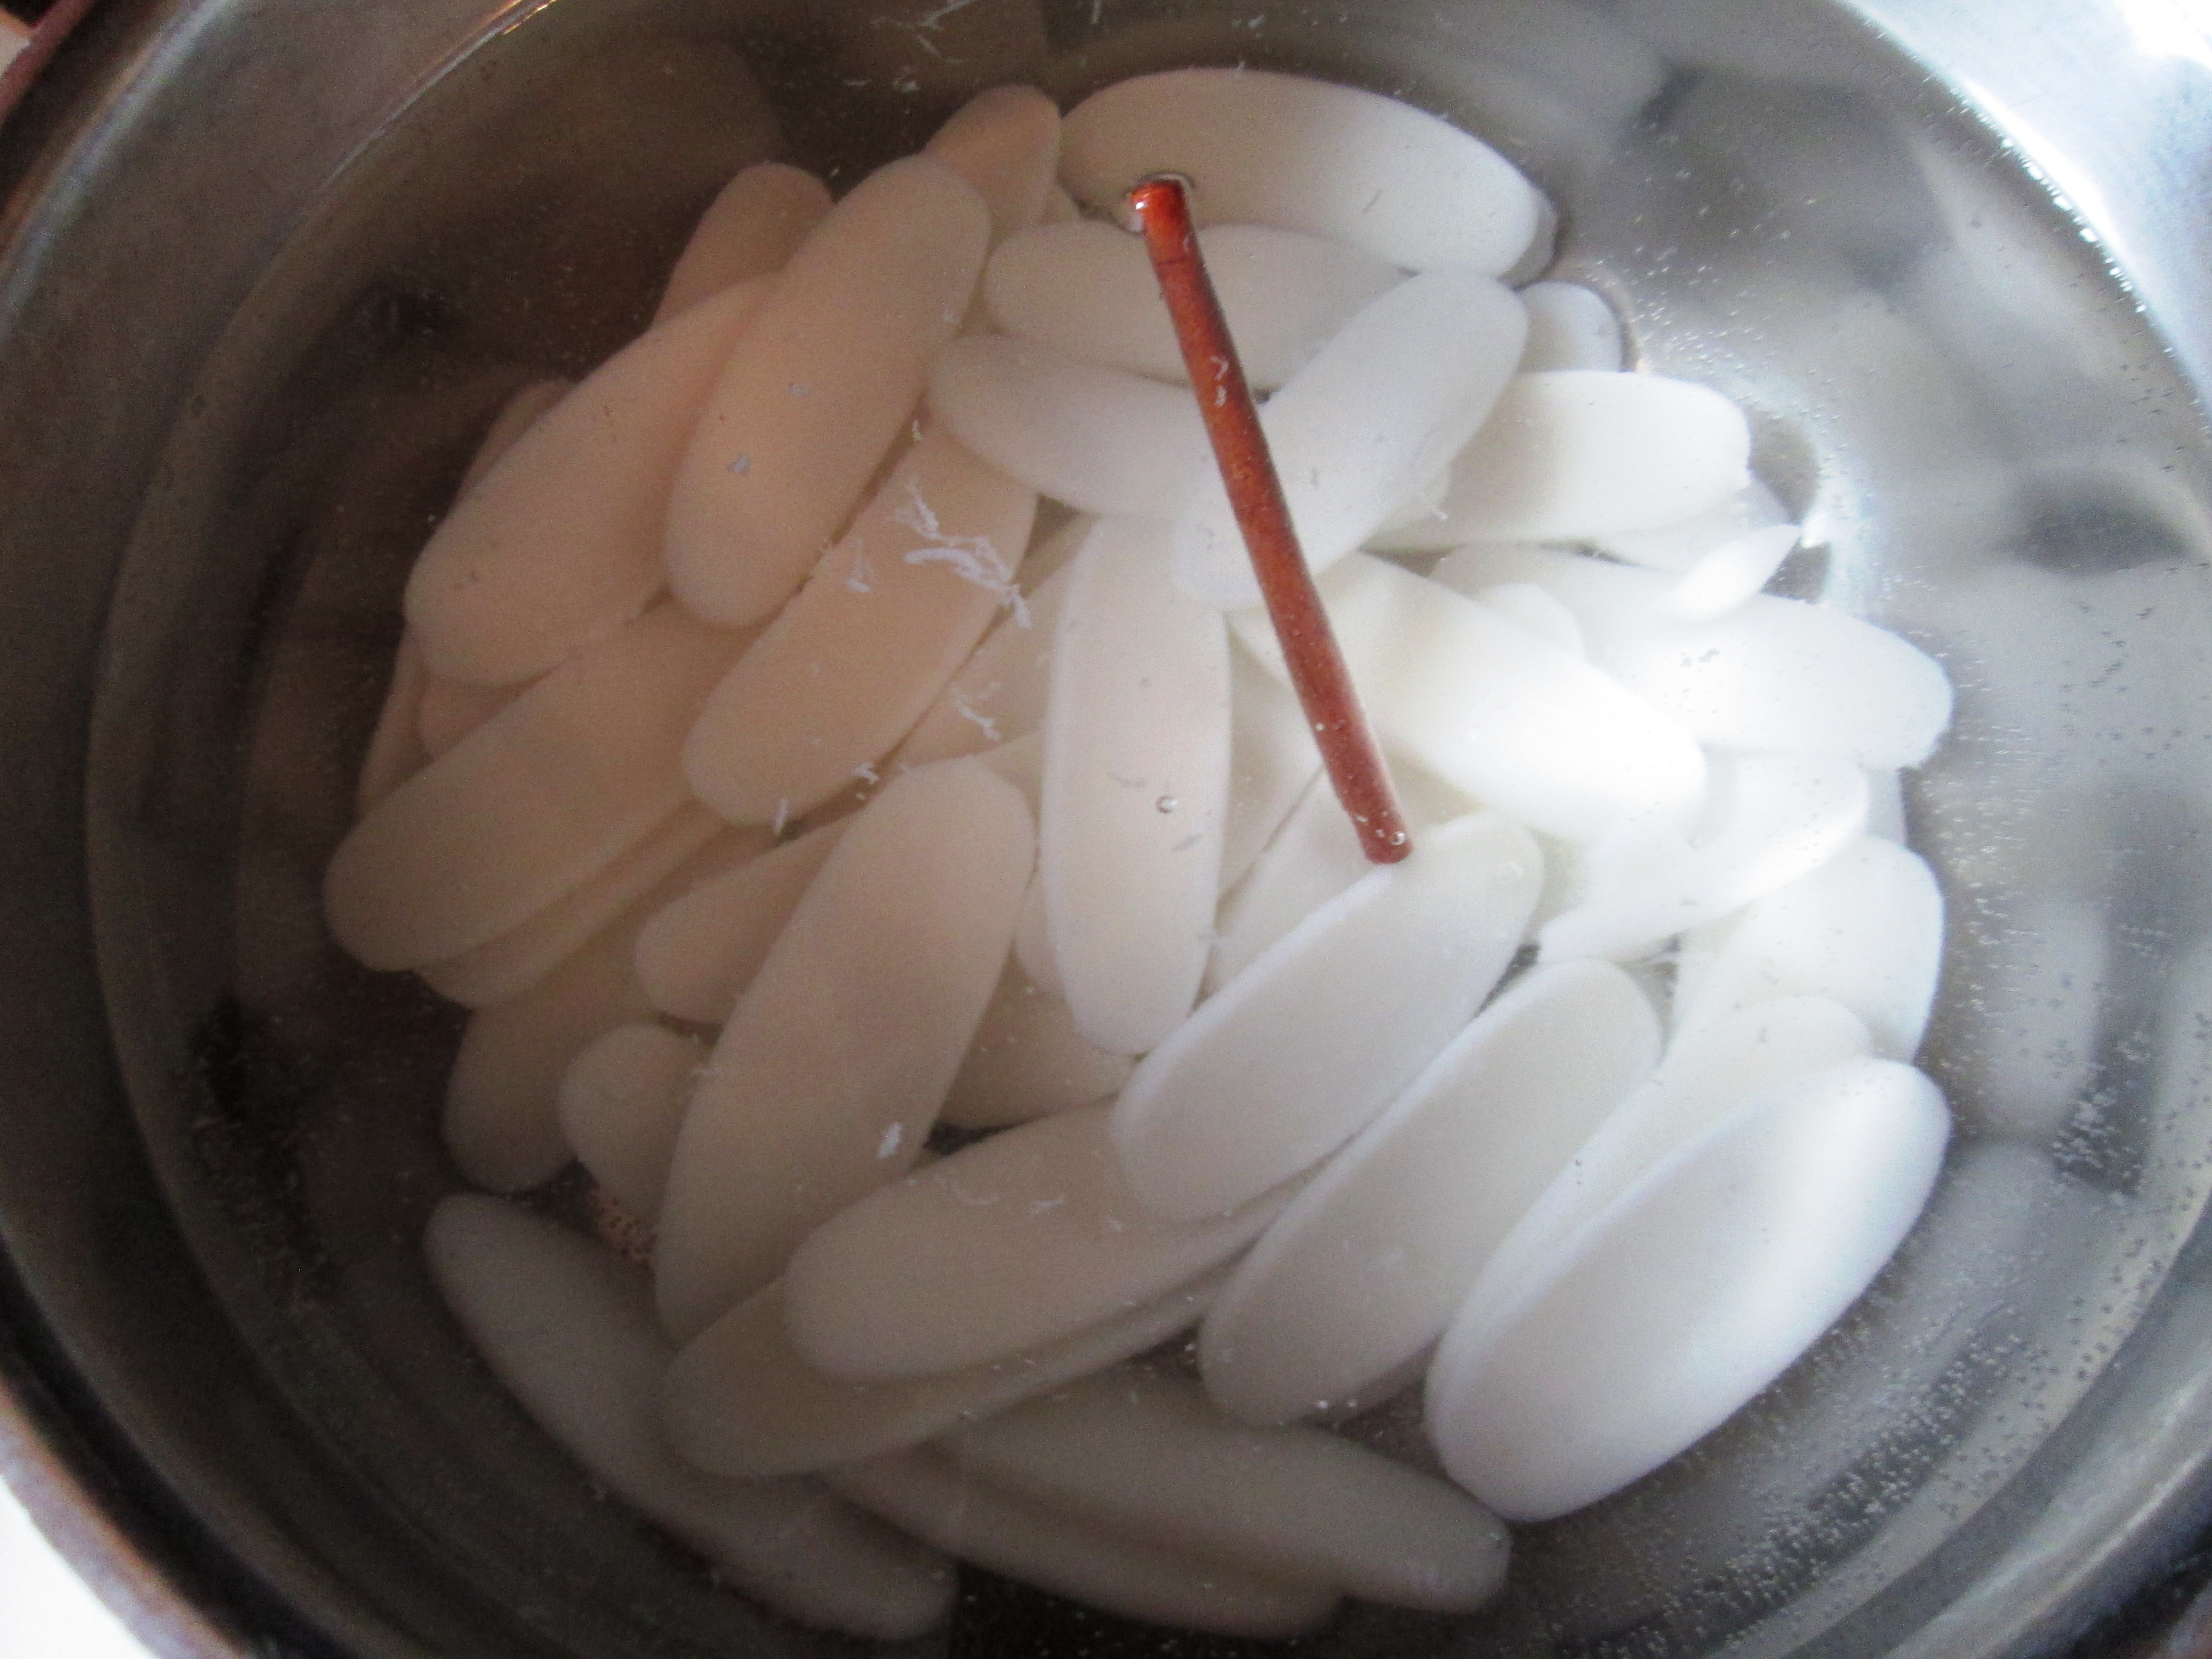
Place the lemons in a medium saucepan (not aluminum!) and add 1 1/3 cups water. Cover the pot and leave it out at room temperature overnight (at least 12 hours).Bring the pot to a boil, then lower the heat to medium-low. Simmer, uncovered, until the liquid is reduced to half, about 20 minutes.

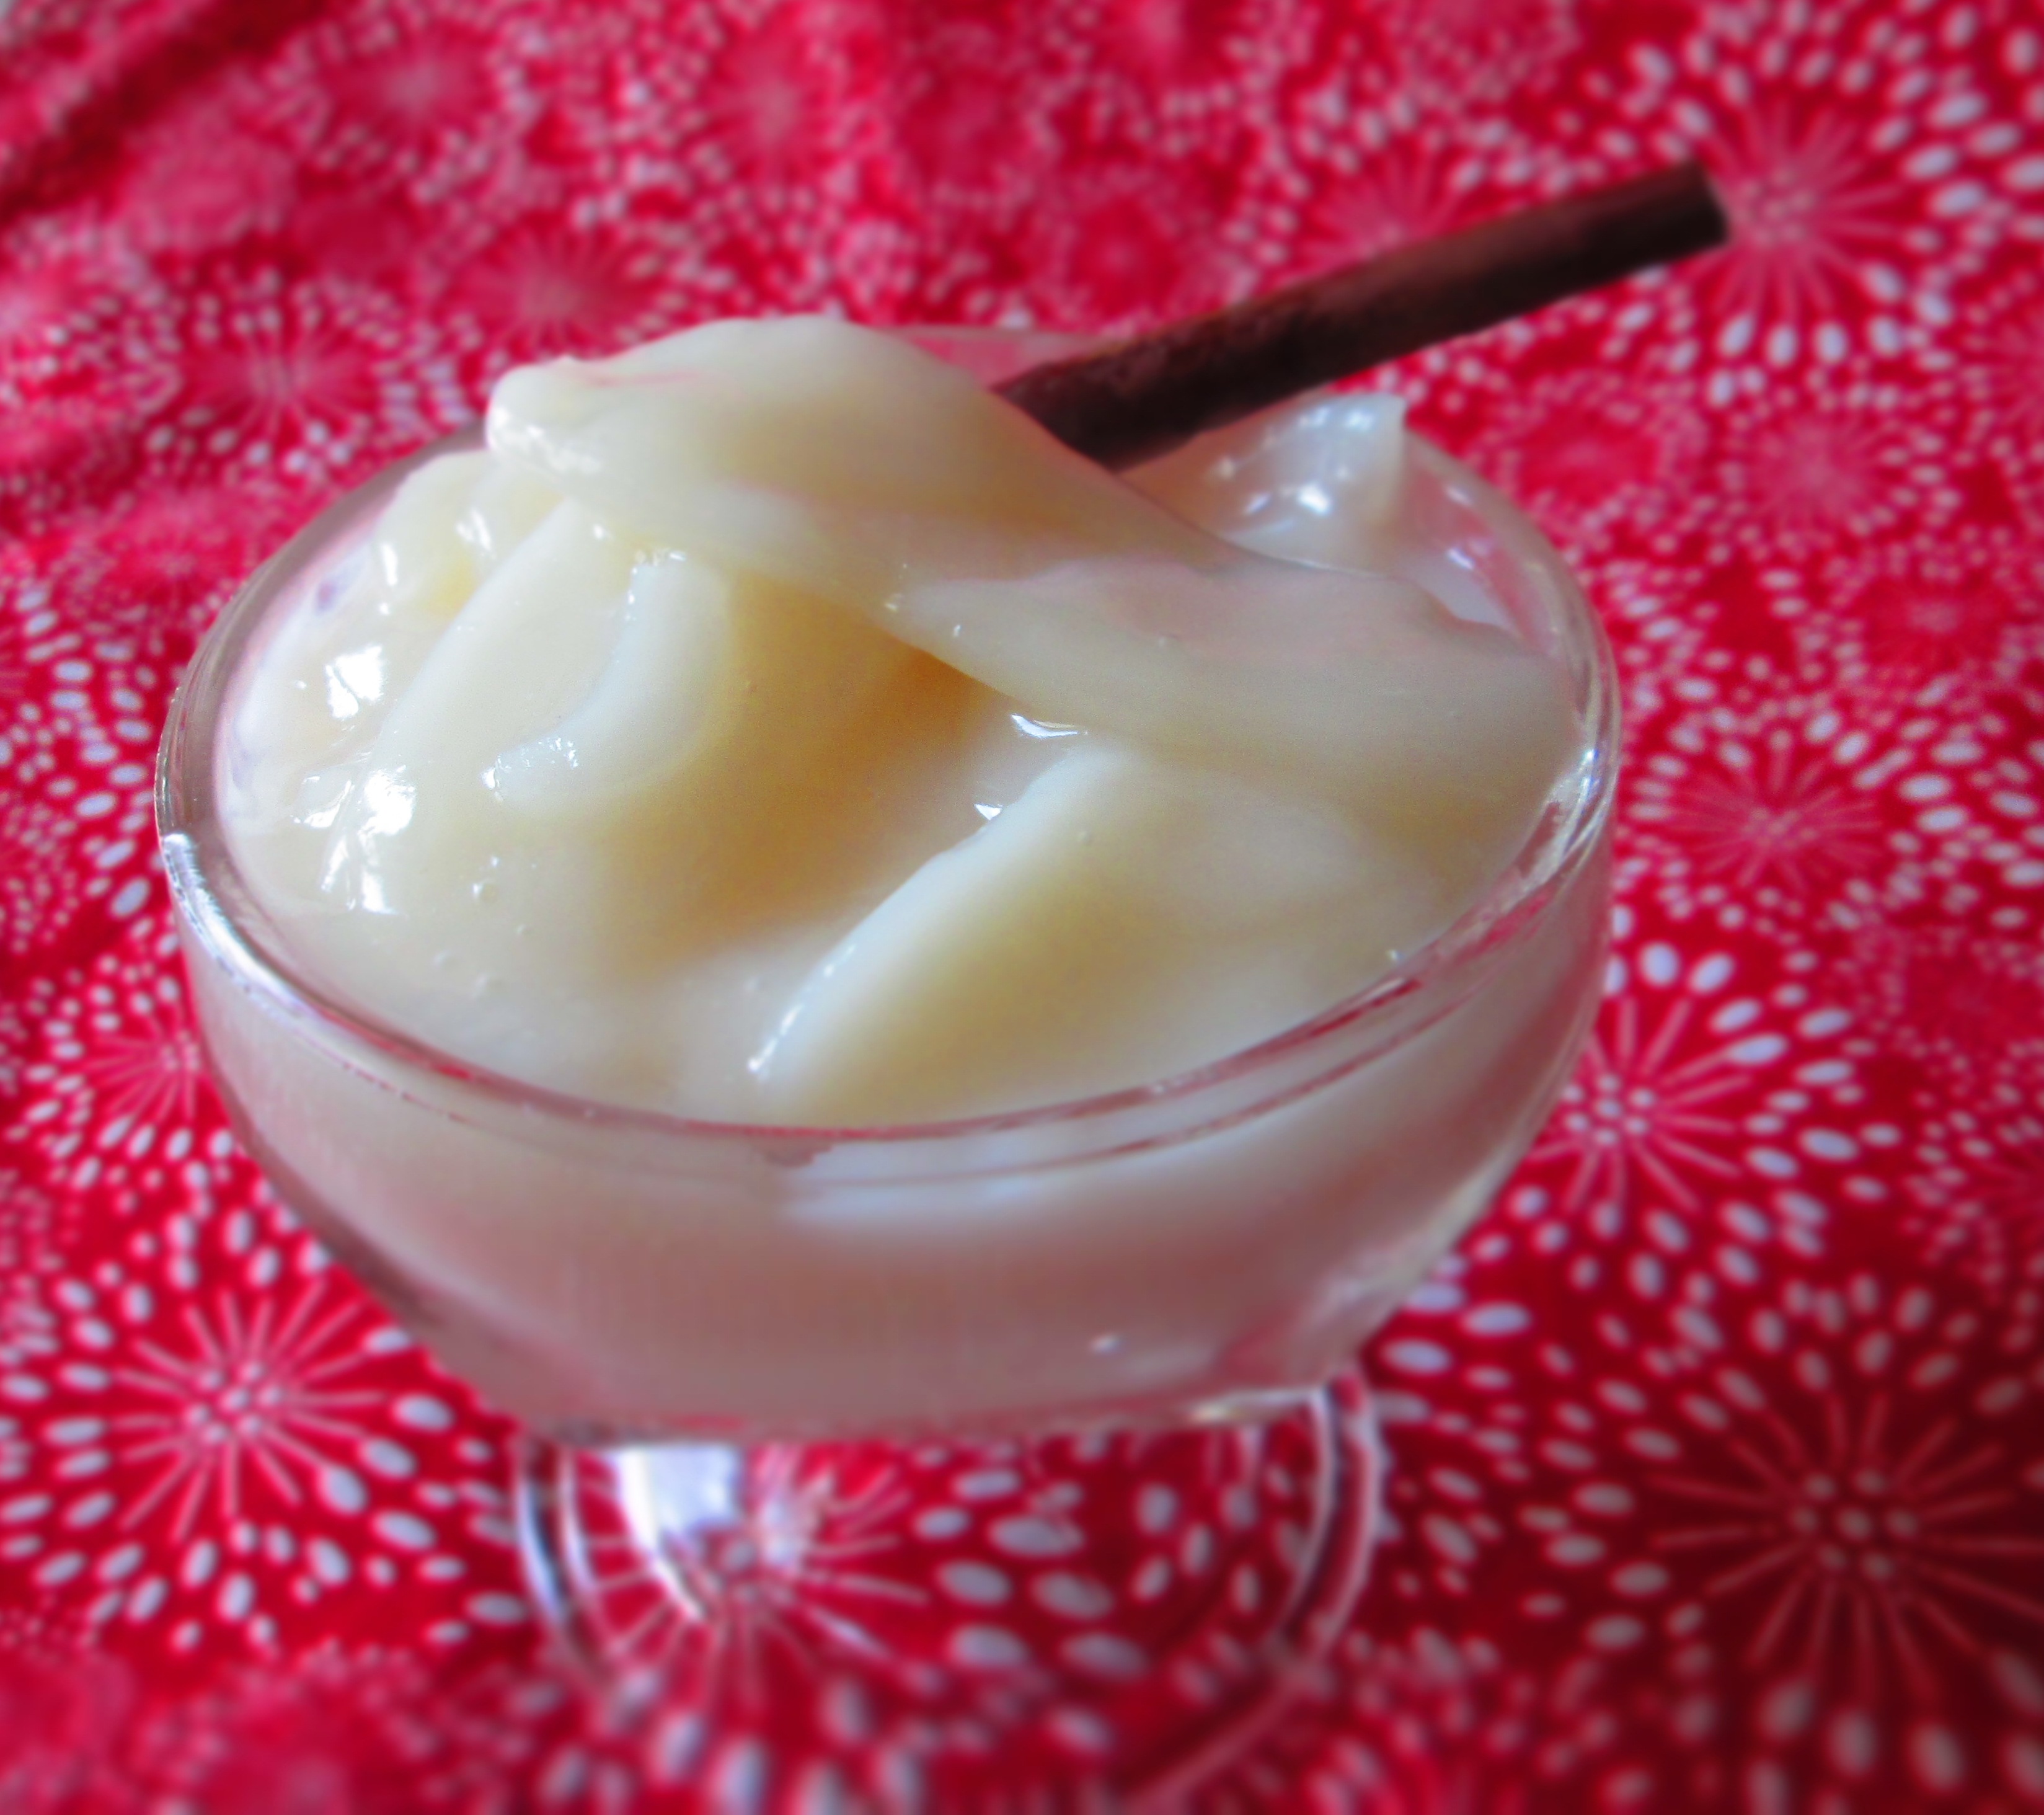
Add the sugar and return to a boil. Simmer over medium heat, uncovered, until the mixture is thick. Stir occasionally and skim off any foam from the top. This should take about 15 minutes. You’ll know it’s done by doing the plate test: Place a small plate or bowl in the freezer for a few minutes, then take it out and drop a little of the lemon liquid on it. After a minute, it should gel up.Transfer the marmalade to a small jar with a tight-fitting lid and seal while hot. If you want to store the marmalade for long term, boil the jars for 5 to 10 minutes. Otherwise, it should stay in the refrigerator up to 6 weeks.

Advertisement


Leave a comment

Palline di Castagne

Campania

Hello again. Thanks for coming back to see where I am in my 20 Regions of Italy project, based on the book La Cucina—The Regional Cooking of Italy by Accademia Italiana della Cucina (The Italian Academy of Cuisine).

Again, I’m going to take a step back from Emilia-Romagna to Campania. This time, I made Palline di Castagne, or Chestnut Balls. They resemble chocolate truffles in appearance, but have a unique flavor.

I must say that some recipes benefit from a test run and a re-do, and this is one of those recipes, because the first batch I made was inedible, while the second batch was really good and worthy of serving to guests. But I did make one very important modification.

The recipe calls for 1 cup milk, which, as I discovered, was way too much. The resulting confections were much too wet. So much so that they couldn’t be rolled out into smooth balls, and the texture was very off-putting. I must confess that I made half the recipe (in other words, I used ½ cup milk). The ingredients are few enough and simple enough that halving the recipe wasn’t a problem, but I have to wonder if, somehow, it affected the end product. However, I don’t think this was the case. What I did with the second batch was to add a little bit of milk, a little at a time, just until the ingredients held together. In total, I used maybe a couple of tablespoons.

Here’s my personal tip: The original recipe says to pass the cooked chestnuts through a sieve. I tried this method and found that, because of their texture, some of the chestnuts gets trapped in the mesh of the strainer. I found it to be both messy and wasteful. Then I tried grating it, and the result was pretty much the same, if not worse. I found that using a food processor works best. It does the job quickly, with minimal mess, and the least amount of waste. It may not be traditional, but it’s the most effective.

I’m giving half the recipe here because it made 28, and I feel that’s a good number of confections to make. Of course, if you want to make a full batch, just double everything. But be careful with that milk!

Palline di Castagne

Chestnut Balls

Makes 28.

1 pound chestnuts
2½ tablespoons sugar
1 tablespoon bitter cocoa powder
2 tablespoons rum or Marsala wine
¼ cup whole milk

½ cup confectioners’ sugar

Using a paring knife, cut an “x” in the flat sides of the chestnuts, or cut a little flap in the top part of the chestnuts. Place the chestnuts in a medium pot and cover with water. Bring the pot to a boil; lower the heat and simmer until the chestnuts are tender, about 20 minutes. Drain the chestnuts and let them cool. When they’re cool enough to handle, peel them.Pulverize them either by passing them through a mesh sieve, grating them, or pulsing them in a food processor. Transfer the mixture to a medium bowl.Add the sugar, cocoa power, and rum or Marsala and stir. Begin adding the milk a little at a time just until the mixture holds together. Mix well.Spread the confectioners’ sugar out on a plate.

Take a tablespoon of the mixture and roll it into a ball. Make a few more and place them in the sugar. Roll them around to coat them fully and place them on a platter. Repeat with the remaining mixture.Arrange them on a plate and serve. You can make these a day or two ahead of time, but wait until the last minute to roll them in the sugar because the sugar will eventually melt.


Leave a comment

Cream Cheese-Peanut Butter Wafer Sandwiches

Dessert sandwiches are so much fun to eat. Proof of this is the popularity of ice cream sandwiches, for which the wafers I use here were intended. The wafers are like ice cream cones, only flat. However, you can use them in many different ways.

I decided to try an unusual combination of cream cheese and peanut butter for the filling. It’s extremely easy and delicious, if not low-calorie. While I used regular, dairy cream cheese, you can substitute vegan cream cheese. And if peanuts are a problem for you, substitute almond or cashew butter. Adults and kids alike will love this.

Enjoy!

Cream Cheese-Peanut Butter Wafer Sandwiches

Makes 3 sandwiches.

8 oz. cream cheese, room temperature
½ cup peanut butter (or almond or cashew butter)
2 tablespoons maple sugar
8 oz. chocolate, melted
6 (5-inch) wafers
3 tablespoons coarsely chopped pistachios

With an electric mixer, cream together the cream cheese, peanut butter, and maple sugar until well blended. Set aside.In a double boiler or non-aluminum bowl set over a small pot, melt the chocolate over simmering water.Set a wafer on a flat surface.

Spread ½ cup of the cream cheese filling over it. Top it with another wafer. Repeat this twice.Drizzle chocolate over each sandwich, then top each with a tablespoon of the pistachios.


Leave a comment

Chocolate-Covered Strawberries

What is it about chocolate-covered strawberries that makes them the perfect St. Valentine’s Day delicacy?

Chocolate is the perfect treat for any special occasion, because it, itself, is special. But it’s particularly popular for Valentine’s Day because, as you may know, it’s an aphrodisiac.

You can cover many things in chocolate but why strawberries? Well, just look at them. They’re red (which represents love and passion), they’re sweet, and they’re luscious-looking.

And, finally, the combination is so incredibly delicious and decadent.

And they’re not as fattening as you might think. If you use dark chocolate, it’s only 57 calories for half an ounce of chocolate and one large strawberry (not including toppings).

Best of all, they’re not as difficult to make as they might seem. In fact, apart from any toppings you put on them, the recipe requires only two ingredients…wait for it…can you guess? Strawberries and chocolate!

Make some for your sweetie, or anyone you care about. Happy Valentine’s Day!

Chocolate-Covered Strawberries

12 large strawberries
4 oz. good-quality dark chocolate
Colored sugar, chopped nuts, or decorating items (crushed candy, jimmies, sprinkles, crushed white chocolate, etc.), optional

Line a sheet pan with wax or parchment paper and set aside. (I used a cooling rack as well, but it isn’t necessary.)

Wash the strawberries (preferably using a vegetable wash), and set them on a towel. Pat them gently to absorb excess water, then let them sit to fully dry. Do not remove the husks.

Place the chocolate in the top part of a double boiler (or in a non-aluminum bowl set over a pot). Bring an inch or 2 of water to a boil in the bottom pot, then lower the heat to a simmer. Place the chocolate over the simmering water and let it melt. Stir it gently once in a while. When the chocolate has all melted, give it a gentle stir and turn off the heat.

Using the husks to help you, dip a strawberry into the chocolate and rotate it to cover it all. Let the excess chocolate drip off back into the pot. Rest the strawberry on the wax or parchment paper. Coat a few more strawberries and decorate them (before the chocolate hardens). Continue coating and decorating the rest of the strawberries.

Store tightly sealed in the refrigerator up to 3 days.

Happy Valentine’s Day!


3 Comments

Wheat-Free Carrot Cake

IMG_5598This is one of those recipes that I made spur of the moment but, luckily, turned out well. So, I needed a quick dessert to make for a lunch at my parents’ house. We were having a guest who is gluten-free and I wanted to make sure there would be dessert for her.

There’s nothing easier than carrot cake. I love carrot cake. It’s not only flavorful and delicious, but it’s also very difficult to do badly. I mean, I’ve had great carrot cake, good carrot cake, and so-so carrot cake, but I don’t recall ever having terrible carrot cake.

That’s probably because it would take a deliberate effort to make a terrible carrot cake. There’s no creaming of butter, no whipping of egg whites, no adding of things in additions, or layering of ingredients. Aside from whisking together the dry ingredients first, everything gets mixed together. (And, quite honestly, you probably don’t even really need to mix the dry ingredients. I just recommend it to ensure that you get no lumps.)

I call this cake “wheat free” and not “gluten free” because it calls for spelt flour. I didn’t want to use all chickpea flour because I didn’t want it to be too heavy or dense or taste to “beany.” Spelt is related to wheat, so it’s the non-wheat flour that is closest to it in chemistry, flavor, and behavior. However, because it’s related to wheat, people who have Celiac disease can’t digest it. People who have a gluten/wheat intolerance, on the other hand, can usually consume it without negative consequences.

I (and everyone else) was pleasantly surprised at how light and moist this cake came out. It has a somewhat unusual flavor because of the chickpea flour but not a bad one. Just different. I hope you like it.

Wheat-Free Carrot Cake

1 cup chickpea flour
¼ cup spelt flour
½ cup coconut (palm) or date sugar
1 teaspoon ground cinnamon
½ teaspoon ground nutmeg
½ teaspoon baking powder
½ teaspoon salt
2 cups shredded carrots
2 medium eggs, lightly beaten
½ teaspoon vanilla extract
½ cup applesauce
¼ cup water

Frosting:
1 (8-ounce) package cream cheese, at room temperature
½ cup confectioner’s sugar
1 tablespoon grated orange zest

Preheat the oven to 350 degrees F. Grease an 8- or 9-inch square baking pan or line it with parchment paper.

In a medium bowl, whisk together the flours, sugar, cinnamon, nutmeg, baking powder, and salt.

Stir in the carrots, eggs, vanilla, applesauce, and water with a wooden spoon or rubber spatula. Transfer the batter to the prepared pan and bake until a toothpick inserted into the center comes out clean, about 30 to 40 minutes.

Transfer to a cooling rack and let it cool completely.

Make the frosting: With an electric mixer, cream together the cream cheese, sugar, and zest until smooth.

Remove the cake from the pan. Invert the cake, then invert it again on a serving plate. If you used parchment, peel it off gently. Spread the frosting evenly on the top and sides. Serve.

IMG_5603

(For the cake in the photo, I chose to use a simpler confectioners’ sugar icing and coconut flakes. Mix 1 cup confectioners’ sugar with a tablespoon of water. Mix until smooth, adding a tiny bit more water at a time, as needed. Spread over the cake, then sprinkle on 1/2 cup unsweetened coconut flakes.)


5 Comments

Coconut Rice-Cake Pudding

IMG_5017What is rice-cake pudding? you ask. I’m going to tell you.

I recently found in an Asian market another product that I had never seen before: rice cakes. Not the round disks of puffed rice that dieters have been munching on for decades, but flattened oval, kind of paddle-shaped, disks made from pounded sticky rice. Of course, I bought some.IMG_4999I had absolutely no idea at the time what I was supposed to do with these, so I looked around a bit. I saw a few recipes where the rice cakes are sautéed or stir fried with other vegetables, and that’s something that I’m going to try. But according to the package, they can be fried for a popped rick cake snack, to which you can add “highly tasteful or plain ingredients” for “indeed a favourable dish either for entertainment or for home meal.”IMG_5001Well, how could I not give it a try? I fried a small batch in oil and, as you can see in the photo below, they do puff up. I fried them until they were golden brown, at which point they are quite crisp but hard. Not unpleasantly hard—some people like that, including me. The ones that were more lightly fried had a flakier texture. A sprinkle of sea salt over the top and that was it.

So there you have it for fried rice cakes—a lighter fry for flaky/crispy, a longer fry for crunchy/crispy. (Make sure you dry the rice cakes before putting them in the oil. See note below about soaking.)IMG_5007But what I really wanted to try was rice pudding. Would it taste or be anything like regular rice pudding? I made mine with coconut milk and I can honestly say that it came out pretty darn good. What made it truly different from regular rice pudding, though, was the texture. Because the rice is in the form of these paddles that retain their shape, you have something that requires chewing, not just a mashing, as with regular rice pudding. I’m very much about texture where food is concerned, so I enjoyed this more than I normally enjoy rice pudding (never one of my favorite desserts).

If rice pudding is not usually your thing, whether because of the texture or because it’s a “milky” dish (another reason why I don’t usually care for it), try my recipe below. You might just like it.

So this is my coconut rice-cake pudding. It’s vegan, gluten free, and dairy free. Give it a go, and let me know what you think. Enjoy!

Coconut Rice-Cake Pudding

Note that the rice cakes have to soak in water a minimum of 12 hours or overnight before using them in any recipe.

Makes 2 servings.

2 ounces (about 2 cups) rice cakes
1 cinnamon stick
2 cups coconut milk
½ cup coconut water or plain water
¼- 1/3 cup sugar (based on your sweetness preference)
½ teaspoon kosher salt
½ teaspoon vanilla extract
Garnish: Cinnamon and coconut flakes

Place the rice cakes in a bowl with enough water to cover by about an inch for a small amount or 2 inches for an entire bag. Cover and let soak in refrigerator at least 12 hours or overnight.

IMG_5003

Rice cakes after soaking overnight

Drain the rice cakes and place them, along with the cinnamon stick, in a medium saucepan with water to cover. Bring to a boil; lower the heat to low and simmer 5 minutes.IMG_5012Drain and return the rice cakes and cinnamon to the pot. Add the coconut milk, coconut water, sugar, salt, and vanilla. Bring to a boil; lower heat to low and simmer, partially covered, until thick and creamy, about 45 to 55 minutes. Stir frequently, especially in the last 15 minutes of cooking.

Divide the pudding between 2 pudding dishes and garnish with cinnamon and/or coconut flakes.

(I left my pudding unadorned in the photos so that you can see how the rice cakes retained their shape.)IMG_5024


Leave a comment

Gluten-Free Lemon-Poppy Berry-Topped Cake

IMG_4573

On this deep-in-winter February day, I’d like to offer a recipe for a gluten-free cake that is really easy to make and very versatile. The batter doesn’t rise much, which makes it a great vehicle for all kinds of toppings.

I like it because it’s not overly sweet and it can be paired with lots of different things. Instead of berries, you can top it with lemon curd or orange marmalade, or buttercream frosting. You can put the batter into 4 small loaf pans for individual desserts. You can also substitute the lemon zest and juice with orange or other citrus. And with the exception of 1 egg, it’s also dairy free, so for those of you who are lactose intolerant, it’s a great choice.

Enjoy!

Gluten-Free Lemon-Poppy Berry-Topped Cake

Makes 1 8-inch cake.¼ cup sorghum flour

¼ cup chickpea flour
2 tablespoons tapioca flour
2 teaspoons baking powder
1 teaspoon baking soda
Pinch sea salt
2 teaspoons lemon zest
2 tablespoons poppy seeds
1 large egg
¼ cup plus 2 tablespoons maple crystals or coconut sugar
¼ cup plain yogurt
1 tablespoon melted coconut oil
2 tablespoons fresh lemon juice
2 cups fresh berries
2 tablespoons confectioners’ sugar (optional)

Preheat oven to 350 degrees. Grease an 8-inch cake springform pan.

In a medium bowl, whisk together flours, baking powder, baking soda, salt, zest, and poppy seed.

In another medium bowl, whisk egg, sugar, yogurt, oil, and lemon juice. Fold in dry ingredients, just until all ingredients are moistened.

Bake about 25 to 30 minutes, or until a toothpick inserted in center comes out clean. Transfer to a wire rack and let cool 5 minutes. Remove ring. Invert onto a plate, remove pan plate, then invert again back onto rack. Let cool completely.

Transfer to a plate. Decorate with berries and dust with confectioners’ sugar, if desired. (The best way to do this is to put sugar in a fine mesh sieve set over a bowl. Then shake the sieve gently over the cake.)

IMAG2572


Leave a comment

The Dark Mistress of Valentine’s Day…and Pudding Hearts

IMG_4491

It’s kind of fascinating how you can point to any holiday on the calendar at any time of the year and, invariably, there will be food associated with that holiday. And if it’s not about the things you should eat, then it’s the things you should not eat. Or, it’s that you should not eat at all (as in fasting).

Personally, I think holidays are just excuses for eating lots of delicious things that we normally stay away from, or otherwise berate ourselves for indulging in when there’s no holiday to make it permissible.

Photo: André Karwath

Photo: André Karwath

St. Valentine’s Day is no exception. The number one food for V-Day, of course, is chocolate. What would this lovers’ holiday be without the sweet, dark mistress of passion? And a mistress she is—when she calls you, you come running, even if you have to jump hurdles to get to her. She seduces you with her aroma and her flavor, and when you get a taste of her, you savor her, letting her linger on your palate. And once she whips you into submission, she makes you beg for more. There’s a reason why the Aztecs called it the food of the gods.Choco Story Museum in Bruges Belgium (9)

Continue reading