Miz Chef

Cooking Up a Healthy Life


Leave a comment

Riso con la Zucca

Emilia-Romagna

Welcome back to my Regions Italy project, based on La Cucina—The Regional Cooking of Italy by Accademia Italiana della Cucina (The Italian Academy of Cuisine). This is another stop in Emilia-Romagna, which, as I said last time, is in northern Italy. In the northern part of the country, they use rice a lot in their cuisines (pasta is more popular in the south). In fact, risotto was born in Milan, which a major city in the north (but not Emilia-Romagna). So, this time around, I offer you Riso con la Zucca, or Rice with Squash.

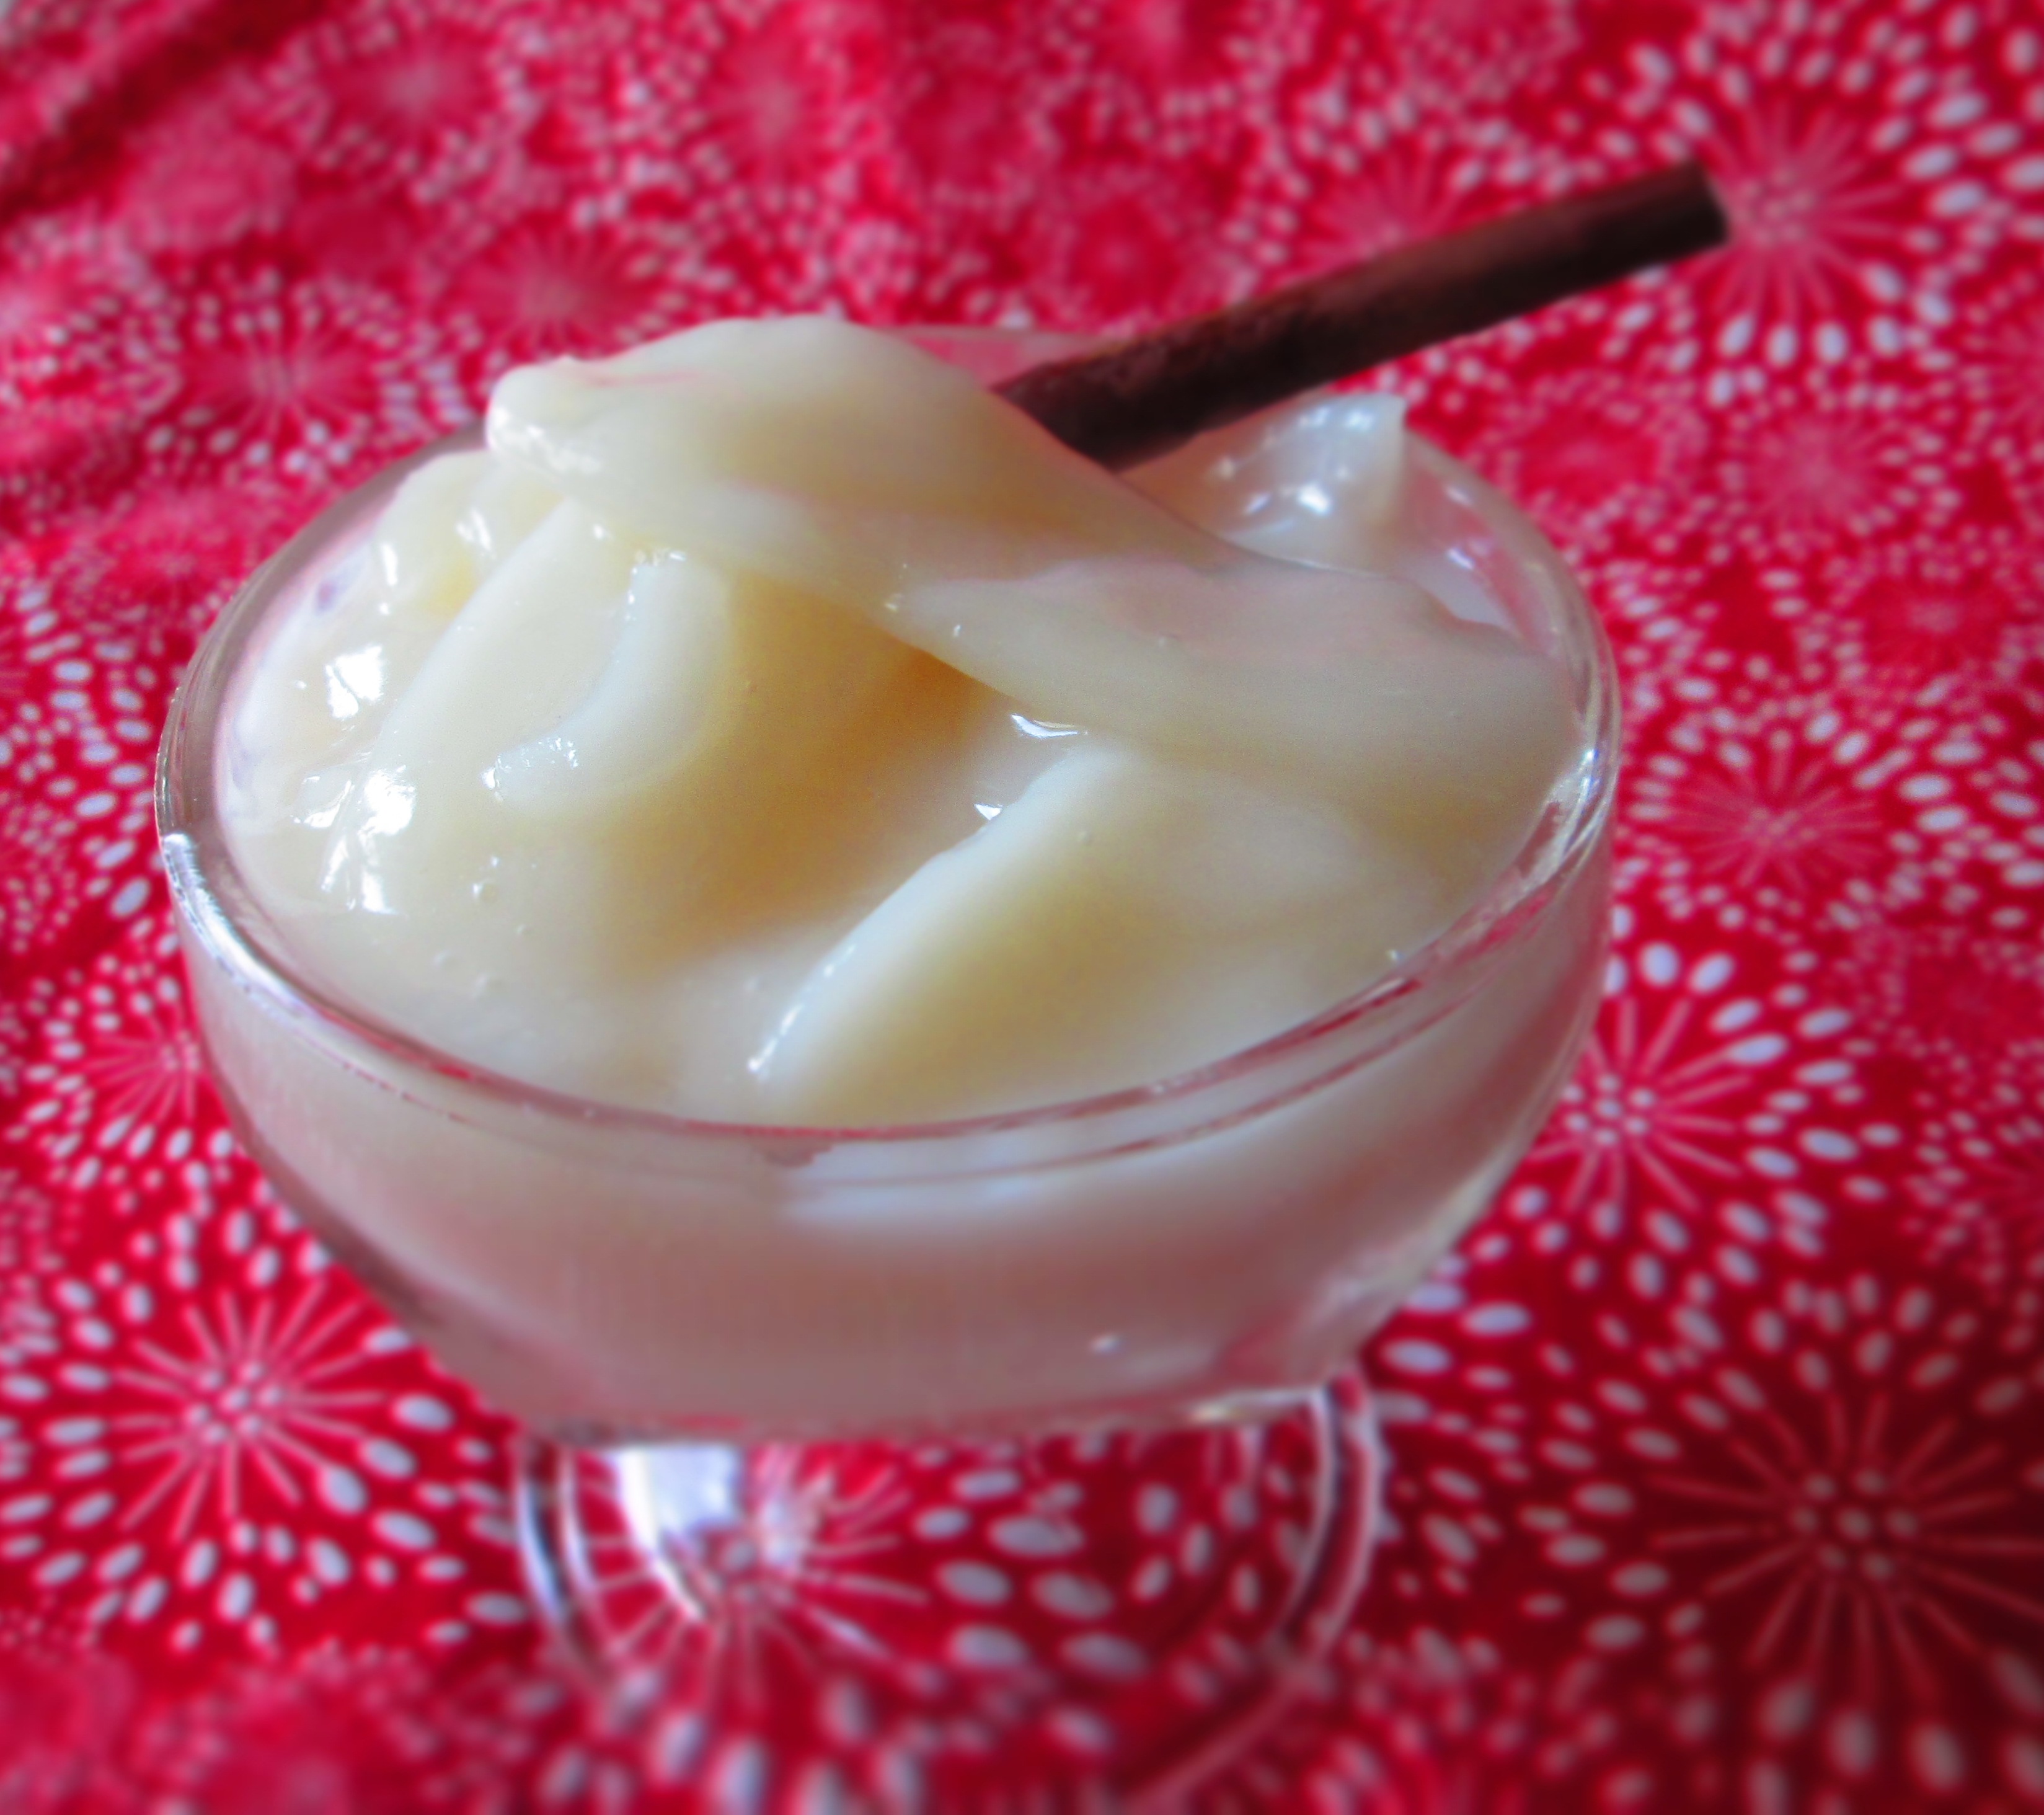
On the face of it, this recipe is squash risotto, which is not an usual recipe. I’ve made butternut squash risotto. You’ve probably made butternut squash risotto. But what makes this recipe different from typical risottos is that rather than using broth, it calls for milk. And instead of adding the liquid a little at a time, it’s added all at once.

The result is a thick, hearty dish. Personally I prefer traditional risotto (made with broth), but this was nice for a change of pace. And I get the feeling that this particular risotto will go over well with kids. The recipe is straightforward and pretty simple, so there’s nothing really to explain…except maybe one thing.

The instructions say to cook the rice until it’s all’onda. Since this term is not as ubiquitous as al dente, you may not be familiar with it. Onda means “wave,” so something cooked all’onda is “wavy.” When you tilt the pan, the rice should ripple like waves in the ocean. What that essentially means is that it’s creamy—moist but not liquidy.

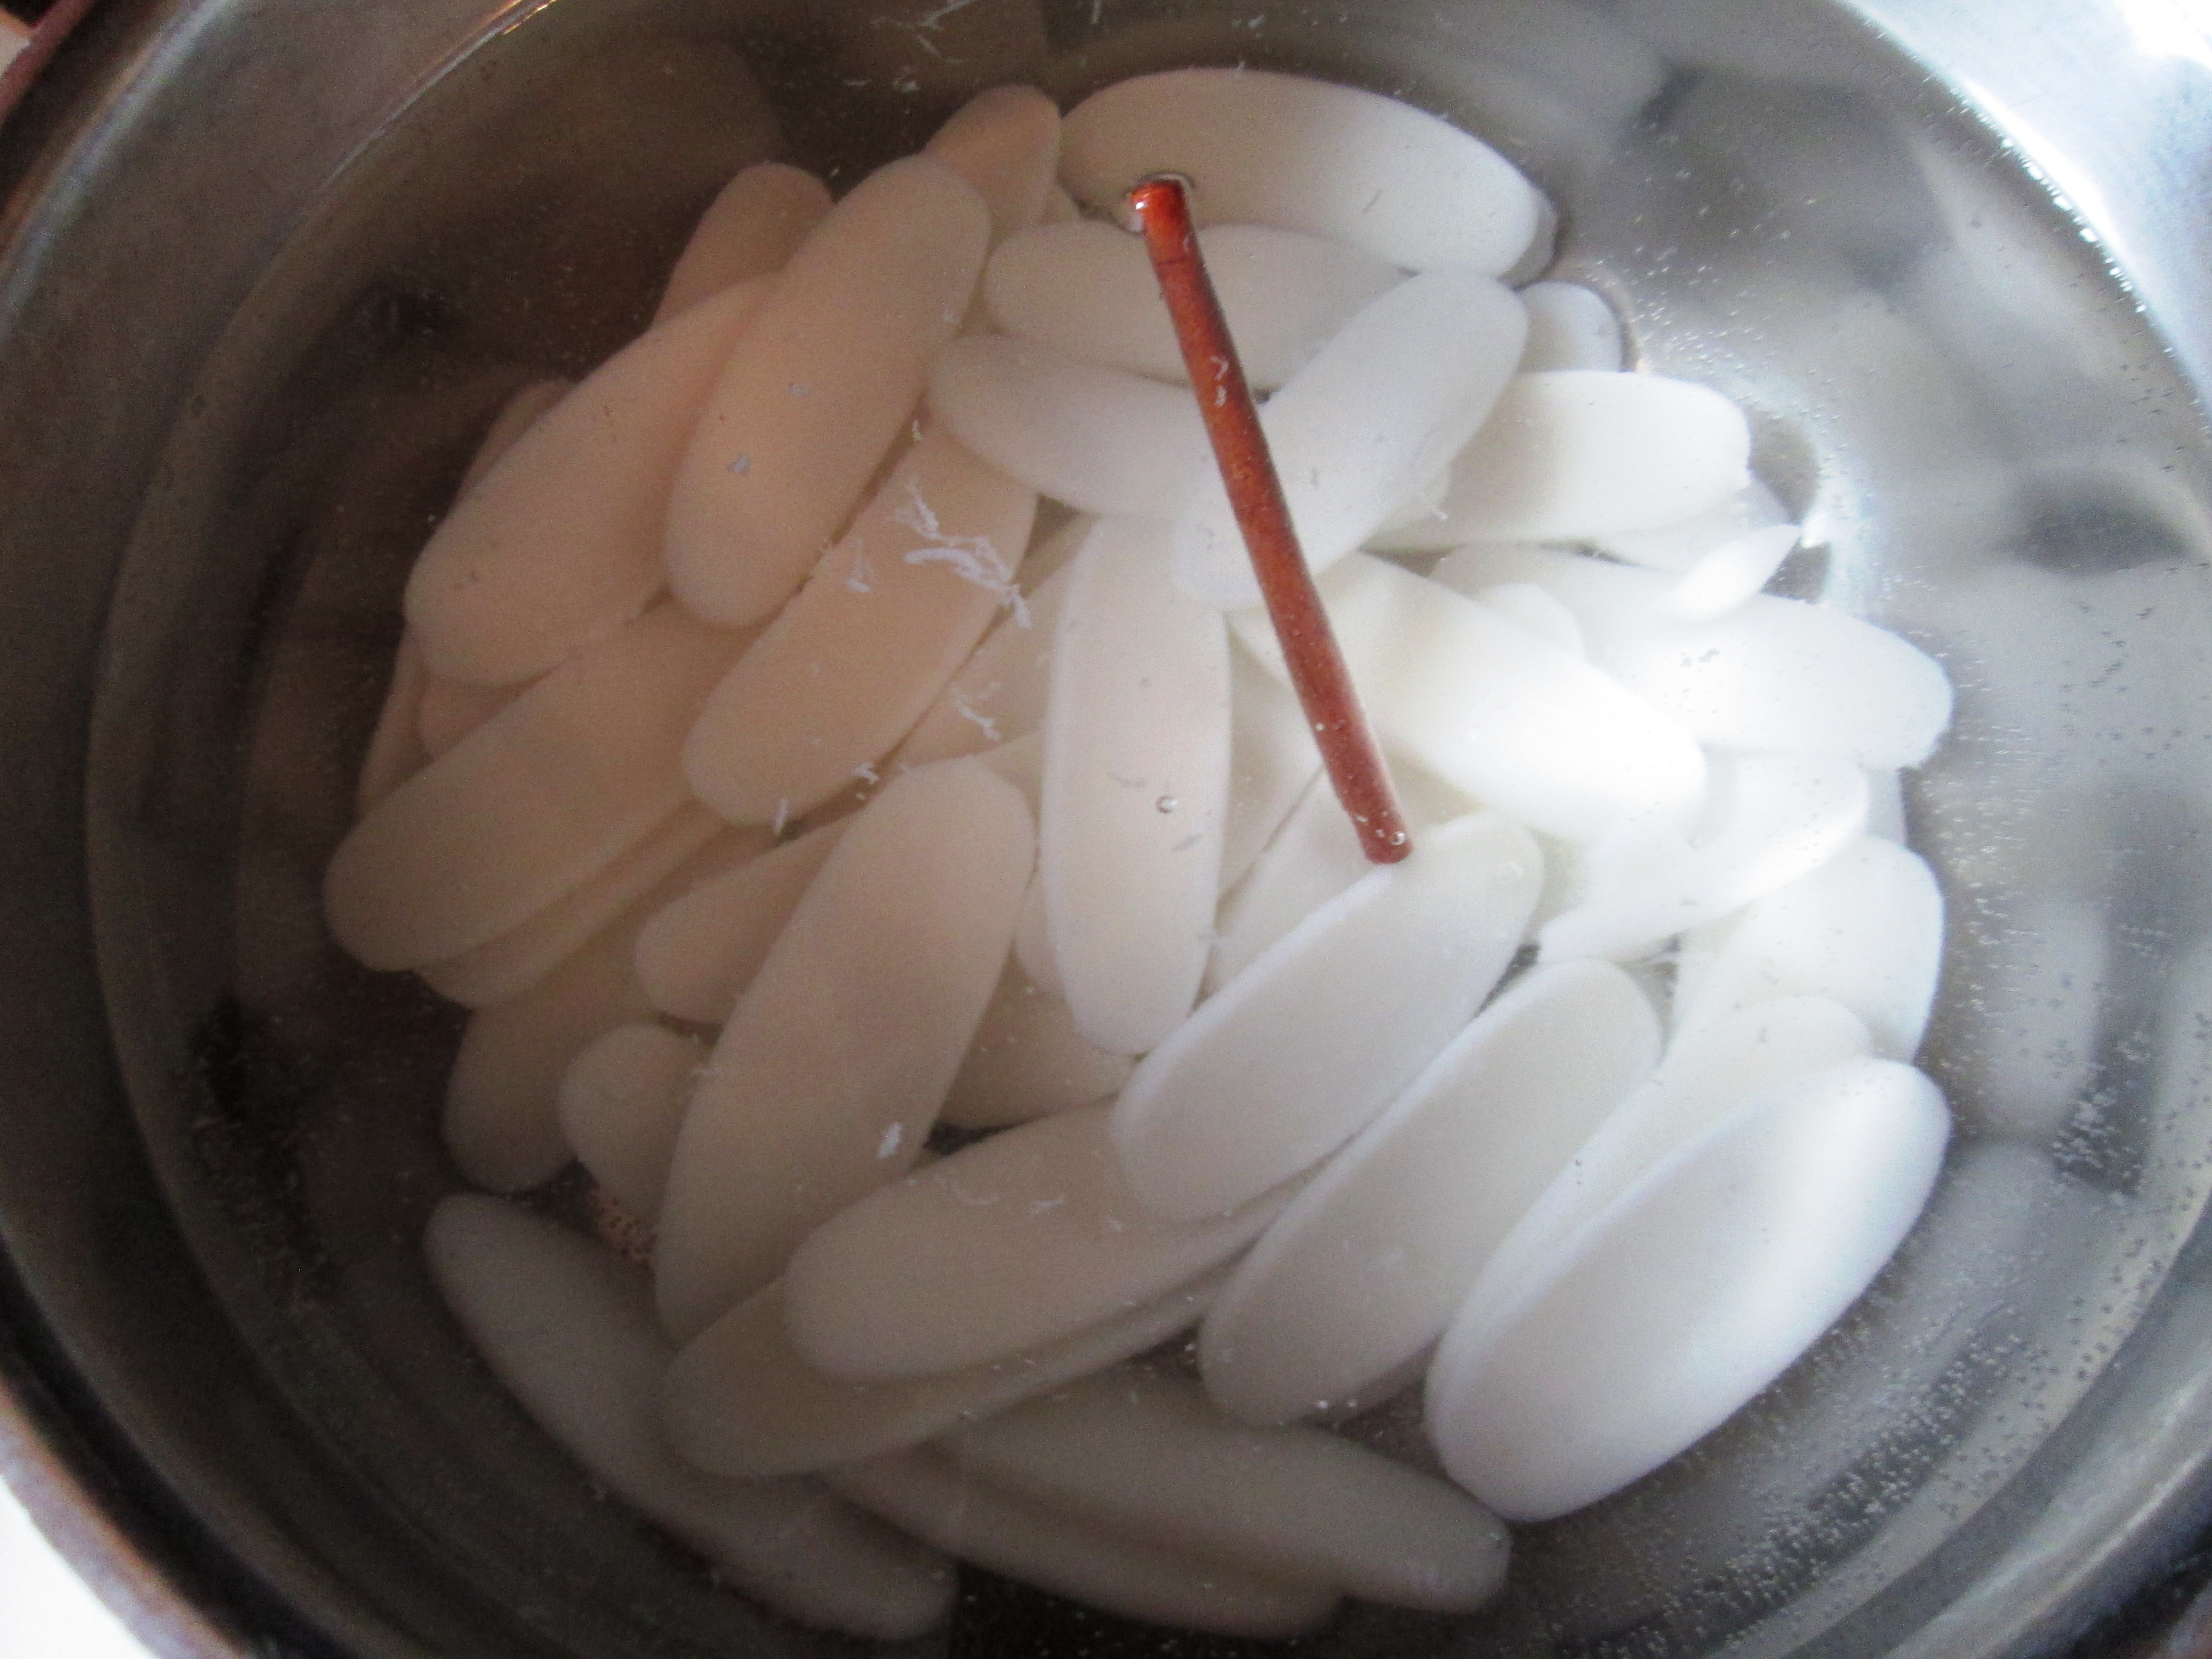
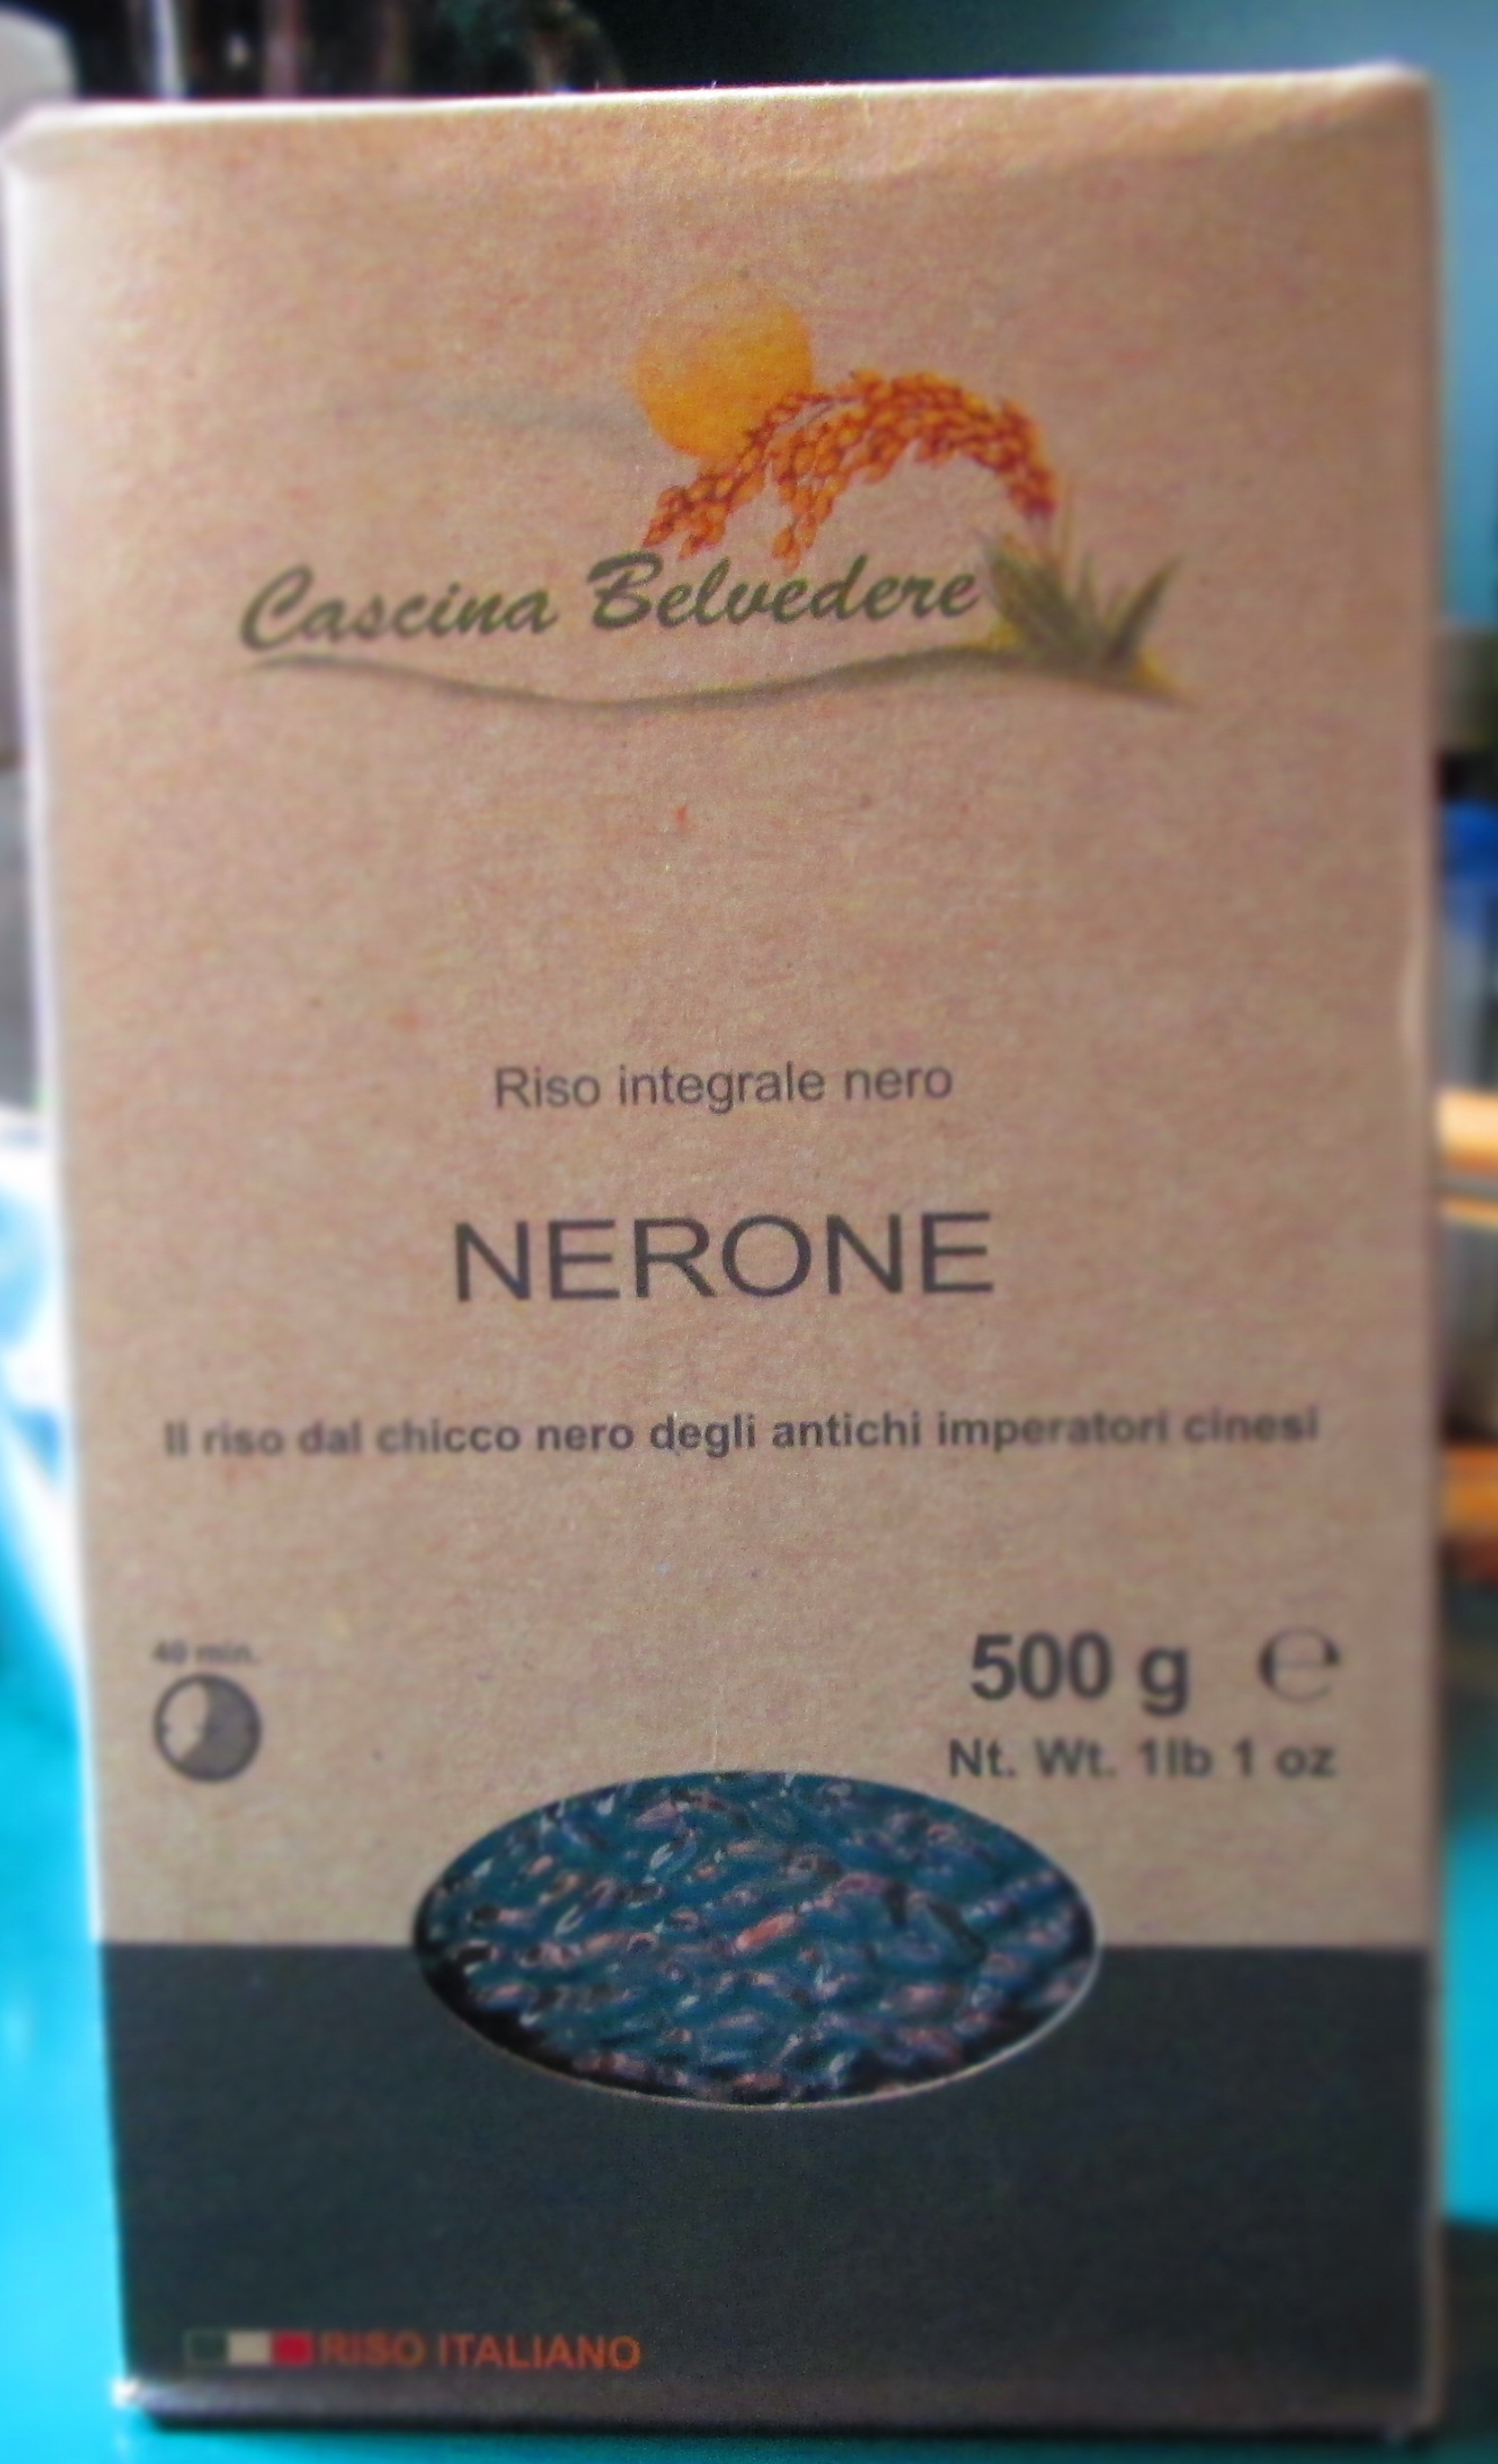
You can use any type of hard winter squash, including butternut, kabocha, sweet dumpling, pumpkin, etc. Regarding the rice, it specifically calls for Carnaroli, which is a short-grained rice. I’m not sure why they call for that specific strain of rice, but if you can’t find it, you can substitute Arborio, Vialone Nano, or even sushi rice. The recipe calls for a tablespoon of sugar. I don’t really think it’s necessary because winter squash is sweet on its own, but it’s up to you if you want to include it or not.

Riso con la Zucca

Rice with Squash

Makes 6 servings

6 tablespoons unsalted butter
1 small onion, minced
2¼ pounds winter squash (butternut, kabocha, etc.), peeled, seeded, coarsely chopped
3 teaspoons kosher salt, plus extra
1 tablespoon sugar
6 cups milk
1½ cups Carnaroli rice
¼ cup grated Parmigiano-Reggiano
Freshly ground black pepper to taste

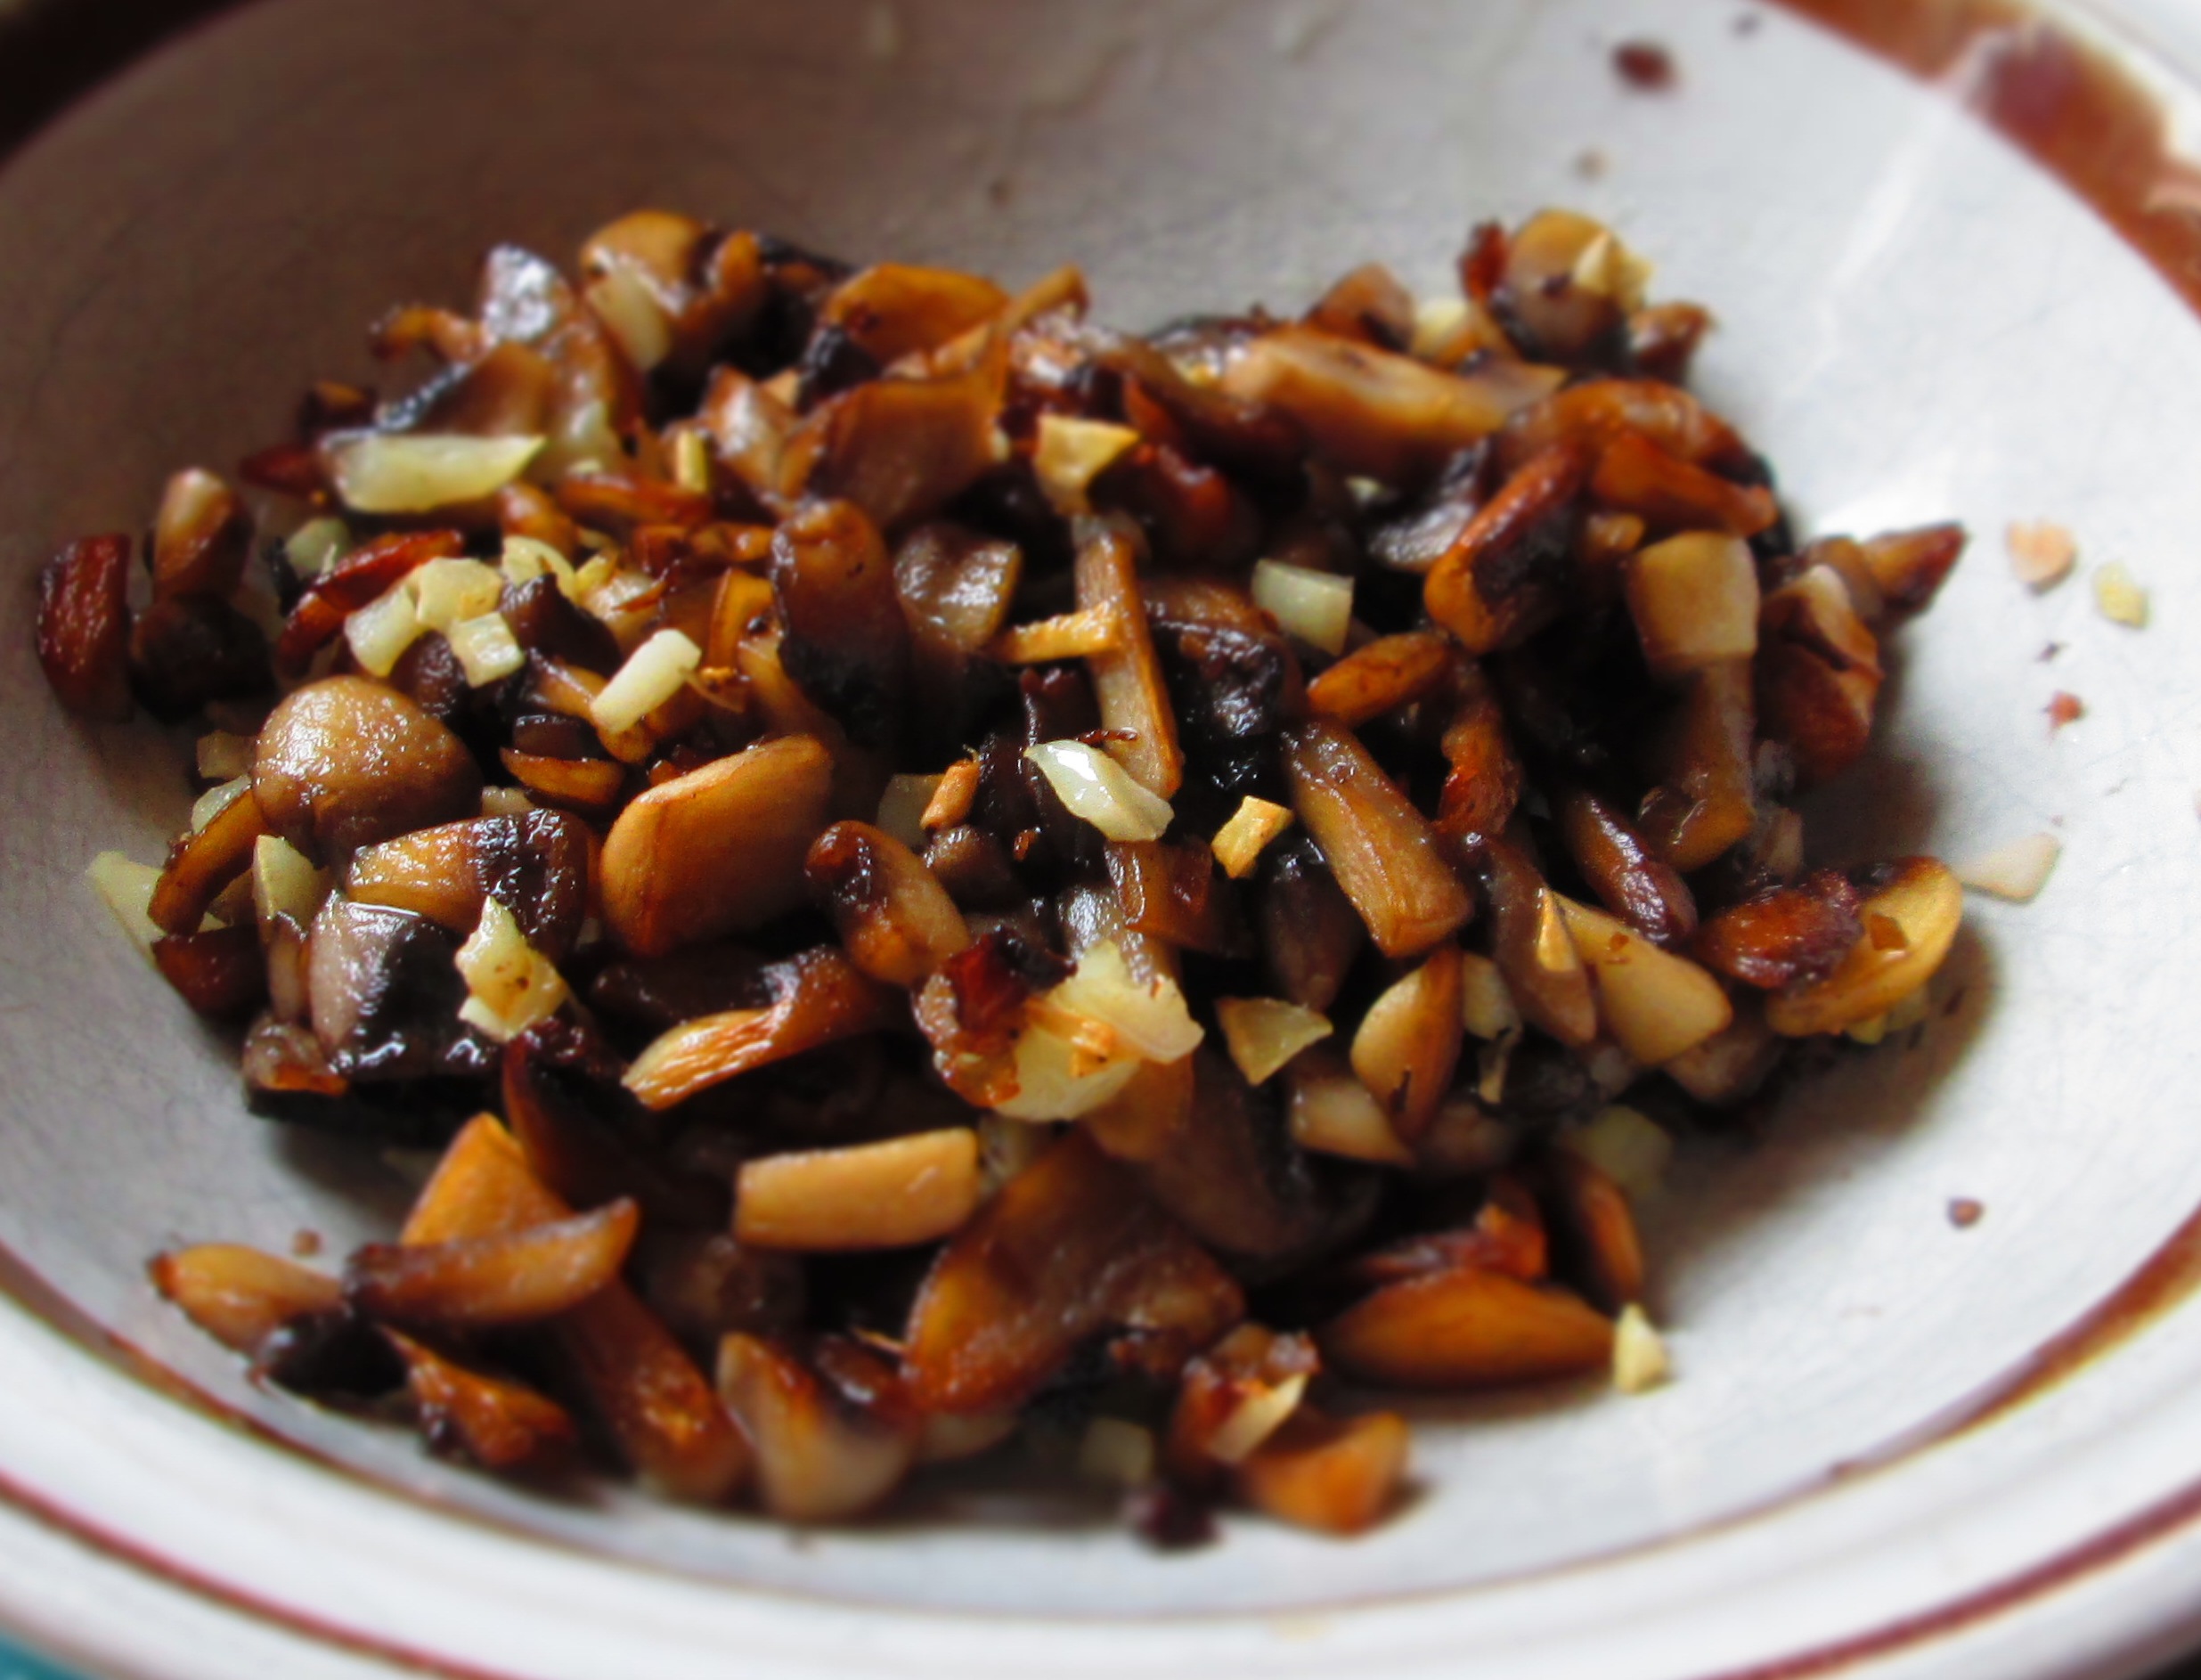
Melt 4 tablespoons of the butter in a large saucepan. Add the onion and sauté until it’s soft and translucent, about 3 to 4 minutes.Add the squash, 3 teaspoons salt, and sugar. Mix and cook, stirring occasionally over medium-low heat until the squash “cooks to a puree.” (Note: the squash will not break down into a puree on its own. Basically, you want it soft enough so that when you stir it, it falls apart.) Stir the squash around and break it up, but don’t mash it; you want it somewhat chunky. This should take about 20 to 25 minutes.

Pour in the milk and bring it to a boil. The moment it comes to a boil, add the rice and stir. Cook over low heat, partially covered, until the liquid has been mostly absorbed and the rice is creamy and smooth. If the liquid is absorbed and the rice is still not fully cooked, add water, a little at a time, until it is cooked.Turn off the heat. Stir in the Parmigiano-Reggiano, black pepper, and the remaining butter (optional). Taste for salt and add more if necessary. Serve immediately.

The rice will thicken as it cools and will become stiff. To heat up leftovers, stir in some water to loosen it up.

Advertisement


5 Comments

Coconut Rice-Cake Pudding

IMG_5017What is rice-cake pudding? you ask. I’m going to tell you.

I recently found in an Asian market another product that I had never seen before: rice cakes. Not the round disks of puffed rice that dieters have been munching on for decades, but flattened oval, kind of paddle-shaped, disks made from pounded sticky rice. Of course, I bought some.IMG_4999I had absolutely no idea at the time what I was supposed to do with these, so I looked around a bit. I saw a few recipes where the rice cakes are sautéed or stir fried with other vegetables, and that’s something that I’m going to try. But according to the package, they can be fried for a popped rick cake snack, to which you can add “highly tasteful or plain ingredients” for “indeed a favourable dish either for entertainment or for home meal.”IMG_5001Well, how could I not give it a try? I fried a small batch in oil and, as you can see in the photo below, they do puff up. I fried them until they were golden brown, at which point they are quite crisp but hard. Not unpleasantly hard—some people like that, including me. The ones that were more lightly fried had a flakier texture. A sprinkle of sea salt over the top and that was it.

So there you have it for fried rice cakes—a lighter fry for flaky/crispy, a longer fry for crunchy/crispy. (Make sure you dry the rice cakes before putting them in the oil. See note below about soaking.)IMG_5007But what I really wanted to try was rice pudding. Would it taste or be anything like regular rice pudding? I made mine with coconut milk and I can honestly say that it came out pretty darn good. What made it truly different from regular rice pudding, though, was the texture. Because the rice is in the form of these paddles that retain their shape, you have something that requires chewing, not just a mashing, as with regular rice pudding. I’m very much about texture where food is concerned, so I enjoyed this more than I normally enjoy rice pudding (never one of my favorite desserts).

If rice pudding is not usually your thing, whether because of the texture or because it’s a “milky” dish (another reason why I don’t usually care for it), try my recipe below. You might just like it.

So this is my coconut rice-cake pudding. It’s vegan, gluten free, and dairy free. Give it a go, and let me know what you think. Enjoy!

Coconut Rice-Cake Pudding

Note that the rice cakes have to soak in water a minimum of 12 hours or overnight before using them in any recipe.

Makes 2 servings.

2 ounces (about 2 cups) rice cakes
1 cinnamon stick
2 cups coconut milk
½ cup coconut water or plain water
¼- 1/3 cup sugar (based on your sweetness preference)
½ teaspoon kosher salt
½ teaspoon vanilla extract
Garnish: Cinnamon and coconut flakes

Place the rice cakes in a bowl with enough water to cover by about an inch for a small amount or 2 inches for an entire bag. Cover and let soak in refrigerator at least 12 hours or overnight.

IMG_5003

Rice cakes after soaking overnight

Drain the rice cakes and place them, along with the cinnamon stick, in a medium saucepan with water to cover. Bring to a boil; lower the heat to low and simmer 5 minutes.IMG_5012Drain and return the rice cakes and cinnamon to the pot. Add the coconut milk, coconut water, sugar, salt, and vanilla. Bring to a boil; lower heat to low and simmer, partially covered, until thick and creamy, about 45 to 55 minutes. Stir frequently, especially in the last 15 minutes of cooking.

Divide the pudding between 2 pudding dishes and garnish with cinnamon and/or coconut flakes.

(I left my pudding unadorned in the photos so that you can see how the rice cakes retained their shape.)IMG_5024


1 Comment

Black Rice Risotto


IMG_3250 A while back, I was in Eataly in Soho and picked up a box of Italian black rice. I was a bit surprised to see it on the shelf because the only black rice I’d ever seen—as far as Italian cuisine is concerned—was risotto that had been cooked with squid ink. I was too intrigued not to buy it.IMG_3249

Black rice was first cultivated in China, but is currently cultivated in other parts of Asia and Southeast Asia, as well as in Italy near the Po River (hence its appearance in Eataly). Black rice is often called “forbidden rice” because, according to legend, it was so rare, nutritious, and precious, only the Chinese Emperor was allowed to eat it.

Black rice is a whole grain that contains anthocyanins,  antioxidants found in purple, blue, and red produce, such as blueberries, cranberries, grapes, red cabbage, blackberries, acai, and others. This anti-cancer agent has also been linked to decreased risk of heart disease, increased memory function, and lower blood pressure. It also helps with urinary tract infections and has antibacterial and antiviral properties.

There are different types of black rice, some short-grained, some medium-grained. Black sticky Thai rice (sometimes called sweet sticky Thai rice) is short-grained and glutinous, which is what makes it sticky (akin to Arborio rice, used to make risotto). The one I picked up is medium-grained and although short-grain rice is usually used for risotto, I wanted to try and make a black rice risotto this medium-grain variety.

Black rice, also known as japonica rice, is firm and chewy and takes a bit longer to cook than regular rice. So my dish ended up being sort of a cross between risotto and paella. I began by adding broth a half-cup at a time, as if making risotto, to coax out the starch; then I dumped all of the remaining broth in, as when making paella, to get it cooked through.

I started out browning mushrooms in a cast iron skillet and decided to just keep using it to make my risotto rather than switch to a more traditional pot. A cast iron skillet is a great cooking vessel, but I soon realized it’s not so great for photography purposes. Not when cooking black rice, anyway. You can choose to sauté the mushrooms in a skillet and start the risotto in a sauce pot, if you prefer.

The end result was not quite as creamy as a risotto should be but was quite tasty. One thing you should know is anything you cook with black rice will turn black. The only way to have that not happen is to cook the rice separately, as you would any other rice, then mix in other ingredients. This is also why it doesn’t matter whether you use red or white wine, except where personal taste is concerned.

As for the herbs, I used what I had in my garden, which was basil, savory, and sage. Feel free to use any herbs you like, or none at all.

By the way, if you ever see “black pasta” on a menu, that still means that it was made with squid ink.

Black rice is usually available in Asian markets, but make note of what the package says: If it says “sweet” or “glutinous” then it’s short-grain, which is fine, but it’s not japonica. I hope you can get some and that you try out this recipe. Enjoy!

IMG_3260

Black Rice Risotto with Peas and Mushrooms

12 oz. white mushrooms
¼ cup olive oil
2 teaspoons kosher salt
2½ cups vegetable broth
½ cup chopped red onion
¼ cup chopped red pepper
5 large garlic cloves, minced
1 cup black rice
½ cup red or white wine
1 cup frozen peas
Freshly ground black pepper
Herbs of your choice

Choose a few nice mushrooms, slice thinly, and set aside. Coarsely chop the rest.

Heat 2 tablespoons oil in a wide cast iron pan. Add mushrooms and a teaspoon kosher salt. Sauté over medium heat until mushrooms are nicely browned on both sides, about 15 minutes. Transfer to a bowl. Add reserved sliced mushrooms and gently sauté until browned on both sides. Transfer to a small bowl.

IMG_3262IMG_3266

Bring the broth to a boil in a small pot; lower the heat very low and keep it simmering.

Add another tablespoon oil to the pan and heat. Add onion; sauté over medium heat a couple of minutes until softened. Add red pepper and sauté until softened, about 5 minutes. Add garlic and 1 teaspoon salt and sauté another 2 minutes.

IMG_3268

Add rice and stir until all grains are coated with oil. Let rice toast for 2 or 3 minutes, stirring often.

IMG_3271

Stir 1/2 cup of broth and let it be absorbed; repeat with another ½ cup. Stir in the wine and let it be absorbed. Pour in the remaining broth; cover and lower the heat to medium-low. Cook until most of the liquid is absorbed. Mix in the chopped mushrooms and peas and continue cooking until all liquid is absorbed. If the rice is still not fully tender, add a little more broth or water. The rice should be firm and chewy. Season with salt and pepper and stir in herbs, if using.

IMG_3273

Transfer to a serving bowl and place browned sliced mushrooms on top.

Makes 4 small servings or 2 main dish servings.

IMG_3275