
What do you do when you have a birthday lunch or dinner to go to, and one of the people going has Celiac Disease and can’t have regular cake, but it’s 100 degrees F out and the thought of turning on the oven to bake a gluten-free cake makes you want to cry?
You make an ice cream cake.
Make an ice cream cake? Why not just buy an ice cream cake, you ask.
Well, let me explain it to you this way. I come from an Italian family. My father loves telling stories about how when he was a boy, he would go up into the mountains in his hometown in Italy and pick fresh chestnuts and eat them until he got sick, and how he remembers the cheeses and curing meats hanging in the kitchen of his family home. I have a mother whose idea of a simple meal consists of a minimum of six different dishes—for the second course, mind you—and for whom a “quick” sauce means opening up a jar of home-canned tomatoes. So, you see, buying a Shop Rite ice cream cake won’t do. Even Cookie Puss wouldn’t be able to charm his way onto my parents’ table.
Anyway, back to the cake. I drew the line at making the ice cream from scratch, so I went out and bought three different flavors: white chocolate raspberry truffle, coffee caramel, and pineapple coconut.
I also bought gluten-free cookies, which I crushed to put in between the layers. Each flavor of ice cream was different layer, with the cookies in between.
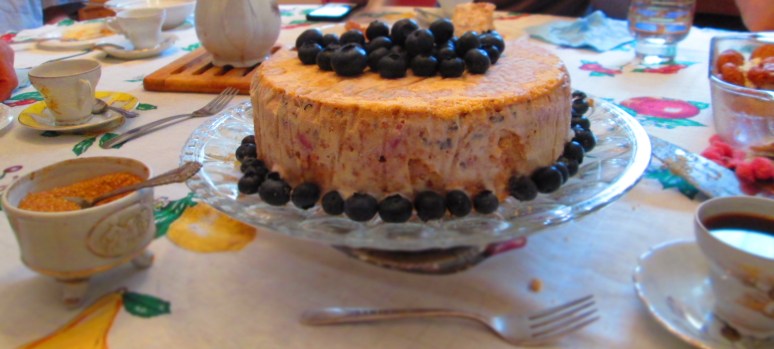
The end result was a very attractive and definitely delicious dessert that was simple to make and let the house stay unbaked in the middle of summer. Huge plus.
In the end, the cake was enjoyed by all. The three flavors of ice cream, offset by the texture of the cookies, really worked and made it a fun and elegant birthday dessert.
In the recipe I call for three different flavors of ice cream, 14 ounces each. One pint is 16 ounces, but the brand of ice cream that I purchased to make this dessert (Haagen Dazs) was only 14 ounces for each flavor. Since your favorite brands/flavors may not come in 14-ounce containers, just remove 2 ounces from one-pint containers.
Or, maybe you’re scooping some out of your favorite half-gallon tub of ice cream. Here are some measurements that might be helpful.
1 pint = 2 cups = 16 ounces = 480 milliliters
2 pints = 1 quart = 4 cups = 32 ounces = .95 liters
½ gallon = 2 quarts = 4 pints = 8 cups = 64 ounces
2 ounces = ¼ cup = 4 tablespoons = 60 milliliters
If you want to use an entire pint, then choose a larger pan. In my version, which calls for an 8-inch pan, the filling came all the way up to the top of the pan.

Triple-Flavor Ice Cream Cake with Gluten-Free Cookies
Makes 1 (8-inch) cake.
3 flavors ice cream, 14 oz. each (1 pint minus 2 ounces)
12 ounces gluten-free cookies
Berries or 1/2 cup melted chocolate (optional)
8-inch springform pan
parchment paper
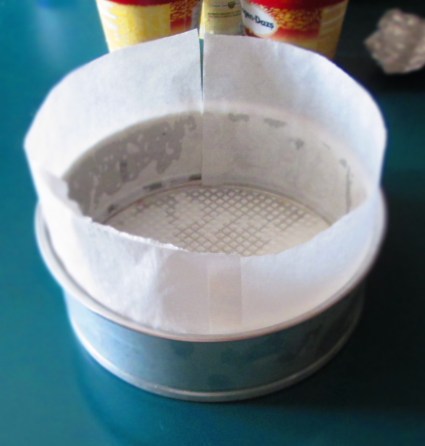
Line the bottom and sides of the springform pan with parchment paper. (Cut a circle out for the bottom, then strips for the sides.) Trim the excess flaps so that the paper reaches only the height of the pan (you won’t be able to easily spread the ice cream otherwise). Place the pan in the freezer while you prepare the rest of the recipe.
Take the ice cream out of the freezer and let them sit at room temperature until soft enough to spread, but not liquid. (To ensure even spreadability, you can dump each flavor into a separate bowl and stir it with a wooden so that all the ice cream in the bowl is the same consistency.) Depending on the heat of your kitchen, this could take anywhere from 15 to 30 minutes.
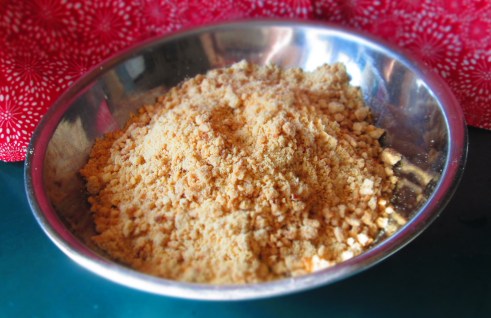
Meanwhile, place the the cookies in a sturdy large plastic baggie. Using a mallet or rolling pin, crush the cookies into fine crumbs. Some larger pieces are okay (and yummy, in fact). Transfer to a medium bowl for easier access.
When the ice cream is spreadable, take the pan out of the freezer. Spread one quarter of the cookies evenly across the bottom of the pan.

Spoon the first ice cream flavor around the bottom. Use an offset or rubber spatula to spread it evenly over the crumbs.
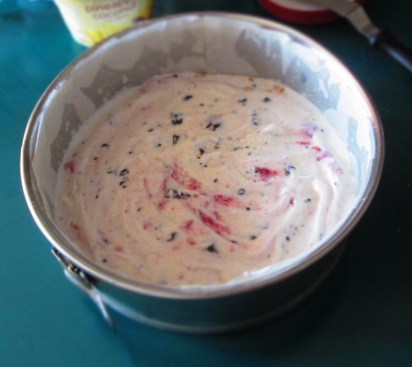
Spread another layer of cookies crumbs (another quarter) over the ice cream. Then repeat the ice cream and cookie crumb layers, ending with cookie crumbs on top.
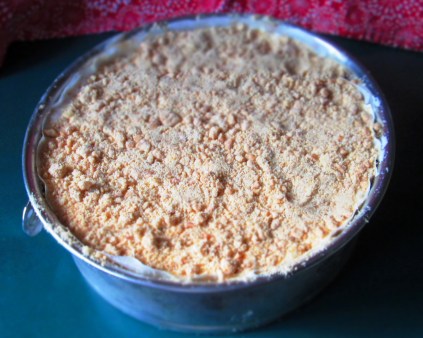
Place a piece of parchment or wax paper over the top, then seal it with a piece of aluminum foil.
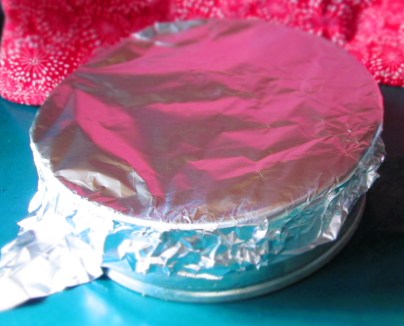
Place it in the freezer until it sets, minimum one hour. To serve, remove foil and paper and run a sharp knife around the edges. Invert the pan onto a serving dish, unlock the springform pan, and remove the ring. (If it’s frozen in place, rub the bottom and sides with a hand towel to warm it up.) Lift off the bottom plate and peel off the parchment from the bottom and sides.
Decorate the top with berries, melted chocolate, or other decorations. Slice into it and enjoy!

