So, tomorrow is St. Patrick’s Day and green is the official black for that holiday. The food world, too, suddenly turns green. We see green bagels, green cake, and even green beer. But if all of that turns you green, here’s a recipe that keeps that particular tradition going but is a lot better for you and is gorgeously green naturally.
Happy St. Patrick’s Day, and may the Luck o’ the Irish be with you!
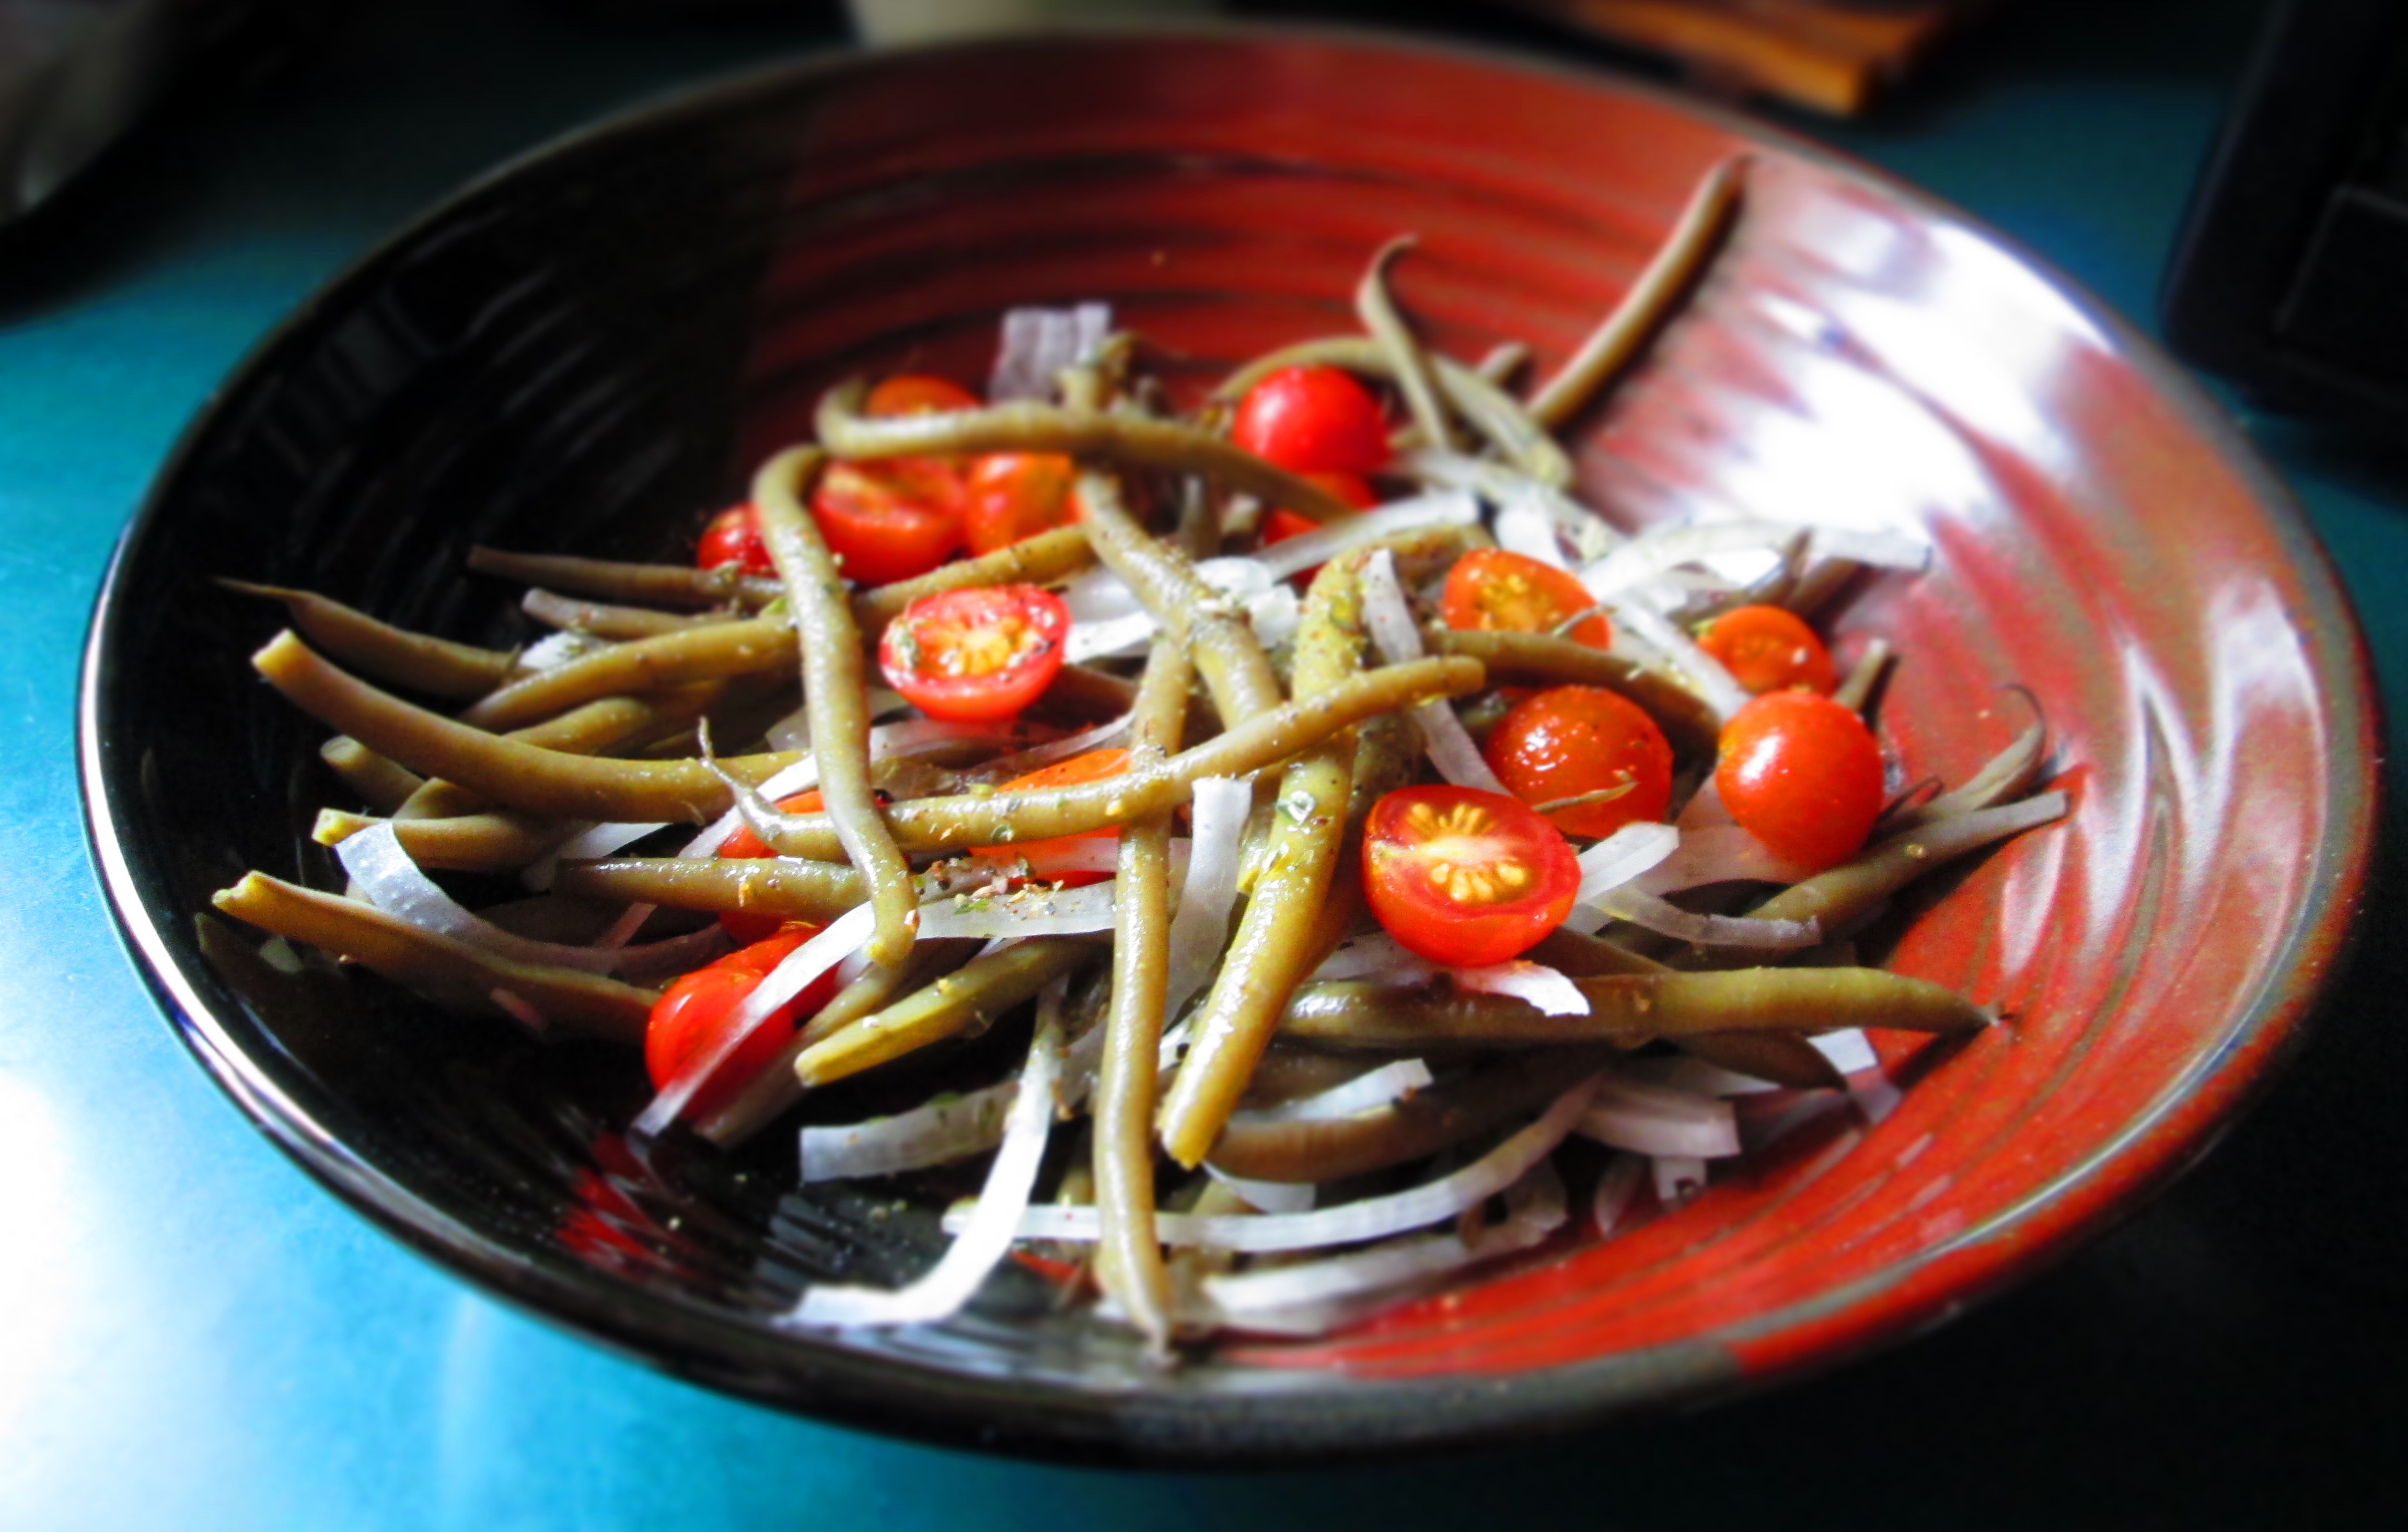
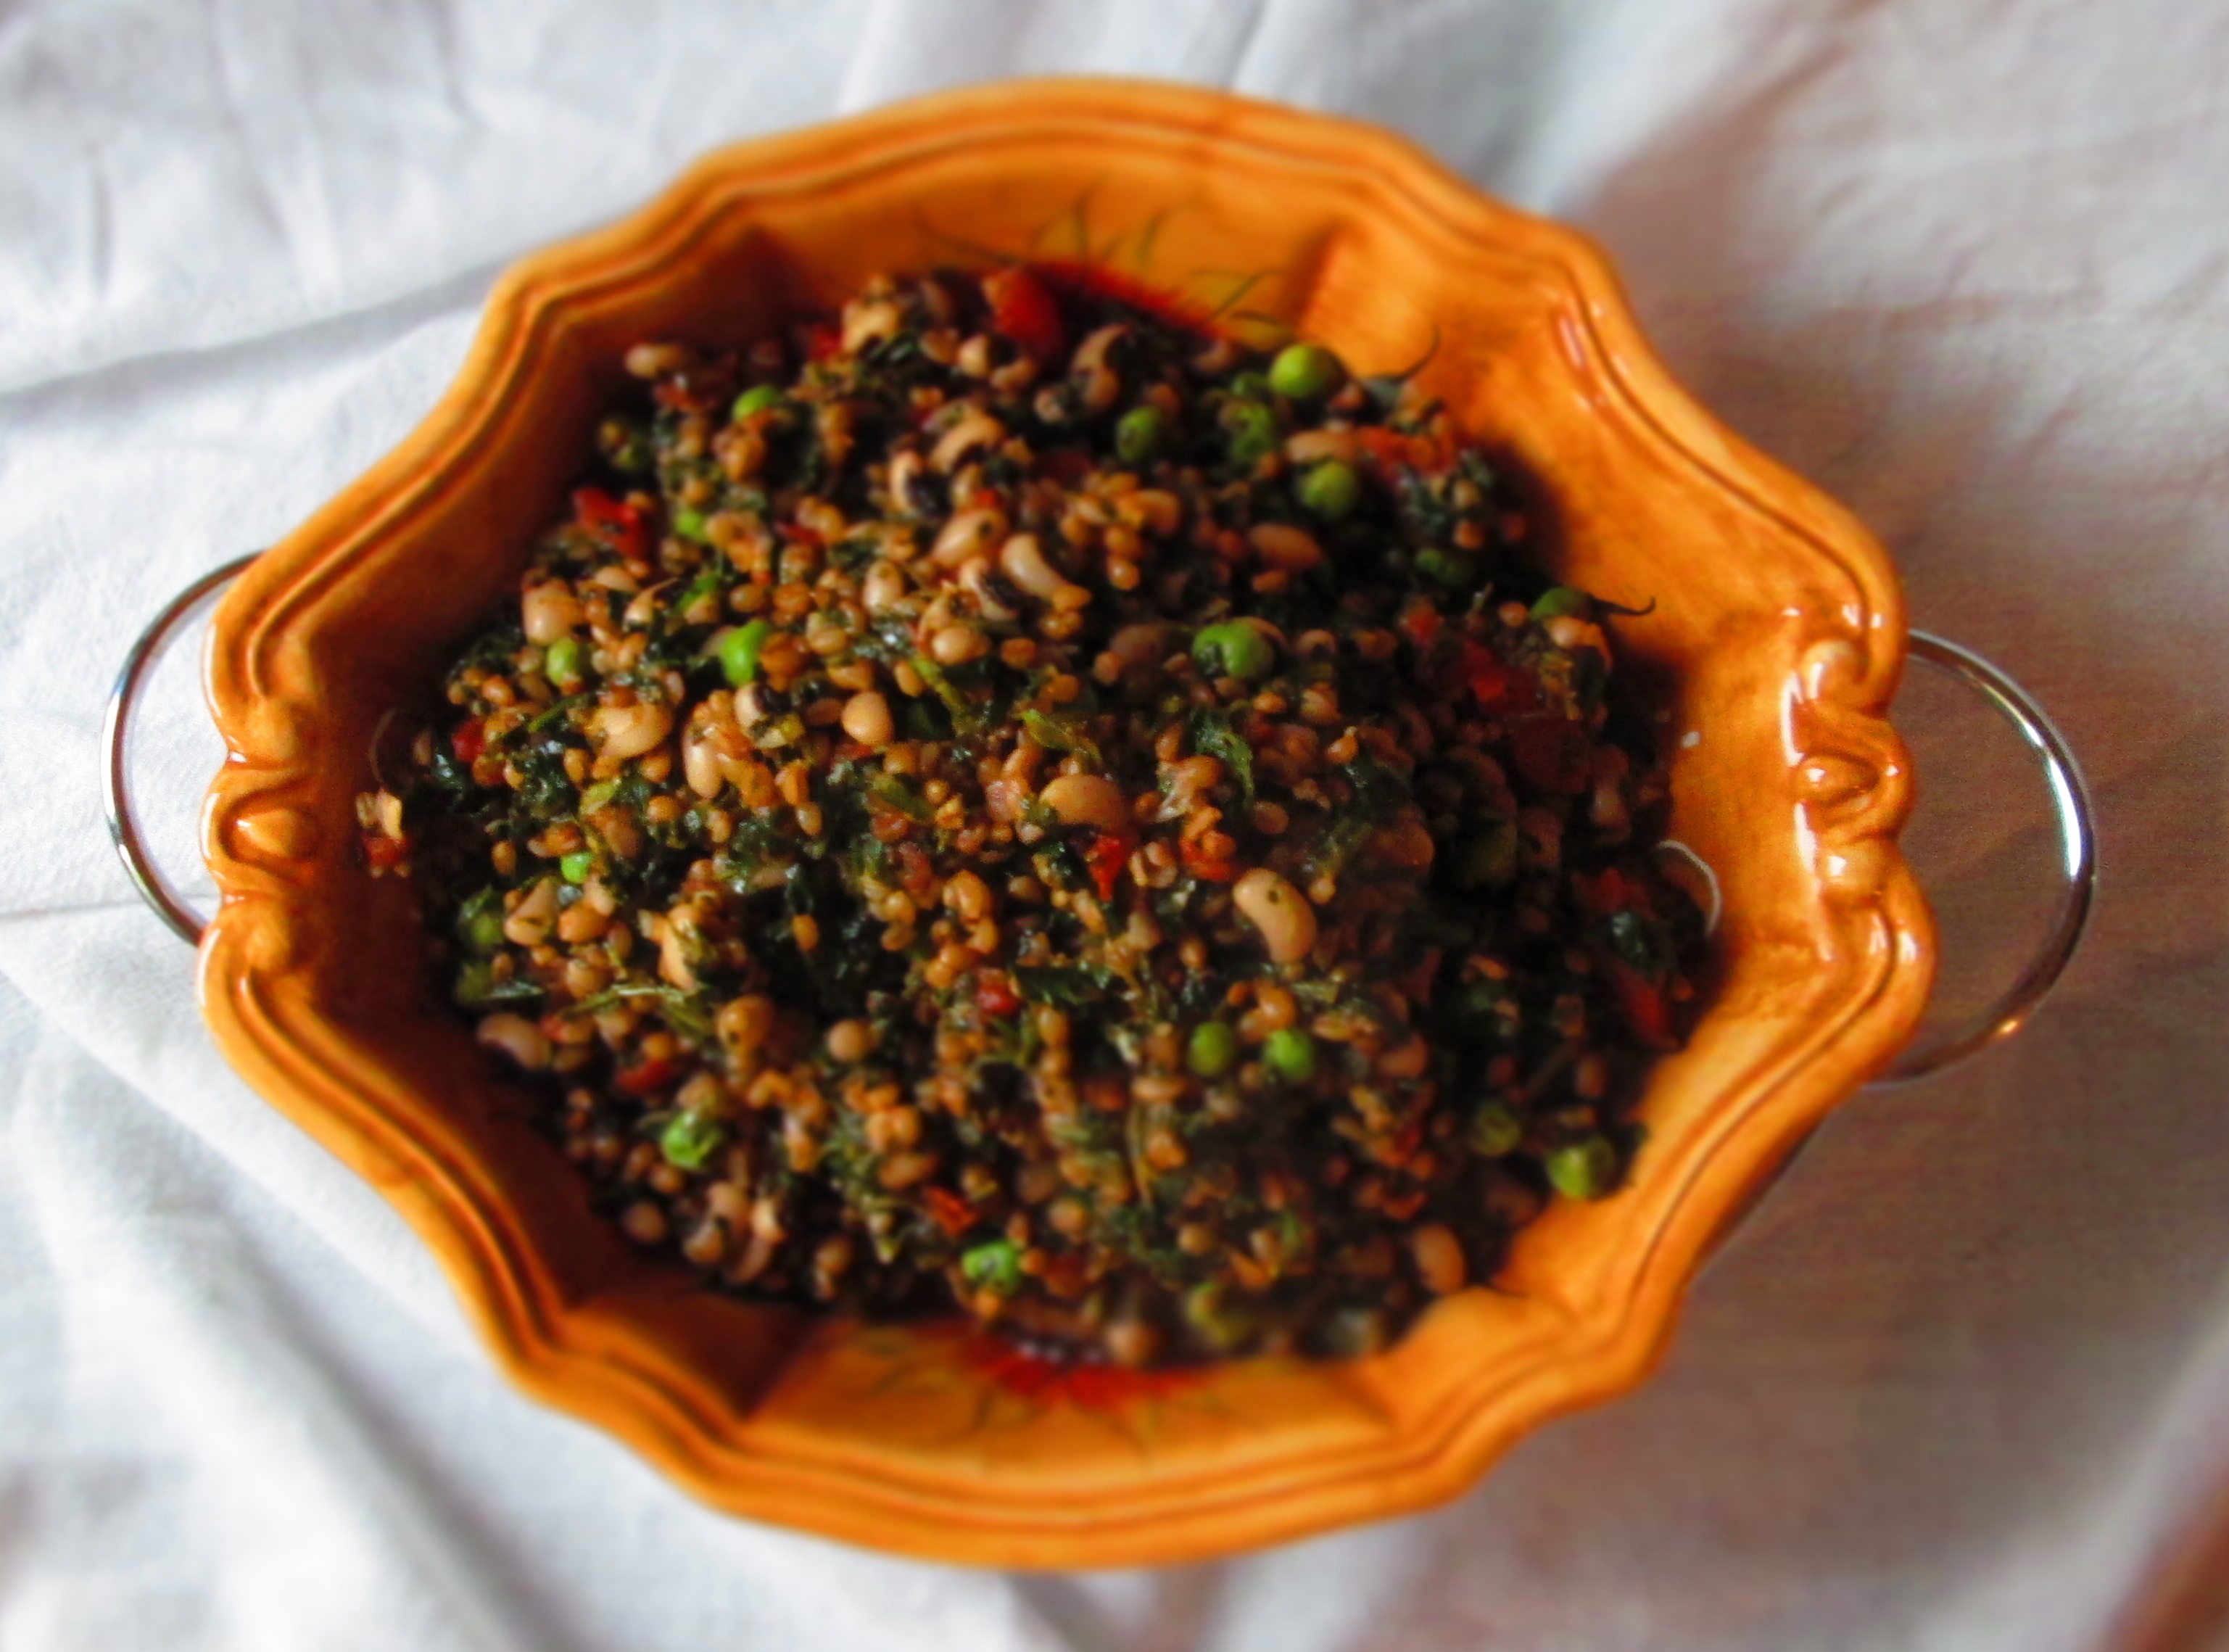
Gorgeously Green Pasta Salad
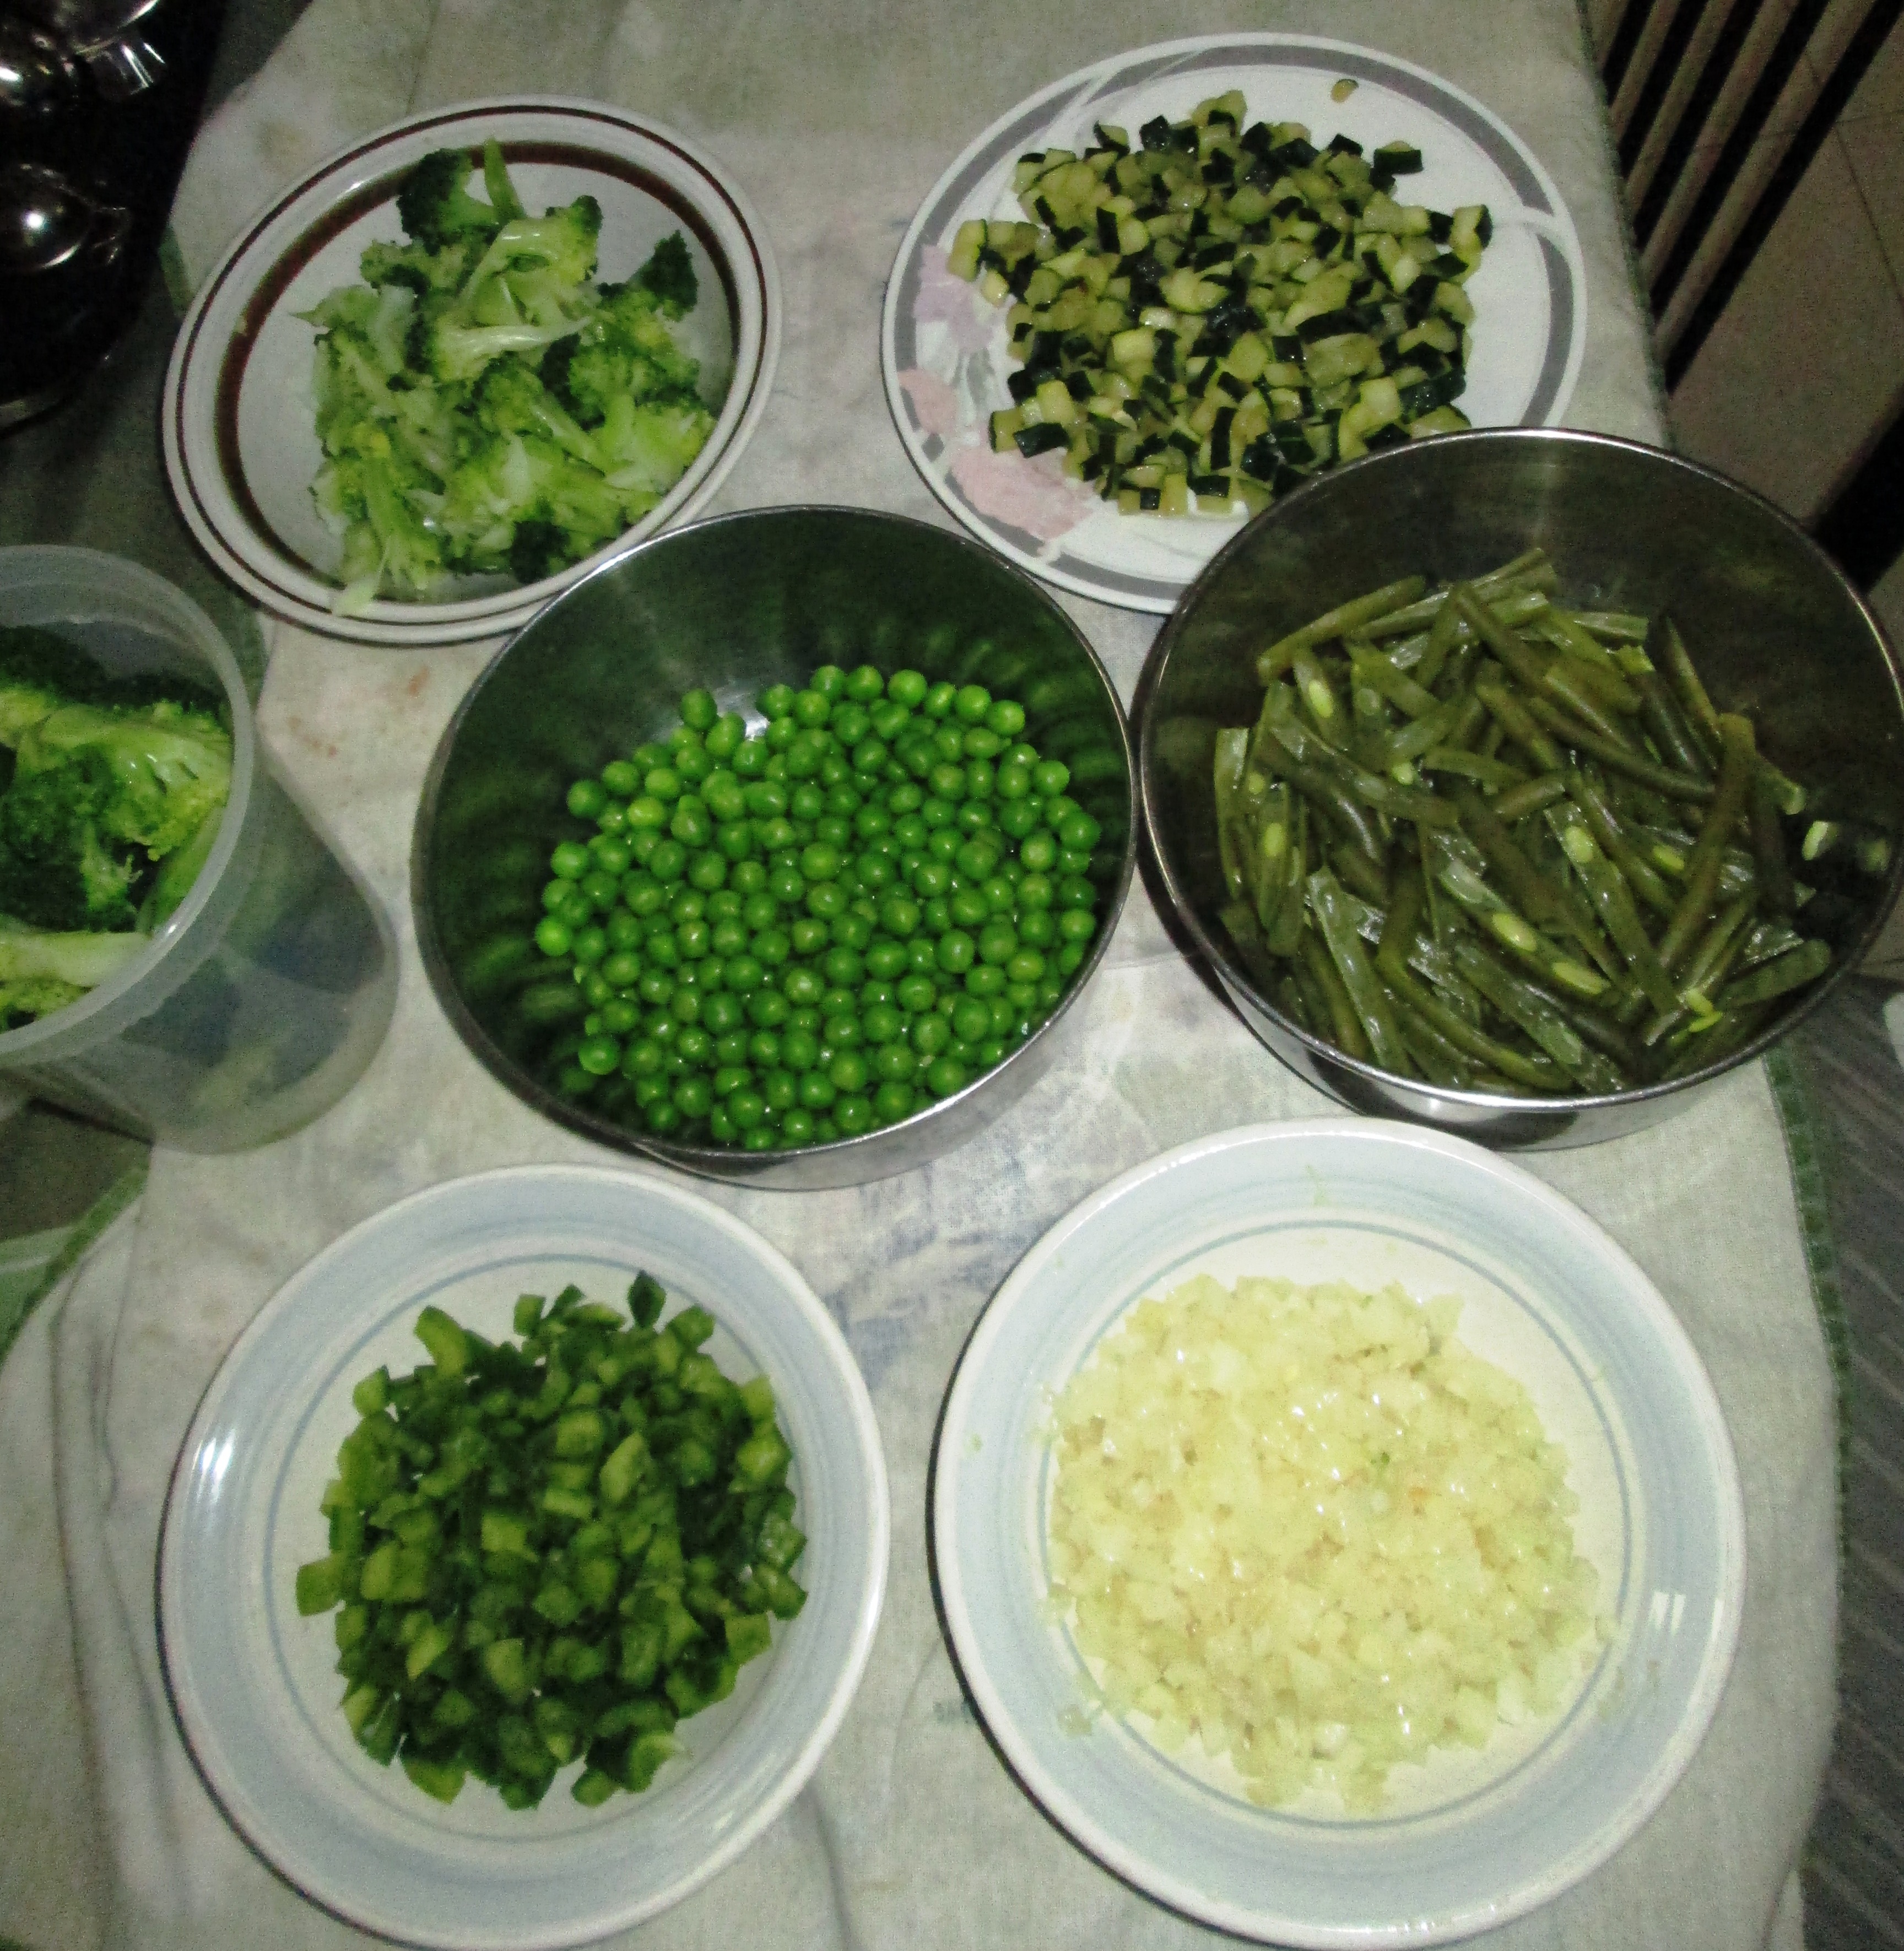
This pasta salad is open to many variations—you can add anything you want, as long as it’s green! It has several components to it, but if you’re willing to spend a little time on it, the result will truly be gorgeous, not to mention delicious. Aside from the broccoli florets, I split the string beans in half, used only the green part of the zucchini, and garnished it with zucchini curls.
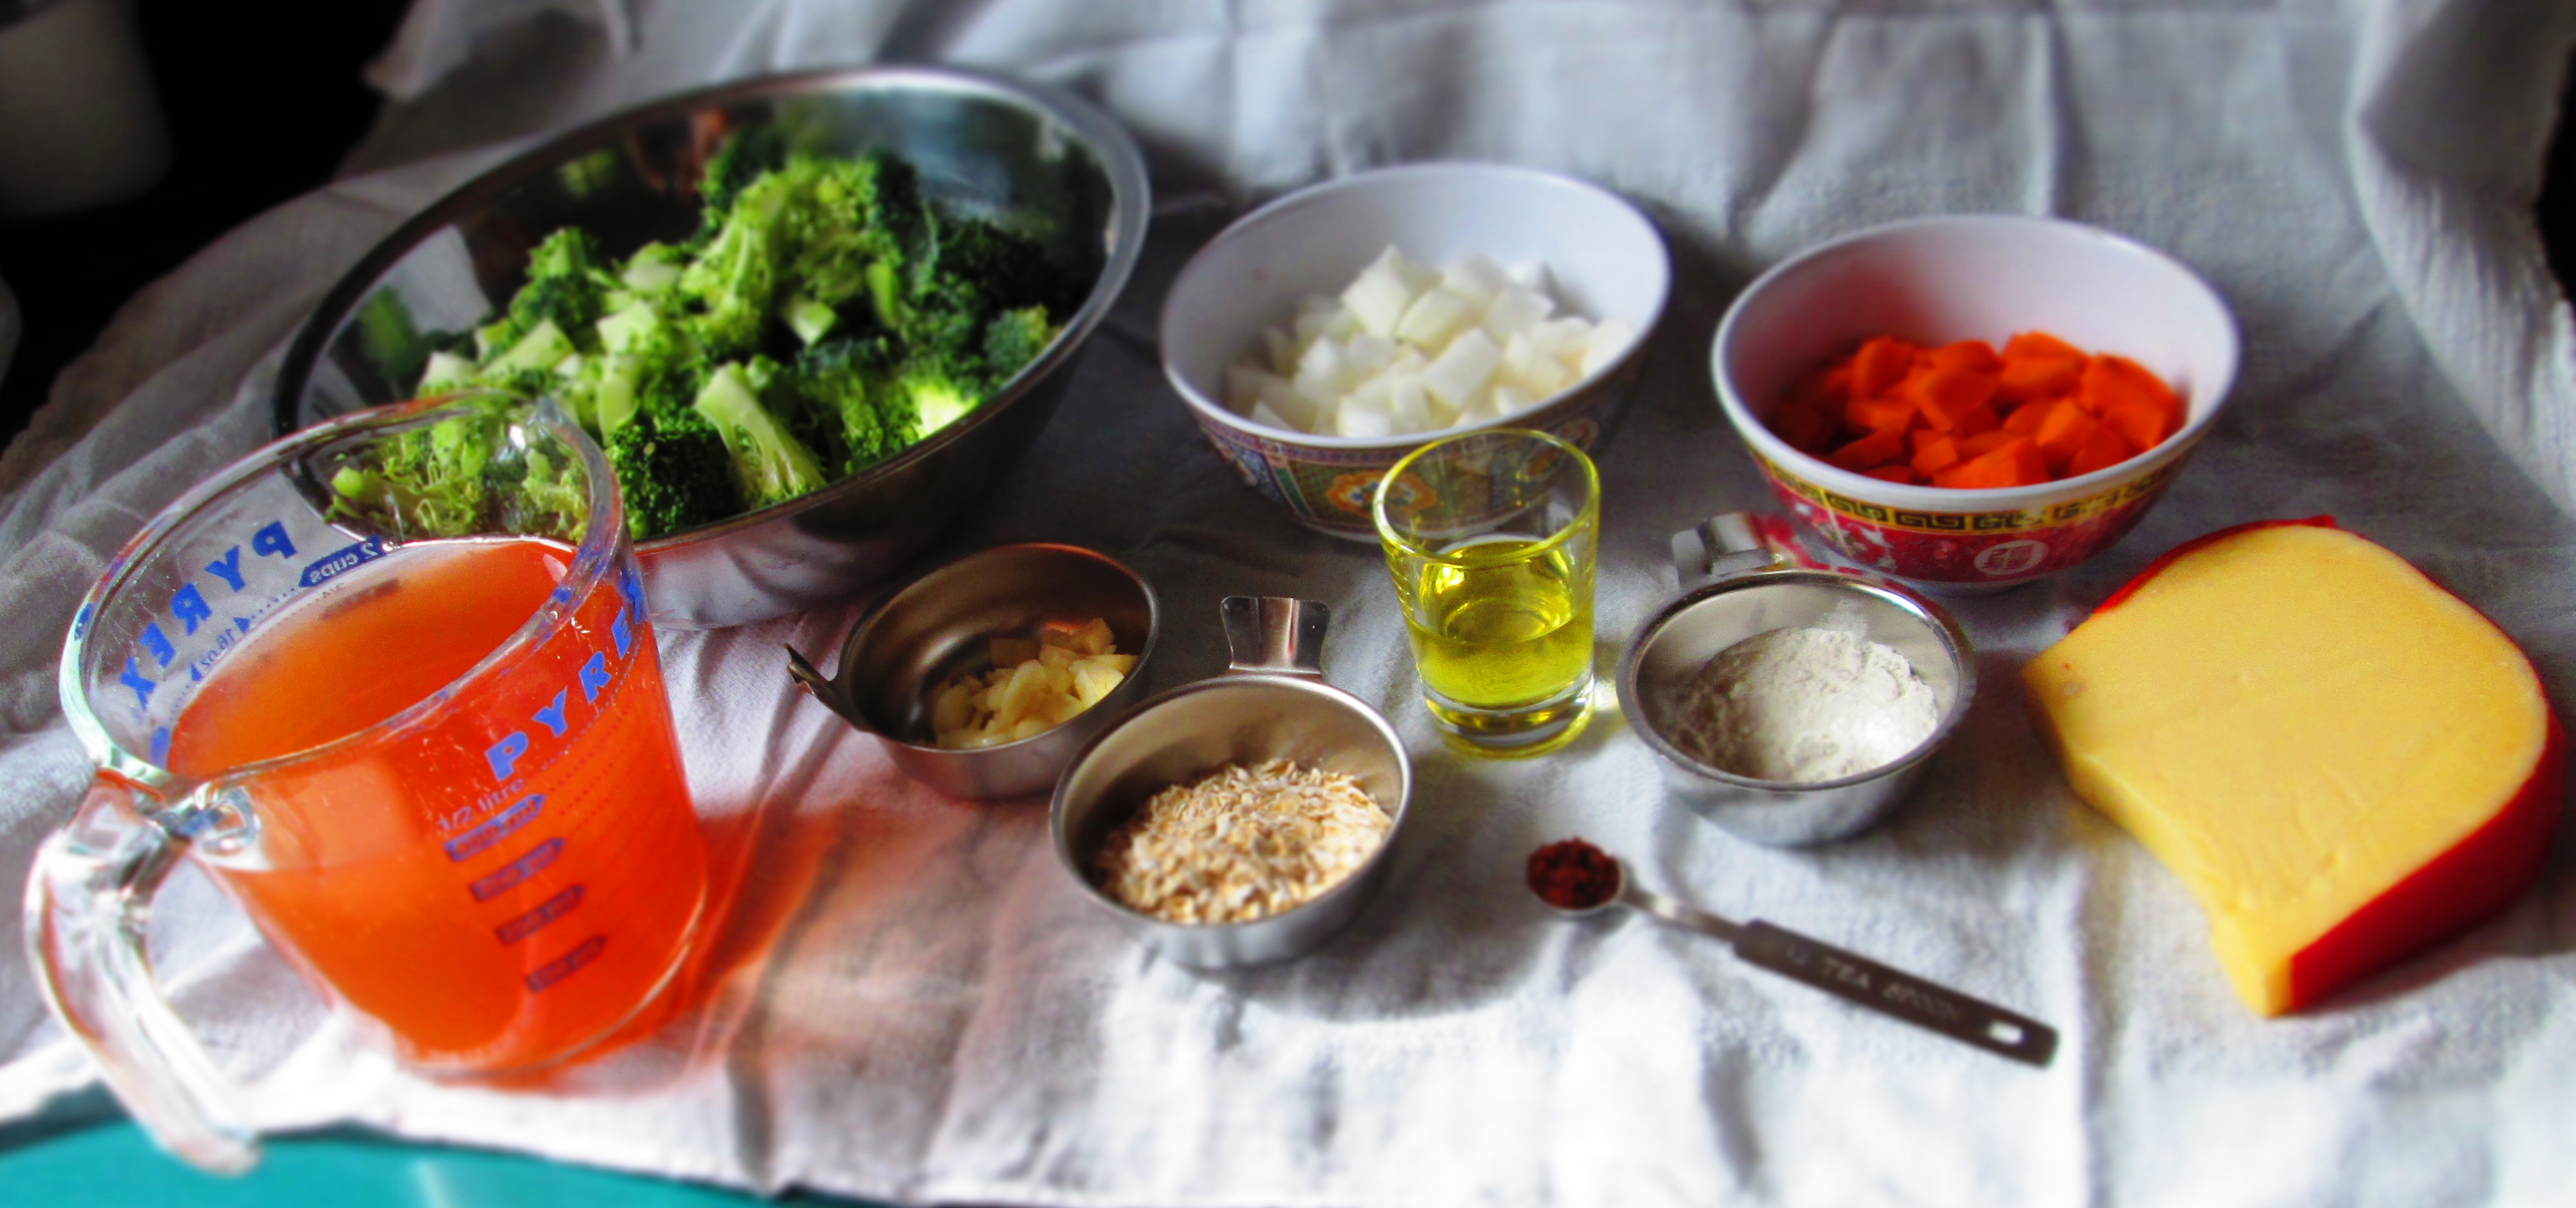
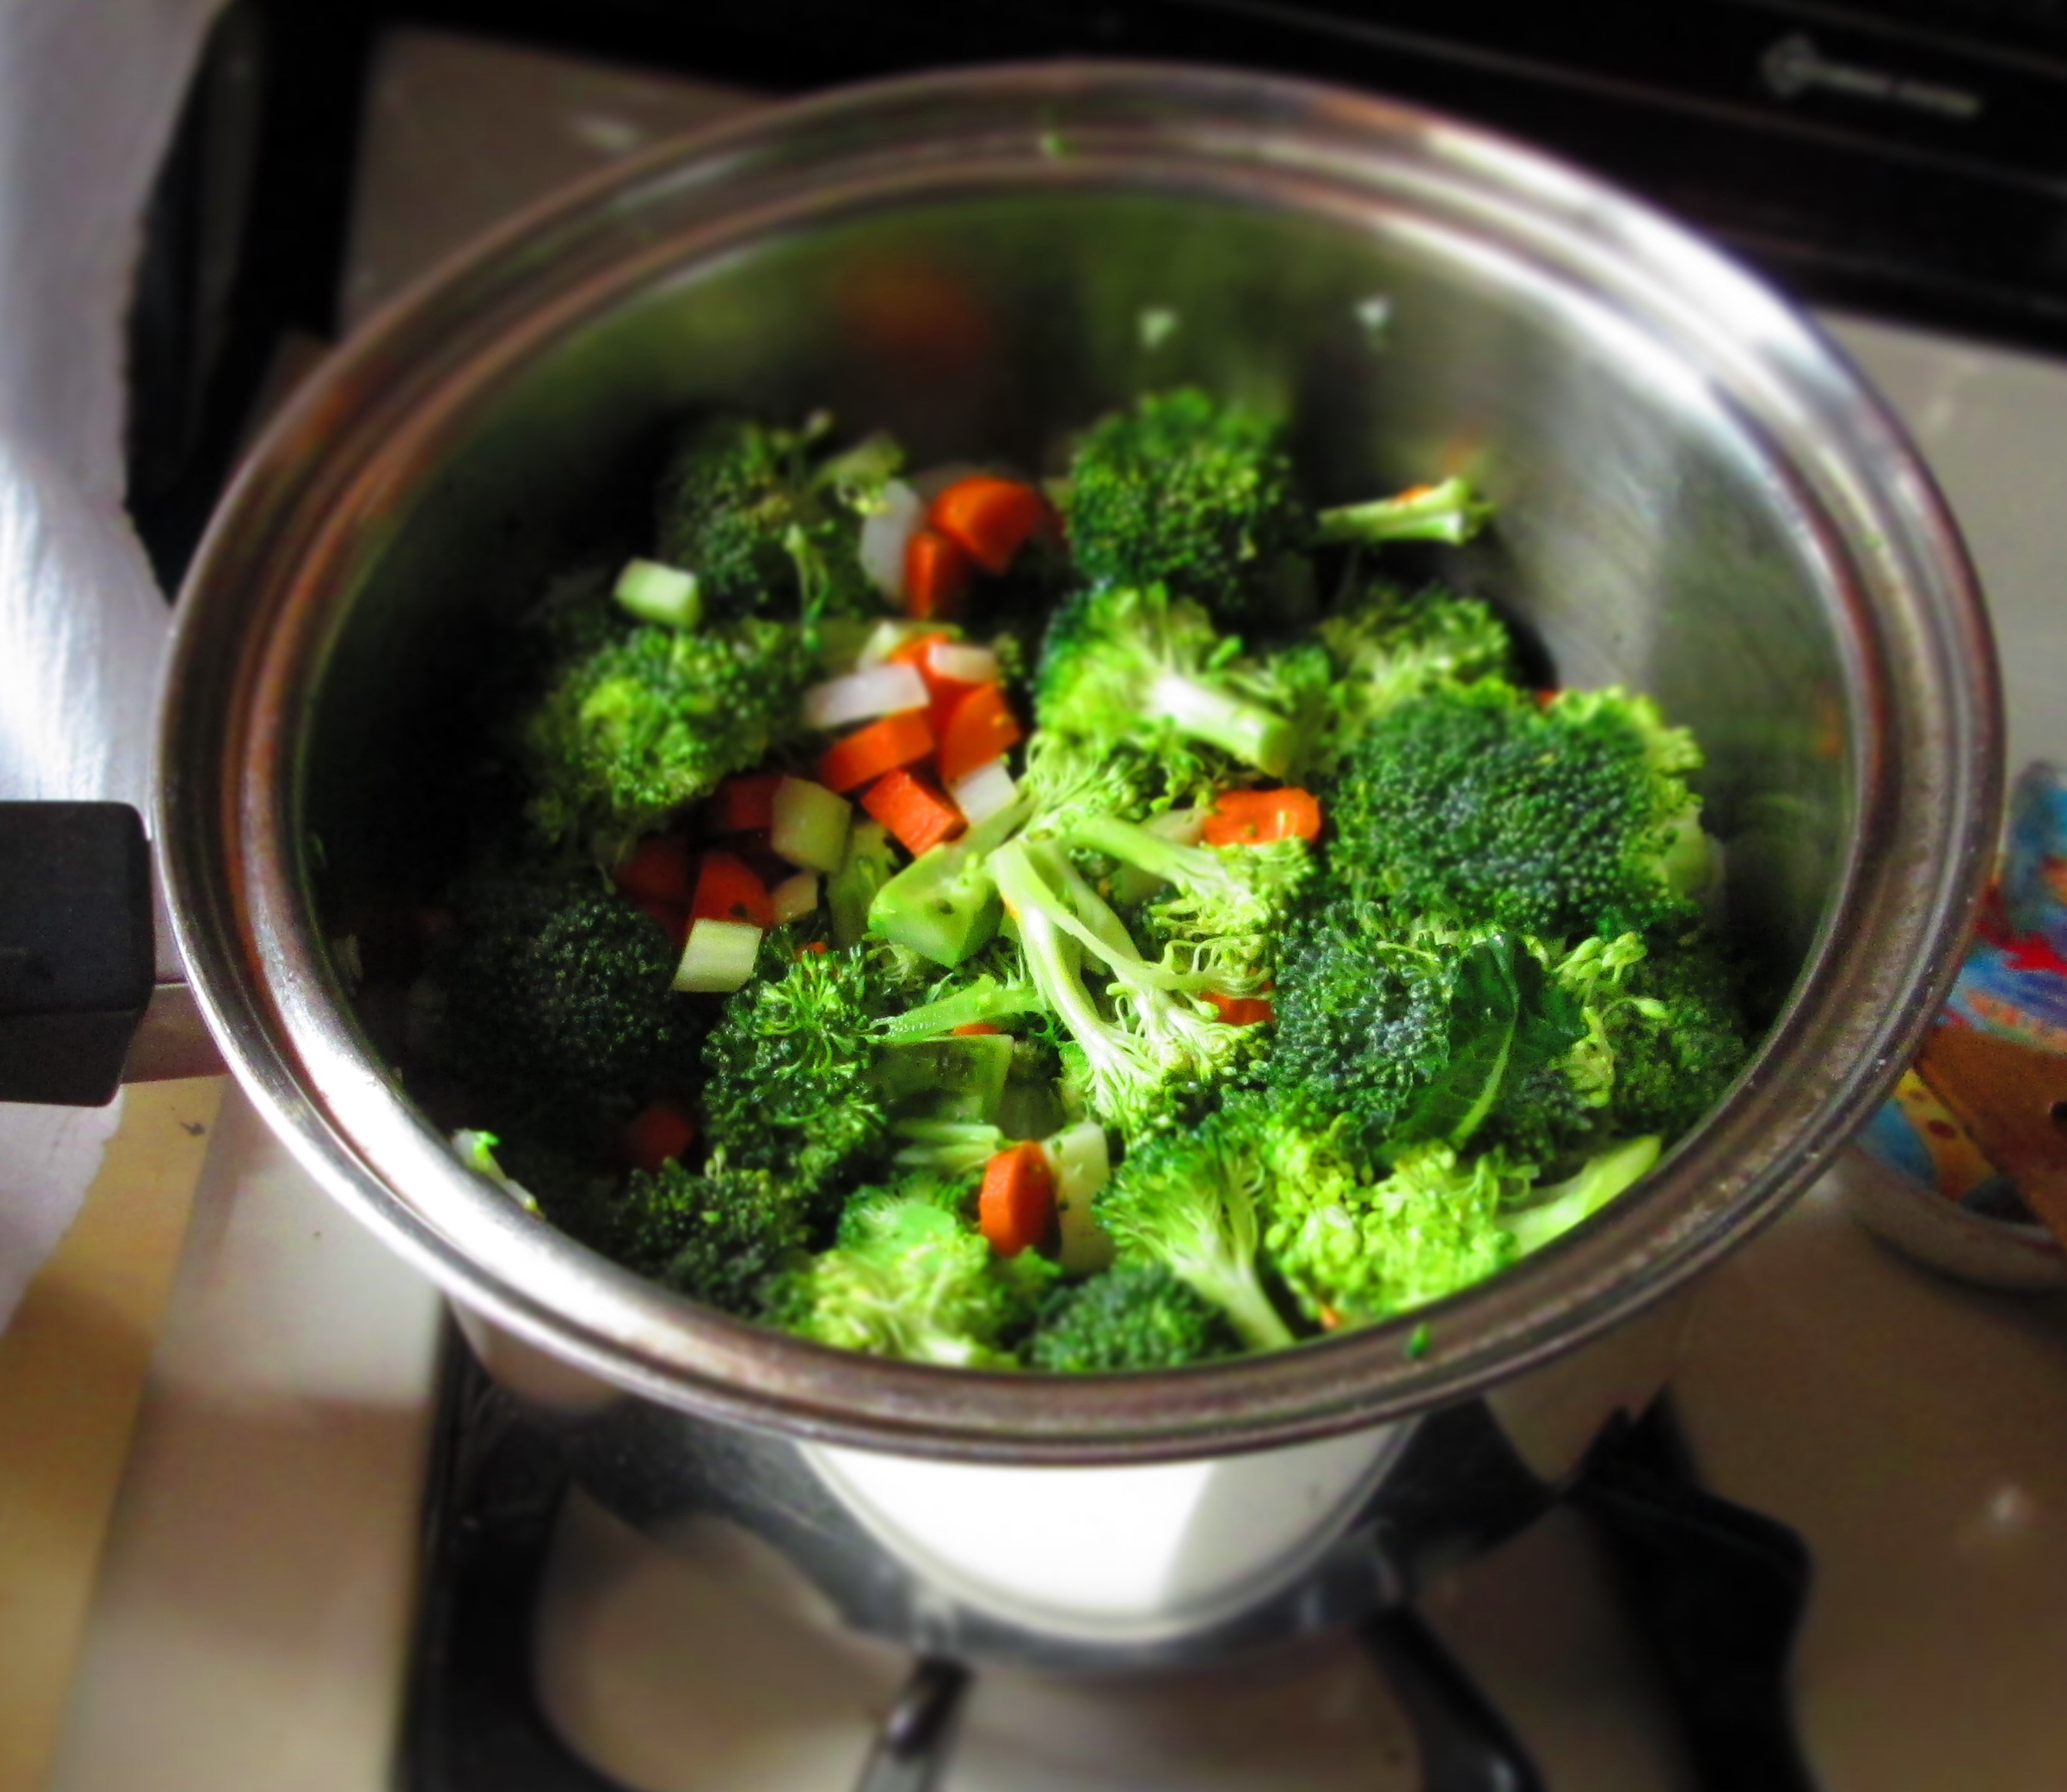
1 medium head broccoli
1 tablespoon olive oil
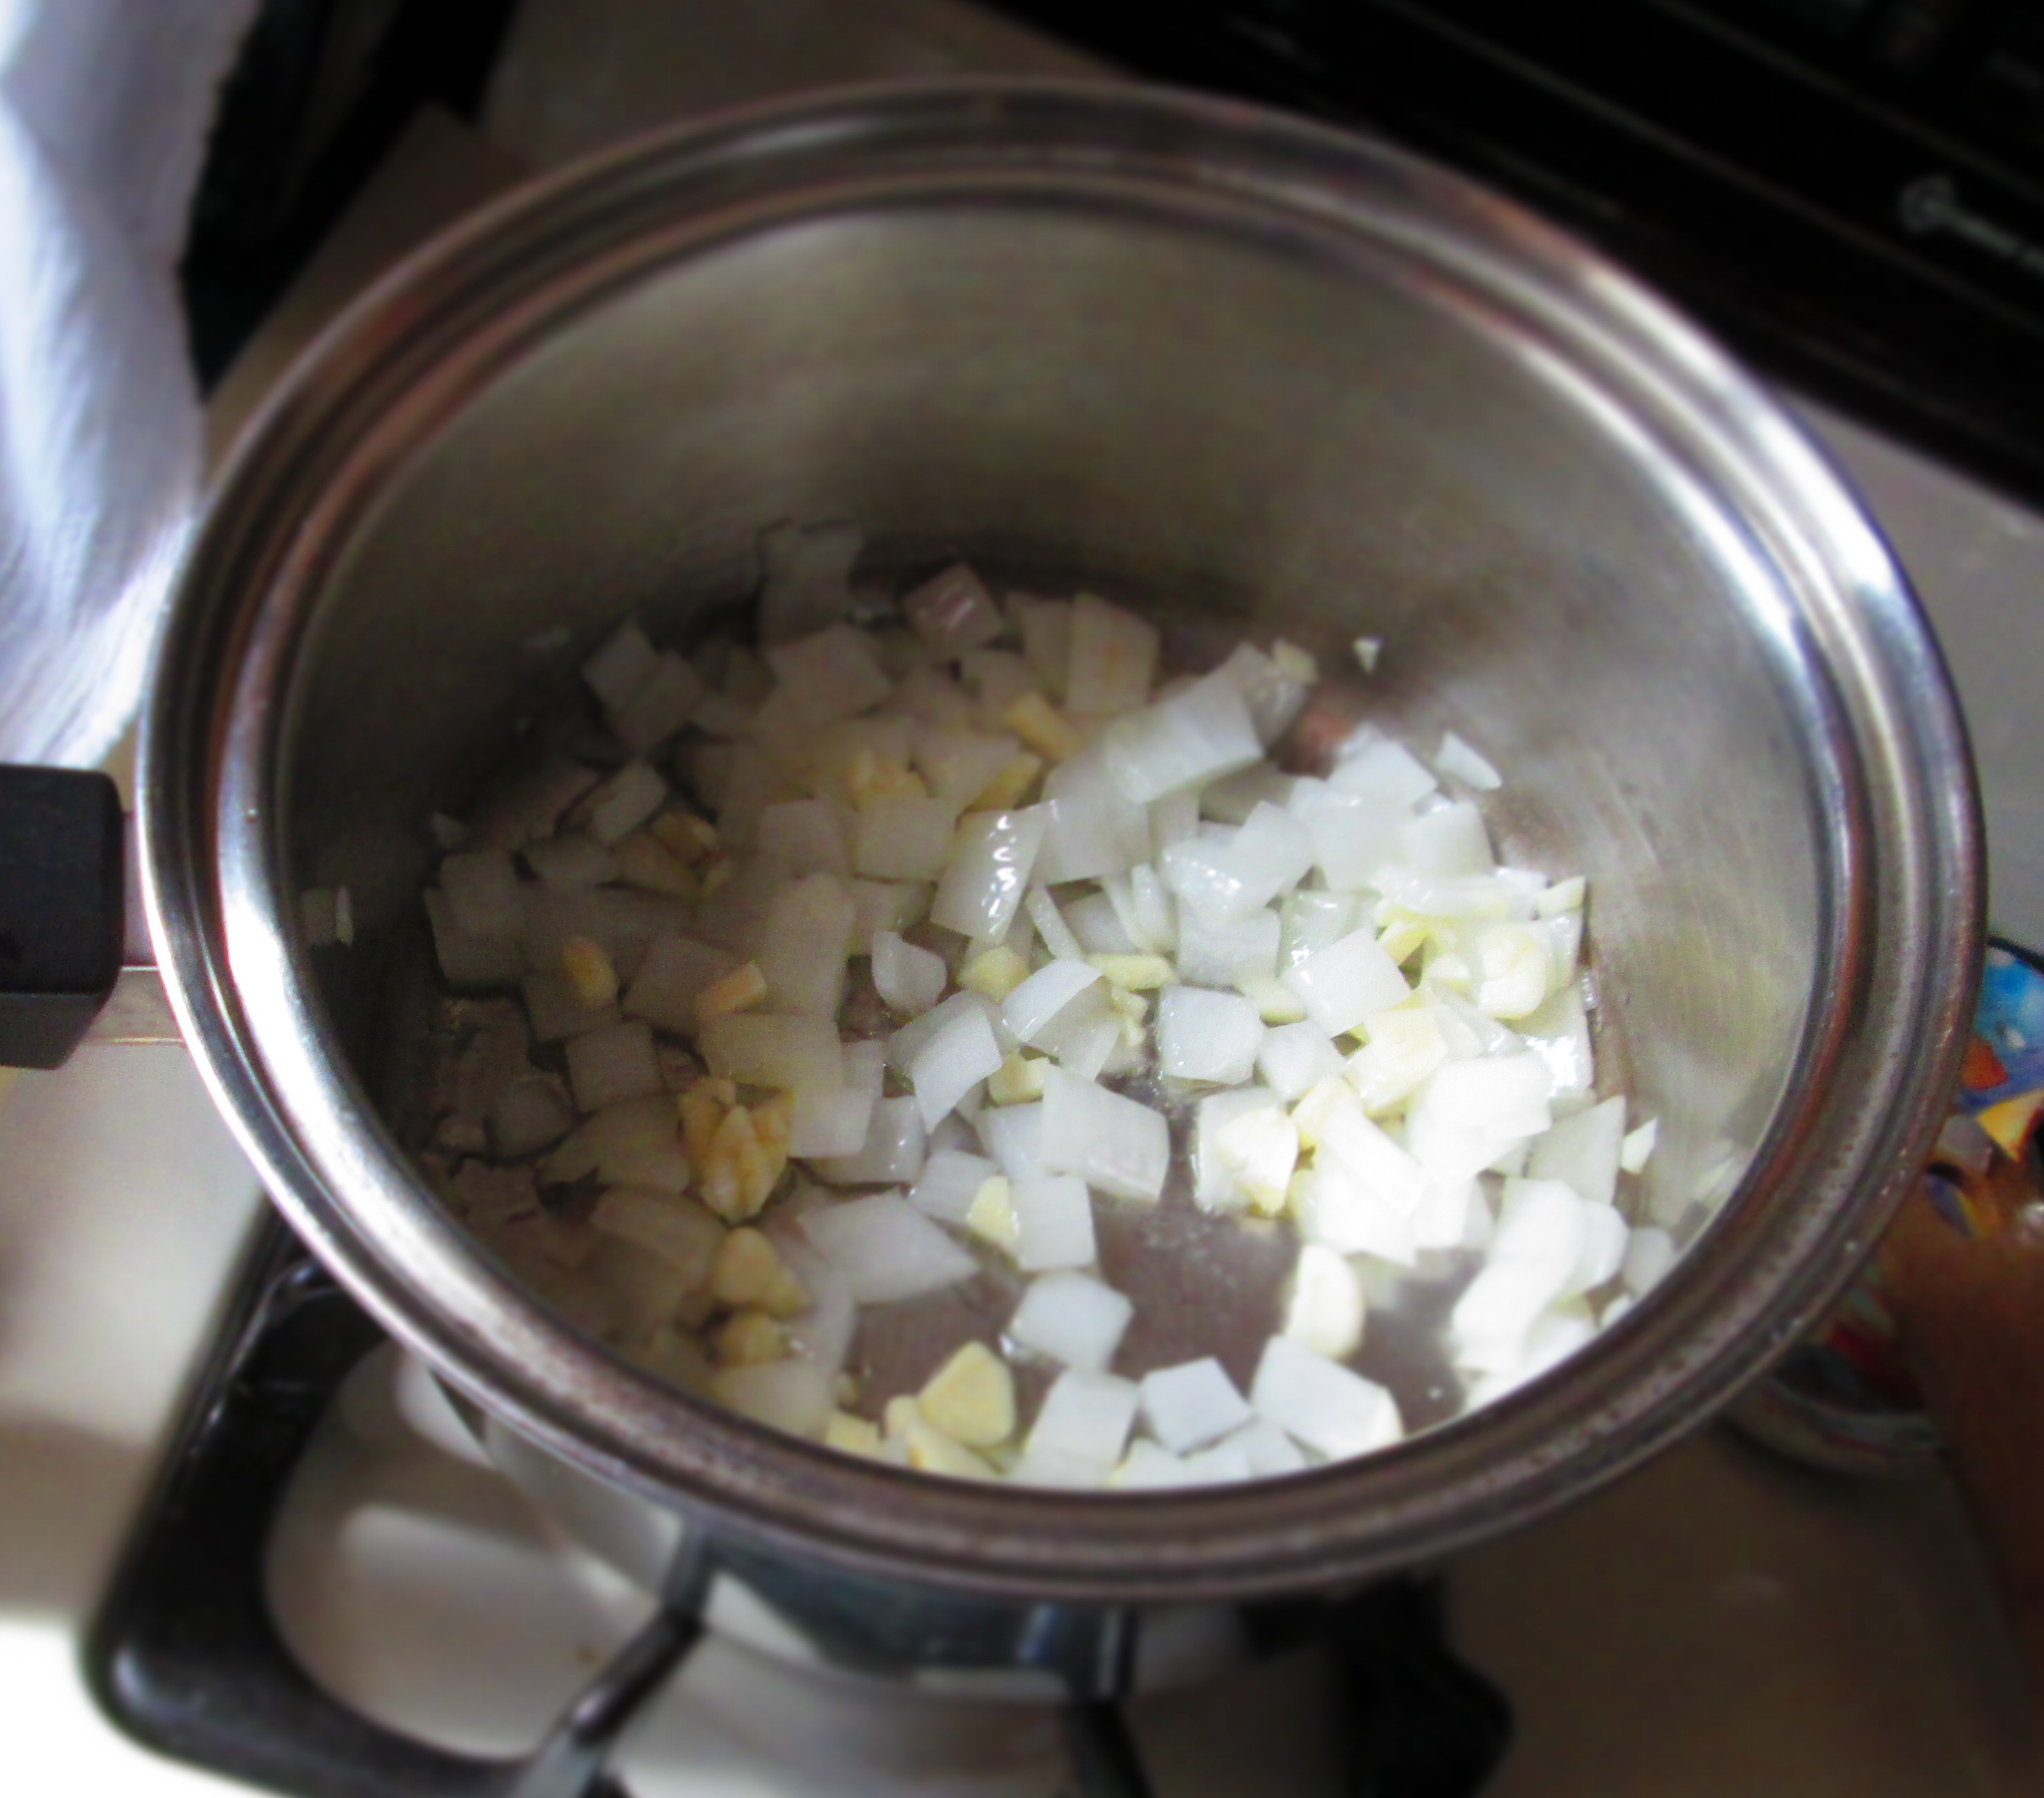
1 medium onion, small dice
1/2 teaspoon salt plus more
2 small zucchini, diced small
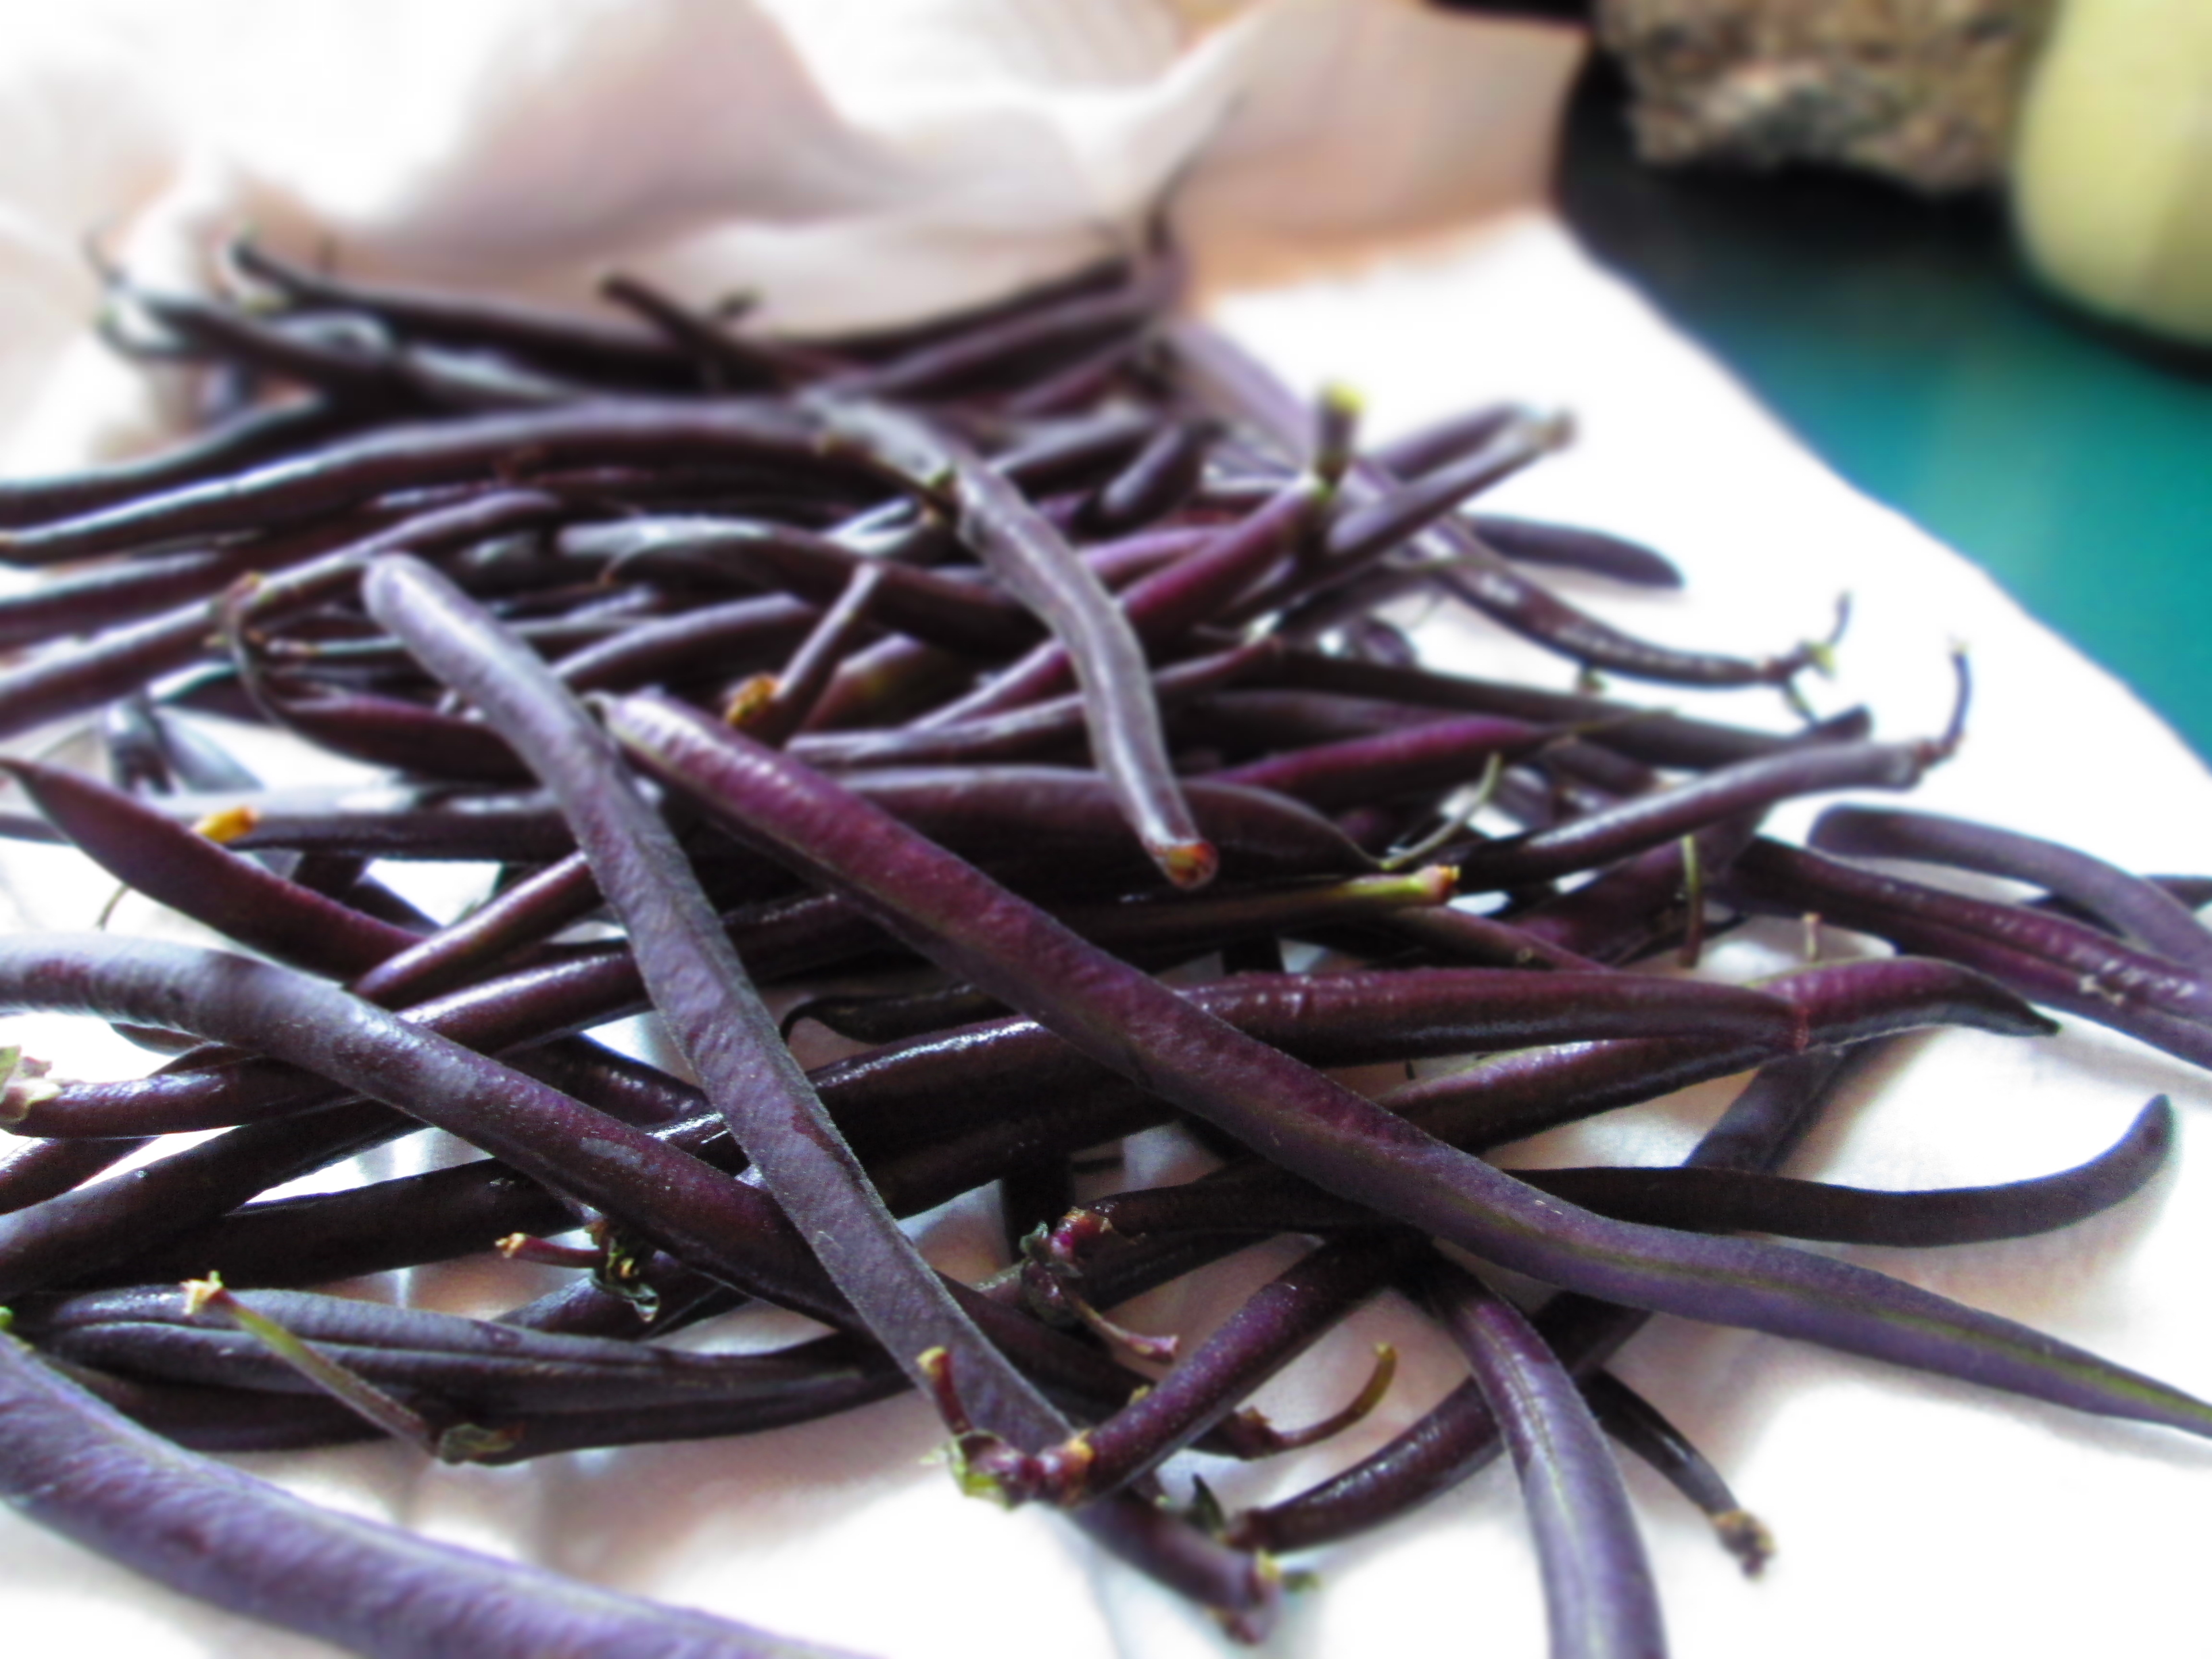
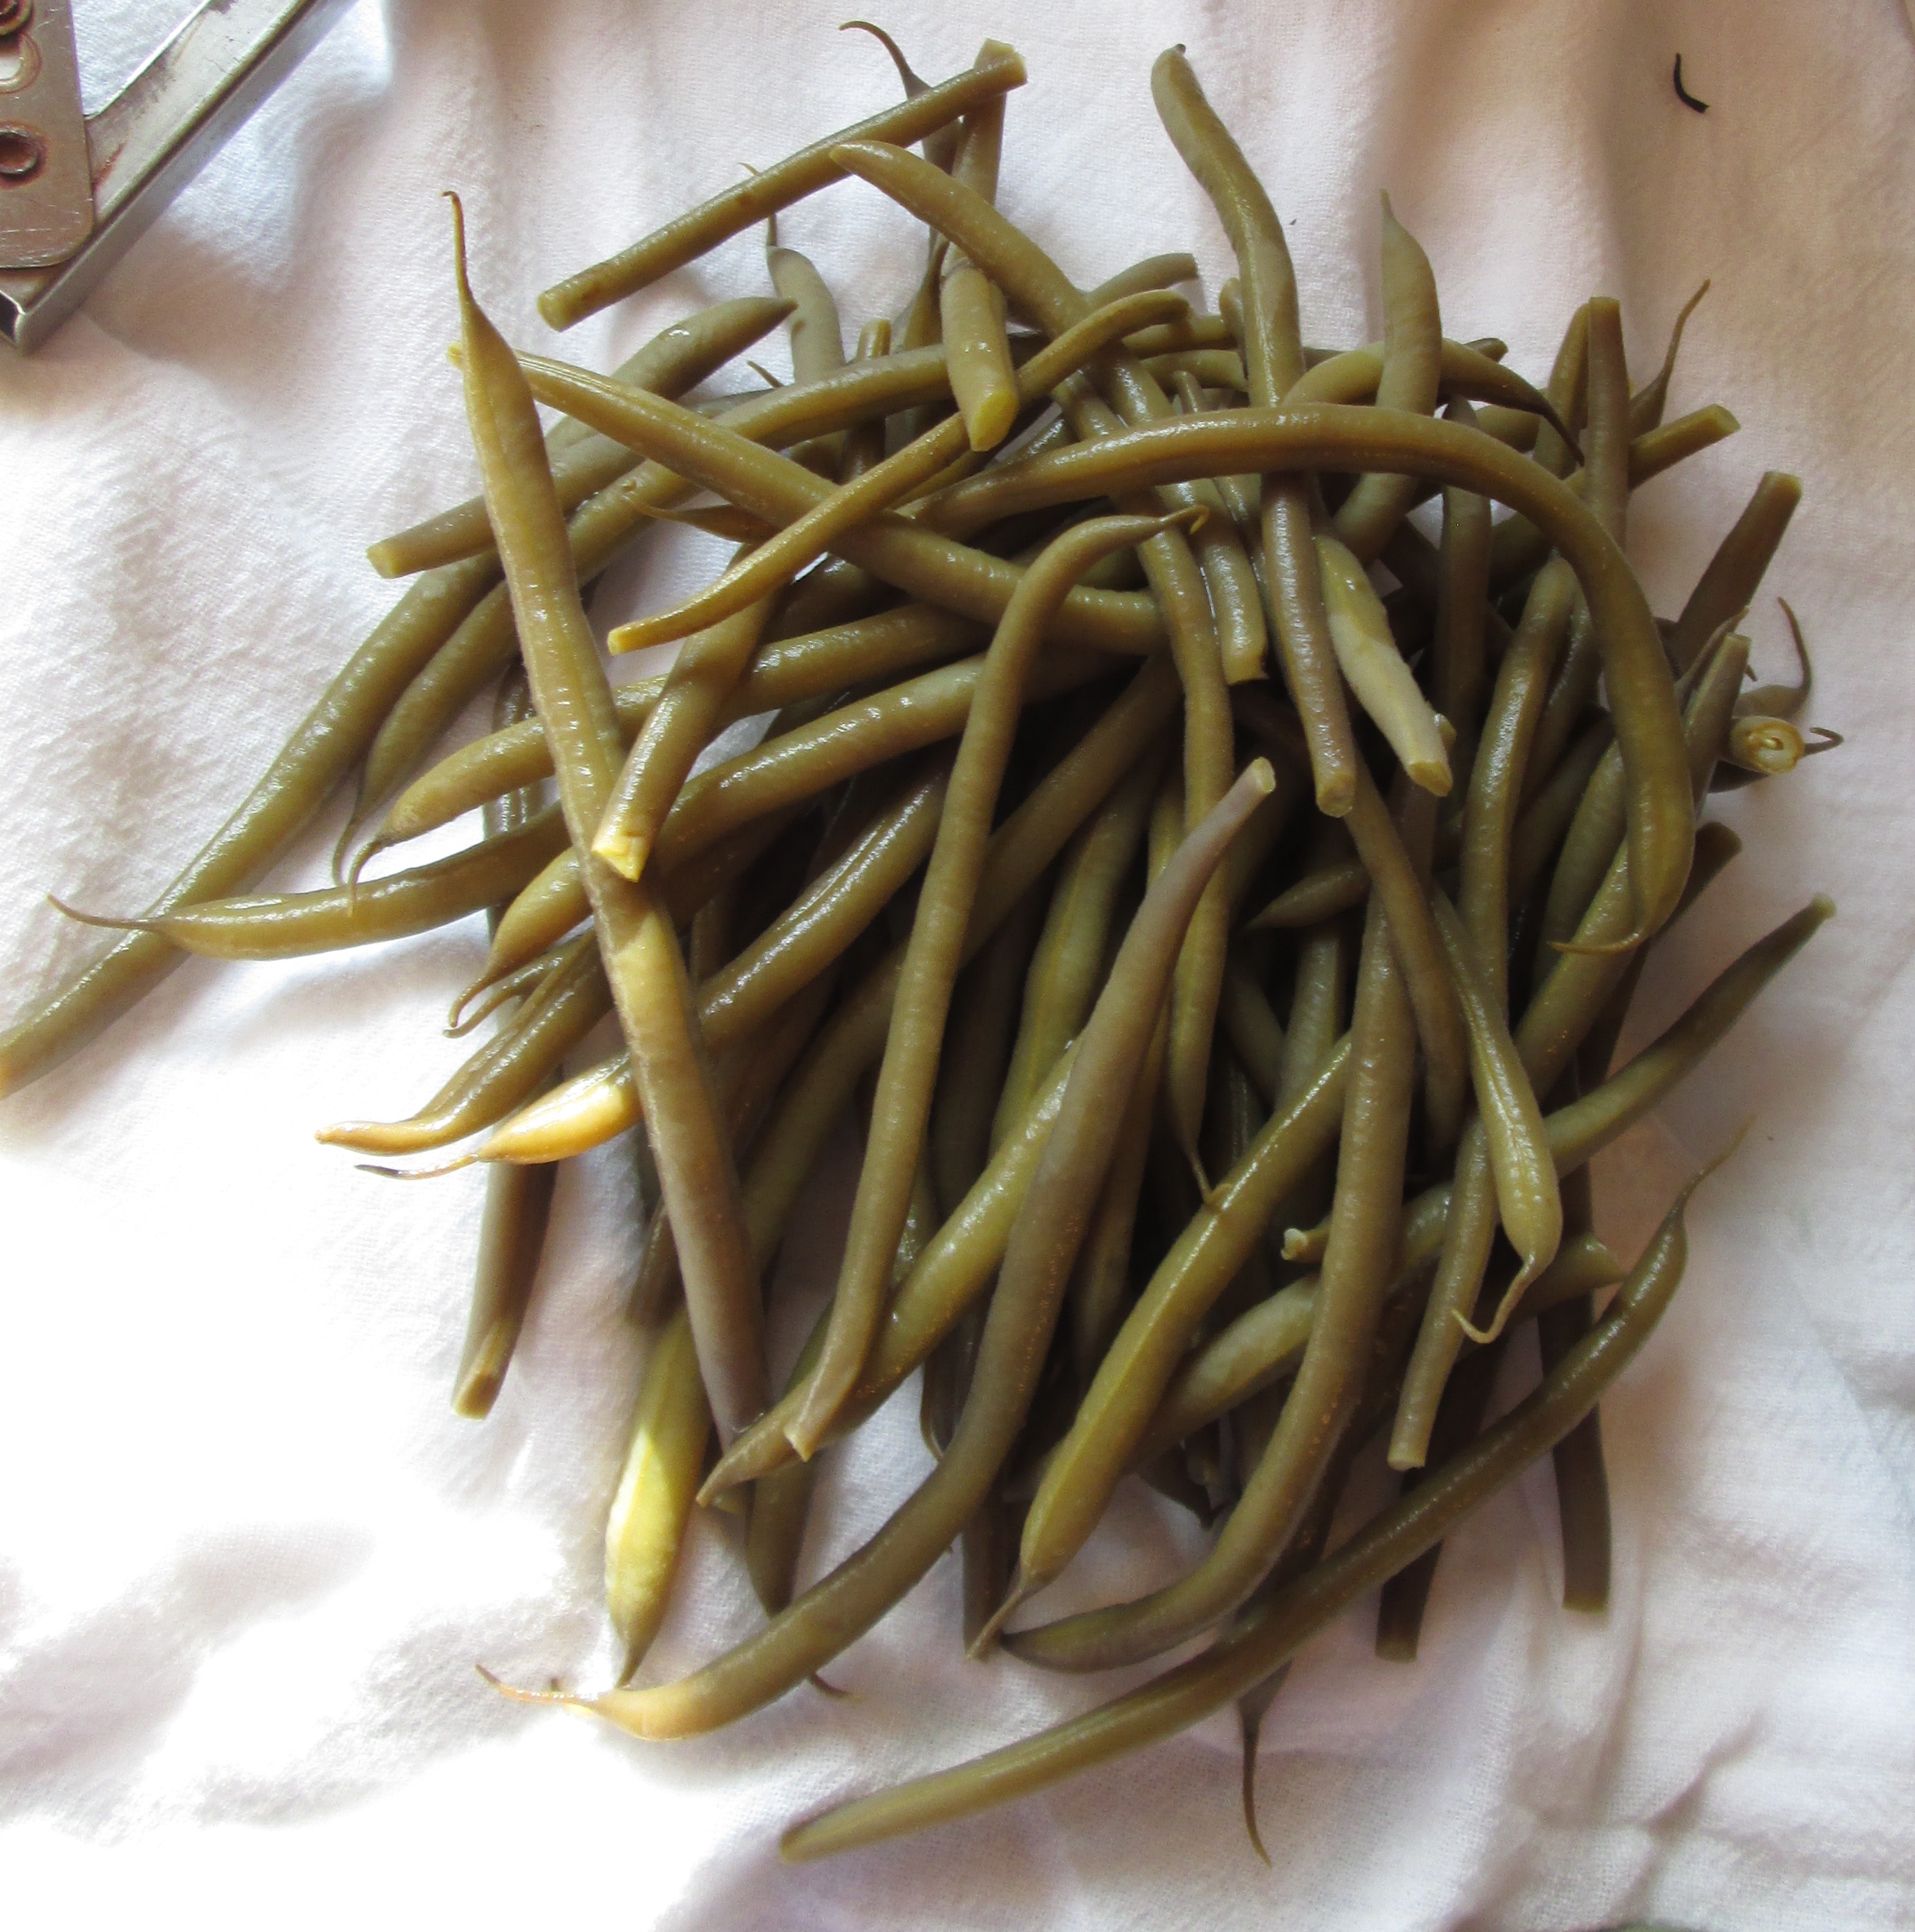
2 ½ cups cut string beans
2 cups peas (if frozen, thawed)
1 lb short pasta
½ lb arugula
¼ lb watercress
1 cup sliced scallions (white part only), divided
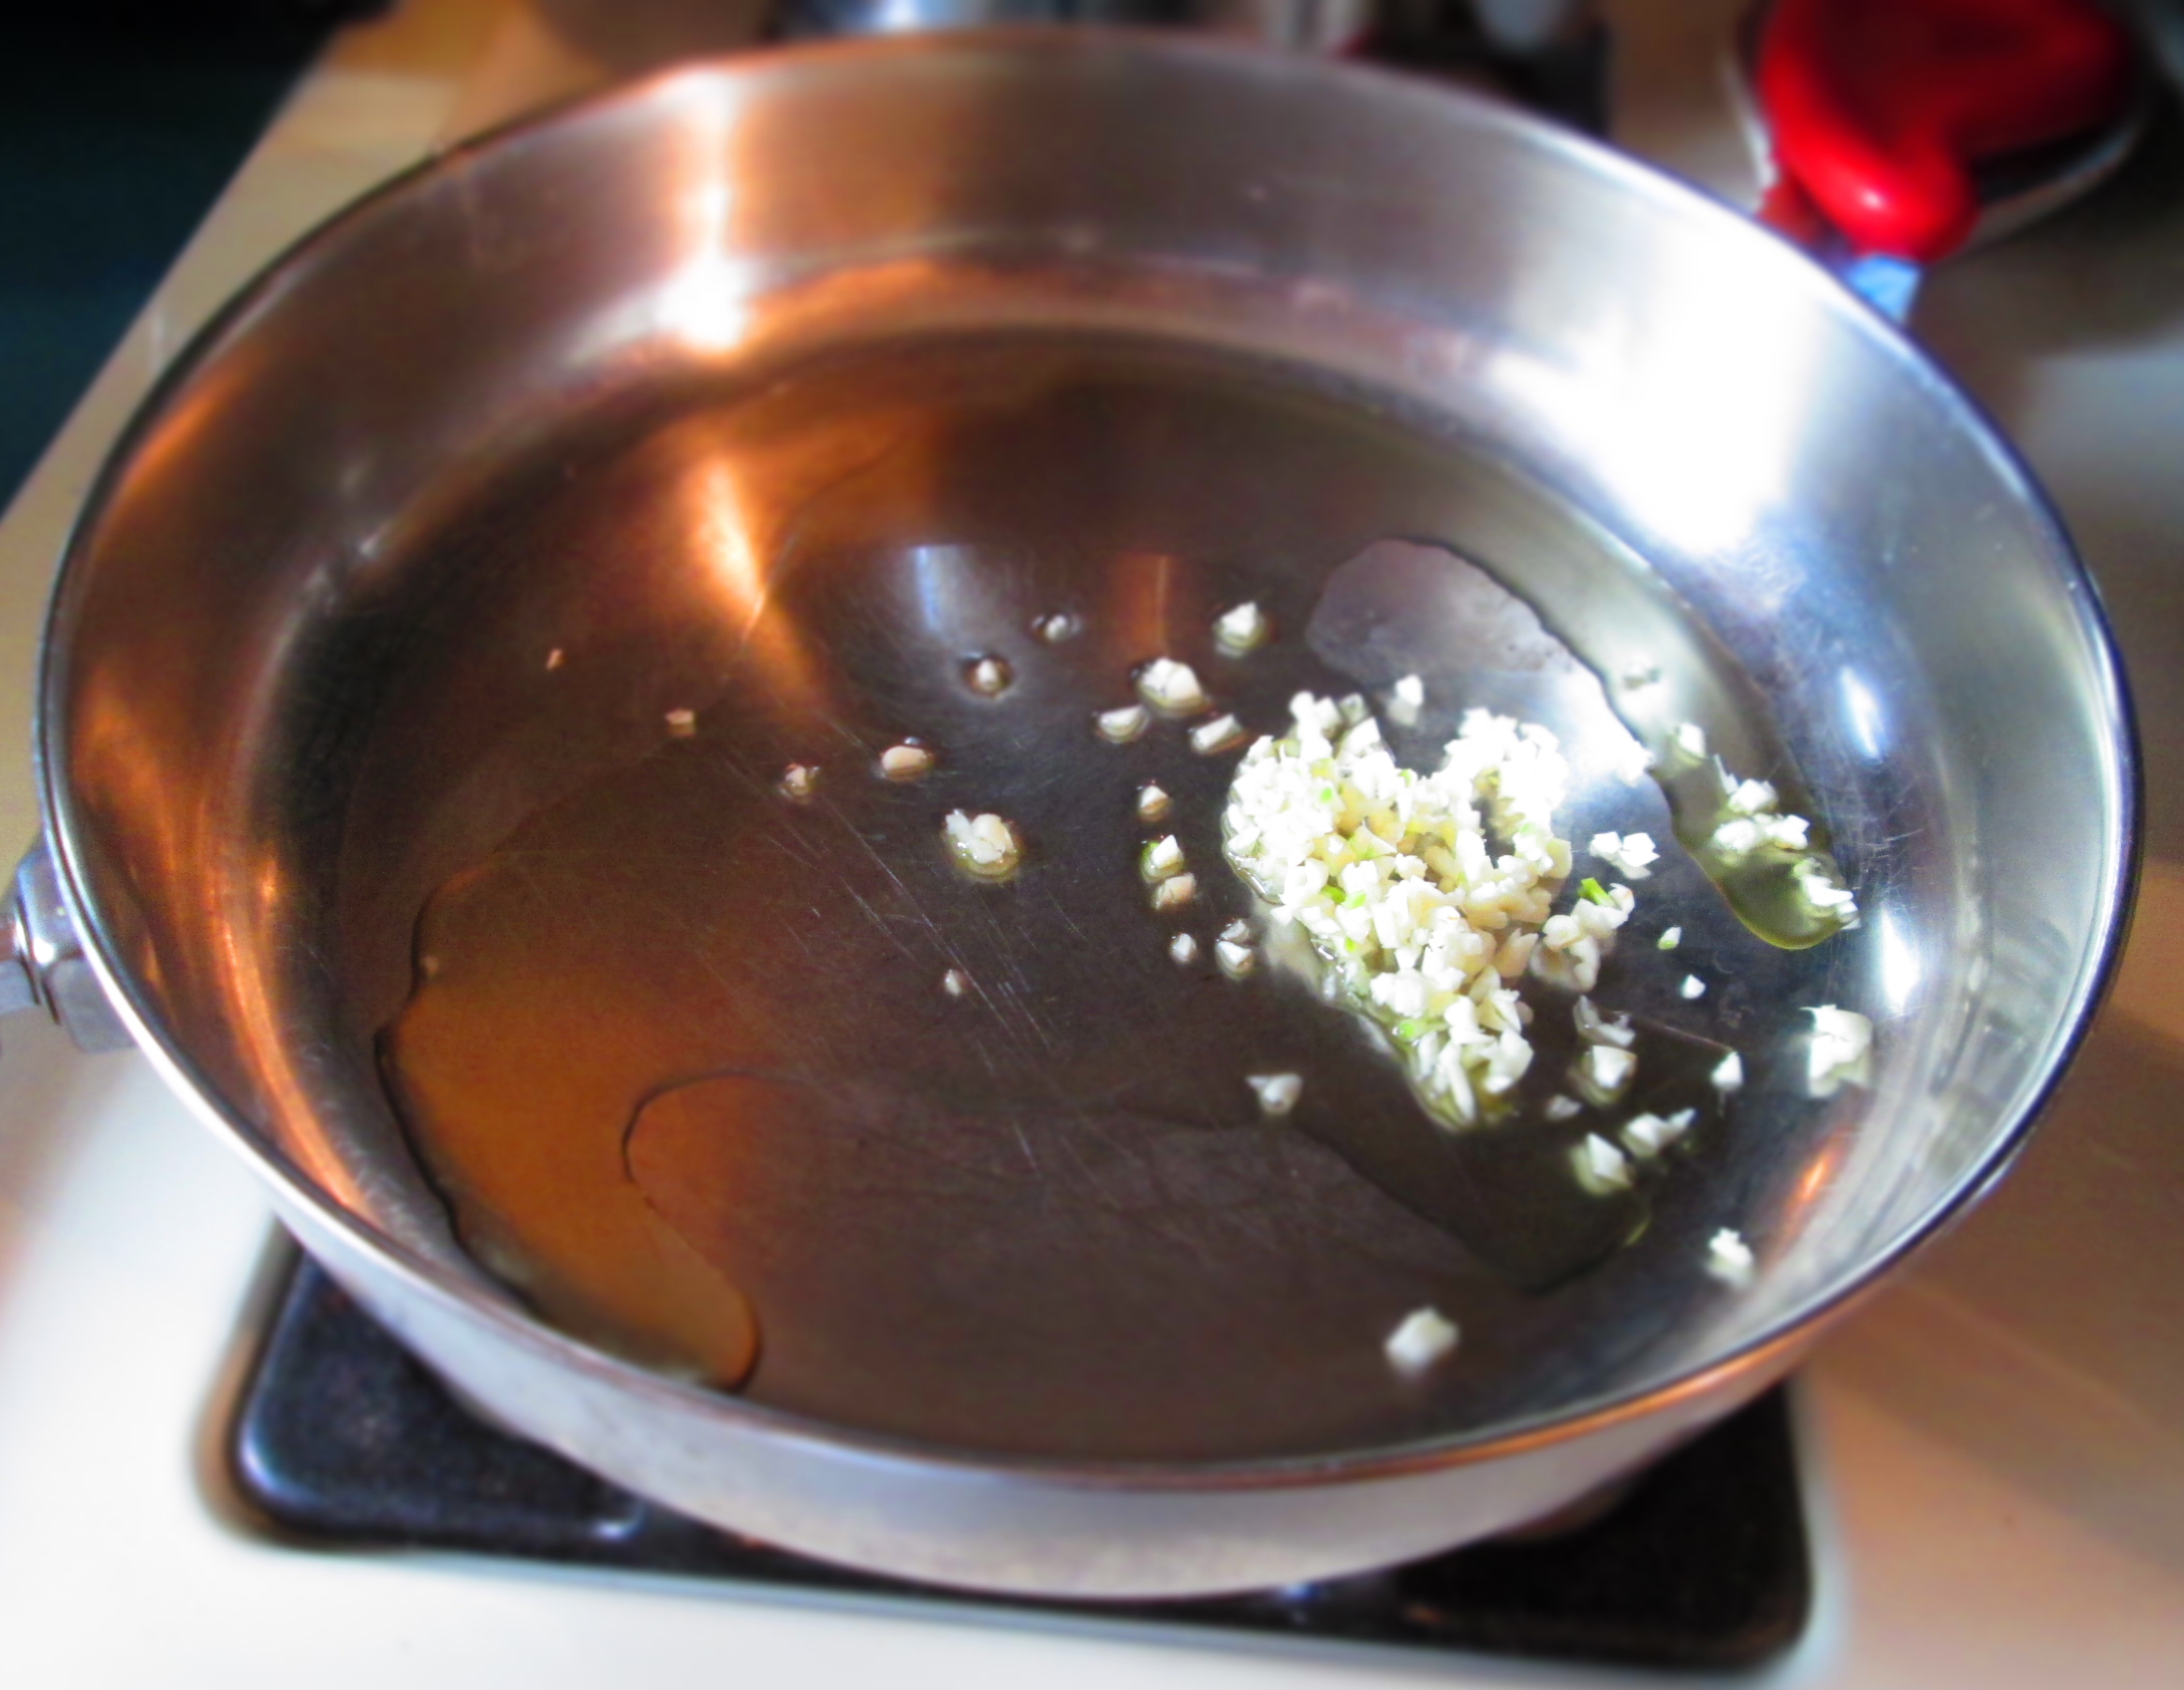
3 cloves garlic
1 teaspoon sea salt
Freshly ground black pepper
1 medium green bell pepper, diced small
½ cup chopped parsley
Garnish: zucchini, scallion greens, broccoli florets

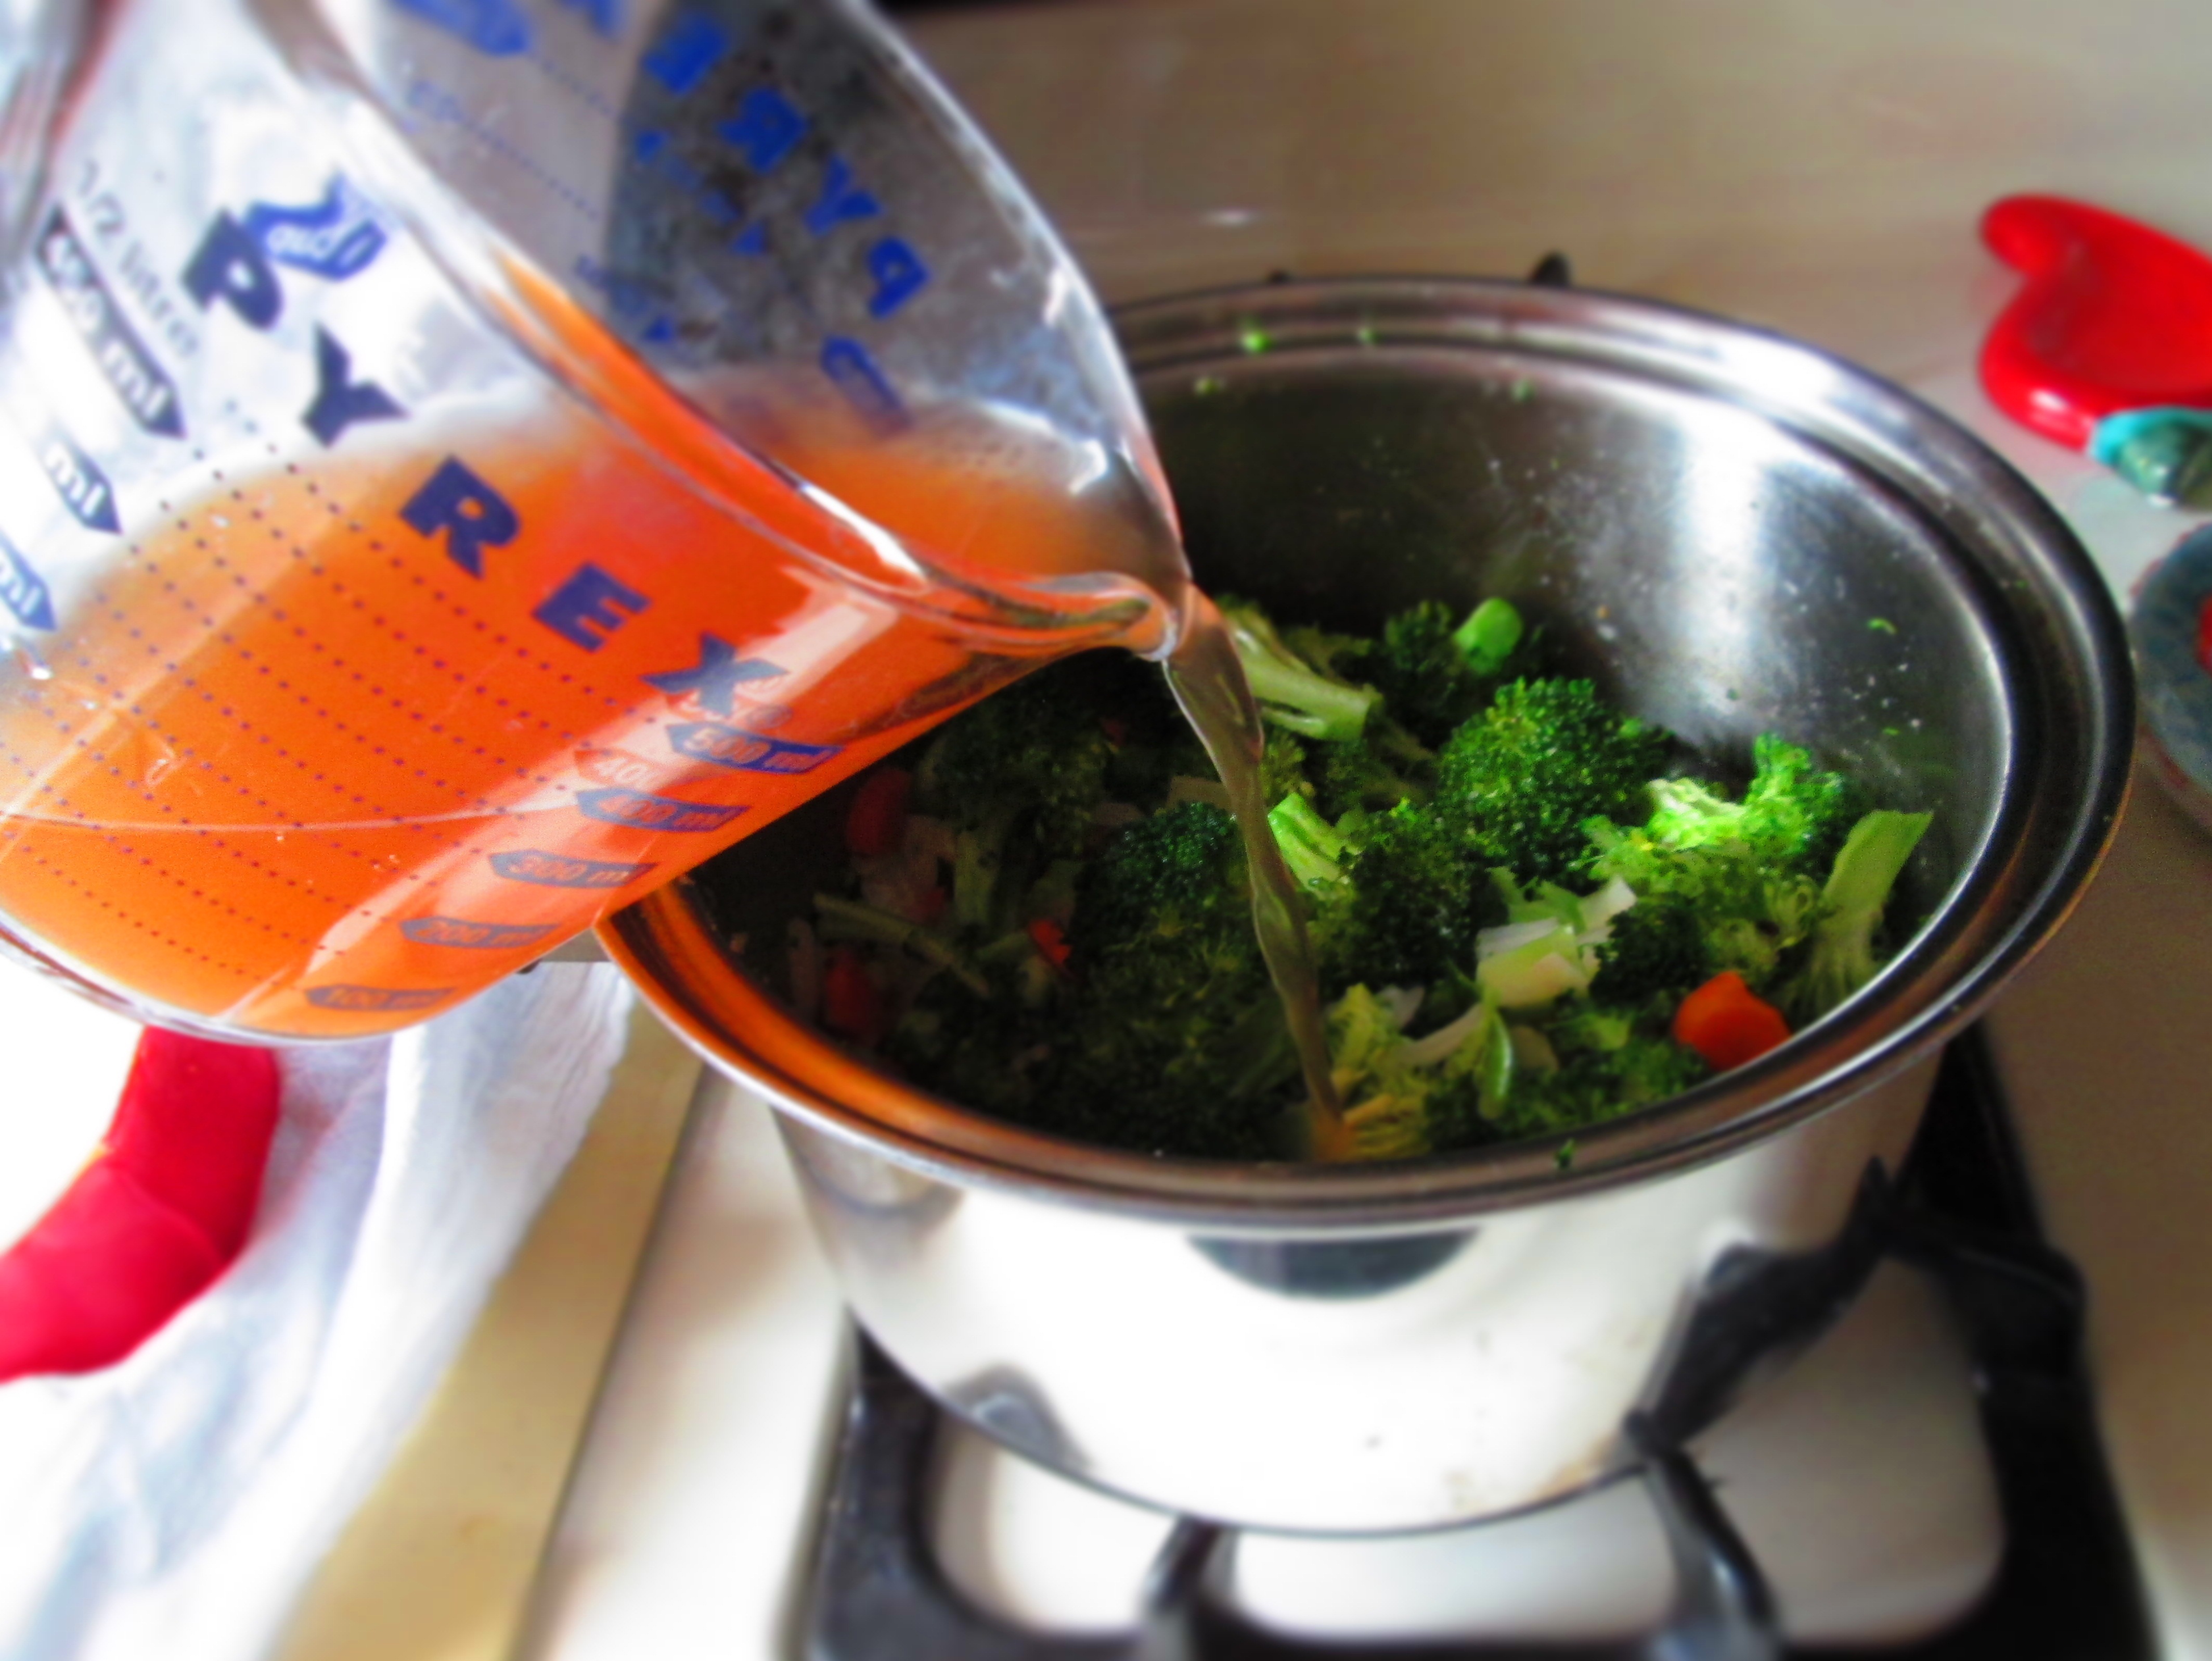
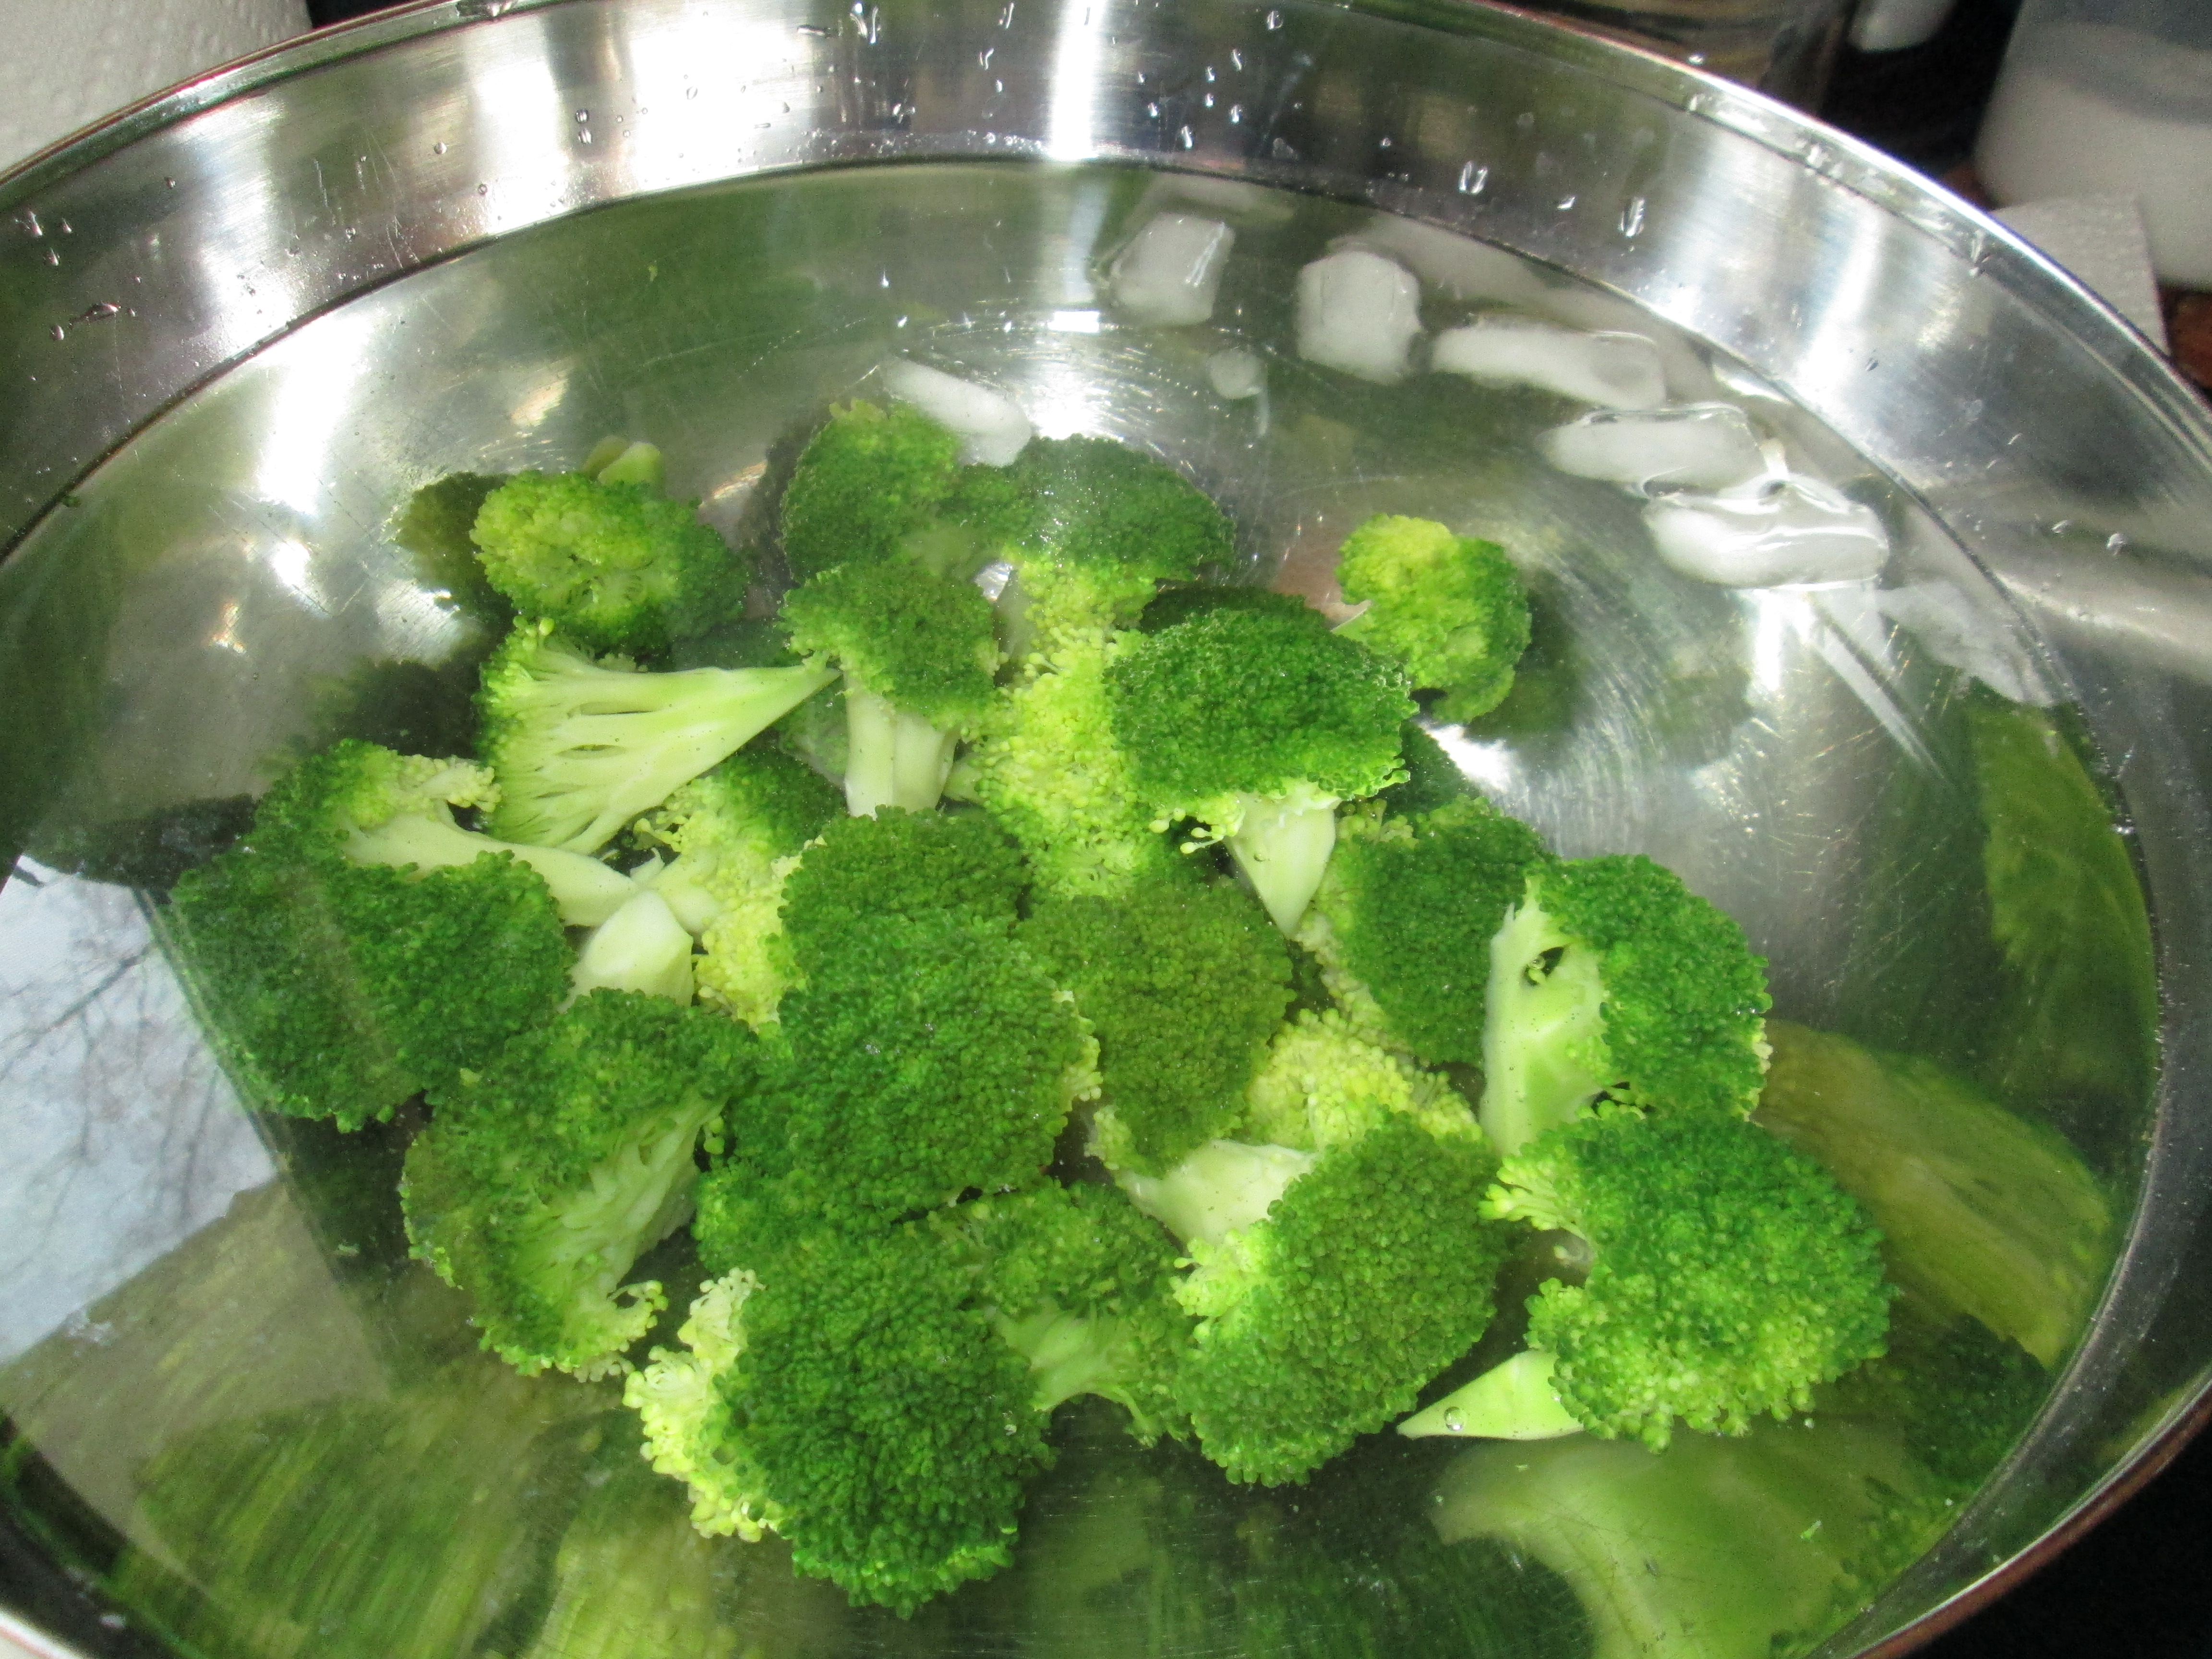
1. Cut the broccoli into florets. Set aside as many “pretty” florets (they should be similarly sized). Chop the remaining florets, stems, and pieces. Blanch and shock the florets. Cook the remaining broccoli until crisp-tender; drain well.
To blanch and shock: Bring a pot of salted water to a boil. Set a bowl of ice water on the counter. Add the broccoli florets to the boiling water and cook for a minute or 2, until broccoli is slightly tender. With a slotted spoon, transfer the broccoli to the ice water to stop the cooking. When cool, transfer to a bowl and set aside.

2. Heat 2 teaspoons of the oil in a medium skillet; add the onion and salt, and sweat (cook over medium-low heat, stirring frequently, until soft and translucent. Do not brown.)
3. Zucchini: Saute in 2 teaspoons just until tender. Transfer to a bowl; let cool.
4. String beans: Bring pot of salted water to a boil; add string beans and cook just until tender. Transfer to the ice water and let cool. Transfer to a bowl. Set aside ½ cup.
5. Peas: If fresh, cook in boiling water until just tender. If frozen, boil briefly. Drain well.
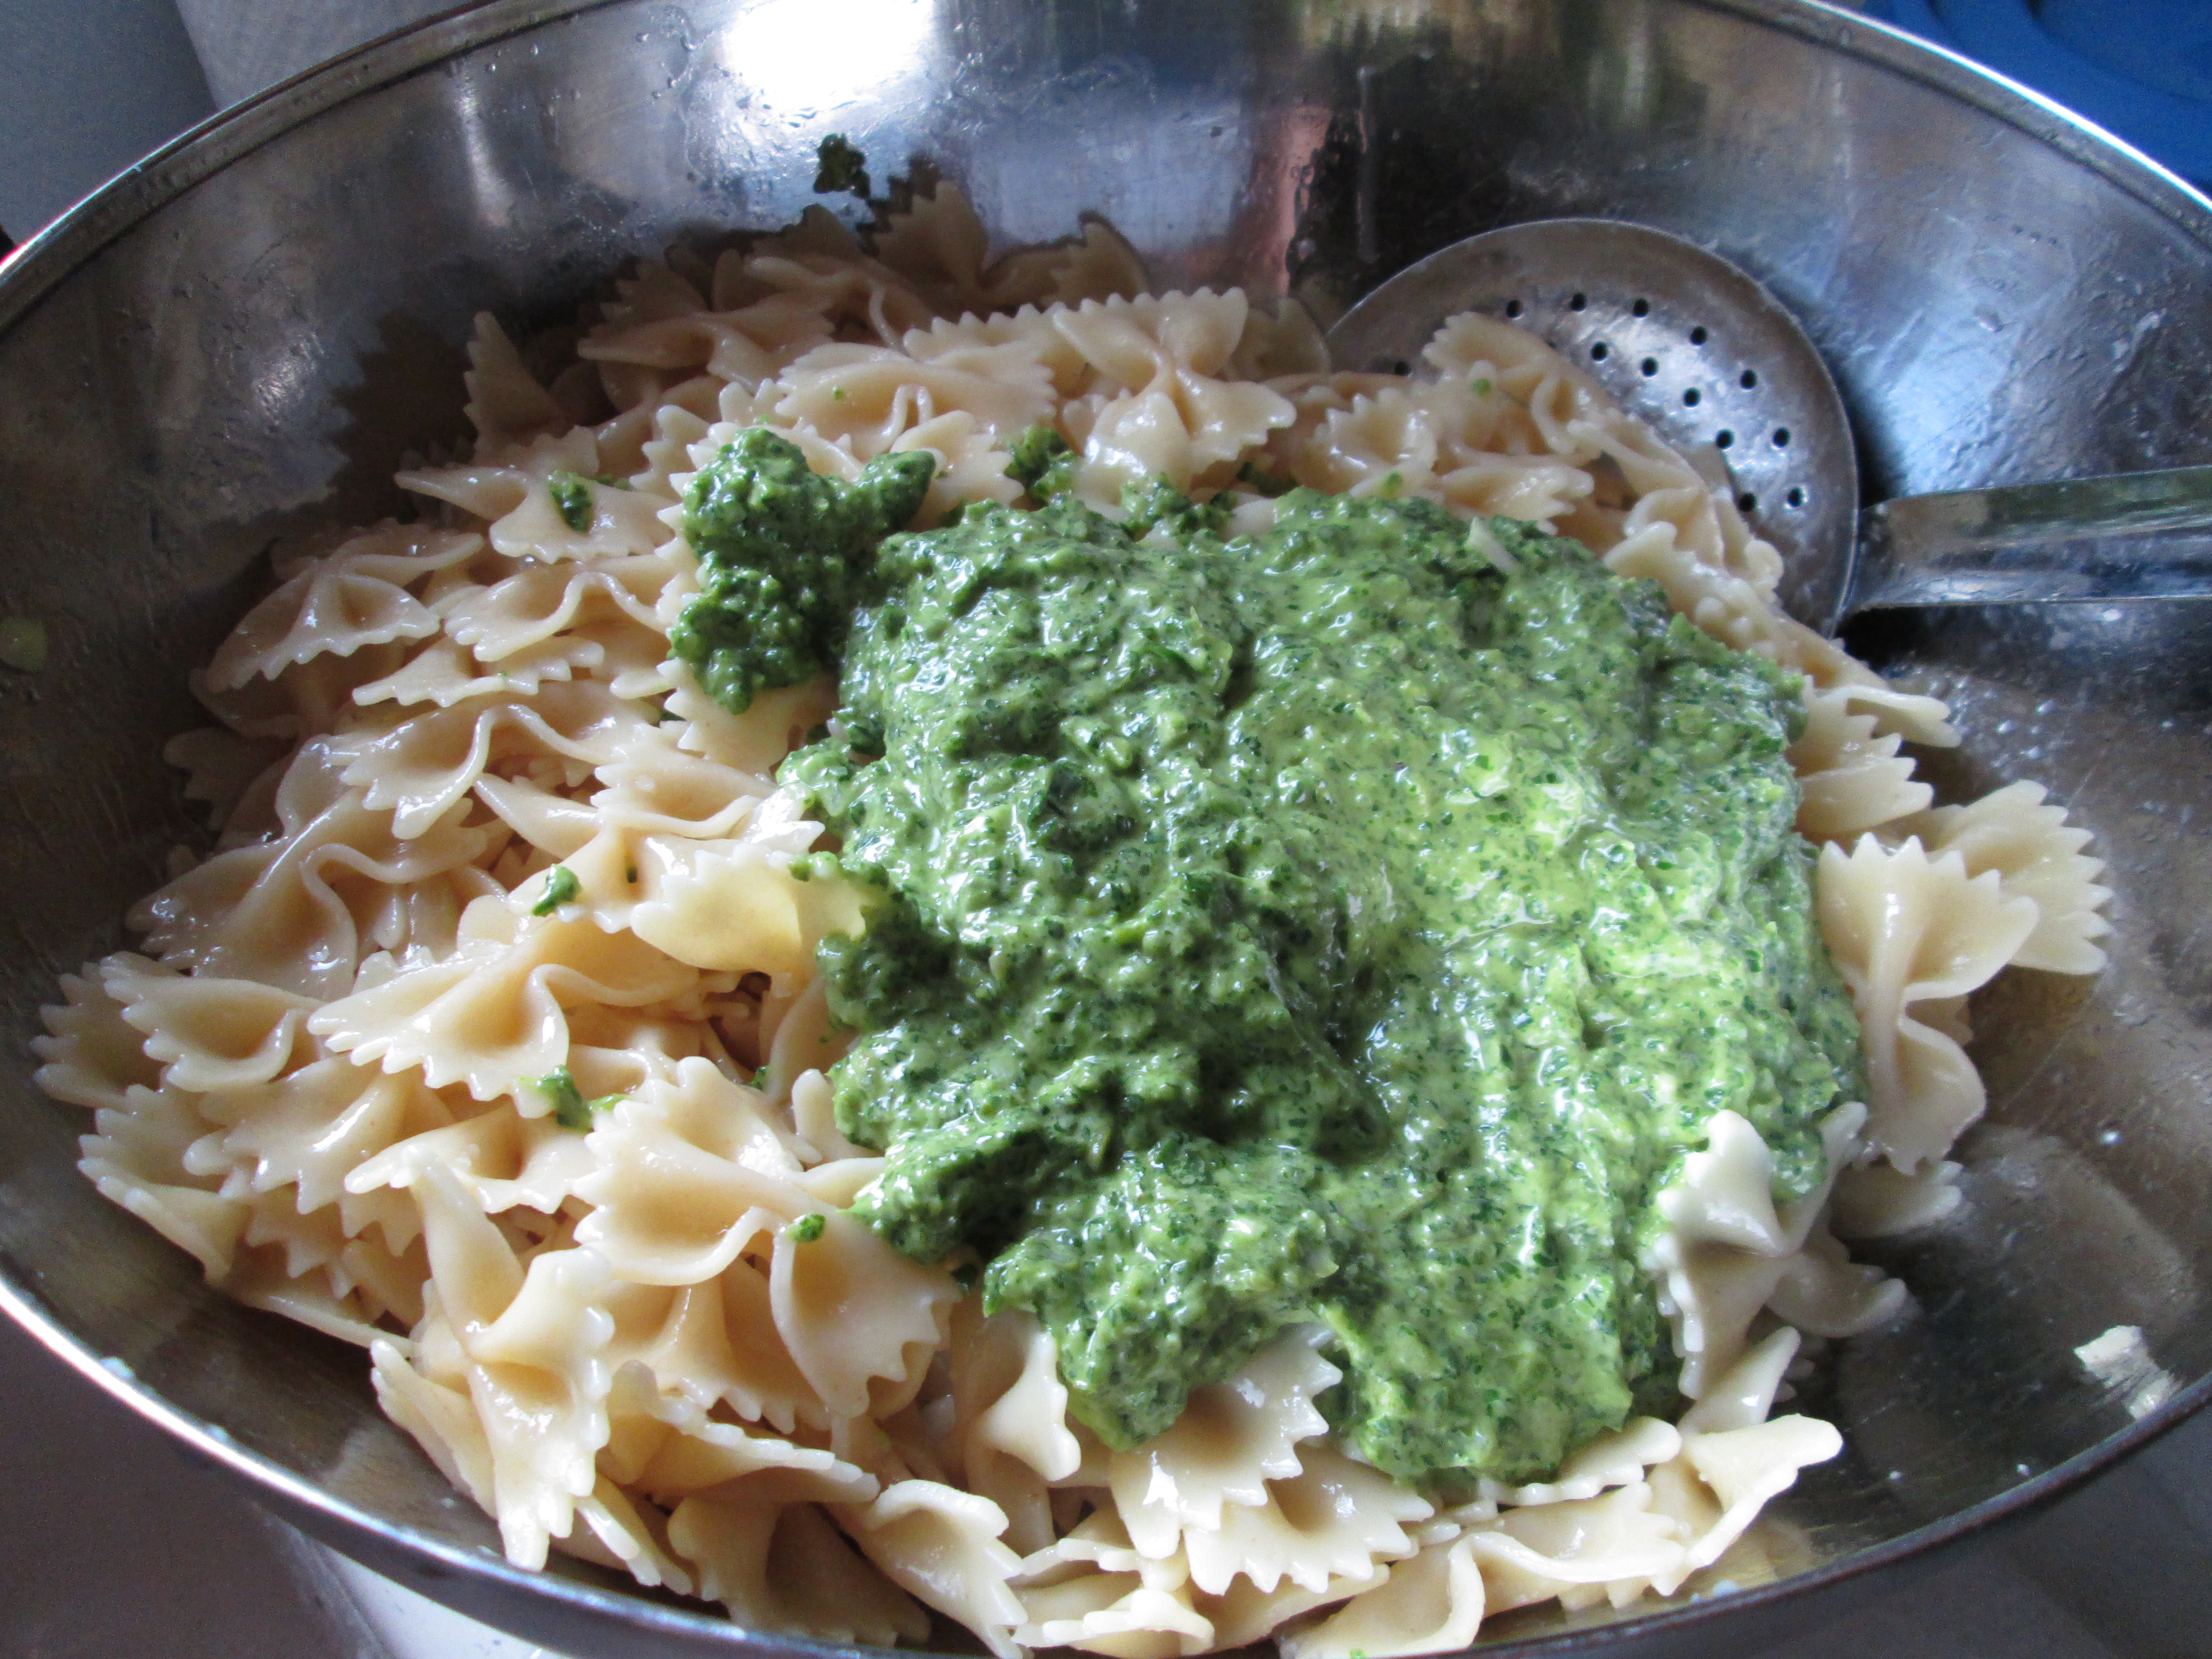
6. Bring a large pot of salted water to a boil; add the pasta and cook until al dente. Drain well and let cool.
7. Meanwhile, make the sauce. In a food processor or blender, combine the arugula, watercress, ½ cup string beans that were set aside, ½ cup scallions, garlic, salt and pepper. With the machine processing, slowly add the extra-virgin olive oil until a sauce forms.
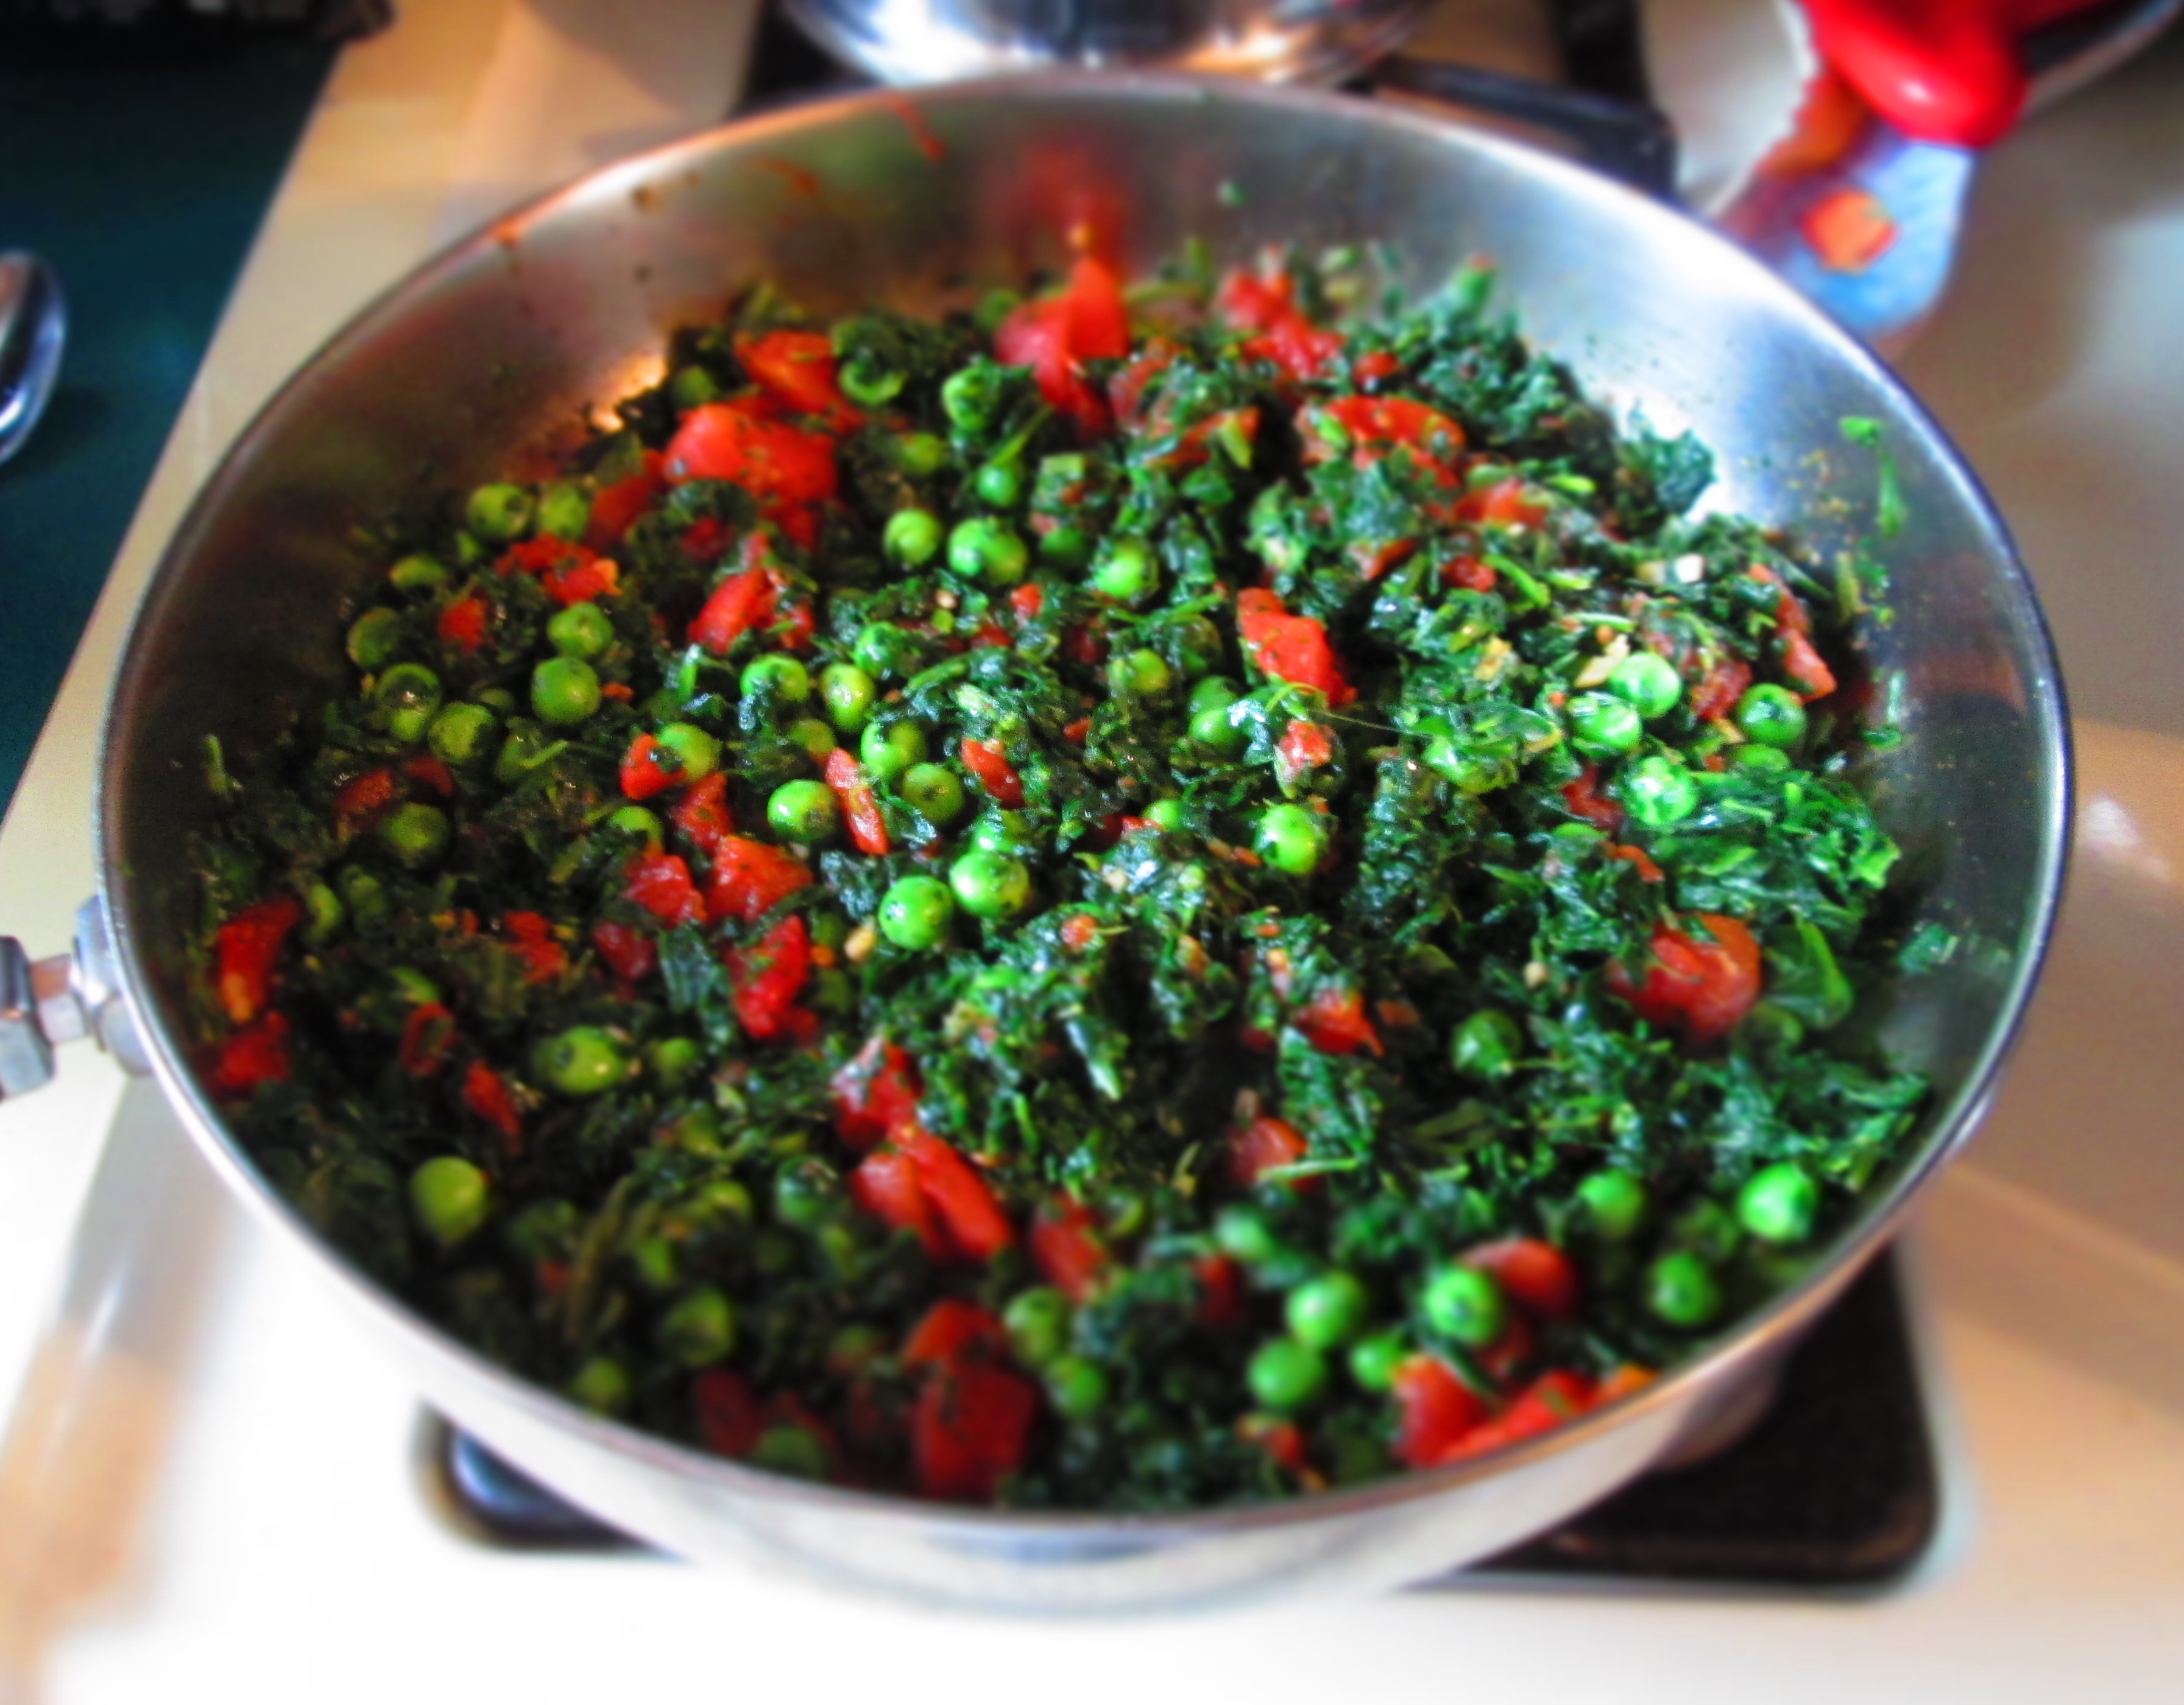
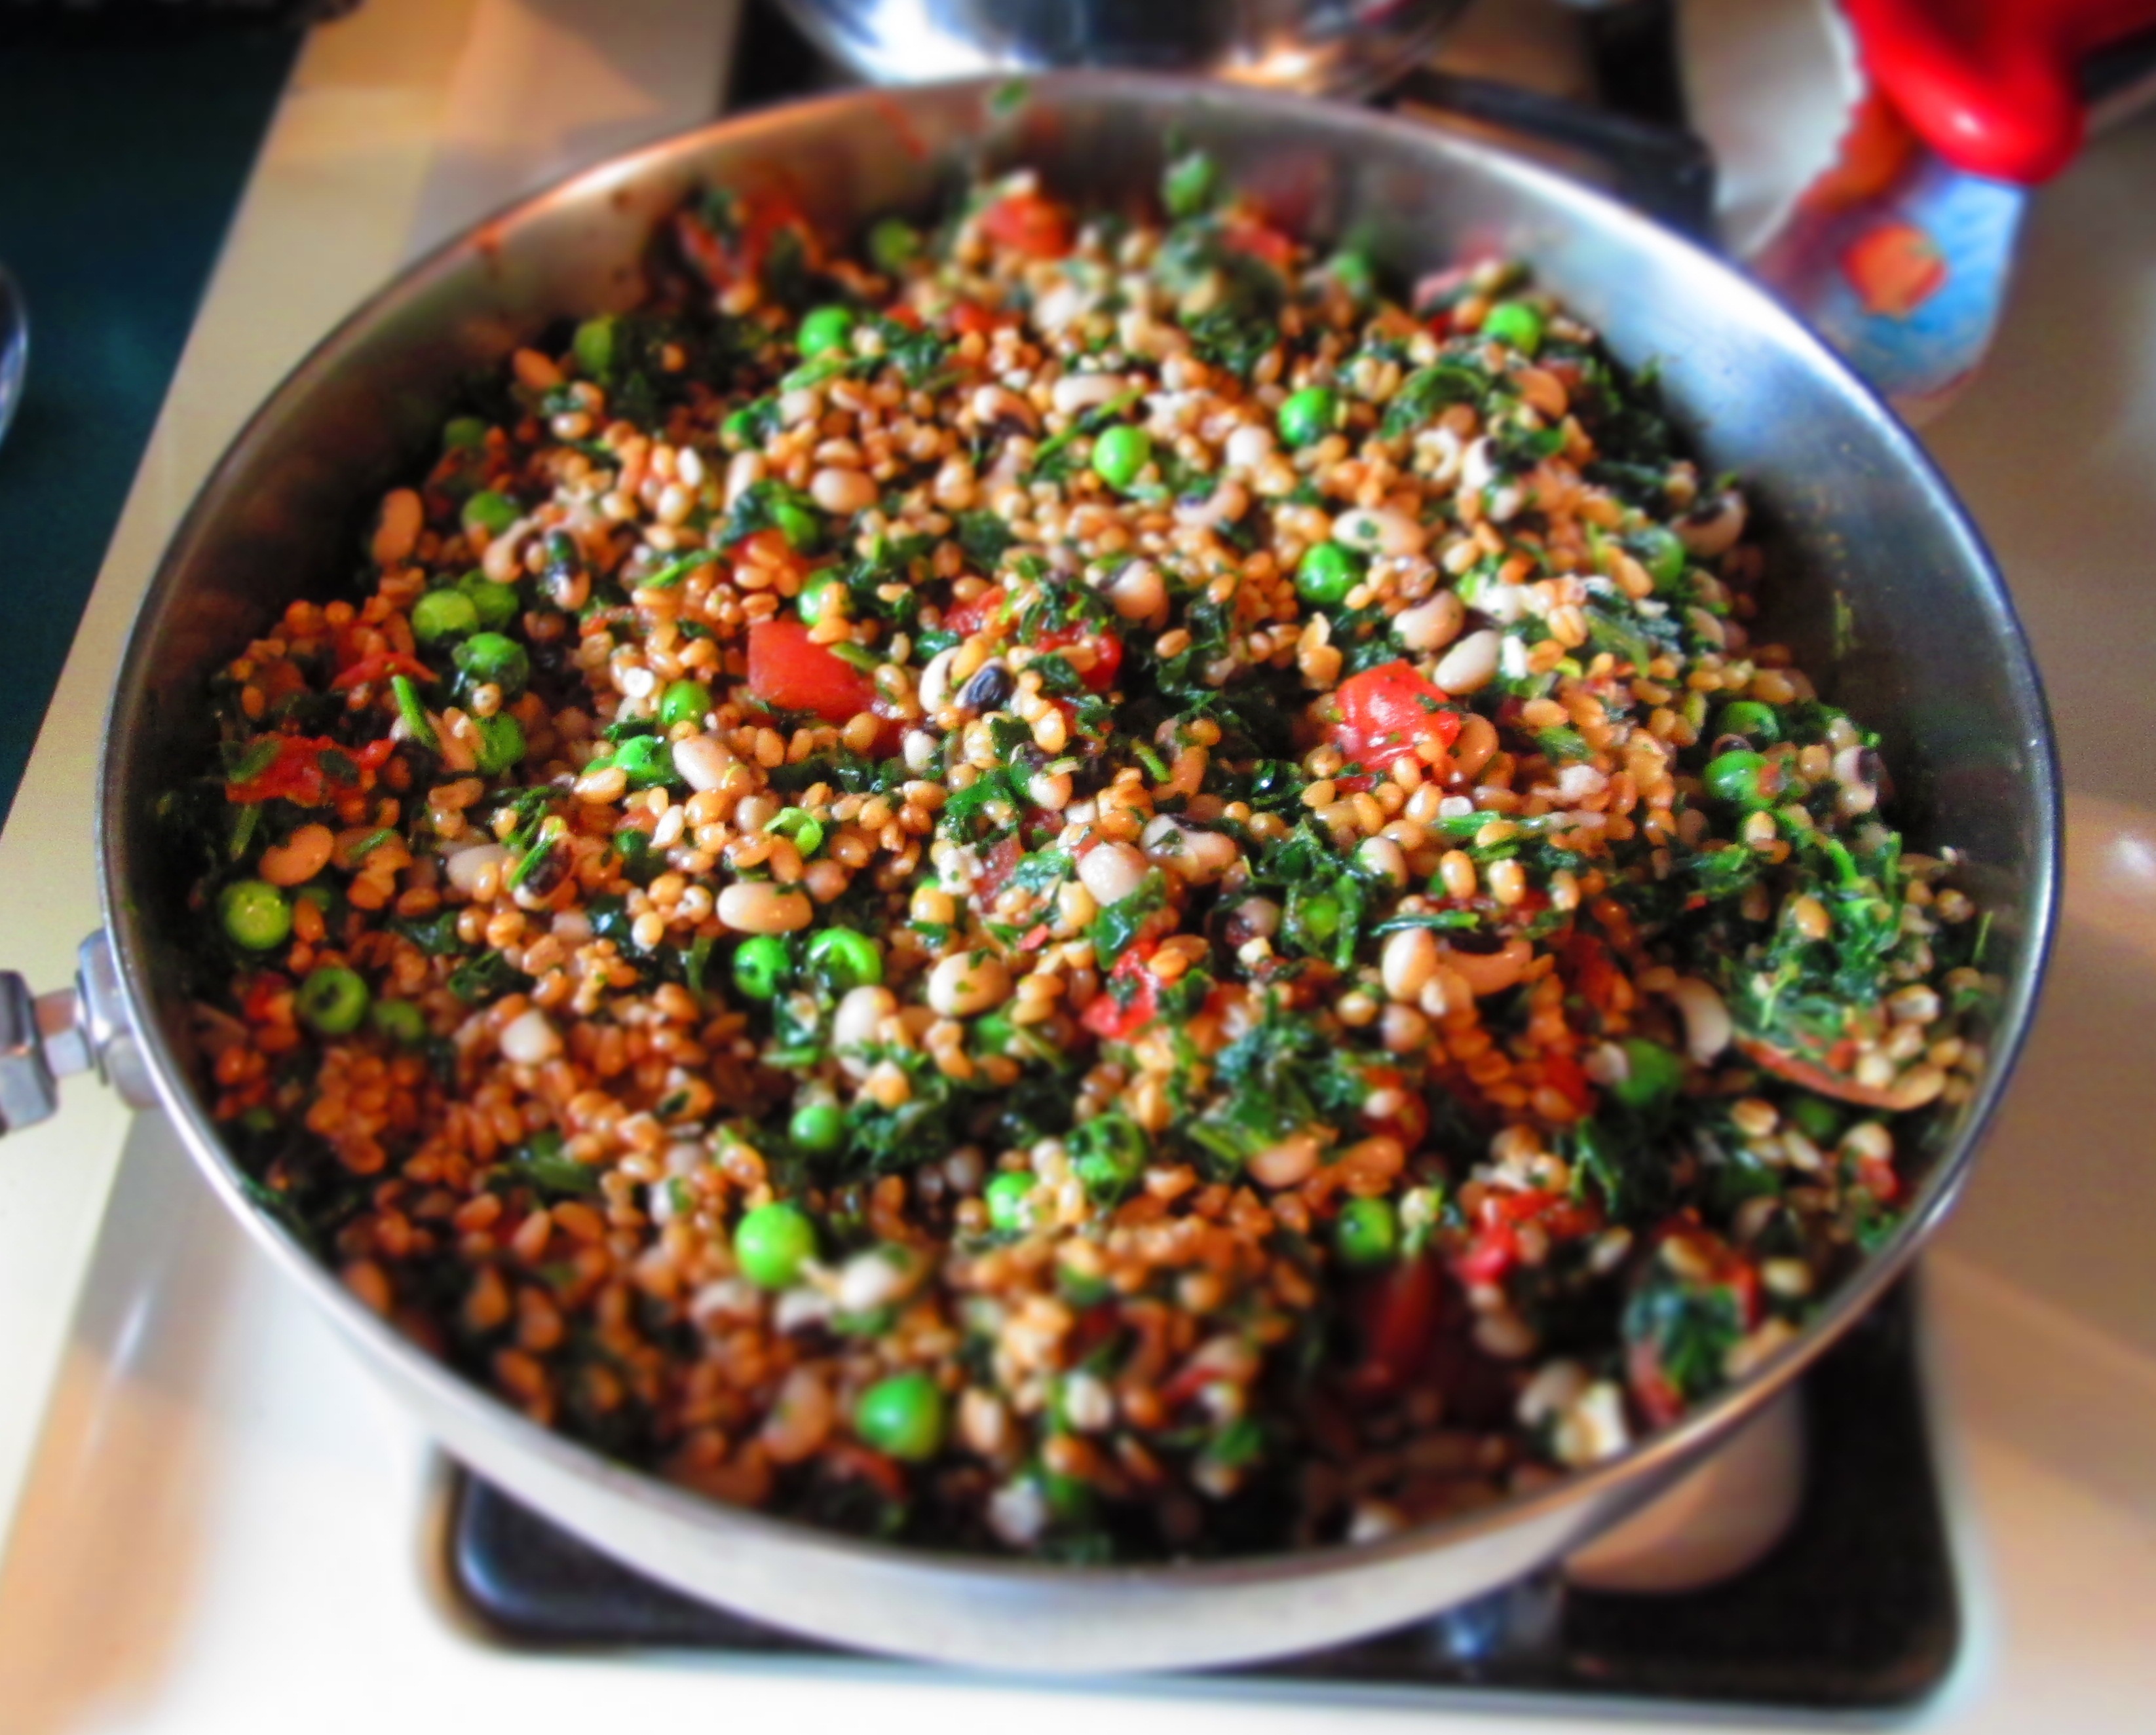
8. When pasta has cooled but is still slightly warm, add the sauce and mix well. Add the green pepper, the chopped broccoli, onion, cooked zucchini, peas, remaining string beans, and remaining scallions. Mix well. Blend in parsley. Taste and adjust for seasoning. Add whatever herbs or spices you like.
 Makes 14 servings.