Miz Chef

Cooking Up a Healthy Life


2 Comments

Red & Golden Beet Carpaccio

IMG_3242

I went to the Greenmarket this past week and found golden beets, which is not something I encounter often. So I bought a bunch and finally got around to roastingfarmer's market 8-14 them. I love beets and so happened to also have some red beets left over as well.

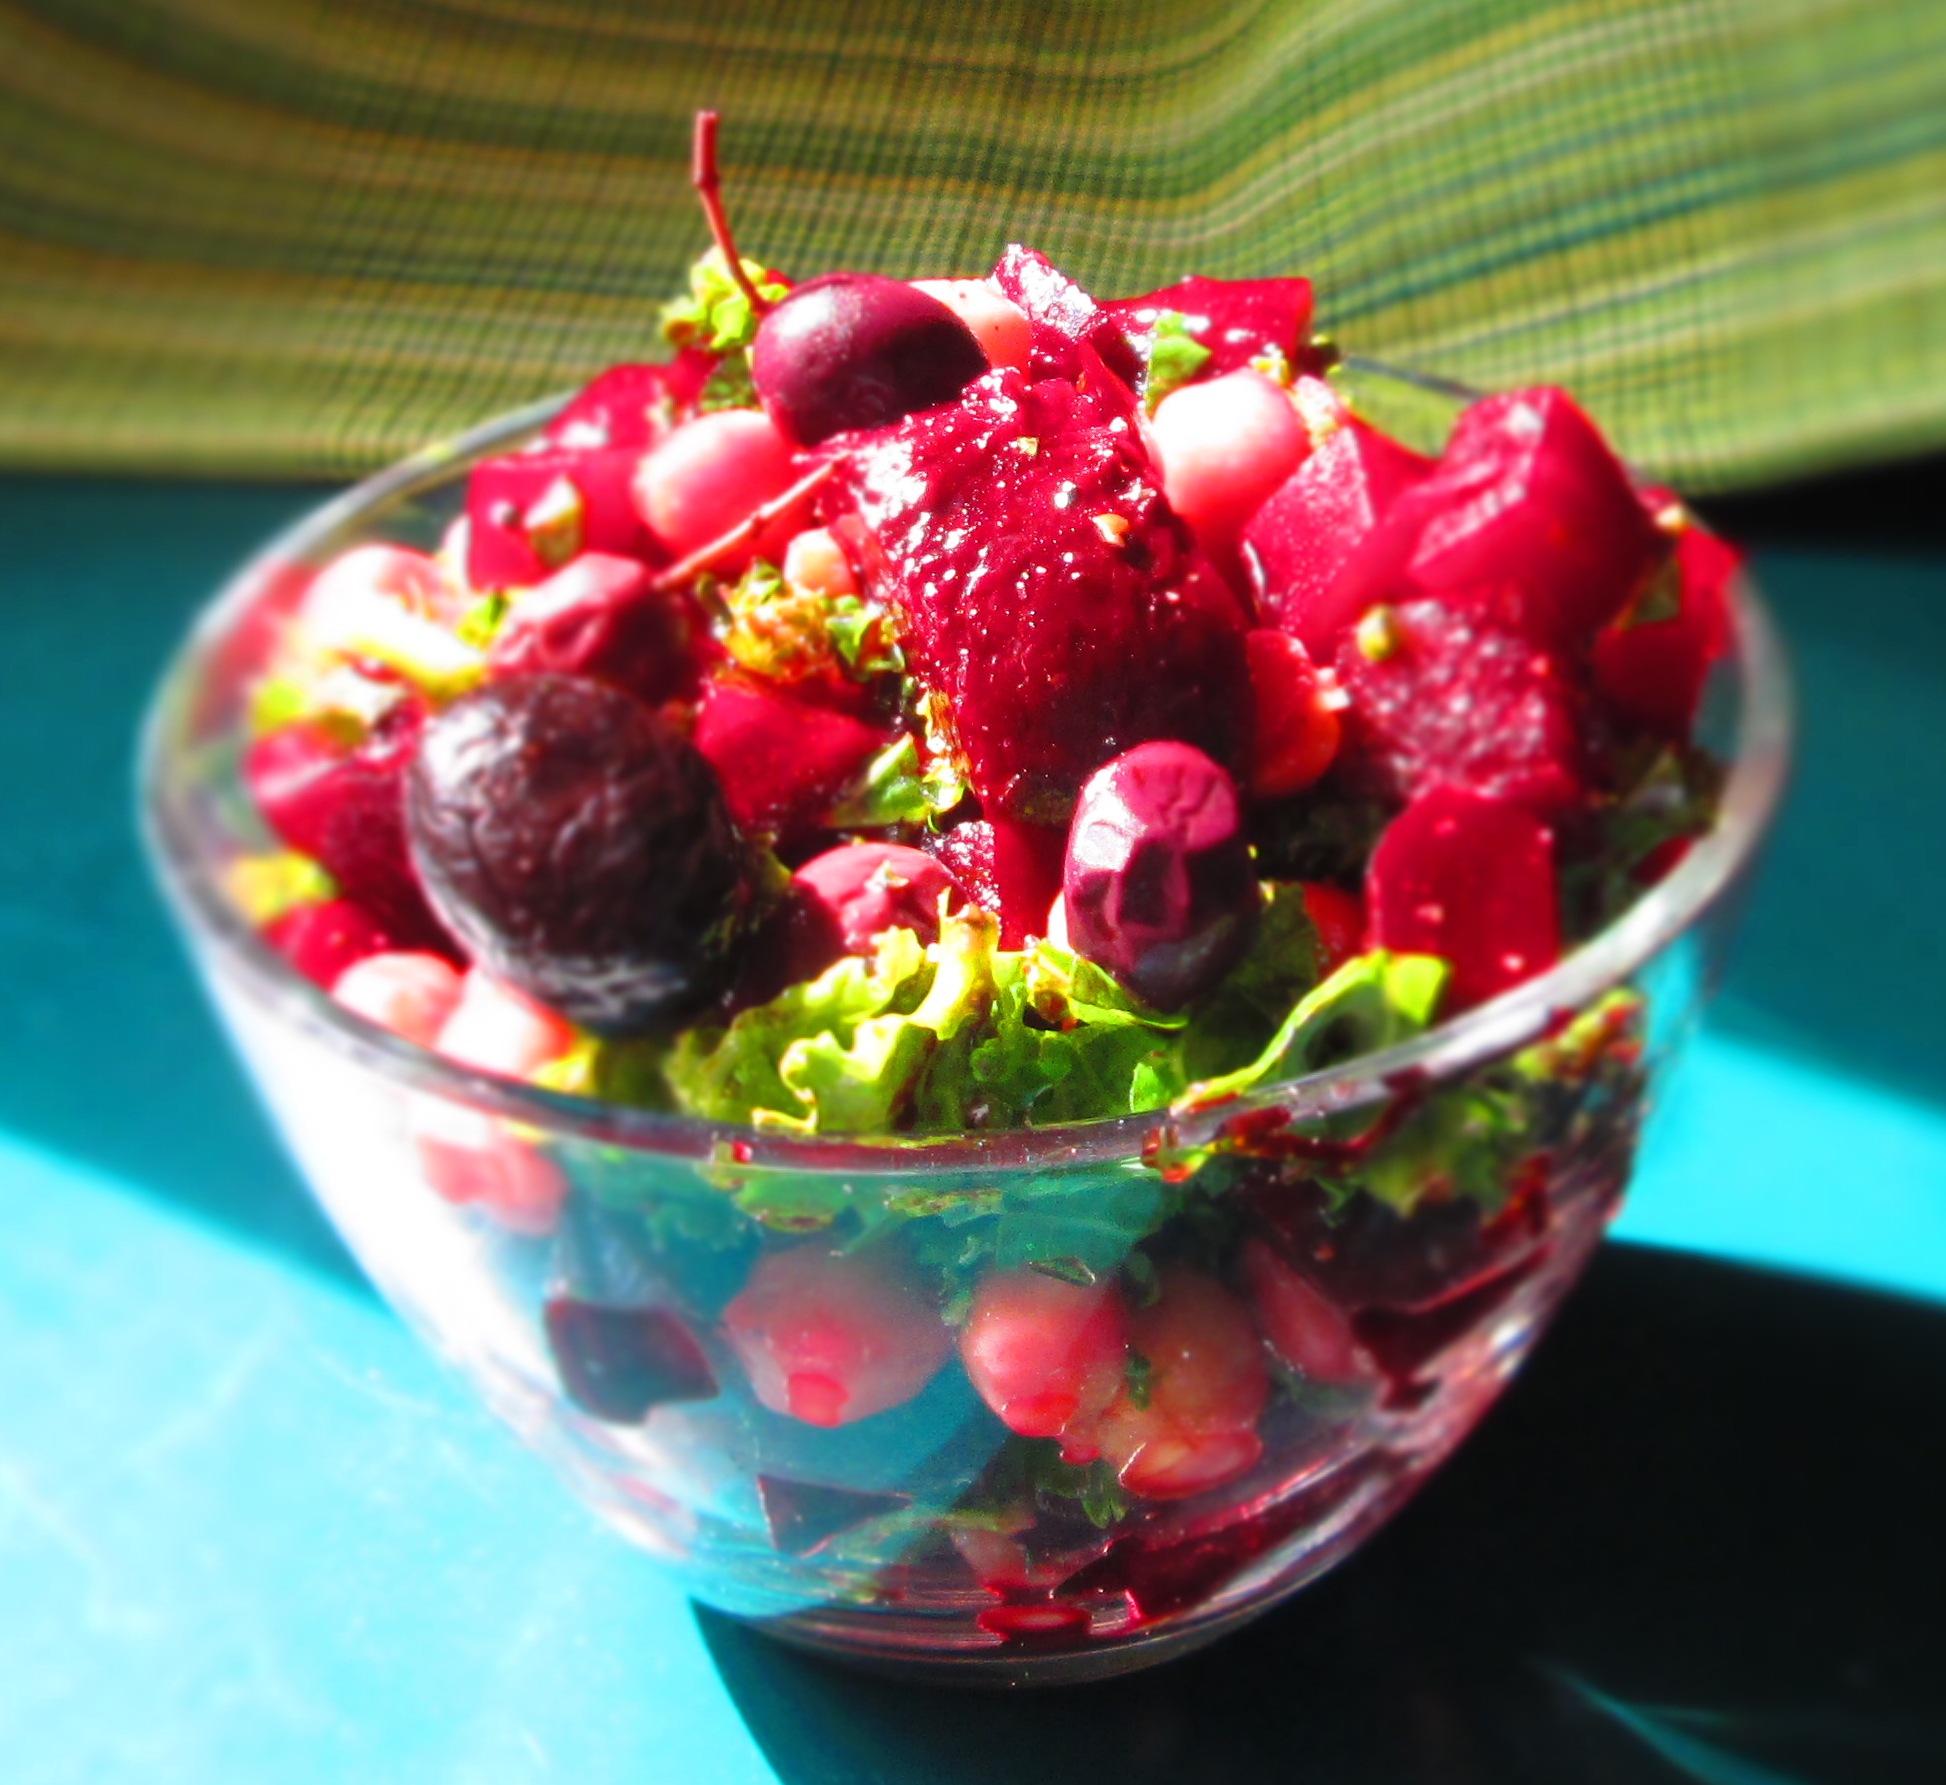
I wondered what I should do with all these beets. Well, as it turns out, today was a pretty hot day and I just didn’t have the energy or desire to do too much food prep.

So I pulled out my mandoline and just sliced these little jewels up. My mandoline is old and cheap and it sucks, so I didn’t really get nice clean edges. But it didn’t matter. Some extra virgin olive oil, sea salt, freshly ground pepper, and thinly sliced red onions (which I also got at the IMG_3207Greenmarket), and I had a simple, flavorful, and attractive light summer dish. The herbs from my garden and a few olives topped it off.

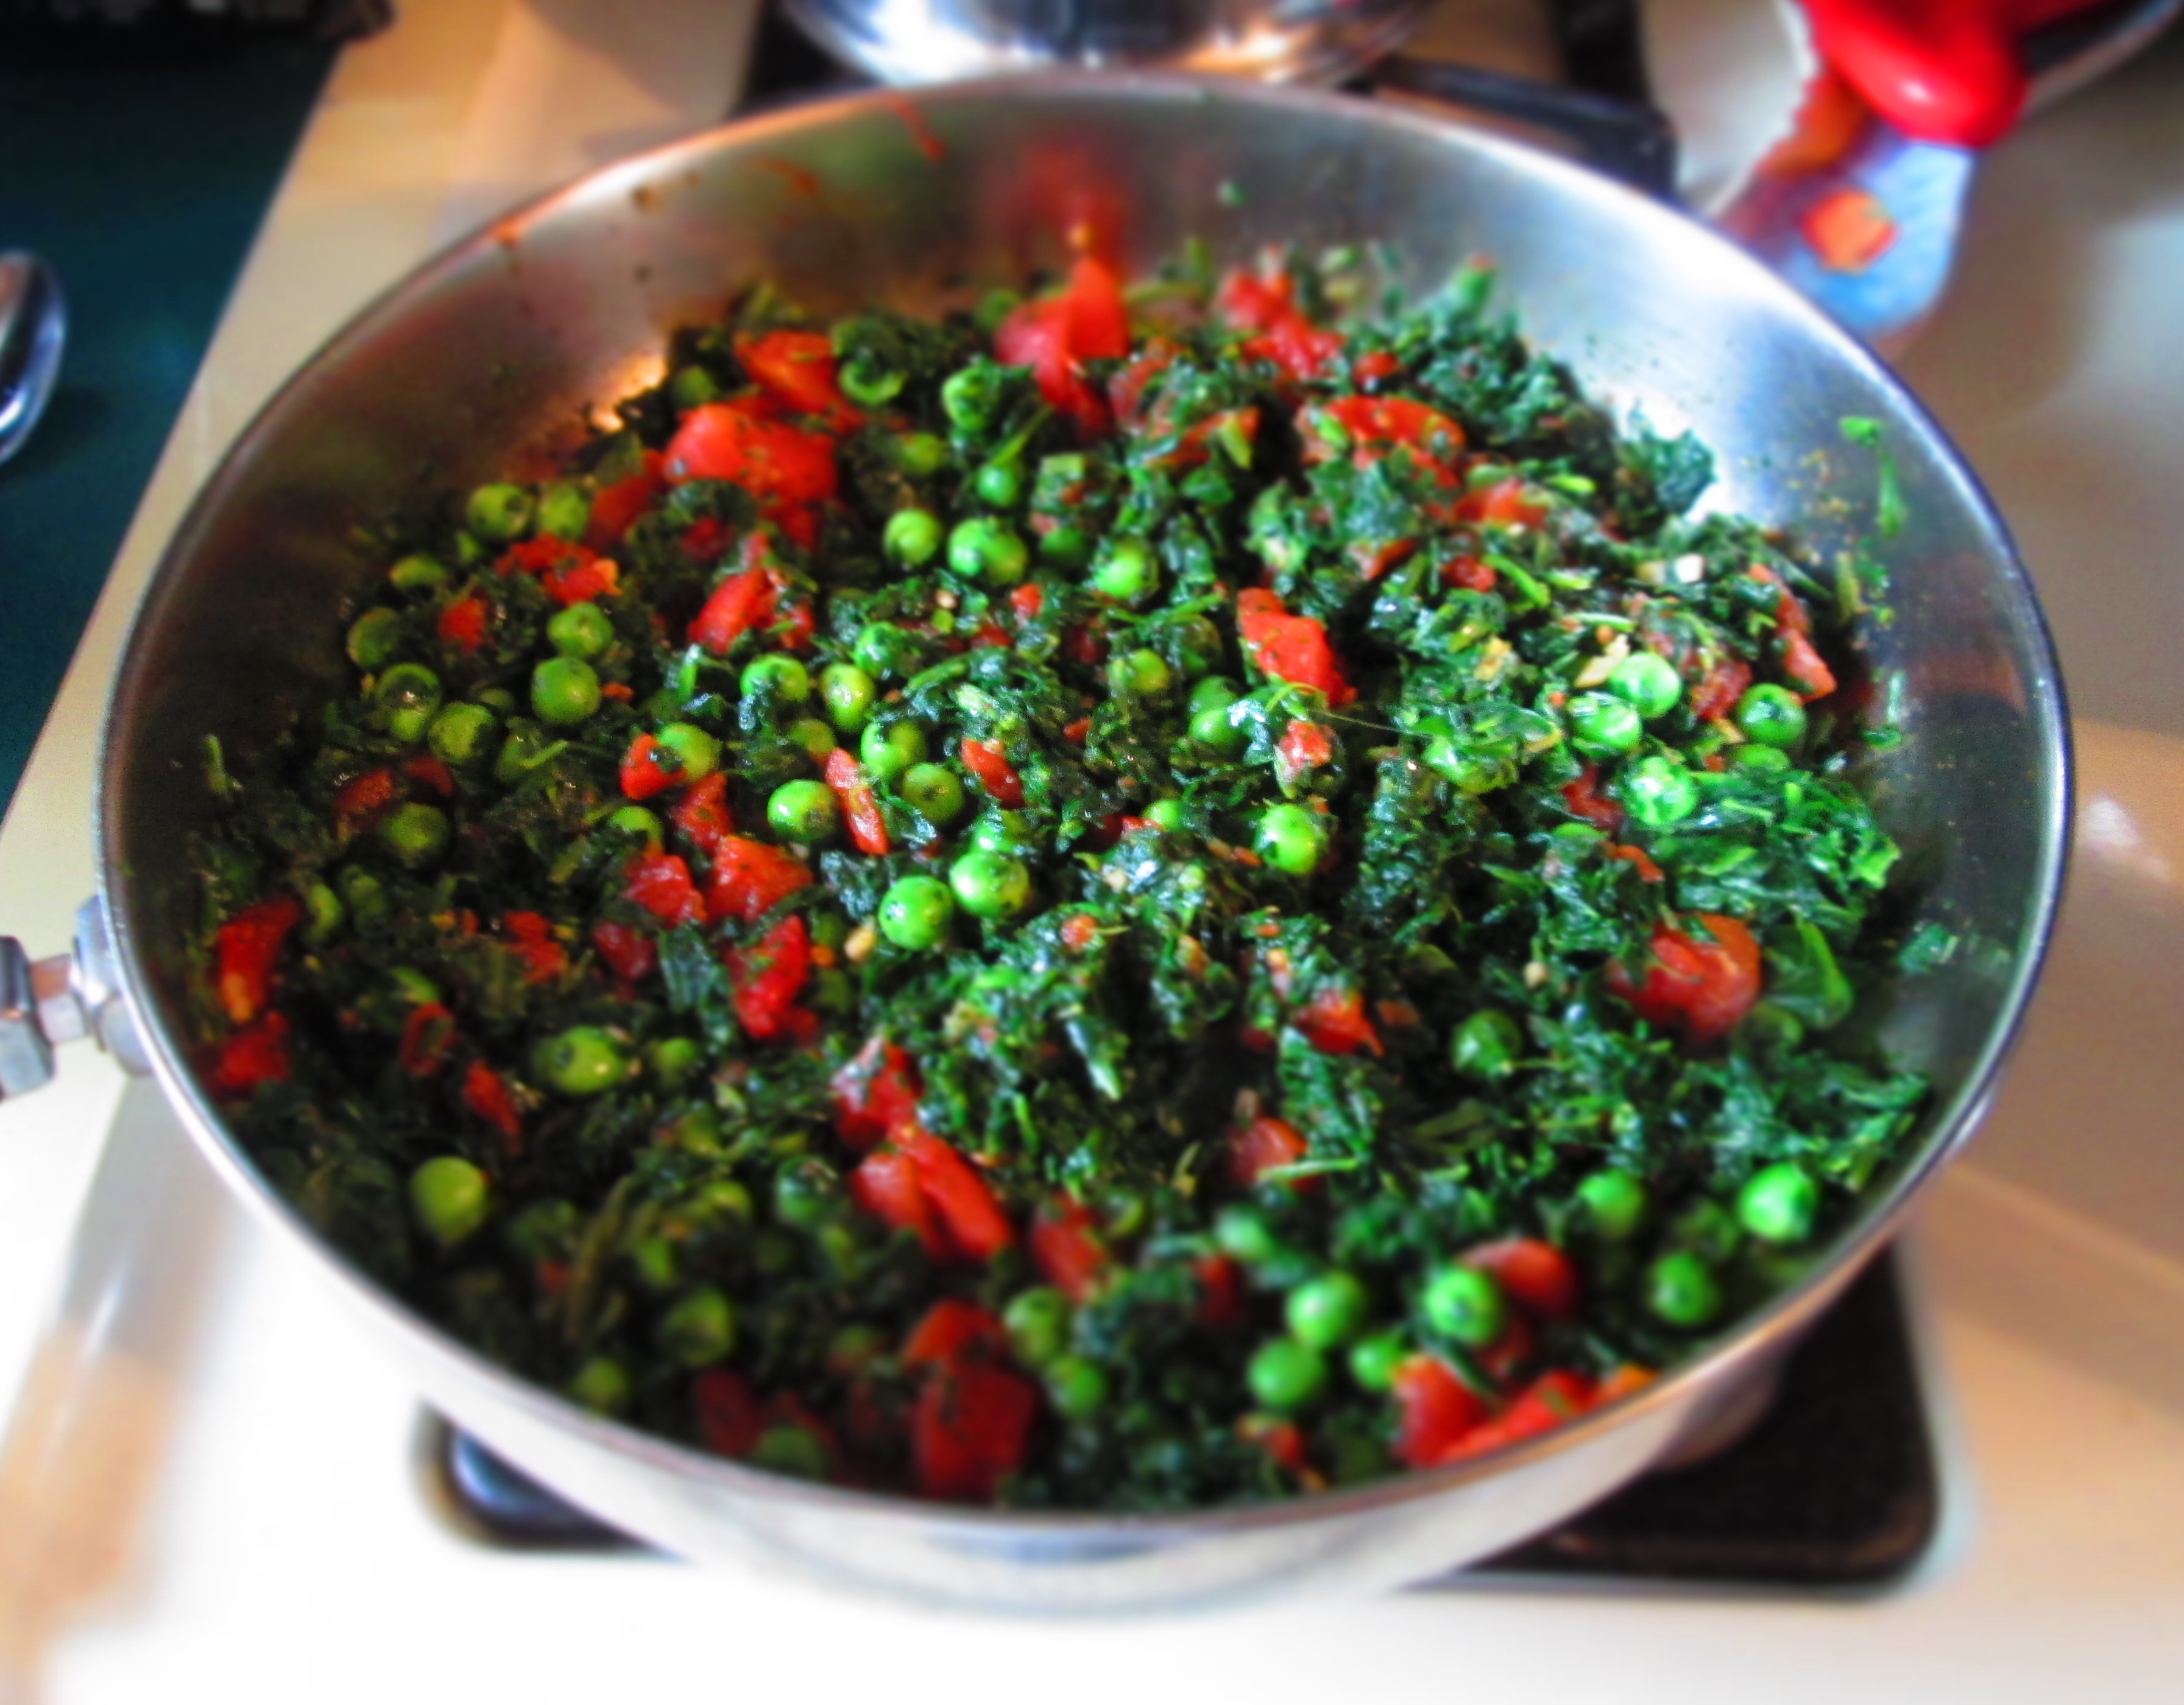
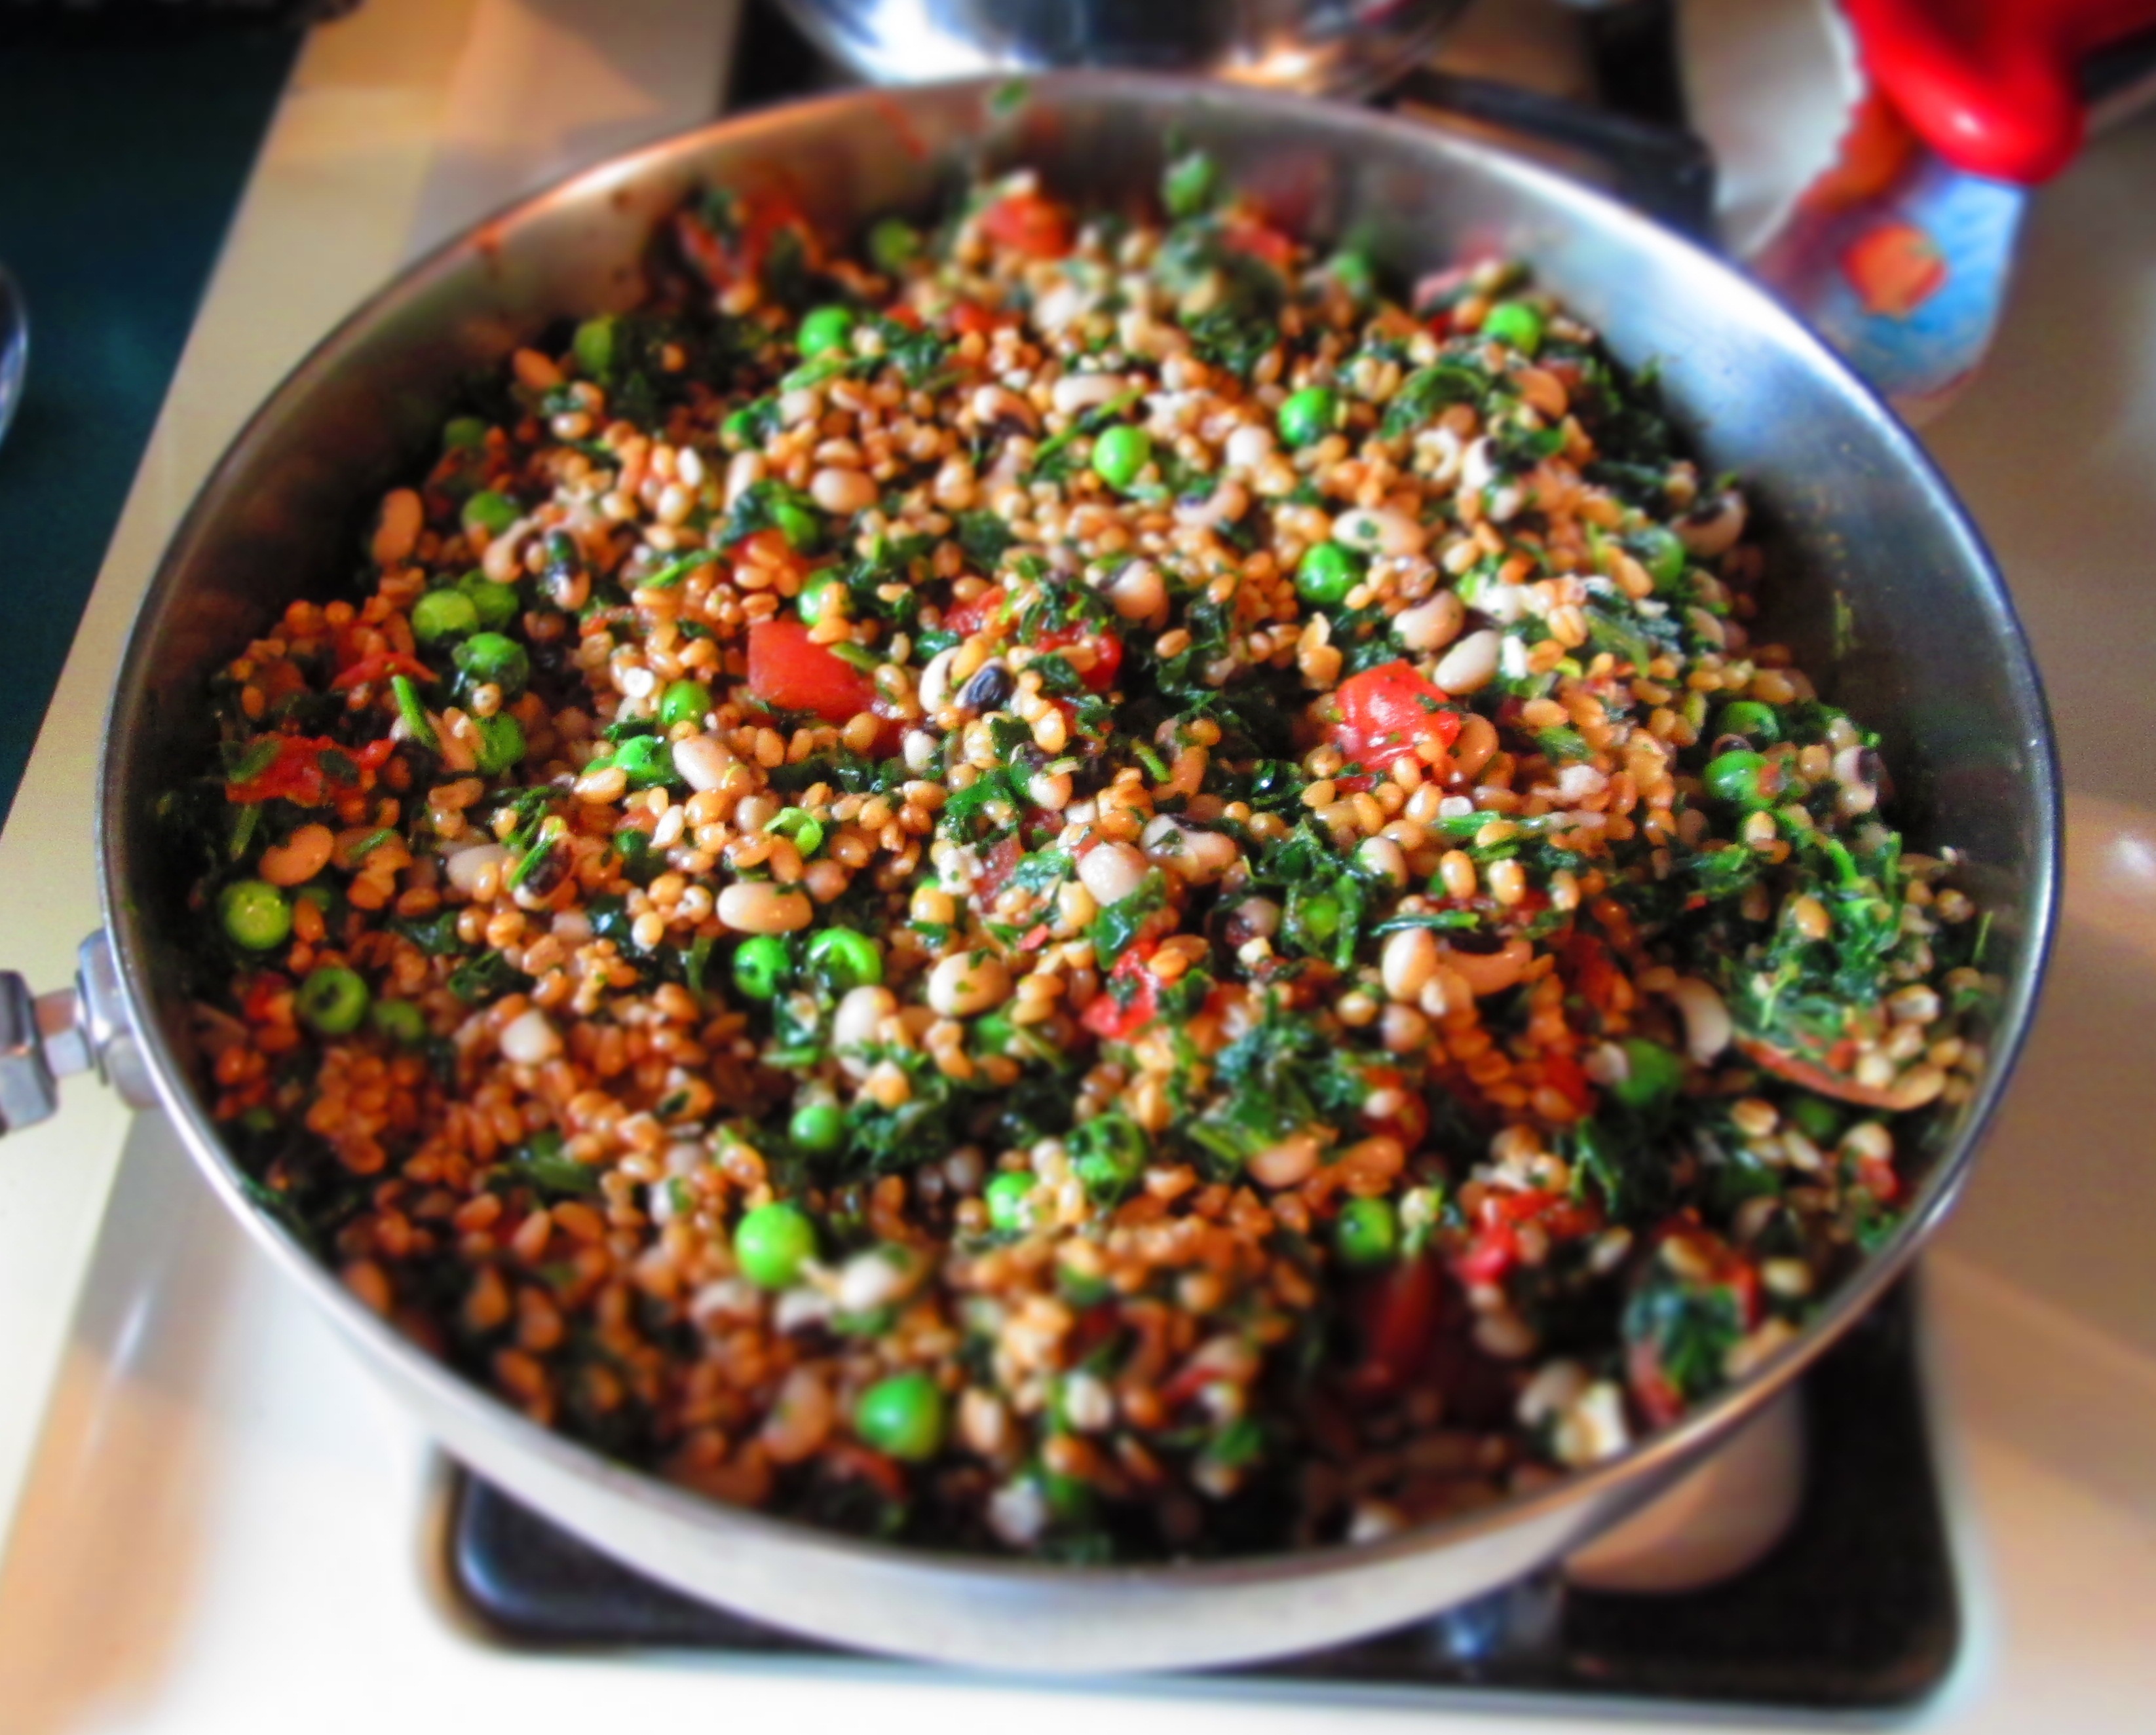
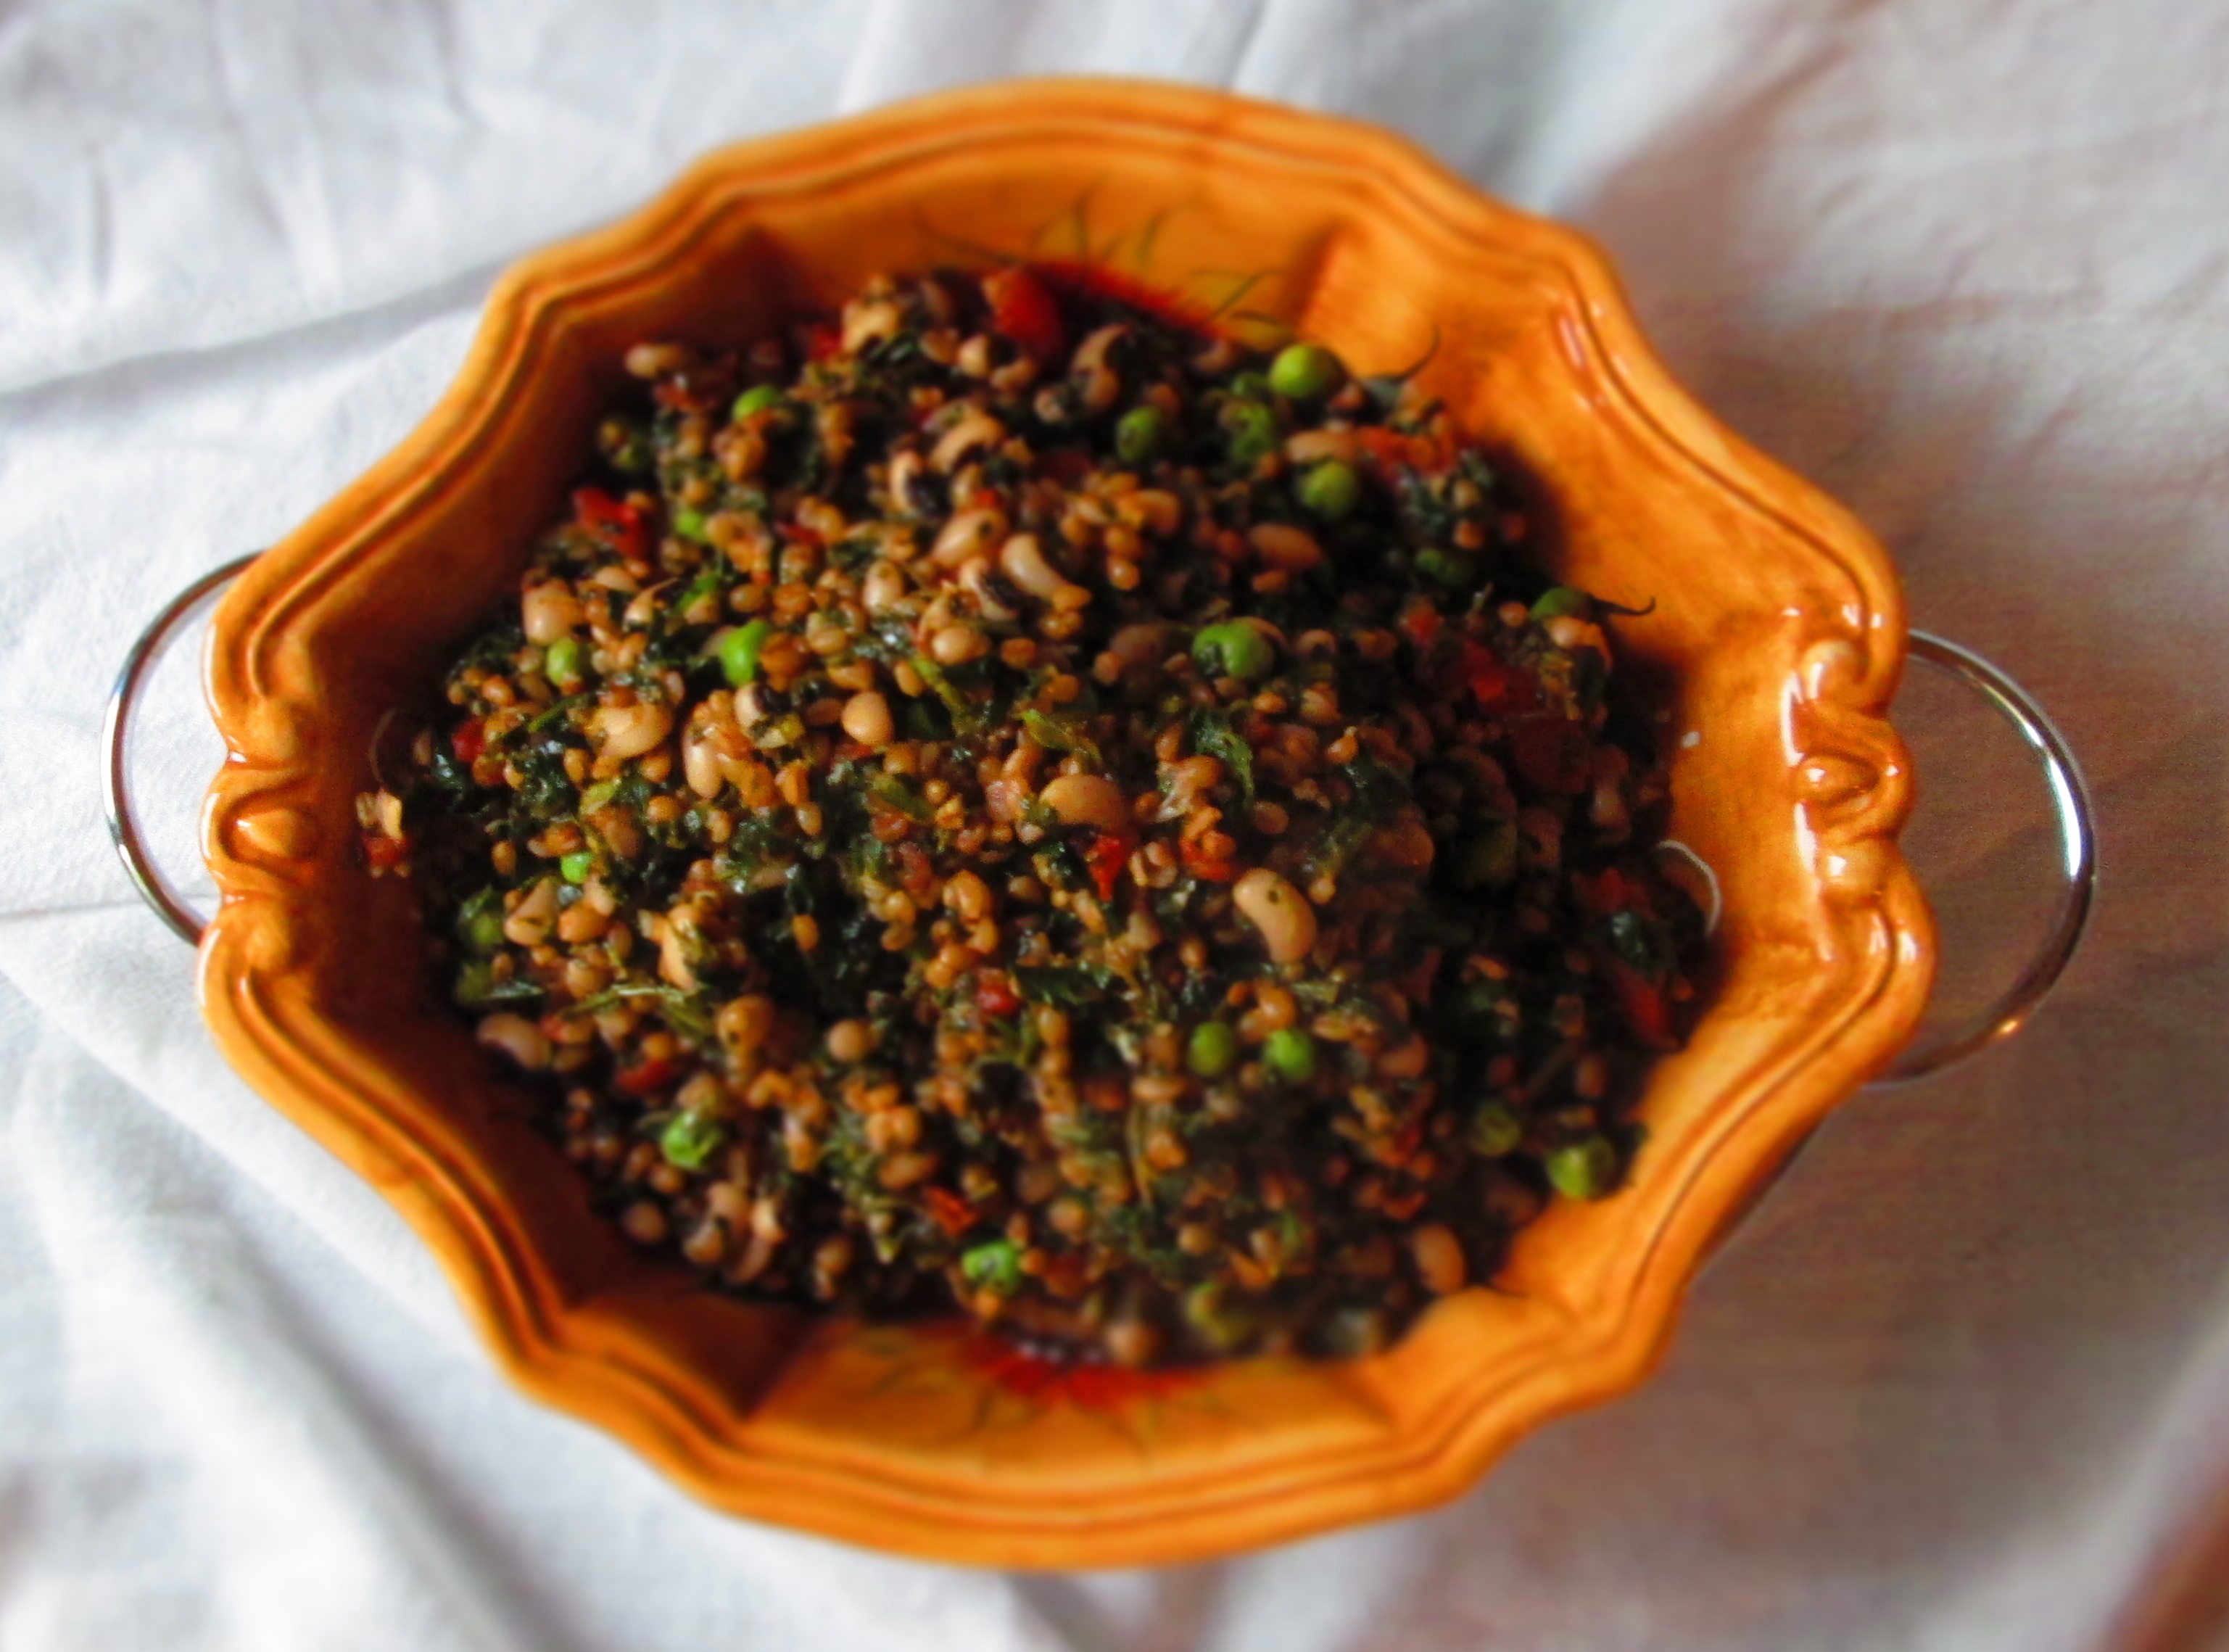
Do not discard the leafy greens. Those are amazing sauteed in olive oil and garlic. Trim off the tough stems. Fill a big bowl with cold water and soak the leaves for about 15 minutes (swish them around a couple of times). Lift the leaves out of the bowl and place them in another bowl. Repeat this a couple of times until you feel the leaves are clean. Saute garlic in olive oil, sprinkle in some paprika, then add the greens and some salt. Cover and cook over medium heat until wilted, about 10 minutes. This is both delicious and nutritious—they contain antioxidants, vitamins B6 and A, calcium, and they help fight osteoporosis and Alzheimer’s Disease. The beets themselves have vitamin C, magnesium, potassium, folate, and manganese. They help prevent prevent anemia, build muscle and maintain nerve function, build bone strength, regulate blood sugar levels, and promote a healthy immune system. And its betaine, an amino acid, helps fight against colon and stomach cancers.

Red & Golden Beet Carpaccio

2 large red beets
2 large golden beets
1/2 small red onion, thinly sliced
2 tablespoons extra virgin olive oil
Sea salt
Freshly ground pepper

Preheat oven to 400 degrees F. Wash and trip beets (snip off long roots and cut off stems). Wrap beets up tightly in aluminum foil and place on a baking sheet. Roast until tender when pierce with the tip of a knife, about 45 to 60 minutes. Remove from oven and unwrap. When cool enough to handle, peel off skin with the help of a paring knife.

Using a mandoline or sharp knife, slice beets as thinly as possible. Arrange on a plate, along with the red onion. Drizzle olive oil over the top. Season with salt and pepper.

Add olives, herbs, or any other seasonings you’d like.

Serves 2.

IMG_3248


Leave a comment

Beet-Kale-Garbanzo Salad

Beet-Kale-Garbanzo Salad

Chickpea (garbanzo) and beet salad is not a new thing. In fact, a recipe for it is in my cookbook, Vegetarian Italian: Traditions, Volume 1. But, see, I had this kale that I needed to use, and I had just roasted up these fresh beets that I’d purchased at the Greenmarket.

So, this particular chickpea and beet salad is a mutated version of my old recipe, encompassing the little “extras” in my fridge. It’s really simple and can easily be seasoned to suit anyone’s taste.

Beet-Kale-Garbanzo Salad

2 medium beets
1 cup kale leaves, washed and chopped
½ cup cooked garbanzos
3 tablespoons extra virgin olive oil
1 tablespoon balsamic vinegar
sea salt and freshly ground black pepper
¼ cup cured olives (any kind)

Preheat oven to 375 degrees F. Wrap the beets in aluminum foil and place on a baking sheet. Roast until tender when pierced with a knife, about 45 minutes. (The time will vary, depending on the size and freshness of the beets. You will have to unwrap the foil to check it.)

Remove from oven, unwrap the foil, and let cool. When cook enough to handle, peel the beets with a paring knife (the skin will pull right off). You may want to wear gloves to keep your fingers from turning red. Chop and place in a medium bowl.

Add kale, garbanzos, oil, and balsamic and mix. Season with salt and pepper to your liking and mix again. Gently mix in the olives.

Serves 2.


Leave a comment

Purple Haricot Vert Salad

IMG_3199

A couple of friends of mine receive CSA boxes. For those of you who don’t know what a CSA box is, it stands for “community-supported agriculture.” You have to join a CSA program and every week, you go and pick up your box, in which there will be a collection of produce based on that week’s crops. It’s basically a “what’s ready” box. You’re getting farm-fresh local and seasonal produce and you are supporting your local farmers.

As much as I believe in local and organic produce and sustainable farming, CSA boxes are not practical for me because when I do have time to cook, I have to focus on recipes that I must make. If you’re a food writer like me, you know exactly what I’m talking about: There are specific recipes that need to be tested, dishes to be photographed, events to cook for… We cook with an agenda, and cooking just for pleasure is a luxury.IMG_3180

At any rate, these friends were going away for a week and would not be able to use all the produce in their CSA box. They offered me a few items, including some beautiful purple haricot vert.

It was my brother’s birthday this past week and my mother wanted to cook him a special lunch with the whole family, and I thought it would be a nice to bring a fresh green bean salad, using the purple haricot vert. This salad is simple and fresh and you can appreciate the grassy notes of the beans. Note that purple beans will, sadly, turn green once cooked. It’s such a shame that they can’t retain their dazzling color. The vinegar will at least keep it a vibrant green.IMG_3183

Haricot Vert Salad

1 lb. purple haricot vert (or other fresh green beans)
1 teaspoon apple cider vinegar
½ small white onion, thinly sliced
½ pint cherry tomatoes, halved
1 teaspoon dried oregano
½ teaspoon sea salt
Freshly ground pepper
2 tablespoons extra virgin olive oil

Bring a medium saucepan of water to a boil; add the beans and vinegar. Return to a boil, then lower the heat and simmer until tender but still firm. Drain and run under cold water. Drain well and place in a serving bowl.

Add remaining ingredients and gently stir. Taste and adjust seasonings, if needed.

Makes 6 servings.IMG_3196


Leave a comment

Creamless Broccoli-Gouda Soup

Broccoli-Gouda Soup

Broccoli-Gouda Soup

This is one of those recipes that came from wanting to satisfy a craving with what was already at hand. I had purchased a head of broccoli because I wanted some in a veggie quesadilla. But there’s only so much broccoli you can put in a quesadilla.

I looked at the leftover broccoli and cheddar cheese (also purchased for the quesadilla) and I instantly thought “broccoli-cheddar soup.” Then I remembered that I had a piece of Gouda cheese that needed to be used and I thought, “Okay, broccoli-Gouda soup.”

Traditionally, broccoli-cheese soup uses milk or half-and-half, but I didn’t want to use any dairy (apart from the cheese). So I thought to use a technique I learned in culinary school for thickening cream soups: oats. It thickens it up without adding the extra fat and calories and keeps the soup light and filling without being overly rich.

I just threw all these ingredients together and I was immensely pleased with the result. This soup is hearty and filling, but less heavy than cream-based soups as well as healthier. The flavor is deep and pleasing, and it looks really appetizing. It would be well complemented by croutons or toast, and a side of green or bean salad.

By the way, if you want to go completely dairy-free, the soup was already delicious even before I stirred in the cheese. So go ahead and omit it—you’ll enjoy it just the same.

Creamless Broccoli-Gouda Soup

Makes 4 servings.

1 tablespoon olive oil
1 cup coarsely chopped white onion
4 large cloves garlic, finely chopped
¼ teaspoon nutmeg
1 medium head broccoli, chopped (florets and tender stems)
1 small carrot, coarsely chopped
1 teaspoon kosher salt
Freshly ground black pepper to taste
2 cups vegetable broth
2 tablespoons quick-cooking oats
2 tablespoons flour
4 oz. Gouda, shredded

IMG_3157

Heat 1 teaspoon oil in a medium pot. Add onion and saute over medium heat until soft and translucent. Add garlic and nutmeg and saute another minute.

IMG_3160

Add broccoli, carrot, salt, and black pepper to taste and cook, stirring often, until broccoli turns bright green.

IMG_3161

Add broth and oats; stir and bring to a boil over medium-high heat. Lower heat, cover, and simmer until tender, about 10 minutes.

IMG_3165

Make a roux by heating the remaining oil in a small skillet. Sprinkle in flour and whisk until it cakes up and becomes slightly stiff. Keep whisking until it turns a nutty brown. This will take only a minute or so.

IMG_3166

Stir it into the soup until it’s well blended.

IMG_3167

Puree the soup, either in a blender with an immersion blender, to the consistency that you like―fully blend for a smooth soup, or leave some pieces for a chunkier soup (I like it chunky). If you’ve used a blender, pour it back into the pot.

IMG_3168IMG_3171


Stir in the cheese and continue stirring over low heat until it’s melted in. Check for seasoning and adjust, if desired.

IMG_3172

Serve hot.

IMG_3173


Leave a comment

Avocado Slaw Canapes

I love avocados. They’re so rich, buttery, and delicious, yet healthy. There are so few things in life that can’t be said to be decadent and heart-healthy at the same time. This is one of them.

Avocados—technically, fruits—are a good source of dietary fiber, potassium (more per weight than bananas), folate, B5, B6, and B9. One avocado contains more than one-third the daily value of vitamin C, and more than half the day’s requirements of vitamin K. People often avoid avocados because they think they’re high in fat. And they are. But the good kind of fat—monounsaturated, in the form of oleic acid, which reduces levels of bad cholesterol and lowers the risk of stroke and heart disease.

Avocados have been shown to reduce the risk of diabetes and, due to their phytochemicals, prevent cancer. Studies have also found that people who ate avocados were more likely to have a lower body weight, BMI (body mass index), and waist circumference. An average avocado contains around 4 grams of protein, more than most other fruits, and only .4 grams of sugar, less than most other fruits.

I didn’t have my first avocado until I was an adult. We didn’t eat avocados in our family—it simply wasn’t a typical Italian ingredient. I was probably in my 20s when I had my first taste. Initially, I didn’t care for them; I didn’t appreciate their butteriness. It felt to me like I was eating…well, a stick of butter. Then I was introduced to guacamole, and my world changed. Guacamole became the secret treasure I would seek out at parties. And if there wasn’t any, I was very disappointed and marked that party off as a failure. I then began to appreciate avocados on their own and in other dishes.

Avocados go well with so many other ingredients, including cabbage. I was inspired to create this recipe by a dinner I worked to fulfill a class requirement at The Natural Gourmet Institute. By using your hands to squeeze the ingredients together, the cabbage softens and it creates a tender, creamy slaw. You can put your own swerve on it by adding other ingredients, such as poppy seeds, chopped pickle, or shredded carrot.

Avocado Slaw Canapes

Makes 16.DSCF0039

1 large ripe Haas avocado, diced
4 cups shredded cabbage
1 tablespoon lime juice
1 1/2 tsp kosher salt
Freshly ground black pepper to taste
8 (6-inch) tortillas (corn or wheat)
Olive oil for brushing
2 medium plum tomatoes, diced small

1. Combine the avocado, cabbage, lime juice, salt, and pepper in a medium bowl. With your hands, squeeze the ingredients together until cabbage has softened and ingredients are well combined. Taste for seasoning and adjust to your taste.

2. Using a 3-inch biscuit cutter or drinking glass, cut out 2 circles from each tortilla. Brush the circles lightly with olive oil and brown them on both sides on a grill or in a frying pan.

3. Spoon a heaping tablespoon of the slaw onto each tortilla round and garnish with the tomato.


4 Comments

Liquid Gold from Greens

My friend, Linda, asked me recently for suggestions on what to do with the water she had used to cook kale. This water, known as pot liquor (sometimes spelled potlikker), has set many a cook’s heart aflutter because it’s loaded with flavor. Not only that, it’s also packed with nutrients from the kale, or whatever greens you have cooked in it.DSCF0005

Pot liquor is a U.S. Southern speciality, usually made from collard, mustard, or turnip greens, and can be used in place of water or broth in almost anything. Here are some ways to use it:

* In soups, stews, or chilis

* To cook rice, quinoa, or any other grain

* To braise vegetables or fish

* In a vegetable casserole

* In a vegetable smoothie

* In place of broth in a pan sauce

* If you have enough of it, you can reduce it and add a roux for a sauce, too. This would go very well with grilled/baked/sauteed tofu or tempeh.

* Add it to your pet’s food—it’s nutritious for our furry friends, too!

So, get yourself a nice big bunch of greens—any greens—and cook it down. The best way is to sauté greens in a pan with garlic and oil. But you can also use a small amount of water to boil them. That way, you get the nutrient-packed water without leeching everything out of the greens themselves. Place the greens in a large skillet or dutch oven and add about a cup of water and salt. After the greens are cooked, remove them and save the liquid. To sauté in oil, follow the recipe below, then reserve the pot liquor. It will have incredible added flavor from the garlic and spices.

(By the way, I was very tempted to call this blog “Pot Liquor,” but I was afraid it would draw the wrong kind of traffic. 🙂 As it is, I expect to get a lot of garbage from spammers who are keying in on the words “pot” and “liquor.”)

Sauteed Greens

1 large bunch greens, washed, drained
1 tbsp olive oil
2 large garlic cloves, sliced
1 tsp paprika
1/4 tsp red pepper flakes (optional)
Salt to taste
Freshly ground black pepper to taste

1. Coarsely chop the greens.

2. Heat the oil in a wide pan; add garlic and cook 1 minutes. Add paprika and red pepper lakes and immediately add the greens.

3. Add ½ cup water, salt, and pepper and mix well. Cover the pan and cook until greens are tender. The time will vary, depending on the type of green it is. Add more water if it starts to get dry.

4. Use tongs to remove the greens and garlic. Reserve the pot liquor for use in other recipes.


3 Comments

Chinese Noodle Stir-Fry with Chickpeas

This week, I’d like to share my recipe for Chinese Noodle Stir-Fry with Chickpeas. There’s nothing like a bowl of noodles, no matter what type of cuisine you’re cooking. It’s comforting and satisfying with layers of flavors and textures. The great thing about noodles is that you can a have them with anything and add anything to them.IMG_2595

One of my favorite way to have noodles is stir-fried with lots of vegetables. I particularly like cabbage, so I start with that and build from there.

I also had some fresh chickpeas and green peas that I had shelled from their pods and needed to use them, so I threw those in as well. Green peas are often found in stir-fries and Asian noodle dishes, but chickpeas not so much. I found them to work beautifully in a stir-fry, especially since I’m a little clumsy with chopsticks and was able to pick up the chickpeas fairly well. Their meaty, firm texture also made a nice contrast to the tender noodles and vegetables.

So, here’s the recipes. Enjoy!

Chinese Noodle Stir-Fry with Chickpeas

2 teaspoons coconut or sunflower oil
10 ounces cremini or baby bella mushrooms, thinly sliced
1 10-ounce package Chinese noodles (your preference)
2 teaspoons sesame oil
3 large garlic cloves, sliced
2 cups sliced cabbage
1 small carrot, diced small
1 medium red bell pepper, chopped
½ chickpeas, black-eyed peas, or soy beans
¼ green peas
2 cups greens (spinach, chard, kale, amaranth leaves, etc.)
1 tablespoon soy sauce
2 sliced scallions for garnish

1. Heat coconut oil in a wide skillet. Add the mushrooms and sauté, stirring often, until golden brown, about 15 minutes. Remove mushrooms with a slotted spoon and set aside.

IMG_2588

2. Meanwhile, cook noodles according to package directions.

3. In same pan, add 1 teaspoon sesame oil in a wok or large. Add garlic and cook until fragrant, 1 or 2 minutes. Add cabbage, carrot, and pepper and stir-fry until crisp-tender, about 8 to 10 minutes. Add beans, peas, mushrooms, and soy sauce and continue stir-frying another 2 to 3 minutes.

IMG_2587

4. Add greens cook until wilted. Stir in remaining sesame oil.

IMG_2590IMG_2592

5. Add the cooked noodles and stir to combine. Divide between 2 bowls and garnish with scallions.

Makes 2 servings.

IMG_2599


2 Comments

Sorghum Stir-Fry

When I step back momentarily from my hectic life, I realize that I’ve packed so much into my days, weeks, and months that lose control of what’s happening. I lose my grip on the reins and things just go all cray-cray.

Sorghum Stir-Fry

Sorghum Stir-Fry

And it’s because of this cray-cray-ness that it’s been such a struggle for me lately to blog regularly. I keep vowing that I will get back on track—and I always mean it—but I succumb to the insanity again and again.

Sorghum

Sorghum

One of the consequences is that I haven’t been able to cook much. I mean, I cook to test recipes or photograph for my cookbooks, but not simply for the pleasure of it. So, I have all these products in my pantry that have been just sitting there, particularly grains. But last weekend, I was determined to pull something out of the pantry and use it. It turned out to be sorghum.

Sorghum is a great gluten-free grain to have as a substitute for rice. It has a firm, meaty texture and it’s difficult to overcook. It can tend to be dry, but paired with the right ingredients, it works really well for an alternative grain fix. I prepared it on its own, then added it to a stir-fry in place of rice and the result was excellent. Now, I chose to use some cooked veggies that I had in the refrigerator, but you can use whatever vegetables you want. If you don’t pre-cook them, then make sure you stir-fry them until tender before adding the beans.

Sorghum Stir-Fry

½ cup sorghum
1 tablespoon coconut or other cooking oil
2 teaspoons sesame oil
½ small onion, sliced
2 large garlic cloves, sliced
1½ cups chopped roasted squash
1 small cooked Japanese yam, peeled and diced
½ cup chopped roasted eggplant
1 (15-oz) can white beans
1 cup frozen peas, thawed
2 tablespoon soy sauce

Bring 1¼ cups water to a boil. Add sorghum; lower the heat, cover, and cook for about 20-25 minutes, or until sorghum is tender but firm. If water is absorbed but sorghum still seems hard, add a little more water and keep cooking until tender.

IMG_2526

Heat coconut oil and 1 teaspoon sesame oil in a wok or large frying pan. Add onion and garlic and sauté until softened. Add squash, yam, and eggplant and stir-fry for 5 minutes. Add beans and peas; mix in well.

IMG_2529

Add soy sauce and remaining sesame oil and stir in. Add sorghum and mix well. Cook for 5 minutes. Add salt if desired.

IMG_2531

Makes 4 big servings.


Leave a comment

Warm Black-eyed Pea-Spinach Wheat Berry Salad

It’s been a kooky few months for me. I’ve been really busy cooking and photographing my food for volume two of my revised cookbook, now called Vegetarian Italian: Traditions. The Kindle version of volume one is currently on Amazon, and I’m waiting VegItalCover FINAL_Page_1for the print version to be available.

The thing is, all other cooking has been put on the back burner (no pun intended). I’ve even put off photographing dishes for my next cookbook, just to get volume two of Vegetarian Italian done.

Well, I’m almost there. I actually have one dish left to photograph, and this weekend, I found myself able to cook a little for the fun of it—something I haven’t done in a very long time.

I had some cooked wheatberries in the freezer, left over from a batch I had made a couple of months ago, as well as some black-eyed peas, and decided to use them.

A wheat berry is the entire wheat kernel (except for the hull)–meaning, it has its bran, germ, and endosperm intact. That makes them healthy whole grains. There are several varieties: winter and spring, hard and soft, red and white. Soft wheat is considered to have higher protein and, thus, less gluten. So, if you have wheat sensitivities (as opposed to Celiac disease) and want to use wheat berries, you’re better off using soft wheat. 

In the end, I wanted to do something simple but tasty, and this is what I came up with. I hope you like it.IMG_2509

Warm Black-eyed Pea-Spinach Wheat Berry Salad

2 teaspoons olive oil
2 cloves garlic, minced 3 cups cooked wheat berries
½ teaspoon paprika
6 plum tomatoes, chopped
2 cups cooked, chopped spinach
1 ½ cups cooked black-eyed peas
1 cup peas
2 teaspoons kosher salt
1 teaspoon freshly ground black pepper
1 tablespoon walnut oil

Heat the oil in a wide pan; add the garlic and sauté until fragrant, about one minute.

IMG_2502

Sprinkle in the paprika, then immediately add the tomatoes. Stir and sauté 2 or 3 minutes.

IMG_2503
Stir in the spinach, black-eyed peas, and peas and sauté another 3 minutes.

IMG_2504

Add the wheat berries and peas, mix and continue cooking until heated through. Season with salt and pepper; adjust to your taste.

IMG_2505

Transfer to a serving bowl; drizzle walnut oil over the top.

Makes 6 servings.IMG_2507


2 Comments

Mixed Dal Soup

I picked up some mixed dal at an Indian store in Jackson Heights and since the weather was DSCF0007about to take a turn for the worse, I decided to make mixed dal soup. Mixed dal is a mixture of different split lentils and they make delicious meals. They’re also packed with protein, and with a few greens thrown in, you’ve got a complete, filling, satisfying meal. Toasting the caraway seeds gives the soup a great, complex flavor. And it was just right on a rainy, dreary day. So here’s my version of mixed dal soup.

Mixed Dal Soup DSCF0008

2 tablespoon olive oil
1 small onion, diced small
1 medium carrot, diced small
1 celery rib, finely chopped
¼ lb. sweet potato, diced small
½ teaspoon kosher salt
1 cup mixed dal
1 tablespoon caraway seeds, toasted (optional)
1 teaspoon ground fennel seeds
1 teaspoon garlic salt
freshly ground black pepper
½ lb. bok choy (green tops only), chopped

1. Heat the oil in a medium-large pot. Add the onion, carrot, celery, sweet potato, and kosher salt and sauté 5 minutes, or until vegetables have softened and onions are translucent.

DSCF0009

2. Add the dal, caraway seeds, fennel, garlic salt, pepper, and 4 cups water; mix well. Bring to a boil; lower the heat and cook, partially covered, until the dal are completely soft and disintegrating, about 1 to 1 ½ hours. Stir occasionally.

DSCF0013

3. Add the bok choy and continue cooking a few more minutes until the greens have softened.

DSCF0014

4. Taste the soup for seasoning; adjust as desired. Serve hot.

Makes about 6 servings.