This week’s catch at the farmer’s market was a nice big knob of celeriac and red mustard greens.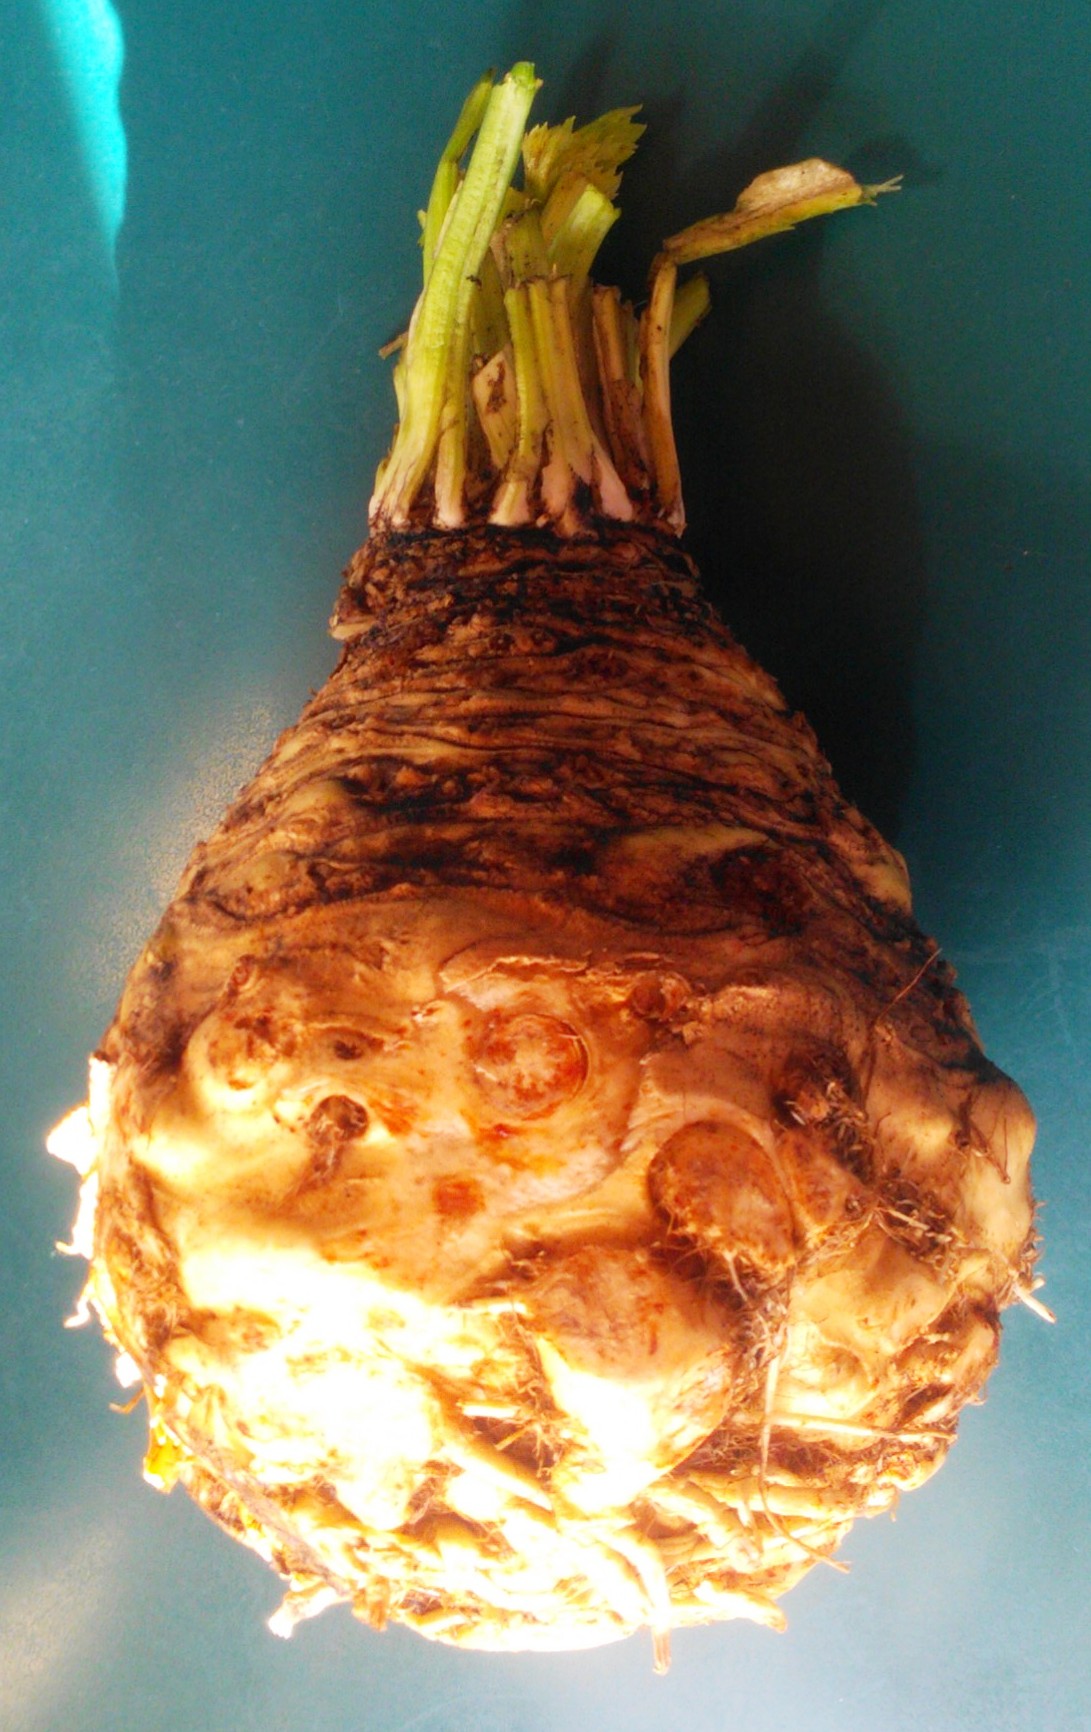
I’ve had celeriac (also known as celery root and knob celery) before, and I’ve really enjoyed it. It has a great celery flavor to it, but a little sweeter and more intense. It also has parsley notes, and that’s because it’s part of the parsley family, and not the root of the celery plant. Like other root vegetables, it has a long shelf life (6 to 8 months in a cool place).
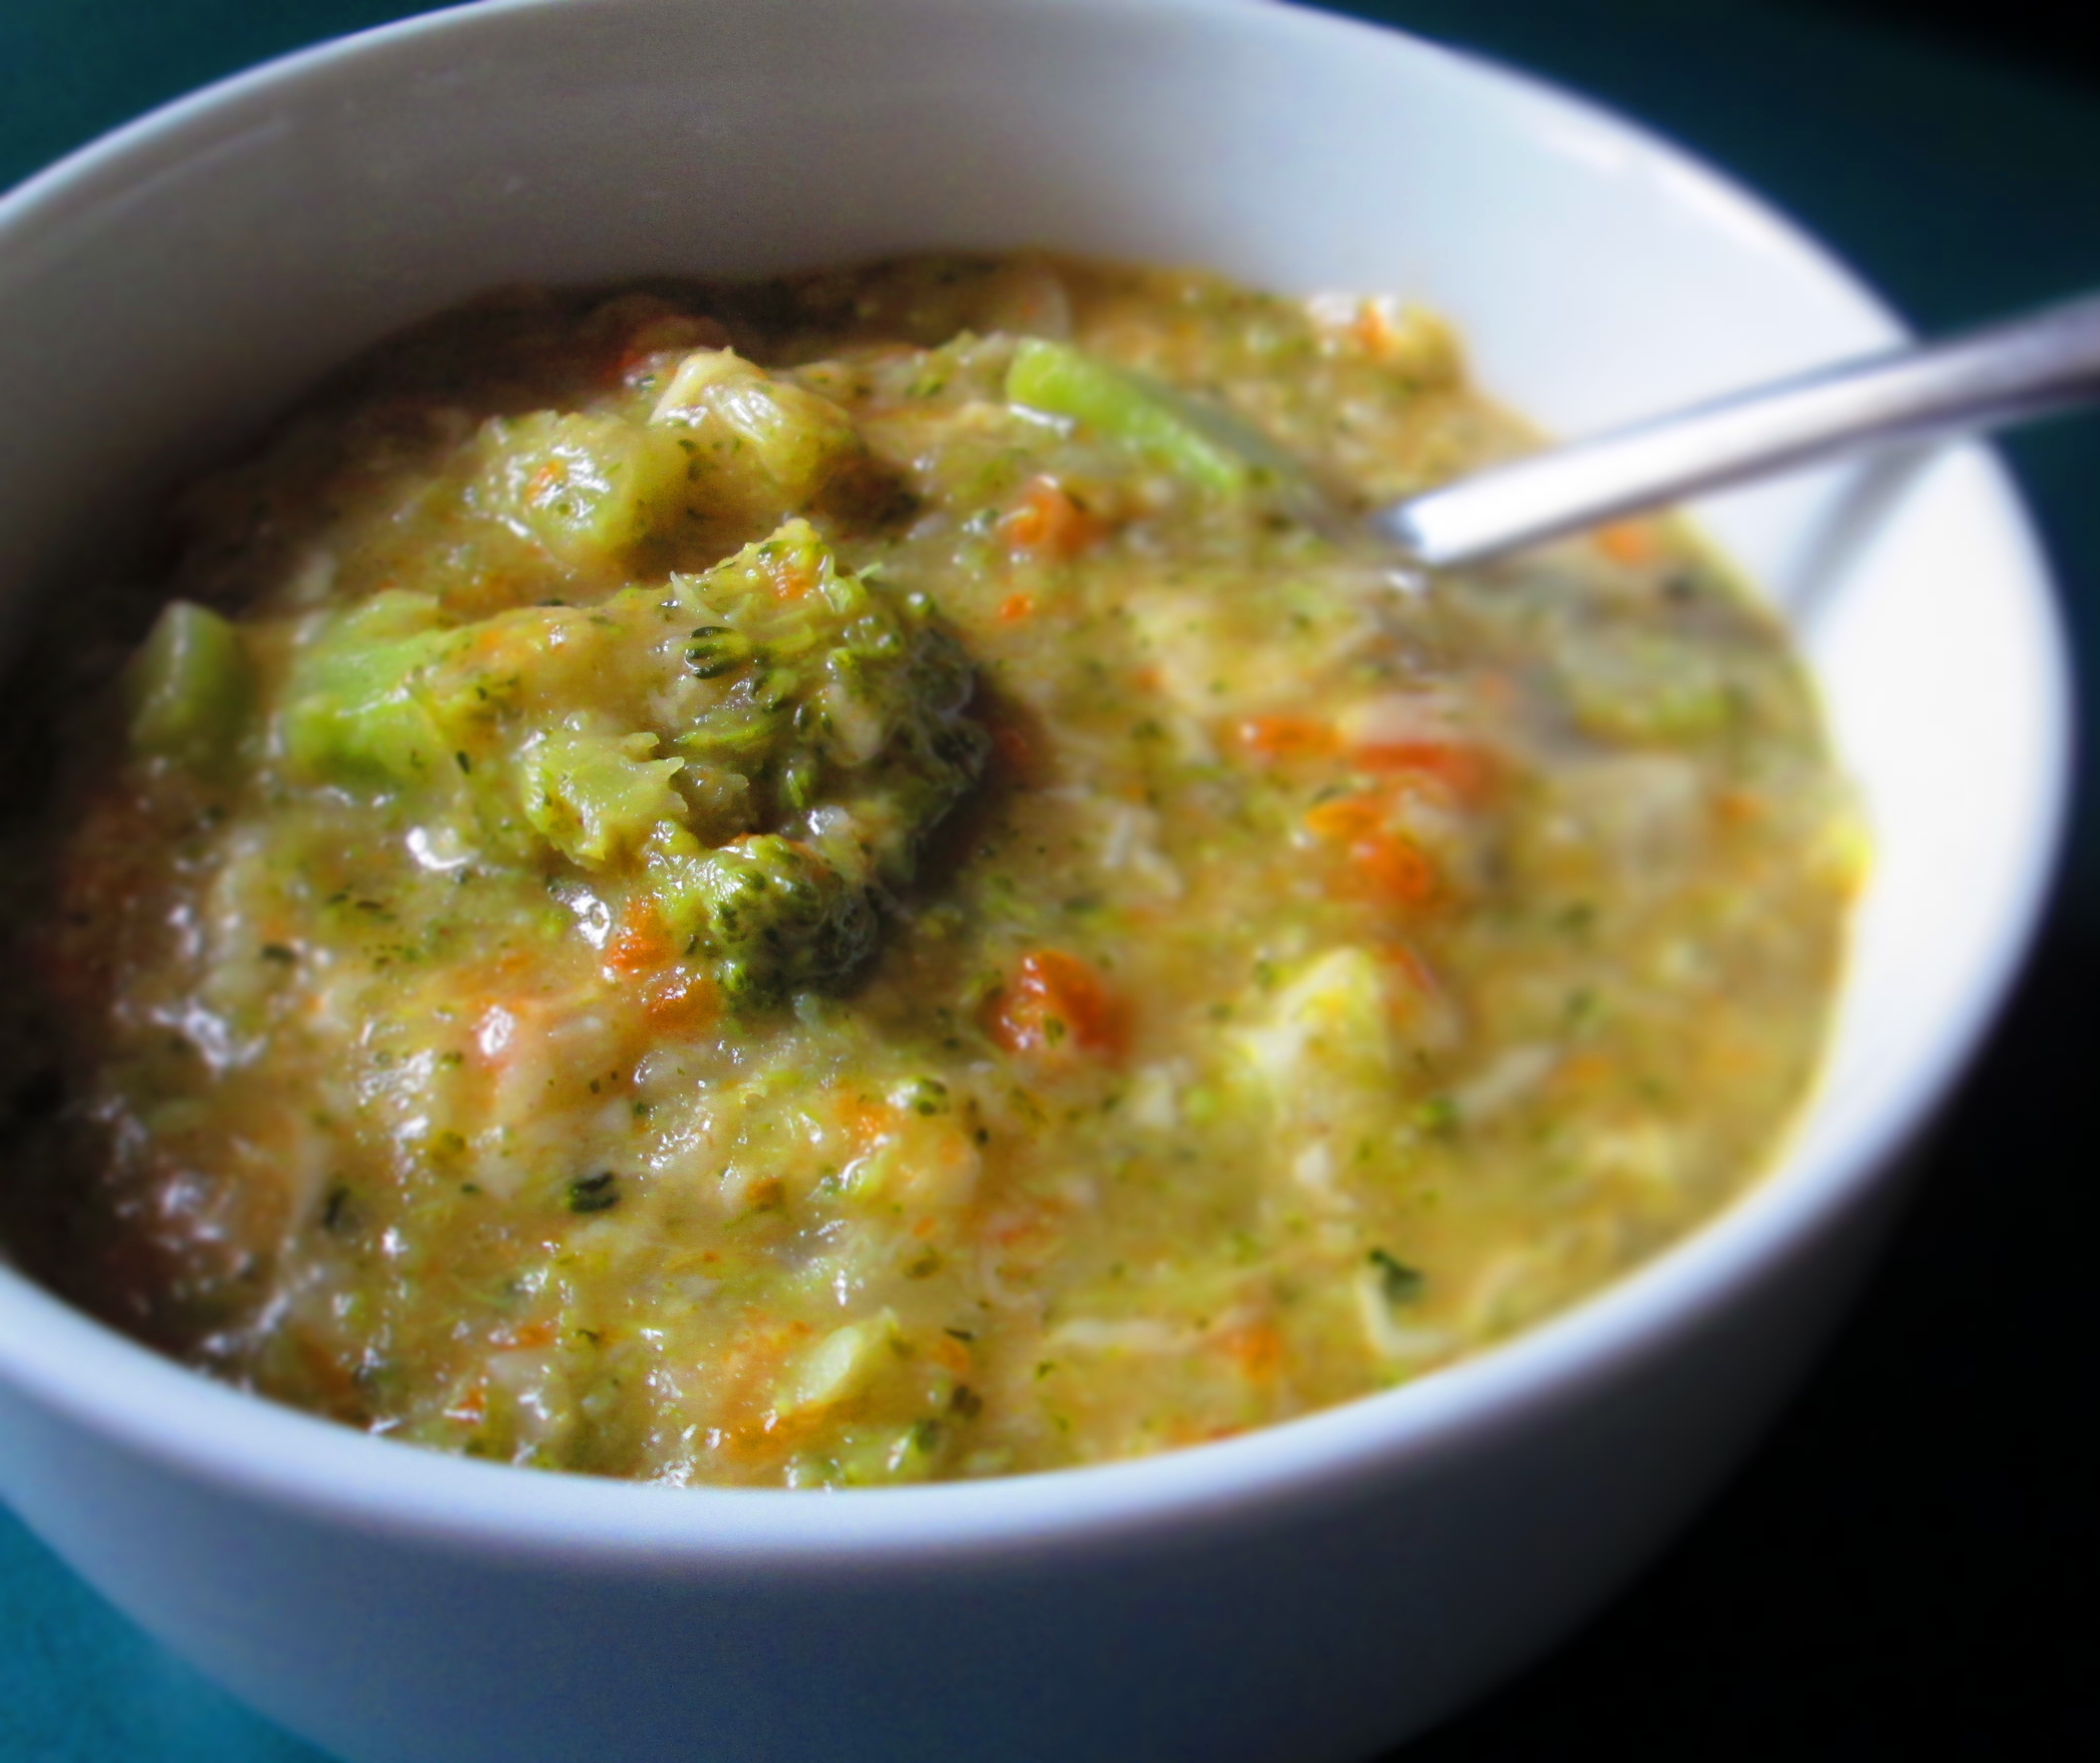
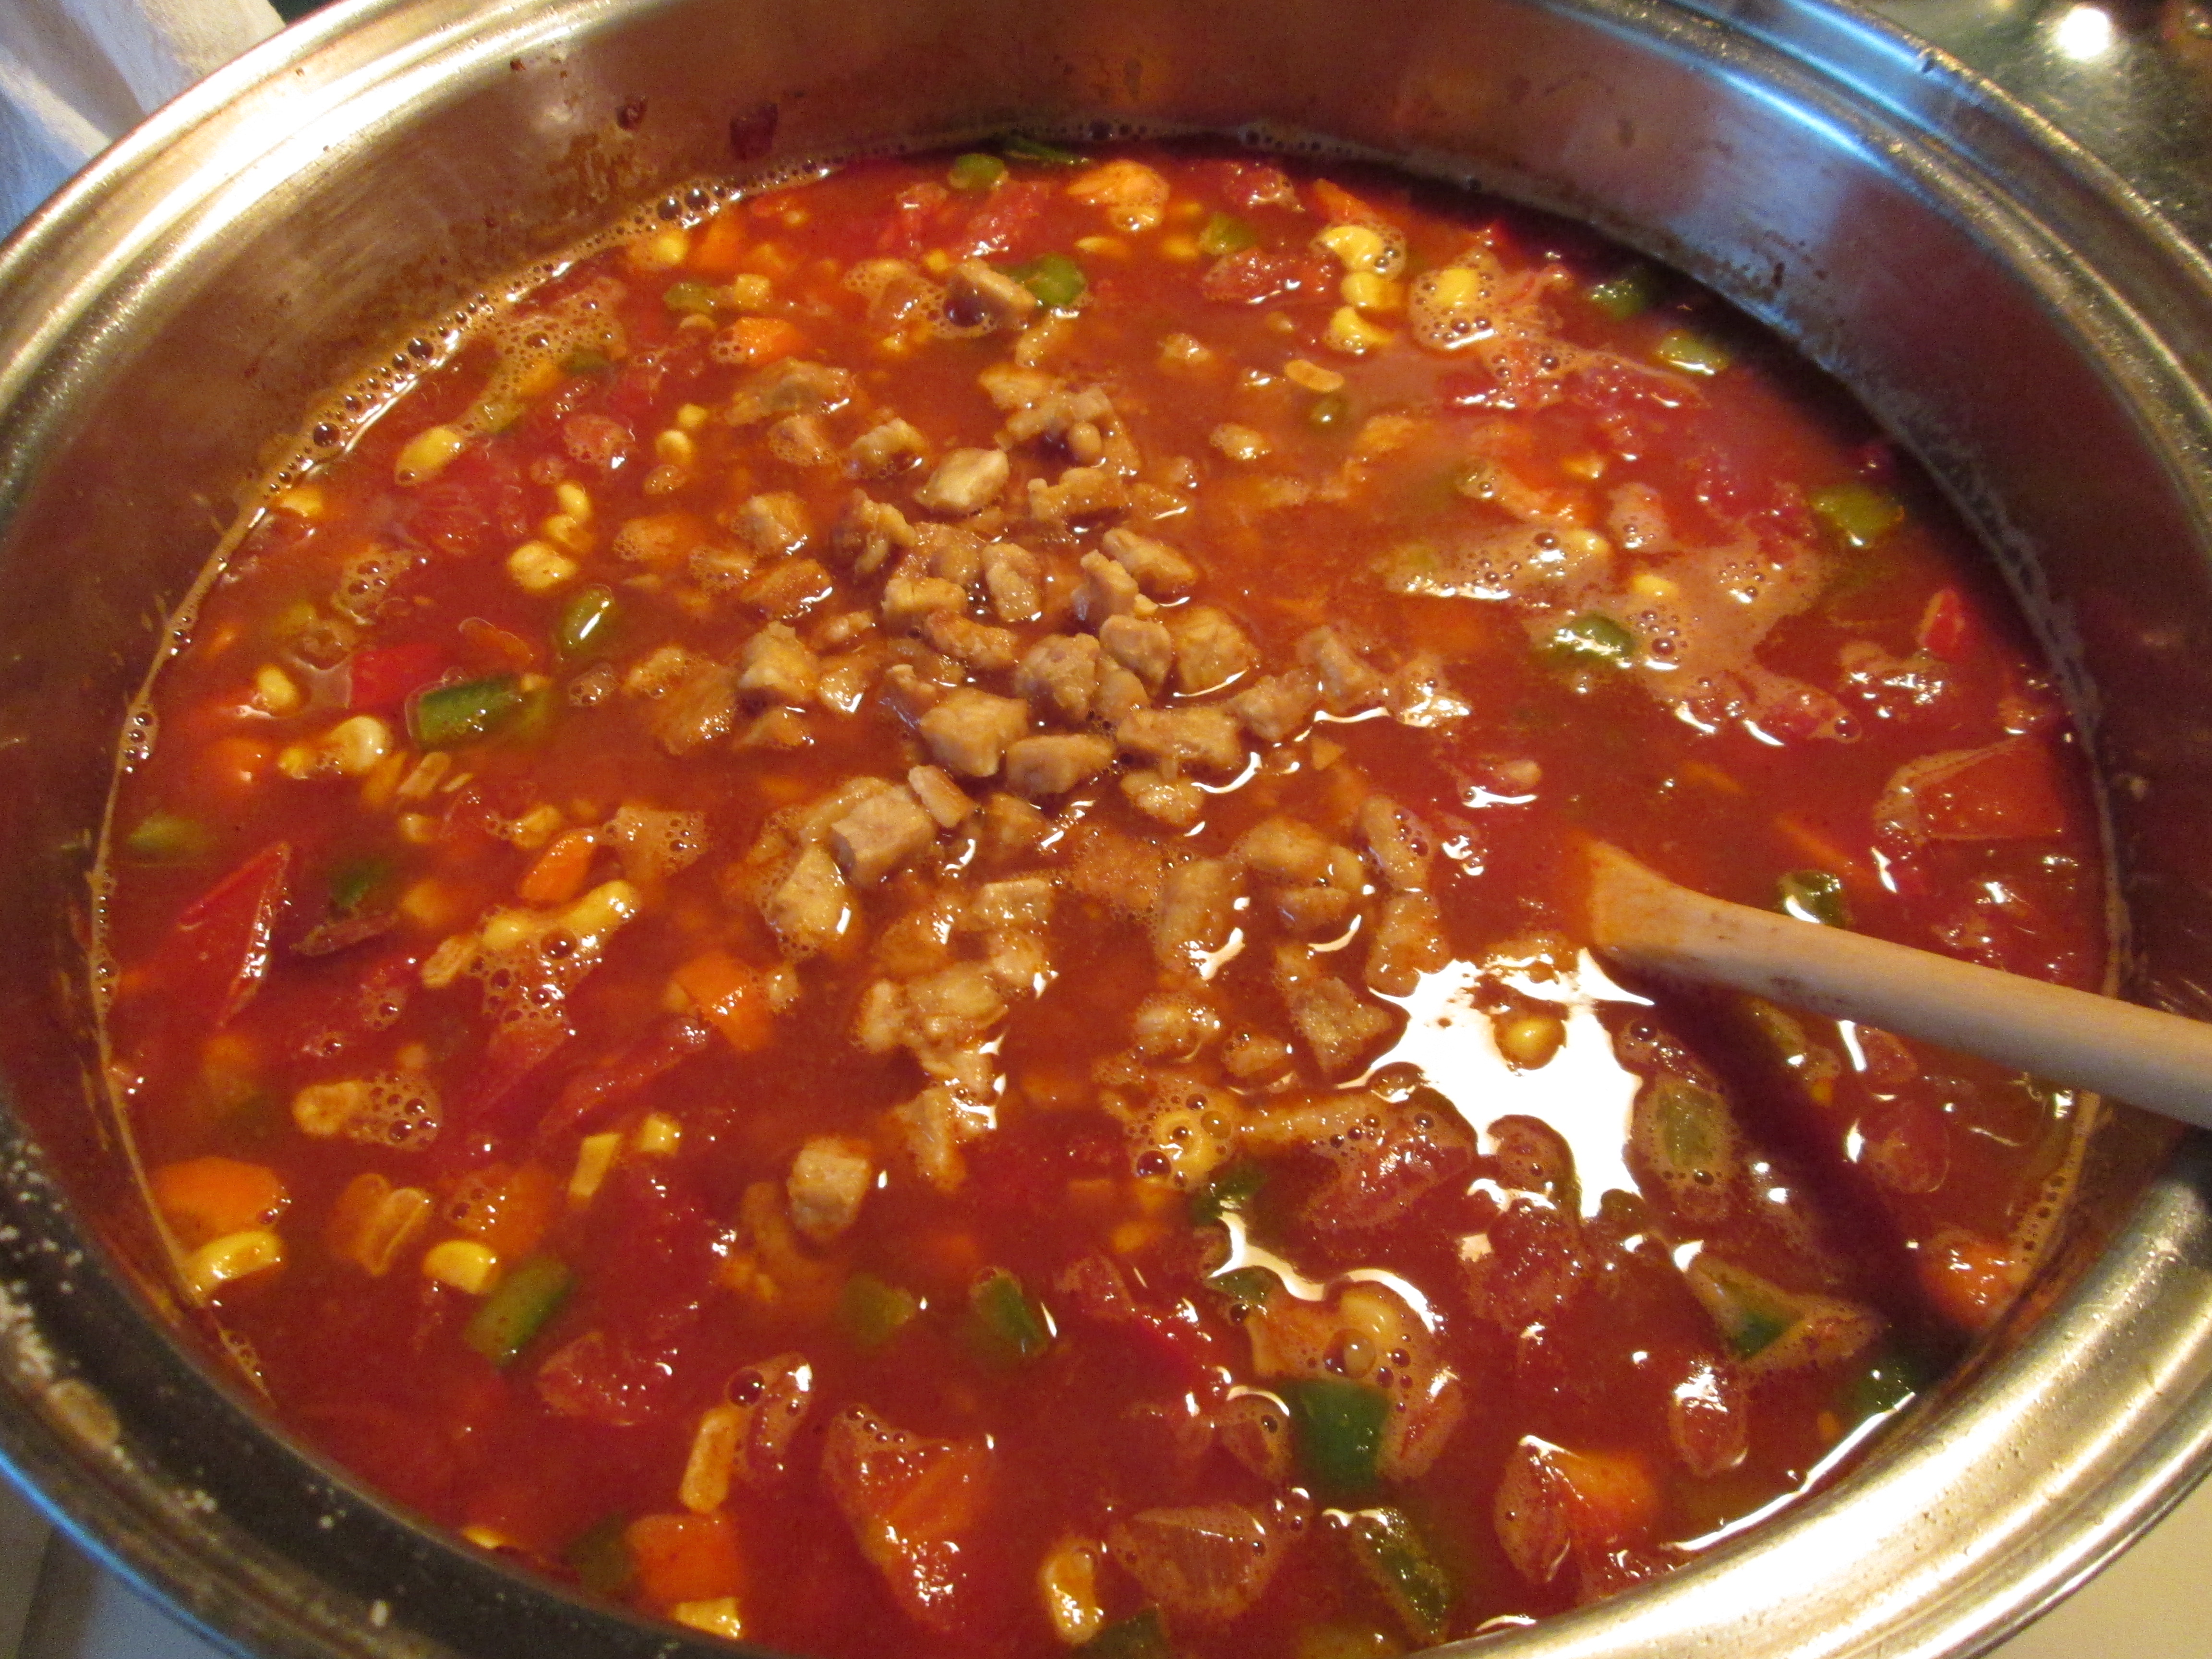
Celeriac is not a beauty queen, and many Americans have no clue what it is or what to do with it, but it’s a flavorful addition to anything. You can cut them up and roast them. You can add them to chilis and stews. Or you can do what many chefs do with them, and what I’ve done for the recipe below: make a bisque. It’s wonderfully creamy when pureed and combined with either apples or pears, it has a rich, complex flavor.
They’re good for you, too. Celeriac contains antioxidants, and is very a good source of vitamin K, phosphorus, iron, calcium, copper (good for the immune system, prevents anemia, and required for bone metabolism), and manganese. And it contains some B-complex vitamins, such as pyridoxine, pantothenic acid, niacin, riboflavin, and thiamin, and some vitamin C.
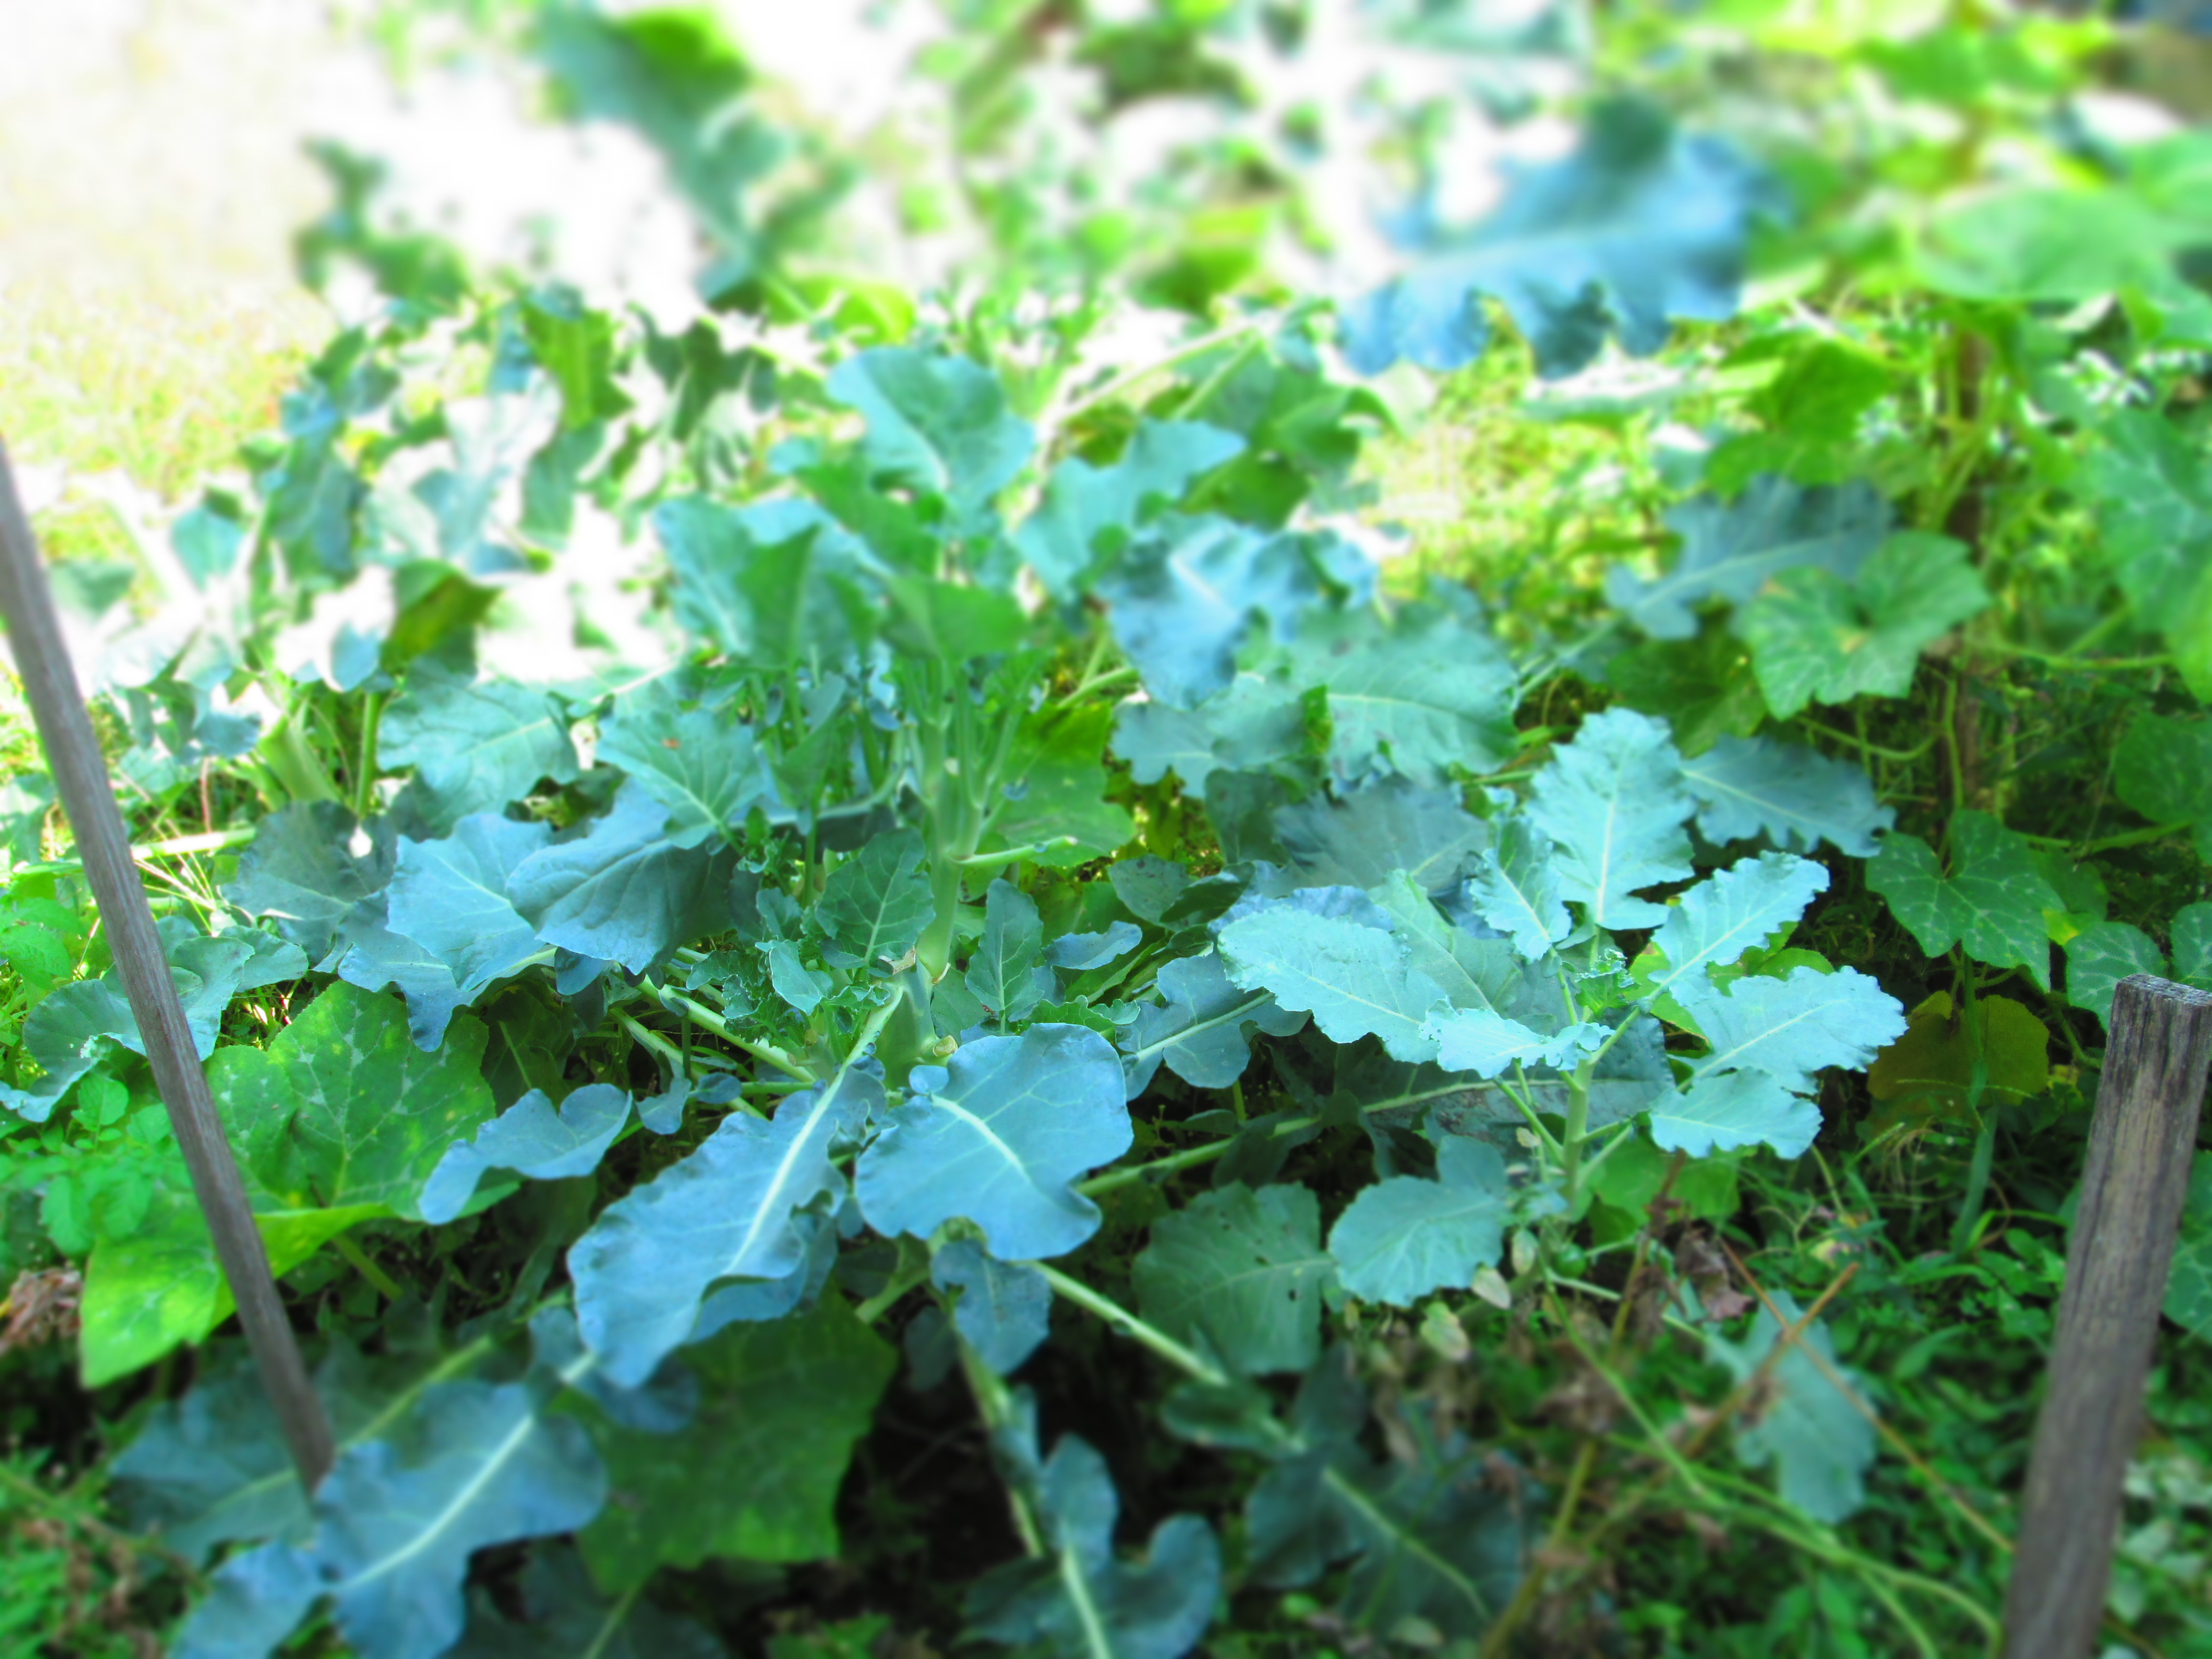
The red mustard greens are new to me, though. They are Chinese in origin, but are also cultivated in Japan. They’re lovely to look at and just as nutritious as other mustard greens, all part of the Brassica family, along with broccoli, cauliflower, cabbage, turnips, etc.
Celeriac is not found everywhere simply because they are an unfamiliar item for many people. But most larger stores, like supermarkets, carry a few, as do gourmet stores, and, of course, farmer’s markets. Enjoy!
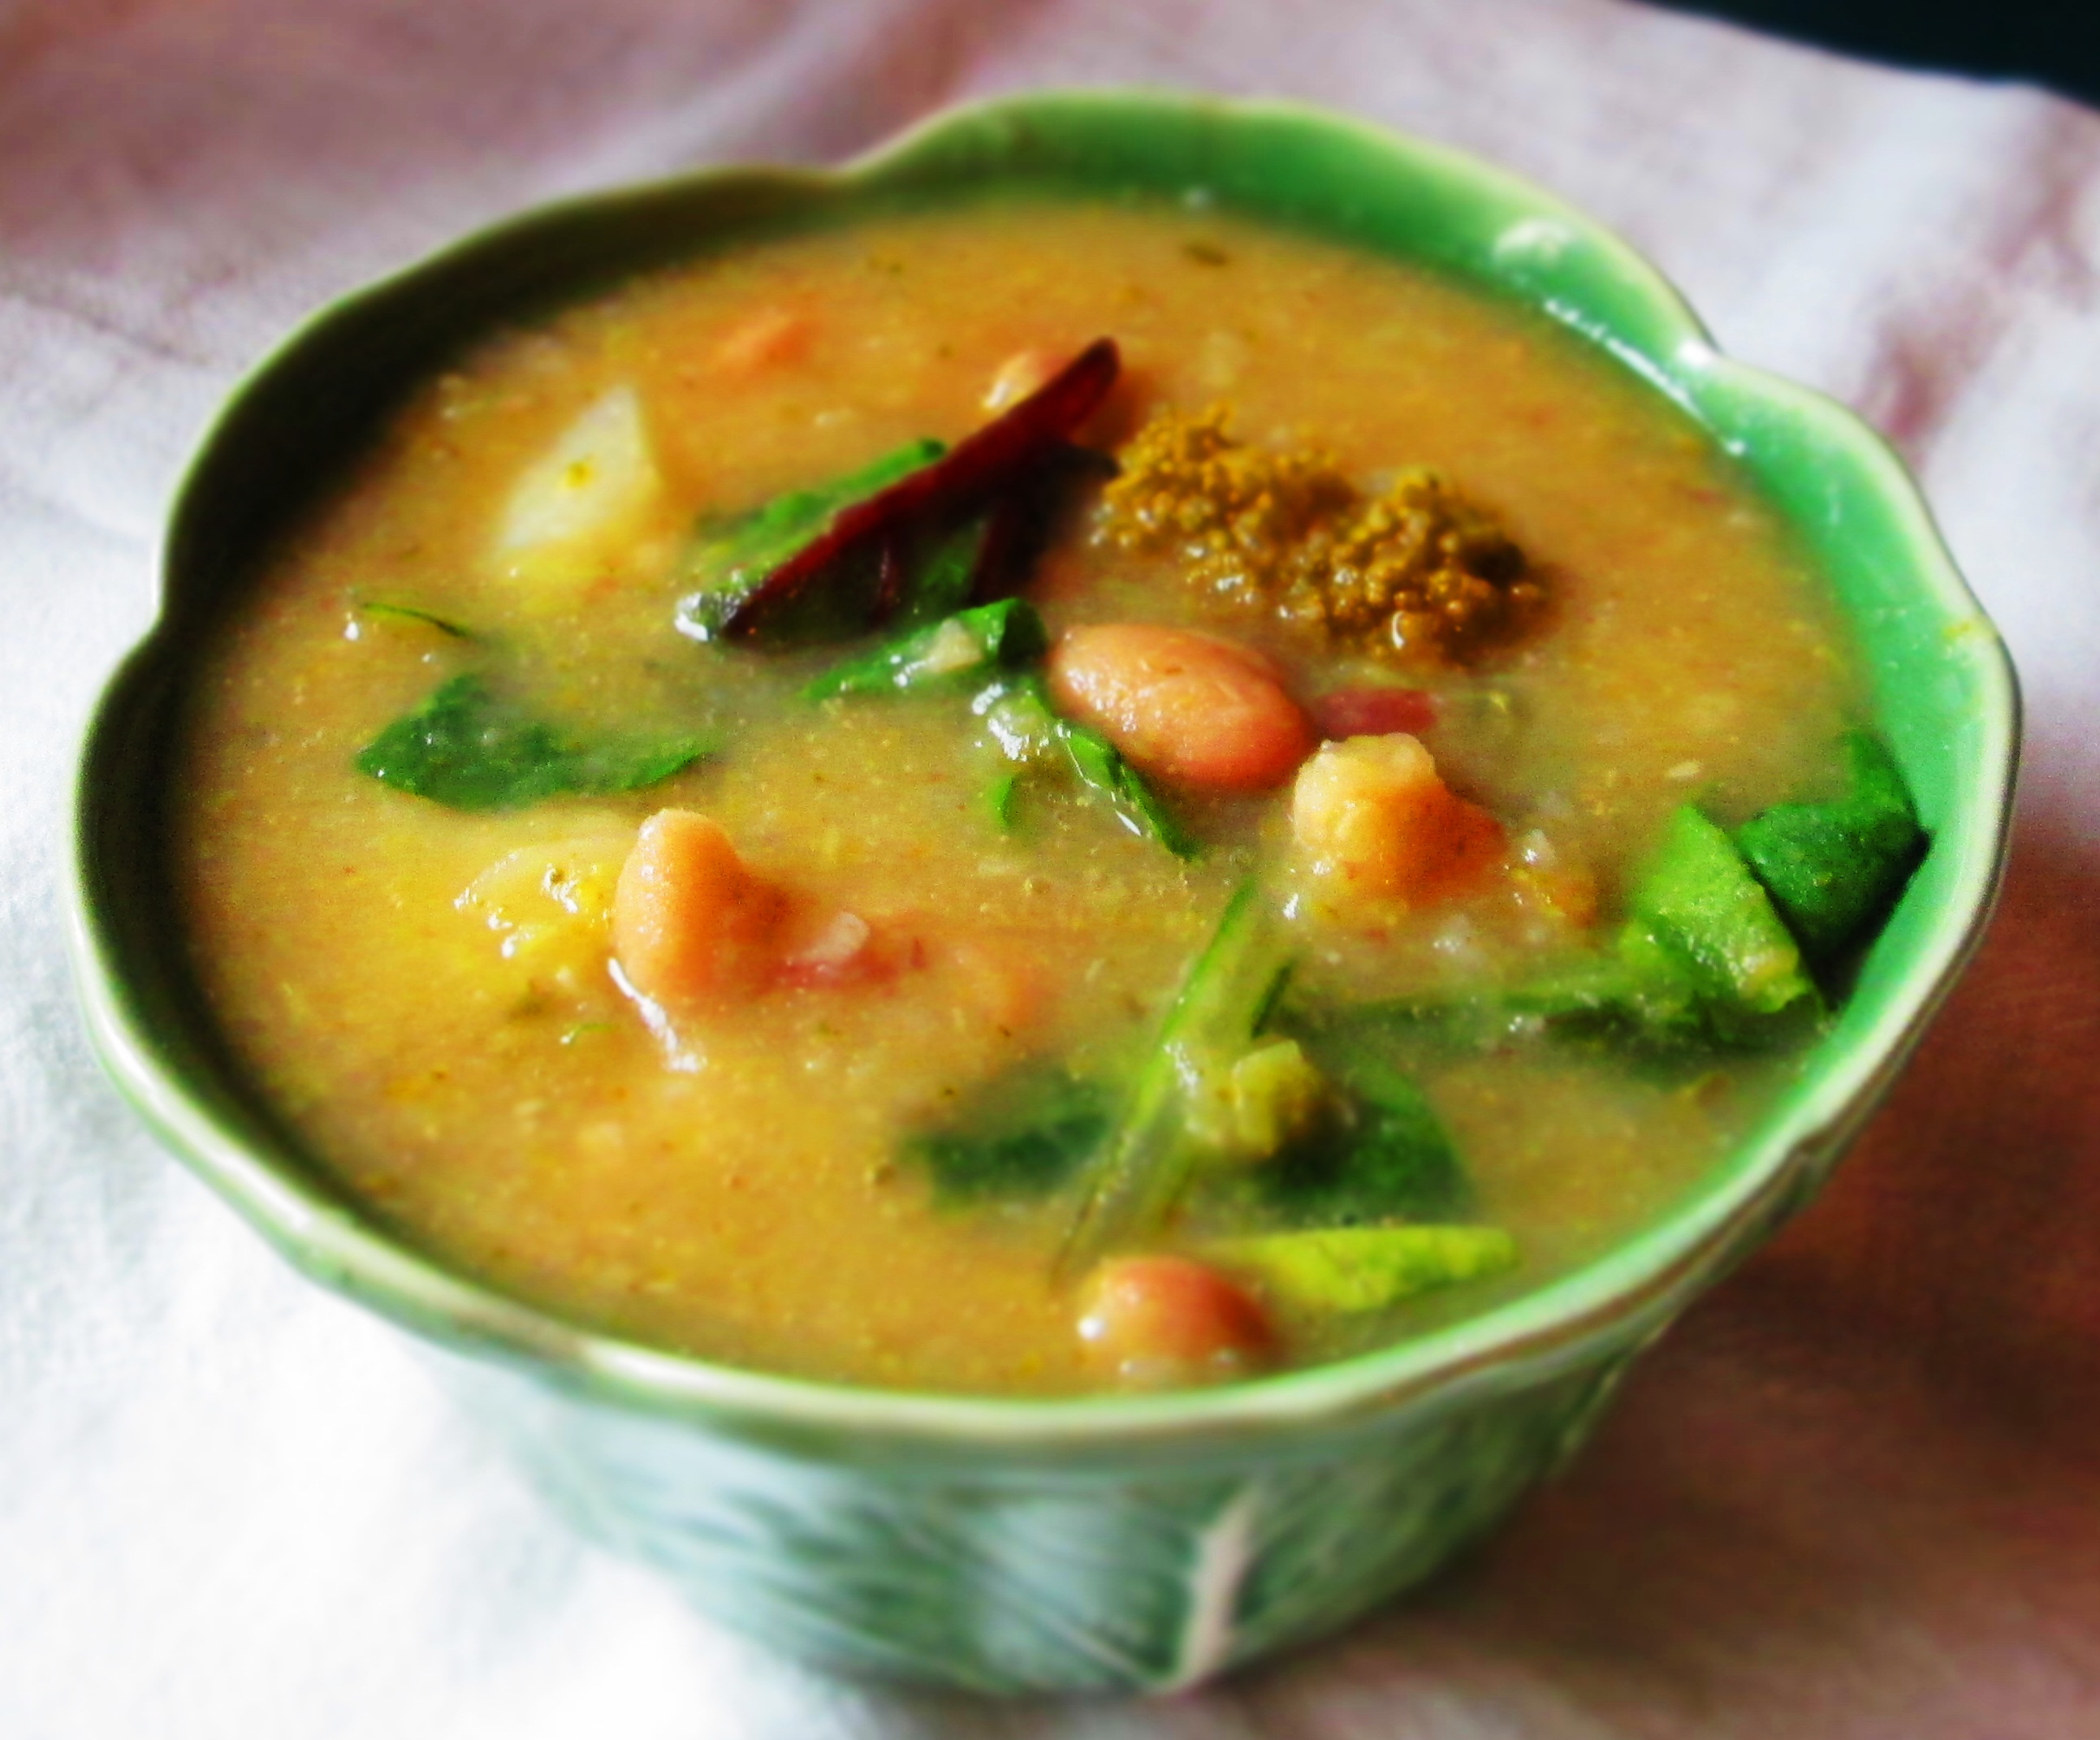
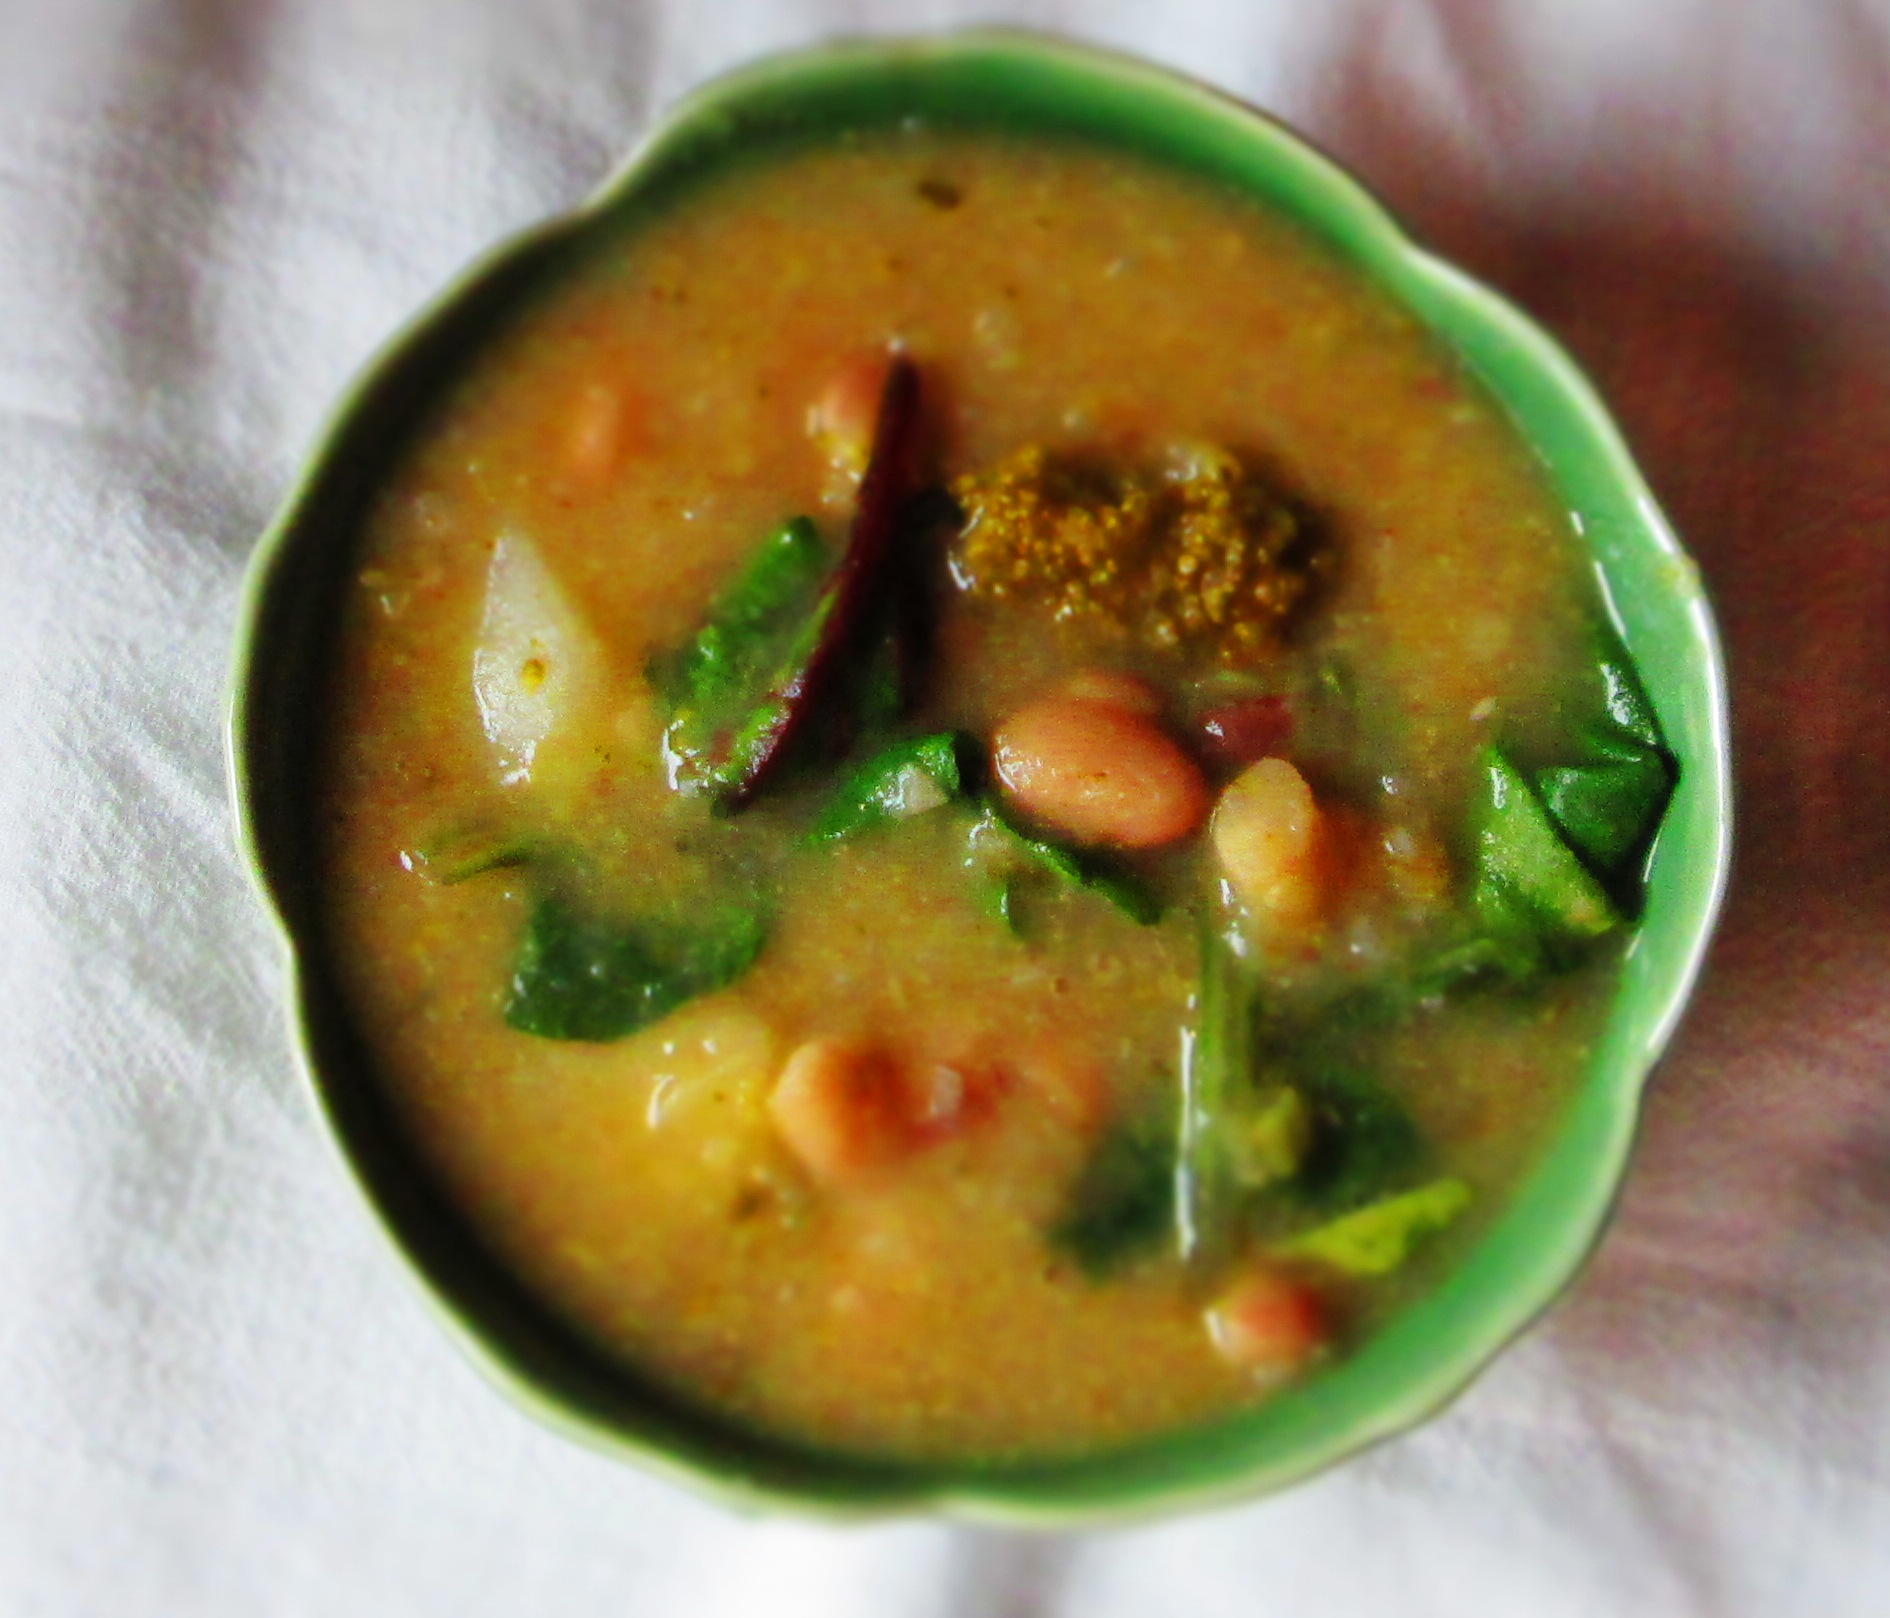
Celeriac Bisque with Mustard Greens and Chick Peas
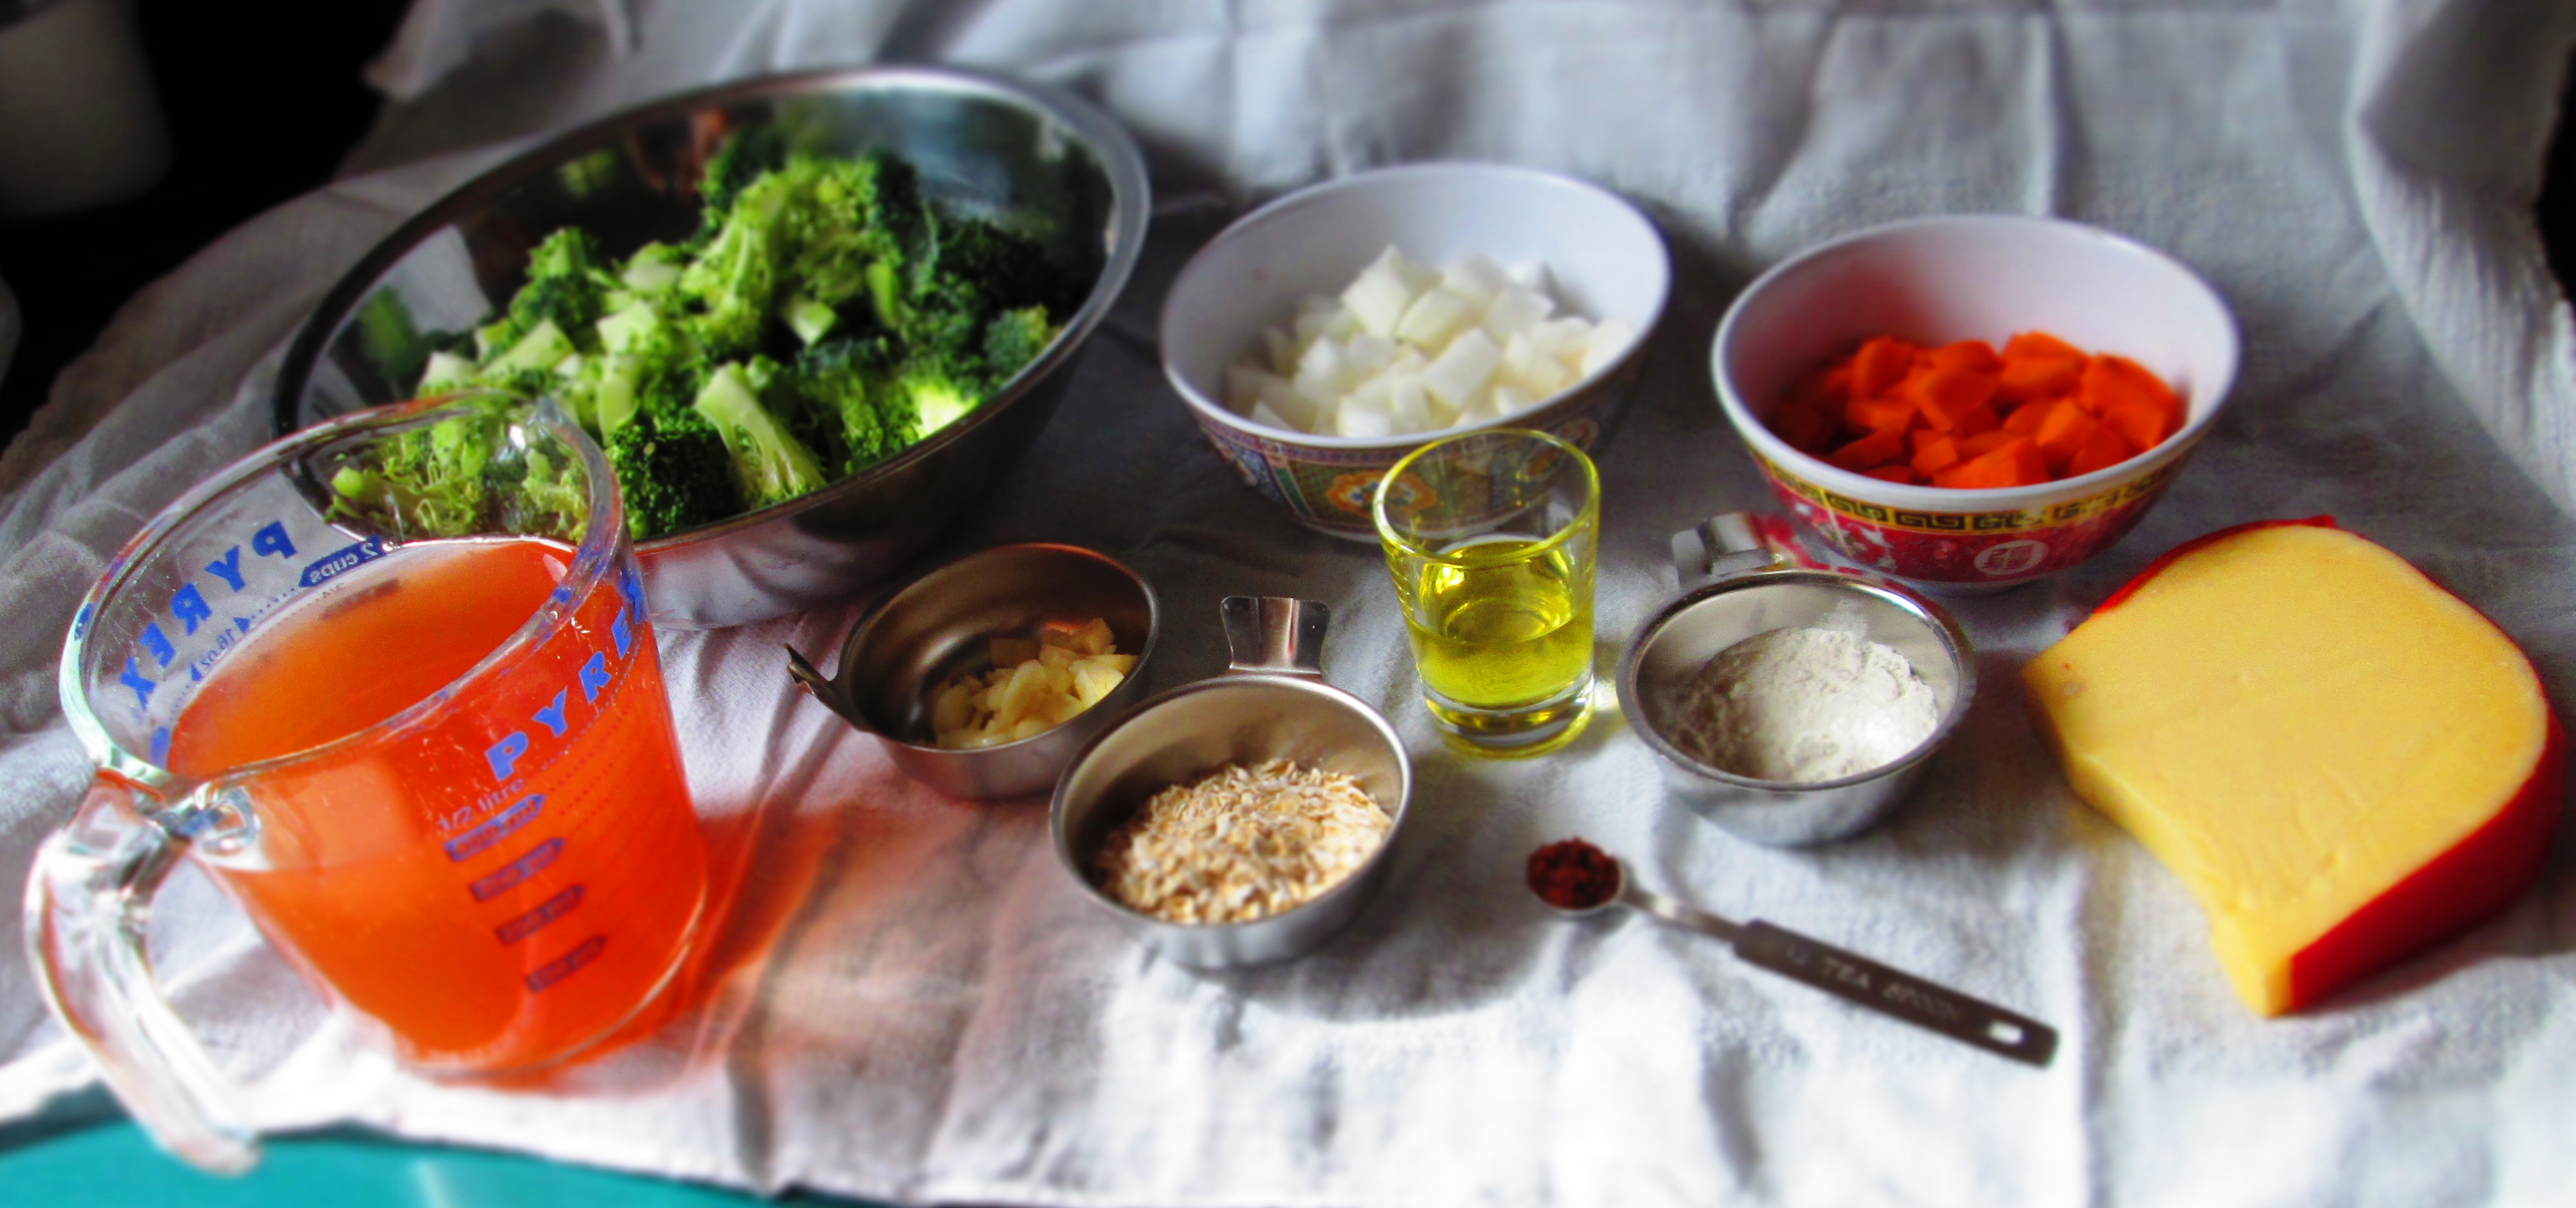
1 tablespoon olive oil
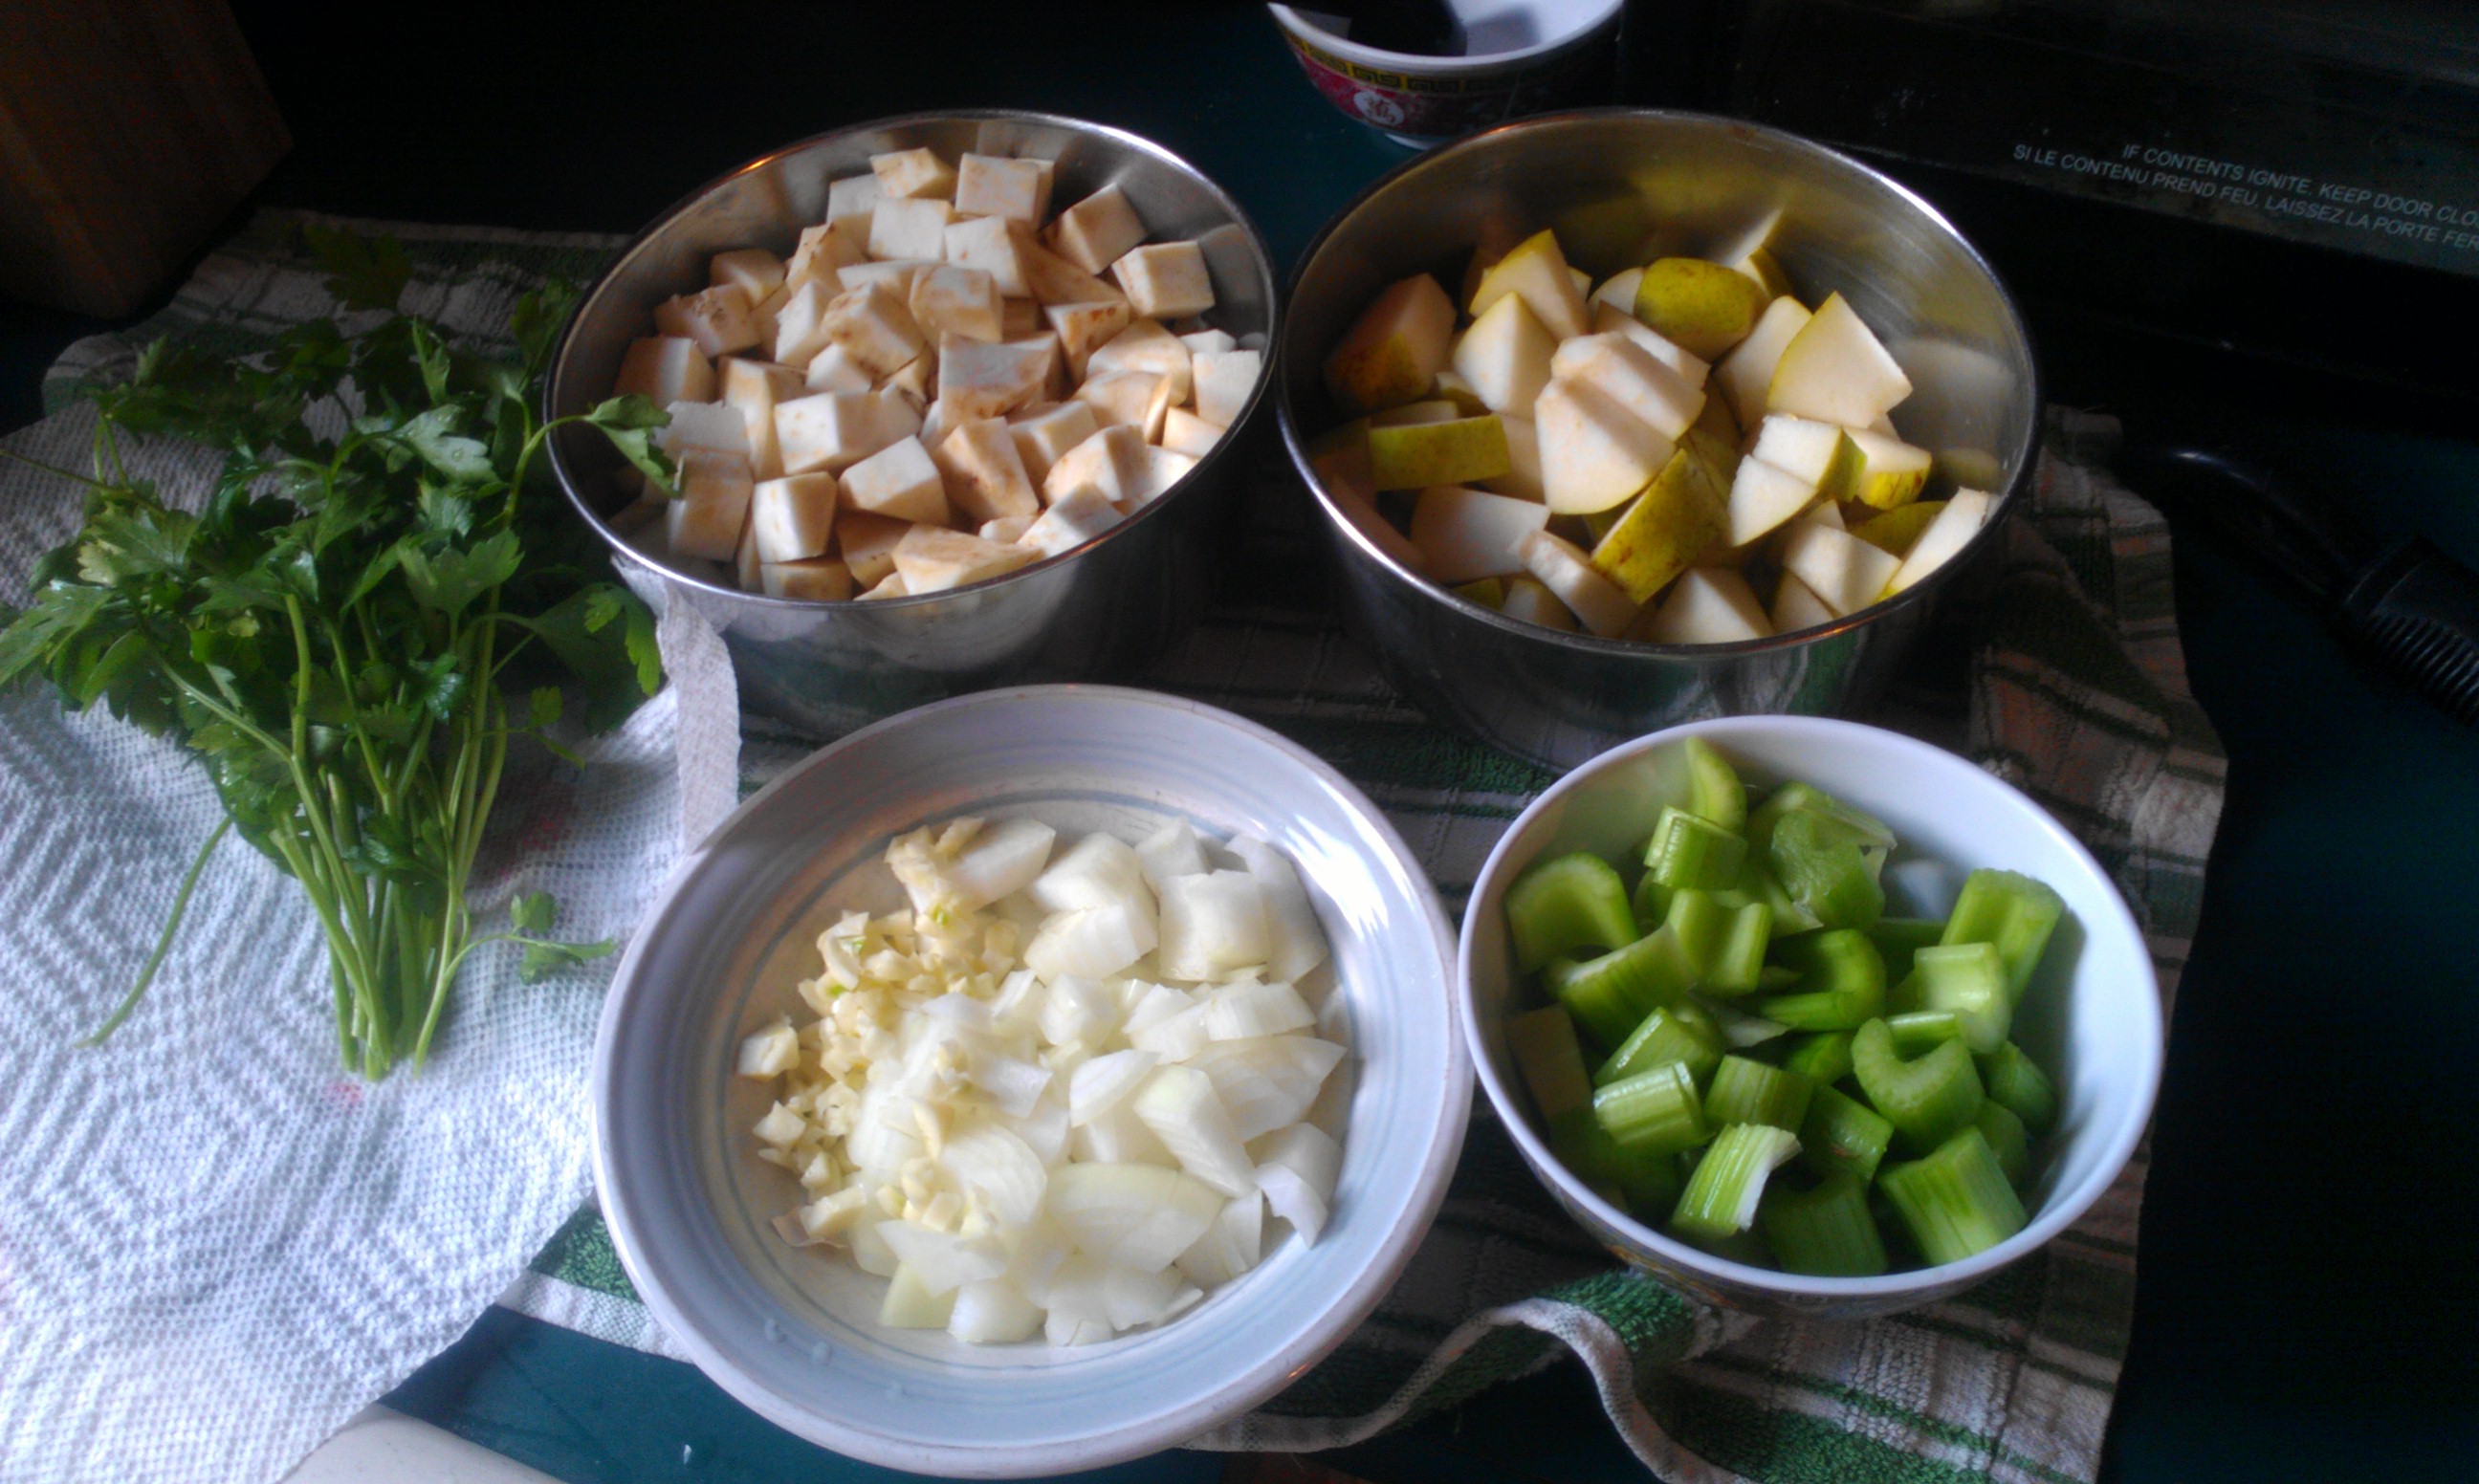
1 small yellow onion, coarsely chopped
2 large garlic cloves, chopped
2 lb. celeriac (celery root), peeled and diced
3 small celery ribs, coarsely chopped
2 medium apples or Bartlett pears, peeled, cored, and chopped
¼ teaspoon sea salt
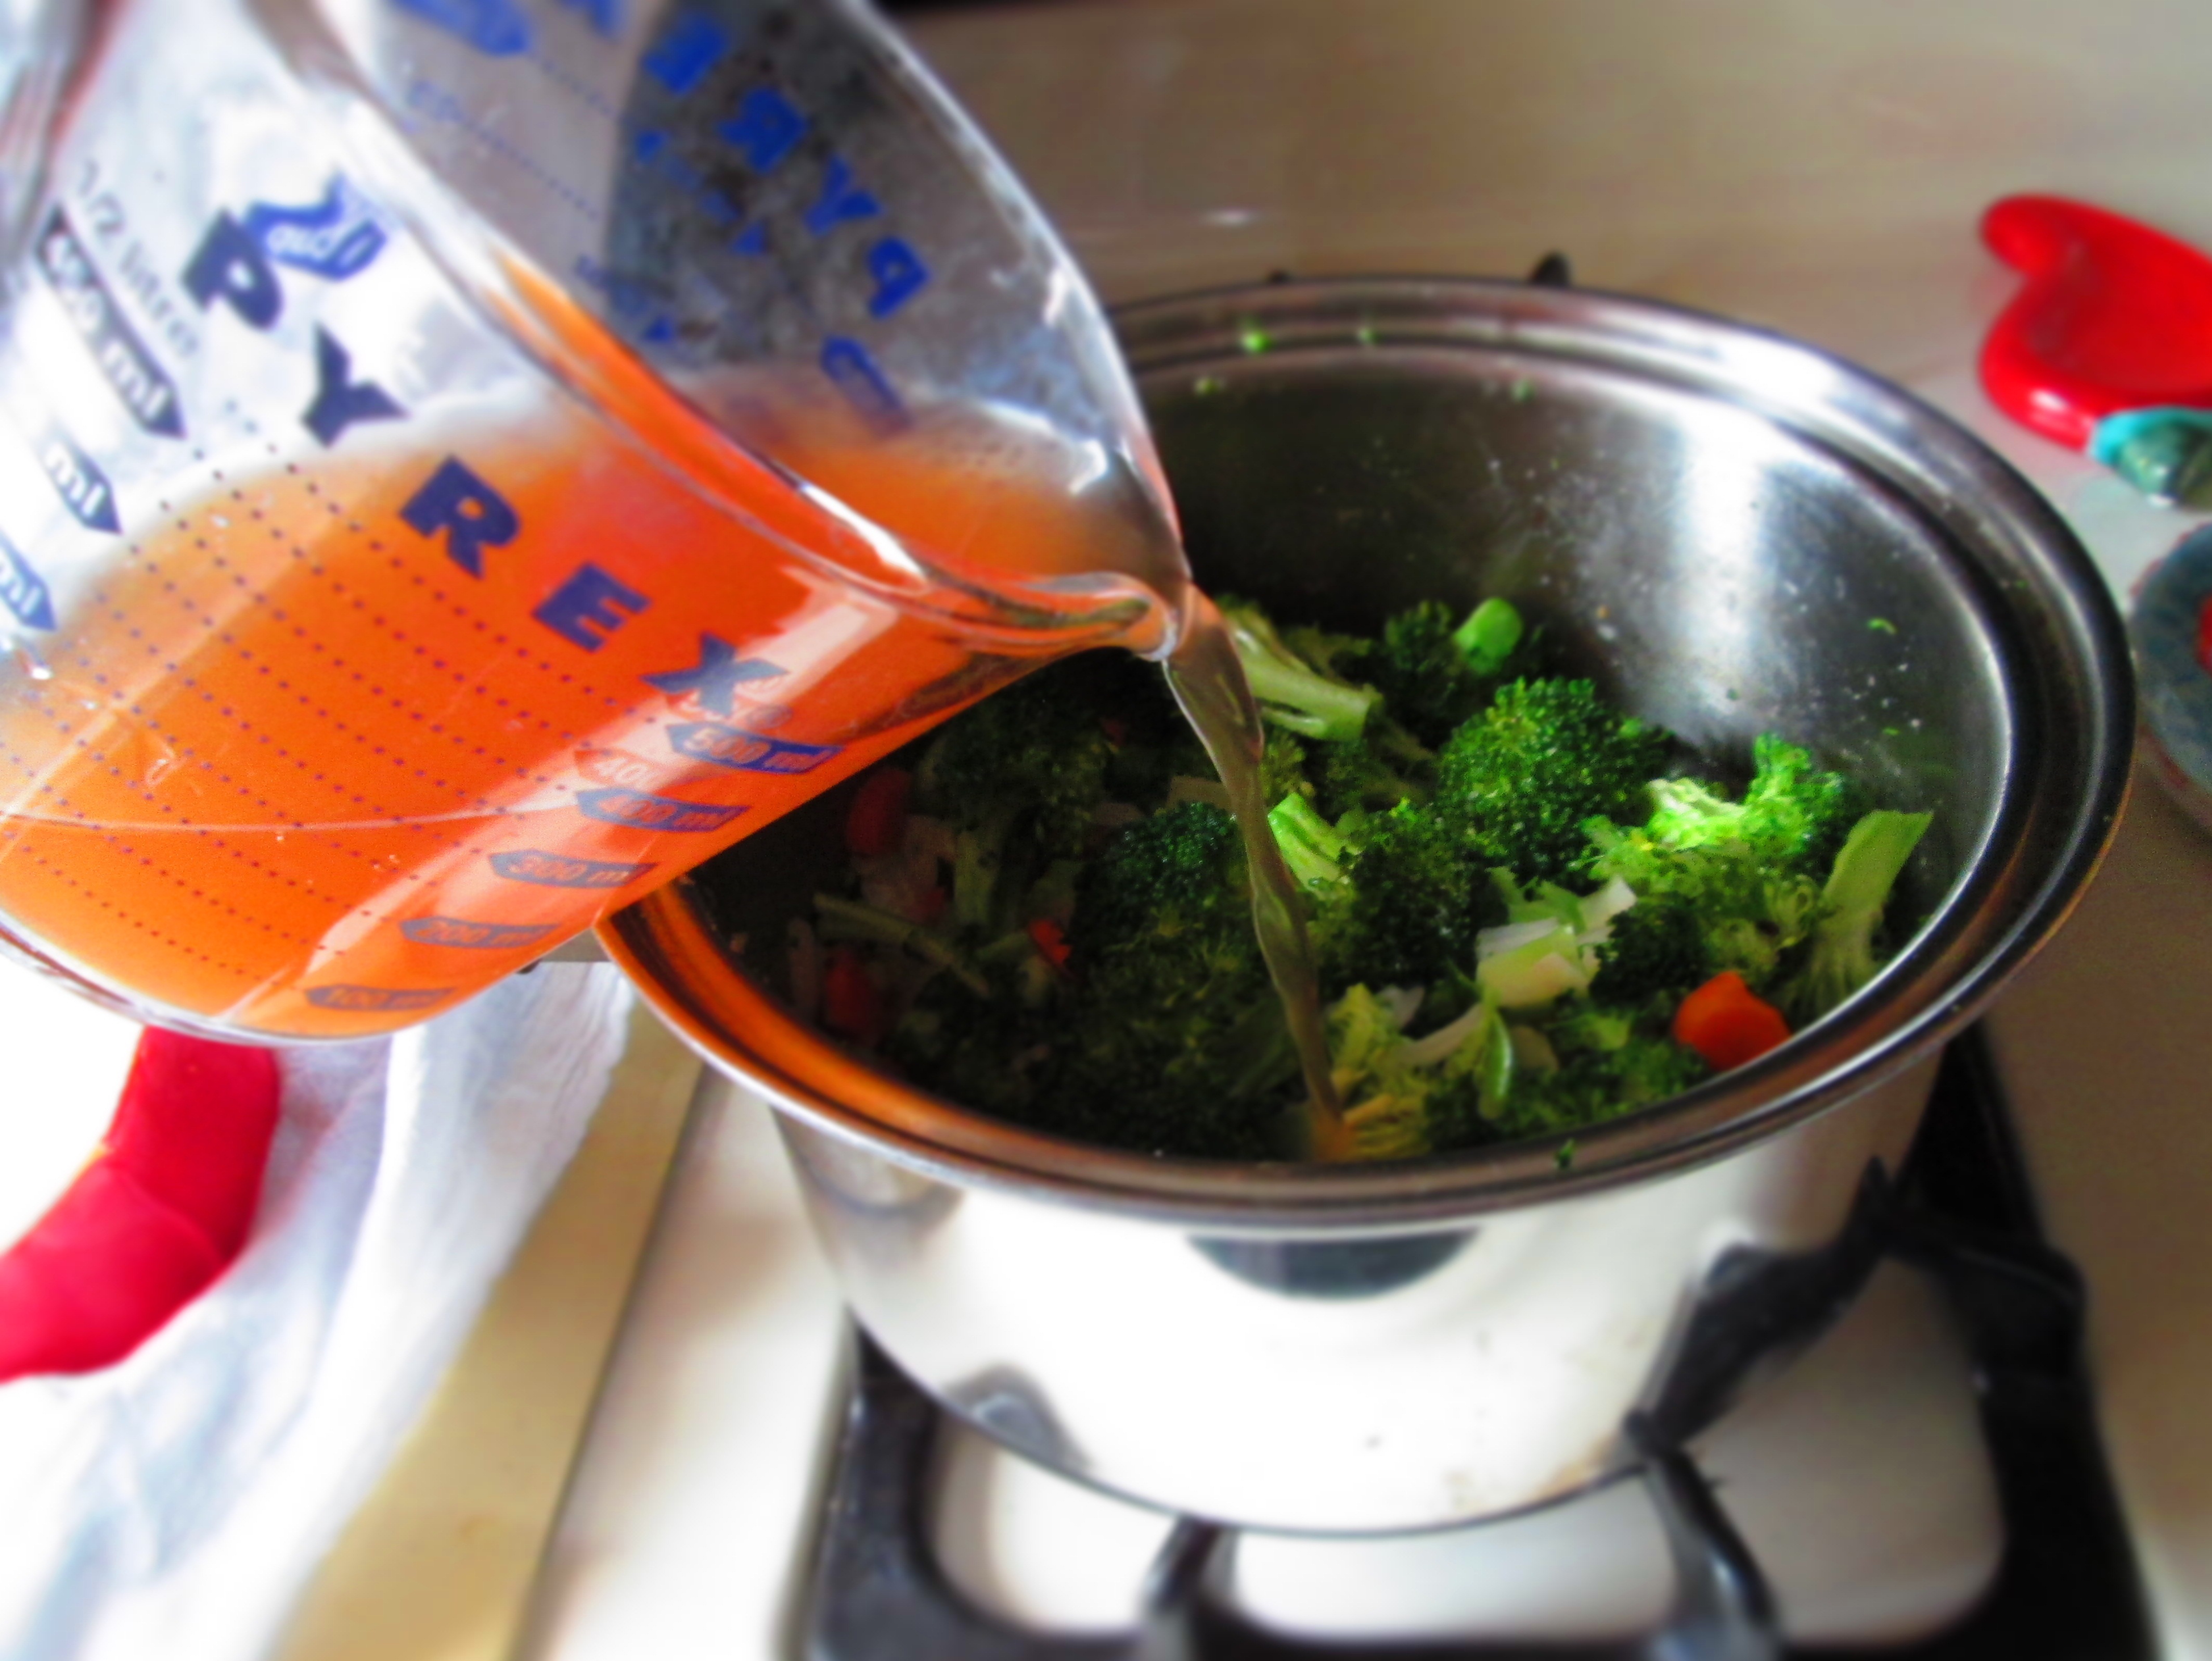
4 cups vegetable broth
¼ cup fresh Italian parsley
Freshly ground pepper to taste
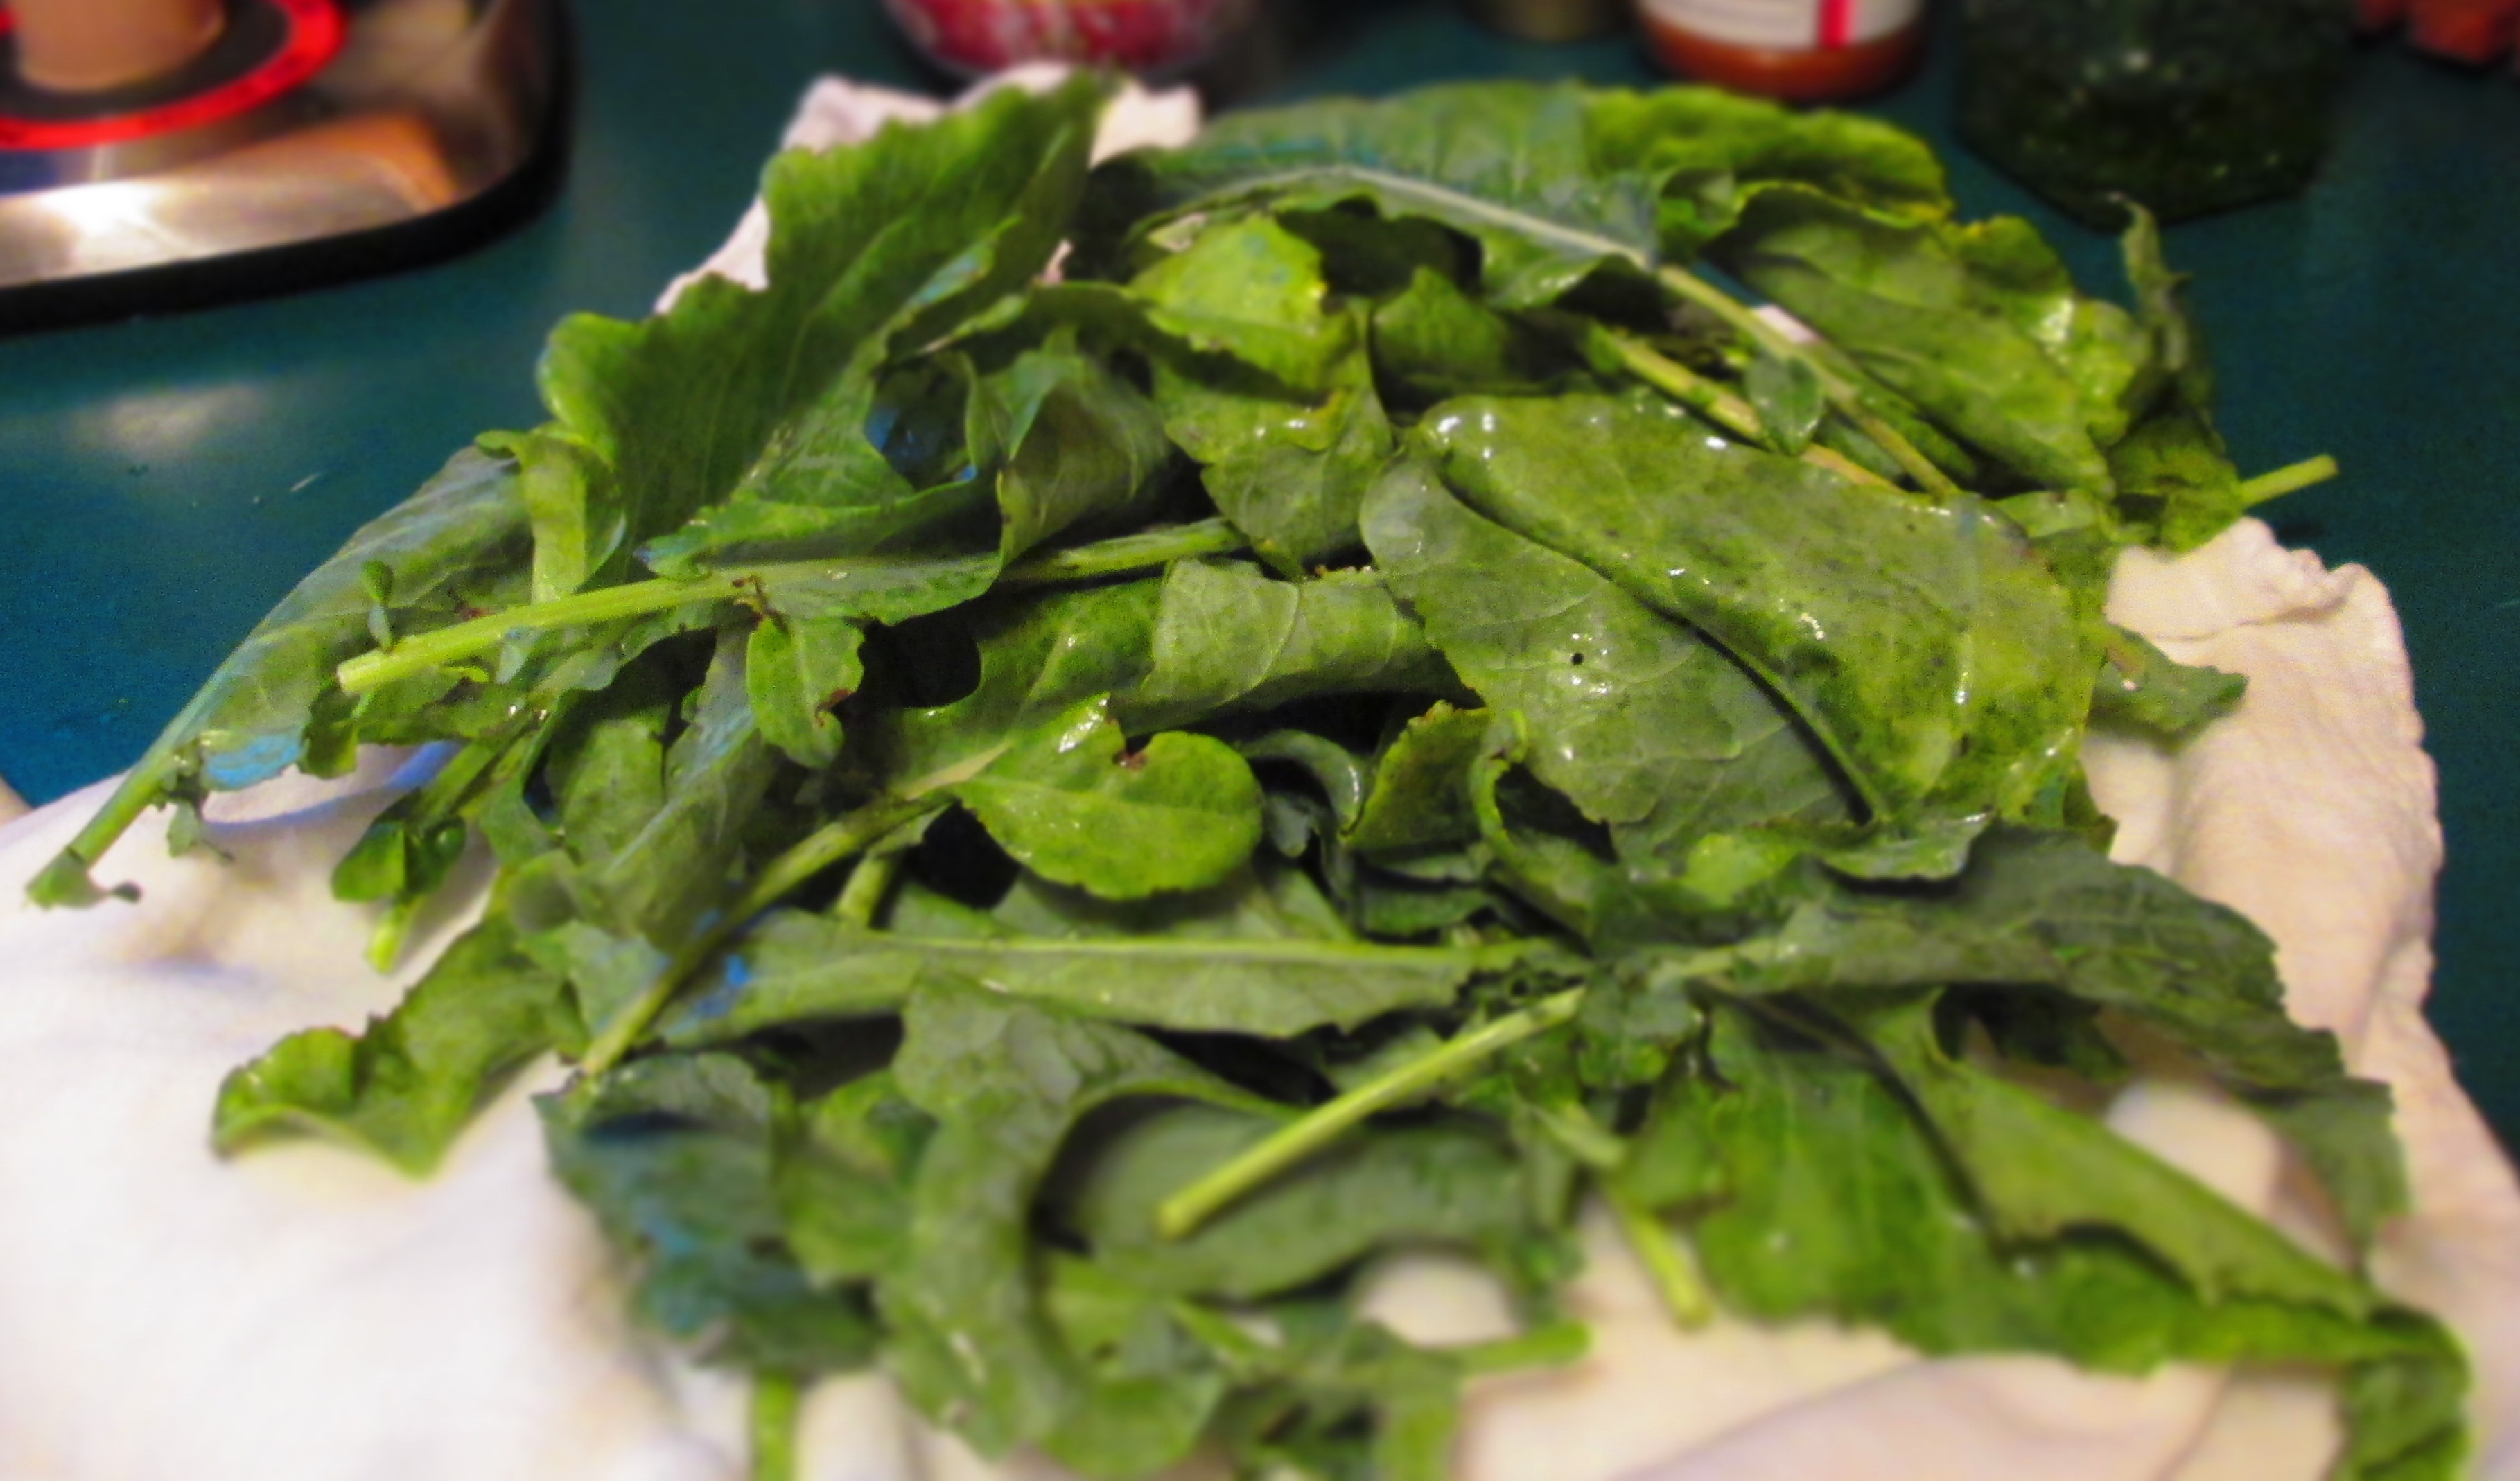
8 oz. mustard greens (or other greens), washed and chopped
2 cups cooked chick peas
Garnish: chopped fresh parsley (optional)
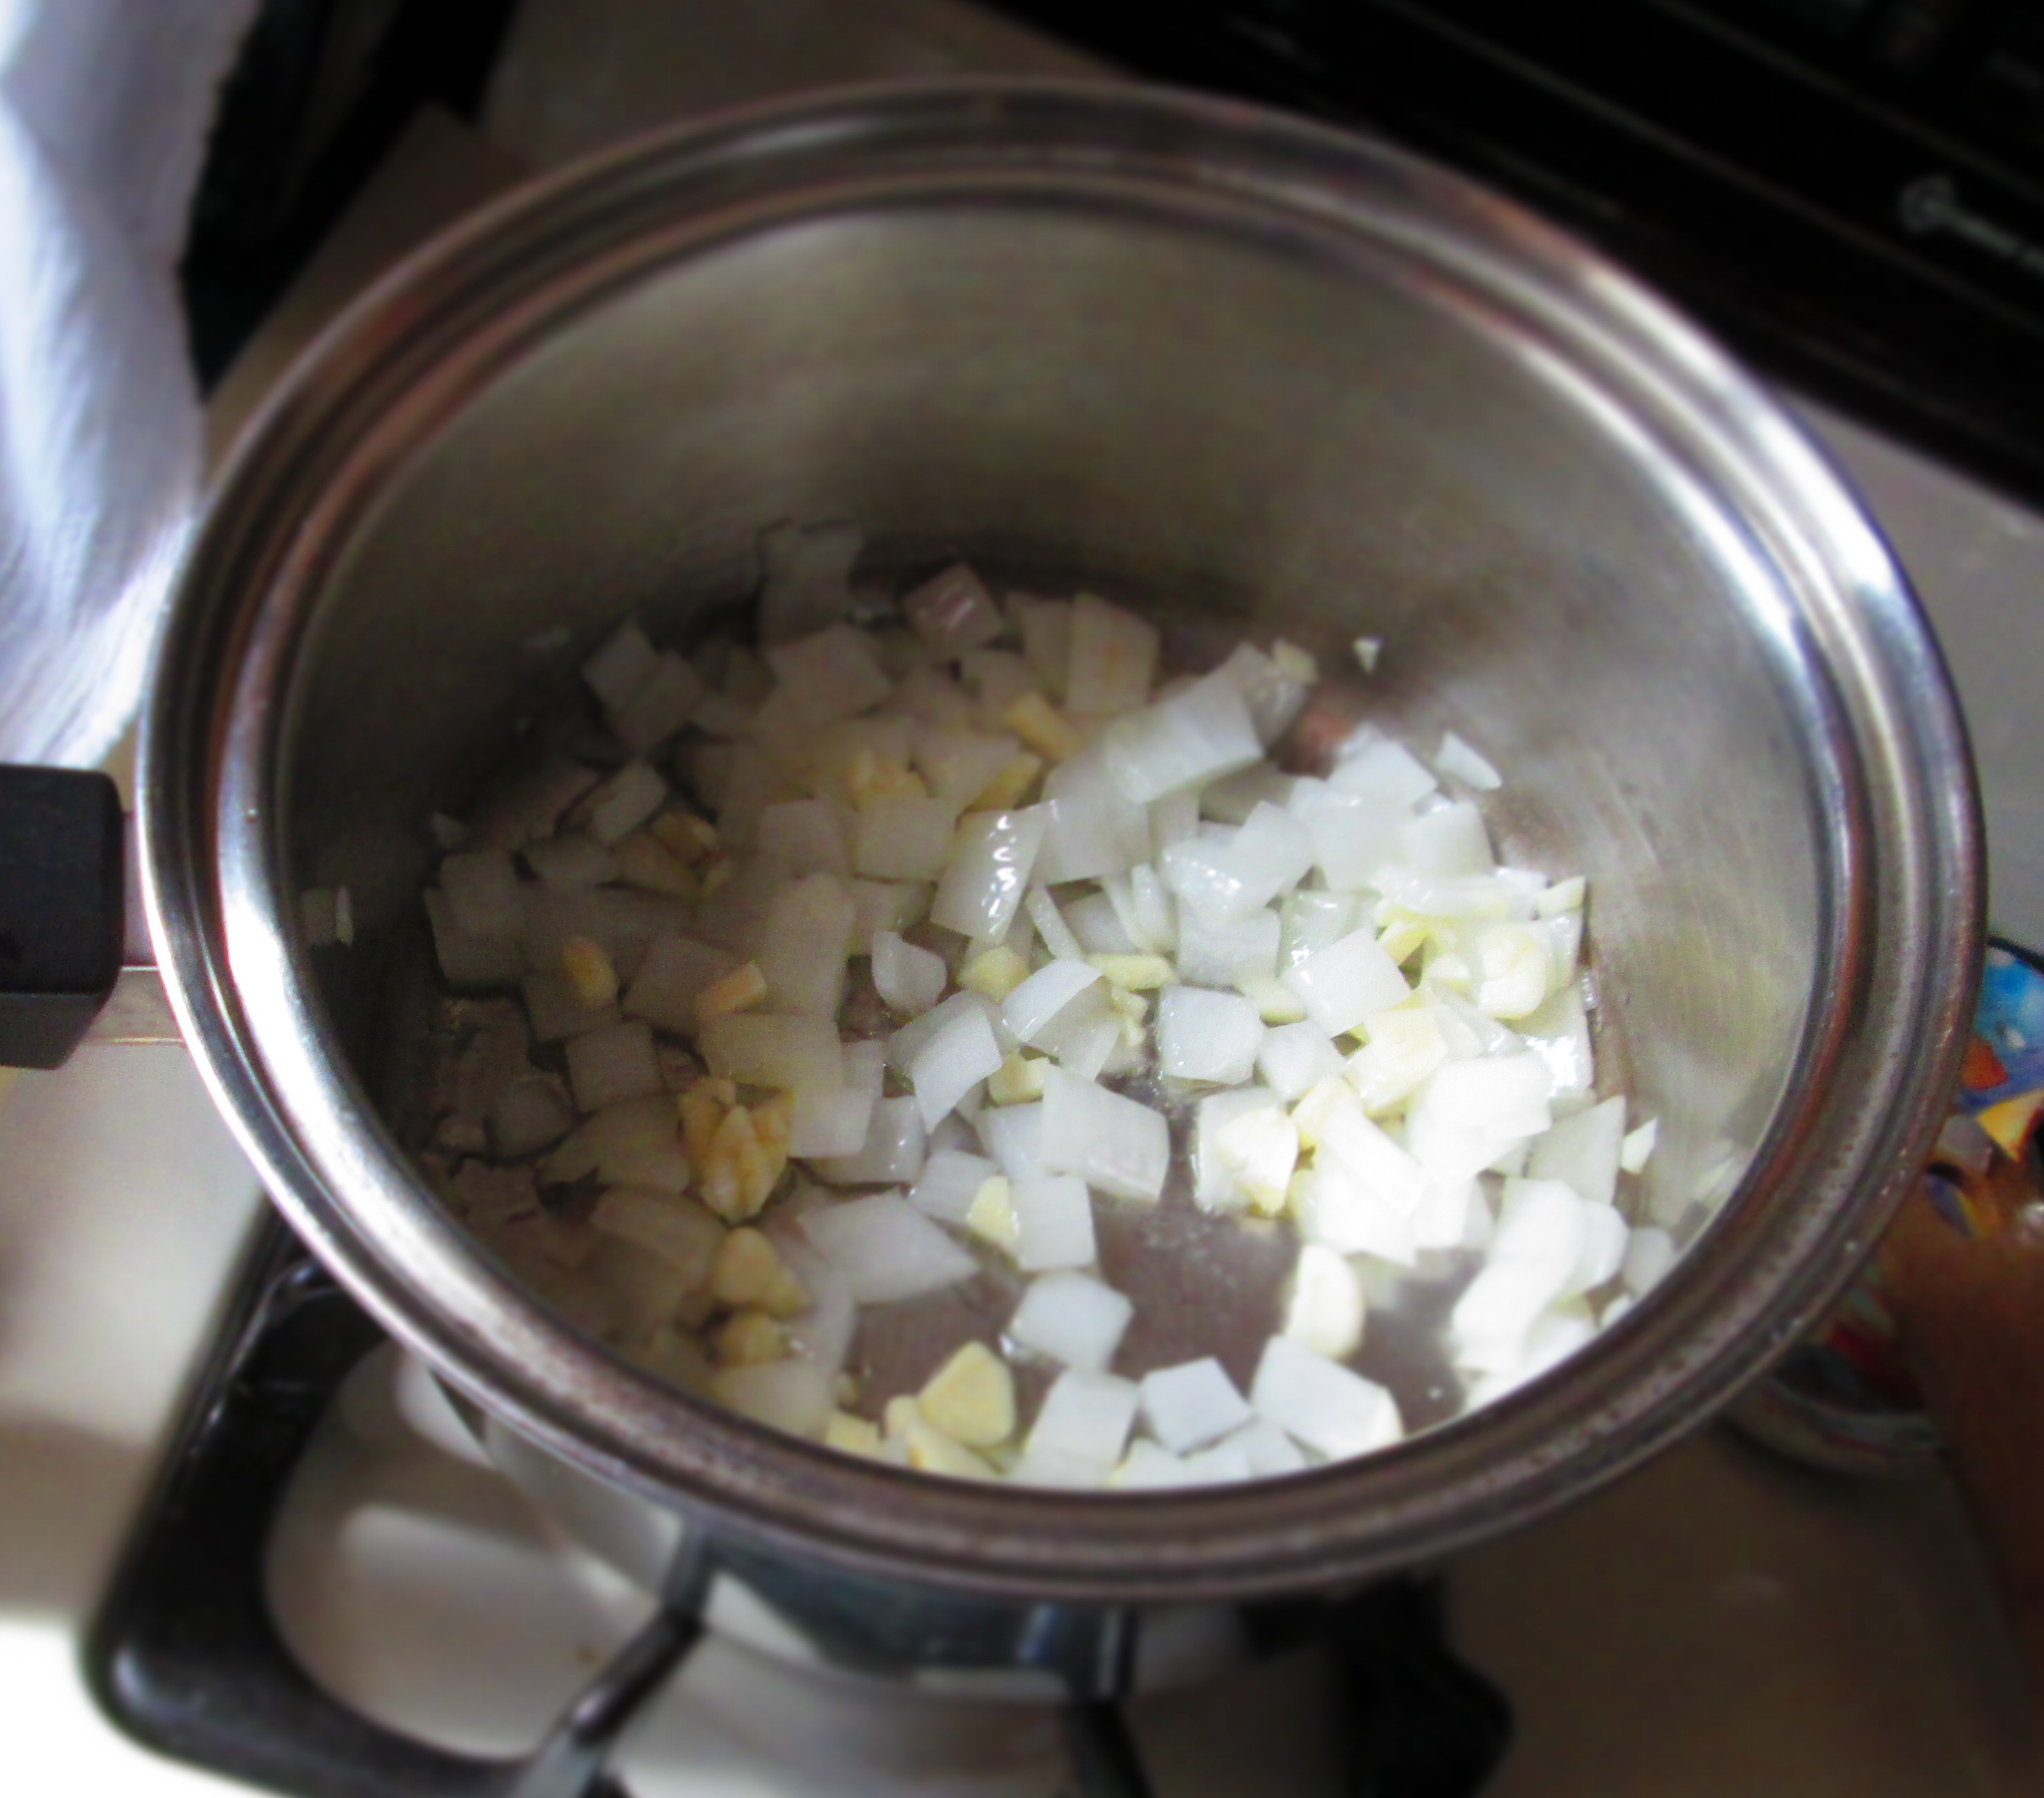
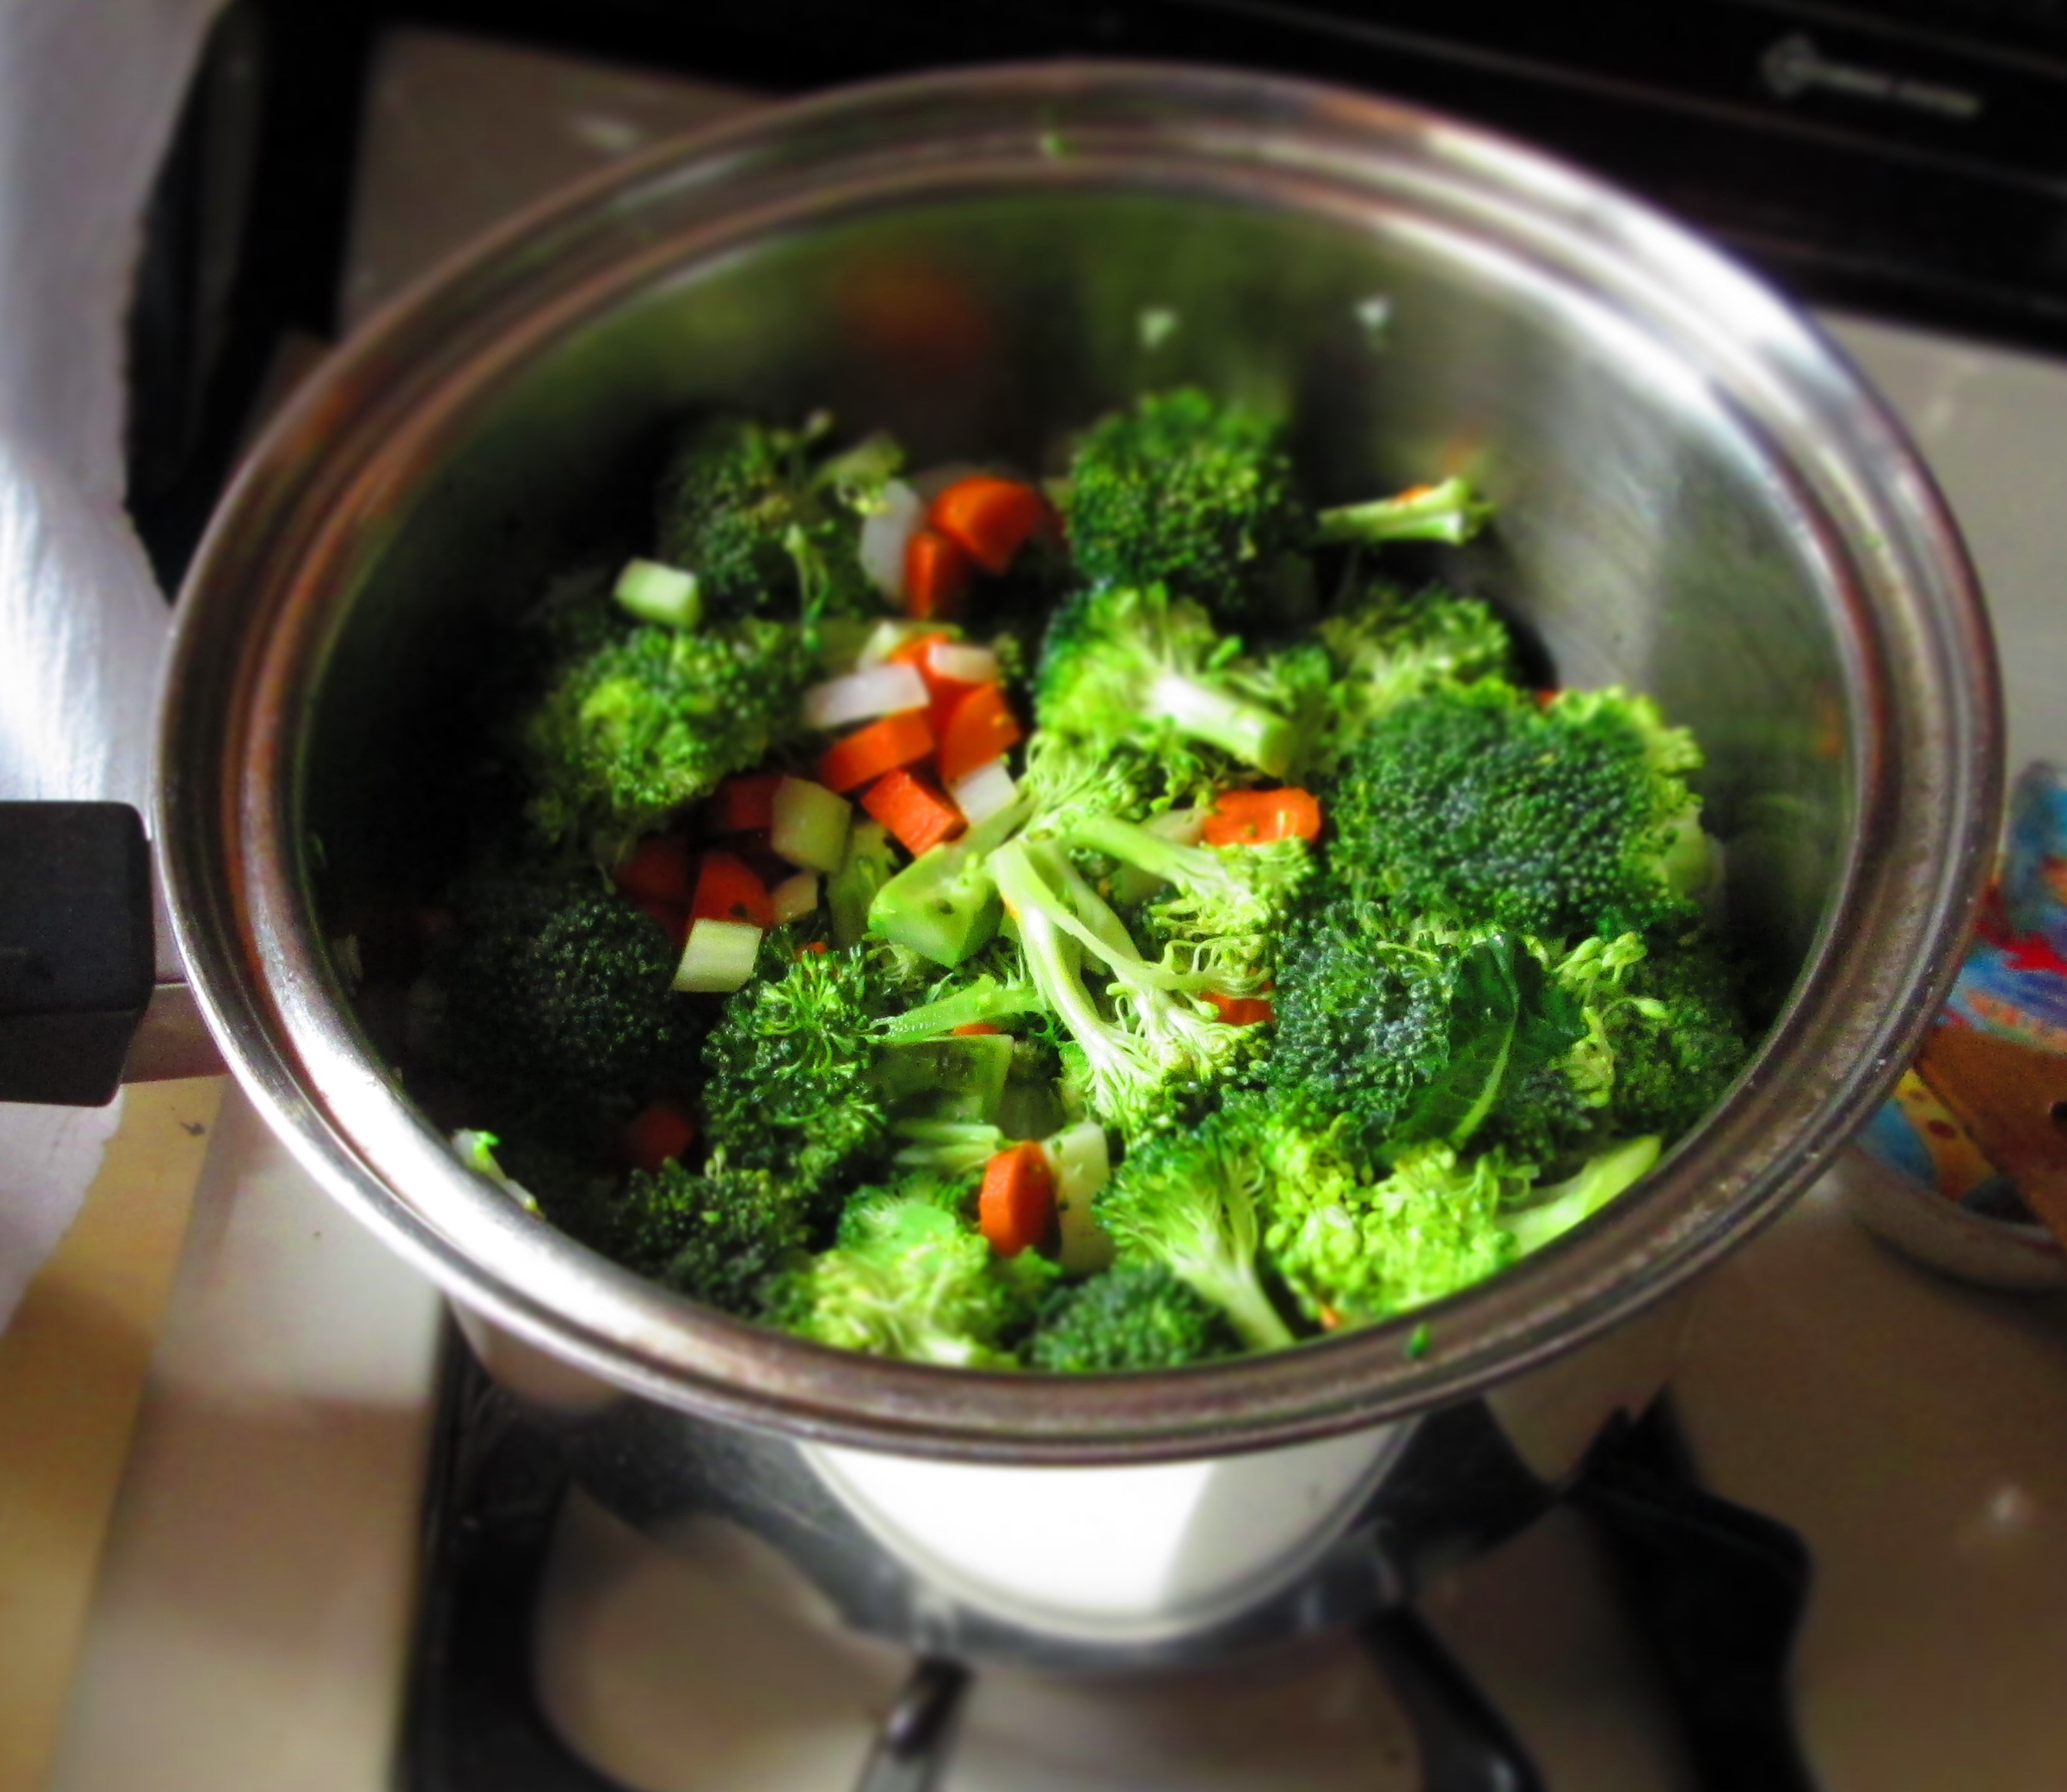
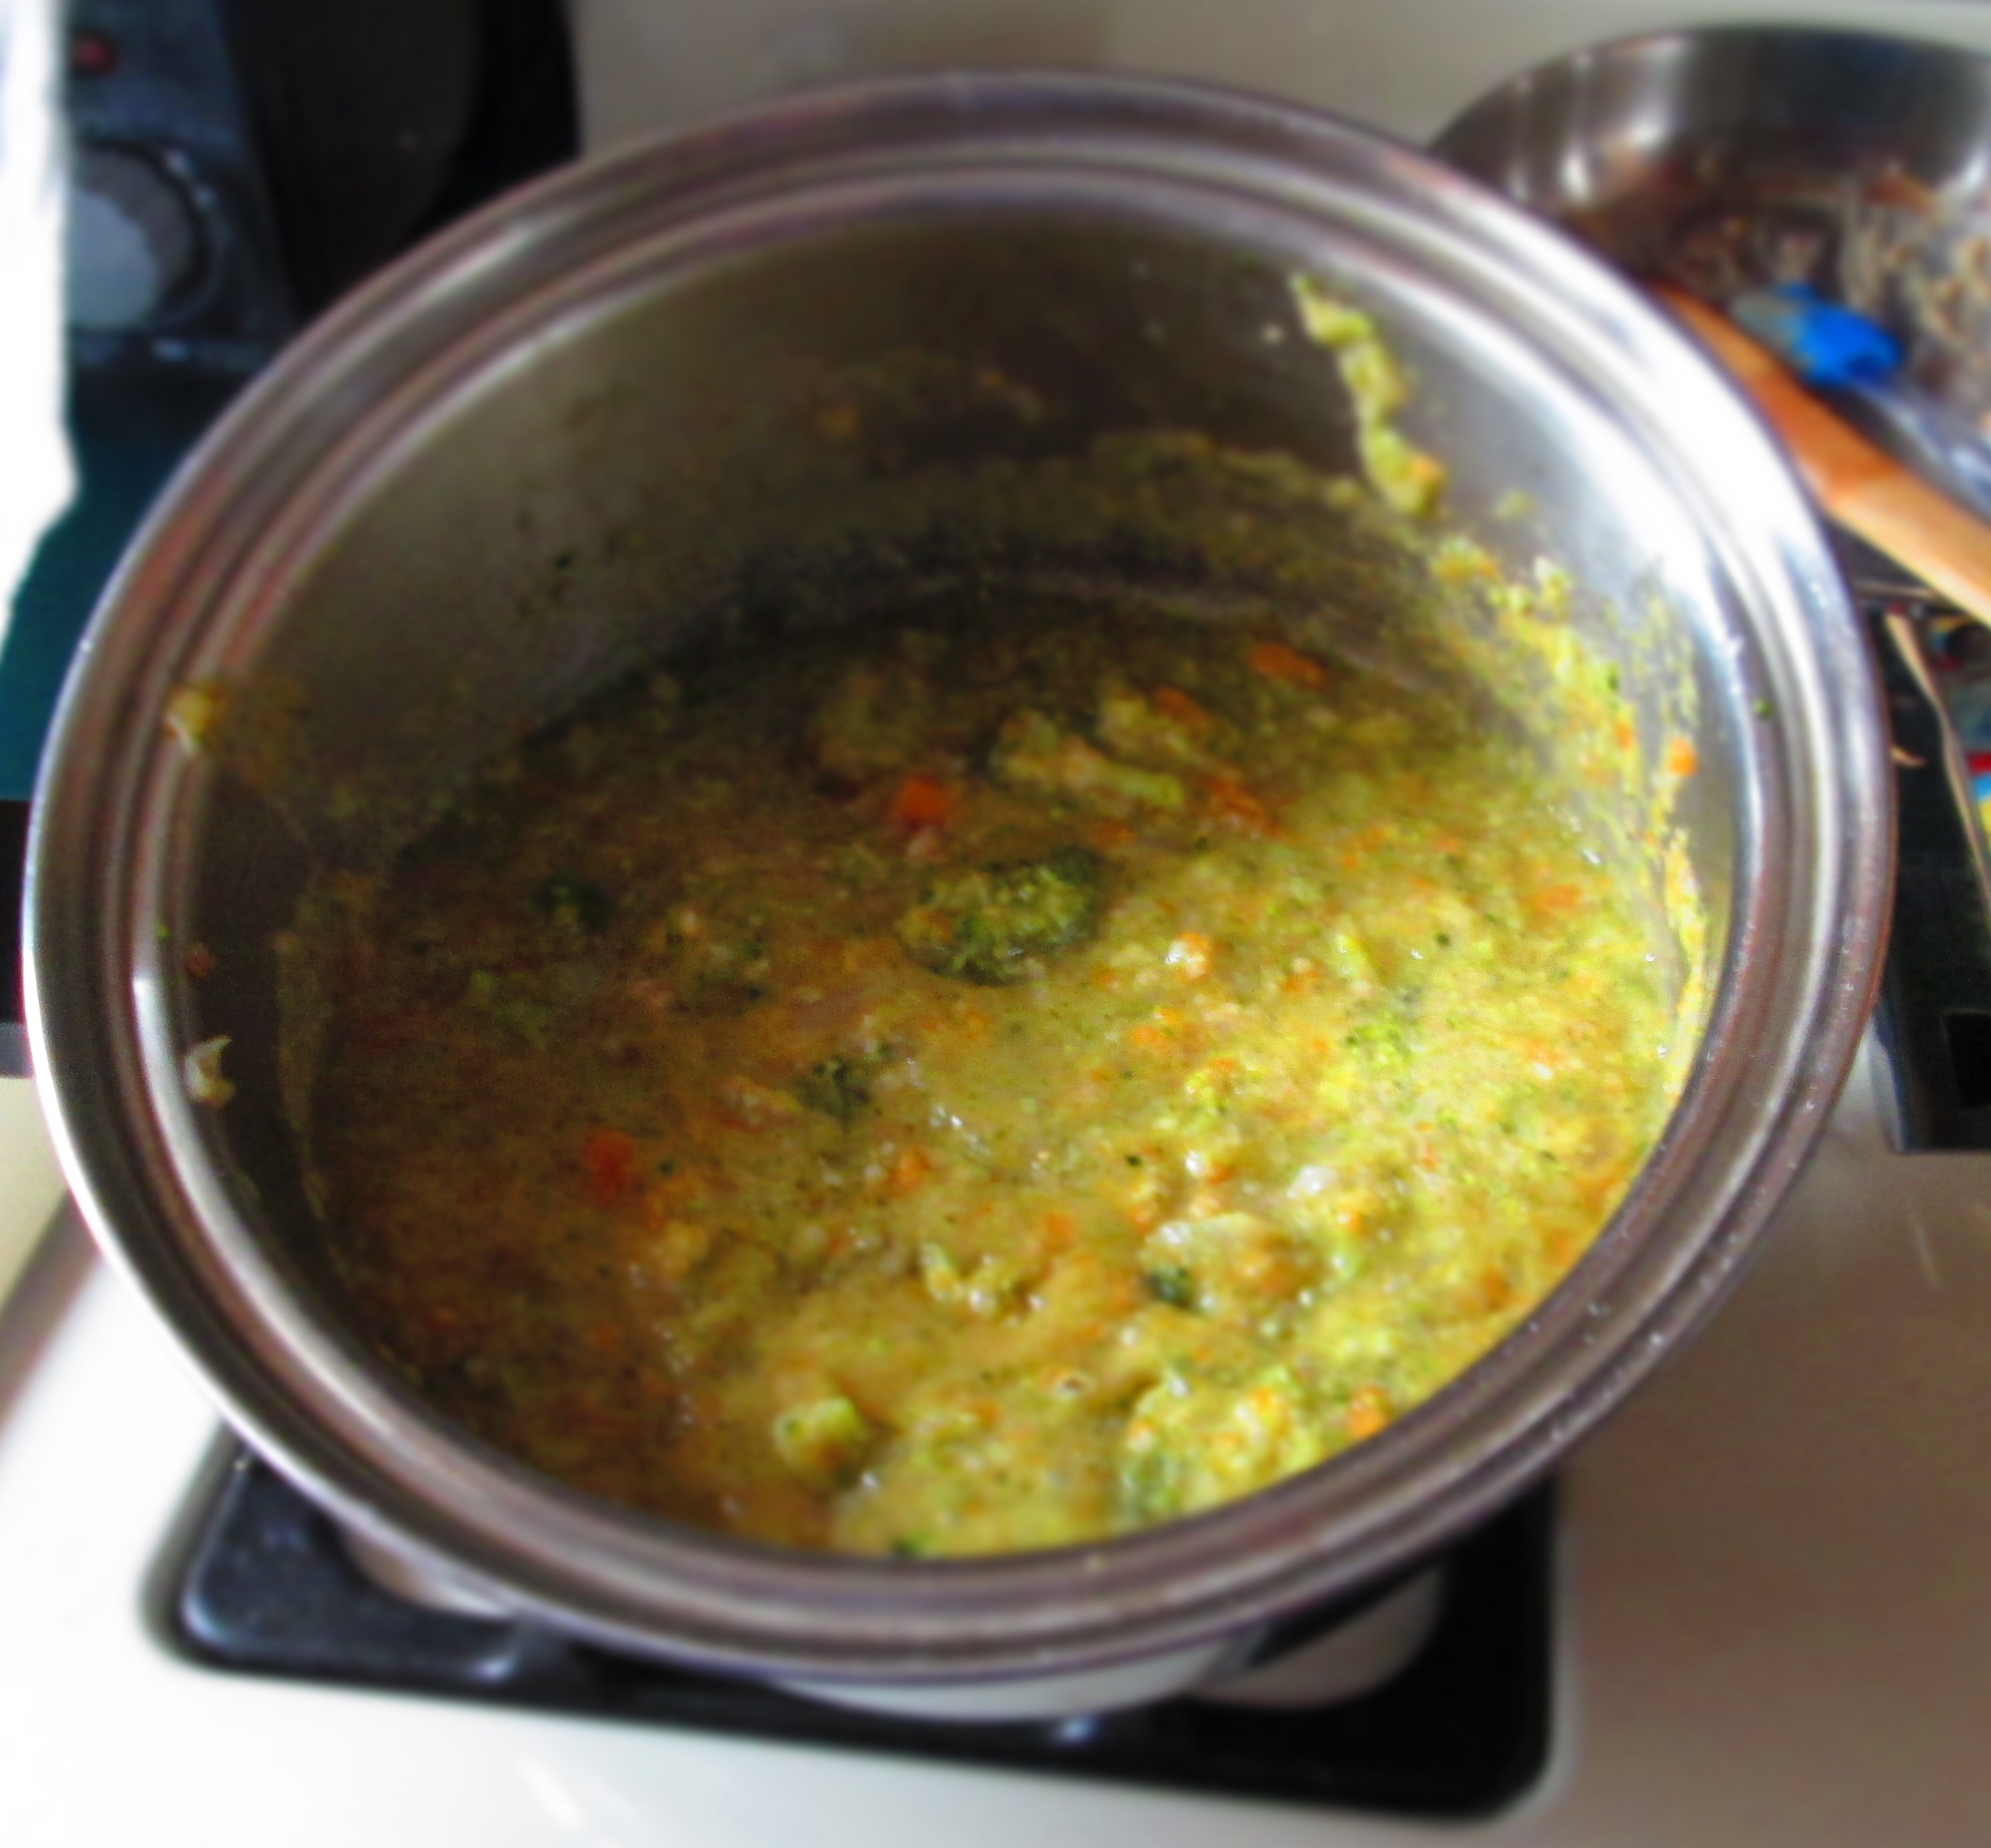
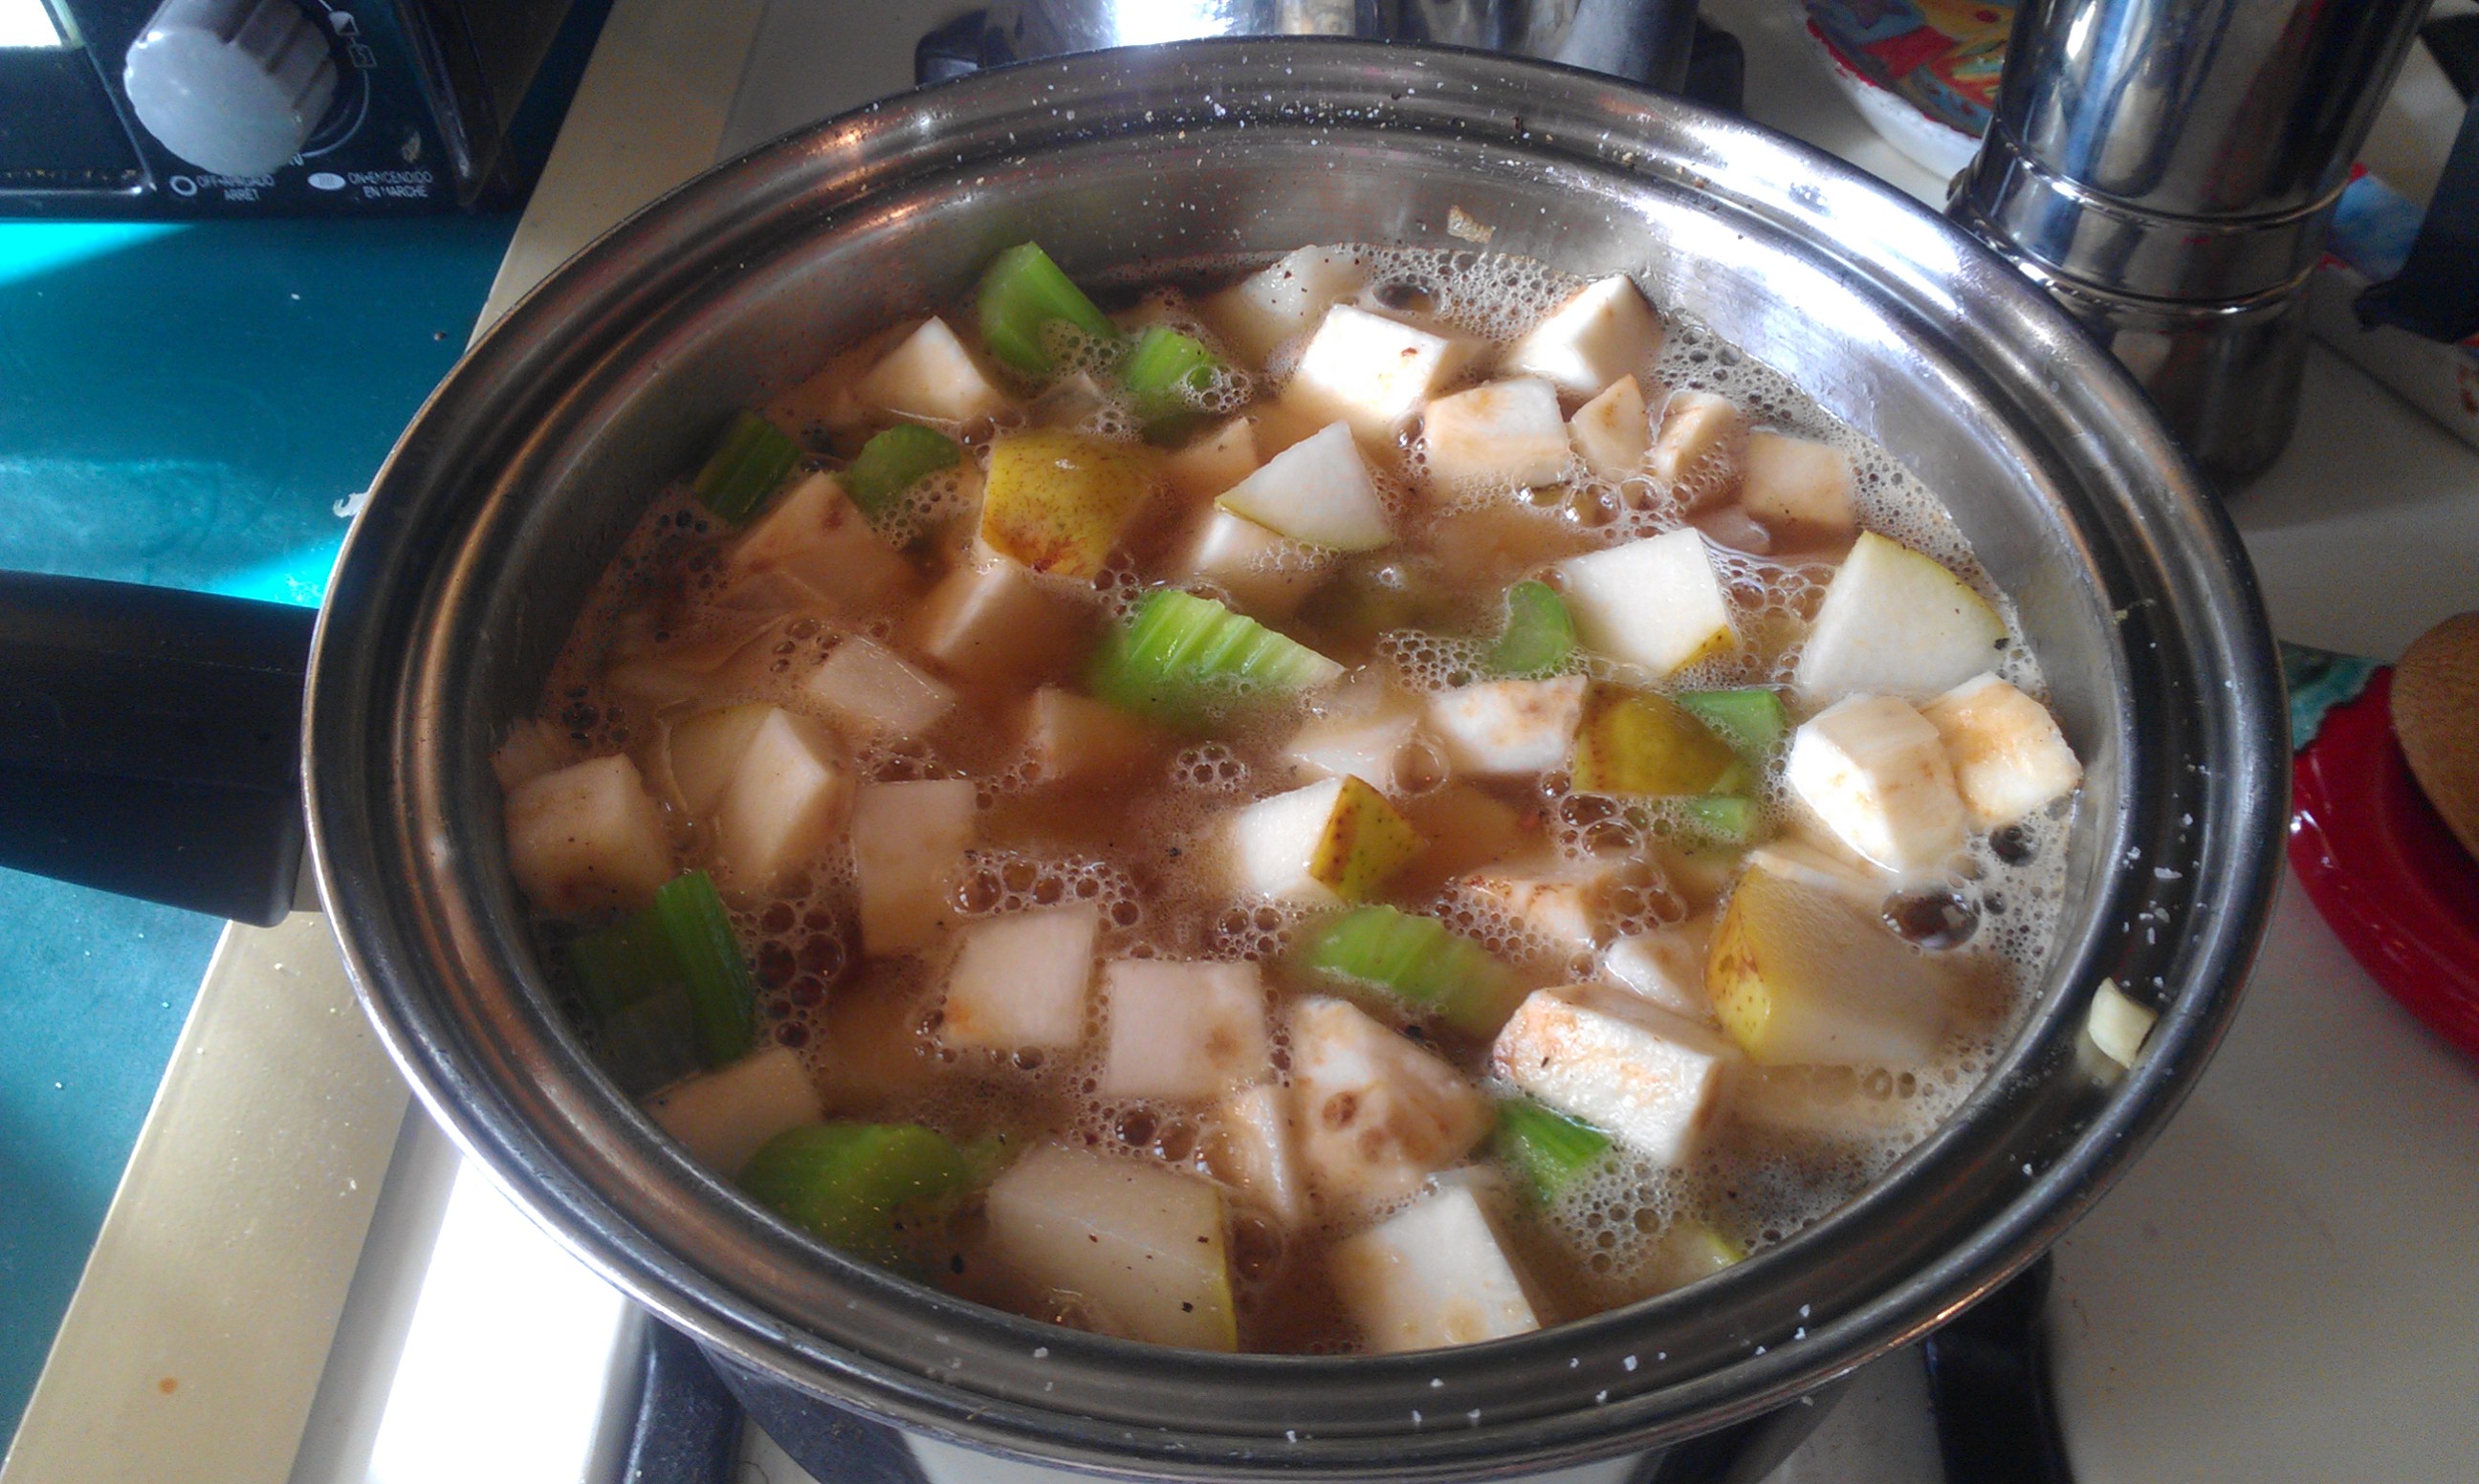
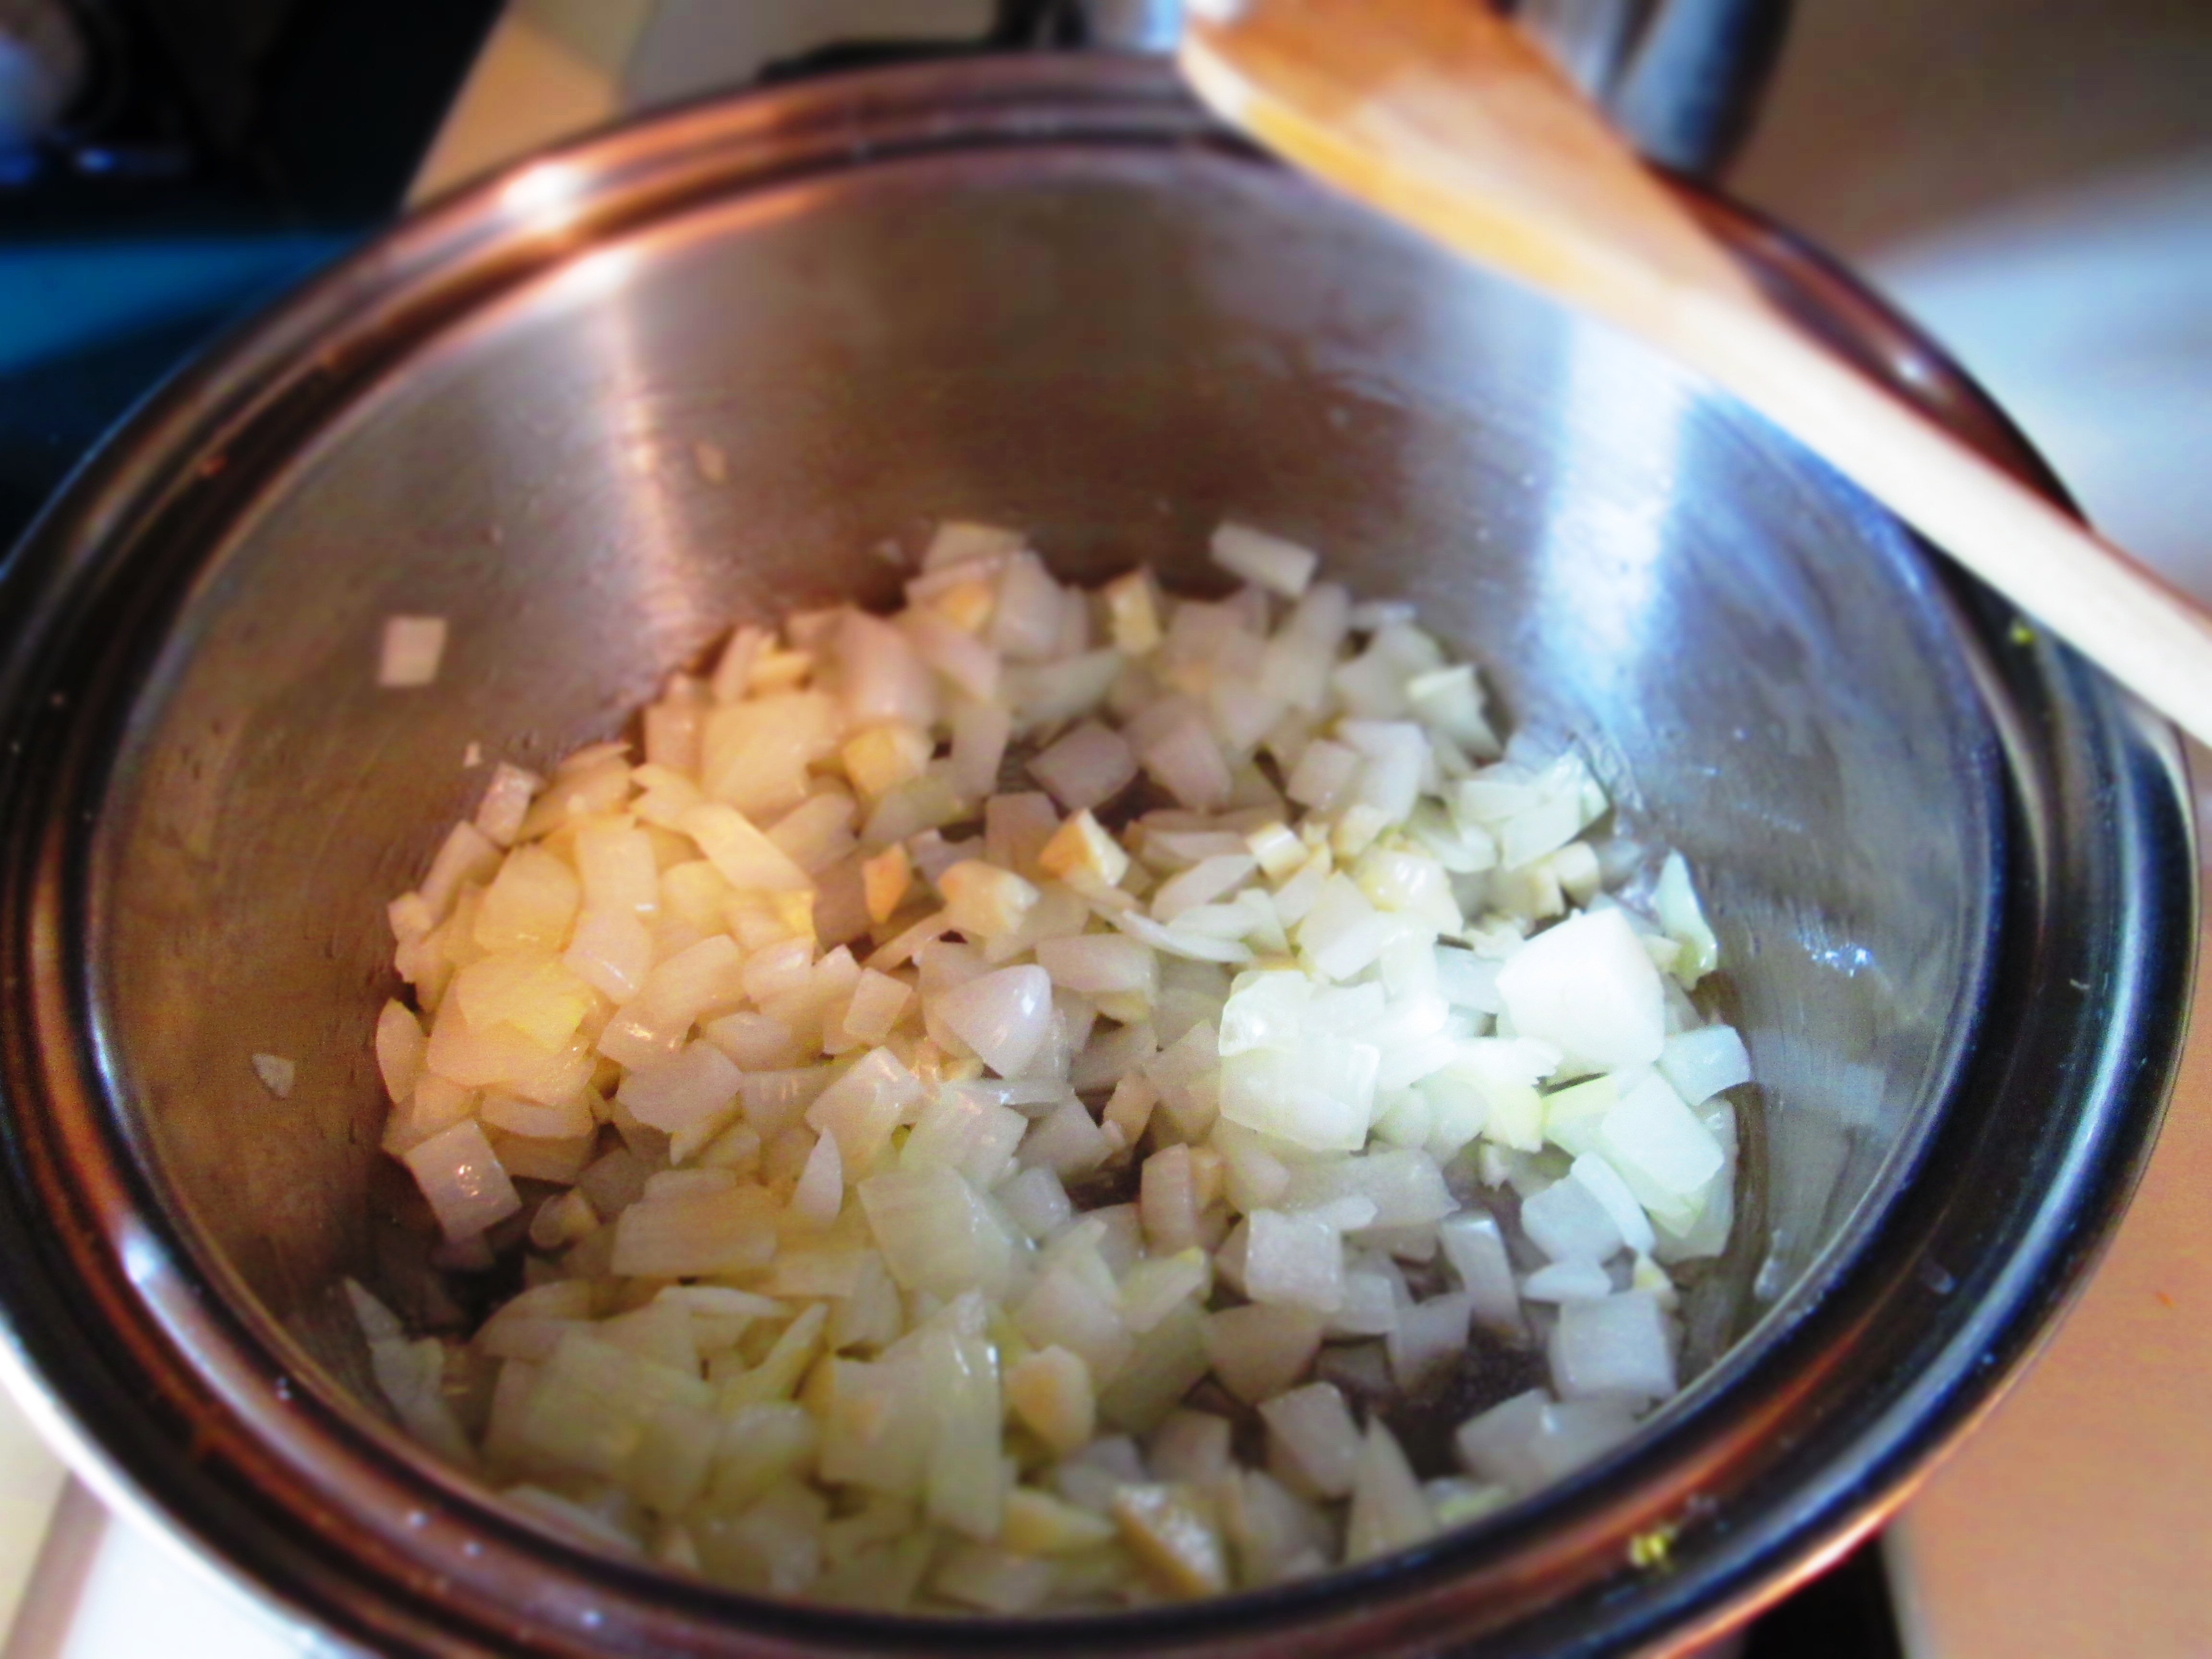
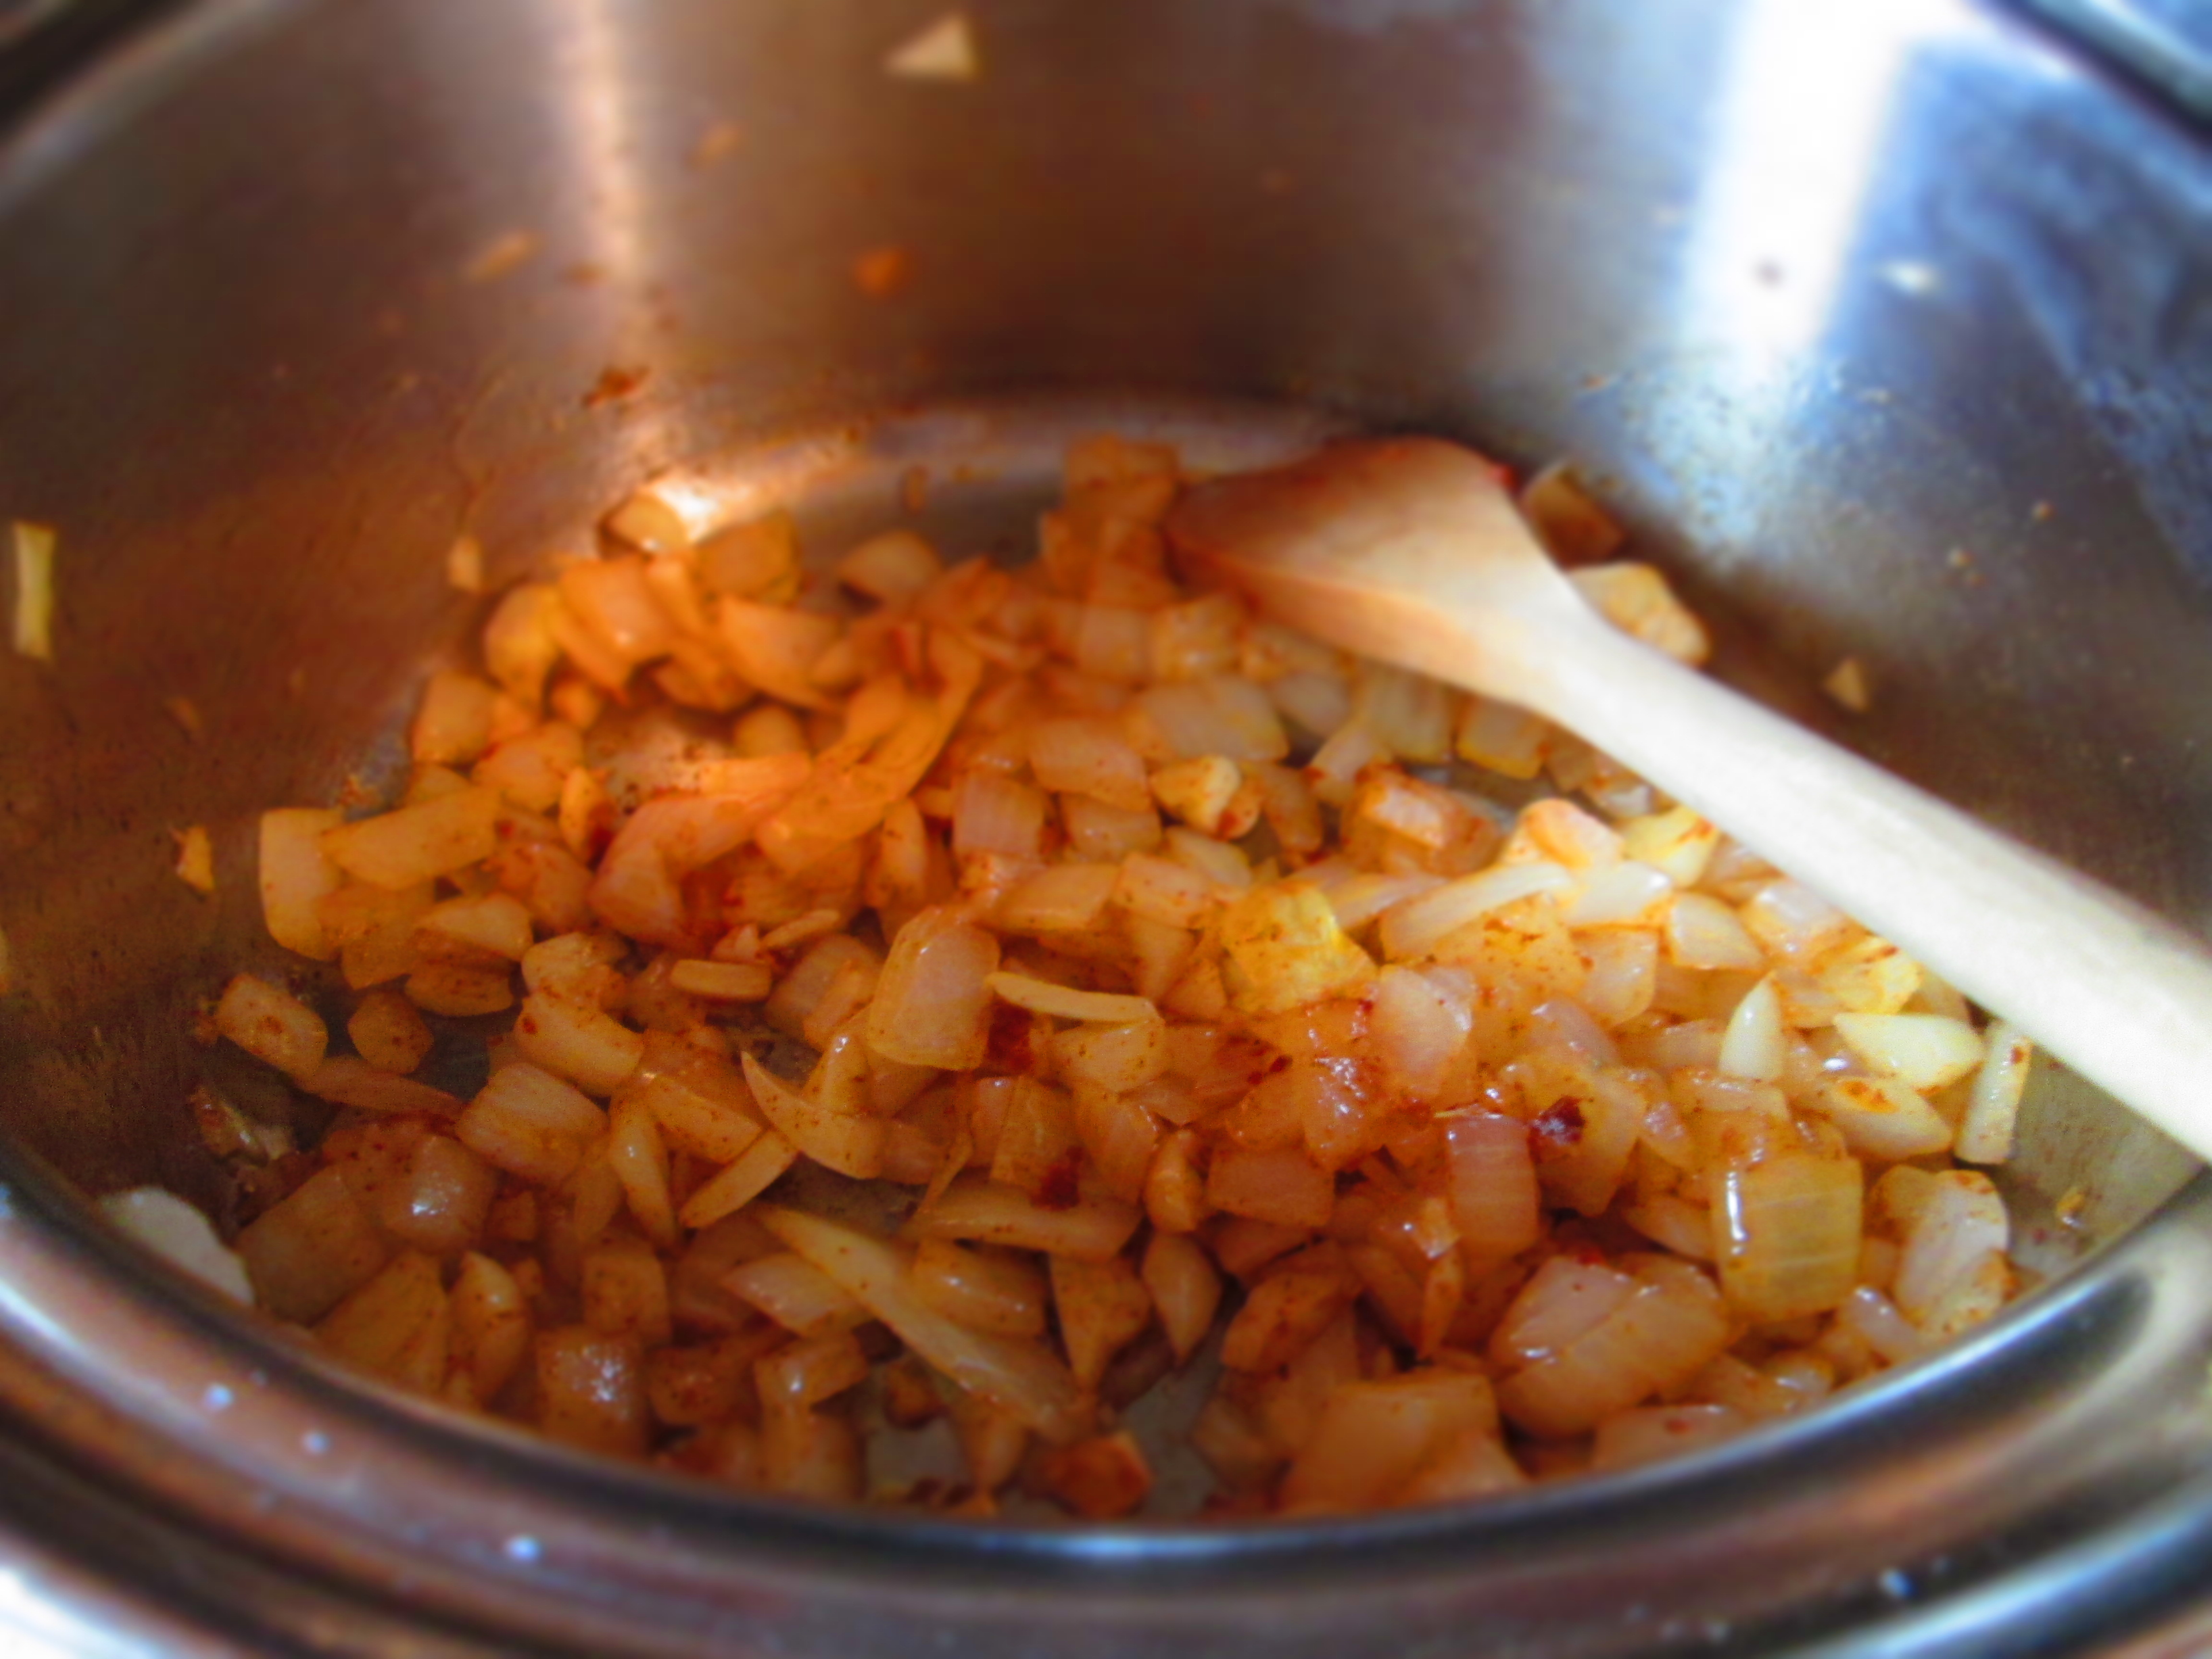
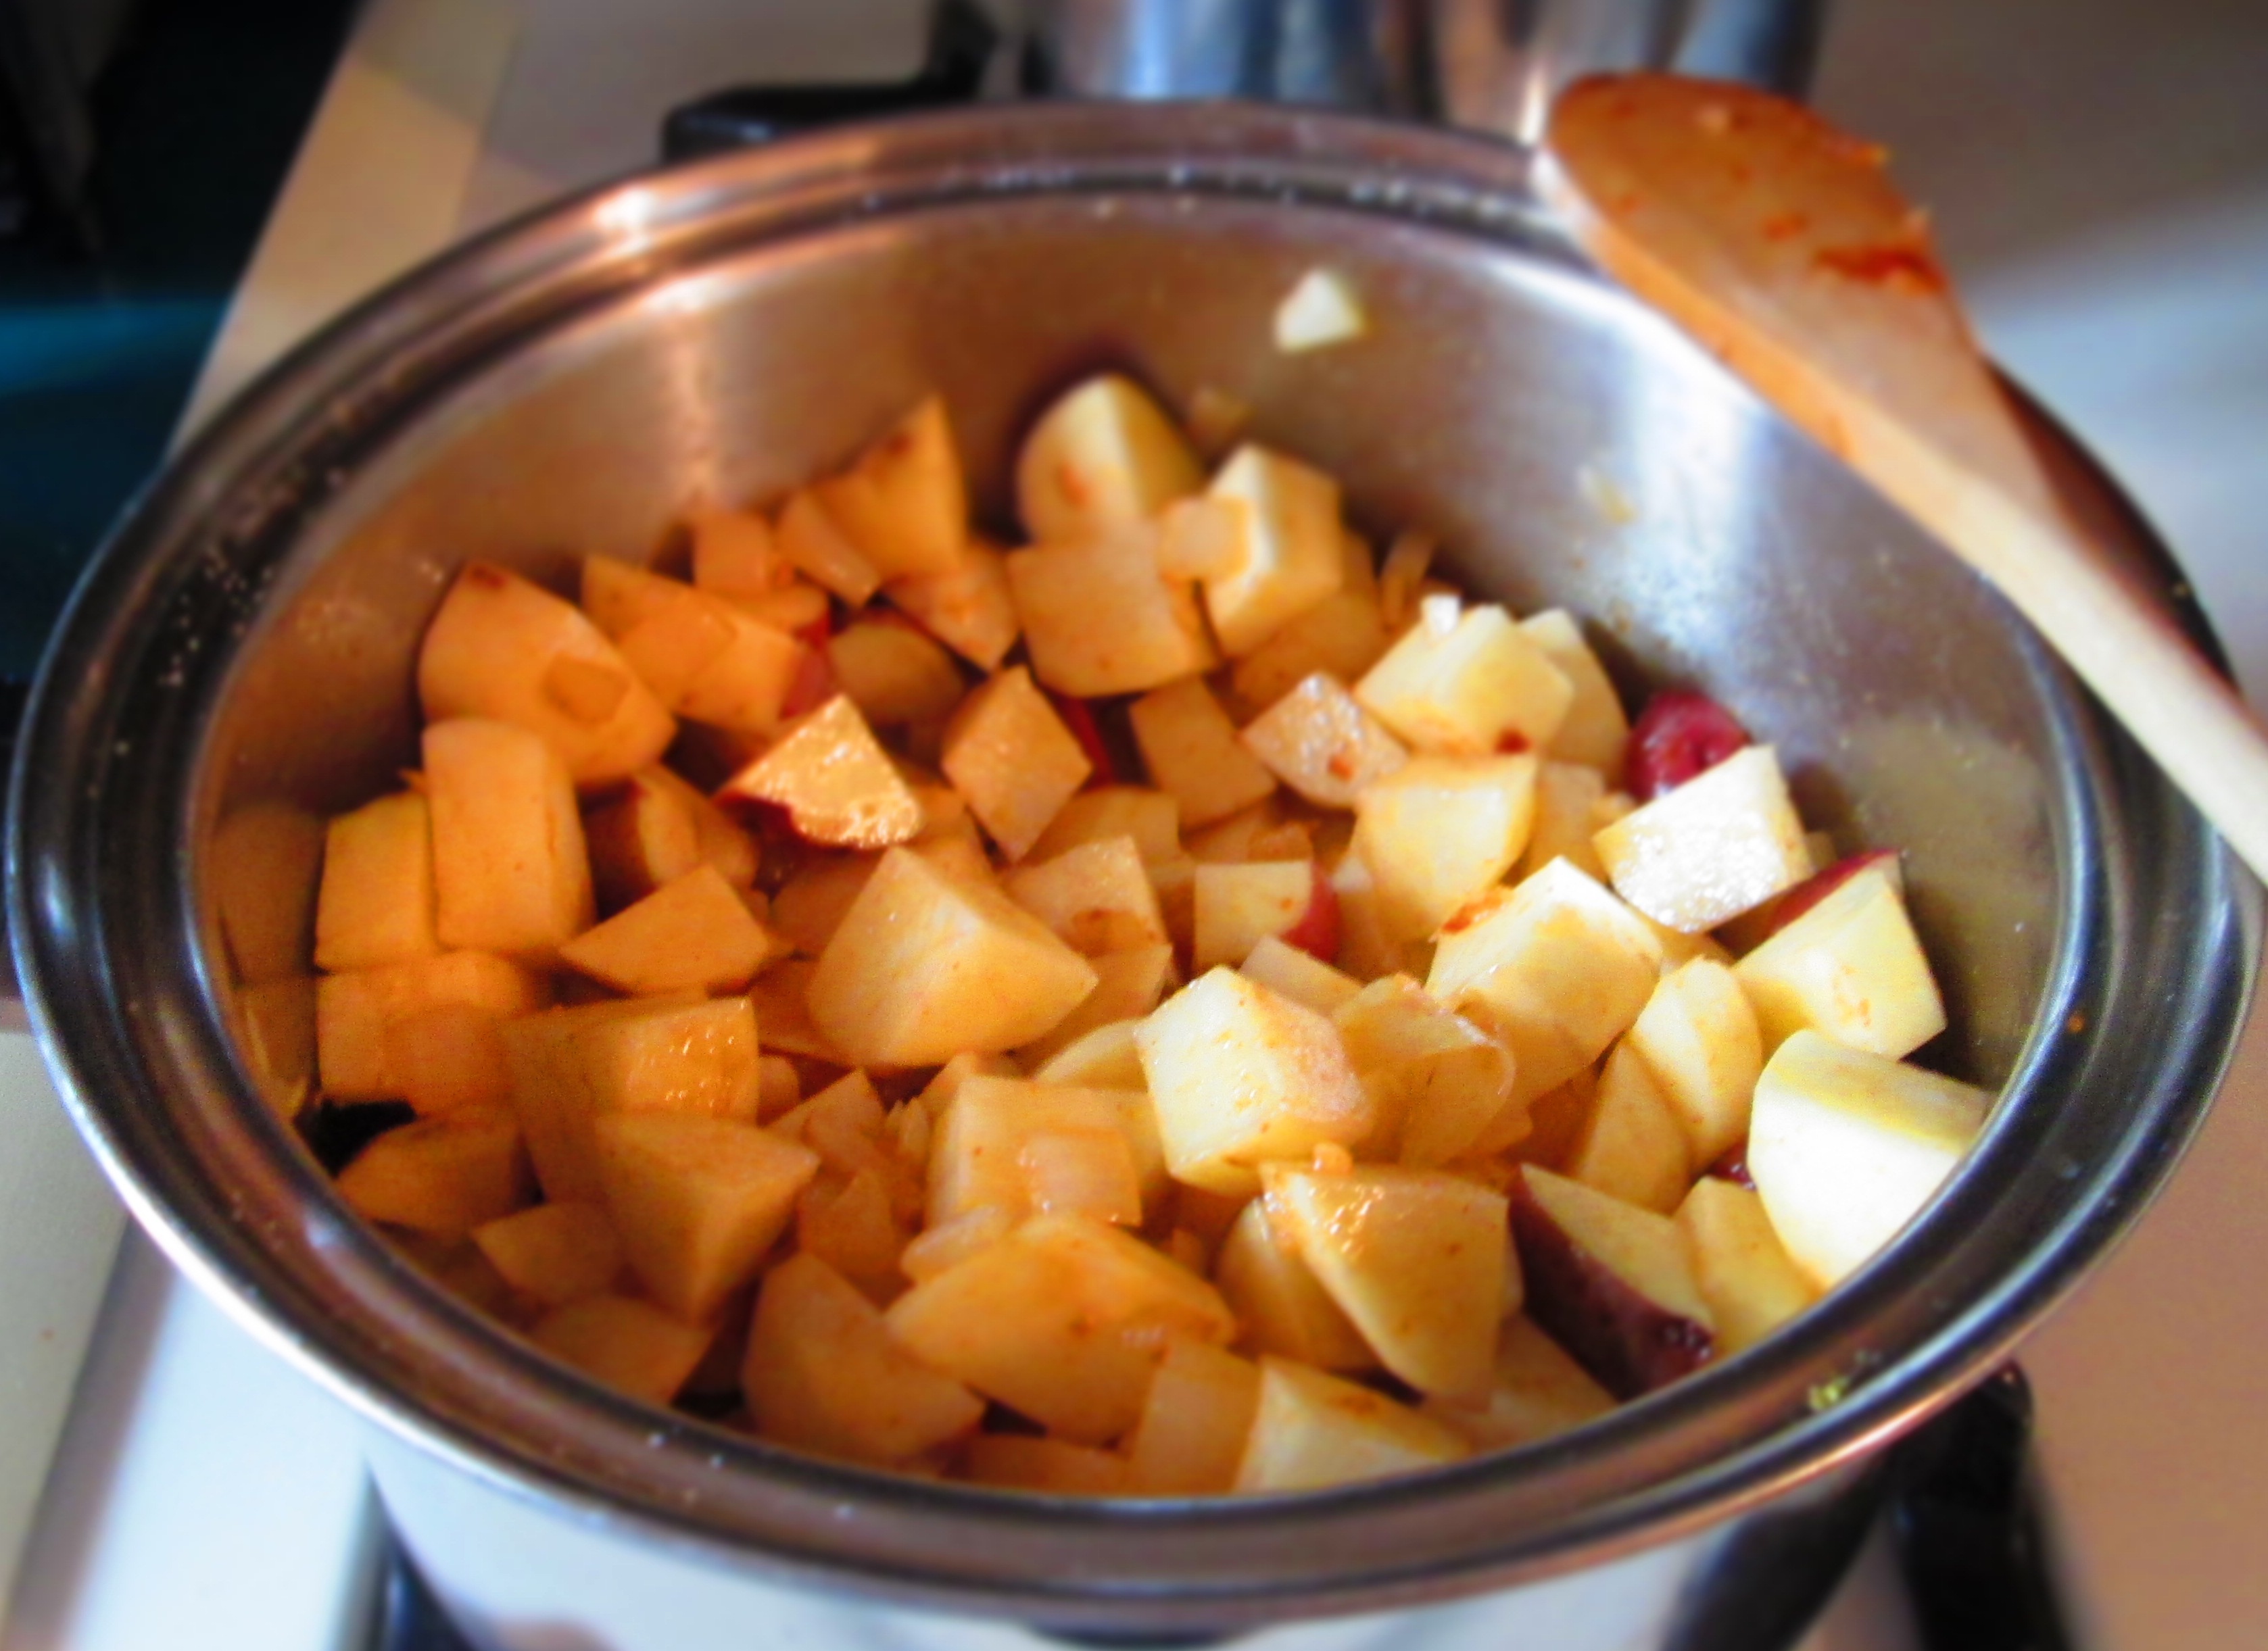
Heat oil in a medium-large sauce pan. Saute onion and garlic until translucent. Add celeriac, celery, apples or pears, and salt and saute another 5 minutes.

Pour in broth and bring to a boil; lower heat and simmer until vegetables are tender when pierced with a fork.
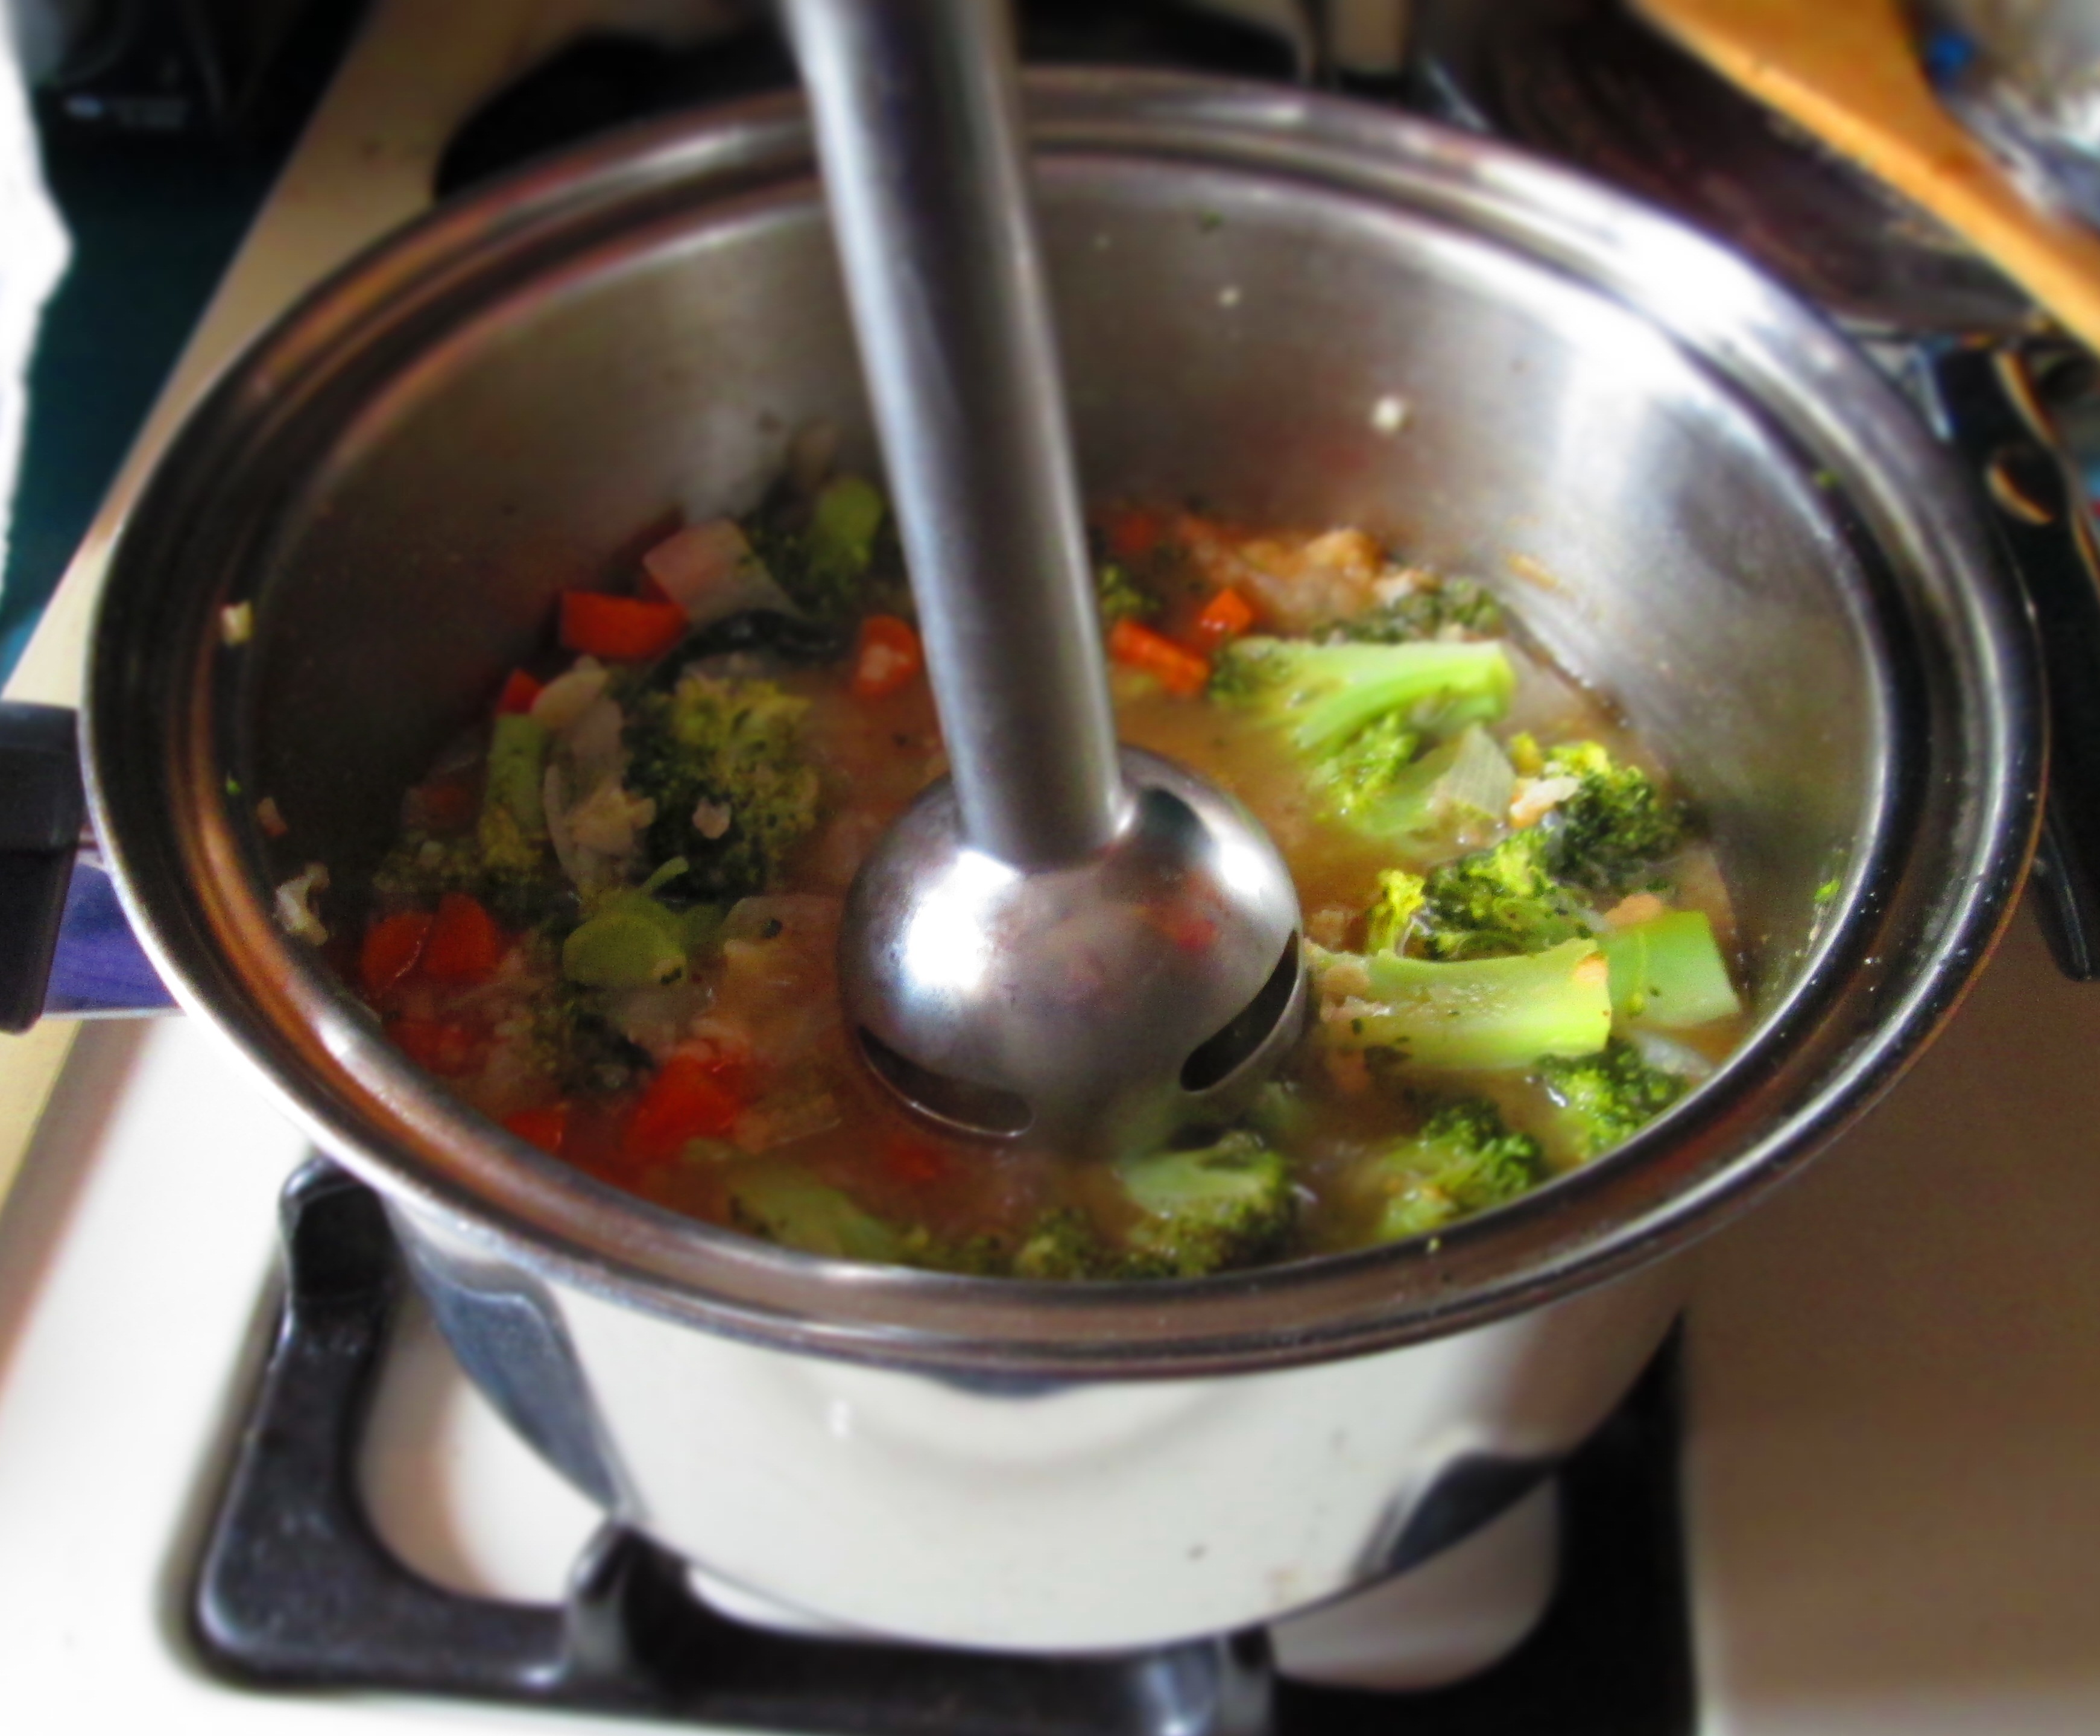
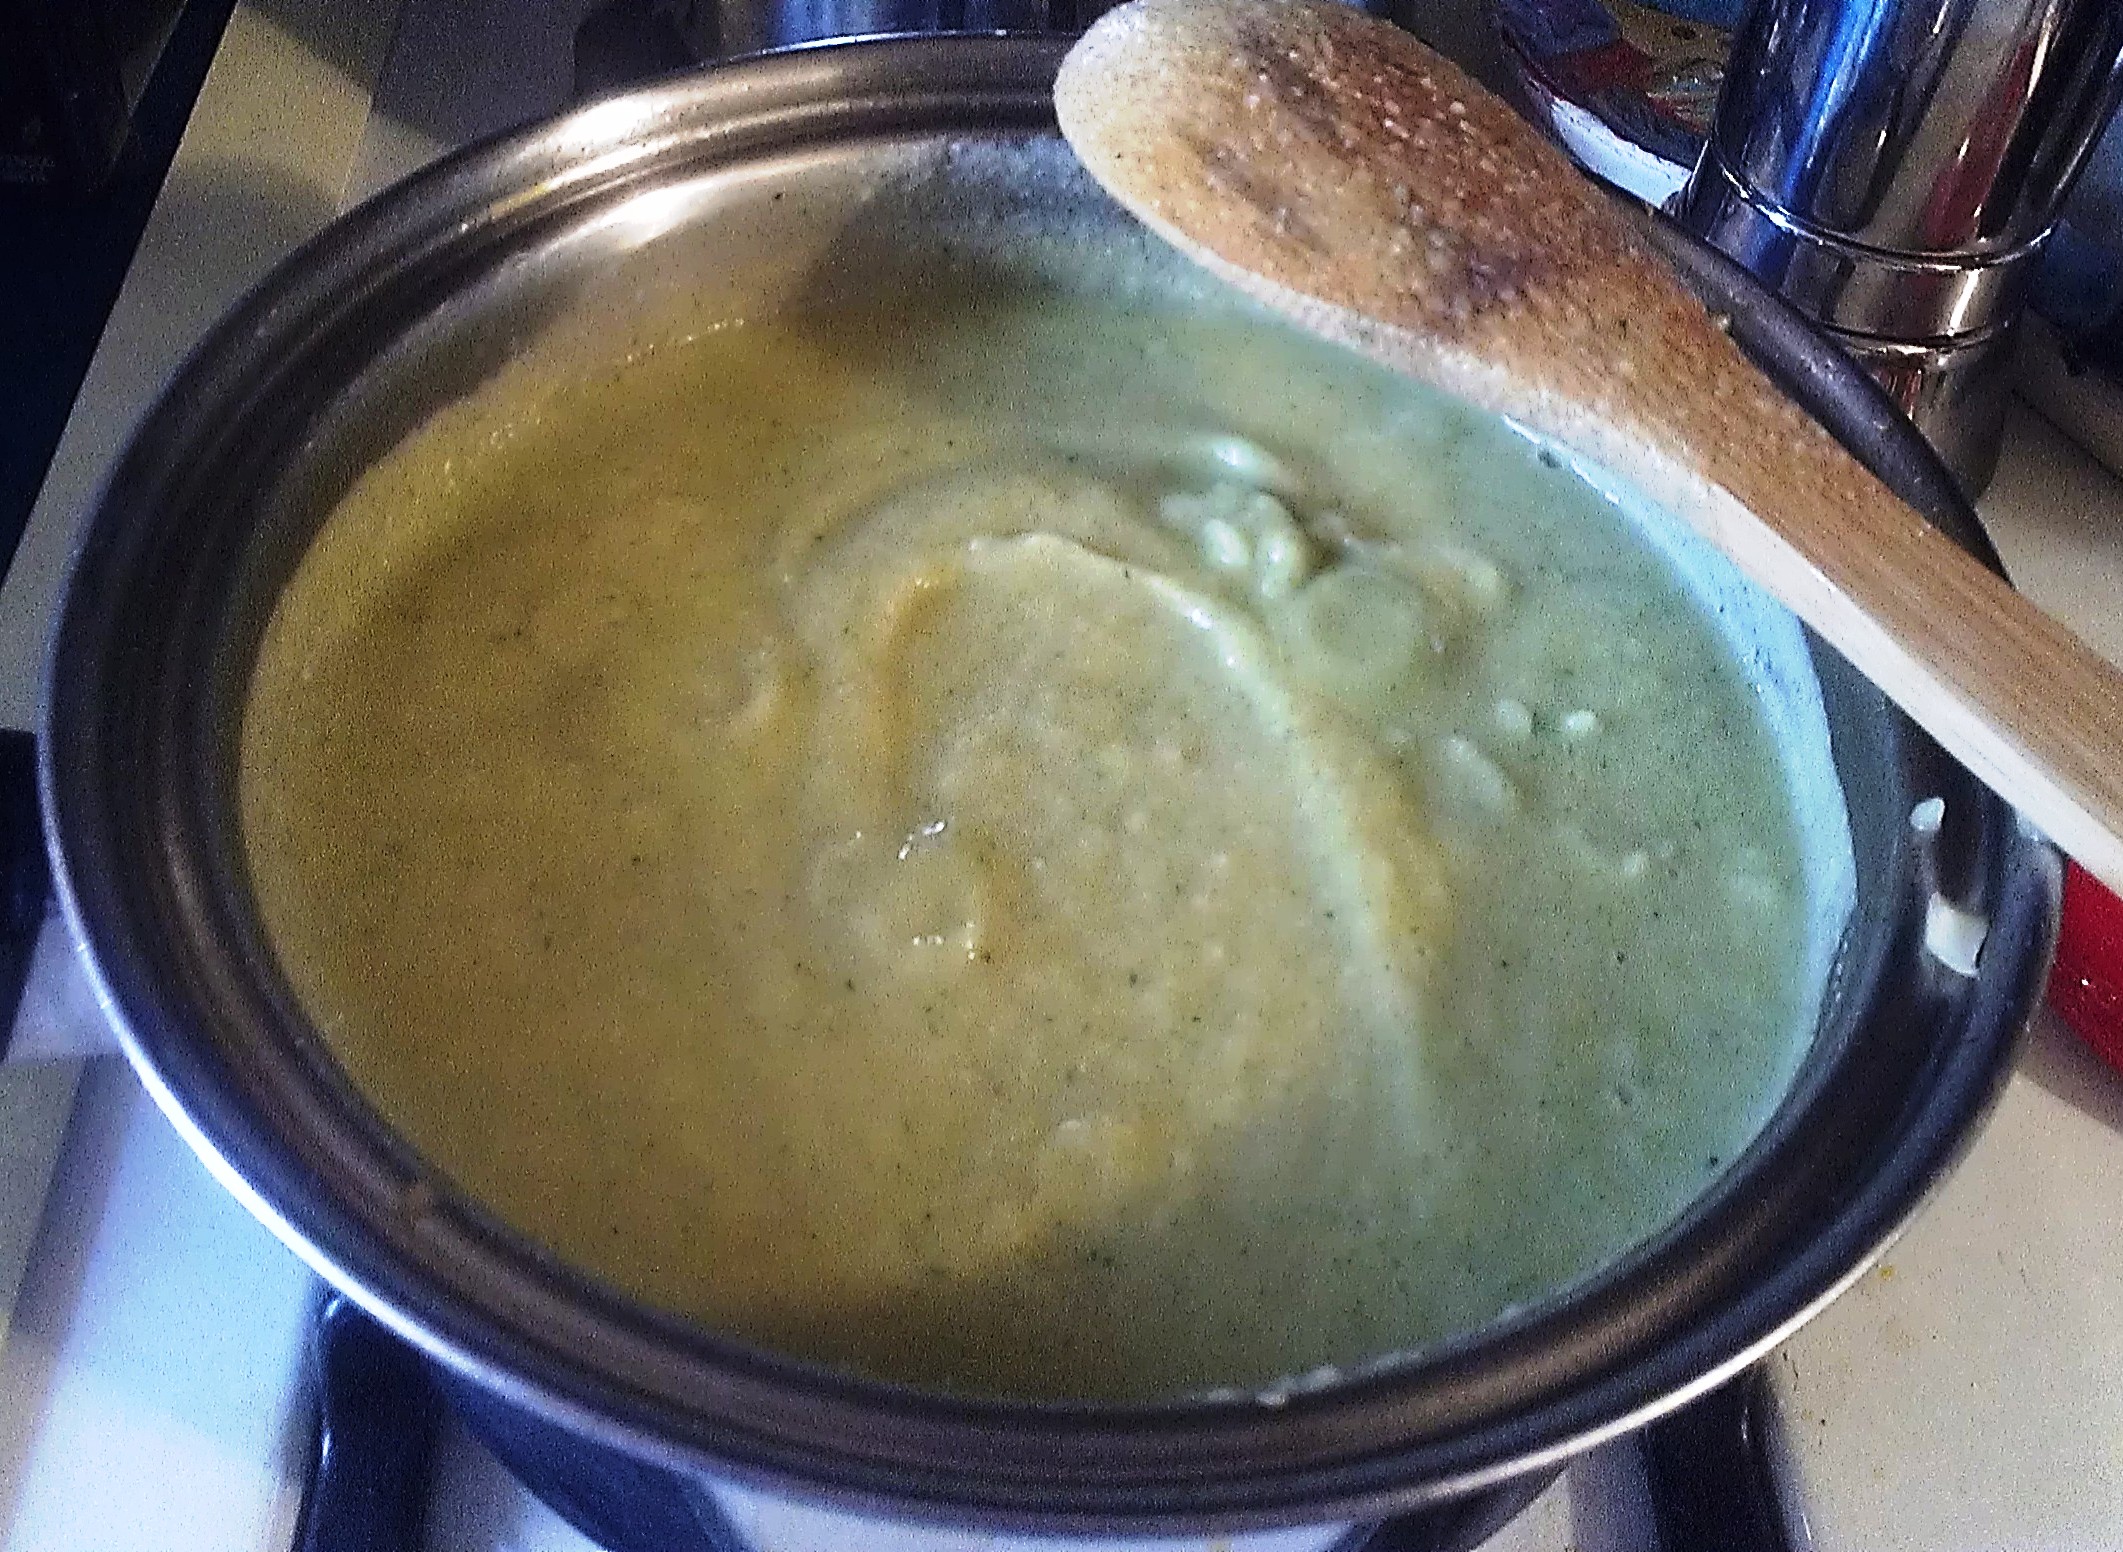
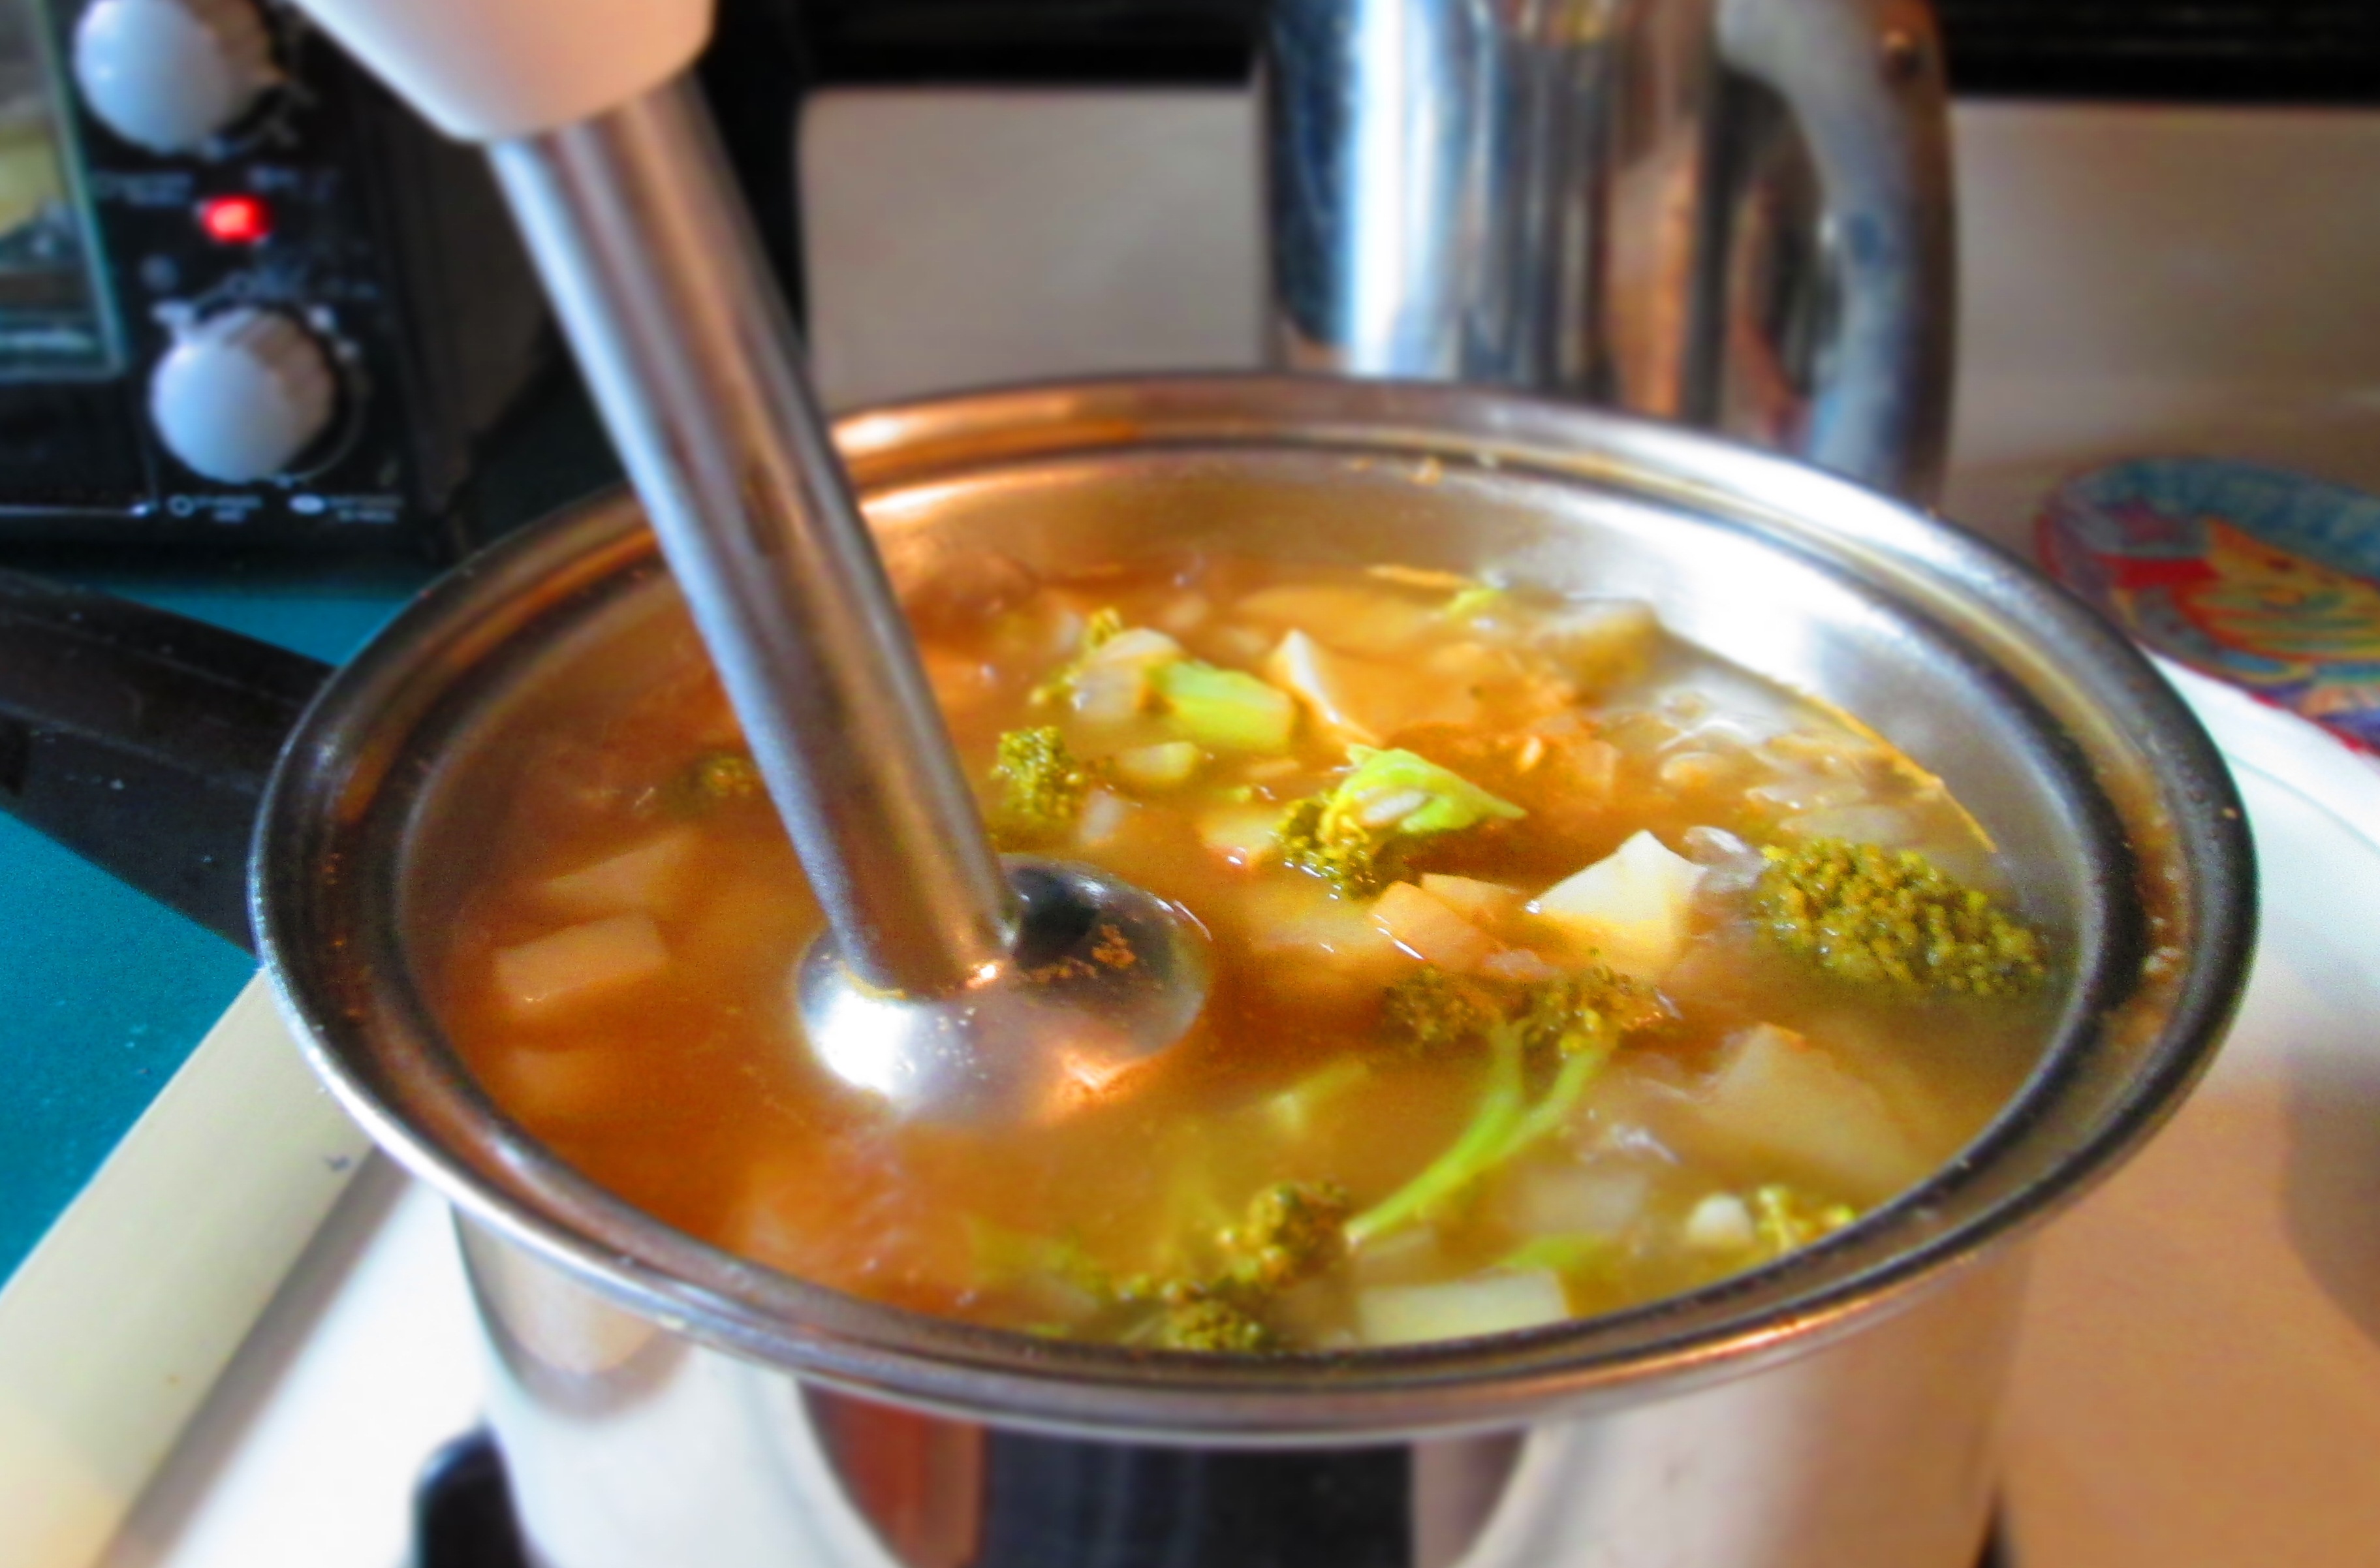
Transfer to a blender; add parsley and puree (the soup is hot so be careful to hold the lip of the blender with a hand towel.

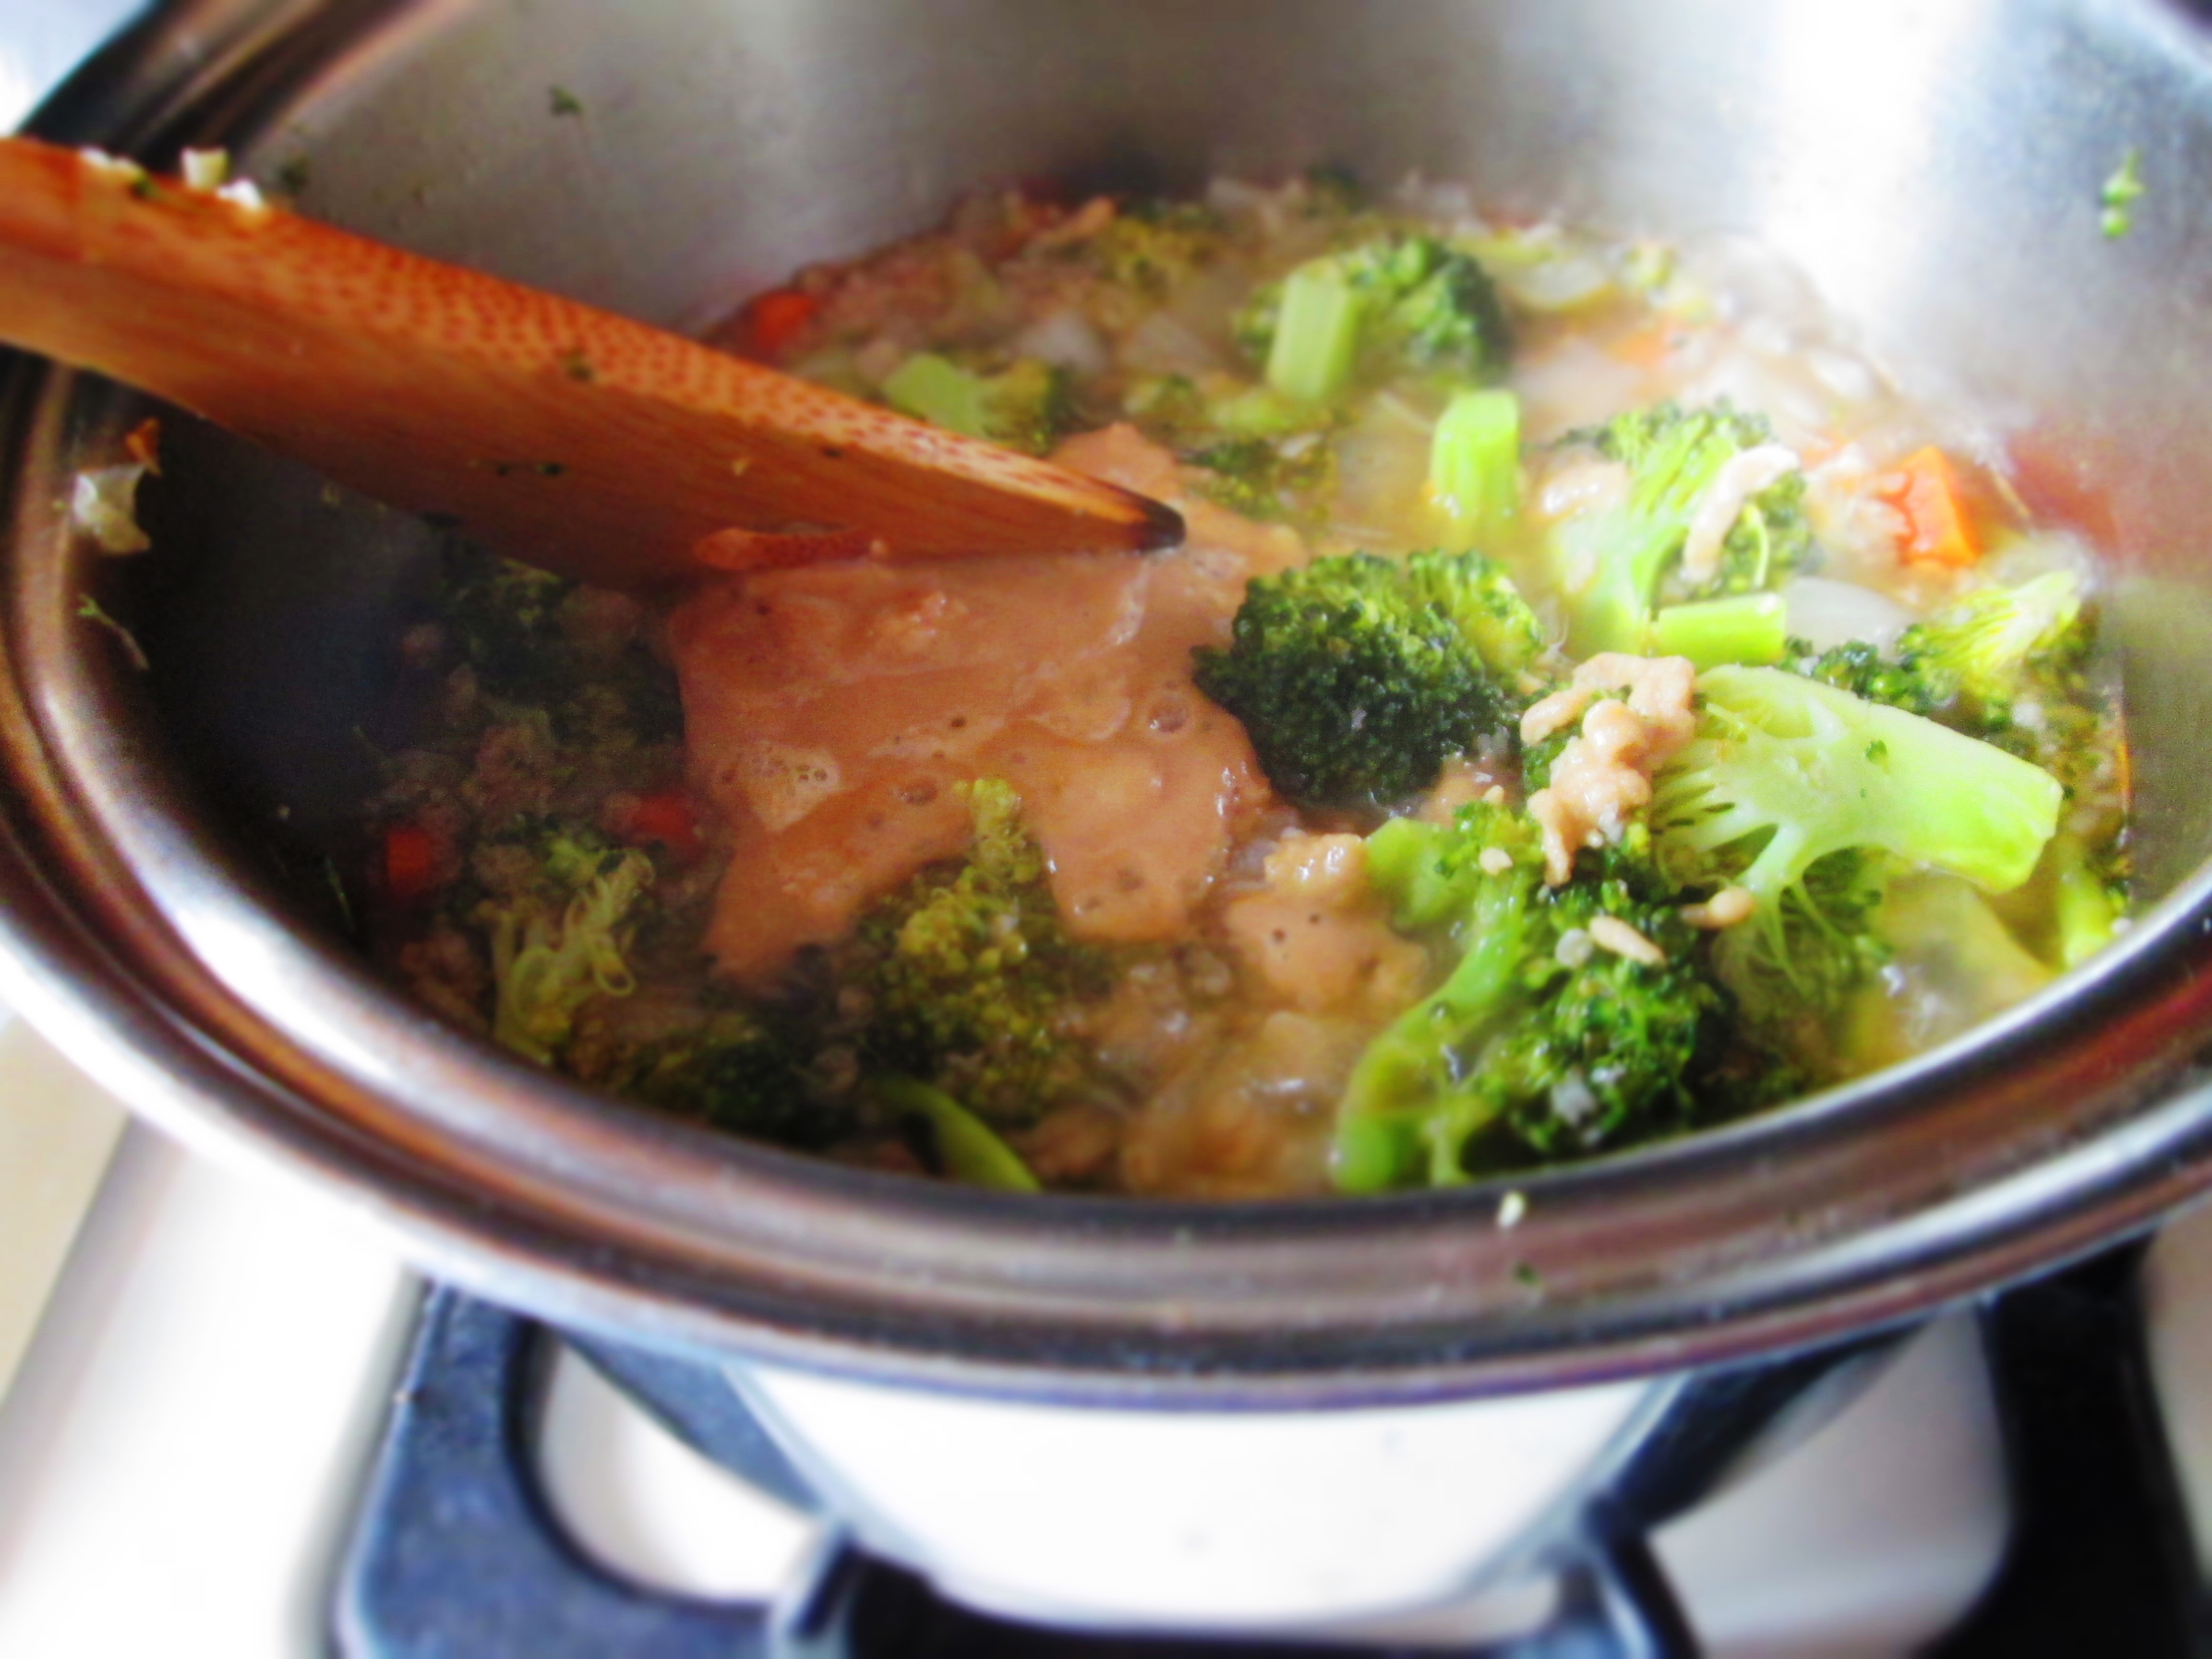
Pour back into pot. (Alternatively, you can add parsley to pot and use a stick blender).
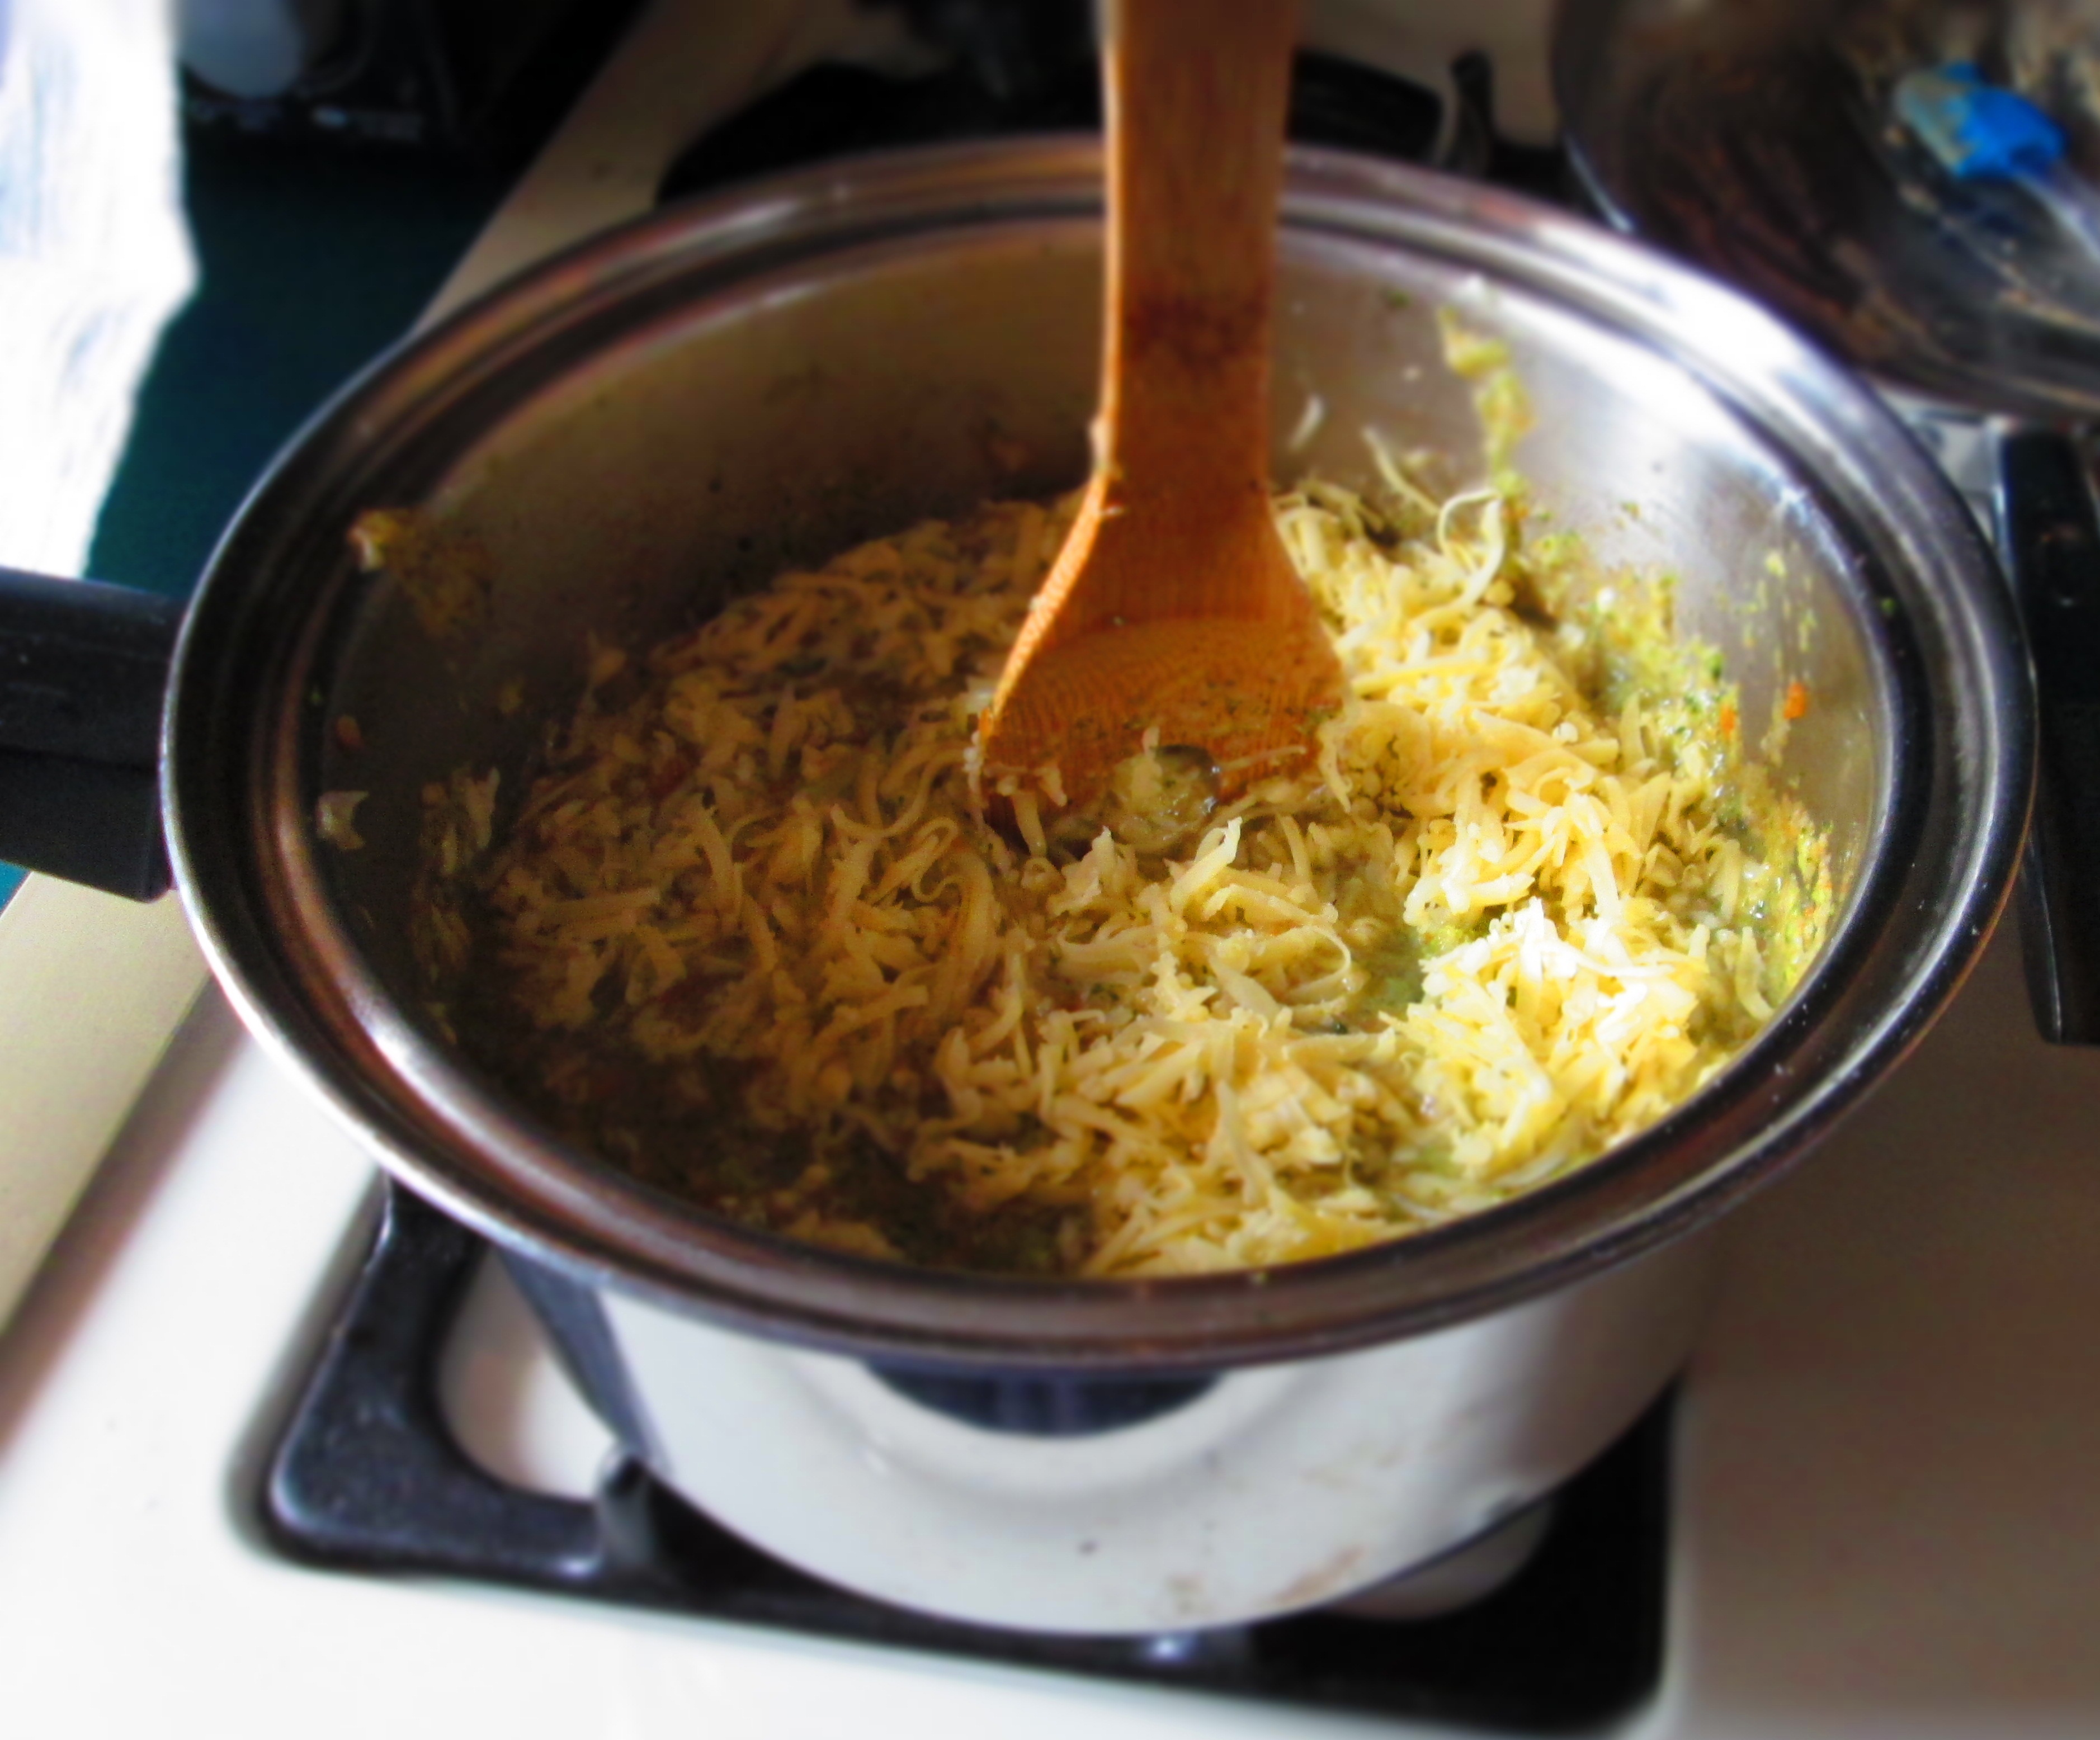
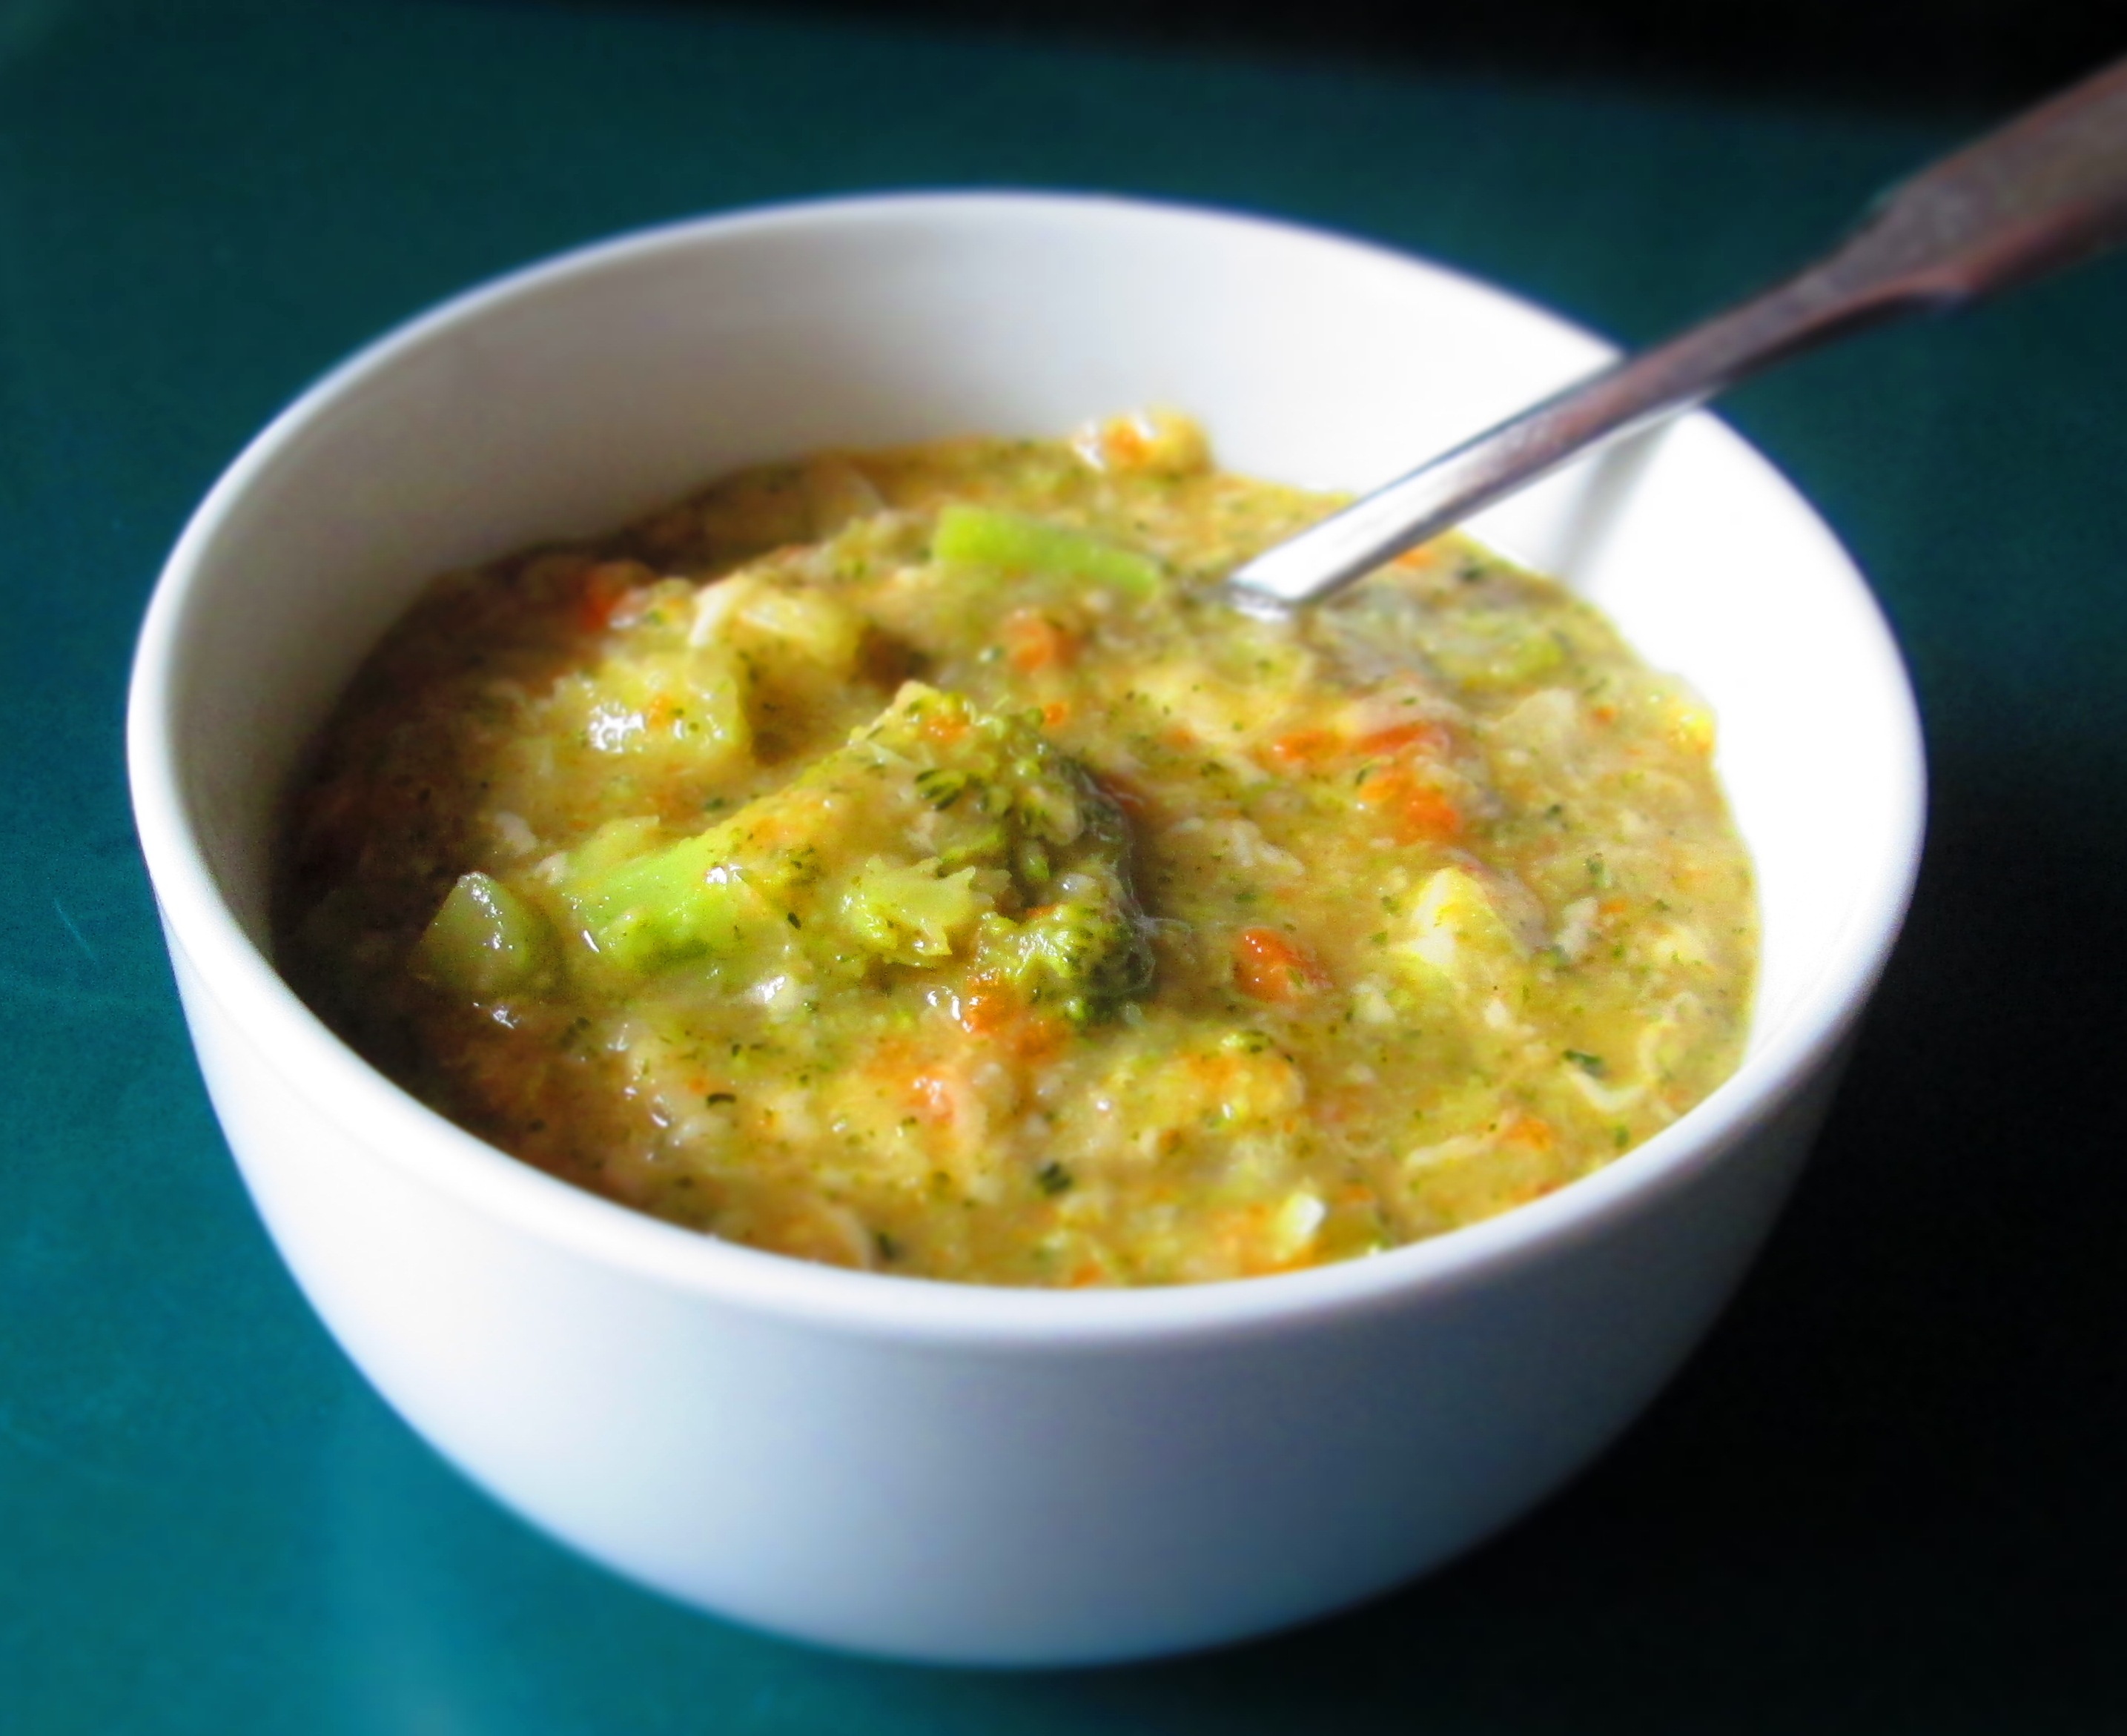
Add fresh pepper, mustard greens, and chick peas. Cook another 5 minutes. Check for seasoning and serve. Sprinkle parsley on top for garnish.

Makes 4 servings.


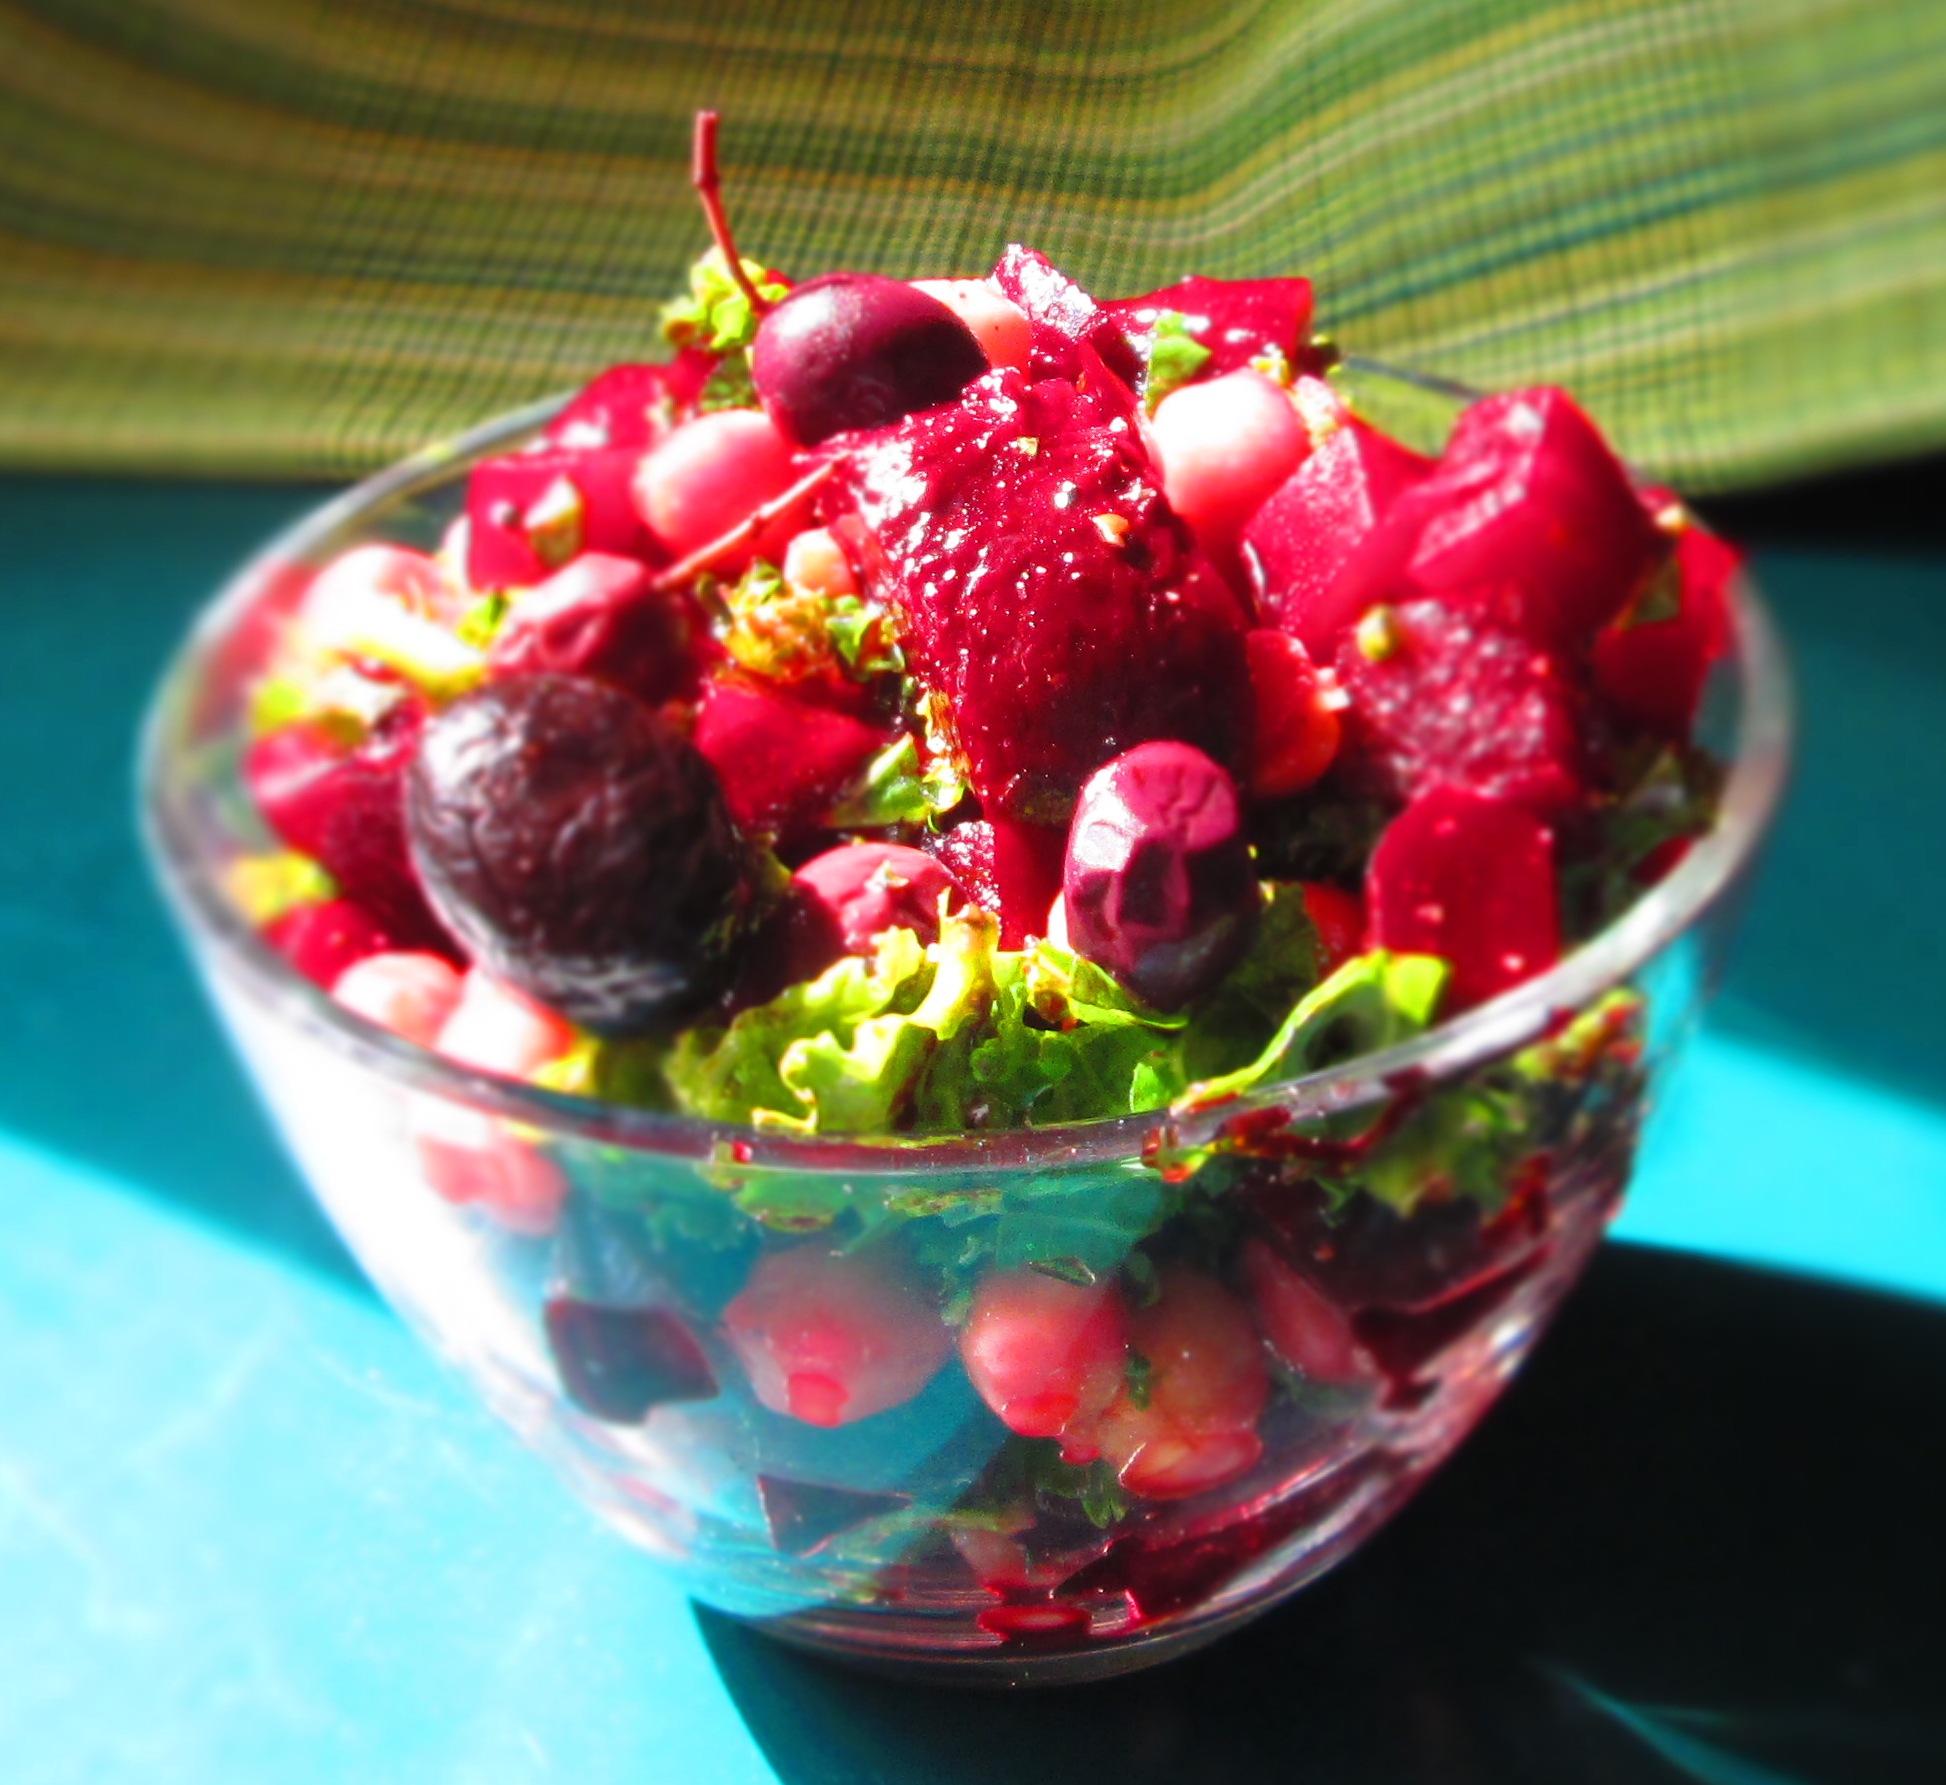
 them. I love beets and so happened to also have some red beets left over as well.
 Greenmarket), and I had a simple, flavorful, and attractive light summer dish. The herbs from my garden and a few olives topped it off.