Well, here we are again, preparing for that iconic American holiday, the Most Important Meal of the Year: Thanksgiving.
Every year, I make fresh cranberry sauce. Some people prefer the canned variety to freshly made, but when I see that gelled log with can rings around it, I can’t help but feel that I can do better. In fact, anyone can. Fresh cranberry sauce is extremely simple, and the end product is so much better than the canned log. (Although, I know some of you feel like it’s truly not a traditional Thanksgiving without that log with the rings around it, so I say, whatever floats your boat.)
Cranberries are a tart fruit and cranberry sauce requires plenty of sugar to make it palatable enough for most people. But I always cringe a little when I start dumping the amount of sugar that most recipes call for into my pot of cranberries. So, this year, I decided to try some of the sorghum molasses that I brought up from a trip to the South.
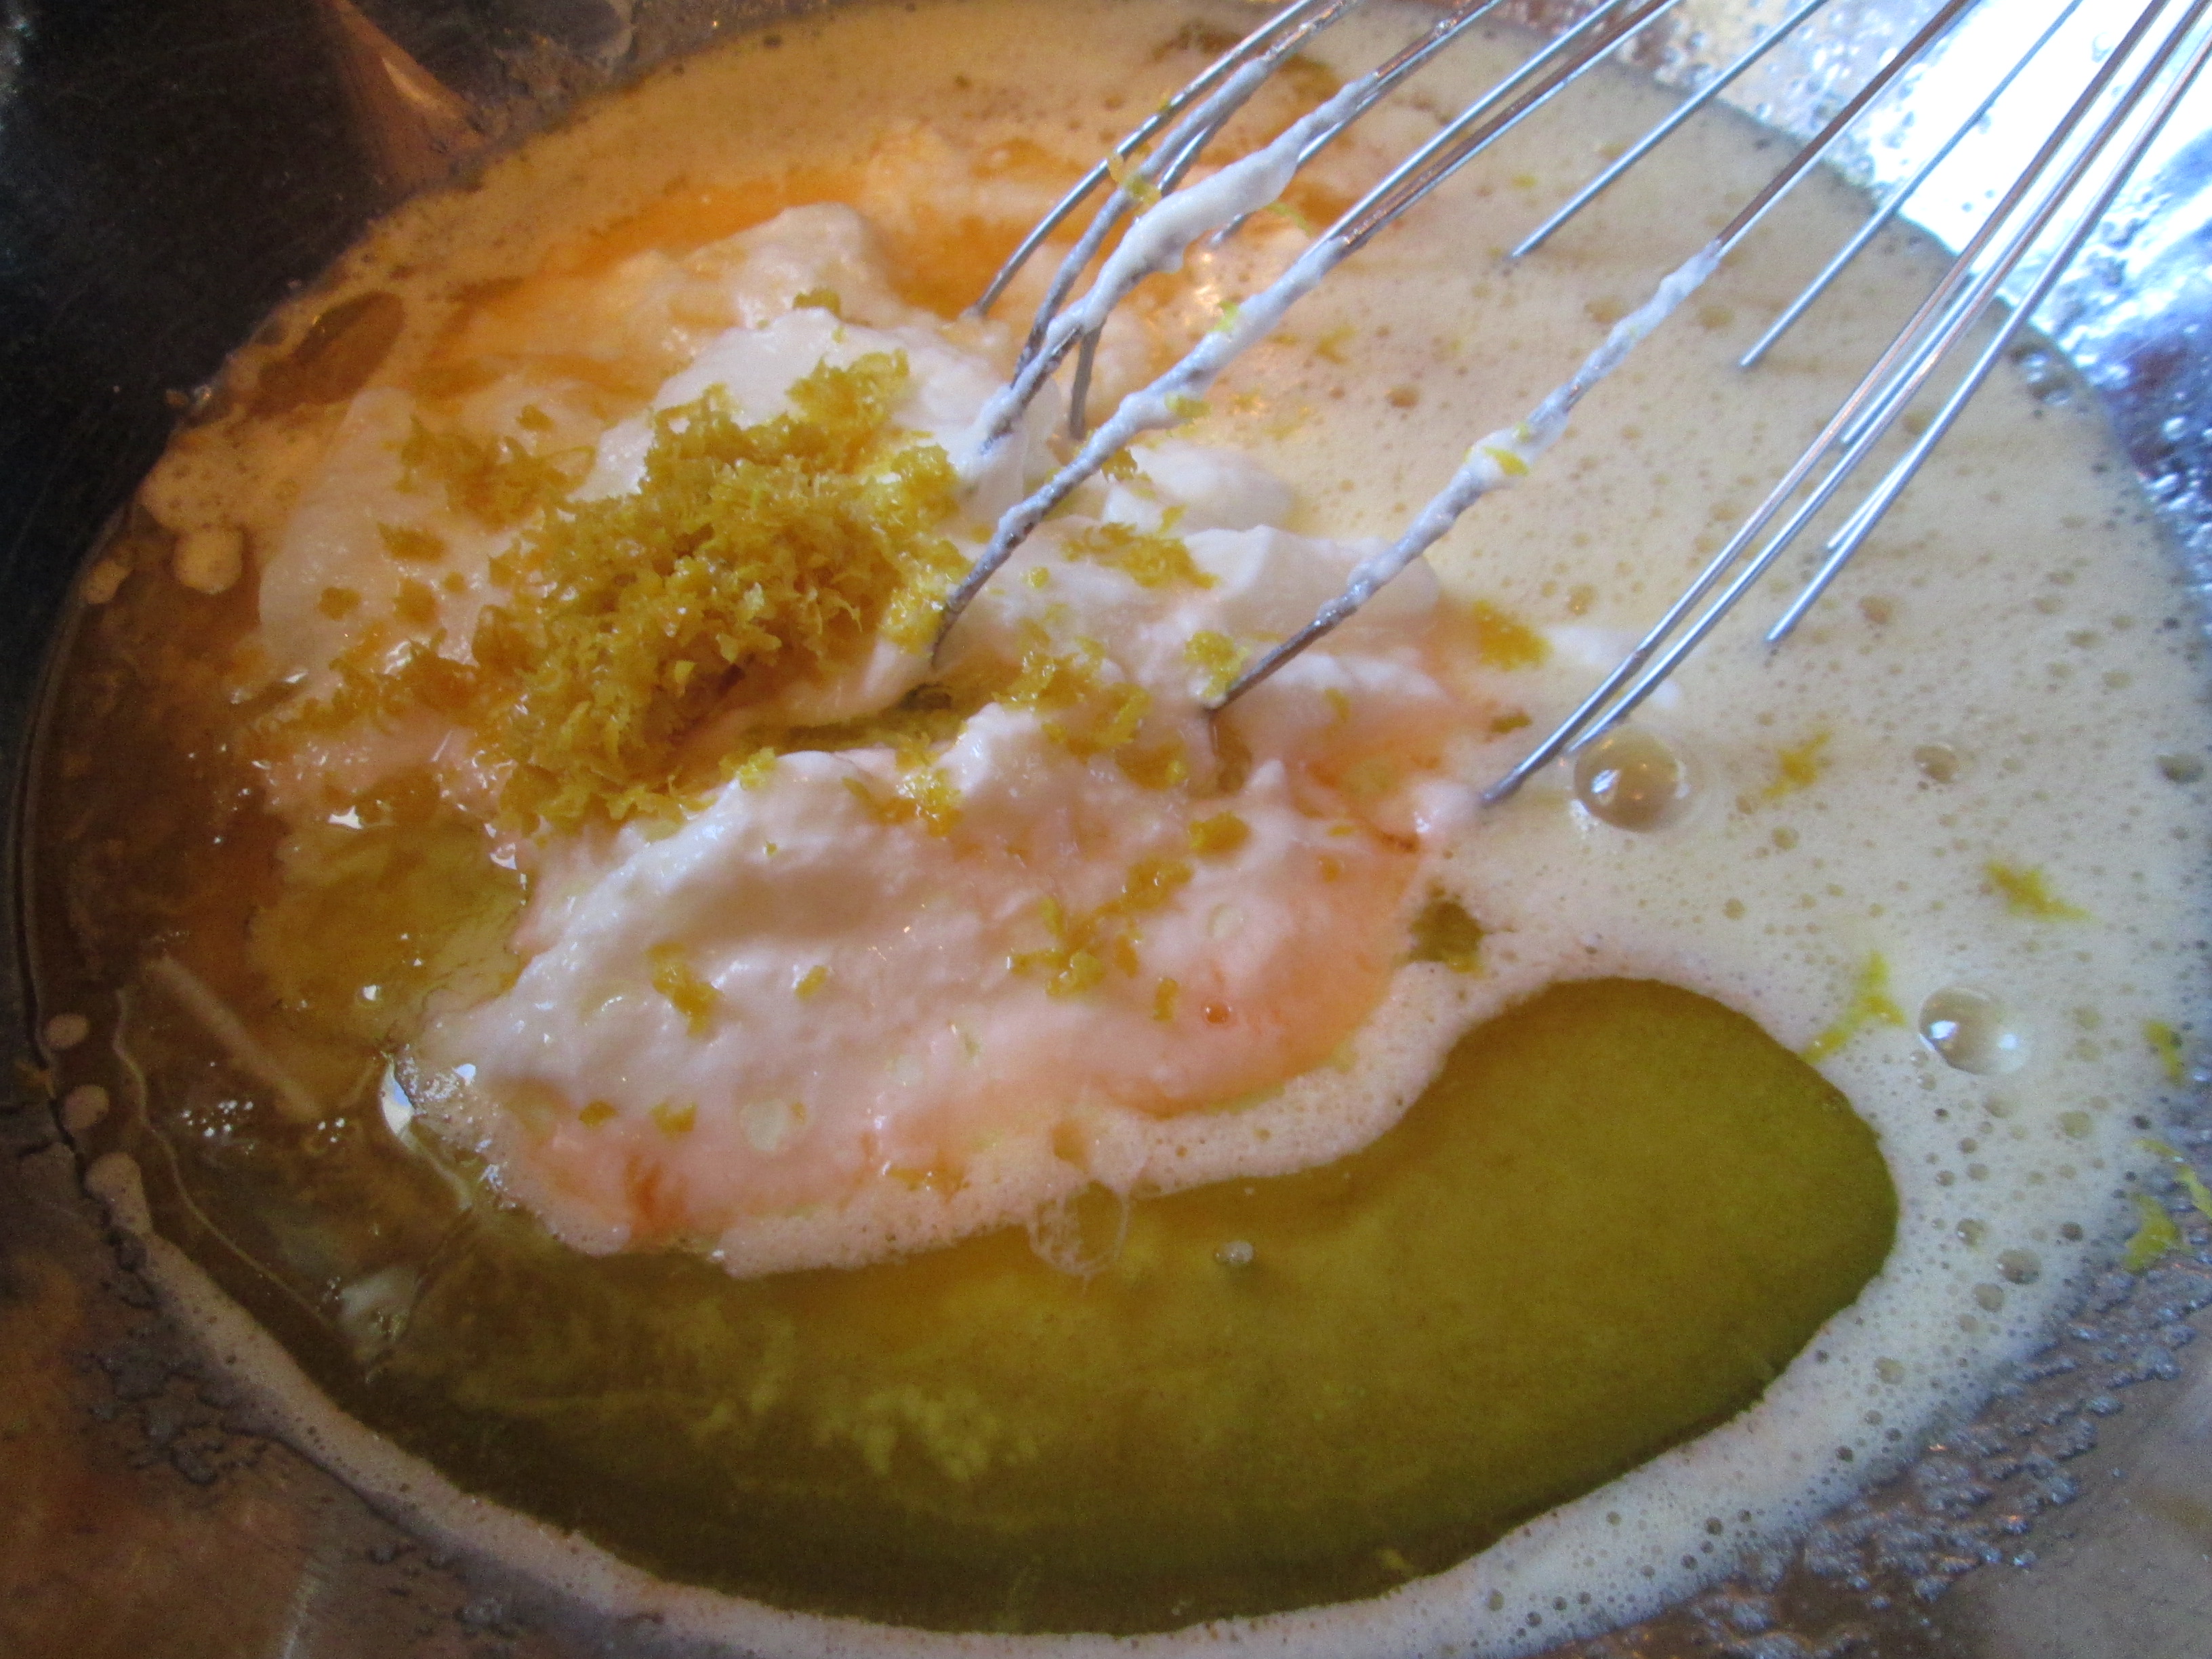
The recipe I’ve always used calls for 2 cups granulated sugar. That’s a lot of sugar. So, I started with 1 cup brown sugar. Brown sugar is a nicer product to use than granulated sugar because it lend the sauce a delicate molasses flavor and it thickens it up better. My sauce was still a little too tart, but I really didn’t want to add any more sugar, so I reached for the sorghum molasses. I started with 2 tablespoons and I liked the results. However, I knew that most people would want it sweeter (I don’t have a big sweet tooth), so I added 2 more tablespoons. It worked wonderfully.
Sorghum molasses is a Southern staple, but it can be found in specialty stores elsewhere in the U.S. If you can’t find it, substitute brown rice syrup, barley malt syrup, or honey (the honey will be sweeter than the others).
If you’re looking for that cloying candy-sweet taste of canned cranberry sauce, this isn’t it. But if you want something that is a little more complex, texturally pleasing, and not as loaded with refined sugar, give this a try.
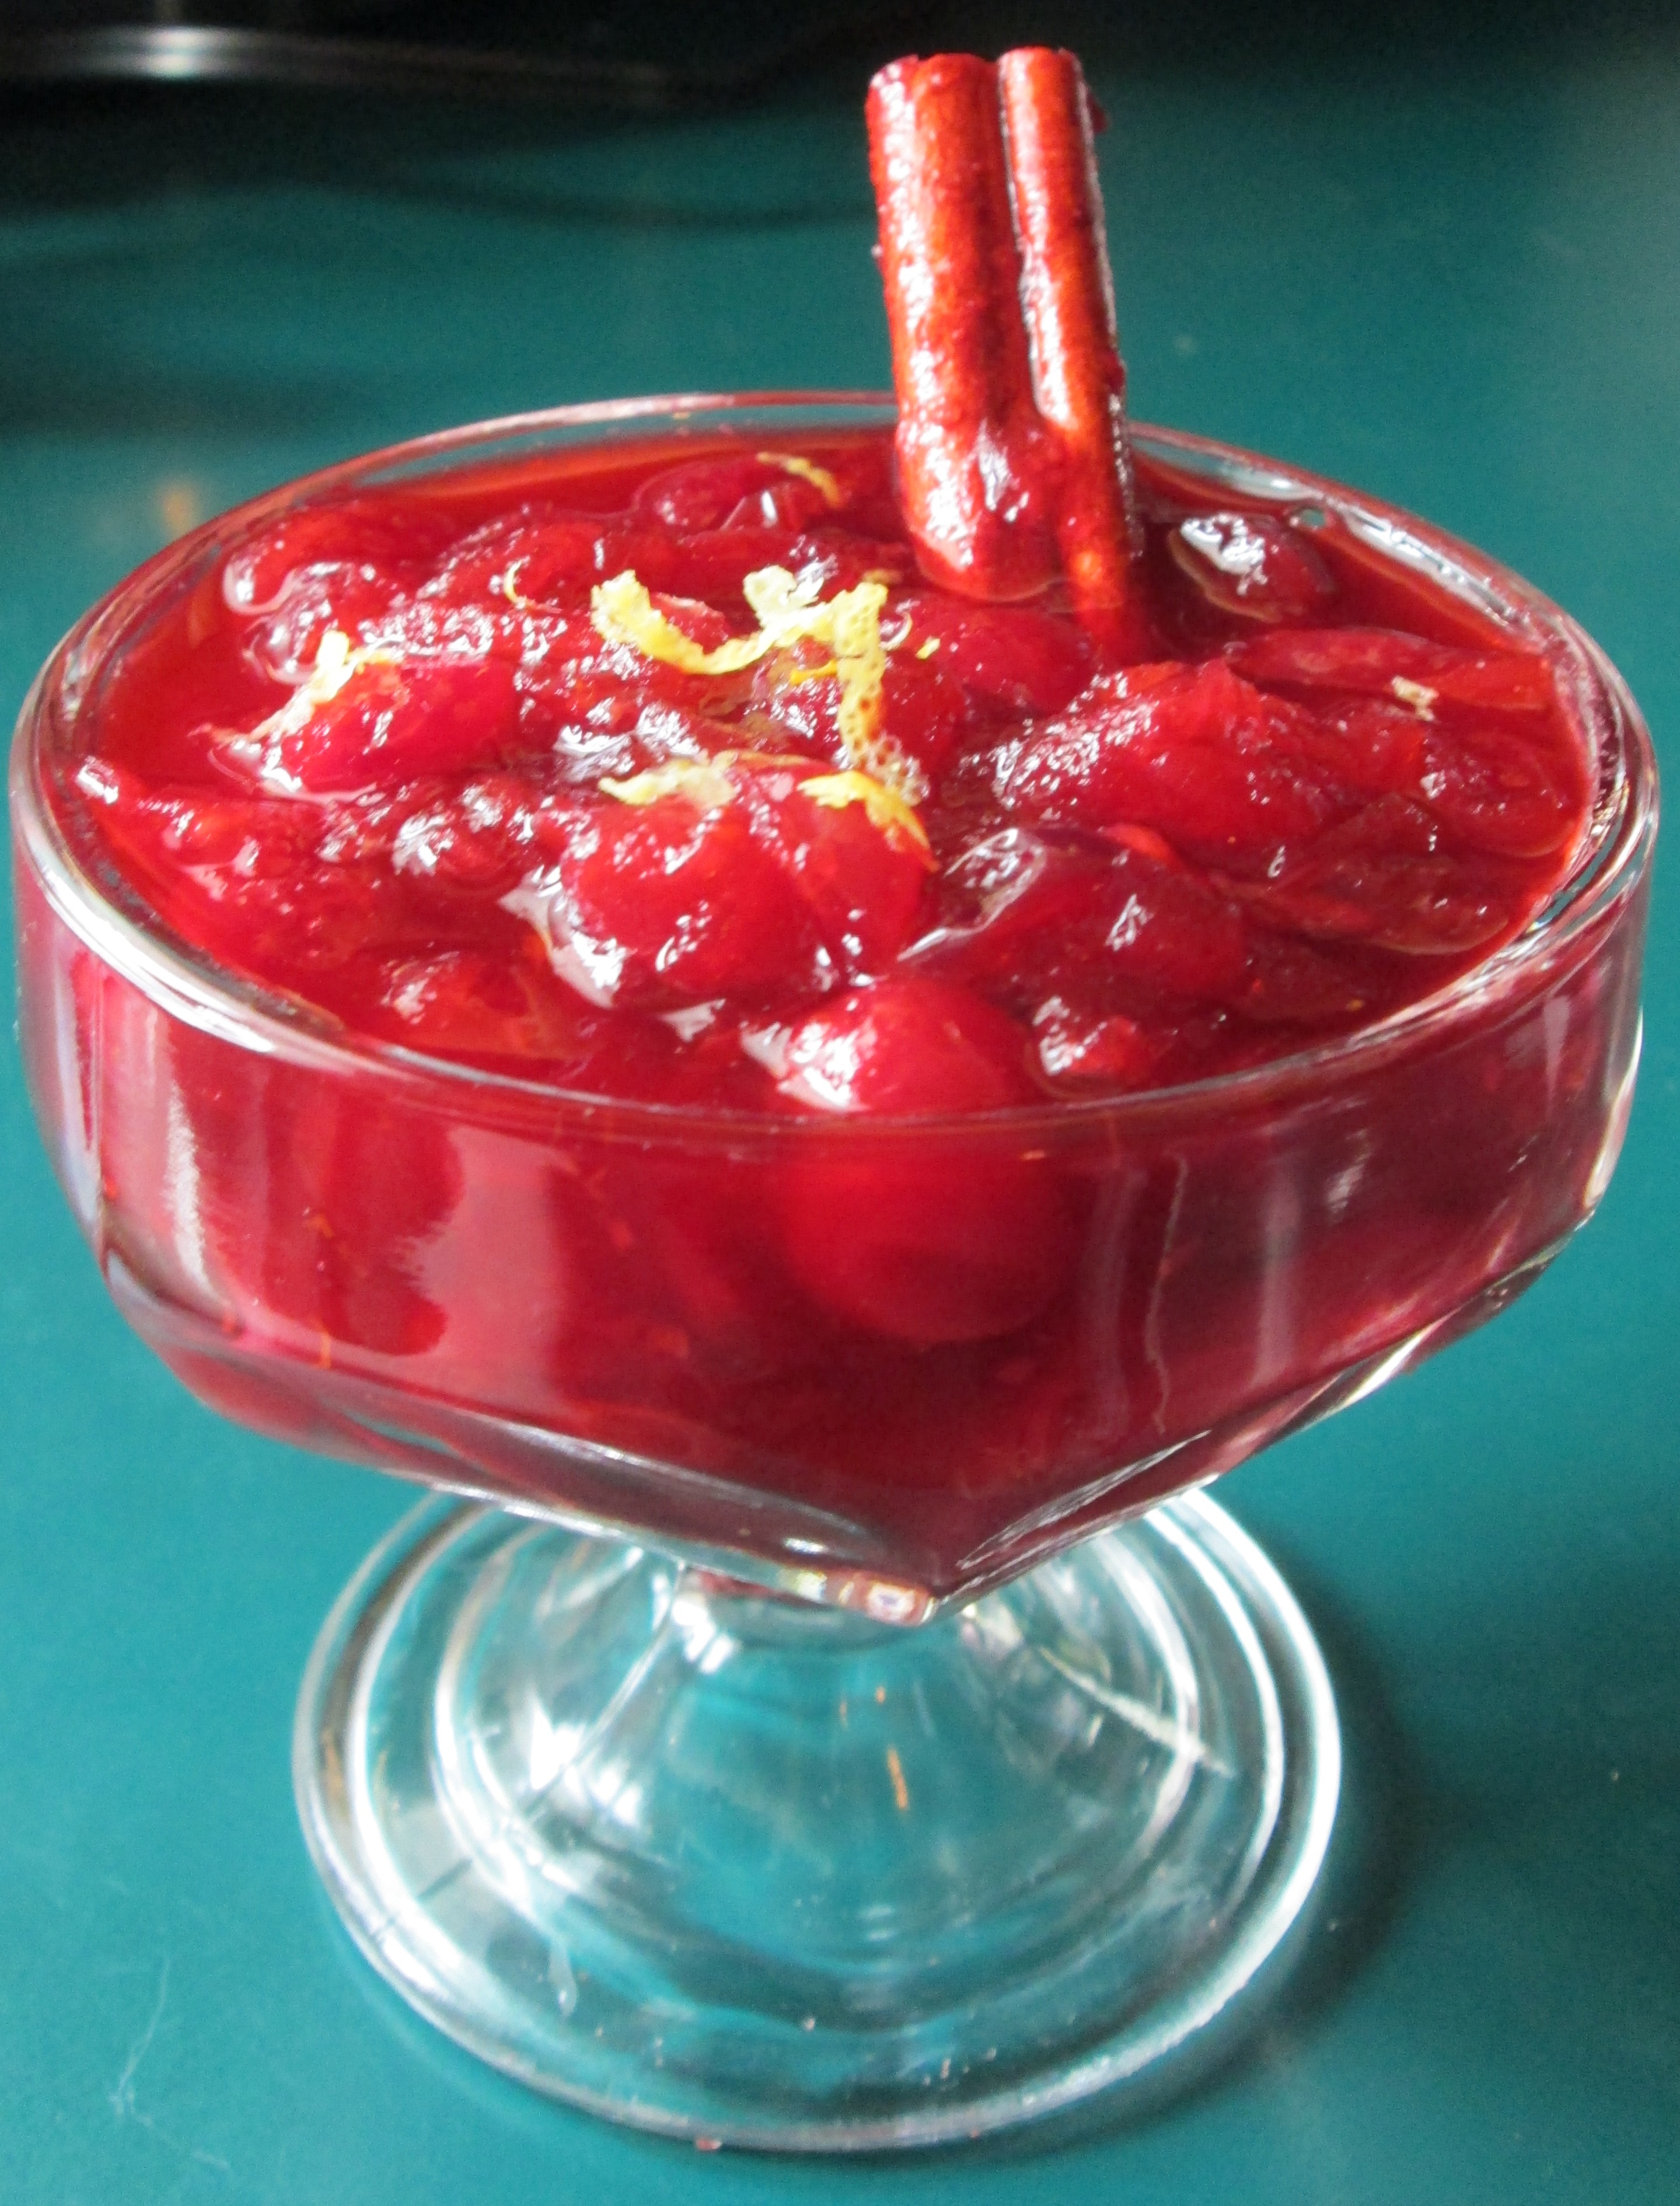
Cranberry Sauce with a Sorghum Twist
Makes 3 cups
1 16-oz. package fresh cranberries
1 cup loosely packed brown sugar
¼ cup sorghum molasses
1 teaspoon grated orange zest
1 teaspoon grated lemon zest
1 cinnamon stick
¼ teaspoon nutmeg or ground cloves
1 whole star anise
Tiny pinch sea salt
Combine all ingredients with 1 ½ cups water in a 2-quart pot. Bring to a boil; lower the heat to low and simmer until cranberries start to pop. Continue simmering and stirring for about 5 minutes, smashing the cranberries along the sides of the pot (you can leave some whole). Taste and adjust sweetener level to your taste.
Remove from heat and let cool. Transfer to a jar or bowl and refrigerate until needed. Remove the cinnamon stick and star anise before serving or use them for garnish.
Variation: Add a tablespoon of raspberry or cherry liqueur or ½ teaspoon vanilla extract.