Miz Chef

Cooking Up a Healthy Life


3 Comments

Wheat-Free Carrot Cake

IMG_5598This is one of those recipes that I made spur of the moment but, luckily, turned out well. So, I needed a quick dessert to make for a lunch at my parents’ house. We were having a guest who is gluten-free and I wanted to make sure there would be dessert for her.

There’s nothing easier than carrot cake. I love carrot cake. It’s not only flavorful and delicious, but it’s also very difficult to do badly. I mean, I’ve had great carrot cake, good carrot cake, and so-so carrot cake, but I don’t recall ever having terrible carrot cake.

That’s probably because it would take a deliberate effort to make a terrible carrot cake. There’s no creaming of butter, no whipping of egg whites, no adding of things in additions, or layering of ingredients. Aside from whisking together the dry ingredients first, everything gets mixed together. (And, quite honestly, you probably don’t even really need to mix the dry ingredients. I just recommend it to ensure that you get no lumps.)

I call this cake “wheat free” and not “gluten free” because it calls for spelt flour. I didn’t want to use all chickpea flour because I didn’t want it to be too heavy or dense or taste to “beany.” Spelt is related to wheat, so it’s the non-wheat flour that is closest to it in chemistry, flavor, and behavior. However, because it’s related to wheat, people who have Celiac disease can’t digest it. People who have a gluten/wheat intolerance, on the other hand, can usually consume it without negative consequences.

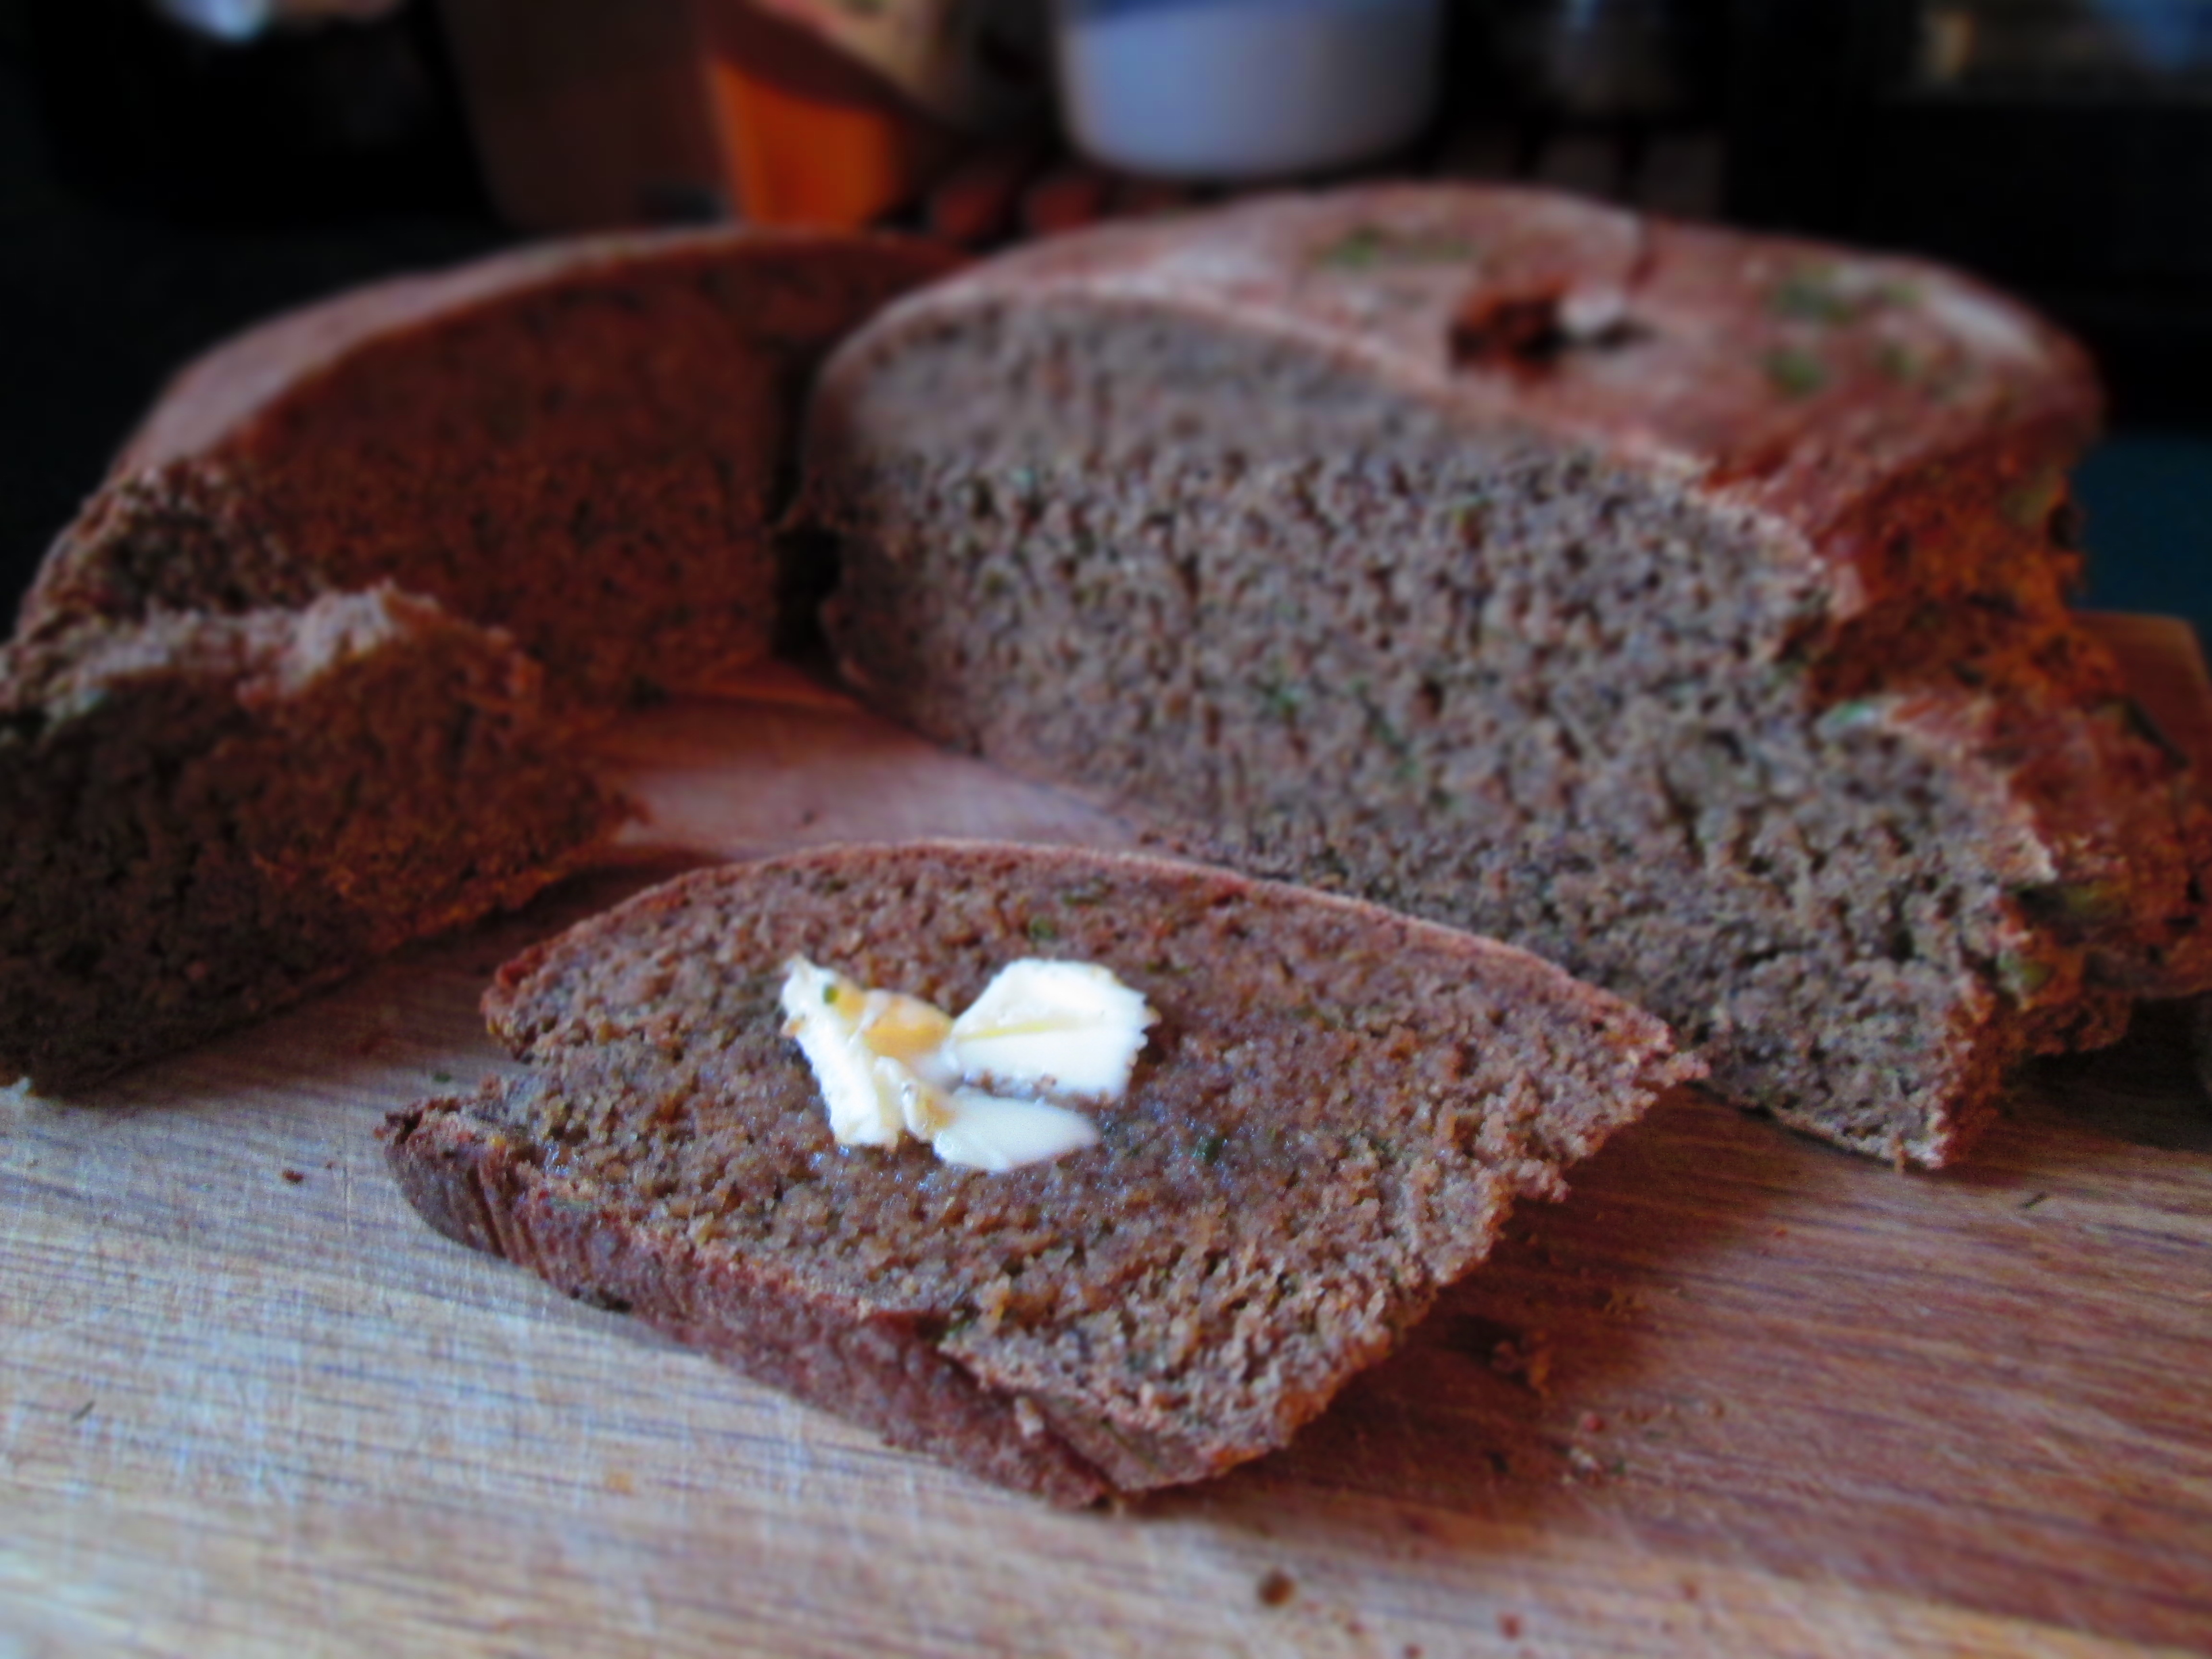
I (and everyone else) was pleasantly surprised at how light and moist this cake came out. It has a somewhat unusual flavor because of the chickpea flour but not a bad one. Just different. I hope you like it.

Wheat-Free Carrot Cake

1 cup chickpea flour
¼ cup spelt flour
½ cup coconut (palm) or date sugar
1 teaspoon ground cinnamon
½ teaspoon ground nutmeg
½ teaspoon baking powder
½ teaspoon salt
2 cups shredded carrots
2 medium eggs, lightly beaten
½ teaspoon vanilla extract
½ cup applesauce
¼ cup water

Frosting:
1 (8-ounce) package cream cheese, at room temperature
½ cup confectioner’s sugar
1 tablespoon grated orange zest

Preheat the oven to 350 degrees F. Grease an 8- or 9-inch square baking pan or line it with parchment paper.

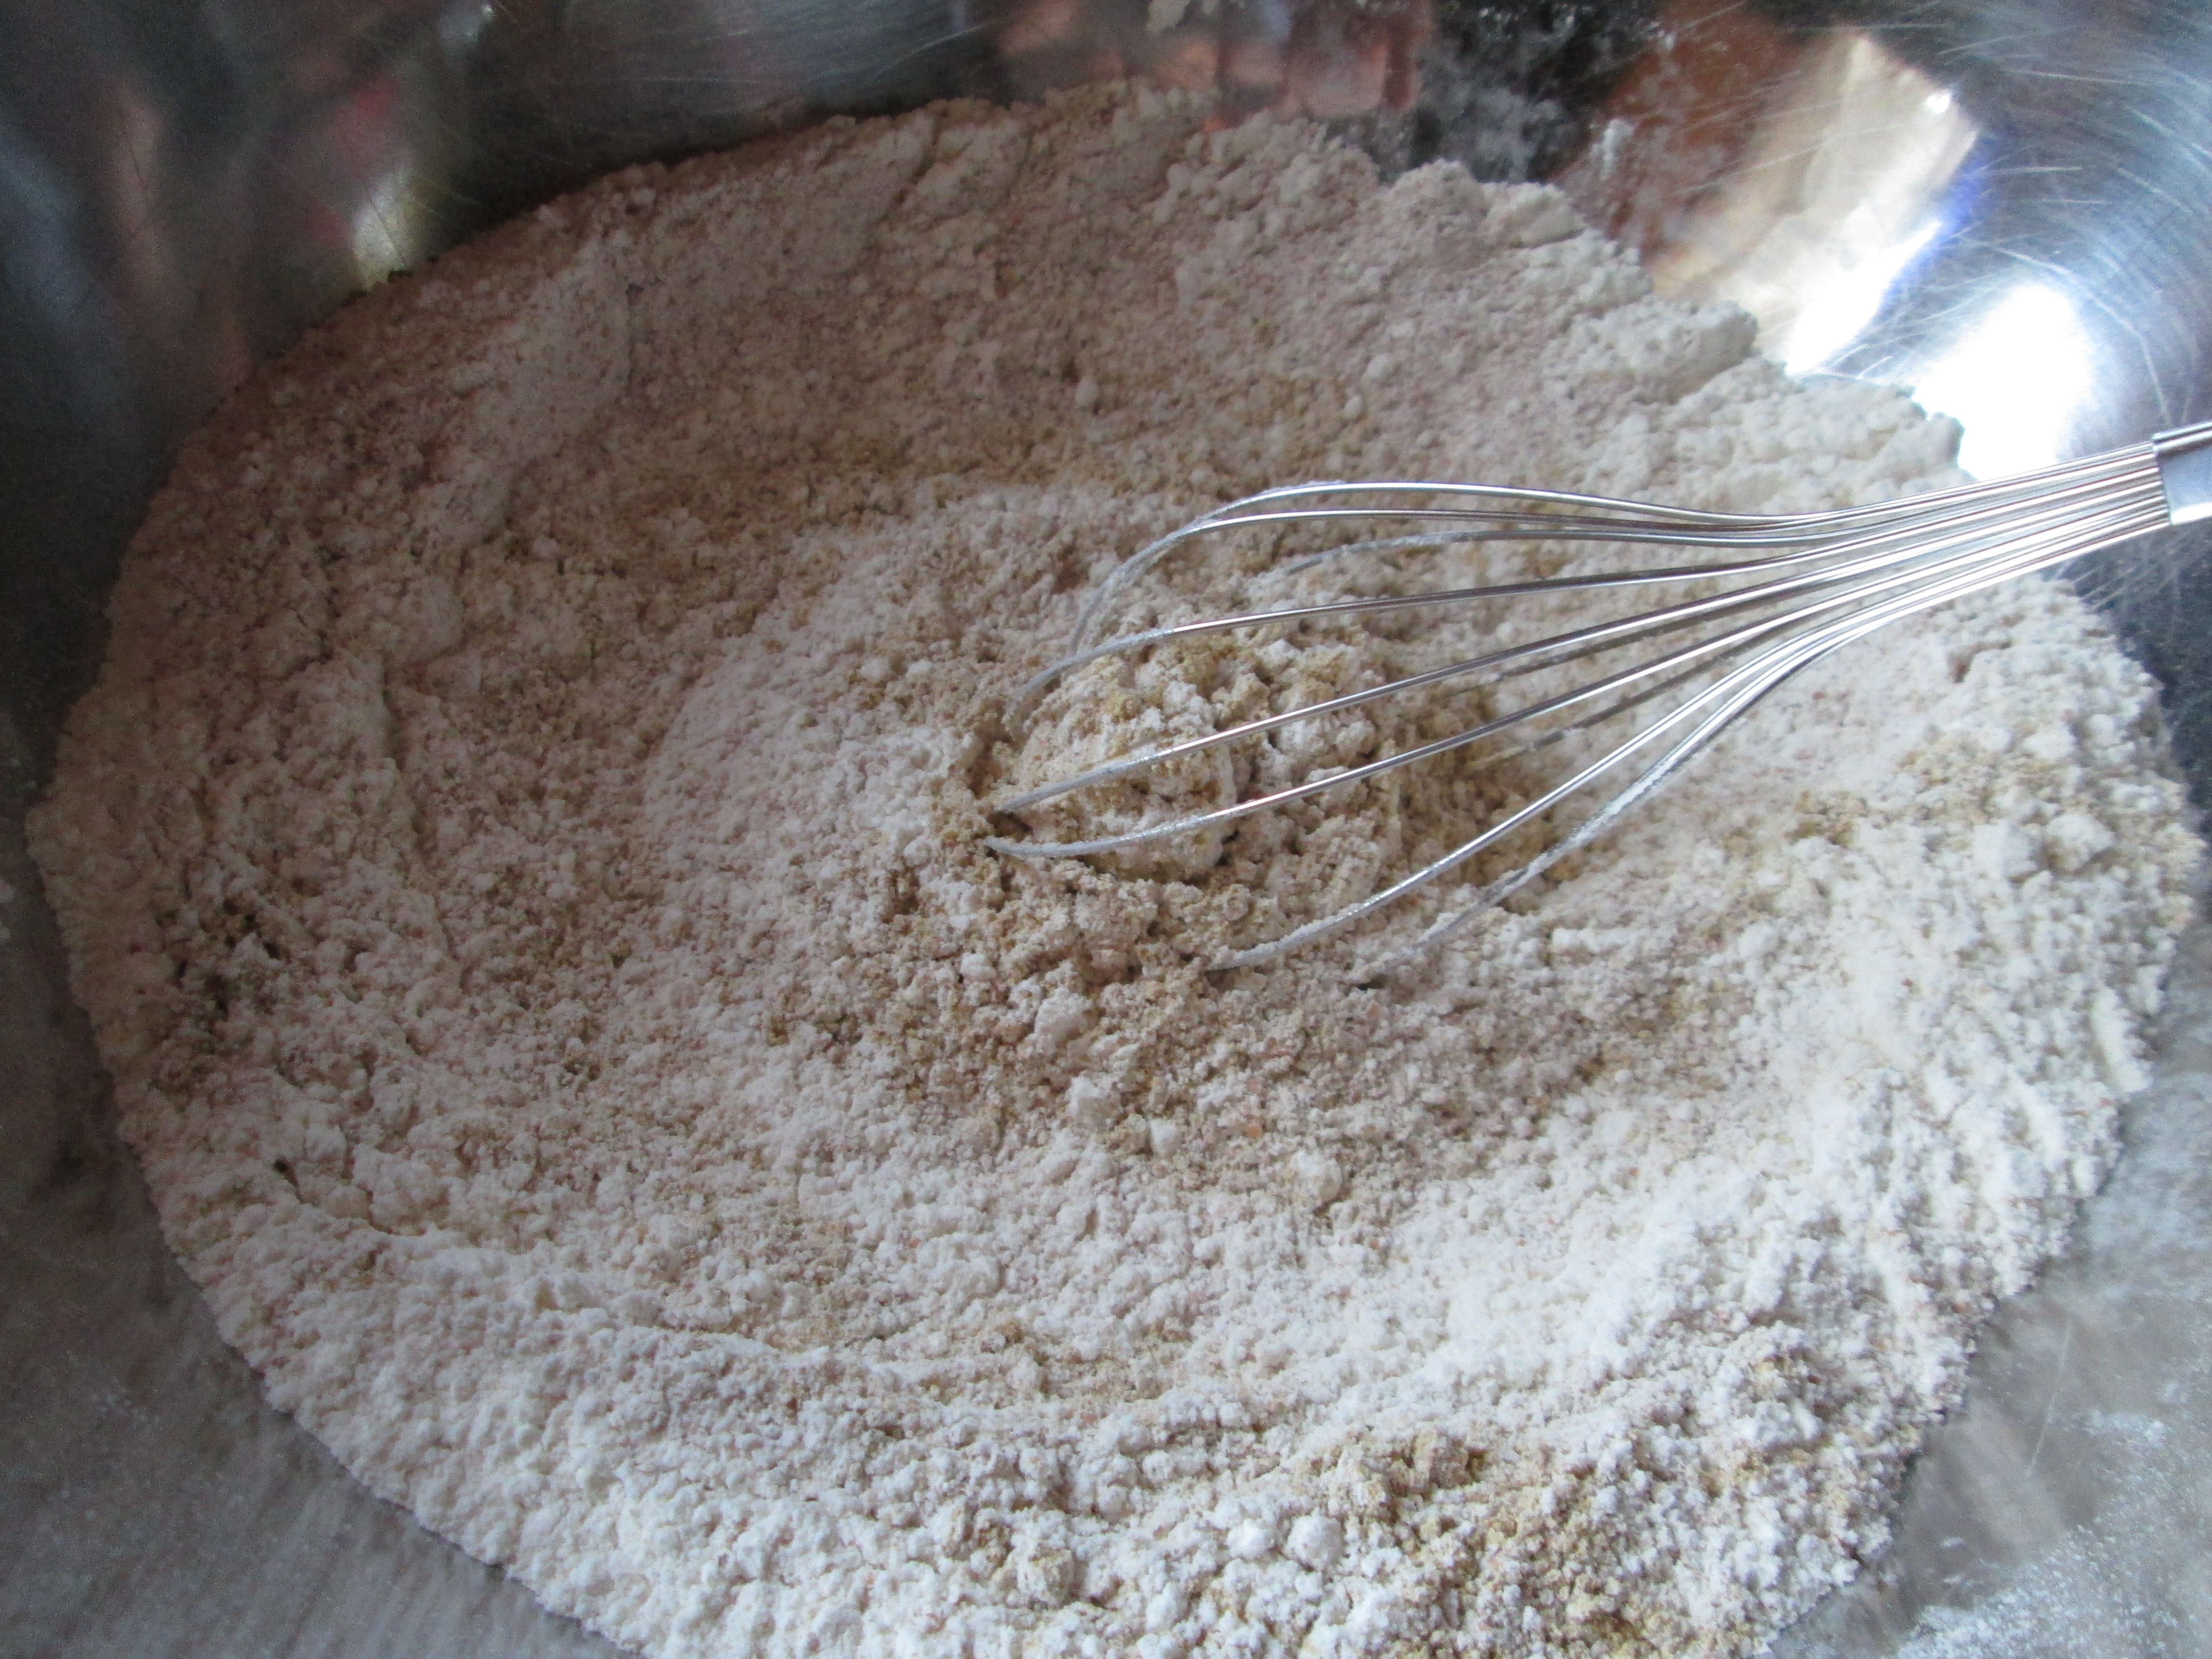
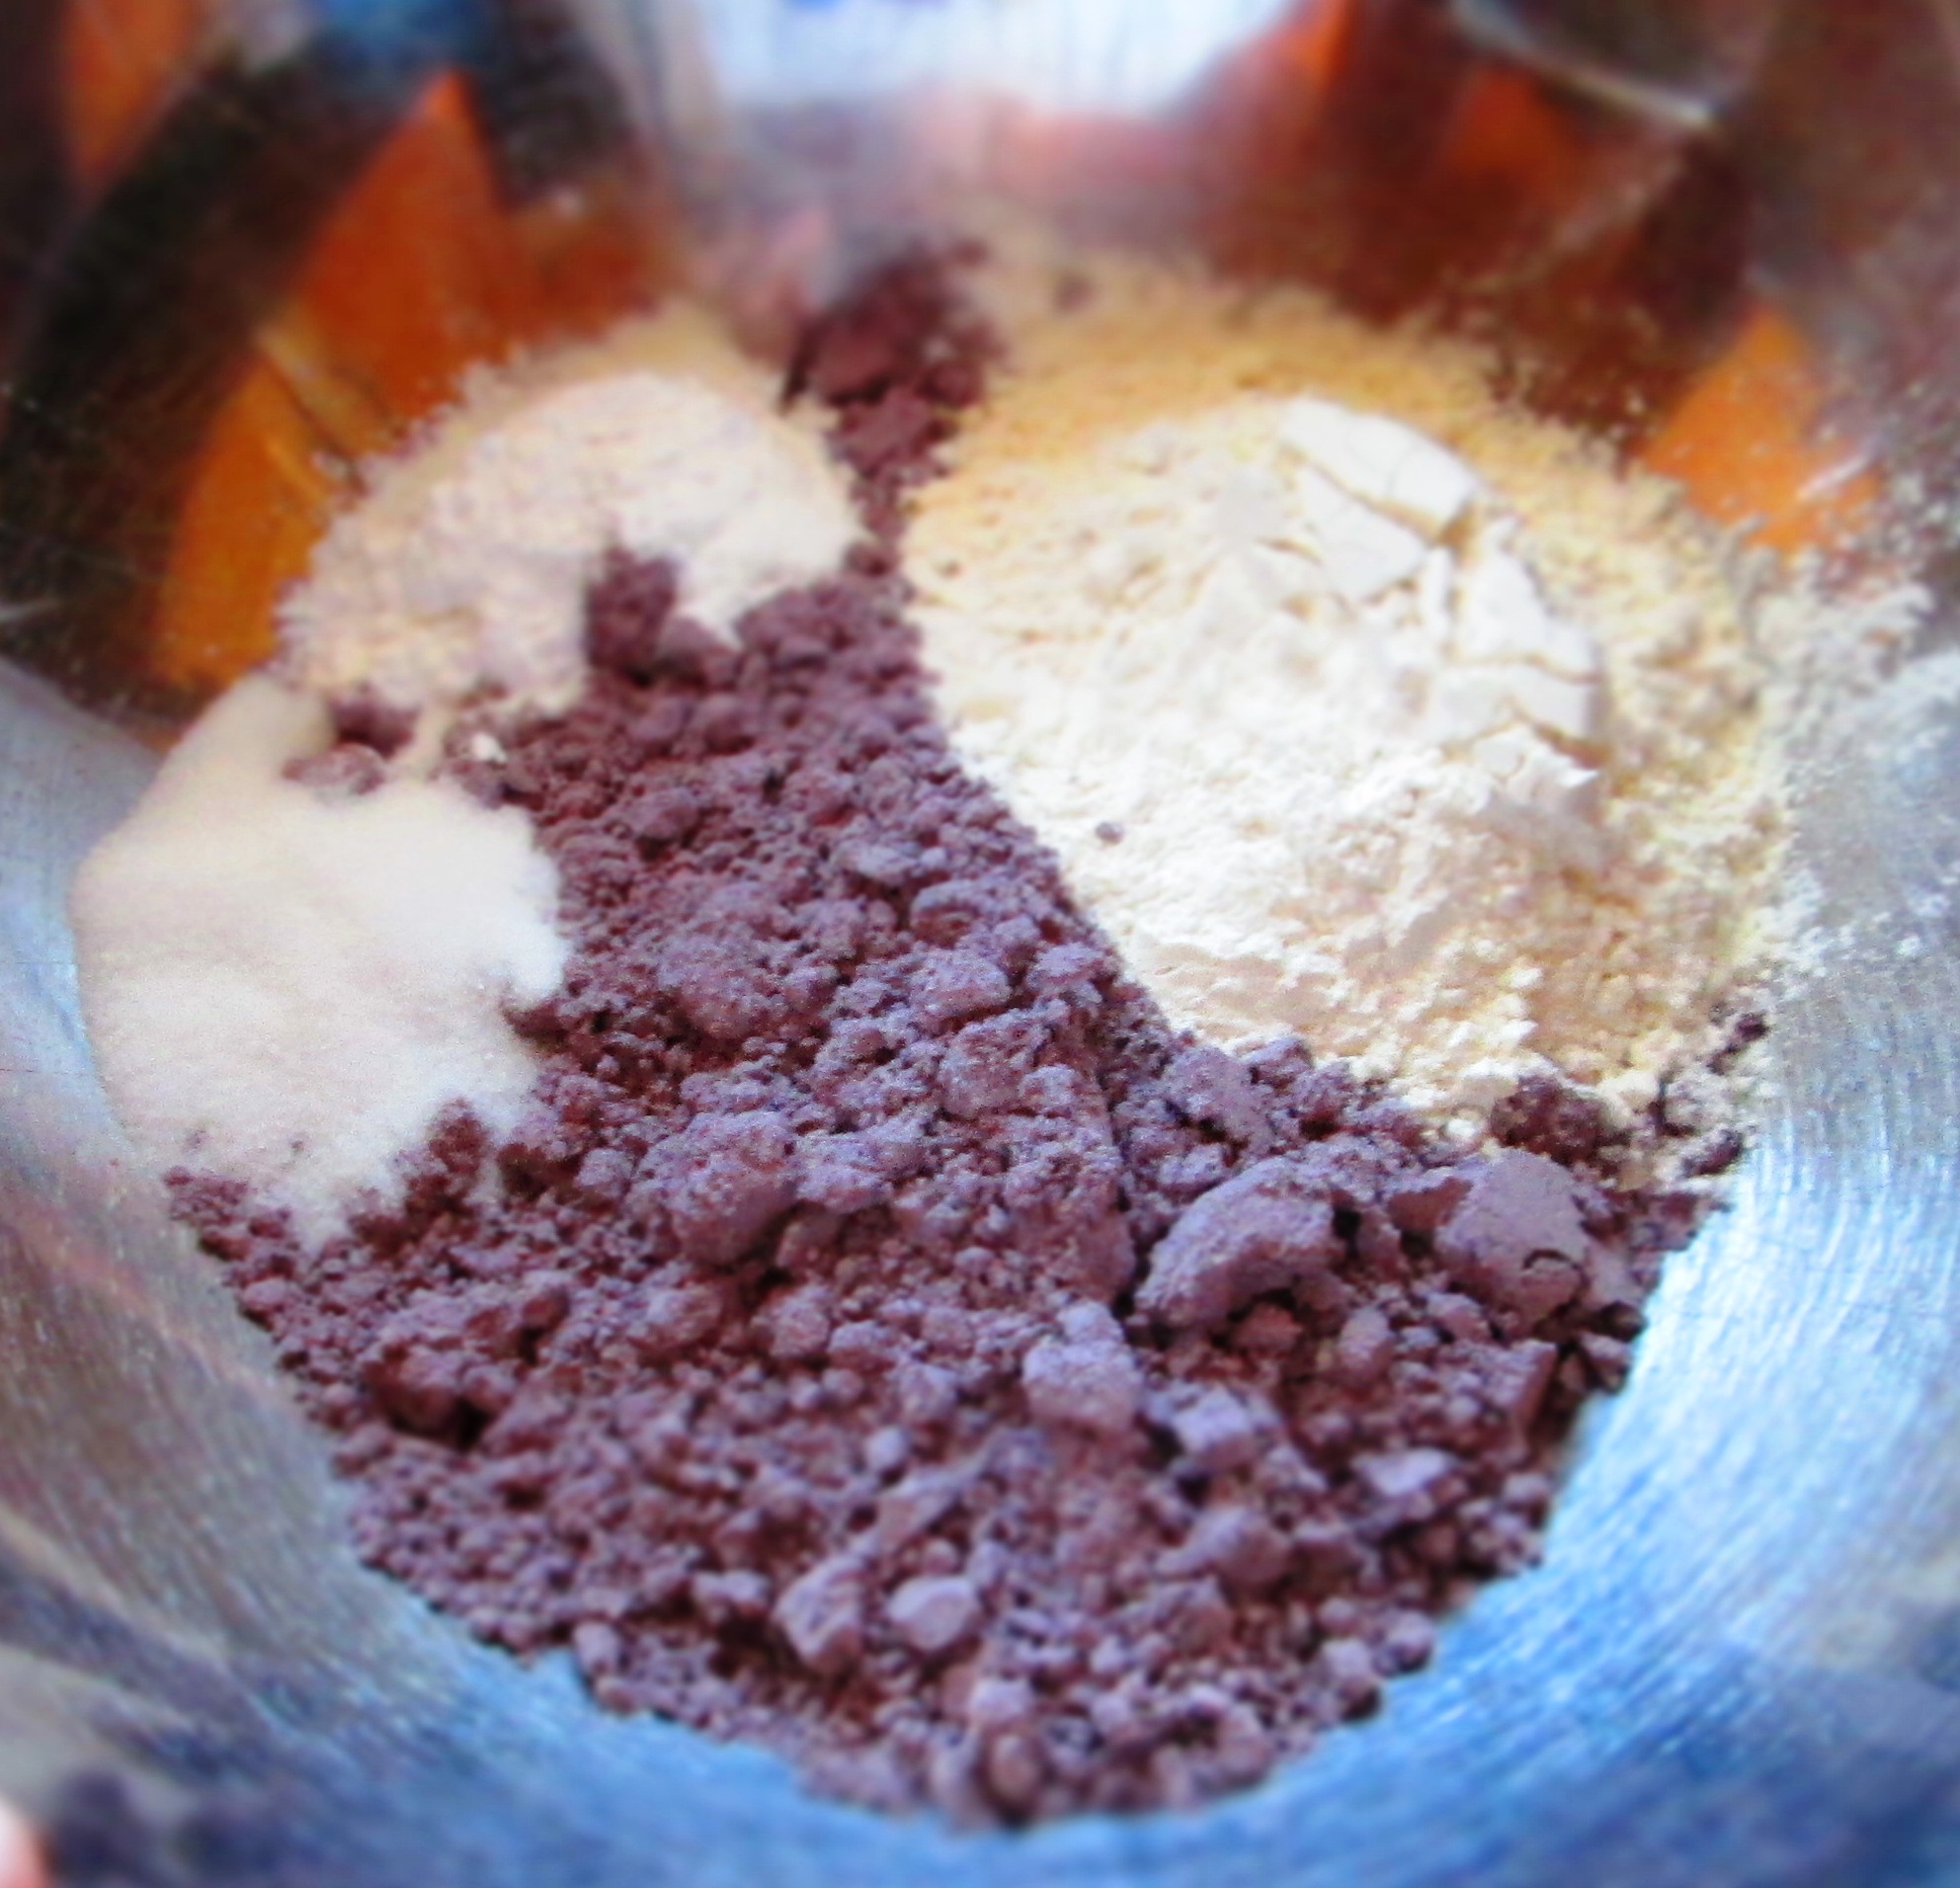
In a medium bowl, whisk together the flours, sugar, cinnamon, nutmeg, baking powder, and salt.

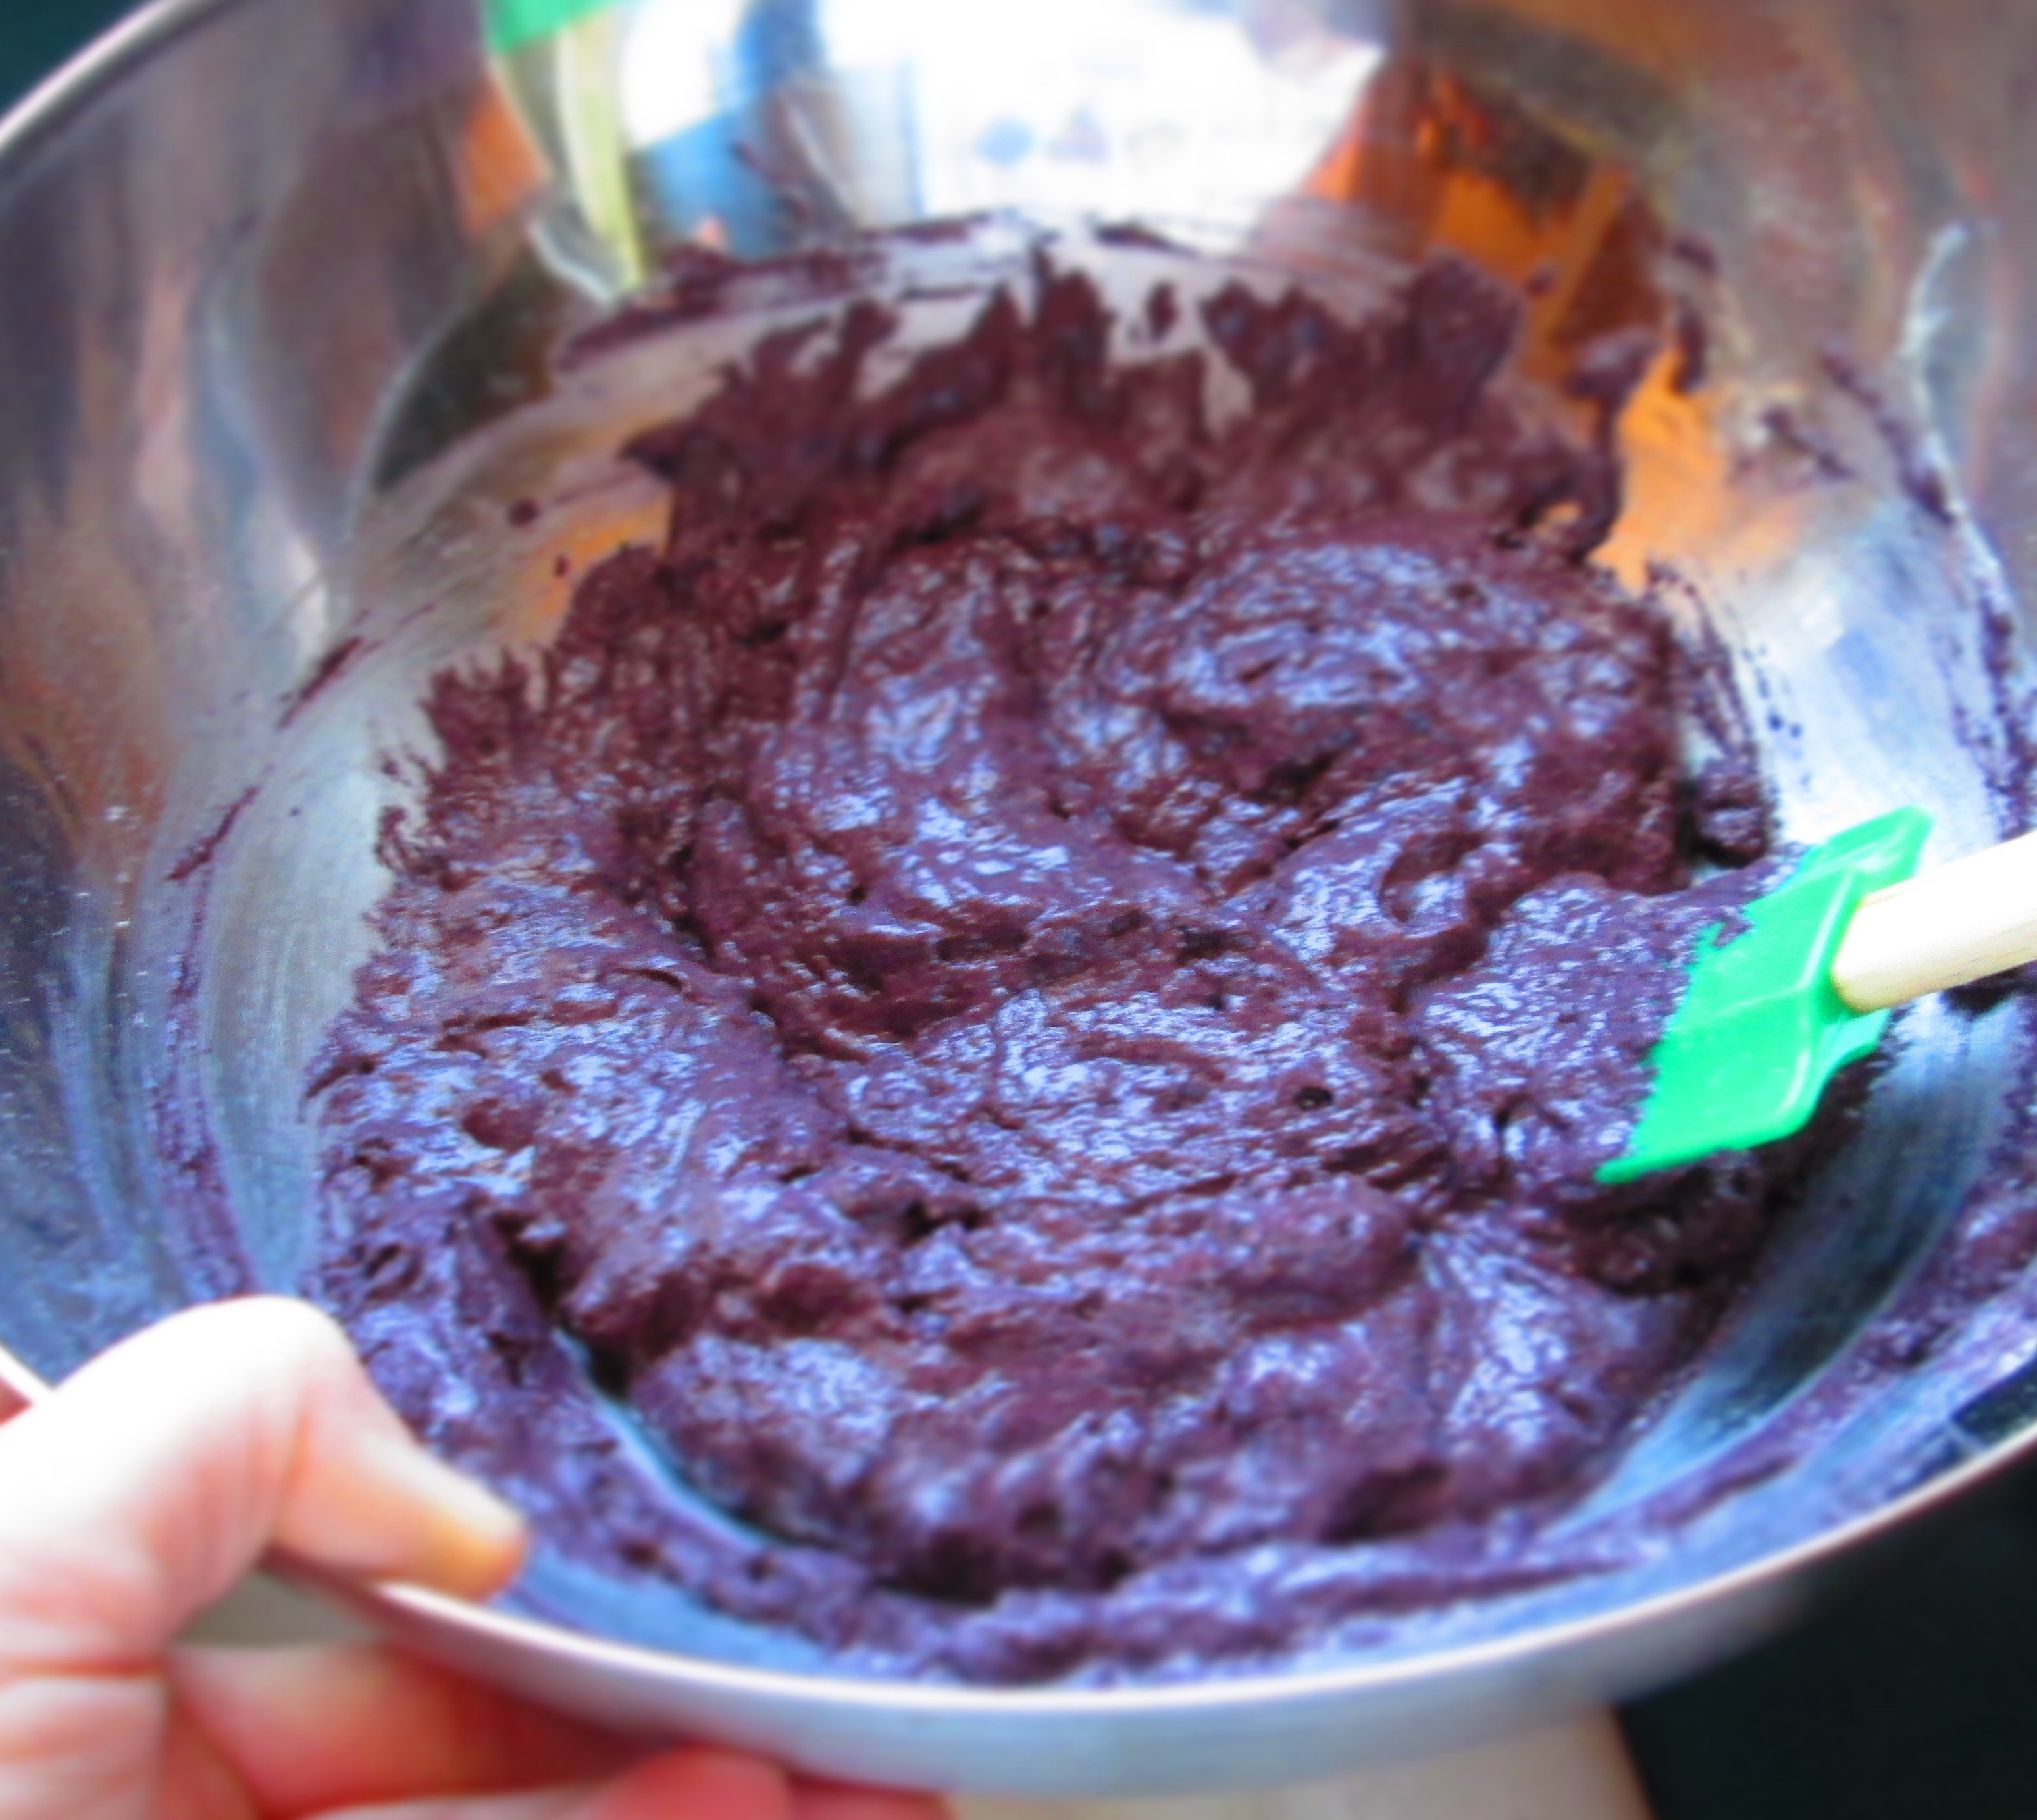
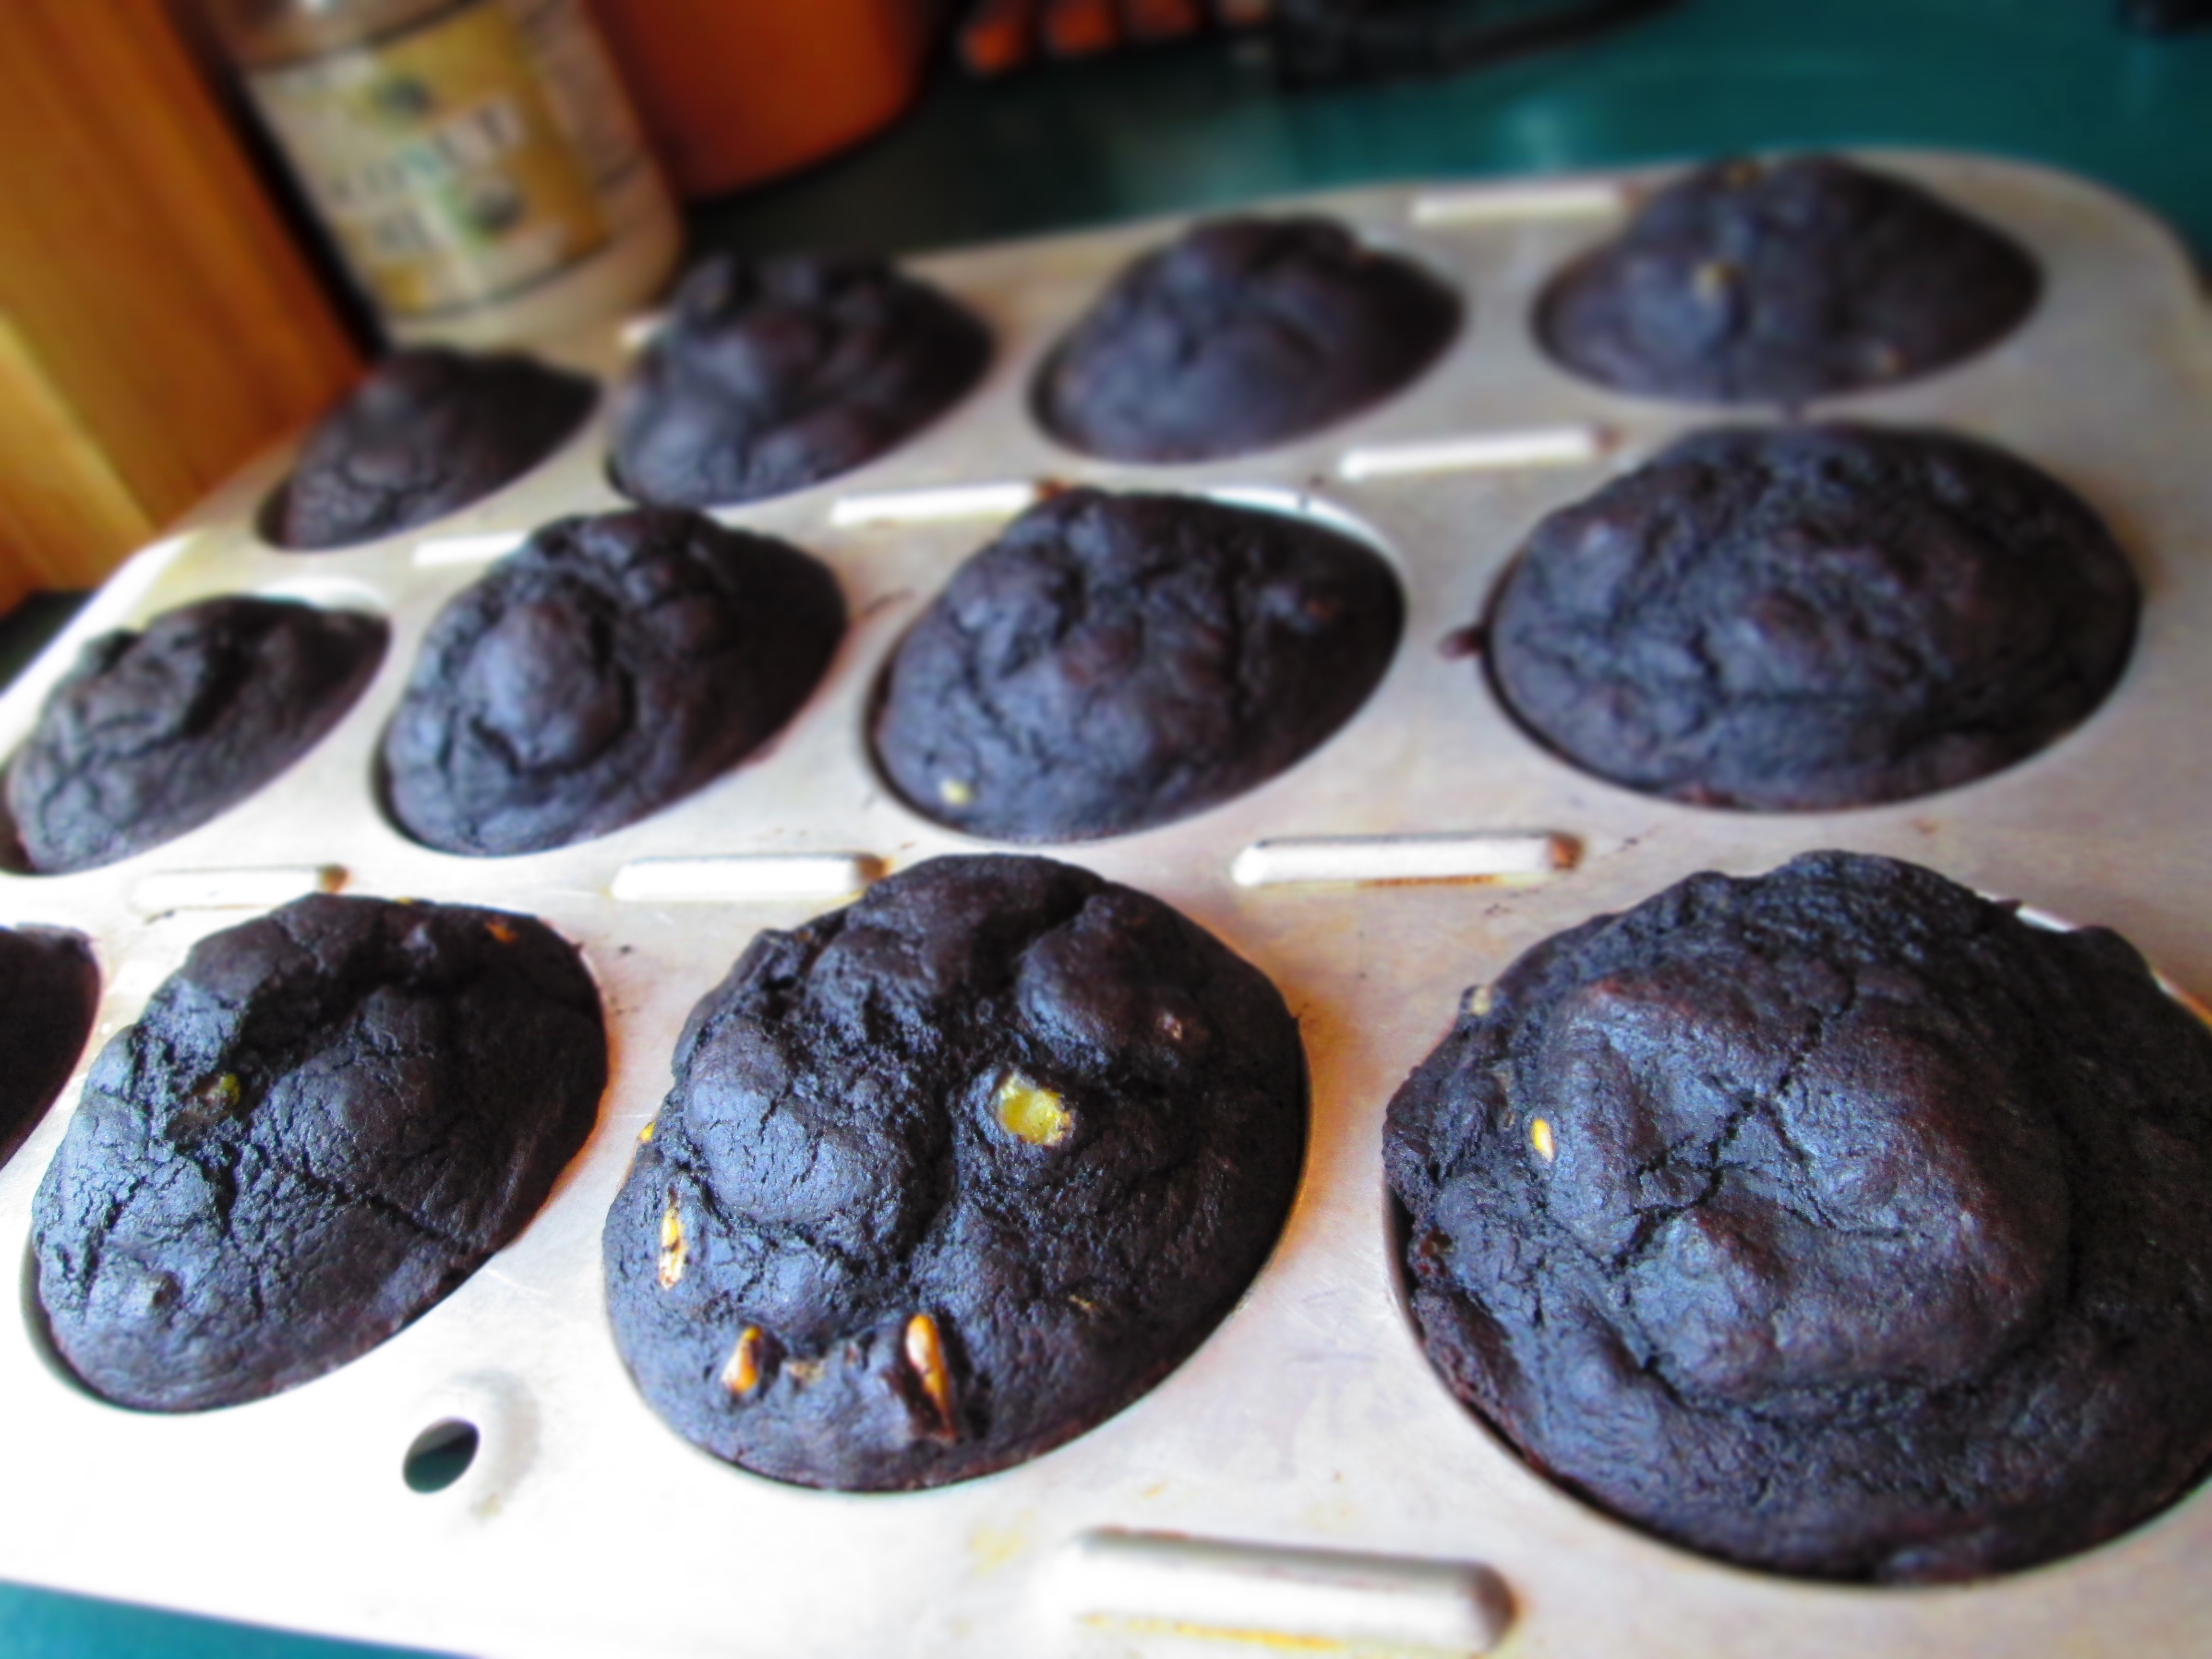
Stir in the carrots, eggs, vanilla, applesauce, and water with a wooden spoon or rubber spatula. Transfer the batter to the prepared pan and bake until a toothpick inserted into the center comes out clean, about 30 to 40 minutes.

Transfer to a cooling rack and let it cool completely.

Make the frosting: With an electric mixer, cream together the cream cheese, sugar, and zest until smooth.

Remove the cake from the pan. Invert the cake, then invert it again on a serving plate. If you used parchment, peel it off gently. Spread the frosting evenly on the top and sides. Serve.

IMG_5603

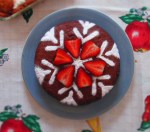
(For the cake in the photo, I chose to use a simpler confectioners’ sugar icing and coconut flakes. Mix 1 cup confectioners’ sugar with a tablespoon of water. Mix until smooth, adding a tiny bit more water at a time, as needed. Spread over the cake, then sprinkle on 1/2 cup unsweetened coconut flakes.)

Advertisement


Leave a comment

PB&J Cake, aka Space Cake

IMG_5052You might be wondering why I’ve given this cake the alternate name of Space Cake. Or maybe you’re not, but I’m going to tell you anyway.

I went into my local kosher market to pick up a few specific things (it’s the only place I know of that carries my favorite hummus). As I do in any market, I started looking around to see if there was anything new and/or unusual, anything I haven’t tried before. And I was rewarded for my efforts.IMG_5025

I found a bottle of peanut butter powder. Yes, that’s correct. Peanut butter that has been dehydrated and turned into powder. Curiosity overcame me and, of course, I had to buy it. To use it, you mix the powder with water until it’s a paste. When I did that, I have to say that it looked, smelled, and tasted like peanut butter.

Space food.

Continue reading


4 Comments

Gluten-Free Buttermilk Coconut-Almond Cake

IMG_4878

In the world of gluten-free baking, things can get complicated. Without wheat flour, you need the right combination of ingredients to create a a cake that is light and flavorful, that has good texture and pleasant mouthfeel. A gluten-free cake can very easily be heavy, dense, bland, gritty, flat, and, at its worst, taste like sawdust.

But when the ingredients come together well, you have something that rivals traditional wheat-flour cake. It won’t taste exactly the same, but it’s just as good.

Continue reading


Leave a comment

Blue Corn Muffins


IMG_4771For some reason, I got it into my head that I wanted to make blue corn muffins, and what follows is my recipe.

But first, let’s talk about corn. Corn is, unfortunately, one of the most genetically modified crops in the United States. Unless you buy corn that is specifically labeled organic, you can be absolutely certain that the corn you just purchased has been genetically modified. And it isn’t just the corn that you eat, it is also the corn that is fed to the animals that you eat, and that means animal products as well—i.e., eggs, cheese, yogurt, etc.IMG_4718

Organic products aren’t cheap, though. Some people who are health conscious but can’t afford to go totally organic have a list of products that, if nothing else, they always buy organic. If you are one of those people, keep corn on that list.

Organic blue cornmeal is available (Arrowhead Mills has it and can be found in Whole Foods, other natural food markets, and sometimes well-stocked supermarkets). However, I wasn’t able to get my hands on organic blue corn meal in time to make the muffins when I wanted to make them. So, I made the conscious decision to use blue corn meal that I picked up at a Latin supermarket near where I work. Having said that, I urge you to use organic corn—in all its forms—whenever possible.IMG_4720

Now, onto the recipe. Blue corn meal makes for a beautiful purple batter, but the final product isn’t as vibrant. It’s usually a light lavender color. I’m not quite sure why mine came out so much darker than the average blue corn muffin—I suspect that my ratio of cornmeal to all-purpose flour was too high. Nevertheless, I decided that I like them and am keeping the recipe as is—at least for now. I like to add corn to the batter for an extra bit of texture, but you can omit it if you like.

Next time, I’m going to do a gluten-free version. Enjoy!

Blue Corn Muffins

Makes 12 muffins.

1½ cups blue cornmeal
½ cup all-purpose flour
1/4 cup grapeseed (or other) oil
2 teaspoons baking powder
1 tablespoon sugar
1 1/4 teaspoons salt
1/2 teaspoon baking soda
1 cup buttermilk
2 medium eggs
1 cup corn

Preheat oven to 425°F. Grease the cups of a medium 12-cup muffin tin, or line them with paper cupcake wrappers.

In large bowl, mix all the ingredients, except the corn, with spoon or rubber spatula just until mixed.IMG_4742IMG_4750Fold in the corn, if you’re using it.IMG_4751Fill the muffin cups equally. Bake 20 to 25 minutes or until a toothpick inserted into the center comes out clean. Place the tin on a rack and let cool. If you try to remove them immediately, they’ll crumble. If you have to, run the tip of a knife around the edges to loosen them.IMG_4759Turn them out onto the rack. Serve warm or at room temperature.IMG_4762Enjoy with butter and jam.


4 Comments

Almond-Lucuma Cake

IMG_4798 _V2

Photo: Akramm via Wikimedia Commons

Photo: Akramm via Wikimedia Commons

If you haven’t heard of lucuma, it’s because it’s a fruit indigenous to Peru, Chile, and Ecuador that hasn’t really had much play outside of its native region, especially since it only thrives in subtropical climates. It has a dark green skin, and a pit (sometimes two) that look like avocado pits. Its yellow flesh is dry and often compared to hard-boiled egg yolk, and its mild flavor has been likened to maple syrup, caramel, and sweet potatoes.

Indigenous Andean peoples used lucuma not just as food but medicinally as well. The Incas believed it to be a symbol of fertility and creation and it was dubbed “Gold of the Incas.” Modern studies of lucuma show that the fruit contains beta carotene, iron, zinc, vitamin B3, calcium, and protein. It aids in warding off heart disease and hypertension, maintaining skin health and blood sugar levels (and it is hoped that it will help people with diabetes), and supporting healthy digestion.lucuma[1]
Continue reading


Leave a comment

Gluten-Free Lemon-Poppy Berry-Topped Cake

IMG_4573

On this deep-in-winter February day, I’d like to offer a recipe for a gluten-free cake that is really easy to make and very versatile. The batter doesn’t rise much, which makes it a great vehicle for all kinds of toppings.

I like it because it’s not overly sweet and it can be paired with lots of different things. Instead of berries, you can top it with lemon curd or orange marmalade, or buttercream frosting. You can put the batter into 4 small loaf pans for individual desserts. You can also substitute the lemon zest and juice with orange or other citrus. And with the exception of 1 egg, it’s also dairy free, so for those of you who are lactose intolerant, it’s a great choice.

Enjoy!

Gluten-Free Lemon-Poppy Berry-Topped Cake

Makes 1 8-inch cake.¼ cup sorghum flour

¼ cup chickpea flour
2 tablespoons tapioca flour
2 teaspoons baking powder
1 teaspoon baking soda
Pinch sea salt
2 teaspoons lemon zest
2 tablespoons poppy seeds
1 large egg
¼ cup plus 2 tablespoons maple crystals or coconut sugar
¼ cup plain yogurt
1 tablespoon melted coconut oil
2 tablespoons fresh lemon juice
2 cups fresh berries
2 tablespoons confectioners’ sugar (optional)

Preheat oven to 350 degrees. Grease an 8-inch cake springform pan.

In a medium bowl, whisk together flours, baking powder, baking soda, salt, zest, and poppy seed.

In another medium bowl, whisk egg, sugar, yogurt, oil, and lemon juice. Fold in dry ingredients, just until all ingredients are moistened.

Bake about 25 to 30 minutes, or until a toothpick inserted in center comes out clean. Transfer to a wire rack and let cool 5 minutes. Remove ring. Invert onto a plate, remove pan plate, then invert again back onto rack. Let cool completely.

Transfer to a plate. Decorate with berries and dust with confectioners’ sugar, if desired. (The best way to do this is to put sugar in a fine mesh sieve set over a bowl. Then shake the sieve gently over the cake.)

IMAG2572


Leave a comment

Avocado Pineapple Cake

IMG_4411

This weekend was my mother’s birthday. She just turned 81. She’s very spry for her age and still sharp in mind, and I’m thankful every day for that.

She’s also set in her ways. She likes what she likes, and doesn’t like what she doesn’t. She’s never liked going out to restaurants much, since, in her opinion, restaurant food lacks in many departments. The one and only time she was ever really excited to go to a restaurant was when my brother and I took my parents to Felidia, Lidia Bastianich’s place in Manhattan. She’s a huge fan of Lidia and just being in her world was a thrill for Mom. (One of my regrets is not getting a picture with Lidia when I met her at the James Beard House when I was interning there. She treasures the picture of me with Jacques Pepin and I think one of me with Lidia would have made her swoon.)

Continue reading


Leave a comment

Italian Vegetable Crackers

IMG_4189

Want to do something different for that  Christmas party? Why don’t you try making your own crackers? They’re really not that difficult.

Crackers have been around for thousands of years—the ancient Romans made them! The word “cracker” comes from the Medieval word craken, meaning “to resound,” which describes the sound they made when broken.

Italians love to put vegetables in everything, and crackers are no exception. These crackers are a nice blend of herbs and fresh greens. Fava beans, in particular, are very popular in Italy and this recipes utilizes fava bean flour. Not only does it eliminate at least a little bit of the white flour, but it lends the crackers a more complex, vaguely nutty flavor.

Put these out with cheese, dips, salsa, or even guacamole. But they’re tasty enough to enjoy on their own.

Enjoy!

Italian Vegetable Crackers

Makes approximately 7 dozen crackers.

½ cup chopped greens (spinach, kale, chard, etc.)
¼ cup +2 teaspoons olive oil
½ cup fava bean flour (or chick pea flour)
1 ½ cups all-purpose flour
1 teaspoon ground rosemary
1 teaspoon oregano
1 teaspoon paprika
1 teaspoon garlic powder
1 teaspoon kosher salt
½ teaspoon ground fennel seed
¼ teaspoon freshly ground black pepper
¼ cup parmesan cheese
Hawaiian sea salt or other finishing salt (optional)

Preheat oven to 375 degrees F.

Place greens and 1 teaspoon oil in a food processor and process until very finely chopped. Set aside.

In a medium bowl, whisk together flours, rosemary, oregano, paprika, garlic powder,  kosher salt, fennel seed, pepper, and parmesan. IMG_4165

Add ¼ cup oil and mix until a dough forms. If necessary, add water, a little at a time, until all ingredients come together.IMG_4166IMG_4167

Place a piece of parchment paper down on a clean surface. Place  dough on the parchment and roll out as thinly as possible. IMG_4169

Cut off the edges to make straight lines. With a ruler, score 1 inch rows down and then across. IMG_4171

Brush top with remaining oil; sprinkle with finishing salt, if desired.IMG_4174

Bake until firm and lightly browned, about 25 minutes. Remove from oven and let cool 5 minutes. Then move parchment to a cooling rack. Separate crackers and let cool completely.

Store in a tin.

IMG_4182


4 Comments

Broccoli Rabe and Cheese-Stuffed Bread

IMG_4110What happens when you have the urge to bake bread and have some broccoli rabe in the refrigerator? You make broccoli rabe bread, of course. Or, more specifically, broccoli rabe and cheese-stuffed bread.

Stuffed bread is an age-old delicacy and Italian cuisine is known for many kinds. In this one, the pleasant bitterness of the broccoli rabe is tamed by the rustic bread. The addition of cheese lends a salty sharpness to it. You can use whatever cheese you want. I used a blend of Fontina and Jarlsberg. If you like, you can add a sprinkle of parmesan cheese as well.

I just bought a big ol’ package of yeast, so I think I’m going to be on a bread-baking kick for a while. We’ll see. In the meantime, try this one out for breakfast, lunch, or a snack. By the way, it goes great with wine.

Broccoli Rabe and Cheese-Stuffed Bread

Bread:

2 teaspoons dry active yeast
½ teaspoon sugar
2 ½-3cups all-purpose flour
1 teaspoon kosher salt
1 tablespoon butter, melted
½ cup milk
2 teaspoon olive oil

Broccoli Rabe-Cheese Filling:

1 teaspoon olive oil
2 large garlic cloves, sliced
½ cup chopped mushrooms
1 teaspoon sea salt
1 large head broccoli rabe, chopped
1 teaspoon red pepper flakes
1 cup shredded cheese
1 egg, well beaten (optional)
2 tablespoons sesame seeds (optional)

Combine the yeast with sugar and ¼ cup very warm water. Stir until dissolved and let sit for 5 minutes until it bubbles and foams.

IMG_4075

Combine 2½ cups flour and salt in the bowl of a stand mixer with the dough hook attached. Add the yeast and butter and begin mixing on medium speed. Begin adding milk a little at a time, then increase speed until dough comes together. Continue mixing for a couple of minutes.

IMG_4078IMG_4079

Transfer dough to a lightly floured board and knead for 2 or 3 minutes. Place oil in bottom of mixer bowl; place dough in oil then turn it over so that all of dough is coated. Cover with a clean towel and place in a warm, draft-free place and let rise for 1 hour.

IMG_4080

Meanwhile, make filling. Heat oil in a wide pan. Add garlic and saute for 1 minute. Add mushrooms and ½ teaspoon salt and sauté until they start to brown, about 10 minutes. Add broccoli rabe, red pepper flakes, and remaining salt; cover and let cook until tender, about 5 minutes. If pan dries out, add a little water, white wine, or broth.

IMG_4086

When dough has risen for an hour, place on lightly floured board again. Roll out into a rectangle about 8 x 15 inches. (It doesn’t have to be perfect, as my picture can attest.) Place the broccoli rabe along the center of the dough, then spread on the cheese. Roll up dough and pinch the seam together. Tuck in the ends and pinch together. Place on a baking sheet lined with parchment paper. Cover with the cloth and let rise again for another hour.

IMG_4093

Preheat oven to 375 degrees.

Prick the dough with a fork in several places. If you want to add sesame seeds, brush the top with egg and sprinkle on the sesame seeds.

IMG_4094IMG_4098

Bake for about an hour, or until golden brown and bottom sounds hollow when thumped.

IMG_4101

Move to a cooling rack and let sit for 5 minutes before cutting into it.

IMG_4114

Enjoy!


2 Comments

Black Bean Flour Bread with Herbs

IMG_4064

Over the past few years, I’ve experimented with quite a few gluten-free flours and I thought I’d seen, or at least heard about, most of them. Then, recently, I found a new one: black bean flour (or powder). The reason I hadn’t seen it before? It was in the coffee and tea aisle in an Asian market.IMG_4031

See, the coffee and tea aisle in an Asian market is not like the coffee and tea aisle in other markets. In an Asian market, next to the Folger’s and Maxwell House and Lipton and Celestial Seasonings, you’ll find an enormous assortment of beverage mixes to which you would add hot water. The teas, of course, include herbal “health” teas, but next to the coffees, you’ll find beverages made of grains, roots, and beans. These are all drunk in various Asian countries for various health purposes. In the case of bean flours, they provide protein.

Black bean flour lends a dark color to whatever you add it to, so it’s generally added to breads, chocolate cakes, or dark vegetable dishes, such as black bean quesadillas. I decided to try my hand at bread. It turned out very well, and I’m going to try incorporating it into a gluten-free loaf next time.IMG_4032

Black bean flour has an unusual flavor and takes a bit to get used to. But after I processed the first bite, I found the taste to be pleasant. I think it makes a great snacking bread with butter or jam to accompany coffee or tea. But I think it would also make a good hearty sandwich bread—any kind that you would make with a pumpernickel or dark European-style loaf.

If you want to give it a try, look for black bean flour in an Asian IMG_4033market or Whole Foods. If you can’t find it, Bob’s Red Mill has it (they seem to only have one size, though—6.5 lbs.). Oh, and be careful–I found one of those preservative packets in mine (oddly named “oxygen absorber”).

Black Bean Flour Bread with Herbs

1 tablespoon dry active yeast
1 teaspoon sugar
1 cup black bean flour
1 cup whole wheat flour, plus more for dusting
1 cup all-purpose flour
2 teaspoons kosher salt
2 teaspoons olive oil
¼ cup chopped parsley
¼ chipped dill

In a small bowl, stir yeast and sugar in ¼ very warm water until dissolved. Let sit 5 minutes until foamy.

IMG_4034

Whisk together the flours and salt.

IMG_4036

(If you have a mixer with a dough hook, you can use that. You can also use a food processor. Otherwise, mix the flours and salt together in a large bowl.)

Pour in the yeast along with another cup of very warm water. Mix until all ingredients are well blended. Unlike most yeast breads, you don’t have to knead this. This will be a moist, somewhat sticky dough. Add a little more warm water if it seems dry.

IMG_4038

Coat the bottom of a large bowl with the oil; place dough in bowl and turn it over until completely coated with oil. Cover with a towel and set in a warm, draft-free place and let rise for 2 hours.

IMG_4055

Lightly dust a board with flour and turn the dough out. Flatten it a little. Add the chopped parsley and dill and begin folding it in. When herbs are well incorporated, stop working the dough.

IMG_4059

Place on a baking sheet lined with parchment paper. Cover again with the towel and let rise another hour. (You can divide the dough into 2 loaves, or make 1 big loaf.)

Preheat oven to 400 degree F. Bake bread until it sounds dense when you thump it, about 40 minutes for smaller loaves, 45-60 minutes for a larger loaf.

IMG_4069