Miz Chef

Cooking Up a Healthy Life


Leave a comment

Parsnip-Butternut Soup

IMG_5468My parents’ garden comes up with great stuff every year. This season, they got butternut squash, and I took a cute little one for myself. The farmers’ market had great-looking parsnips, so I decided to make parsnip-butternut soup.

Because it’s October and I don’t have any fresh herbs left my garden, I turned to my dried herbs. You can use whatever dried herbs you have on hand or particularly like for soup. I used thyme and savory.

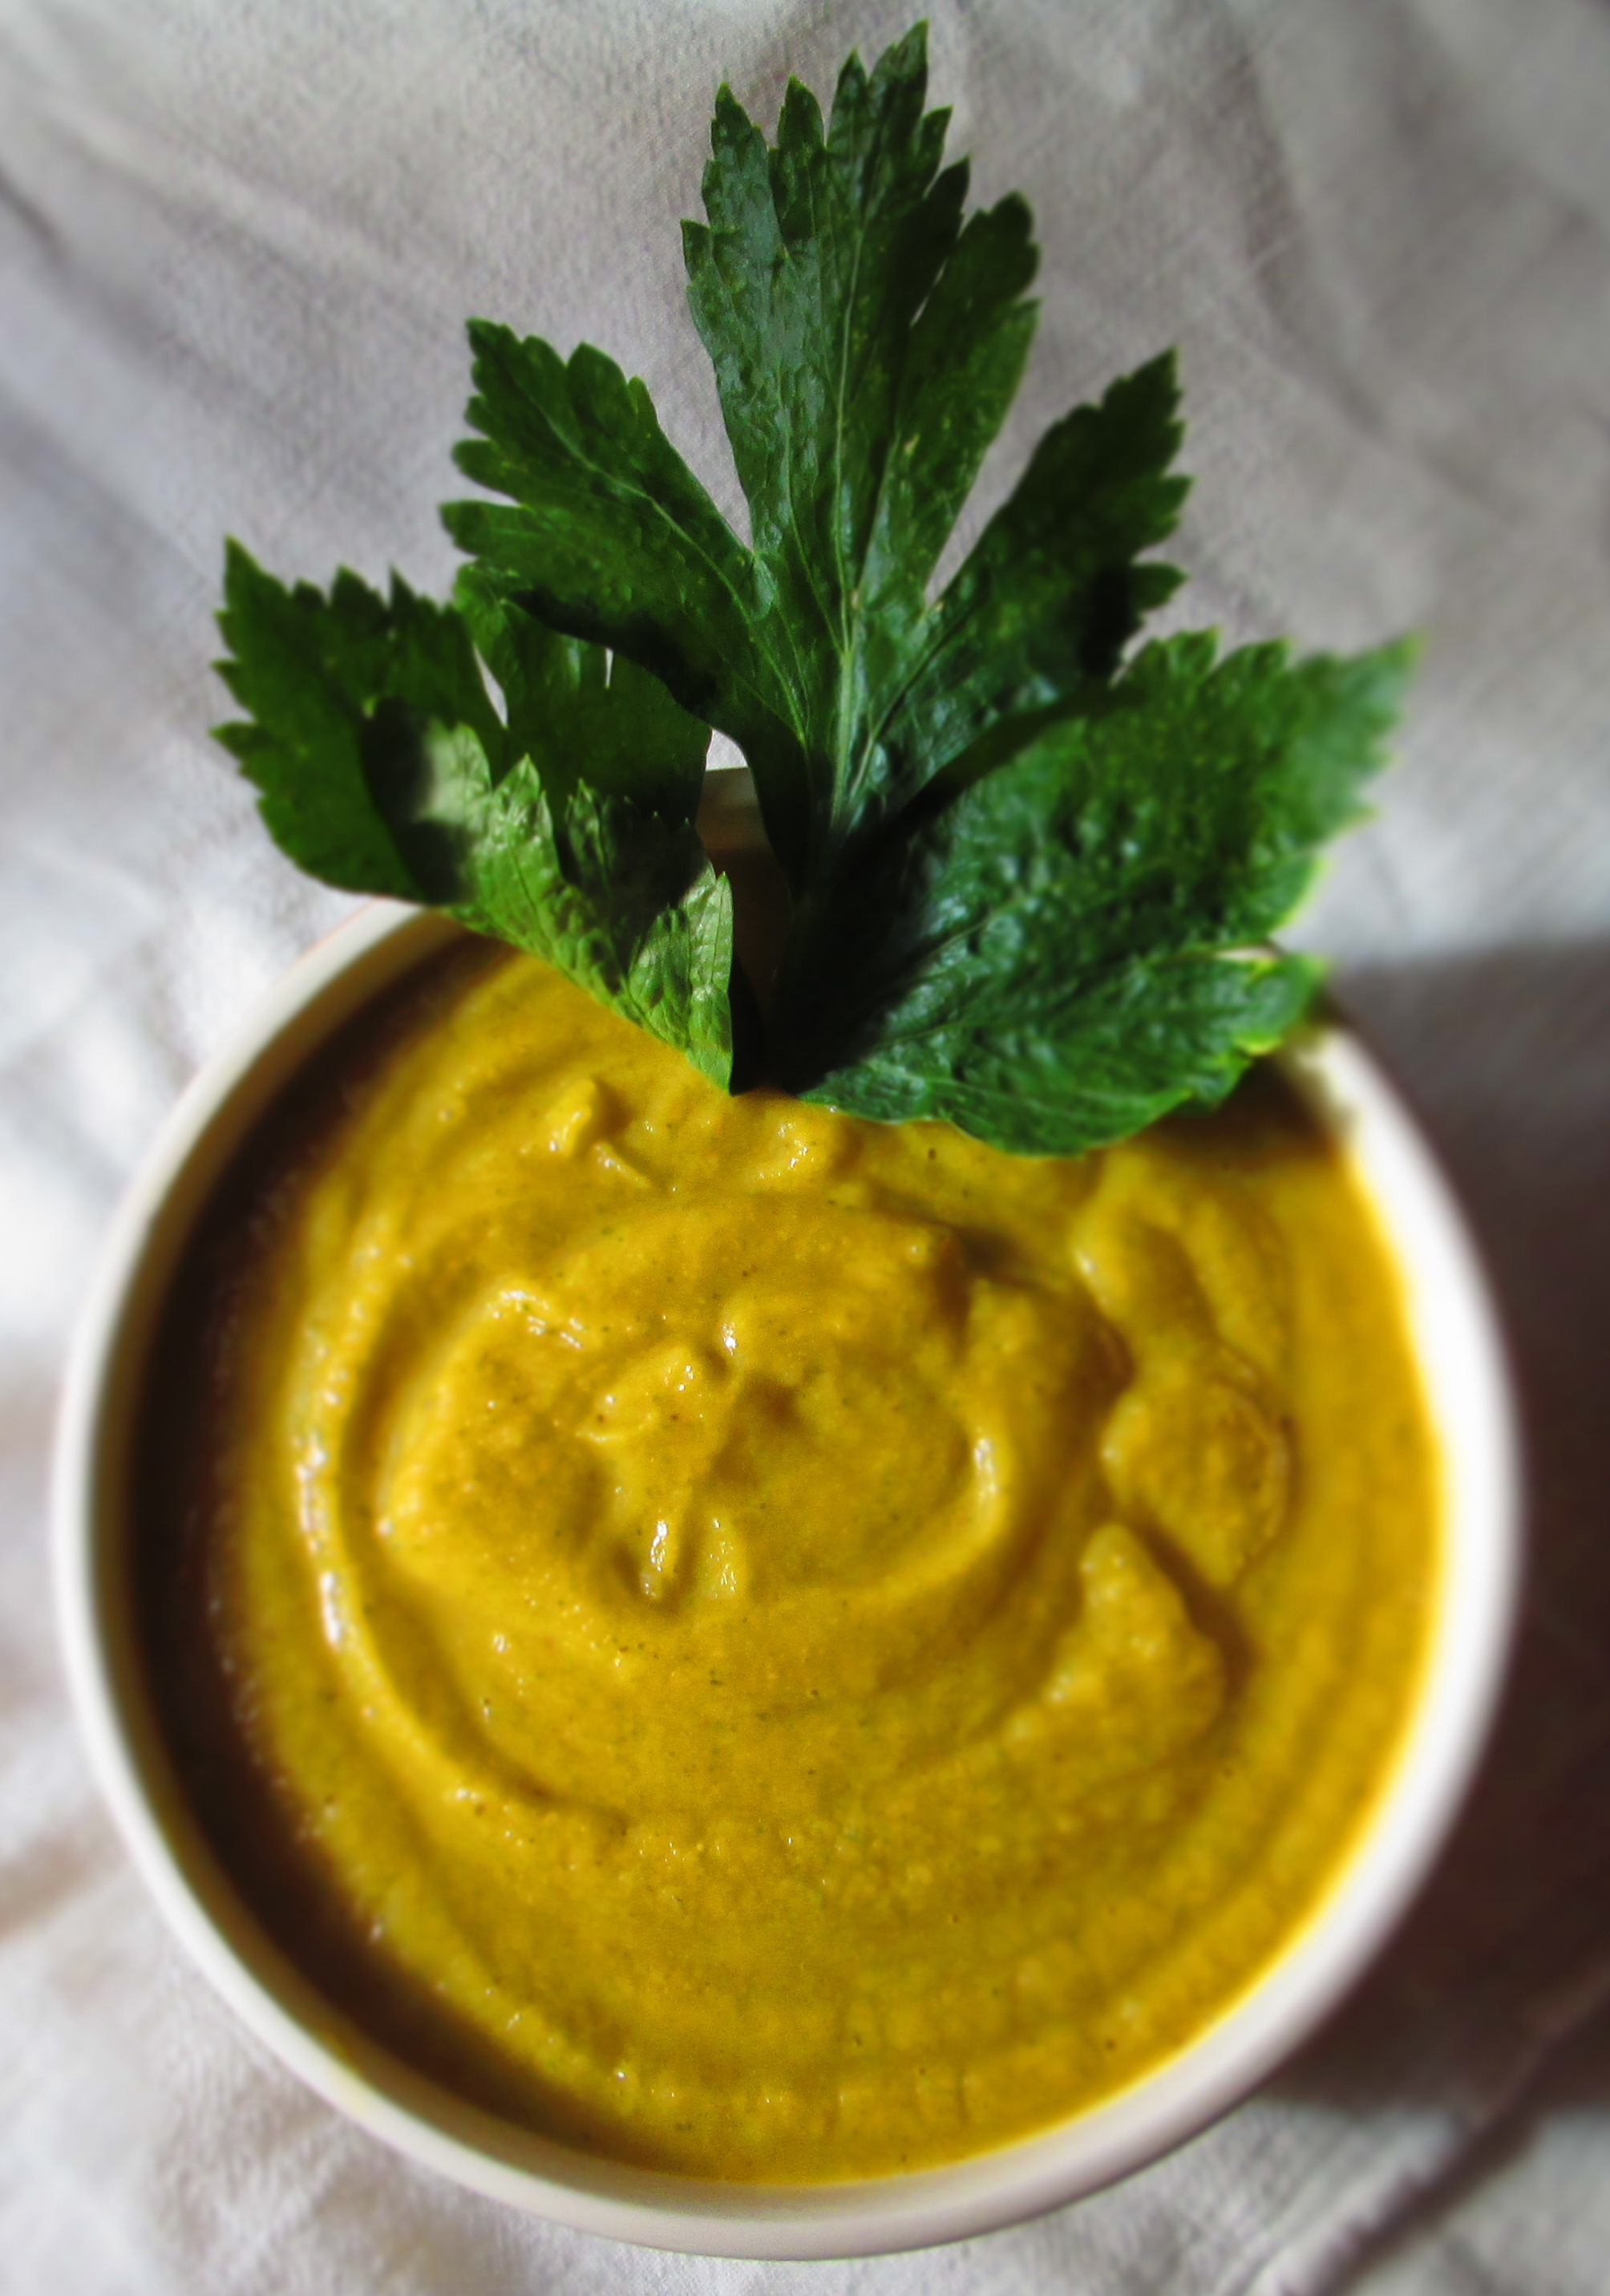
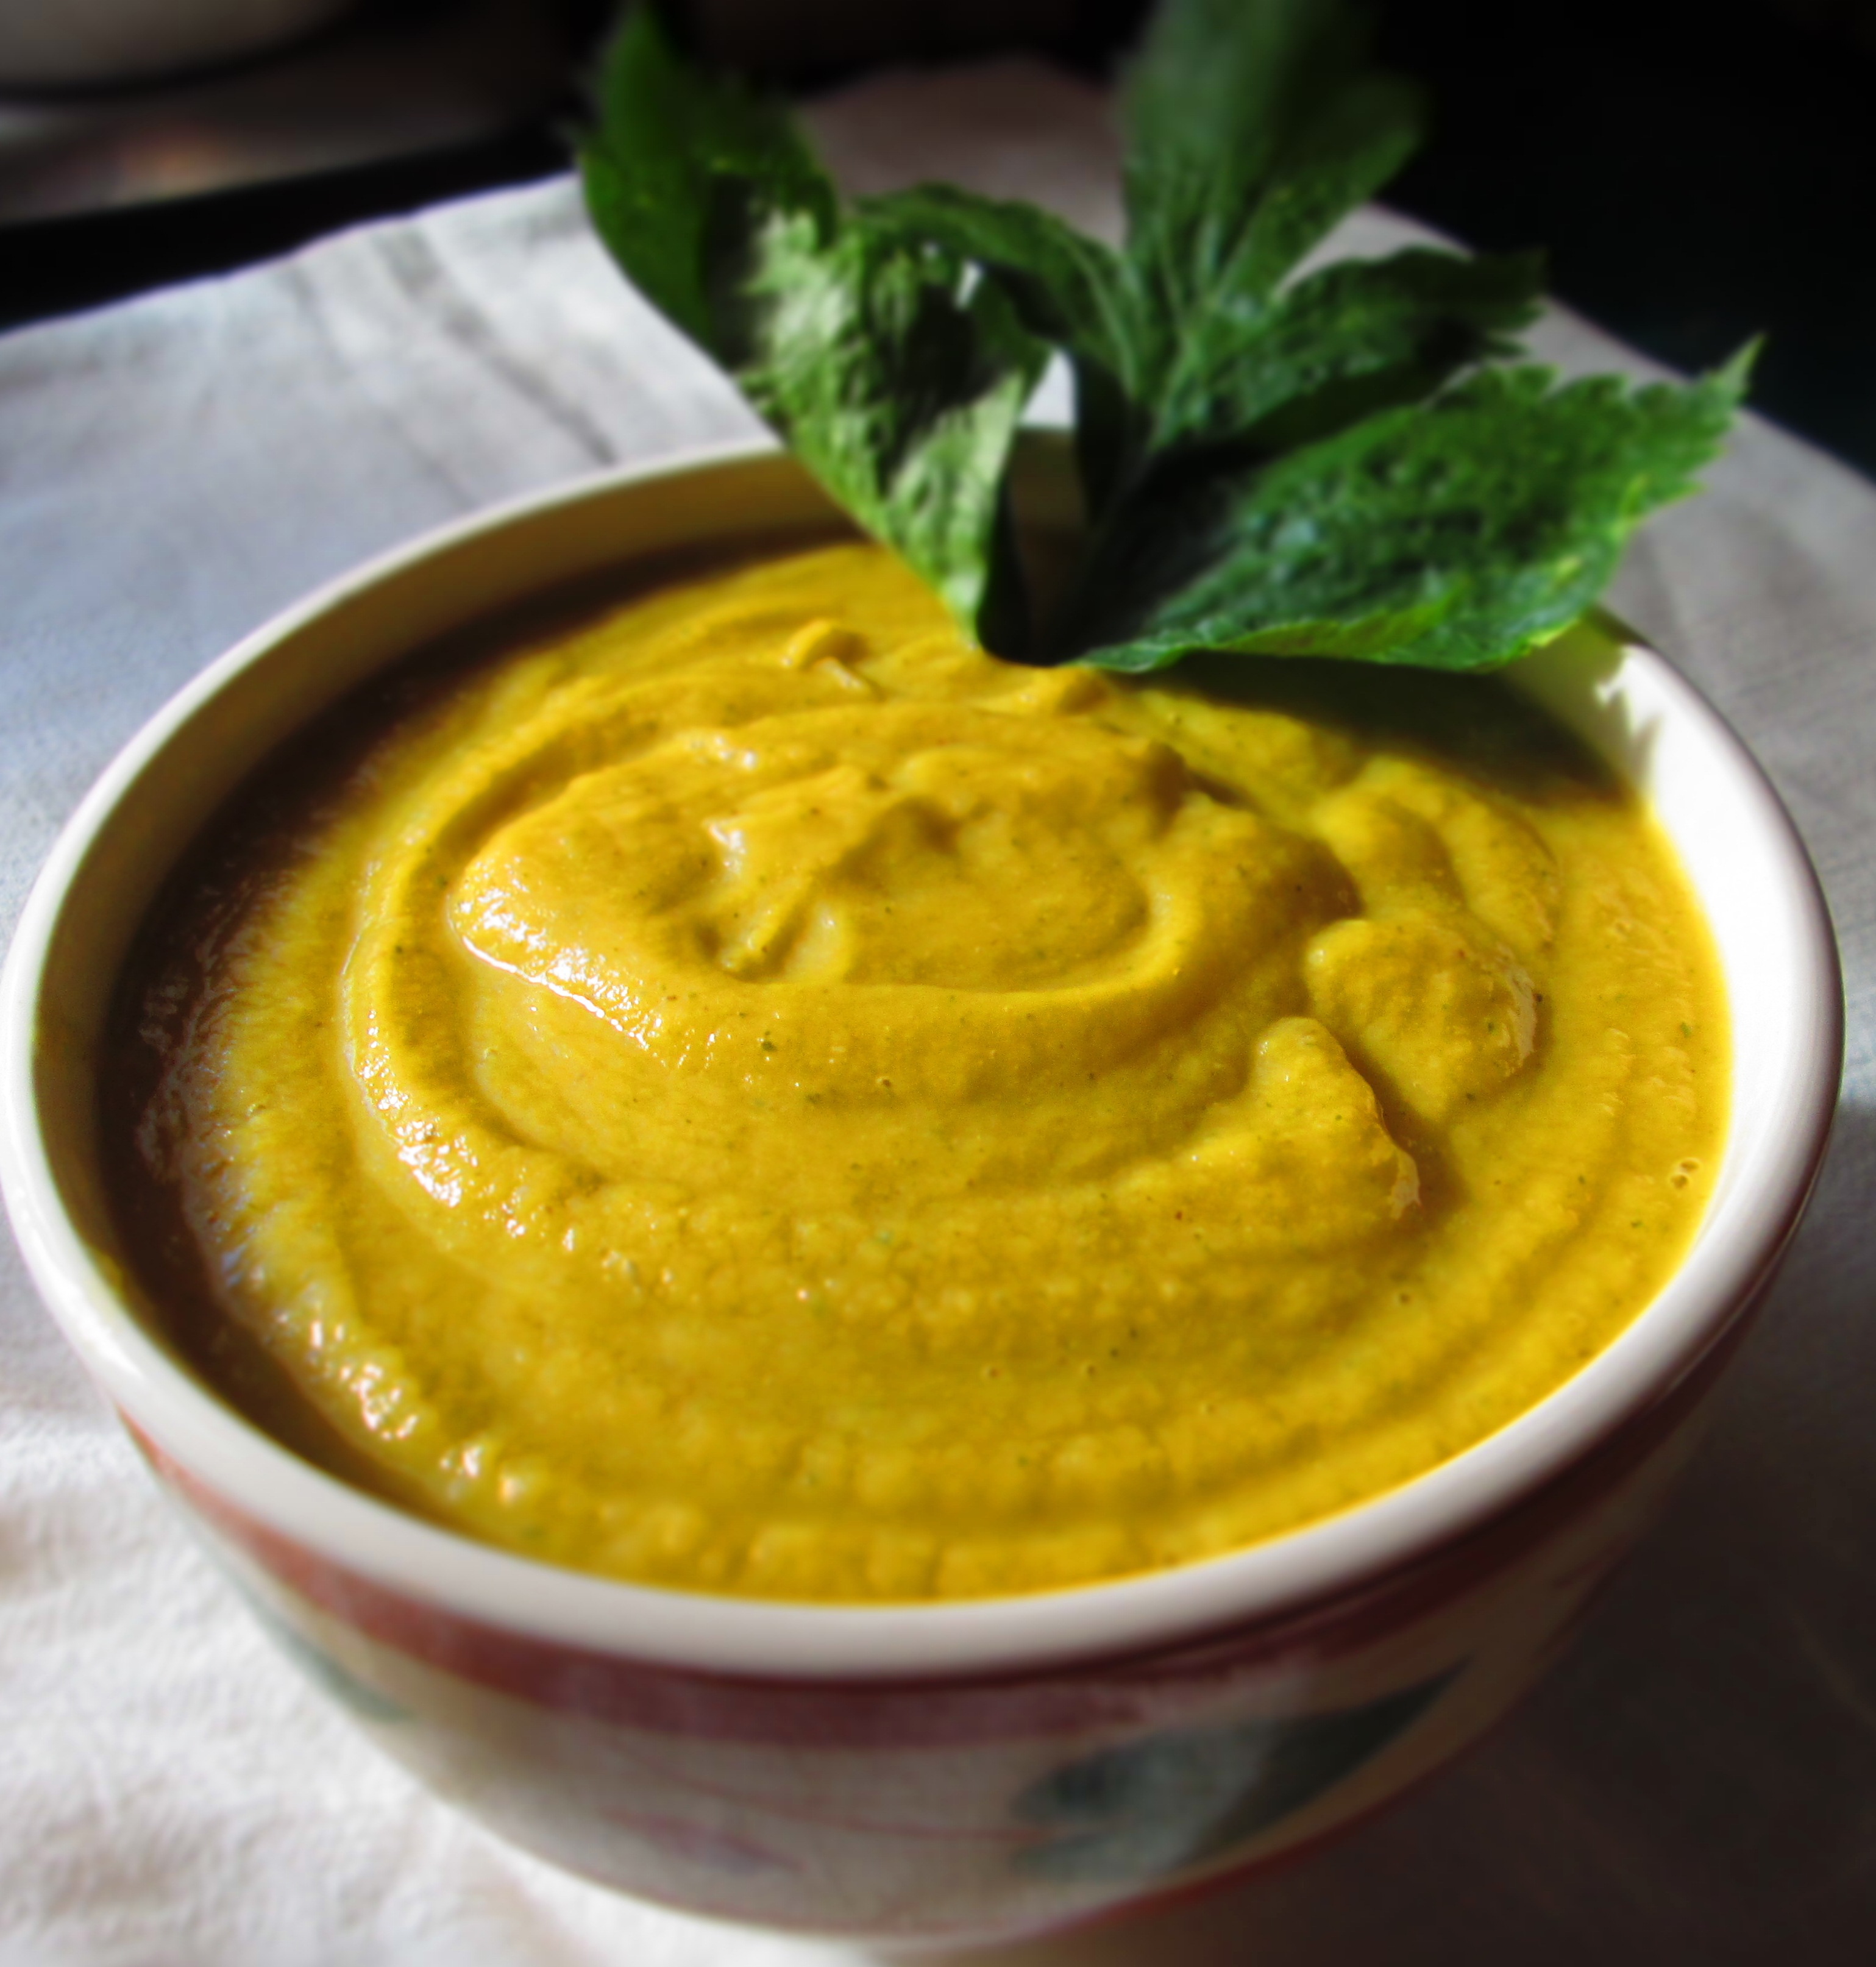
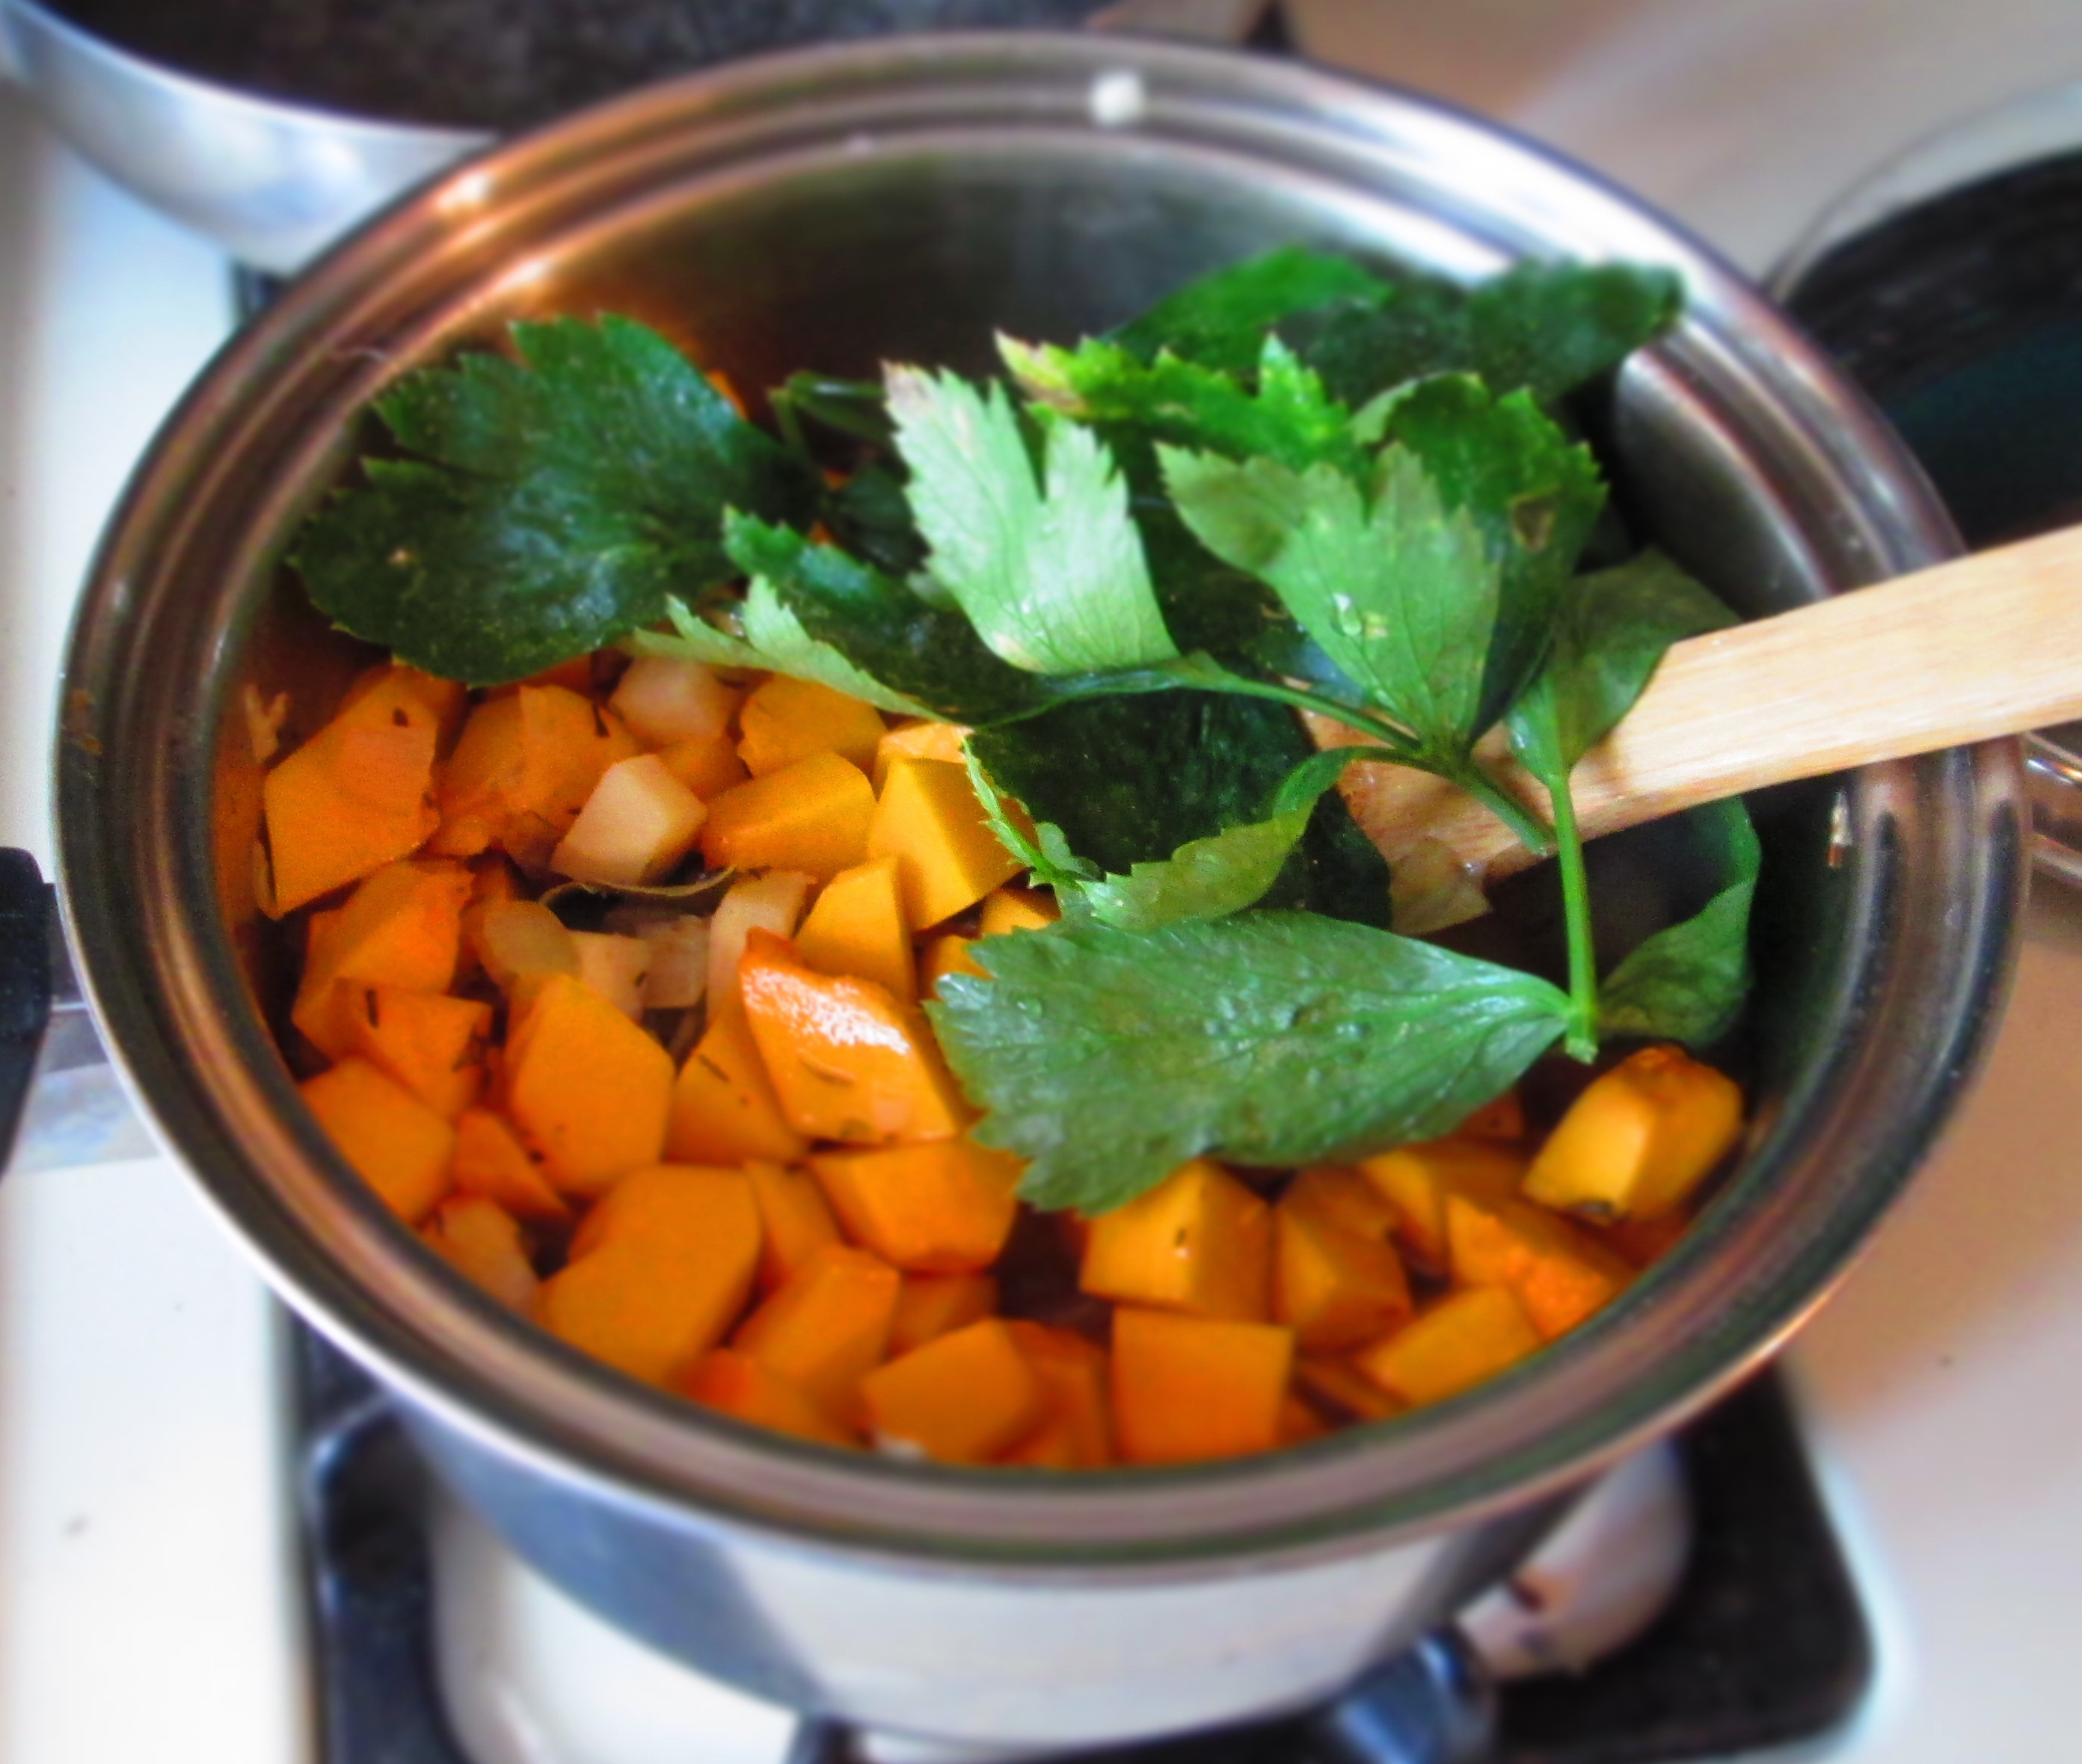
Also growing in my parents’ garden is celery. But it’s a kind of wild celery—in fact, it’s probably lovage, a relative of celery that has big leaves and small, thin stalks. I put some of these leaves into the soup and pureed everything together. It unexpectedly turned my soup green, so it kind of looks like split-pea soup. If I hadn’t done that, I would have ended up with something that looks more like typical butternut squash soup.

Regardless, it’s delicious. The parsnips give the soup an earthy tone, while the squash sweetens it up. It was just what I needed on a brisk autumn day. You can have it with croutons or chopped walnuts or little cooked cubes of butternut.

Give it a try. Enjoy!IMG_5452

Parsnip-Butternut Soup

Makes 4 servings.

1 teaspoon olive oil
1 small onion, chopped
½ teaspoon kosher salt
3 large garlic cloves, coarsely chopped
1 bay leaf
1 teaspoon dried spices (see instructions)
1 teaspoon garlic salt
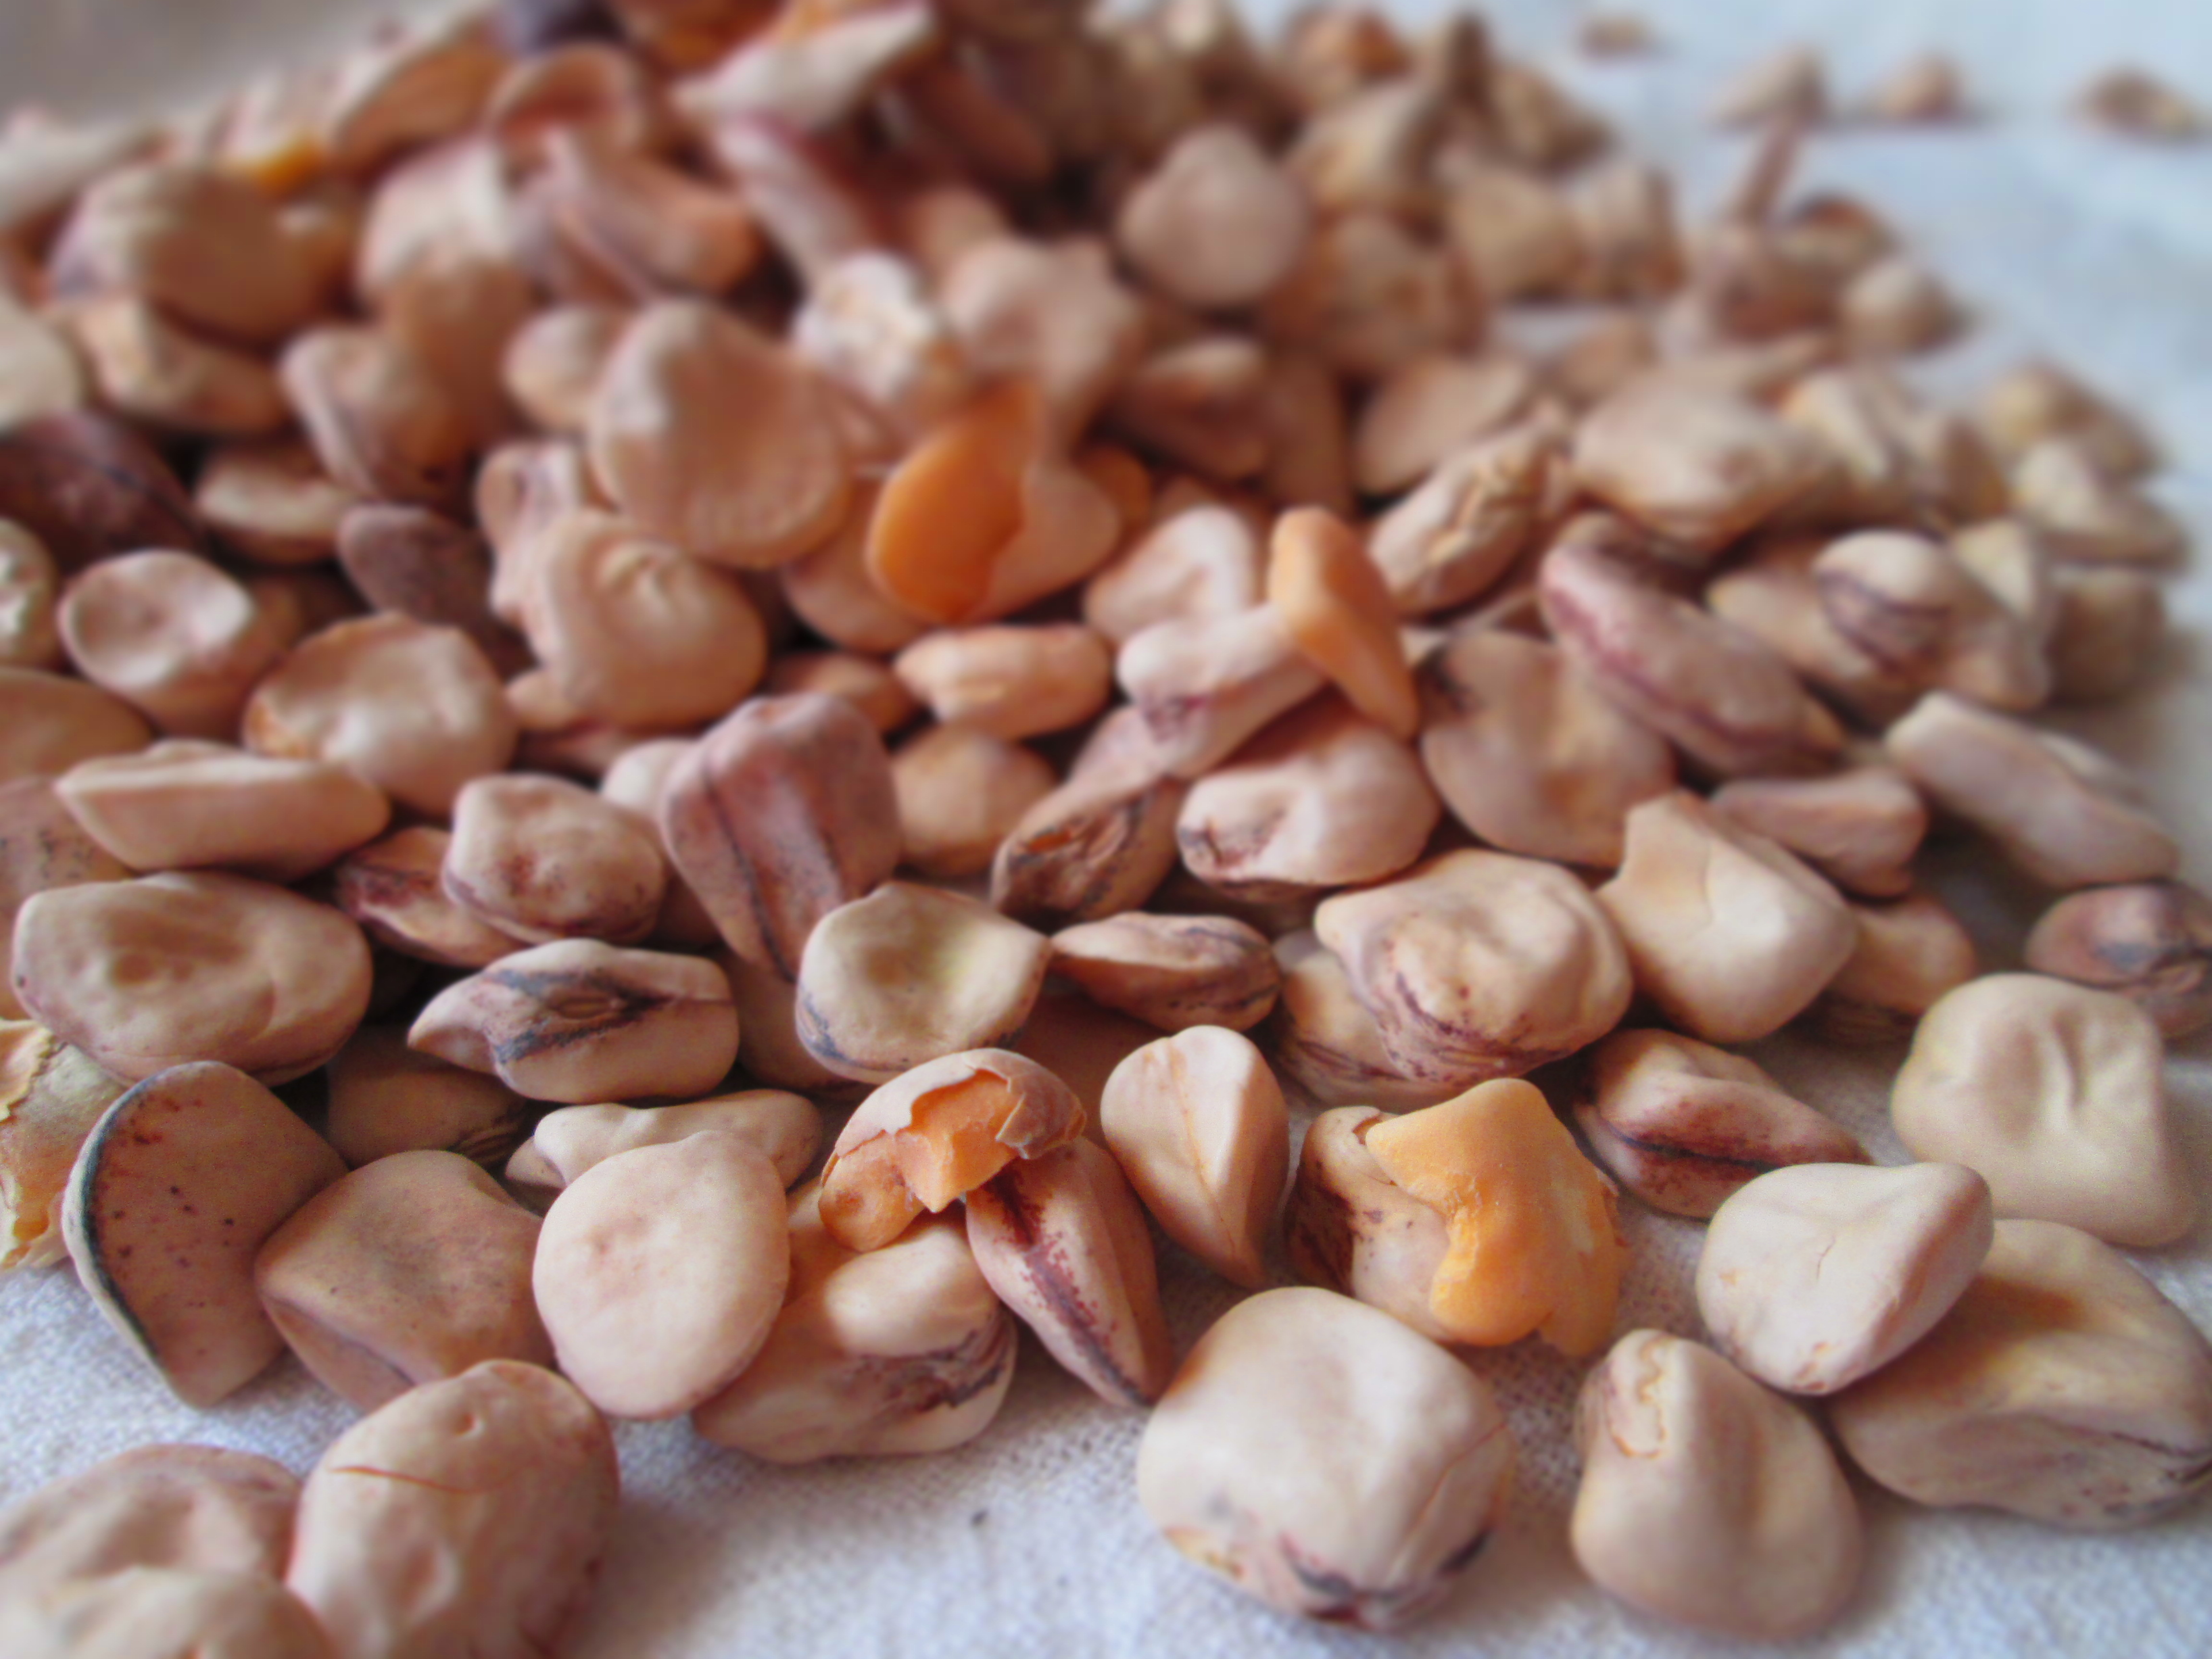
2 cups cut-up parsnip (from 1 large parsnip)
2 cups vegetable broth
2 cups cut-up butternut squash (from 1 small squash)
Fresh herbs, if available
Black pepper to taste

Heat the olive oil in a medium saucepan. Add the onion and salt and cook until translucent.IMG_5454
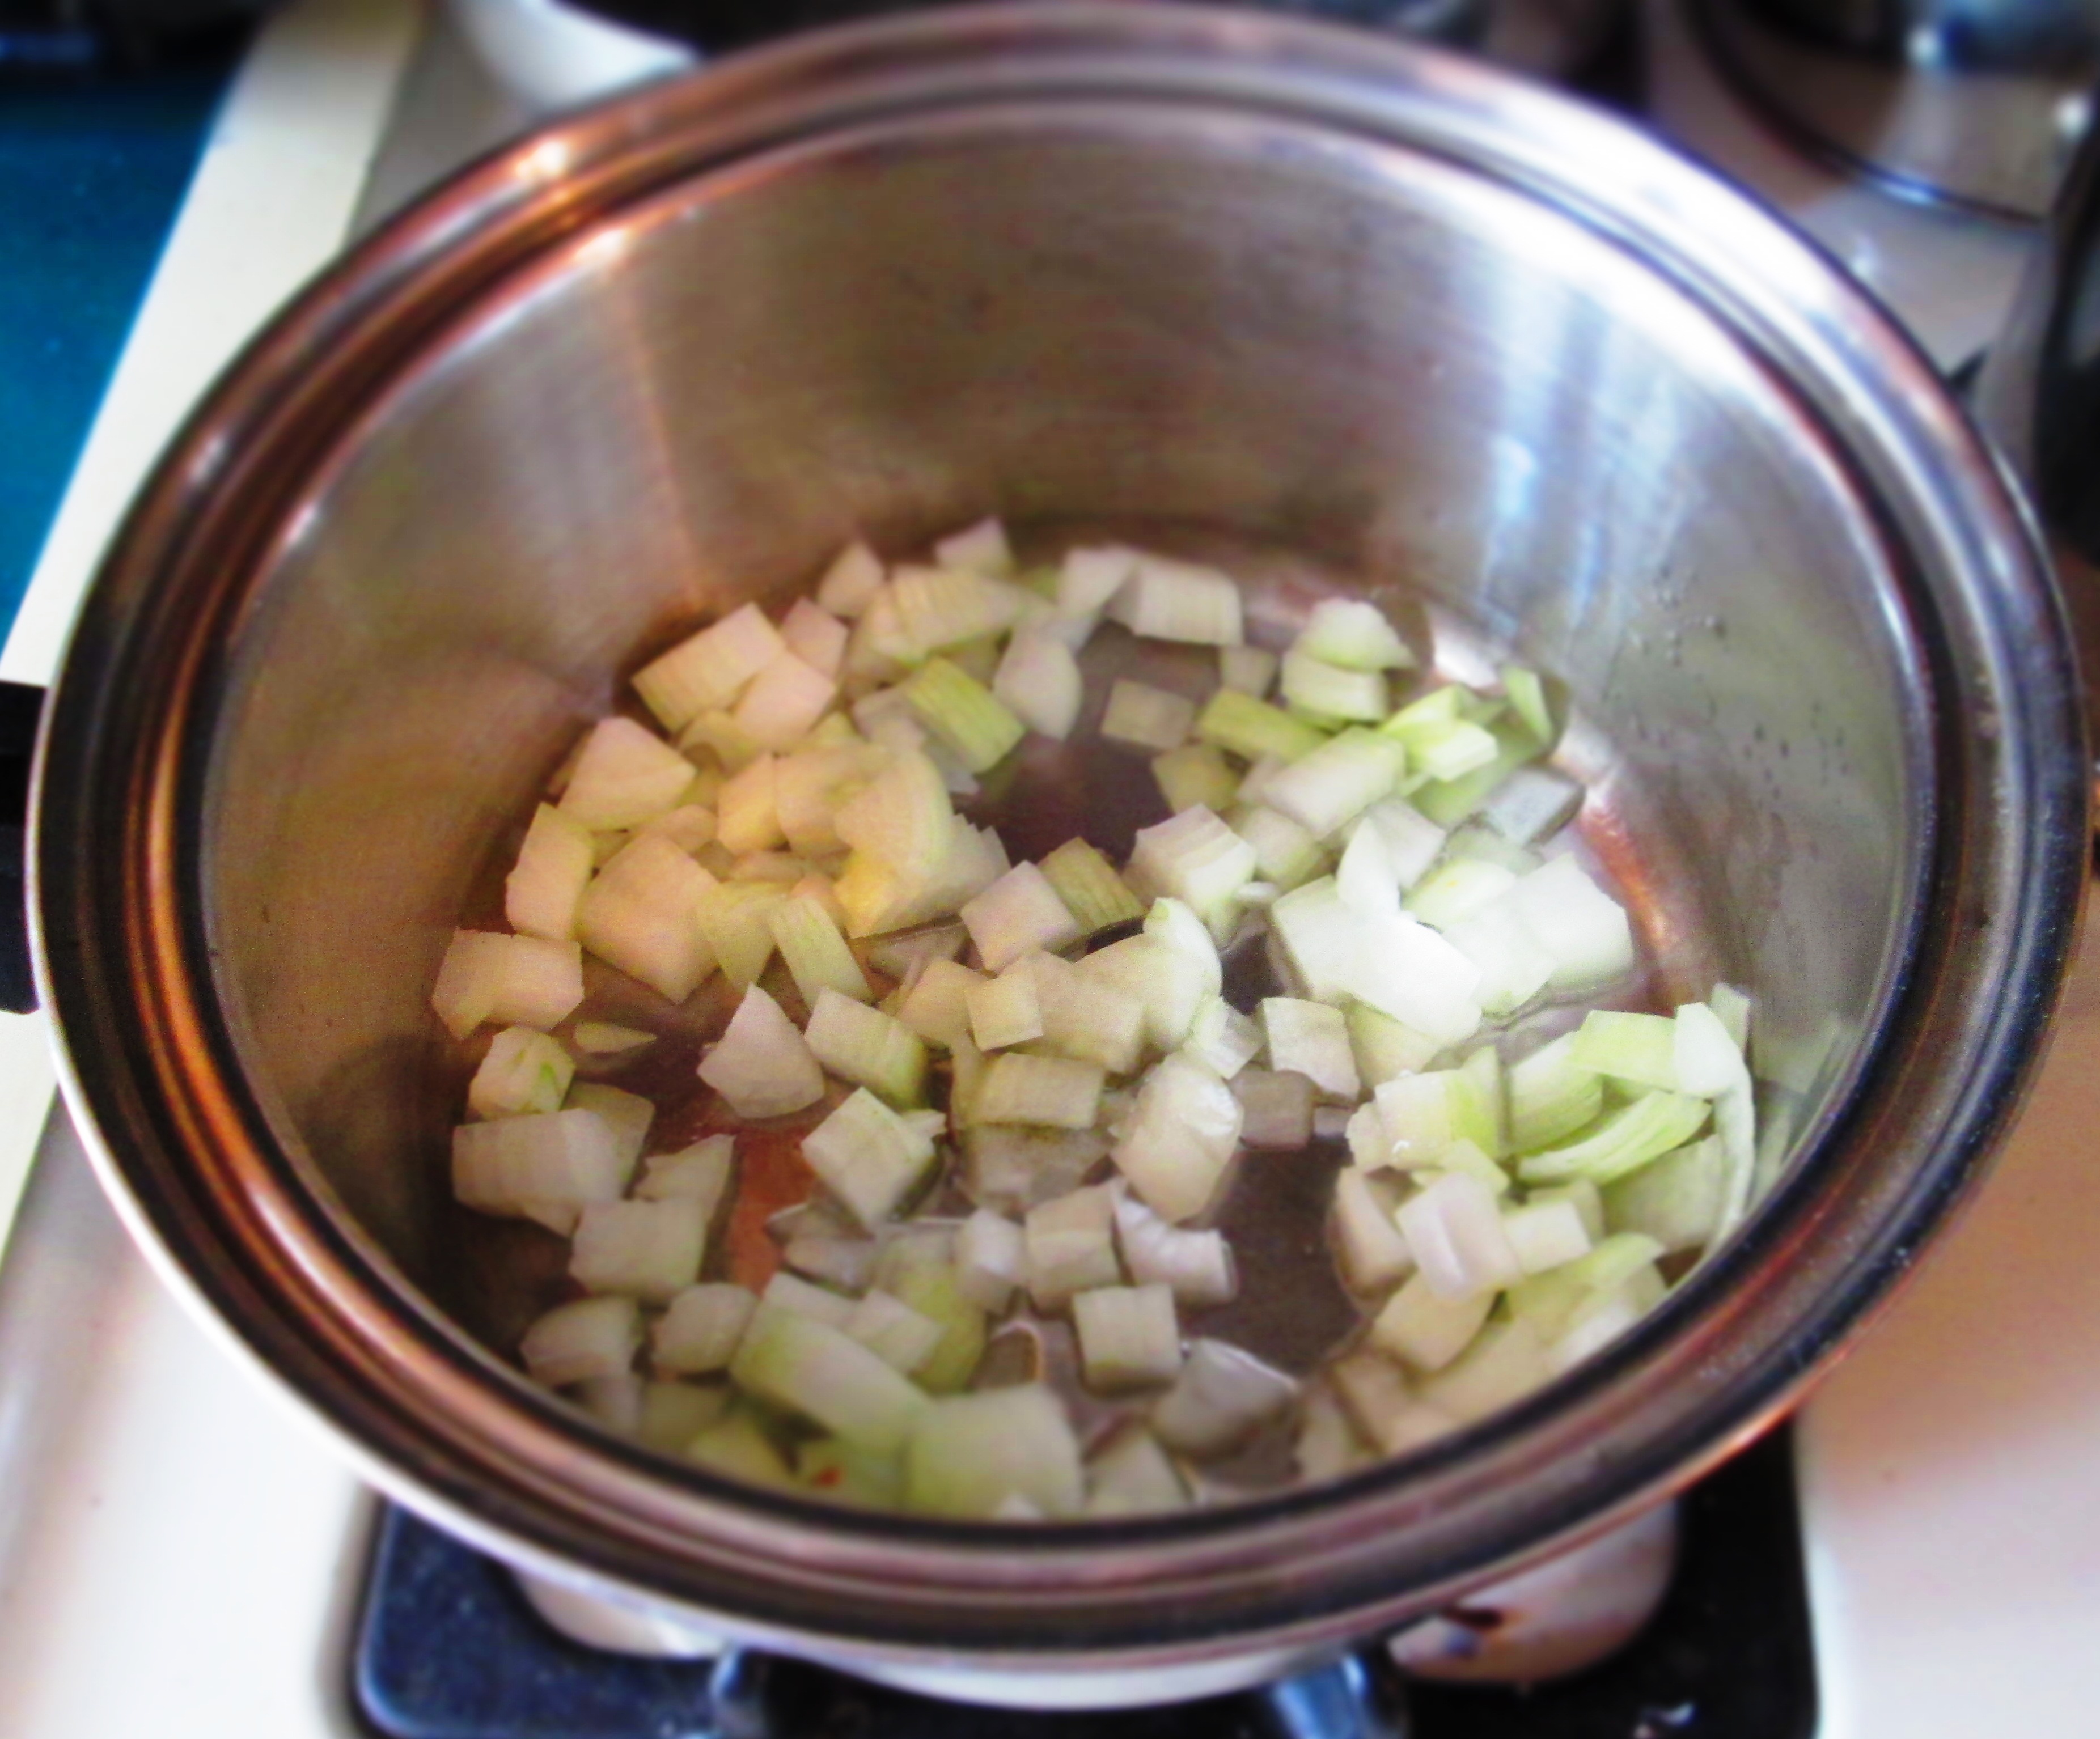
Add the garlic, bay leaf, dried spices (I used 1/2 teaspoon each thyme and savory), and garlic salt. Stir and continue cooking another 2 minutes.IMG_5455
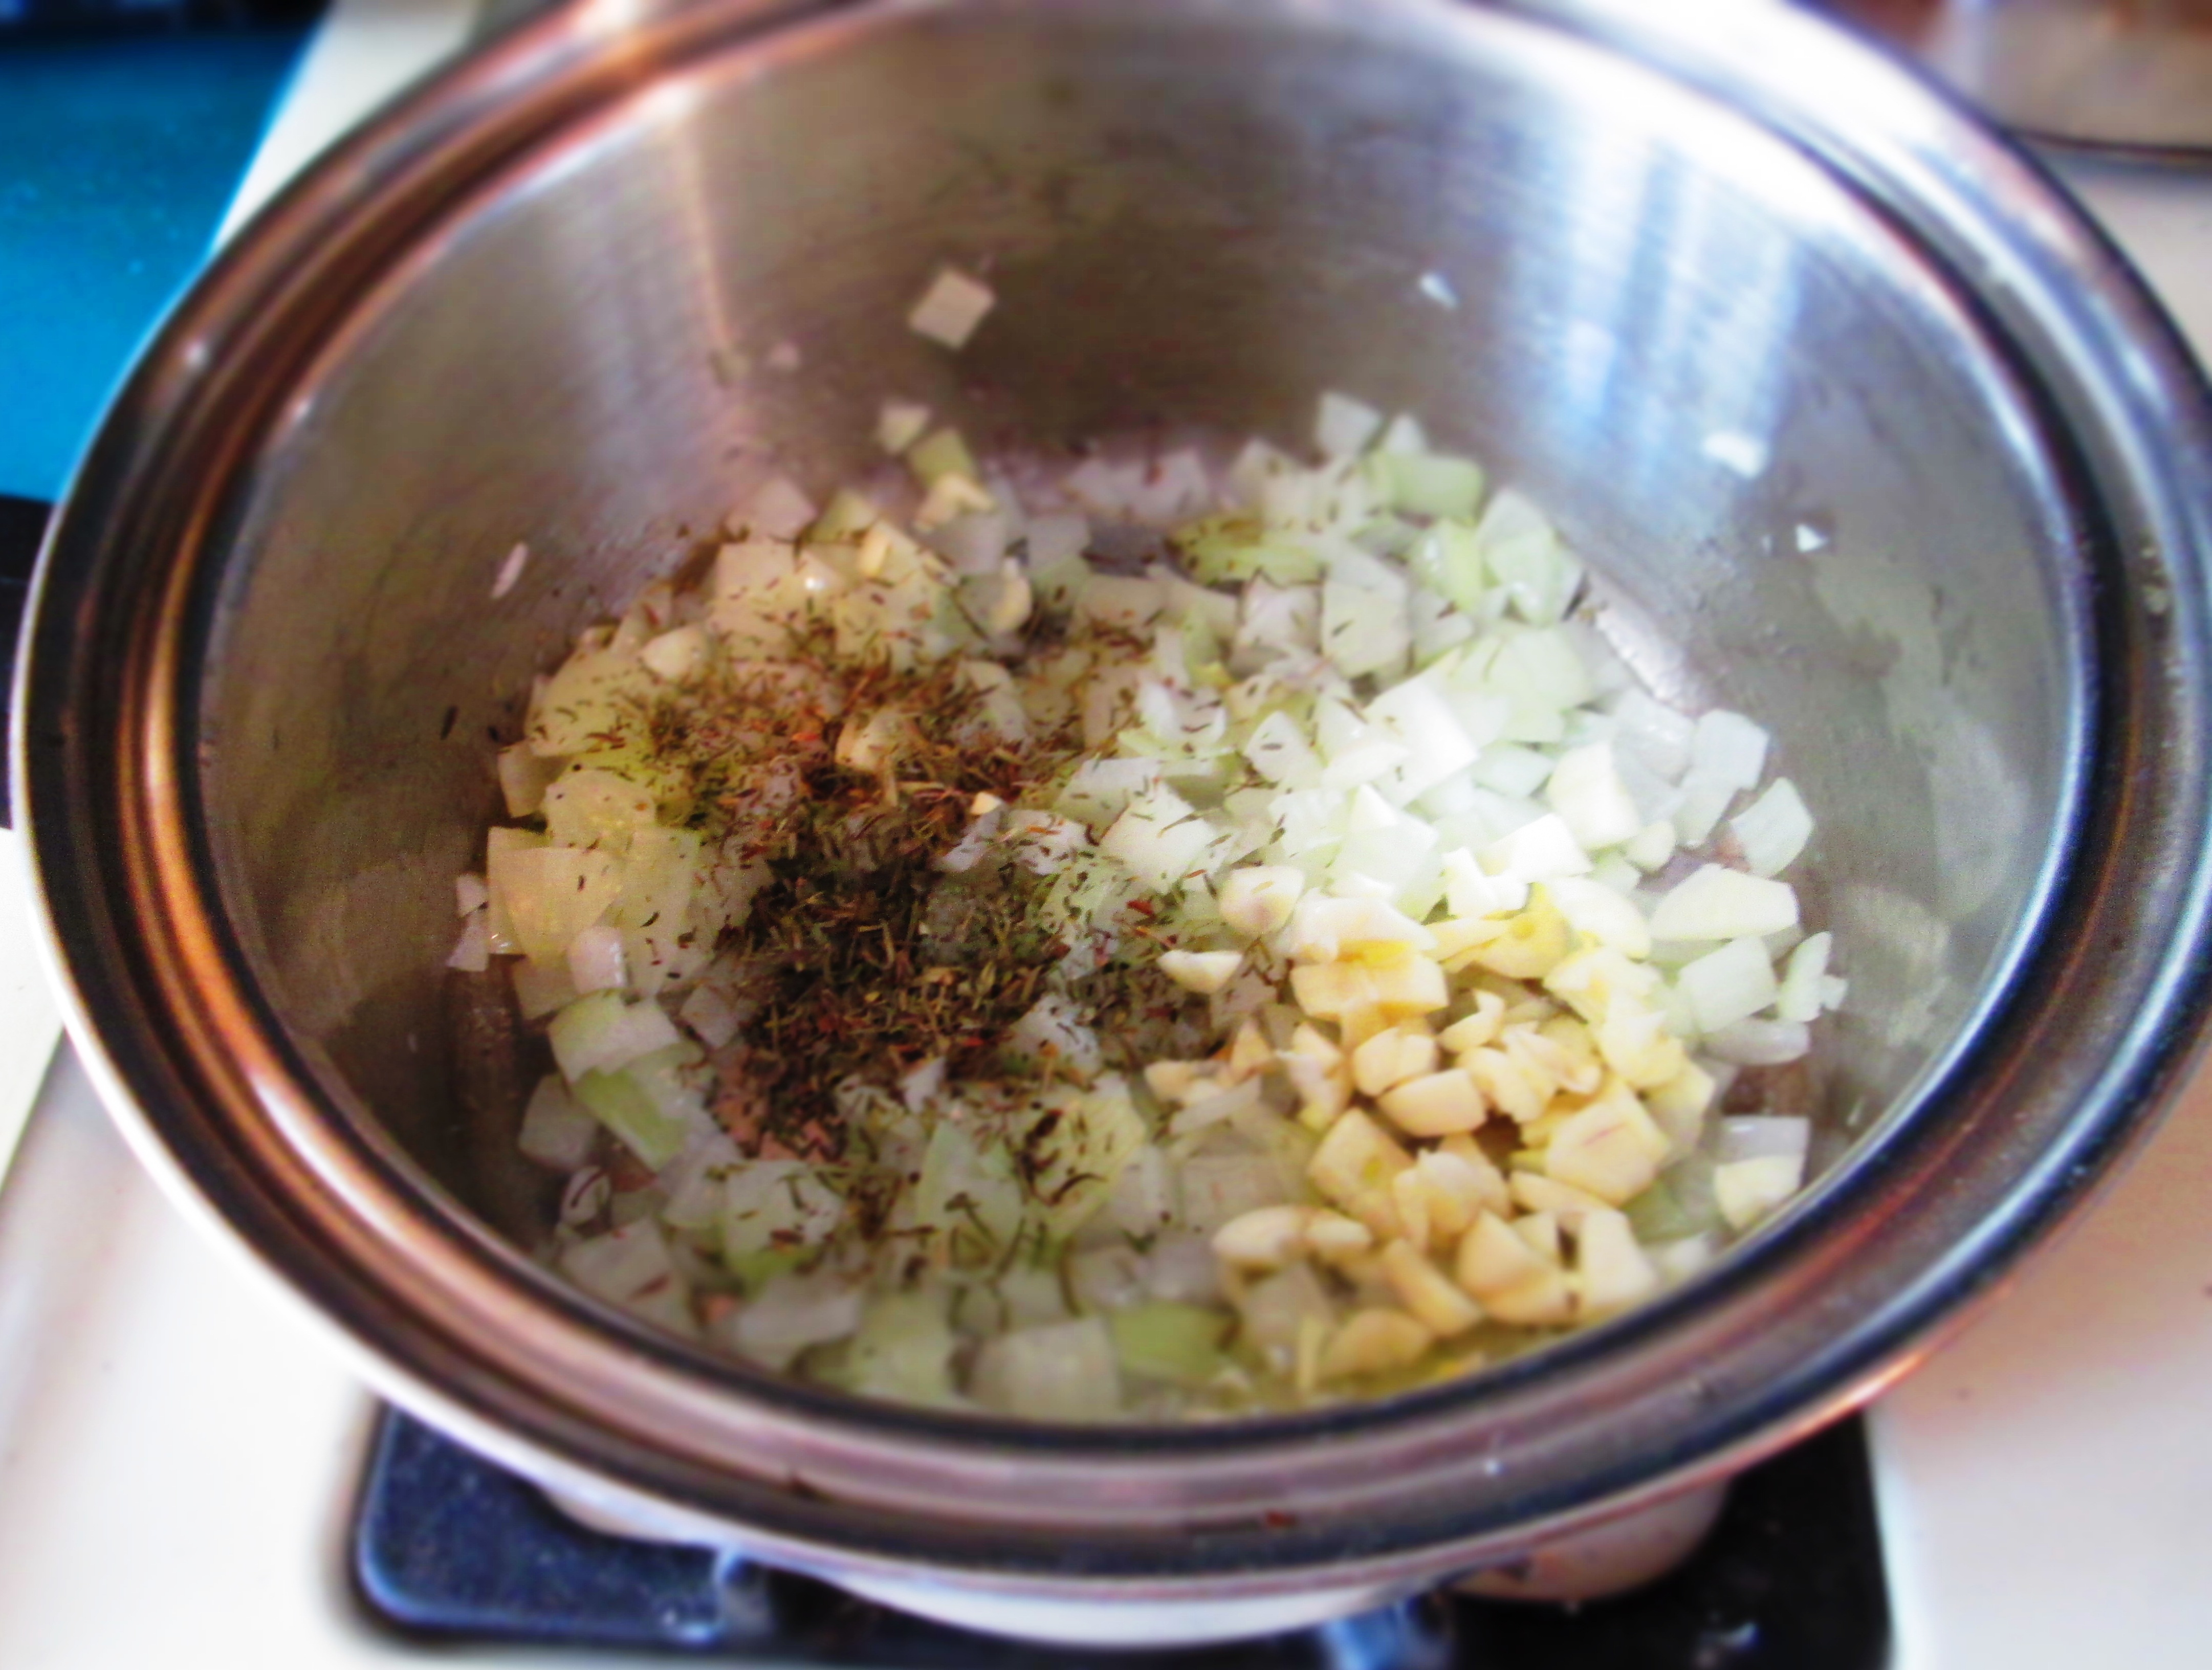
Add parsnips and saute, stirring often, until parsnips starts browning.IMG_5456IMG_5457
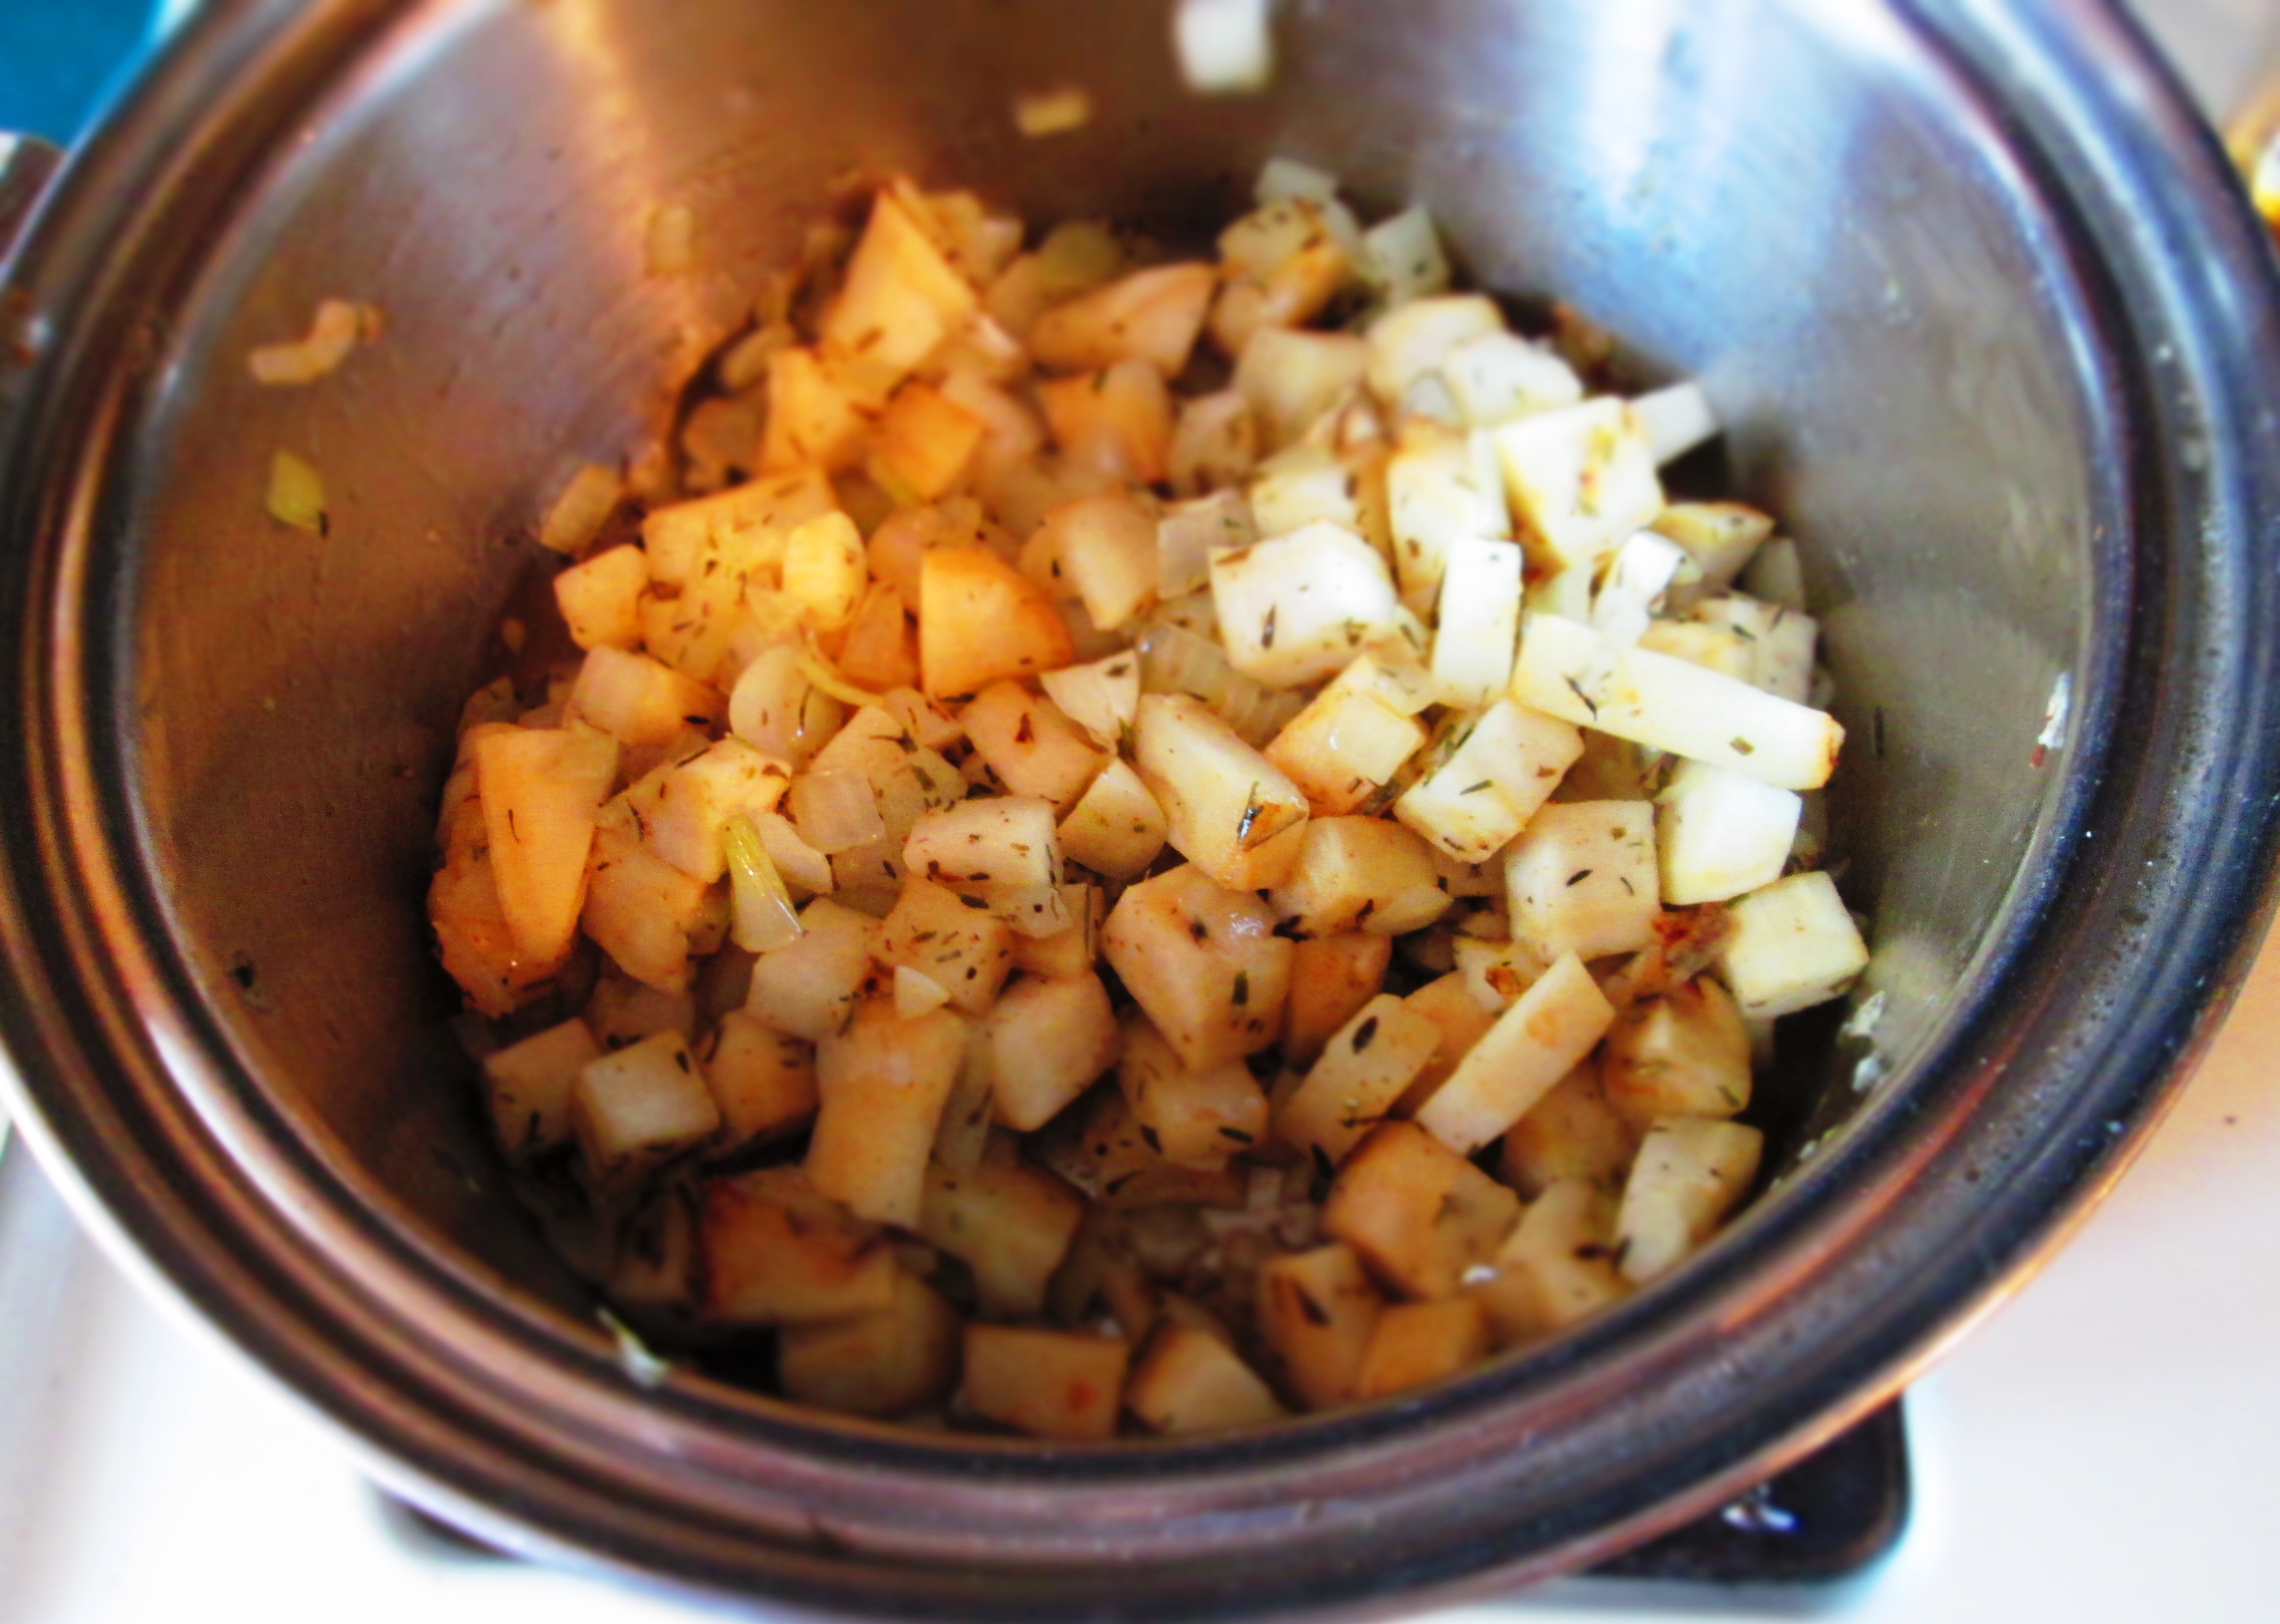
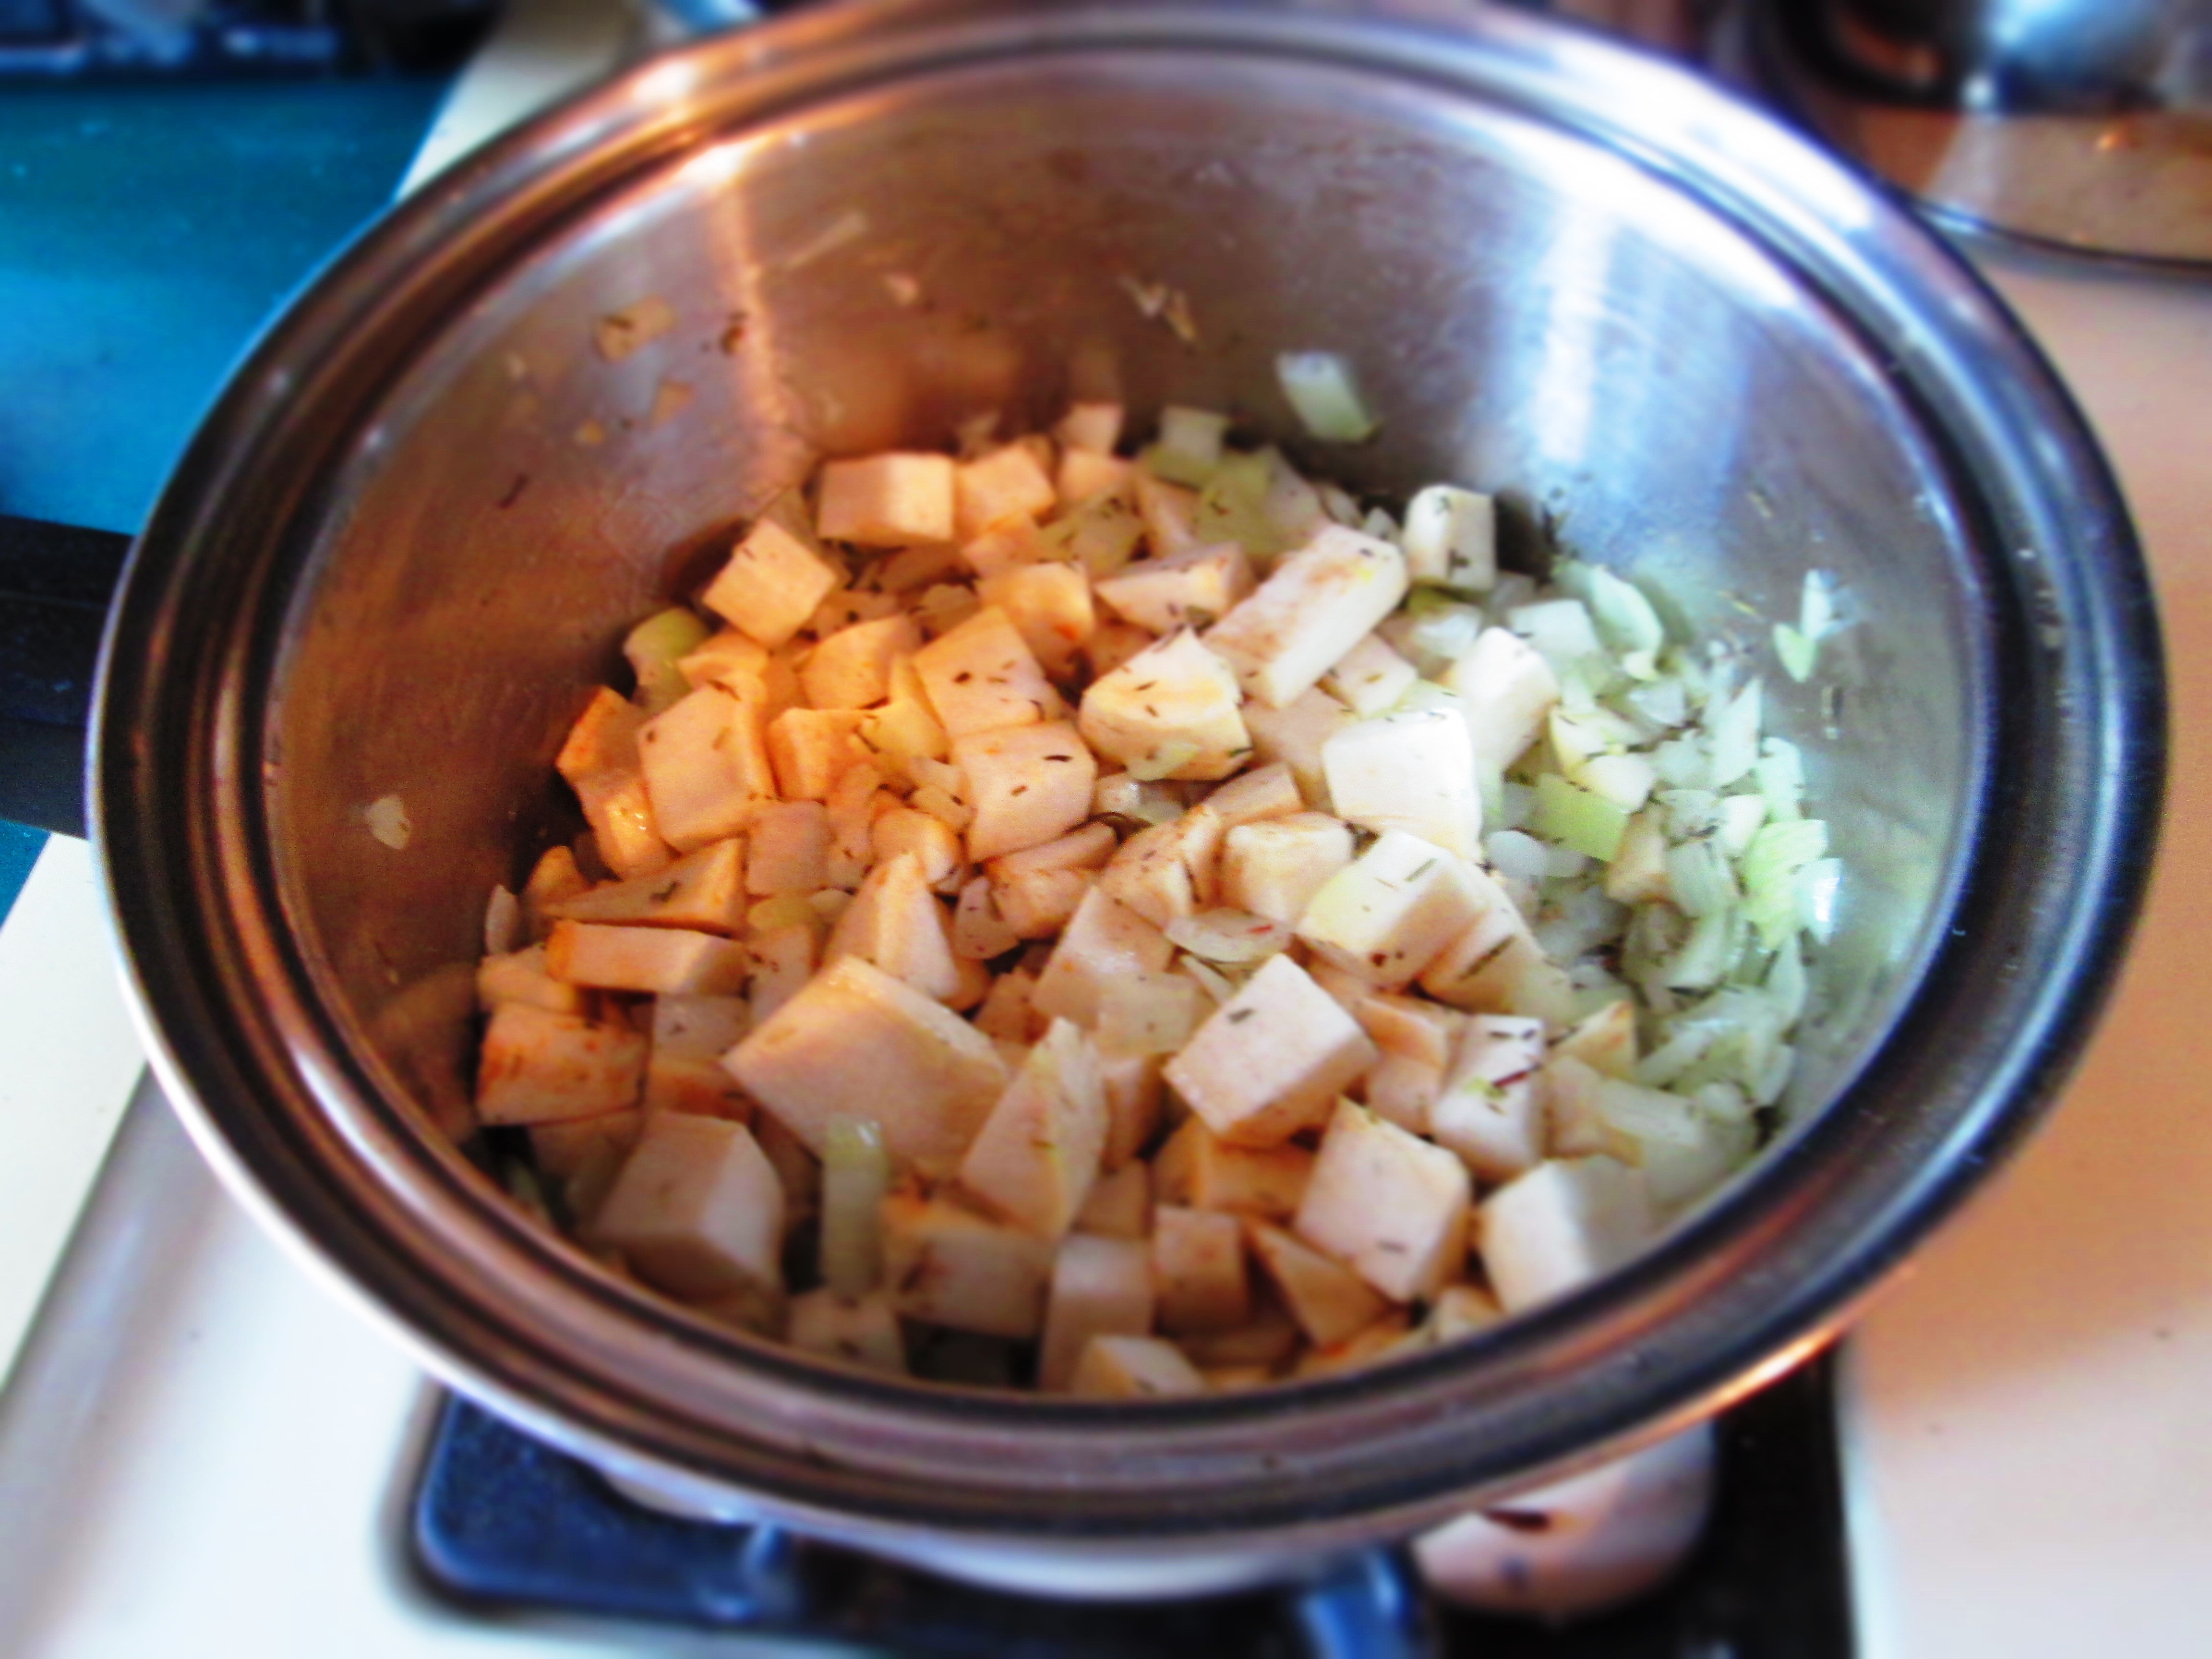
Add broth. Bring to a boil.IMG_5458Add squash and any fresh herbs you want. Lower the heat and simmer, partially covered, until the vegetables are tender when pierced with a knife. Add black pepper.IMG_5460IMG_5461
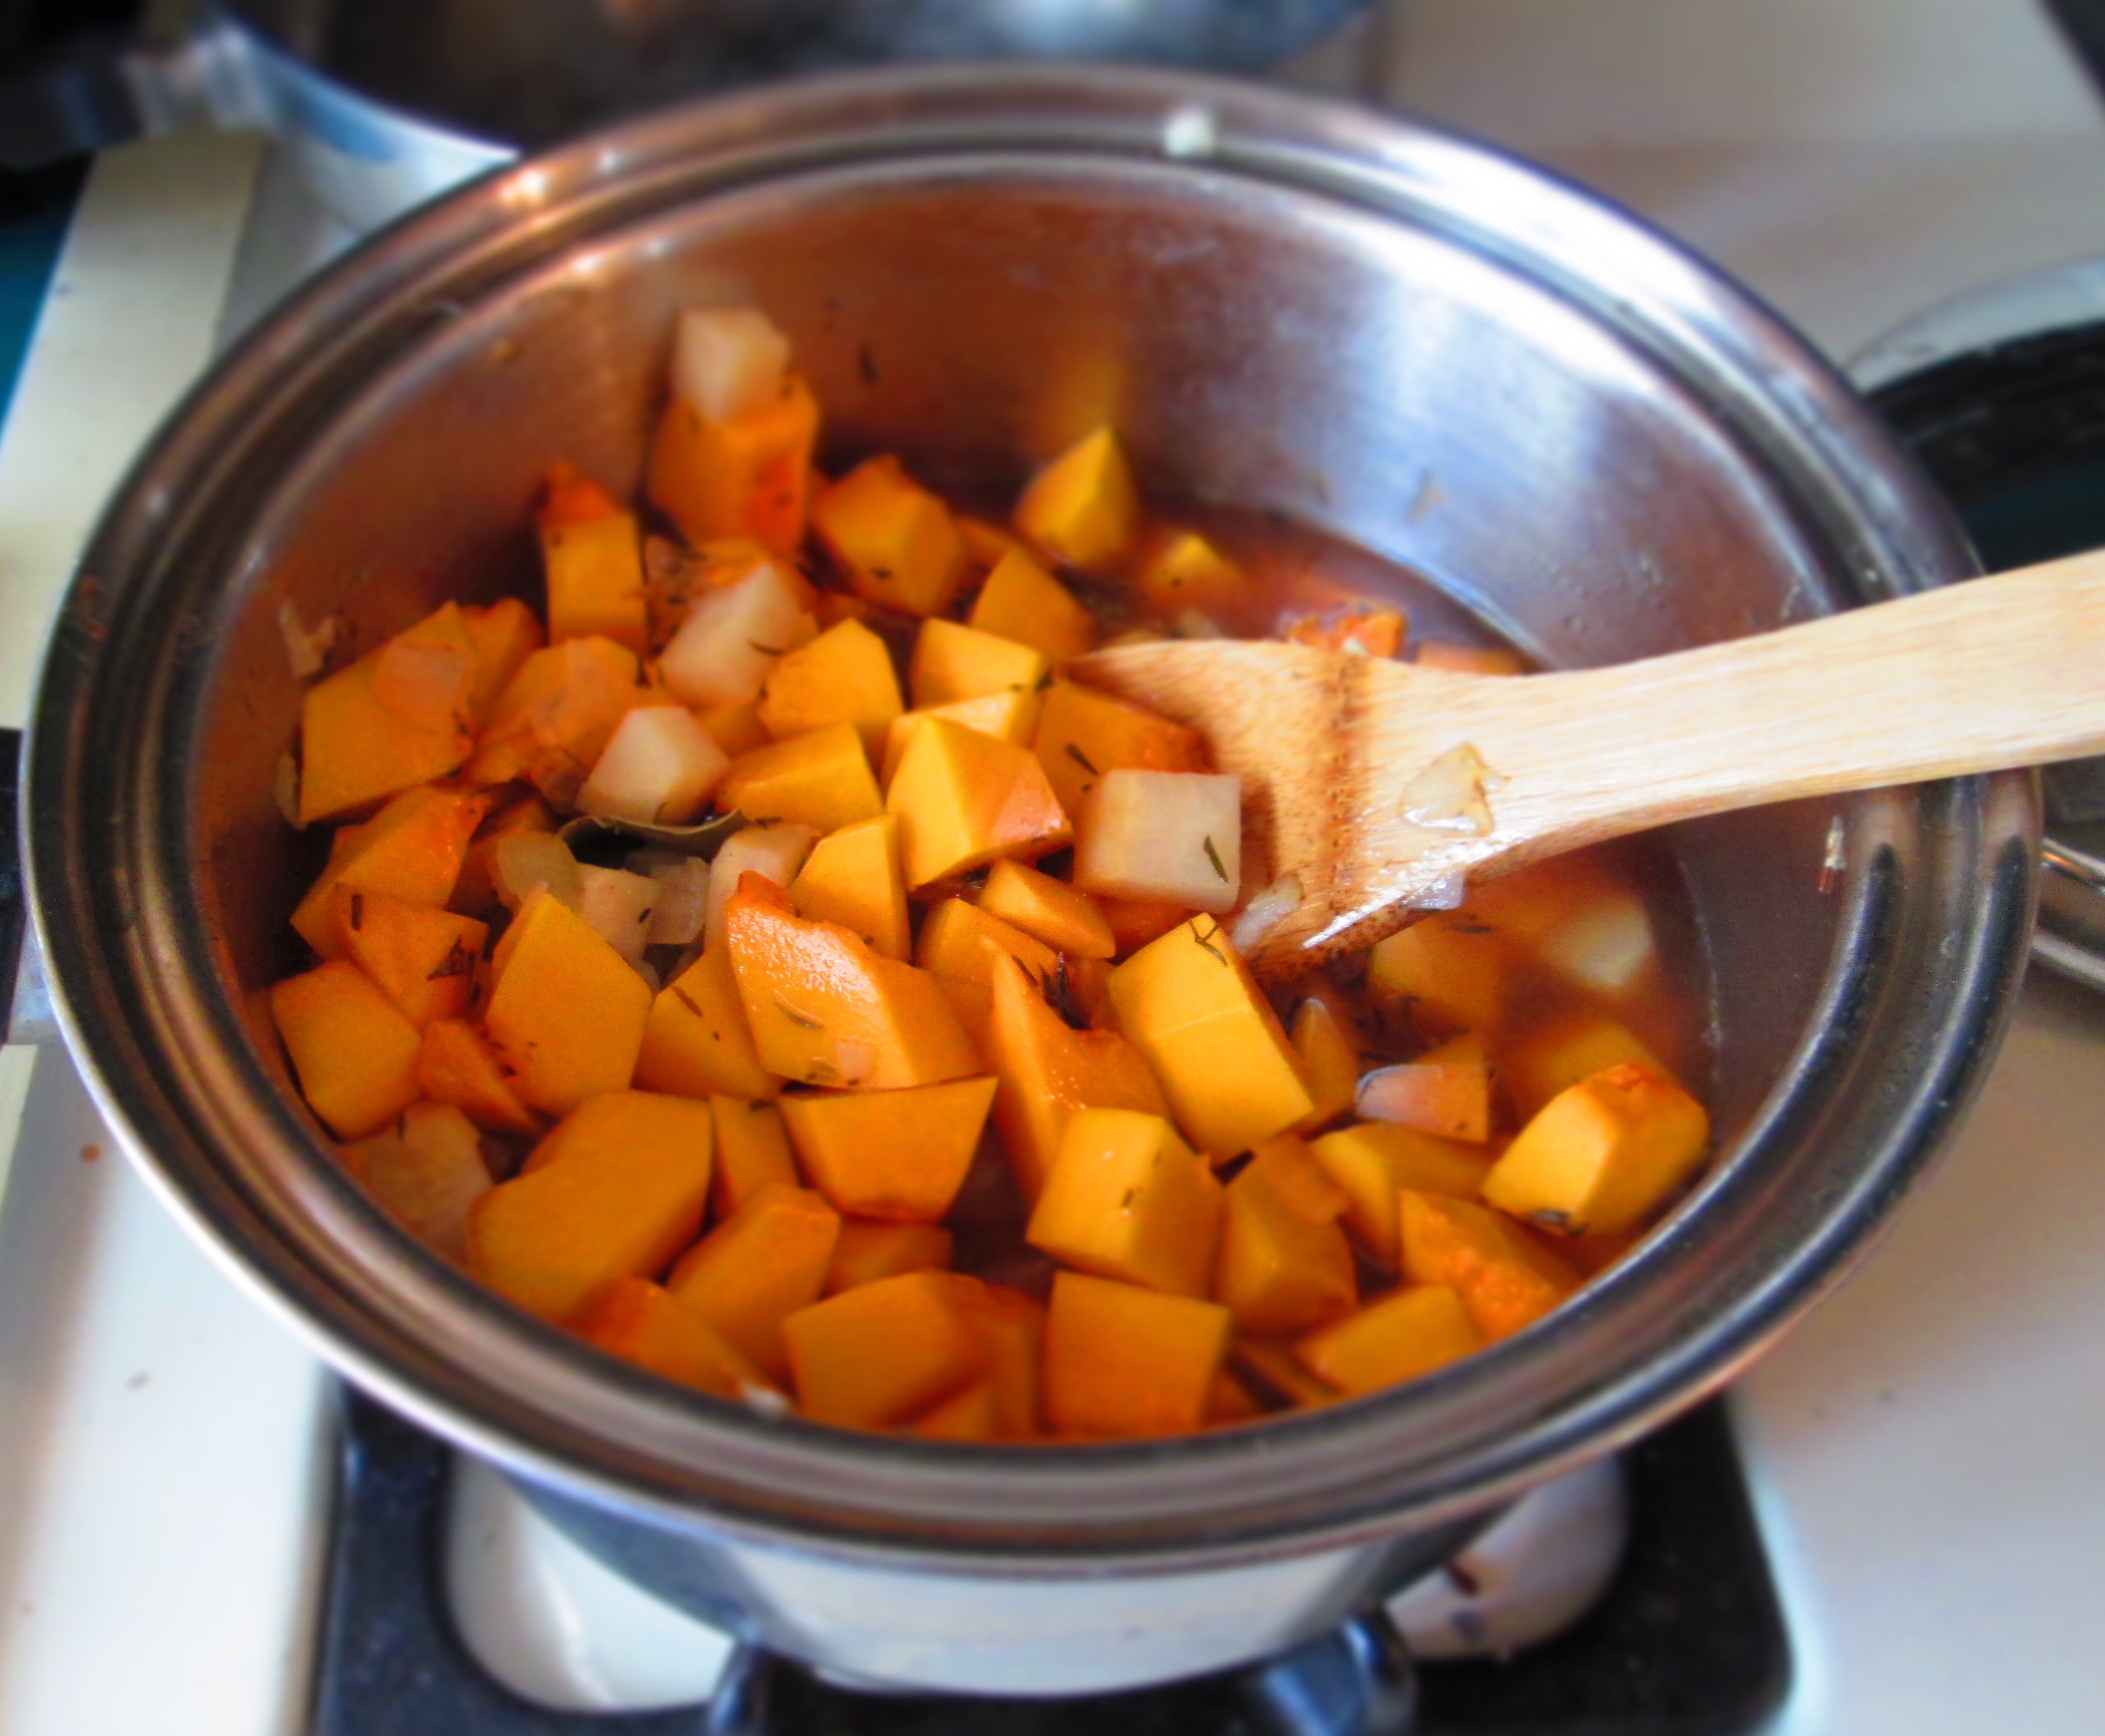
Transfer to a blender and puree. Taste for seasoning and adjust if needed.
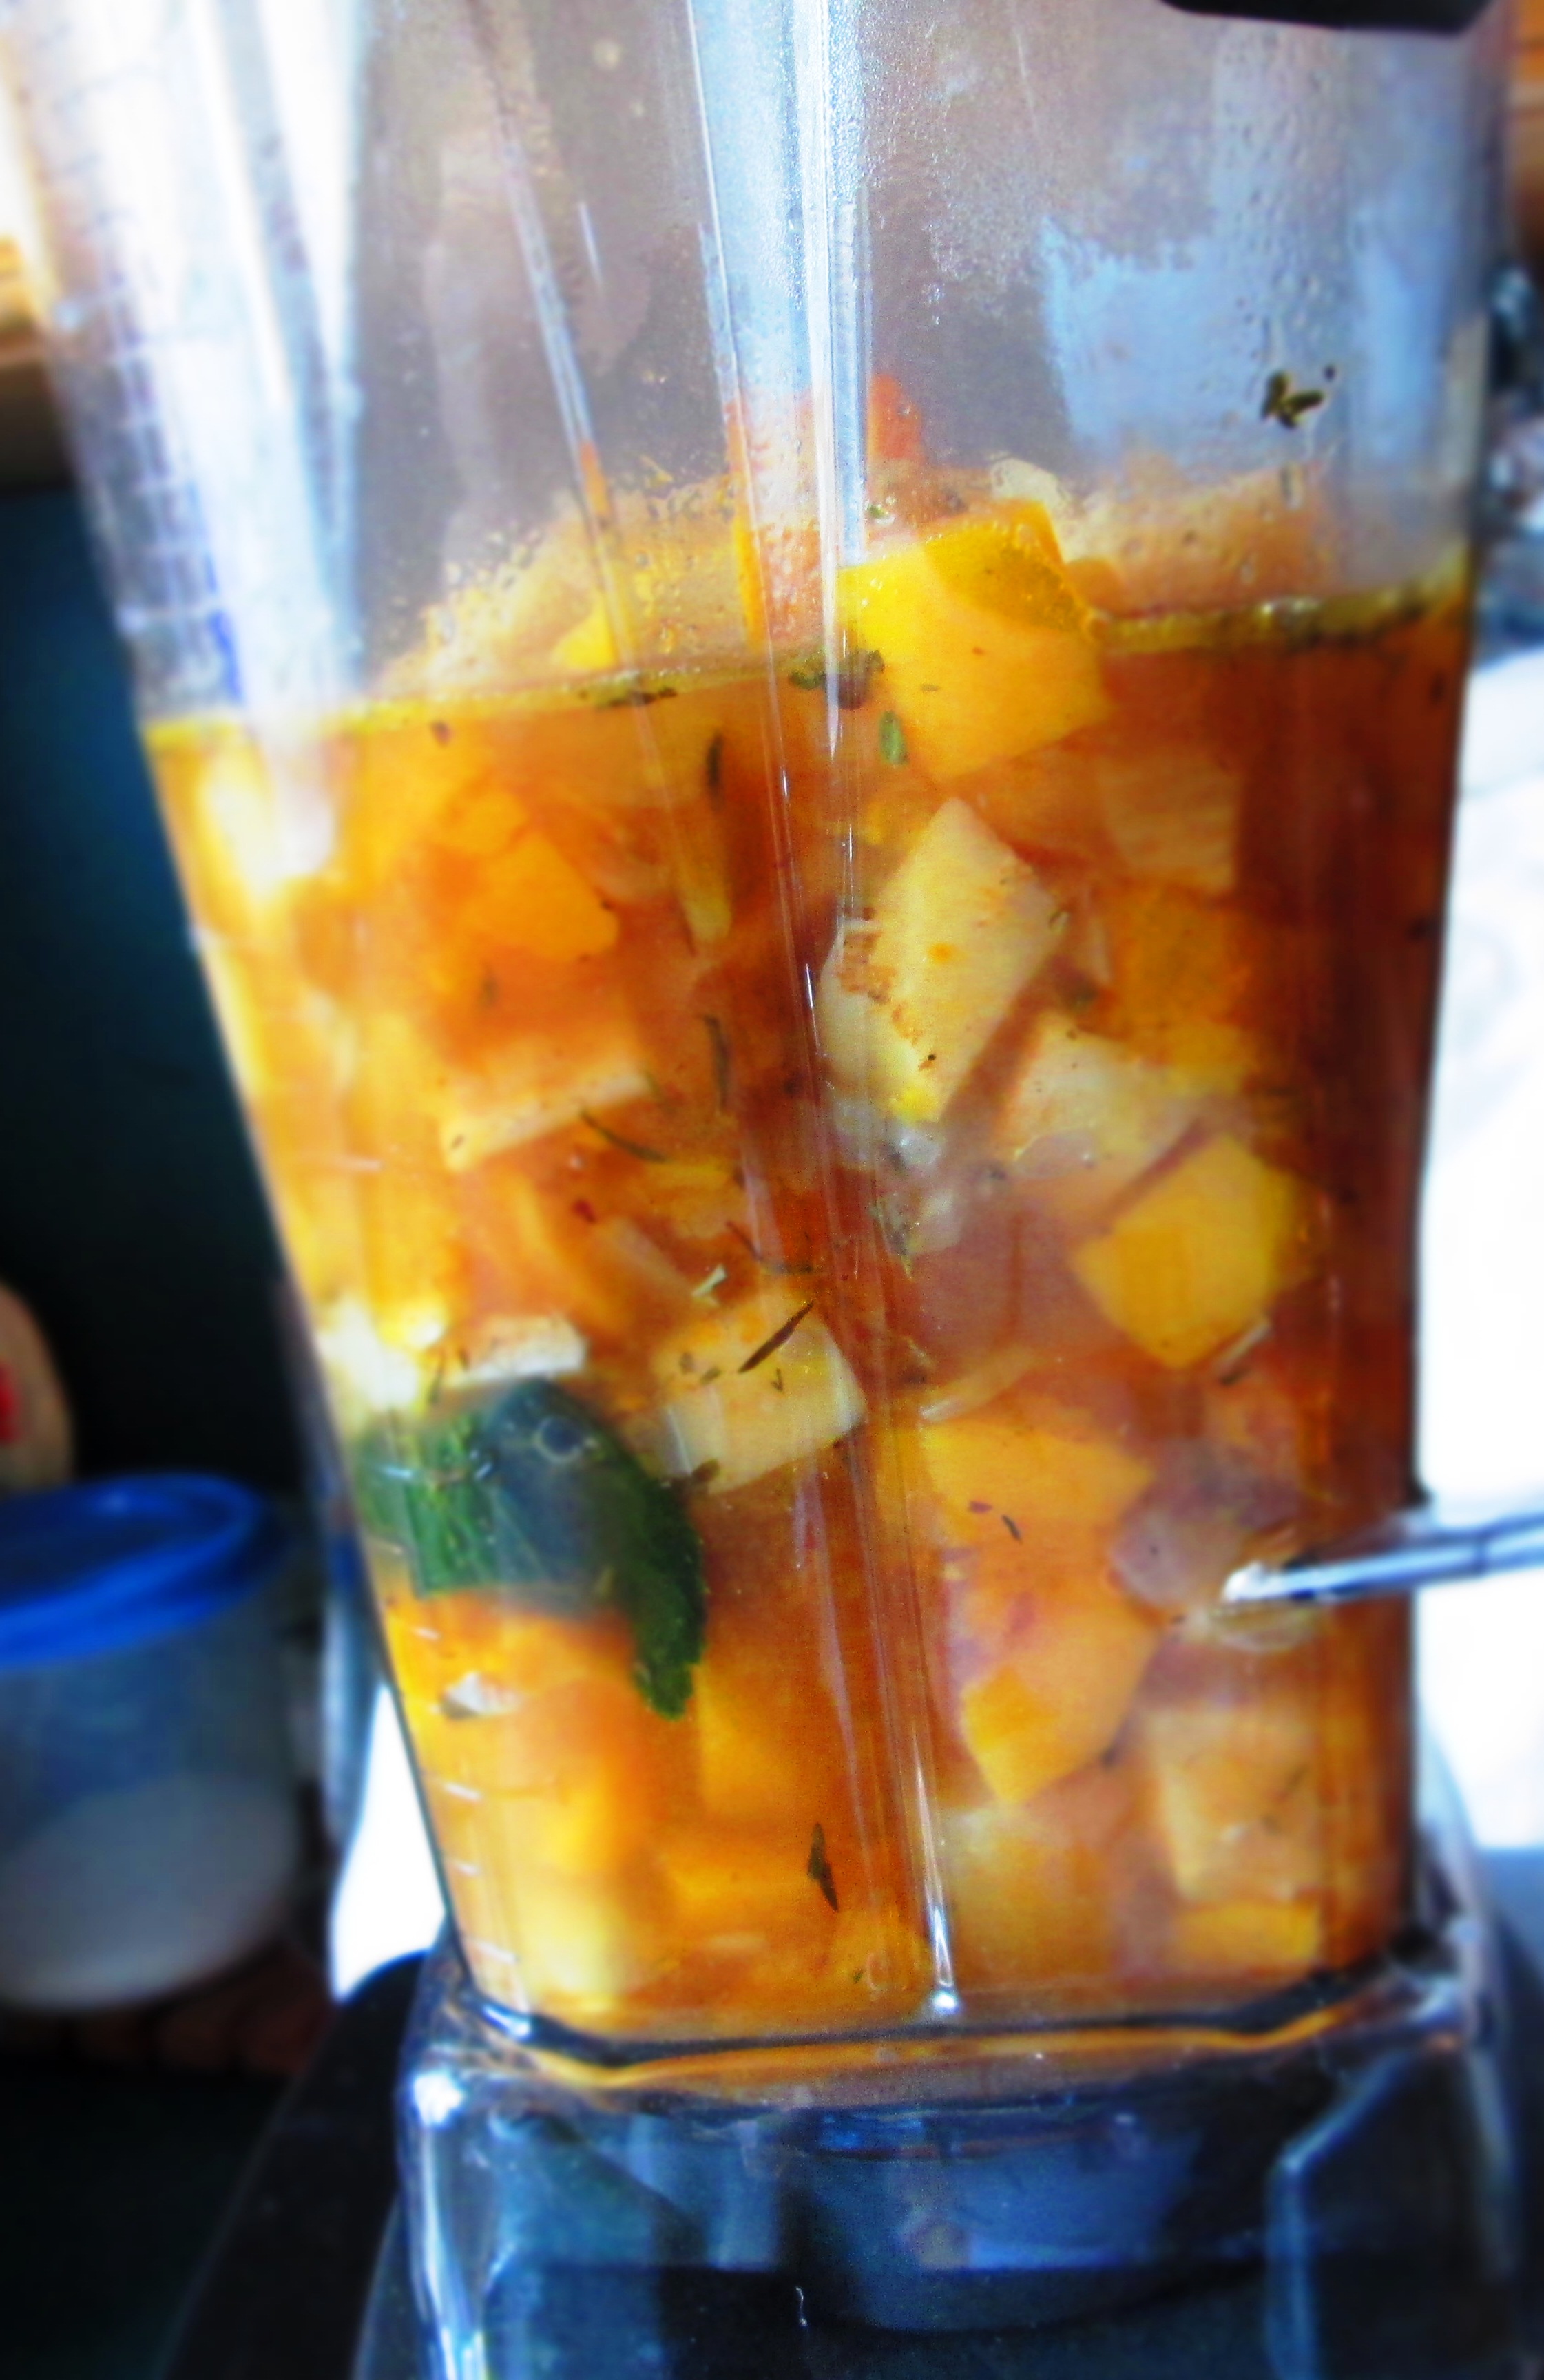
IMG_5463IMG_5464Serve hot.IMG_5467


2 Comments

Beet Green Rolls Stuffed with Millet and Eggplant

IMG_5427This recipe is another example of just how good leftovers can be. You can transform the things you have in your refrigerator and pantry, the little bits and pieces that remained behind, into something new and interesting.

I had purchased beets from the farmers’ market and wanted to do something different with the leaves than the usual saute with olive oil and garlic. As much as I like that particular dish, I think I’ve O.D.d on it. So I started thinking about other ways of using them.IMG_5398

I also happened to have leftover roasted eggplant slices and some millet in the pantry. After some thought I came up with this recipe: beet green rolls stuffed with millet and eggplant. Millet is the perfect grain for stuffing because it’s sticky and you won’t have little individual grains skittering across your plate. It will hold everything together. It’s also gluten free, so those of you with (or who have loved ones with) Celiac Disease or gluten intolerance, this is a great recipe for you. Further, beet greens are loaded with iron, vitamin C, beta carotene, and antioxidants.

Since I will assume that you don’t just happen to have roasted eggplant slices already in the fridge, or perhaps not even millet in your pantry (even if you do, I doubt you’d have both at the same time), I’ve written this recipe so that you can start from scratch. Btu it’s a very easy recipe—you can even make the eggplant a few days in advance so that you can just jump right into this recipe.

This is the perfect autumn/winter dish—hearty, delicious, and great to bring to gatherings. You can serve it as an appetizer, a main course, or side dish. Enjoy!

Beet Green Rolls Stuffed with Millet and Eggplant

½ cup olive oil, plus extra
1 medium Italian eggplant
¾ cup millet
Greens from 1 bunch beets
1 tablespoon grated parmesan
Salt and pepper to taste
1 to 2 tablespoons extra virgin olive oil

Preheat the oven to 350 degrees F. Line a large baking sheet with aluminum foil or parchment paper. If you’re using foil, grease it with some of the olive oil.

Cut the eggplant into 1/2-inch-thick slices lengthwise and lay them on the baking sheet (use more than one baking sheet if you have to). Set aside 1 tablespoon of the olive oil and use the rest to brush both sides of the eggplant slices. Sprinkle with salt and pepper. Roast, turning over once, until browned on both sides, about 20 to 30 minutes. Remove from oven and let cool. Chop up the eggplant finely and measure out 2 cups. Reserve the rest for another recipe.IMG_5411Meanwhile, place the millet in a small saucepan with 1½ cups water. Bring to a boil; reduce the heat to low and simmer, partially covered, until tender, about 10 minutes.IMG_5399If the water hasn’t been all absorbed, drain the millet in a mesh strainer. If it needs to cook some more, you can add a little more water and continue simmering.IMG_5402Transfer the millet to a bowl. Add the eggplant, parmesan, 1 tablespoon olive oil, salt, and pepper; mix well.IMG_5412IMG_5413Place the beet greens in a large bowl of water and wash the greens in several changes of water.

IMG_5400Pick out the largest, nicest leaves (you’ll need about 14) and place them on a kitchen towel to dry.IMG_5408Cut off the stems of the leaves. You may need to cut out a little bit of the ribs a the bottom if you find the leaves difficult to roll. IMG_5415Place 1/4 cup of the filling—less, if the leaf is smaller–at the base of a leaf and roll the leaf up. (It’s okay if the leaf tears a bit or the rib pokes through—you’re not making rolls that people will eat with their hand. These are fork rolls!)

IMG_5414Place it on the baking sheet. Repeat with remaining leaves. Pack the rolls close together. Gently brush olive oil over them.IMG_5419Cover tightly with foil. Bake 15 minutes. Transfer them to a serving platter, sprinkle more parmesan over the top, then drizzle with the extra virgin olive oil.IMG_5423Serve hot or at room temperature.

Makes about 14 rolls.IMG_5430


Leave a comment

Spanish Spinach & Chickpeas

IMG_5396I was in Seattle this past week and as it usually is when I return from a trip, I found myself with an empty fridge. Well, what I consider empty, anyway. So, I went to the produce market to see what vegetables looked good. I was surprised to be irresistibly drawn to some spinach.

I say surprised because, although I like spinach, I don’t exactly go wild for it. But this particular store had bunches of spinach on sale for $1. And they were nice-looking bunches, too. Not wilted or dried, but fresh and green. So, I bought a couple of bunches.

After giving a little thought to what I might want to do with it, I quickly decided that I wanted to make a Spanish tapa staple: Espinaca con Garbanzos. Or Spinach with Chickpeas.

What makes this dish delectable is the bread crumbs, which turns the flavorful, garlicky spinach liquid into a thick, scoopable sauce. If you are gluten intolerant, you can use gluten-free bread crumbs. You can change the flavor profile very easily by adding any kind of spices you like. And best of all, this is a low-cal, low-fat, high-nutrient dish that is savory and comforting all at once.
Continue reading


1 Comment

Guava Quesadillas

IMG_5341Oh, my peeps, do I have a great recipe for you this week. I saw these beautiful Mexican guavas at the store and picked up a carton. I’m a big fan of guava and knew that I could do quite a few things with them.

First, I decided to make a puree and I would go from there. When I cut themIMG_5328 open, I was surprised to find that they were white guavas rather than the pink ones that we most often think of. They’re delicious, just not as pretty. But that’s okay.

I also happened to have some queso fresco on hand, which I’d purchased for another recipe. Queso fresco—literally, “fresh cheese”—is like a feta cheese in flavor and texture, but it’s much milder, and it’s used frequently in Latin American cuisines. You can find it in Latin American markets, or supermarkets that have a decent cheese selection. If you can’t find it, any crumbly feta-like cheese will do.

Oh, and I also had blue corn tortillas. My decision was easy. I would make guava quesadillas. They require so few ingredients, yet guava quesadillas are so flavor-packed and really fun to eat. The sweetness of the guava is offset by the saltiness of the cheese, so you can actually have them as part of a meal, a snack, or dessert. And you can add whatever toppings you like: salsa, guacamole, hot sauce. It all works.IMG_5330 Continue reading


Leave a comment

Chickpeas and Beet Salad

IMG_1024Despite the fact that I have less and less time to cook for myself these days, when I walk past the farmer’s market, I’m seduced by the beautiful vegetables. So, then I find myself with vegetables that I have no time to cook, but must.

This week, I had beets. The beets were firm and bright and the leaves were full and green. I couldn’t help myself. But I had to deal with them quickly. So, I went to my go-to beet recipe: Chickpea and Beet Salad. It’s simple, it’s fast (once the beets are cooked), and it’s satisfying.

The greens? My go-to greens recipe: sautéed in olive oil and garlic.

The reason for my lack of time? Well, apart from my work/commute issue, I have multiple projects happening at the same time. One of those is volume 2 of Vegetarian Italian: Traditions, which is finally under way after a very long delay at my publisher. It’s slated for release in April 2016. With any luck, that will be the case.

This beet recipe, by the way, appears in volume 1 of Vegetarian Italian: Traditions, and it’s just one of many delectable dishes straight from the Mediterranean. Continue reading


Leave a comment

Mediterranean White Bean Spread

IMG_5318I recently found myself with an abundance of dried Great Northern beans, and if you stopped by here last time, you saw that I took some of those beans to make Tomato-y White Beans.

I had cooked up a huge batch, so I needed to come up with something else. And, as I also said last time, because it’s summer, I’ve had access to a bunch of tomatoes. Well, both they went into a food processor for a white bean spread. With a few additional ingredients, this is a flavorful, filling, yet light, snack. It’s also perfect to taking to a picnic or barbecue.IMG_5309

Continue reading


Leave a comment

Tomato-y White Beans

IMG_5305Sometimes you go through your pantry or refrigerator and see a bunch of stuff that you know you have to use or it will go bad. It’s been that way with me and all of these dried beans I realized I had. And since it’s summer, I also find myself with a steady influx of tomatoes.IMG_5298

I’m a whiz at utilitarian cooking. And I say that because it really doesn’t take much to be a whiz at utilitarian cooking. You basically just throw a bunch of stuff you have together and that’s it. And, usually, it works out better than any pre-meditated, planned, plotted, and plated dish you can conjure.

Okay, sometimes it doesn’t work out, but it usually does. I wouldn’t tell you about the stuff that doesn’t work out, anyway.

So, I cooked up a mess of Great Northern beans, added some fresh tomatoes from my mother’s garden, and got this: tomato-y white beans. It’s really simple, so I hope you give it a try.

Tomato-y White Beans

Makes about 6 servings.

1½ cups dried Great Northern beans
2 bay leaves
4 large garlic cloves
½ large onion, sliced
2 teaspoons kosher salt
2 teaspoons olive oil
¼ cup white wine
3 or 4 medium tomatoes, seeded and chopped
Freshly ground black pepper
1/2 cup vegetable broth
Fresh herbs (whatever you have available)

Place the beans in a bowl and cover with water by about 3 inches. Cover and soak overnight.IMG_5297The next day, drain the beans and place them in a medium pot. Add water to cover by about 2 inches. Add the bay leaves. Smash two of the garlic cloves and add them to the pot, along with half the onion, and 1 teaspoon of the salt. Bring to a boil. Lower the heat to low; partially cover the pot, and simmer until the beans are tender but still firm, about 45 minutes.IMG_5299Drain the beans in a colander and remove the bay leaves and garlic and discard. Finely chop the rest of the garlic.IMG_5300Heat the oil, in a wide pan. Add the rest of the onion and cook until translucent. Add the garlic and sauté one more minute. Add the wine and let it cook until it’s evaporated. Add the tomatoes, the rest of the salt, pepper and sauté 5 minutes.IMG_5302Add the beans, broth, and herbs (I had basil, savory, and parsley), and cook for about 5 minutes, or until it thickens.IMG_5303IMG_5304You’re ready to eat. Have it over rice, pasta, or with crusty bread. IMG_5306


Leave a comment

Boozy Watermelon

IMG_5288I was passing by a market that had some fruit on display outside. I was paying no attention to it, but something caught my eye. They had a box of mini round watermelons. They looked so cute, I had to have one. So, I picked one out and took it home. (I paid for it first, of course.)IMAG3106

When I cut it open, I discovered that it was a yellow watermelon. They hadn’t labeled it yellow—the sign only said “sweet.” I love finding yellow watermelons. They’re like yellow topazes, sparkling in the light.

Unfortunately, it was a lot prettier than it was tasty. They lied. It wasn’t sweet.

Now I had to find a way to enjoy this melon without resenting the money I paid for it.IMG_5274

So, I cut it up and put some booze in it. But not just any booze. I had this beautiful elderflower rum that I picked up at a farmers’ market in Vermont and it paired perfectly with the melon. Then I decided to mash it and make it into a slushy. Continue reading


2 Comments

Umbrian Cicerchia Soup

cicerchia soupThere’s one thing I love about Eataly, the Italian market in Chelsea in New York, and it’s not the prices. It’s the fact that you can get products that have been imported from Italy, things that you wouldn’t otherwise find, at least not easily.IMG_5261

During one particular perusal of the market, I found cicerchia, an Umbrian hybrid of chickpeas and fava beans. Ceceri means chickpeas, so I imagine that cirechia is a playful word meaning “in the realm of chickpeas.” Italians love playing with their words almost as much as their food.

It’s probably a good thing, though, that cicerchia isn’t available widely. According to Vorrei Italianfood, they contain a neurotoxin and should not be eaten every day over a prolonged period of time (alhough I don’t know what that means.)IMG_5245

I wasn’t sure what to do with them, though, as this was not a common product, at least not in the region where my family is from (Basalicata). Ultimately, I decided to use them in a typical Umbrian dish: chickpea soup.

If you’re able to get your hands on cicerchia, try this recipe—it’s light but filling and scrumptious.
Continue reading


4 Comments

Chinese Celery Soup

Continue reading