Miz Chef

Cooking Up a Healthy Life


Leave a comment

Ertuti—Beans and Grains

Lazio

Hi there. This week on my journey through the Regions of Italy project, based on La Cucina—The Regional Cooking of Italy by Accademia Italiana della Cucina (The Italian Academy of Cuisine). I’m once again in Lazio, this time making a soup. This soup is called Ertuti. I wasn’t able to find any information on this dish, or why it’s called ertuti, but it’s rustic fare at its best. A quintessential peasant dish, it’s bulked up with beans and grains with some cured meats thrown in. (You can omit the meats if you like; I used only a small amount of prosciutto.)

Now, as far as the beans and grains themselves are concerned, the original recipe calls for a pound of mixed legumes, and they included farro in this ingredient. Why, I don’t know. Farro is not a legume; it’s the grain in this beans-and-grains combo. So, in order to make the ingredients list less confounding, I’ve split each legume called for in the original and the farro into separate and equal items. However, if you prefer one more than others, go ahead and change the quantities. Or change out the types. You can also change the grain, if you like. Farro is a hearty whole grain and can be substituted with barley, wheat berries, spelt berries, kamut, triticale, or any hard berry.

Finally, while this is a fairly simple recipe, the instructions were somewhat vague and assumed a certain level of understanding of cooking. I’ve expanded on the instructions to make everything a bit clearer.

Ertuti

Beans and Grains

¼ pound dried chickpeas
¼ pound dried lentils
¼ pound dried fava beans
¼ pound farro
1 tablespoon finely chopped prosciutto
¼ cup finely chopped pancetta
1 small piece salame, chopped (optional)
2 tablespoons tomato paste
Kosher salt to taste
Freshly ground pepper to taste
Slices of whole wheat bread

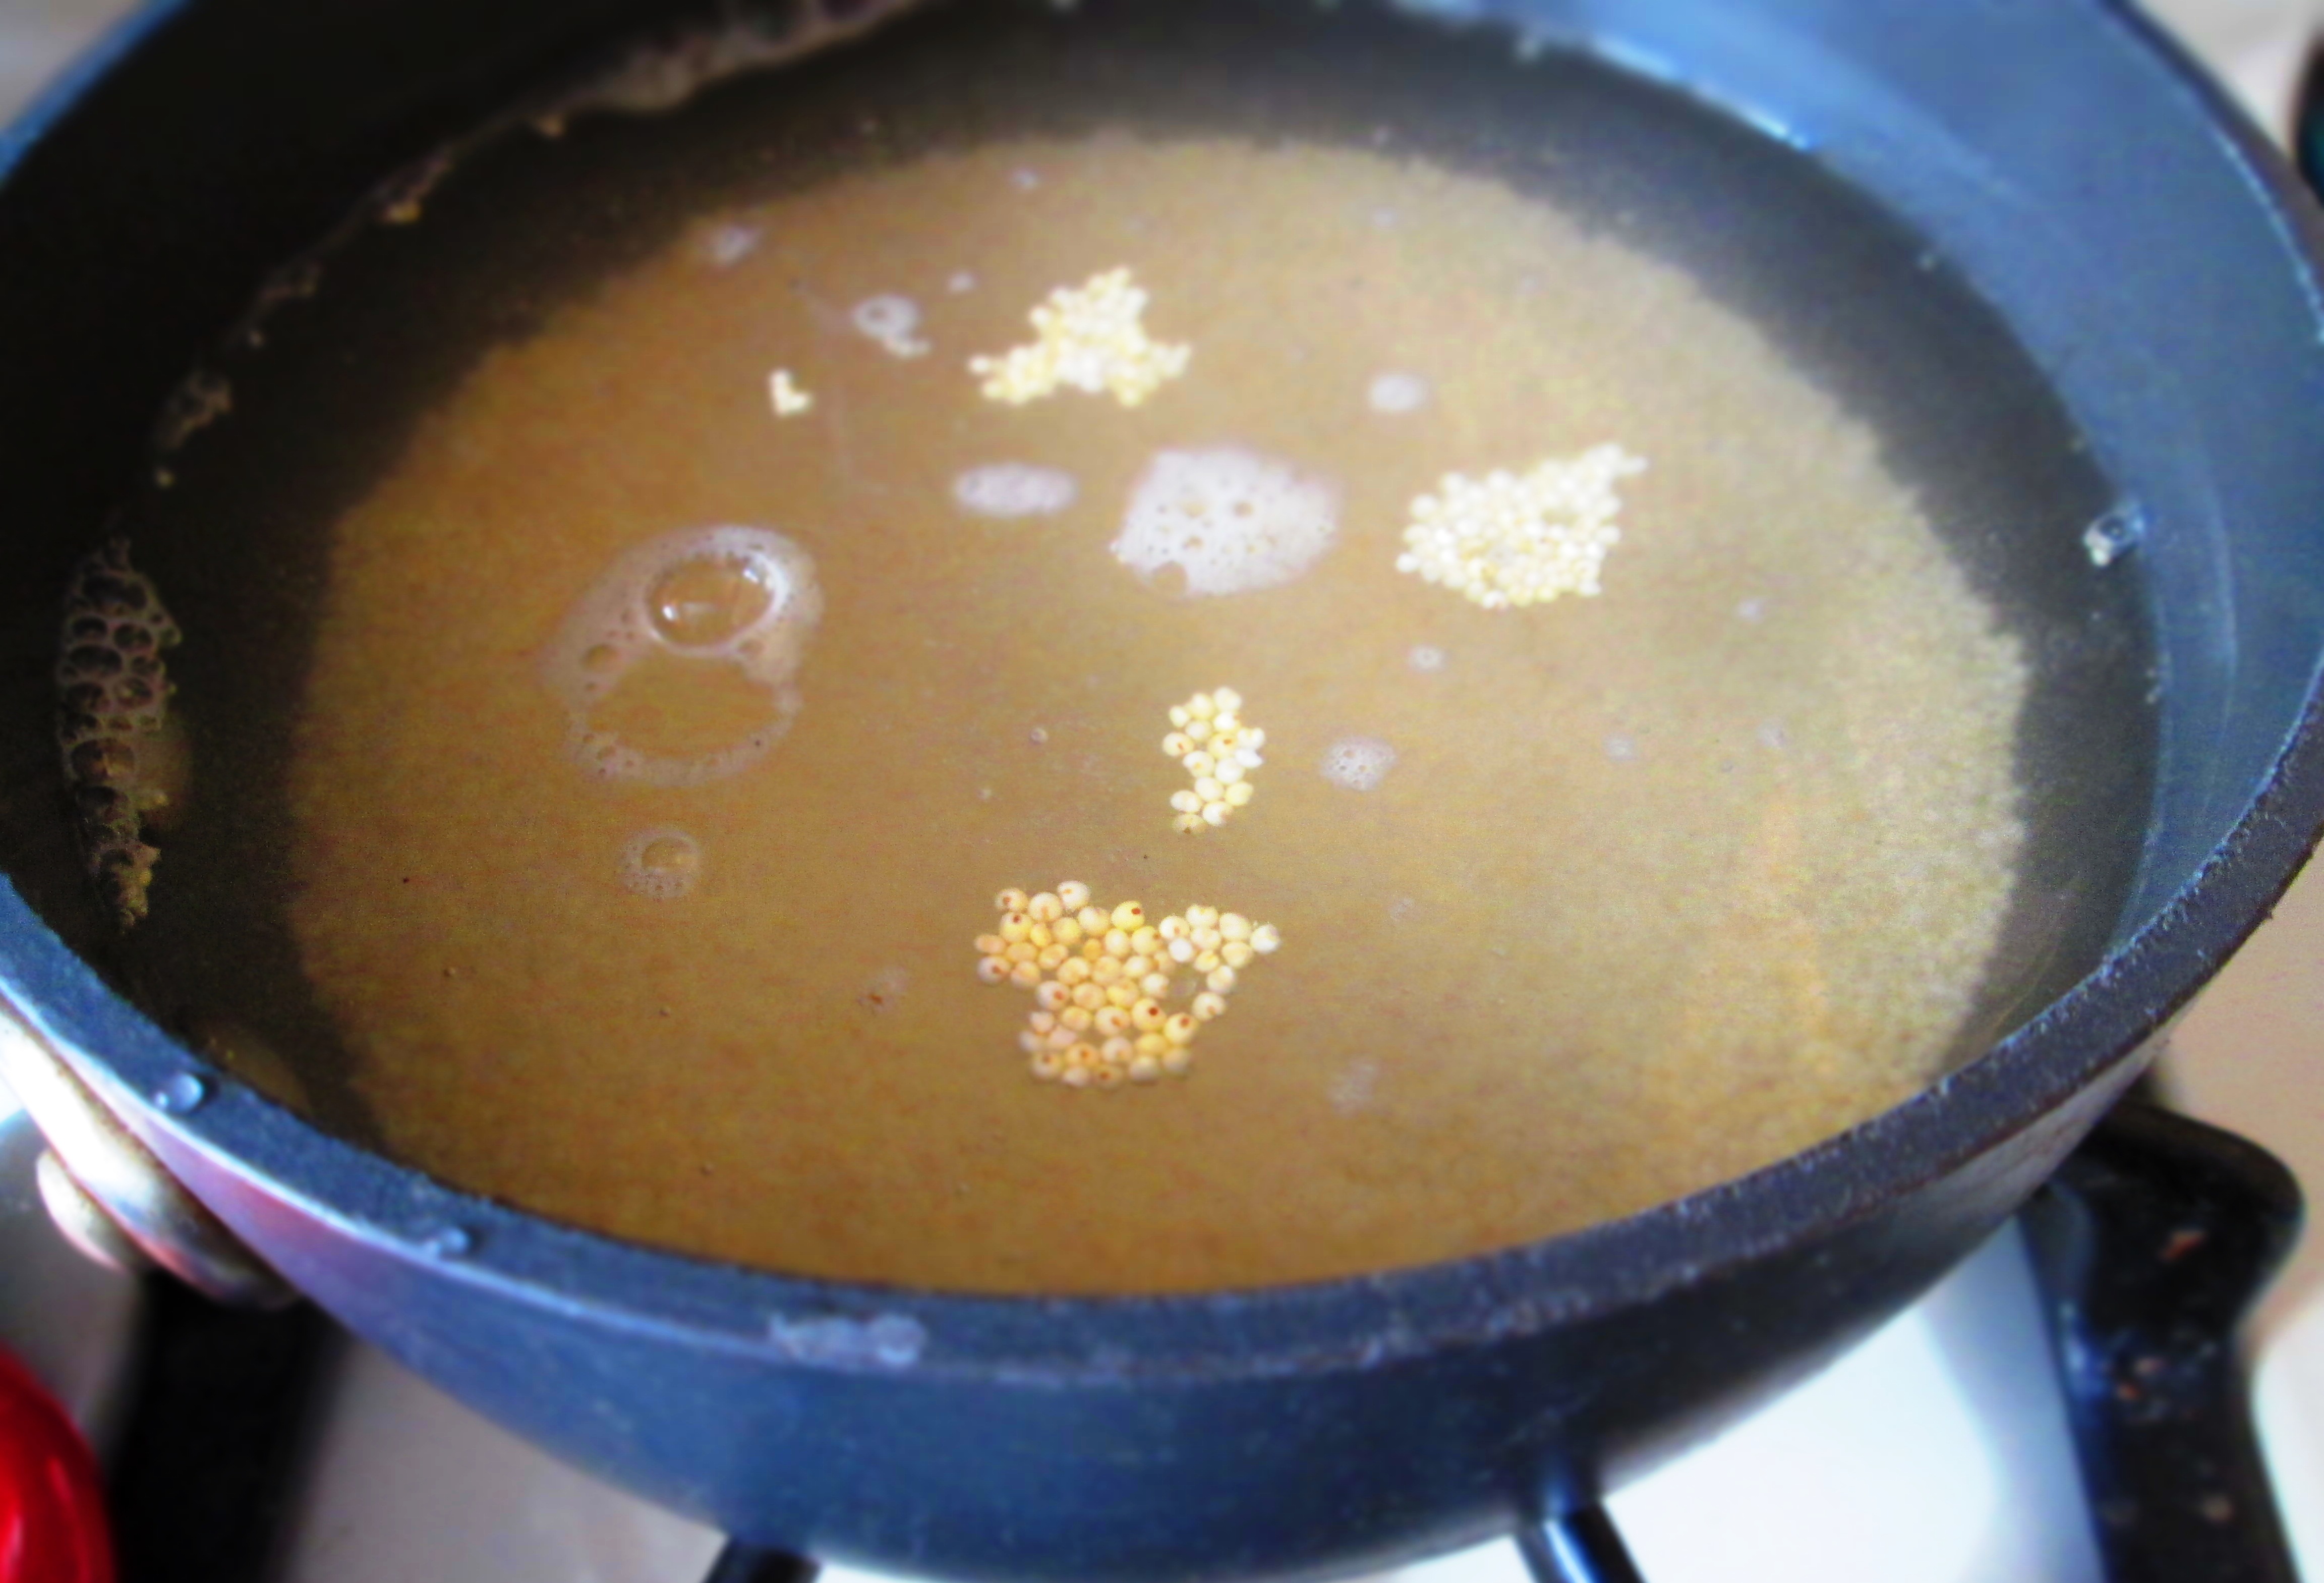
Soak the chickpeas, lentils, fava beans, and farro separately in water, covered, overnight. Pour out the water and place each in a separate pot. Fill with enough water to cover by 3 inches.Bring to a boil; lower the heat and simmer until tender (each one will vary in time). When tender, drain each legume and farro and reserve some of their cooking liquid (you can use liquid from one pot or combine them).In a large pot, heat the prosciutto, pancetta, and salame until they start to brown.
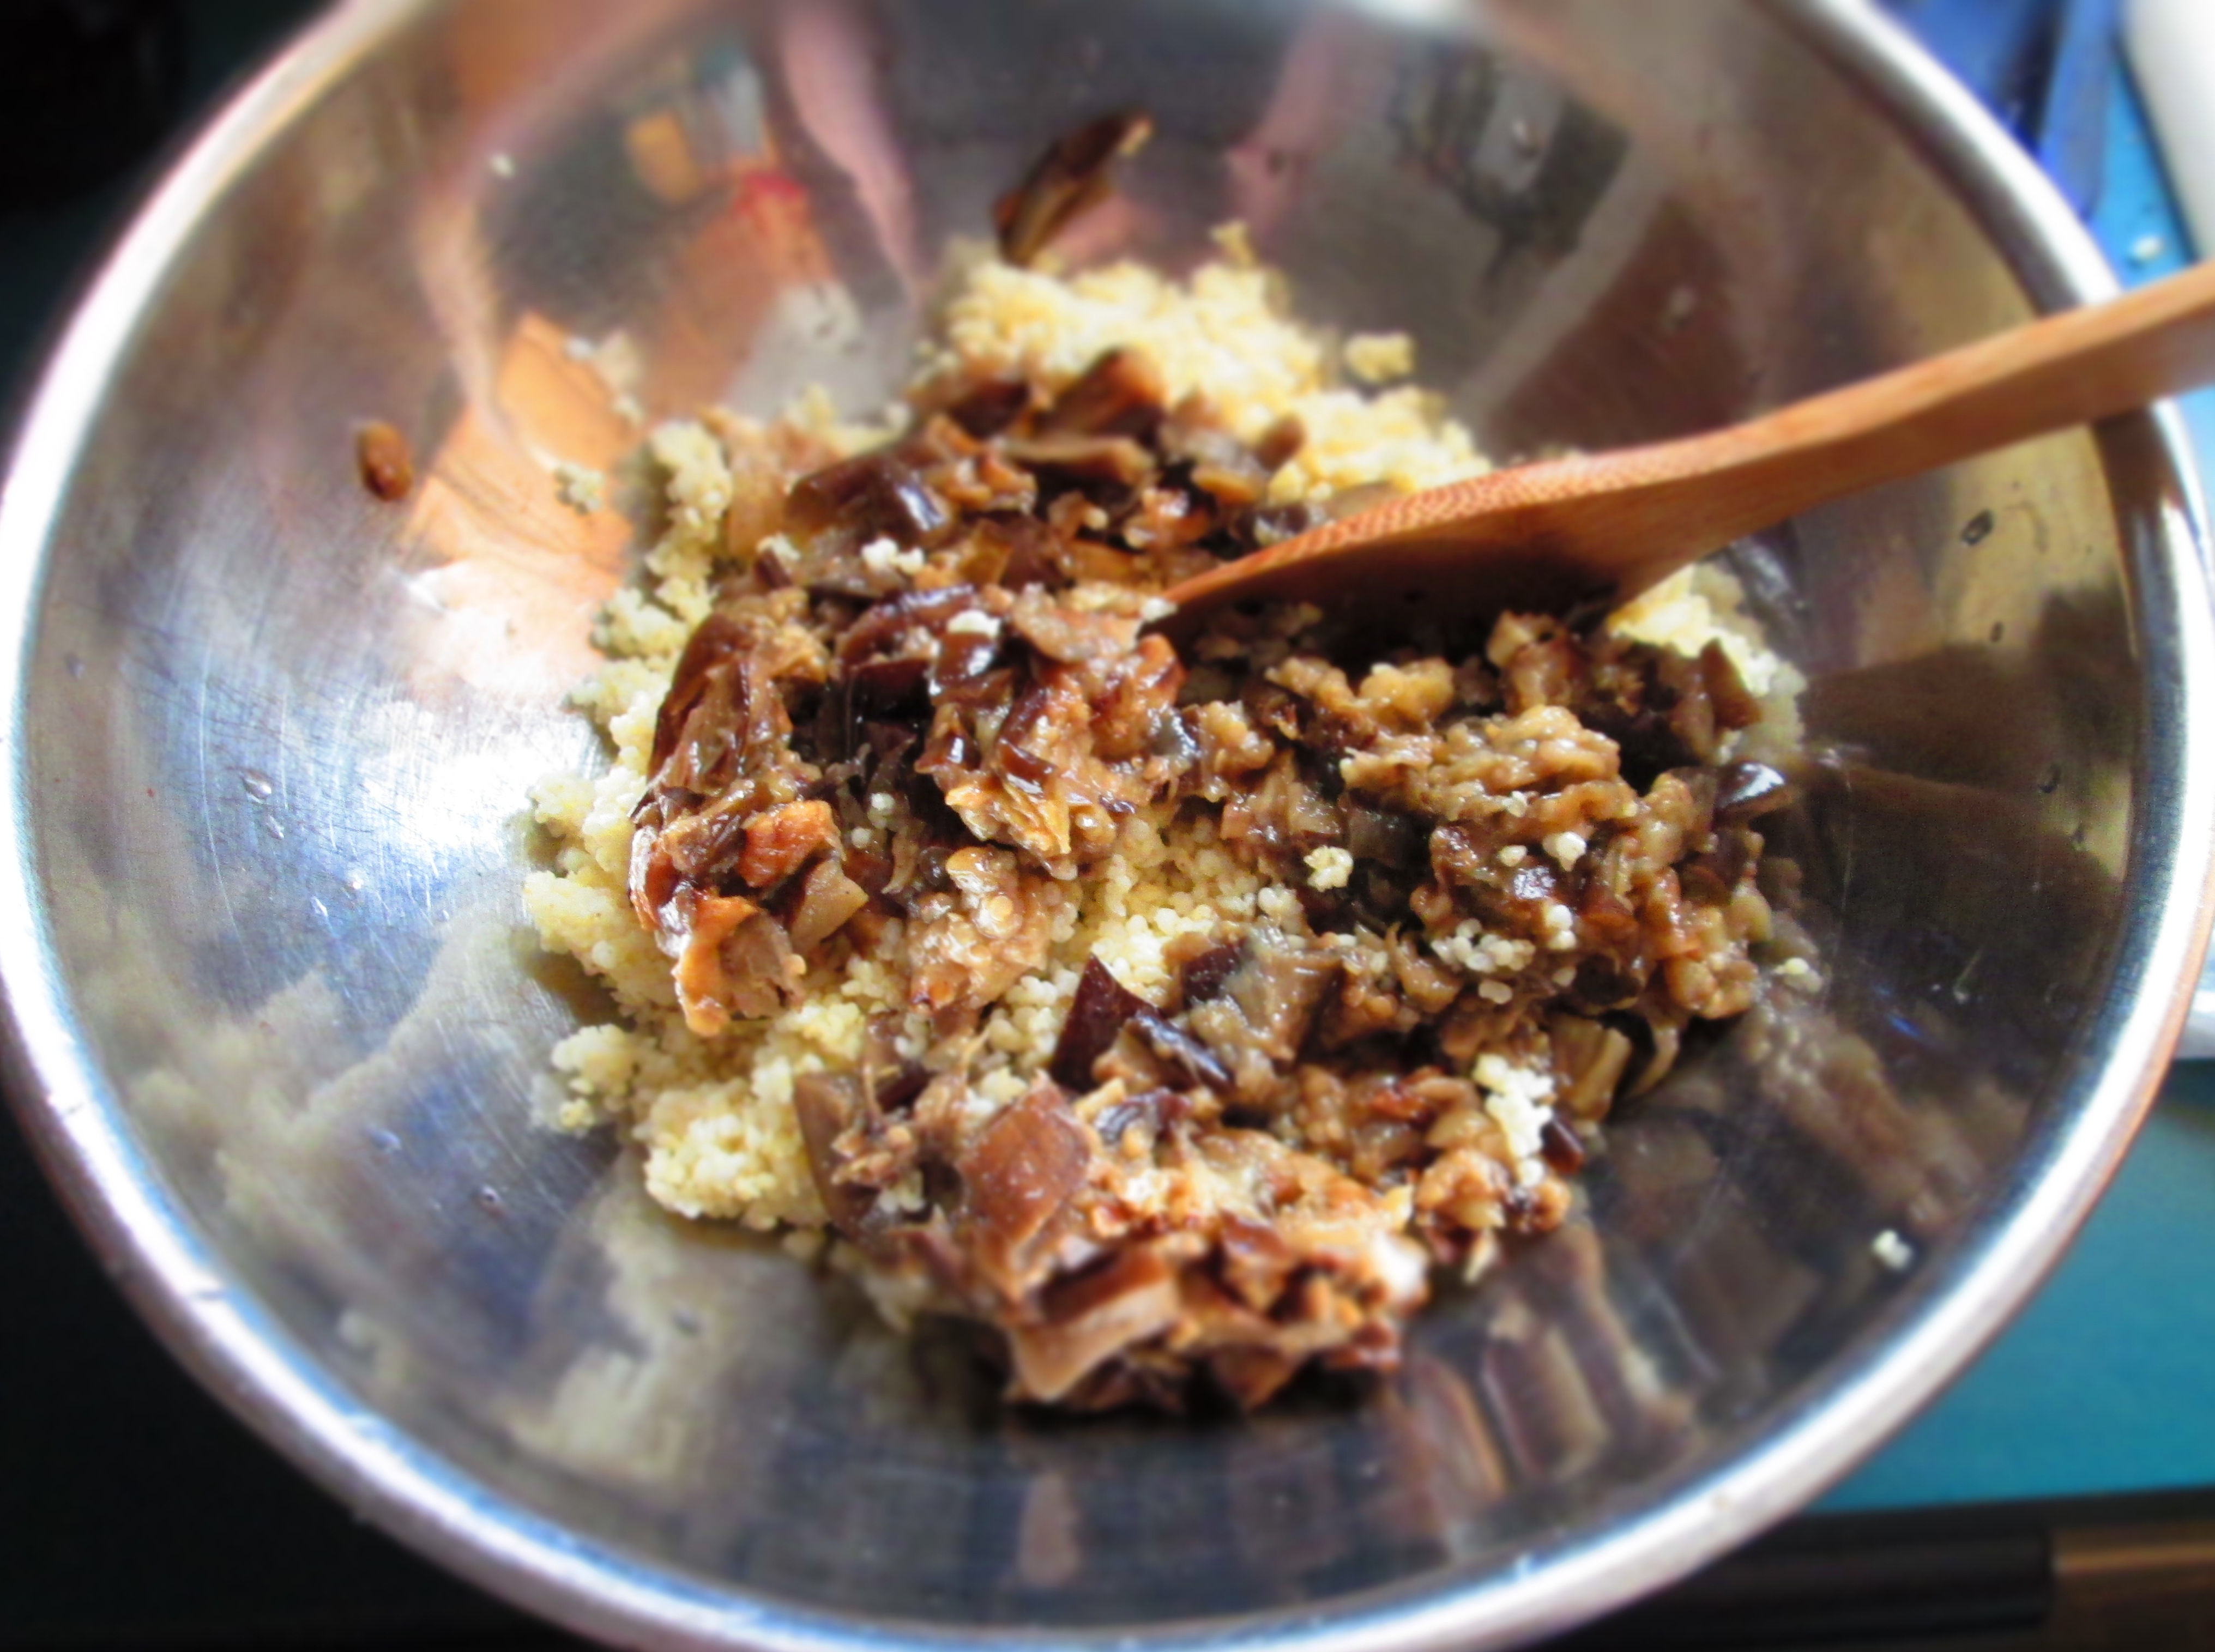
Stir in the tomato paste. Work it in until it’s well blended.Add the beans and farro and stir. Add about ½ cup of the cooking liquid and stir. Cook 20 minutes to combine the flavors. You can add more bean cooking liquid as needed if the pot dries out, or if you want a looser consistency.Season with salt and pepper to your liking. Serve with the whole wheat bread.

Advertisement


Leave a comment

Sprouted Quinoa with Roasted Vegetables and Roasted Garlic Dressing

I love cooking with quinoa. It’s not only one of the most nutritious grains—a so-called “superfood”—it’s also deliciously nutty and the texture is slightly crunchy, even while it’s tender.

If you’re already cooking with quinoa, and other nutritious grains, such as amaranth and millet, you’re doing a good deed for your body. Quinoa is one of the only grains that has protein and, of course, it’s gluten free. But if you want to take your healthy ways a step further you might want to incorporate sprouted grains into your diet. You may or may not have heard about sprouted grains, but they are now available as uncooked grains, in dried pastas, and breads, as well as other products.

So what’s the deal with sprouted grains?

Grains contain phytic acid, which is also referred to as an “antinutrient” because of its tendency to block absorption of certain minerals. Phytic acid binds to such nutrients as calcium, magnesium, iron, copper, and zinc. So, while quinoa is a good source of these nutrients, the phytic acid can block them from being aborbed into your system.

Sprouting neutralizes phytic acids, as well as enzyme inhibitors, making the grains’ nutrients more bioavailable. Essential amino acids, such as lysine, also get blocked. Quinoa is one of the few grains on earth that contains lysine, so sprouting quinoa, in particular, is advantageous. Plus, germination produces vitamin C and increases the grain’s (or bean’s or seed’s) B vitamins. Sprouted quinoa looks and tastes just like regular quinoa, except with the added benefits.

You can find packages of sprouted quinoa in health food stores, but considering how much standard supermarkets’ shelves have expanded to include products for health-conscious consumers, who knows, you might be able to find sprouted quinoa in your neighborhood supermarket—if not now, then in the near future.

Sprouted Quinoa with Roasted Vegetables and Roasted Garlic Dressing

Makes 6 servings.

1½ cups diced eggplant
3 cups diced zucchini
¼ cup + 1 teaspoon olive oil
1 teaspoon + a pinch kosher salt
Freshly ground black pepper
3 large plum tomatoes
4 garlic cloves, skin on
1 cup sprouted quinoa
¼ cup extra virgin olive oil
2 teaspoons Dijon mustard
1 teaspoon sherry vinegar
¼ teaspoon sea salt

¼ cup chopped Italian parsley

Preheat the oven to 350 degrees F. Grease a large baking sheet, or line it with foil or parchment paper. Do the same with a small baking sheet.

Combine the eggplant and zucchini in a bowl. Pour in 3 tablespoons olive oil, 1 teaspoon kosher salt, grind in some black pepper, and toss to coat. Spread the vegetables out on the large baking sheet. (You can line the sheet with aluminum foil or parchment, if you like.)Roast, stirring occasionally, until tender and browned, about 20 to 30 minutes.Cut the tomatoes in half and removed the seeds. Dice the tomatoes and place in a medium bowl. Toss with 1 tablespoon oil and a pinch of kosher salt. Lay the tomatoes out on the small baking sheet and roast, stirring occasionally until tender and browned, about 30 minutes.Place the garlic cloves on a piece of aluminum foil. Pour 1 teaspoon olive oil on them, and wrap the foil. Place on a small baking sheet (you can place the packet on one of the baking sheets the other vegetables are on).Roast until soft, about 20 minutes.While the vegetables are roasting, combine the quinoa with 2 cups water and a pinch of salt in a small saucepan. Bring to a boil; lower the heat to medium-low and simmer, half covered, until the water is absorbed, about 10 to 15 minutes. Remove from the heat and let sit for 5 minutes. Fluff with a fork.Unwrap the garlic. When it’s cool enough to handle, squeeze the garlic out of the skin into a small bowl. Add the extra virgin olive oil, mustard, vinegar, and sea salt. Whisk until well blended.

In a large bowl, combine the eggplant, zucchini, tomatoes, and quinoa. Add the dressing and mix well. Mix in the parsley. Taste for seasoning and adjust if needed.

Save

Save

Save

Save


Leave a comment

Picnic Posole Salad

posole text

I’ve been making posole salad for picnics, parties, and barbecues years. I think people enjoy it because it’s both something different from the usual fare, while offering something familiar and not too “out there.”

hominy

Dried hominy

So what is posole (or pozole)? Not everyone outside of the Latin community is familiar with posole. Posole means “hominy” (from the Nahuatl word pozolle), and actually refers to a stew, popular in Mexico and made with hominy and pork or chicken. But it is sometimes also used (loosely and unofficially) to refer to the hominy itself, which is properly called mote. Corn, in general, is known as maize.

Mote is maize that has had its hulls removed through a process known as nixtamalization. This involves boiling the kernels in a water-and-lime (or ash) solution. The resulting product is used in many traditional dishes throughout Latin America, the most commonly known being posole stew, a dish that goes back to the pre-Colombian Aztecs. Continue reading


Leave a comment

Warm Sorghum Salad

IMG_5823

This week in honor of last week’s episode of The Walking Dead, I offer you Warm Sorghum Salad.

Okay, the truth is, I already had this blog post and recipe prepared but it seemed like an appropriate time to post it.IMG_5809

Many people don’t know what sorghum is. It’s a grain that originated in Africa and that’s been used in this country for years as fodder—except in the South, where it’s been a fairly popular grain. Also in the South, sorghum molasses often takes the place of regular molasses, honey, maple syrup, and corn syrup. In short, it’s a liquid sweetener that’s used in baked goods, as well for drizzling on biscuits, pancakes, and toast.

I’ve offered other sorghum recipes here, such as Sorghum Pilaf, Sorghum Stir-Fry, and my Cranberry Sauce with a Sorghum Twist (using sorghum molasses) even made it in into the holiday issue of Pilcrow & Dagger.

Sorghum is gluten free and inexpensive. But it’s also very use friendly. It’s a diverse grain that can be used in many different dishes. Here’s my Warm Sorghum Salad. It’s great to bring to dinner in the fall and winter, but also to barbecues and picnics in the warmer seasons. And the kale makes it a well-rounded, healthy dish. Enjoy!

Warm Sorghum Salad

Makes 6 servings

1 cup sorghum grain
1 tablespoon olive oil
½ cup minced shallot
1 teaspoon kosher salt
½ lb. mushrooms (preferably a combination of white and baby bella), thinly sliced
1 tablespoon apple cider vinegar
4 packed cups chopped kale
Fresh pepper
½ small lemon

Dressing
¼ cup extra virgin olive oil

1 teaspoon balsamic vinegar
1 teaspoon Dijon mustard
Freshly ground black pepper to taste

Place the sorghum in a mesh strainer and rinse it under running water for a minute or two. Place it in a small pot along with 3 cups water and bring to a boil. Lower the heat and simmer, partially covered, until tender, about 30 to 40 minutes. Drain well.

IMG_5820

Meanwhile, heat the oil in a wide skillet. Add the shallot, ¼ teaspoon salt, and saute until soft and translucent, 2 or 3 minutes. Add the mushrooms and 1/4 teaspoon salt and saute until the water they release dries up and mushrooms brown.IMG_5813When you see browned bits in the pan, deglaze with the apple cider vinegar (add it to the pan and scrape up the brown bits with a wooden spoon).IMG_5816

Add the kale and another ½ teaspoon salt and cover; cook until kale is tender.IMG_5818While that’s cooking, make the dressing and set aside.

When the sorghum is cooked, add it to the pan with the kale and pepper and mix.IMG_5821Pour in the dressing and mix well. Taste for seasoning and adjust if needed. Squeeze the lemon over it and stir.

Transfer to a serving bowl and serve warm.IMG_5824


2 Comments

Beet Green Rolls Stuffed with Millet and Eggplant

IMG_5427This recipe is another example of just how good leftovers can be. You can transform the things you have in your refrigerator and pantry, the little bits and pieces that remained behind, into something new and interesting.

I had purchased beets from the farmers’ market and wanted to do something different with the leaves than the usual saute with olive oil and garlic. As much as I like that particular dish, I think I’ve O.D.d on it. So I started thinking about other ways of using them.IMG_5398

I also happened to have leftover roasted eggplant slices and some millet in the pantry. After some thought I came up with this recipe: beet green rolls stuffed with millet and eggplant. Millet is the perfect grain for stuffing because it’s sticky and you won’t have little individual grains skittering across your plate. It will hold everything together. It’s also gluten free, so those of you with (or who have loved ones with) Celiac Disease or gluten intolerance, this is a great recipe for you. Further, beet greens are loaded with iron, vitamin C, beta carotene, and antioxidants.

Since I will assume that you don’t just happen to have roasted eggplant slices already in the fridge, or perhaps not even millet in your pantry (even if you do, I doubt you’d have both at the same time), I’ve written this recipe so that you can start from scratch. Btu it’s a very easy recipe—you can even make the eggplant a few days in advance so that you can just jump right into this recipe.

This is the perfect autumn/winter dish—hearty, delicious, and great to bring to gatherings. You can serve it as an appetizer, a main course, or side dish. Enjoy!

Beet Green Rolls Stuffed with Millet and Eggplant

½ cup olive oil, plus extra
1 medium Italian eggplant
¾ cup millet
Greens from 1 bunch beets
1 tablespoon grated parmesan
Salt and pepper to taste
1 to 2 tablespoons extra virgin olive oil

Preheat the oven to 350 degrees F. Line a large baking sheet with aluminum foil or parchment paper. If you’re using foil, grease it with some of the olive oil.

Cut the eggplant into 1/2-inch-thick slices lengthwise and lay them on the baking sheet (use more than one baking sheet if you have to). Set aside 1 tablespoon of the olive oil and use the rest to brush both sides of the eggplant slices. Sprinkle with salt and pepper. Roast, turning over once, until browned on both sides, about 20 to 30 minutes. Remove from oven and let cool. Chop up the eggplant finely and measure out 2 cups. Reserve the rest for another recipe.IMG_5411Meanwhile, place the millet in a small saucepan with 1½ cups water. Bring to a boil; reduce the heat to low and simmer, partially covered, until tender, about 10 minutes.IMG_5399If the water hasn’t been all absorbed, drain the millet in a mesh strainer. If it needs to cook some more, you can add a little more water and continue simmering.IMG_5402Transfer the millet to a bowl. Add the eggplant, parmesan, 1 tablespoon olive oil, salt, and pepper; mix well.IMG_5412IMG_5413Place the beet greens in a large bowl of water and wash the greens in several changes of water.

IMG_5400Pick out the largest, nicest leaves (you’ll need about 14) and place them on a kitchen towel to dry.IMG_5408Cut off the stems of the leaves. You may need to cut out a little bit of the ribs a the bottom if you find the leaves difficult to roll. IMG_5415Place 1/4 cup of the filling—less, if the leaf is smaller–at the base of a leaf and roll the leaf up. (It’s okay if the leaf tears a bit or the rib pokes through—you’re not making rolls that people will eat with their hand. These are fork rolls!)

IMG_5414Place it on the baking sheet. Repeat with remaining leaves. Pack the rolls close together. Gently brush olive oil over them.IMG_5419Cover tightly with foil. Bake 15 minutes. Transfer them to a serving platter, sprinkle more parmesan over the top, then drizzle with the extra virgin olive oil.IMG_5423Serve hot or at room temperature.

Makes about 14 rolls.IMG_5430


Leave a comment

Sorghum Pilaf

IMG_4640

Sorghum is technically a grass (but for culinary purposes is classified as a grain) that is native to Africa, and was introduced to to the U.S. in the 1800s. It’s always been an important food crop around the world, but in the U.S., it’s been used primarily as animal feed. The exception to this is in the U.S. South, where sorghum molasses is a traditional sweetener, used much in the same way as honey or maple syrup. However, with the rising interest in gluten-free and ancient grains, sorghum is becoming more and more popular as human food in the U.S.IMG_4625

The great thing about sorghum, apart from the fact that it’s gluten free, is that it doesn’t have an outer shell that has to be removed to make it edible. That means that it’s a whole food, and that means that it’s healthy and just plain awesome.
Continue reading