Garlic scapes come around once a year for a short period of time and I’ve generally only seen them at farmer’s markets. So when I do see them, I make sure to grab some.
The first time I bought garlic scapes, I used them raw in a pesto. It was delicious but incredibly strong. Very garlicky. So after that, I used them only cooked.When I was at the farmer’s market this past week, I not only found garlic scapes, I found fresh peas as well (also quick to come and go at the market). I decided to combine them with some whole wheat Israeli couscous and the result was fabulous.
Roasting is probably my favorite way to prepare vegetables. They get golden brown, charred here and there, and caramelized for sweet, intense flavor.
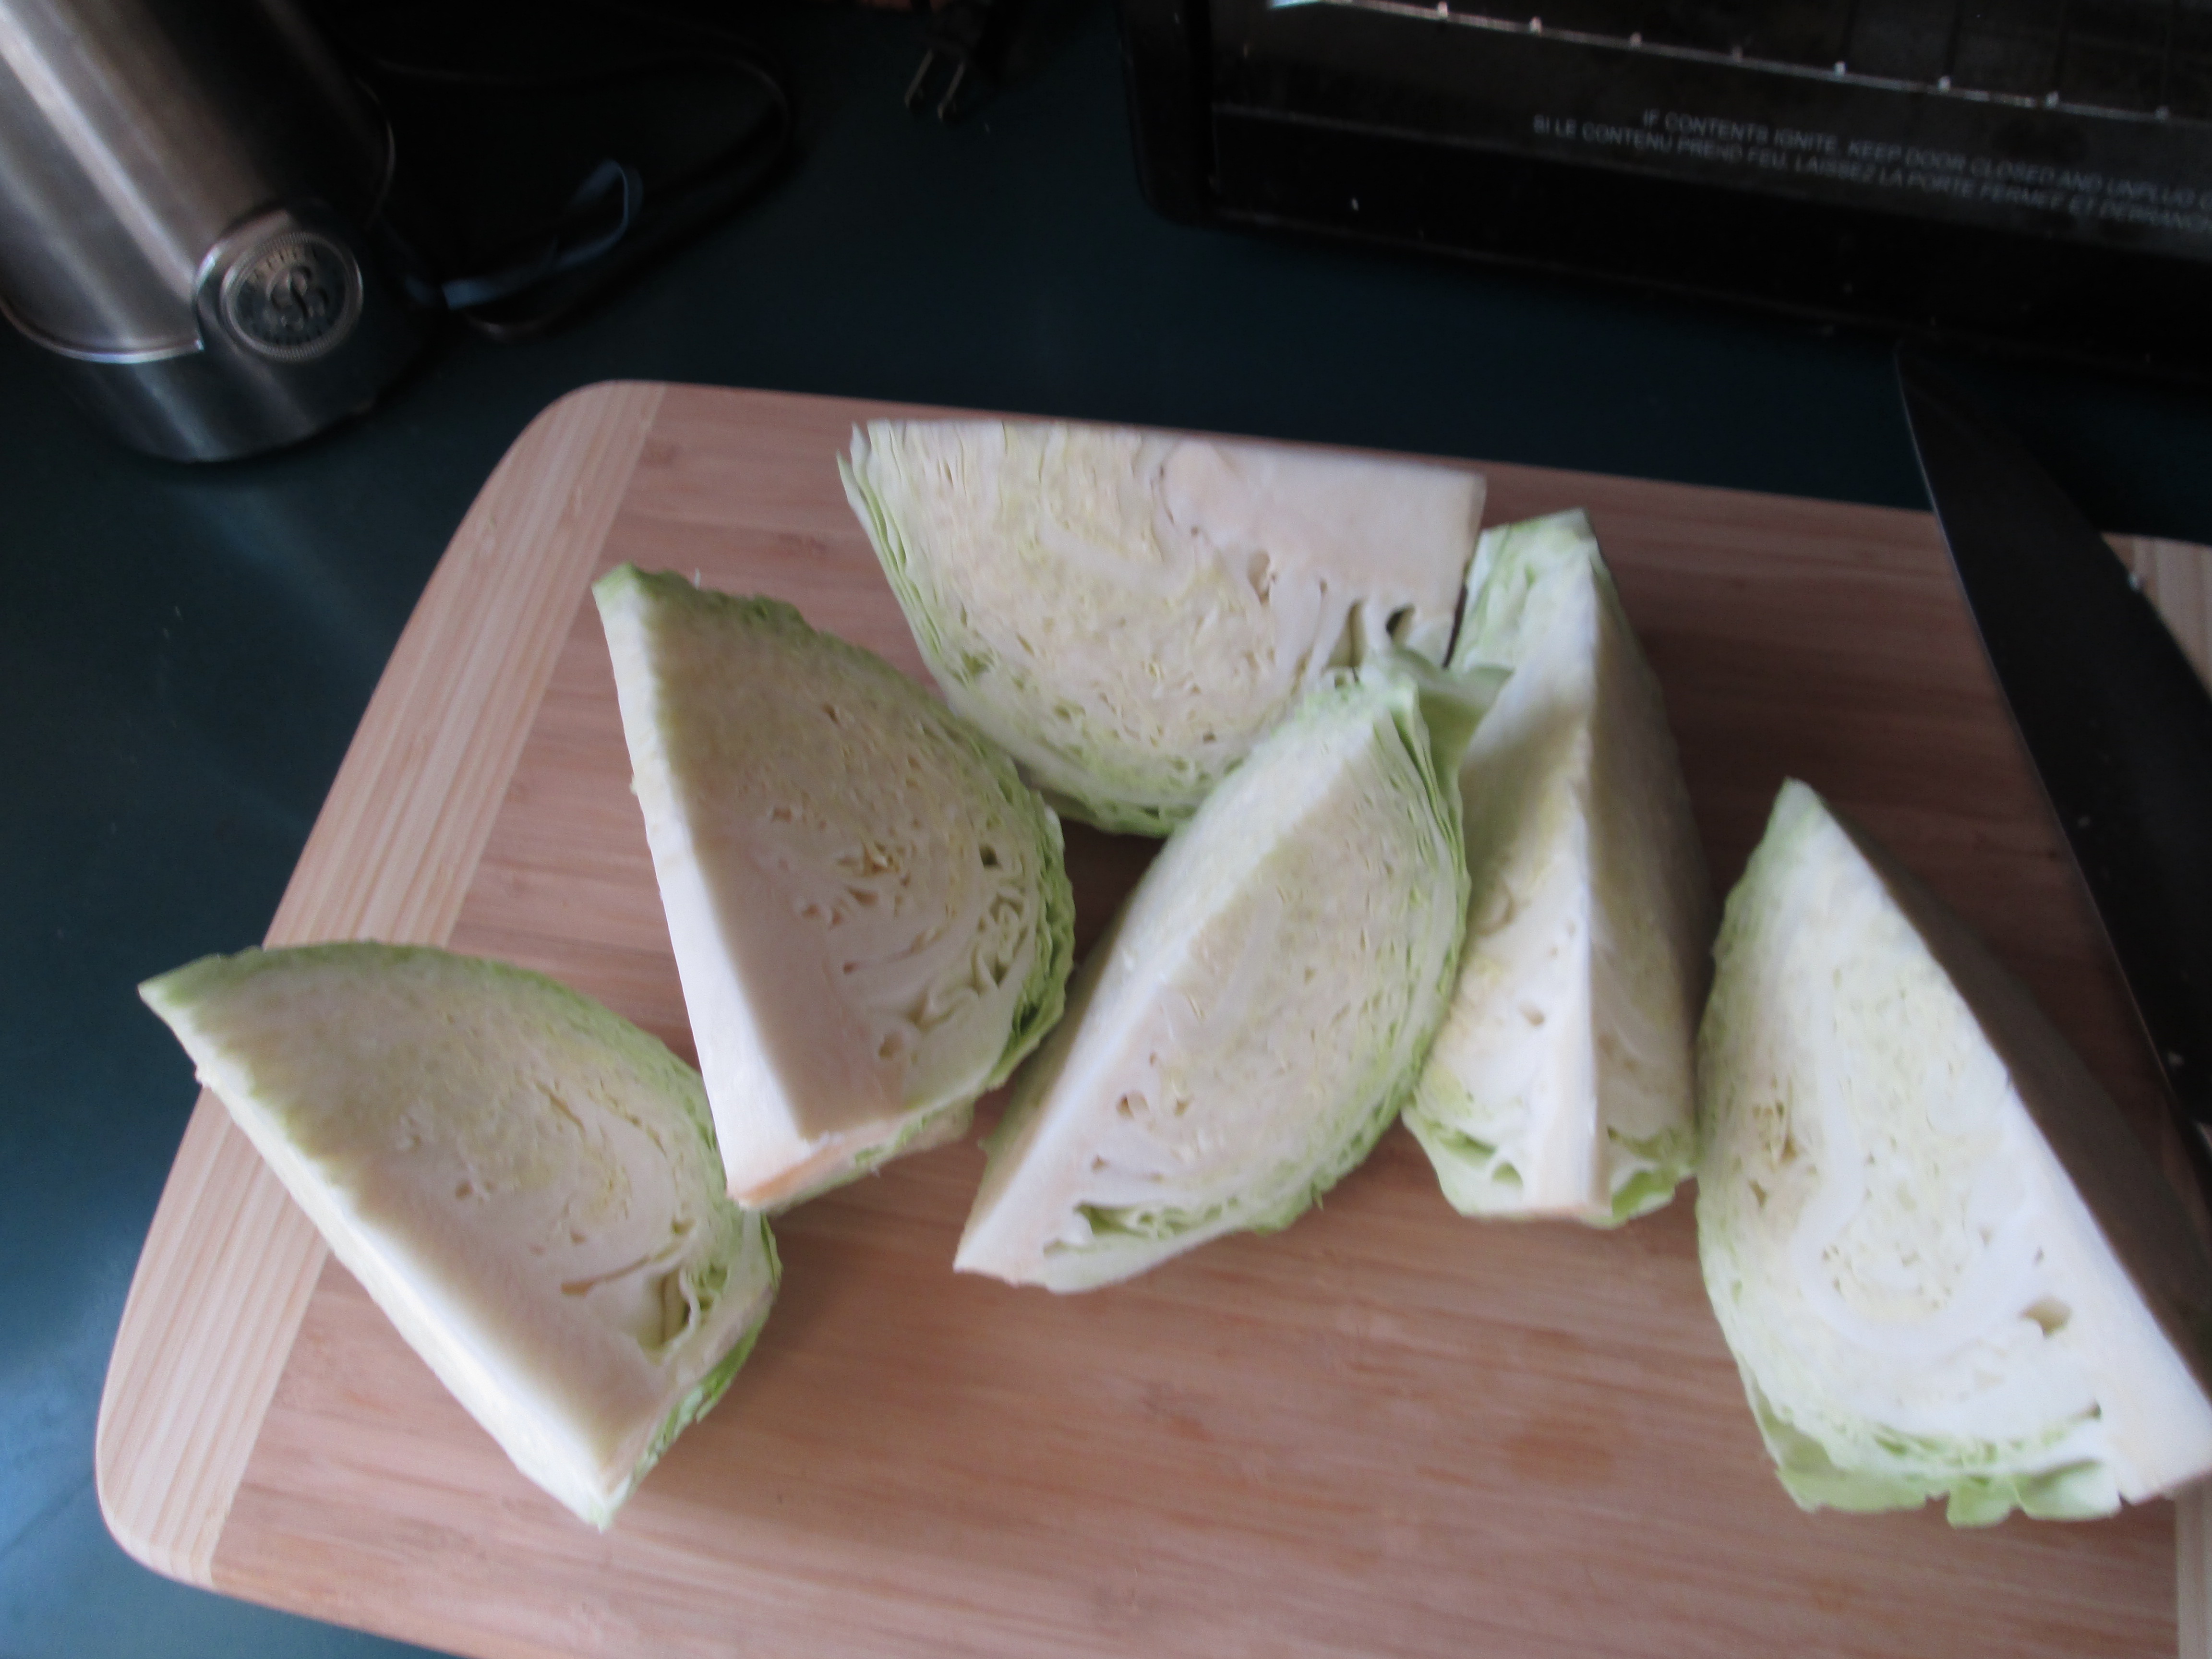
I have never, however, tried roasting cabbage. It’s just never occurred to me. So, I had this head of cabbage sitting in my refrigerator and I was trying to decide what to do with it. Cabbage has may possibilities—I could boil it, steam it, saute it, make soup with it… But I was bored with all those options. I wanted to do something different.
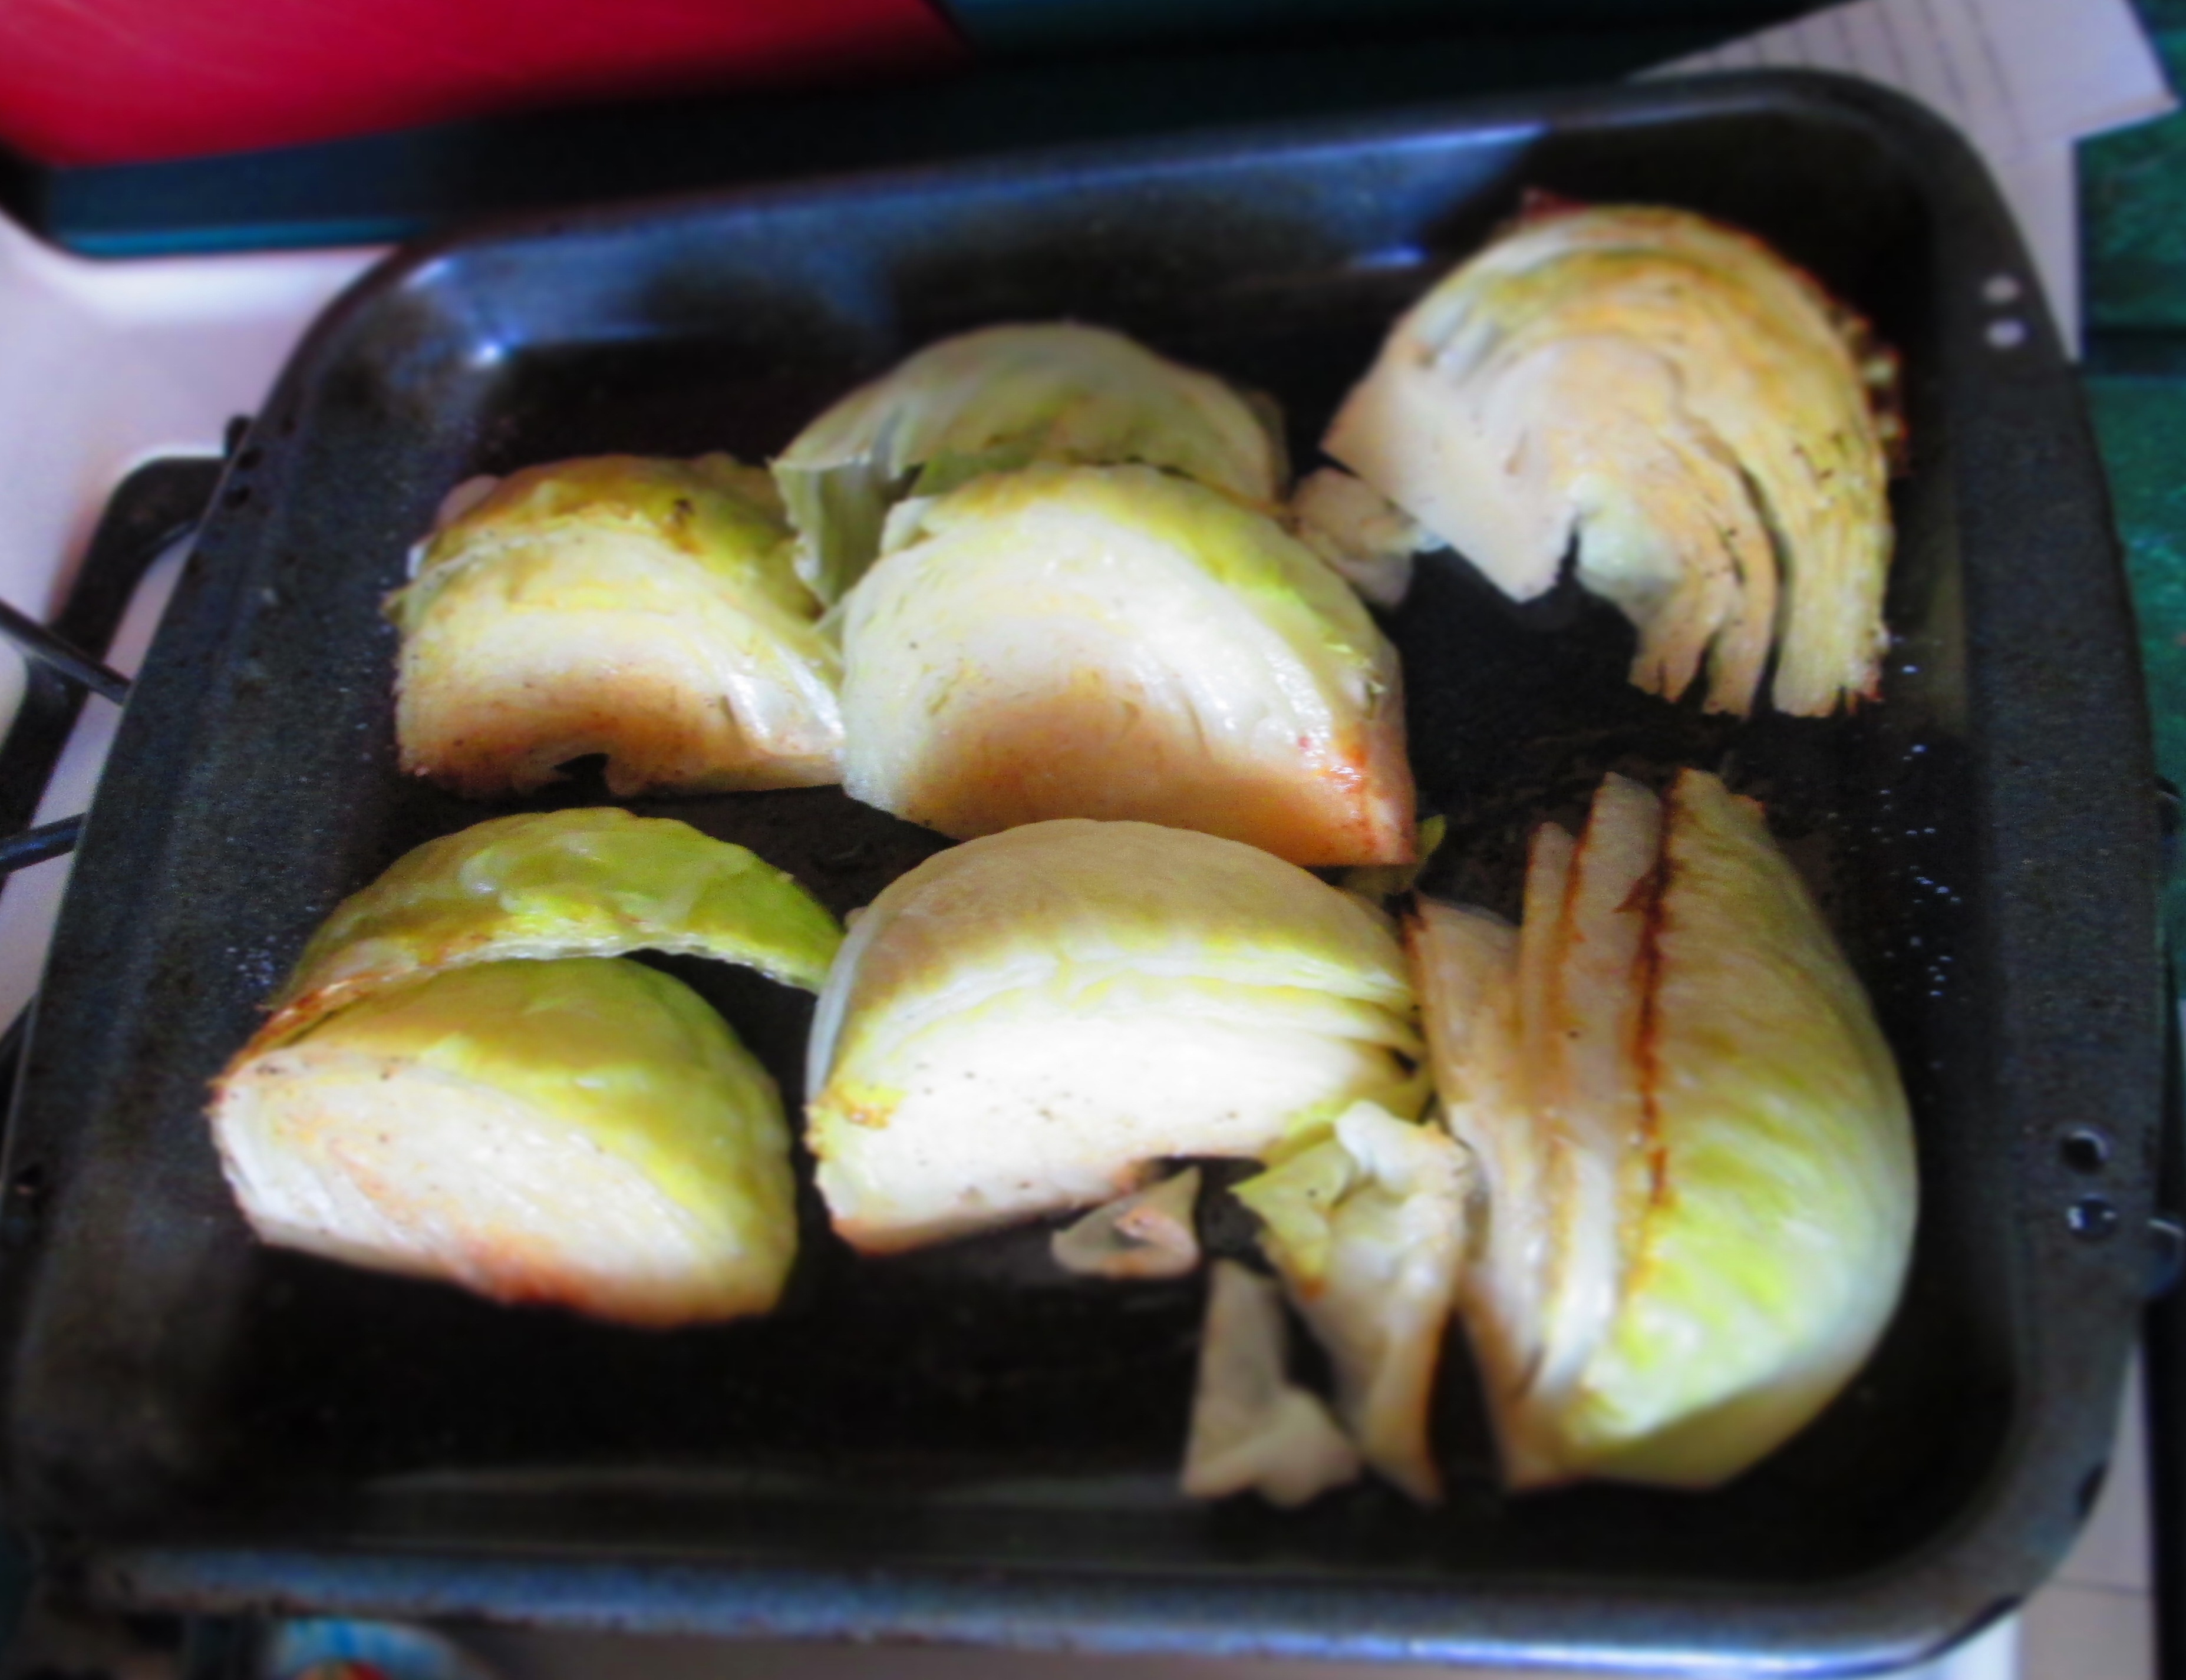
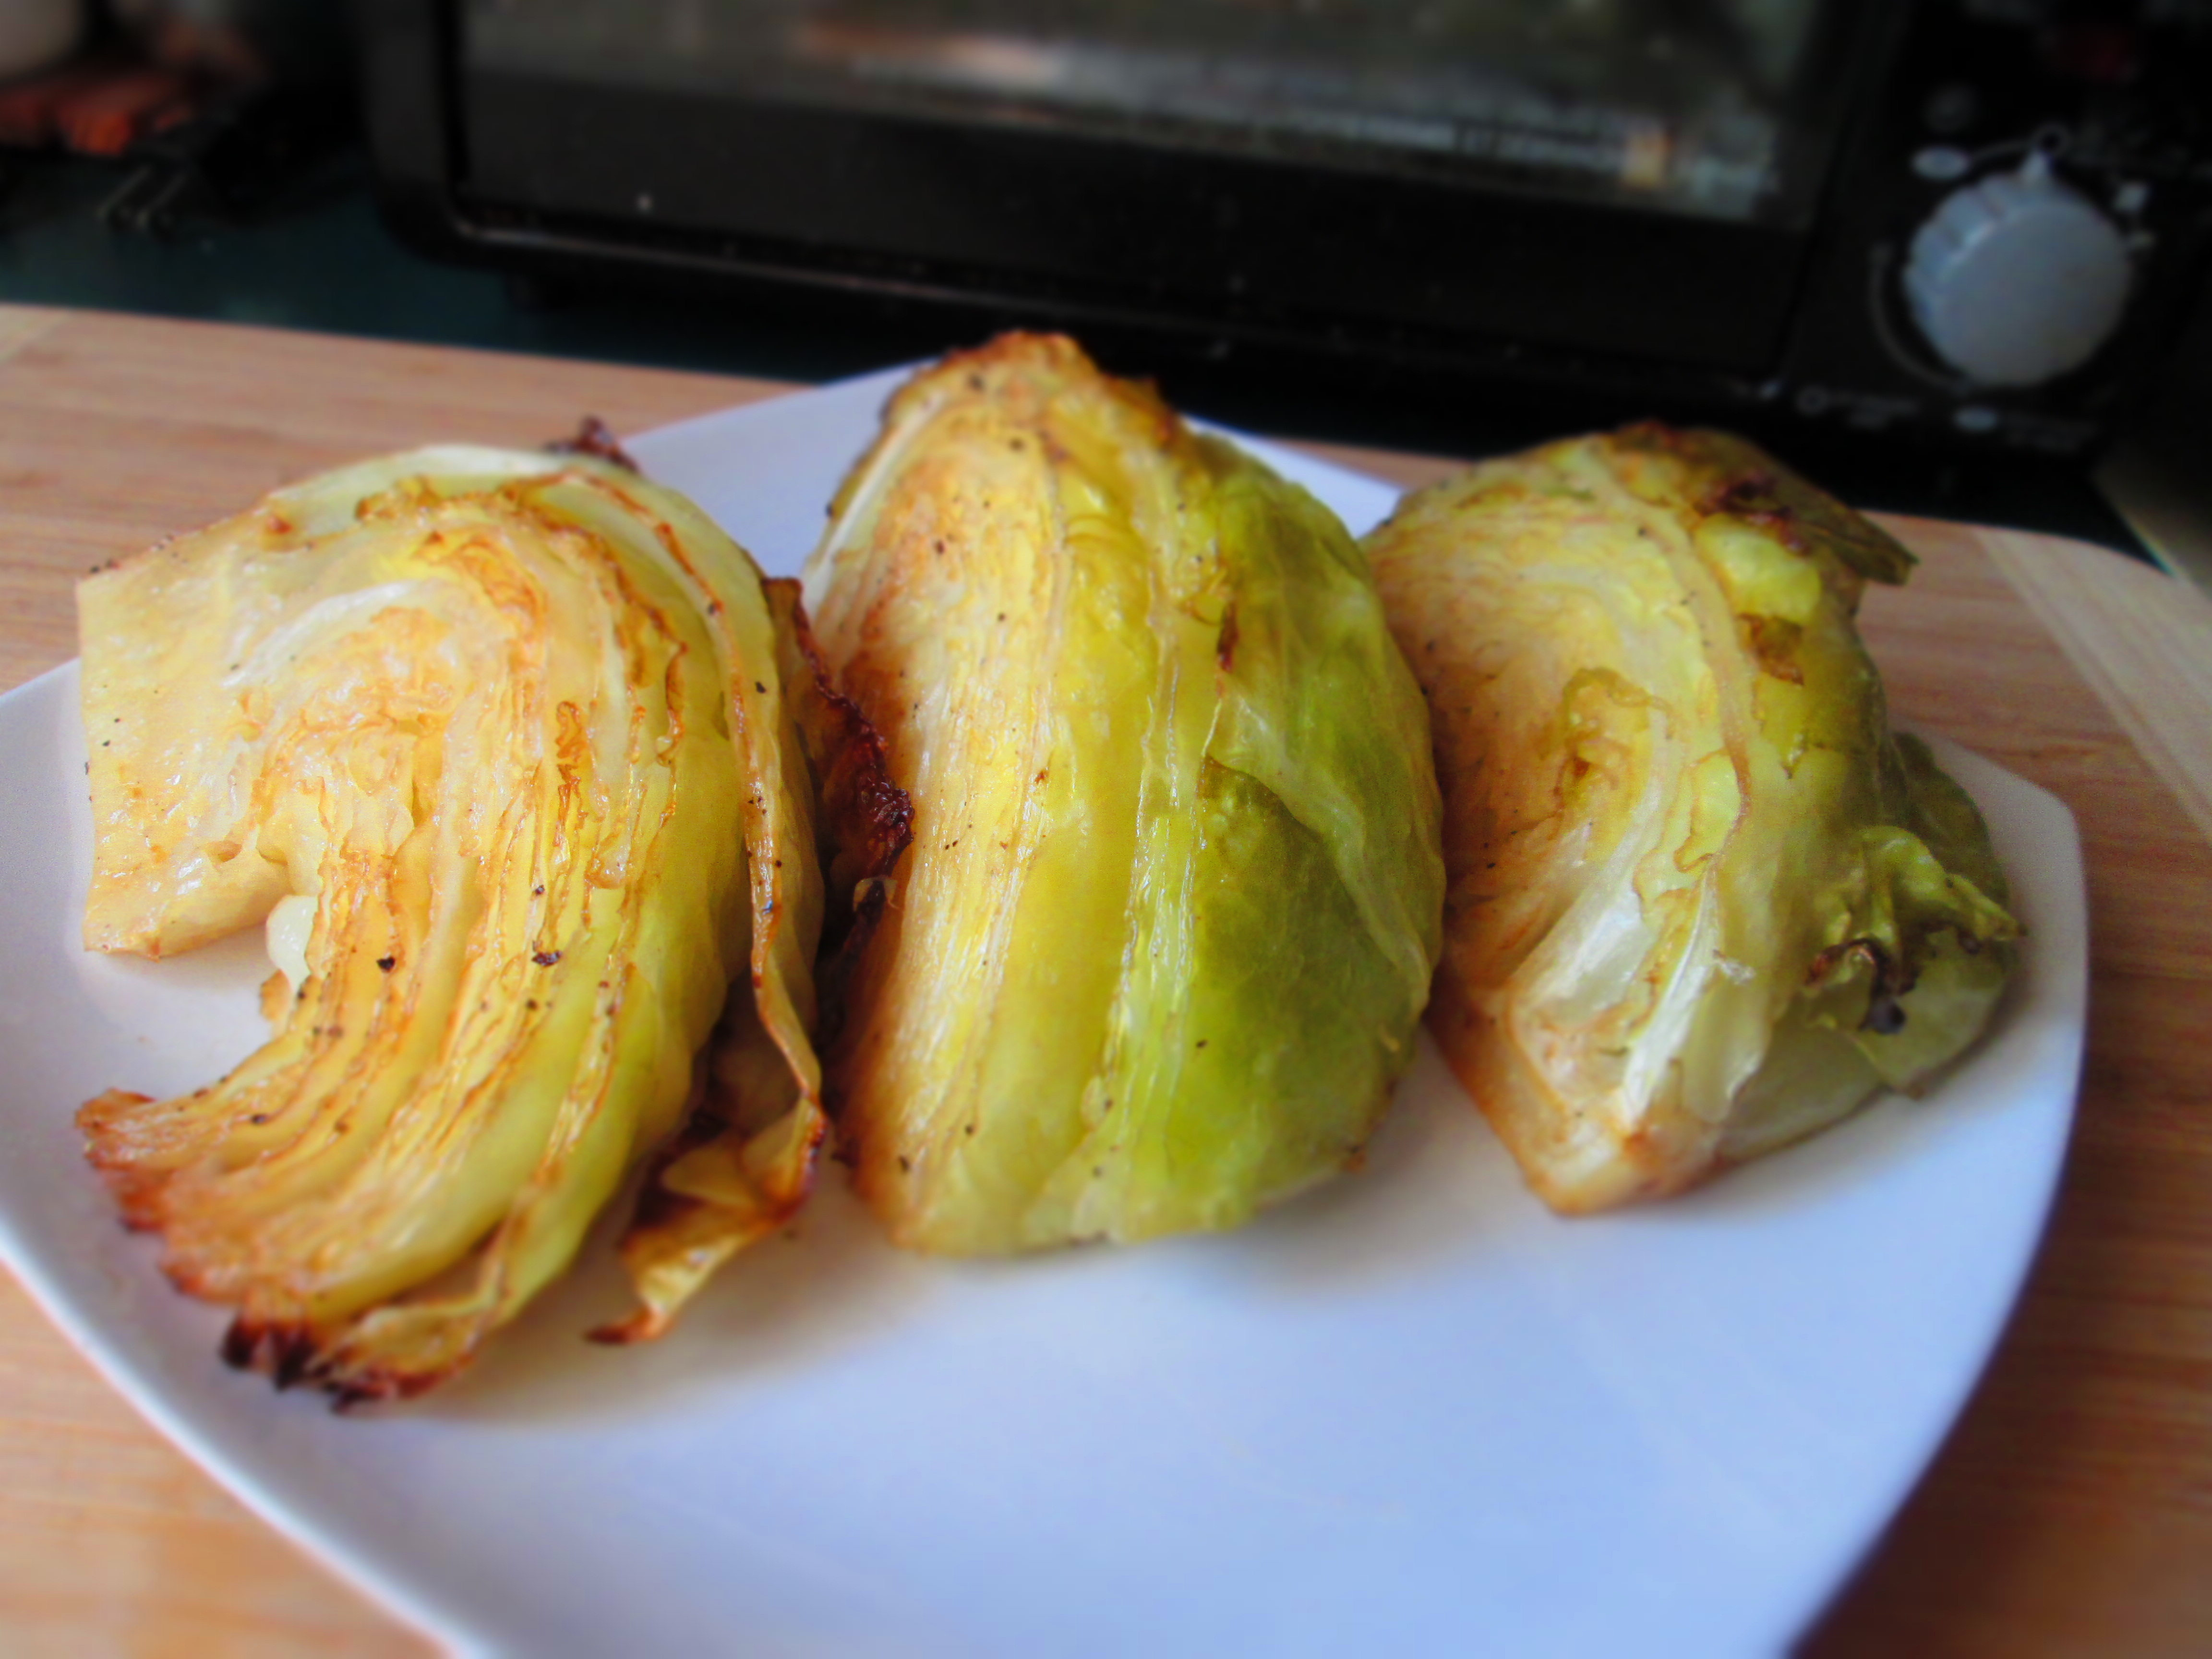
And that’s when it hit me. Roast it. I cut it up, coated the pieces with olive oil, salt, and pepper. Then I roasted them at 350 F. The result? Delicious. The cabbage was tender, toasty brown, and so flavorful. I ate it all week long.
Here’s what I did. Give it a try.
Roasted Cabbage
Preheat the oven to 350 degrees.
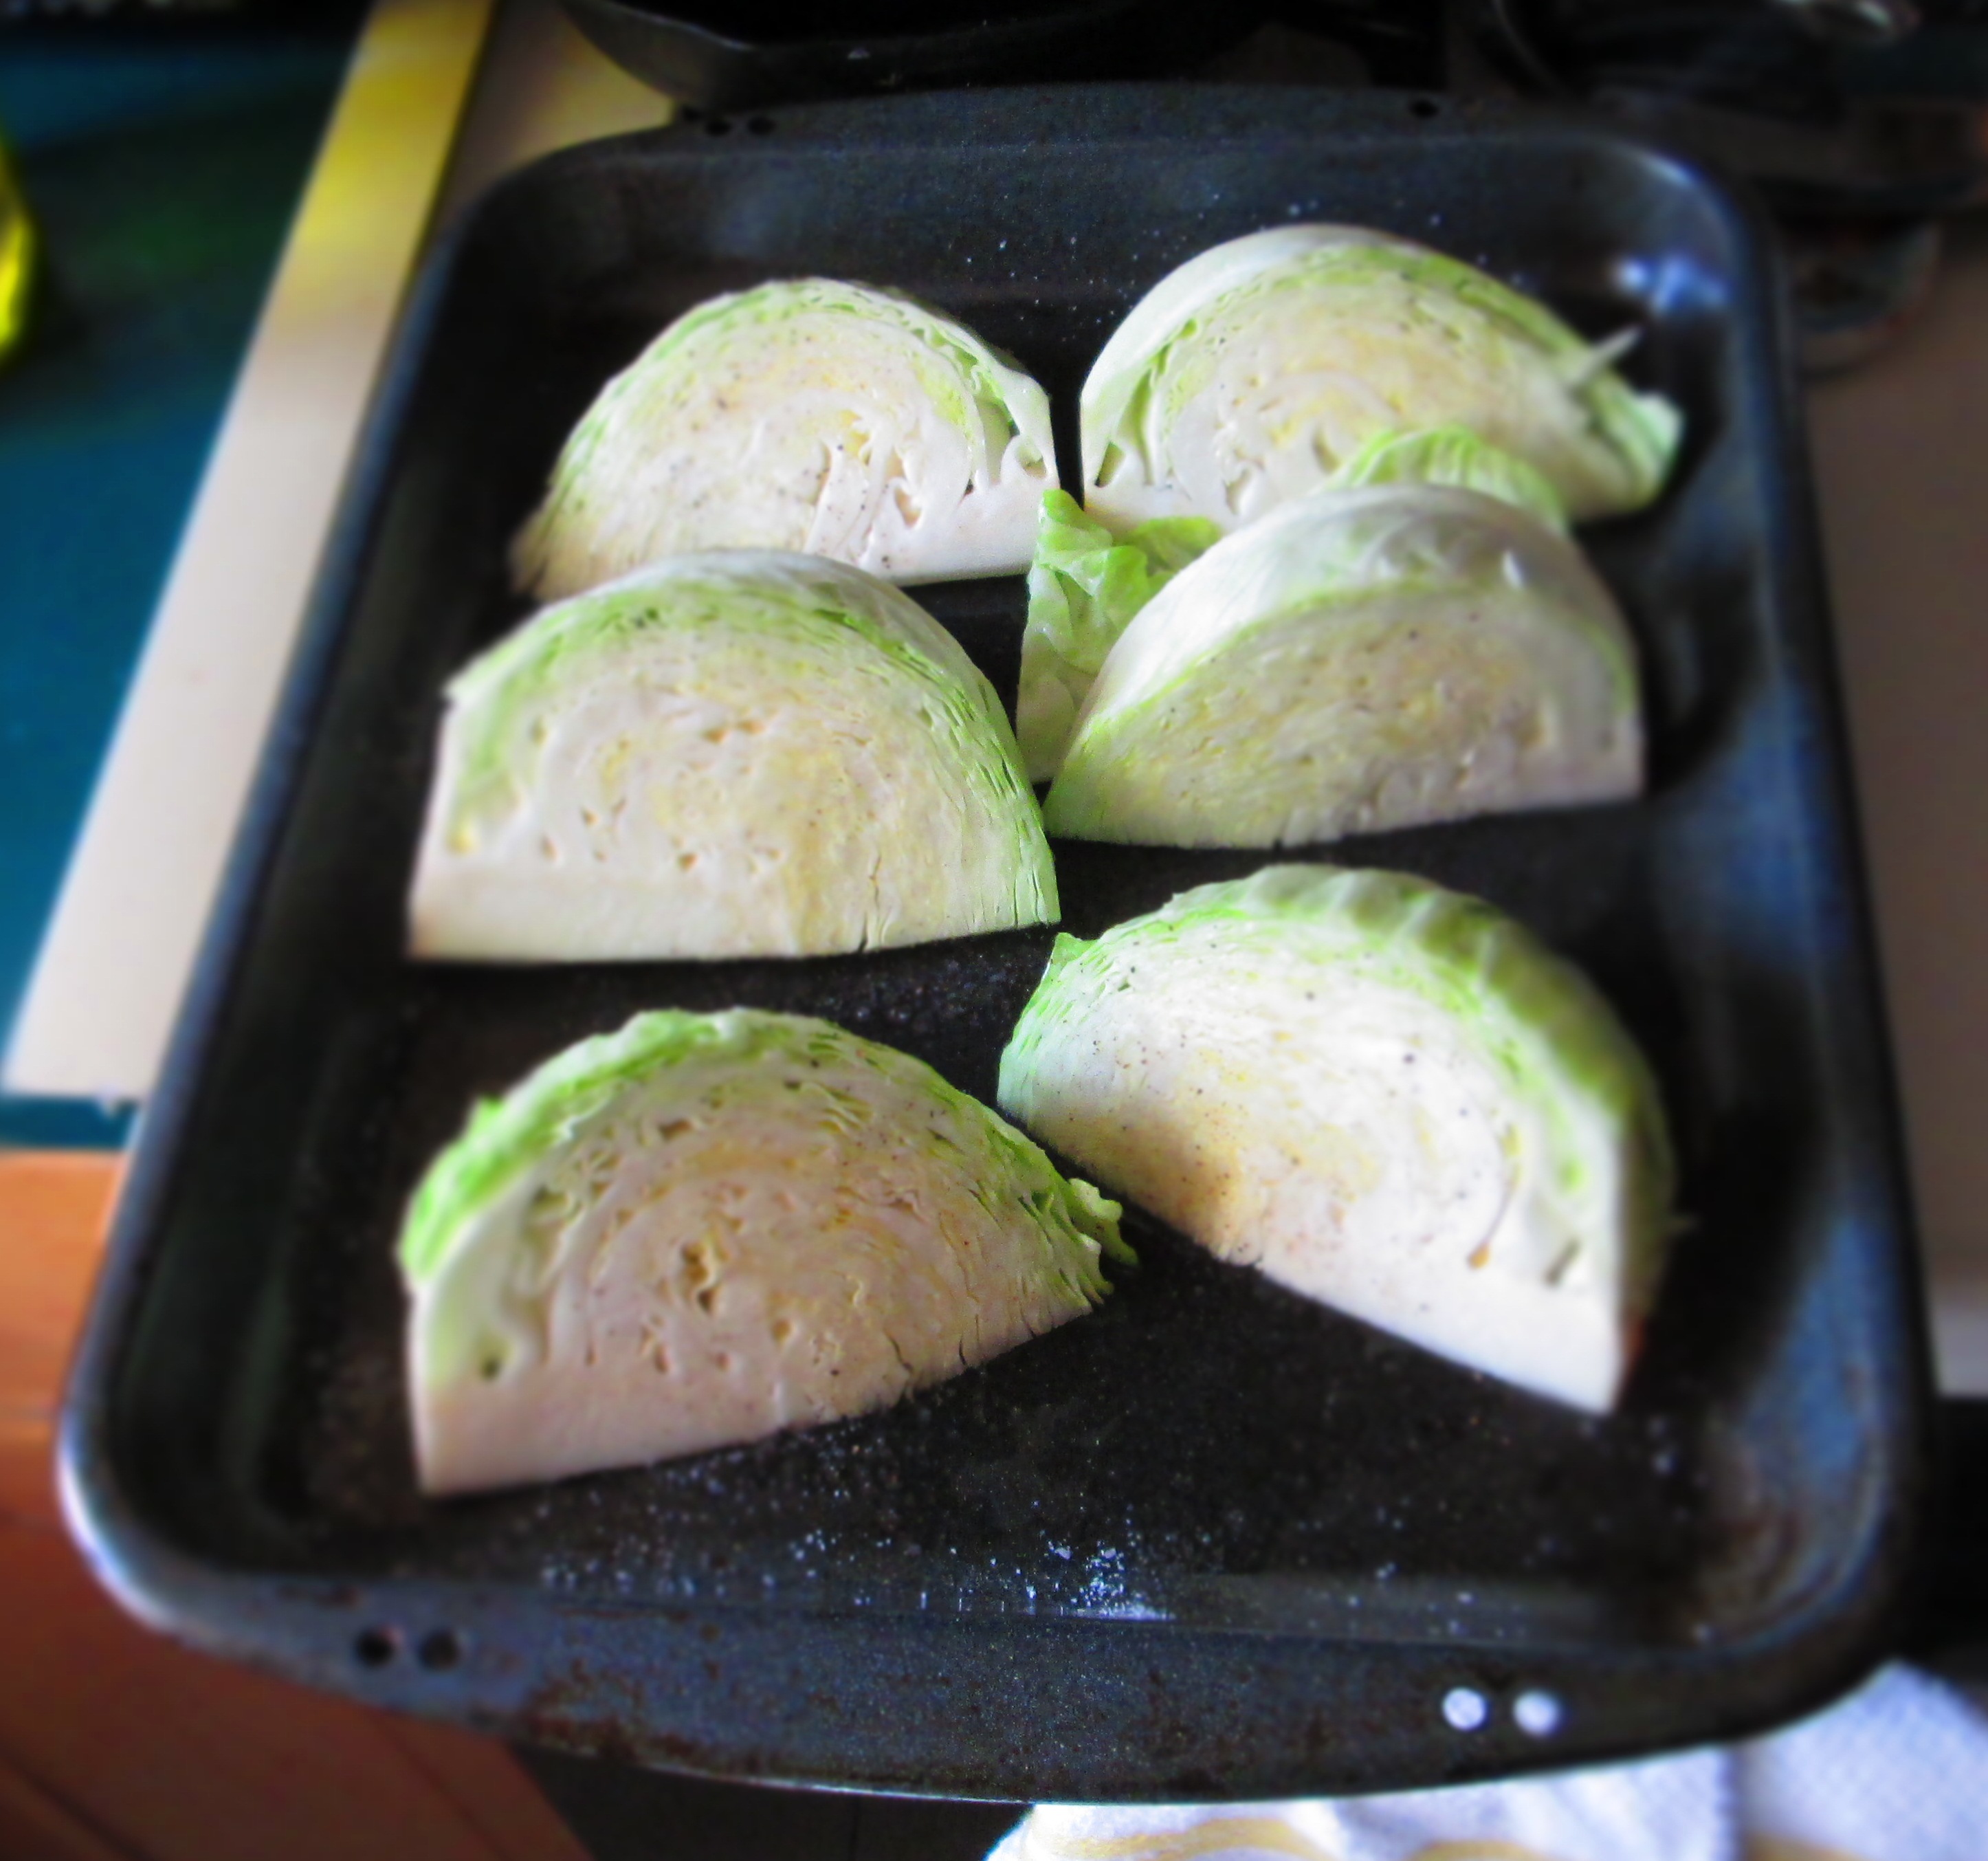
Cut the cabbage in half through the core, then each half in thirds. (If you have a particularly large cabbage, you may want to cut the pieces even further.)Lay the pieces a baking sheet. Pour ¼ cup olive oil over the pieces and use your hands to coat them thoroughly. Sprinkle them with salt and pepper.Cover with foil and bake for 15 minutes.Turn the pieces over and cover again with foil. Bake another 15 minutes.Uncover the pan and roast 10 to 15 minutes, or until tender (it will depend on the size of your pieces).
You might be wondering why I’ve given this cake the alternate name of Space Cake. Or maybe you’re not, but I’m going to tell you anyway.
I went into my local kosher market to pick up a few specific things (it’s the only place I know of that carries my favorite hummus). As I do in any market, I started looking around to see if there was anything new and/or unusual, anything I haven’t tried before. And I was rewarded for my efforts.
I found a bottle of peanut butter powder. Yes, that’s correct. Peanut butter that has been dehydrated and turned into powder. Curiosity overcame me and, of course, I had to buy it. To use it, you mix the powder with water until it’s a paste. When I did that, I have to say that it looked, smelled, and tasted like peanut butter.
What is rice-cake pudding? you ask. I’m going to tell you.
I recently found in an Asian market another product that I had never seen before: rice cakes. Not the round disks of puffed rice that dieters have been munching on for decades, but flattened oval, kind of paddle-shaped, disks made from pounded sticky rice. Of course, I bought some.I had absolutely no idea at the time what I was supposed to do with these, so I looked around a bit. I saw a few recipes where the rice cakes are sautéed or stir fried with other vegetables, and that’s something that I’m going to try. But according to the package, they can be fried for a popped rick cake snack, to which you can add “highly tasteful or plain ingredients” for “indeed a favourable dish either for entertainment or for home meal.”Well, how could I not give it a try? I fried a small batch in oil and, as you can see in the photo below, they do puff up. I fried them until they were golden brown, at which point they are quite crisp but hard. Not unpleasantly hard—some people like that, including me. The ones that were more lightly fried had a flakier texture. A sprinkle of sea salt over the top and that was it.
So there you have it for fried rice cakes—a lighter fry for flaky/crispy, a longer fry for crunchy/crispy. (Make sure you dry the rice cakes before putting them in the oil. See note below about soaking.)But what I really wanted to try was rice pudding. Would it taste or be anything like regular rice pudding? I made mine with coconut milk and I can honestly say that it came out pretty darn good. What made it truly different from regular rice pudding, though, was the texture. Because the rice is in the form of these paddles that retain their shape, you have something that requires chewing, not just a mashing, as with regular rice pudding. I’m very much about texture where food is concerned, so I enjoyed this more than I normally enjoy rice pudding (never one of my favorite desserts).
If rice pudding is not usually your thing, whether because of the texture or because it’s a “milky” dish (another reason why I don’t usually care for it), try my recipe below. You might just like it.
So this is my coconut rice-cake pudding. It’s vegan, gluten free, and dairy free. Give it a go, and let me know what you think. Enjoy!
Coconut Rice-Cake Pudding
Note that the rice cakes have to soak in water a minimum of 12 hours or overnight before using them in any recipe.
Makes 2 servings.
2 ounces (about 2 cups) rice cakes
1 cinnamon stick
2 cups coconut milk
½ cup coconut water or plain water
¼- 1/3 cup sugar (based on your sweetness preference)
½ teaspoon kosher salt
½ teaspoon vanilla extract
Garnish: Cinnamon and coconut flakes
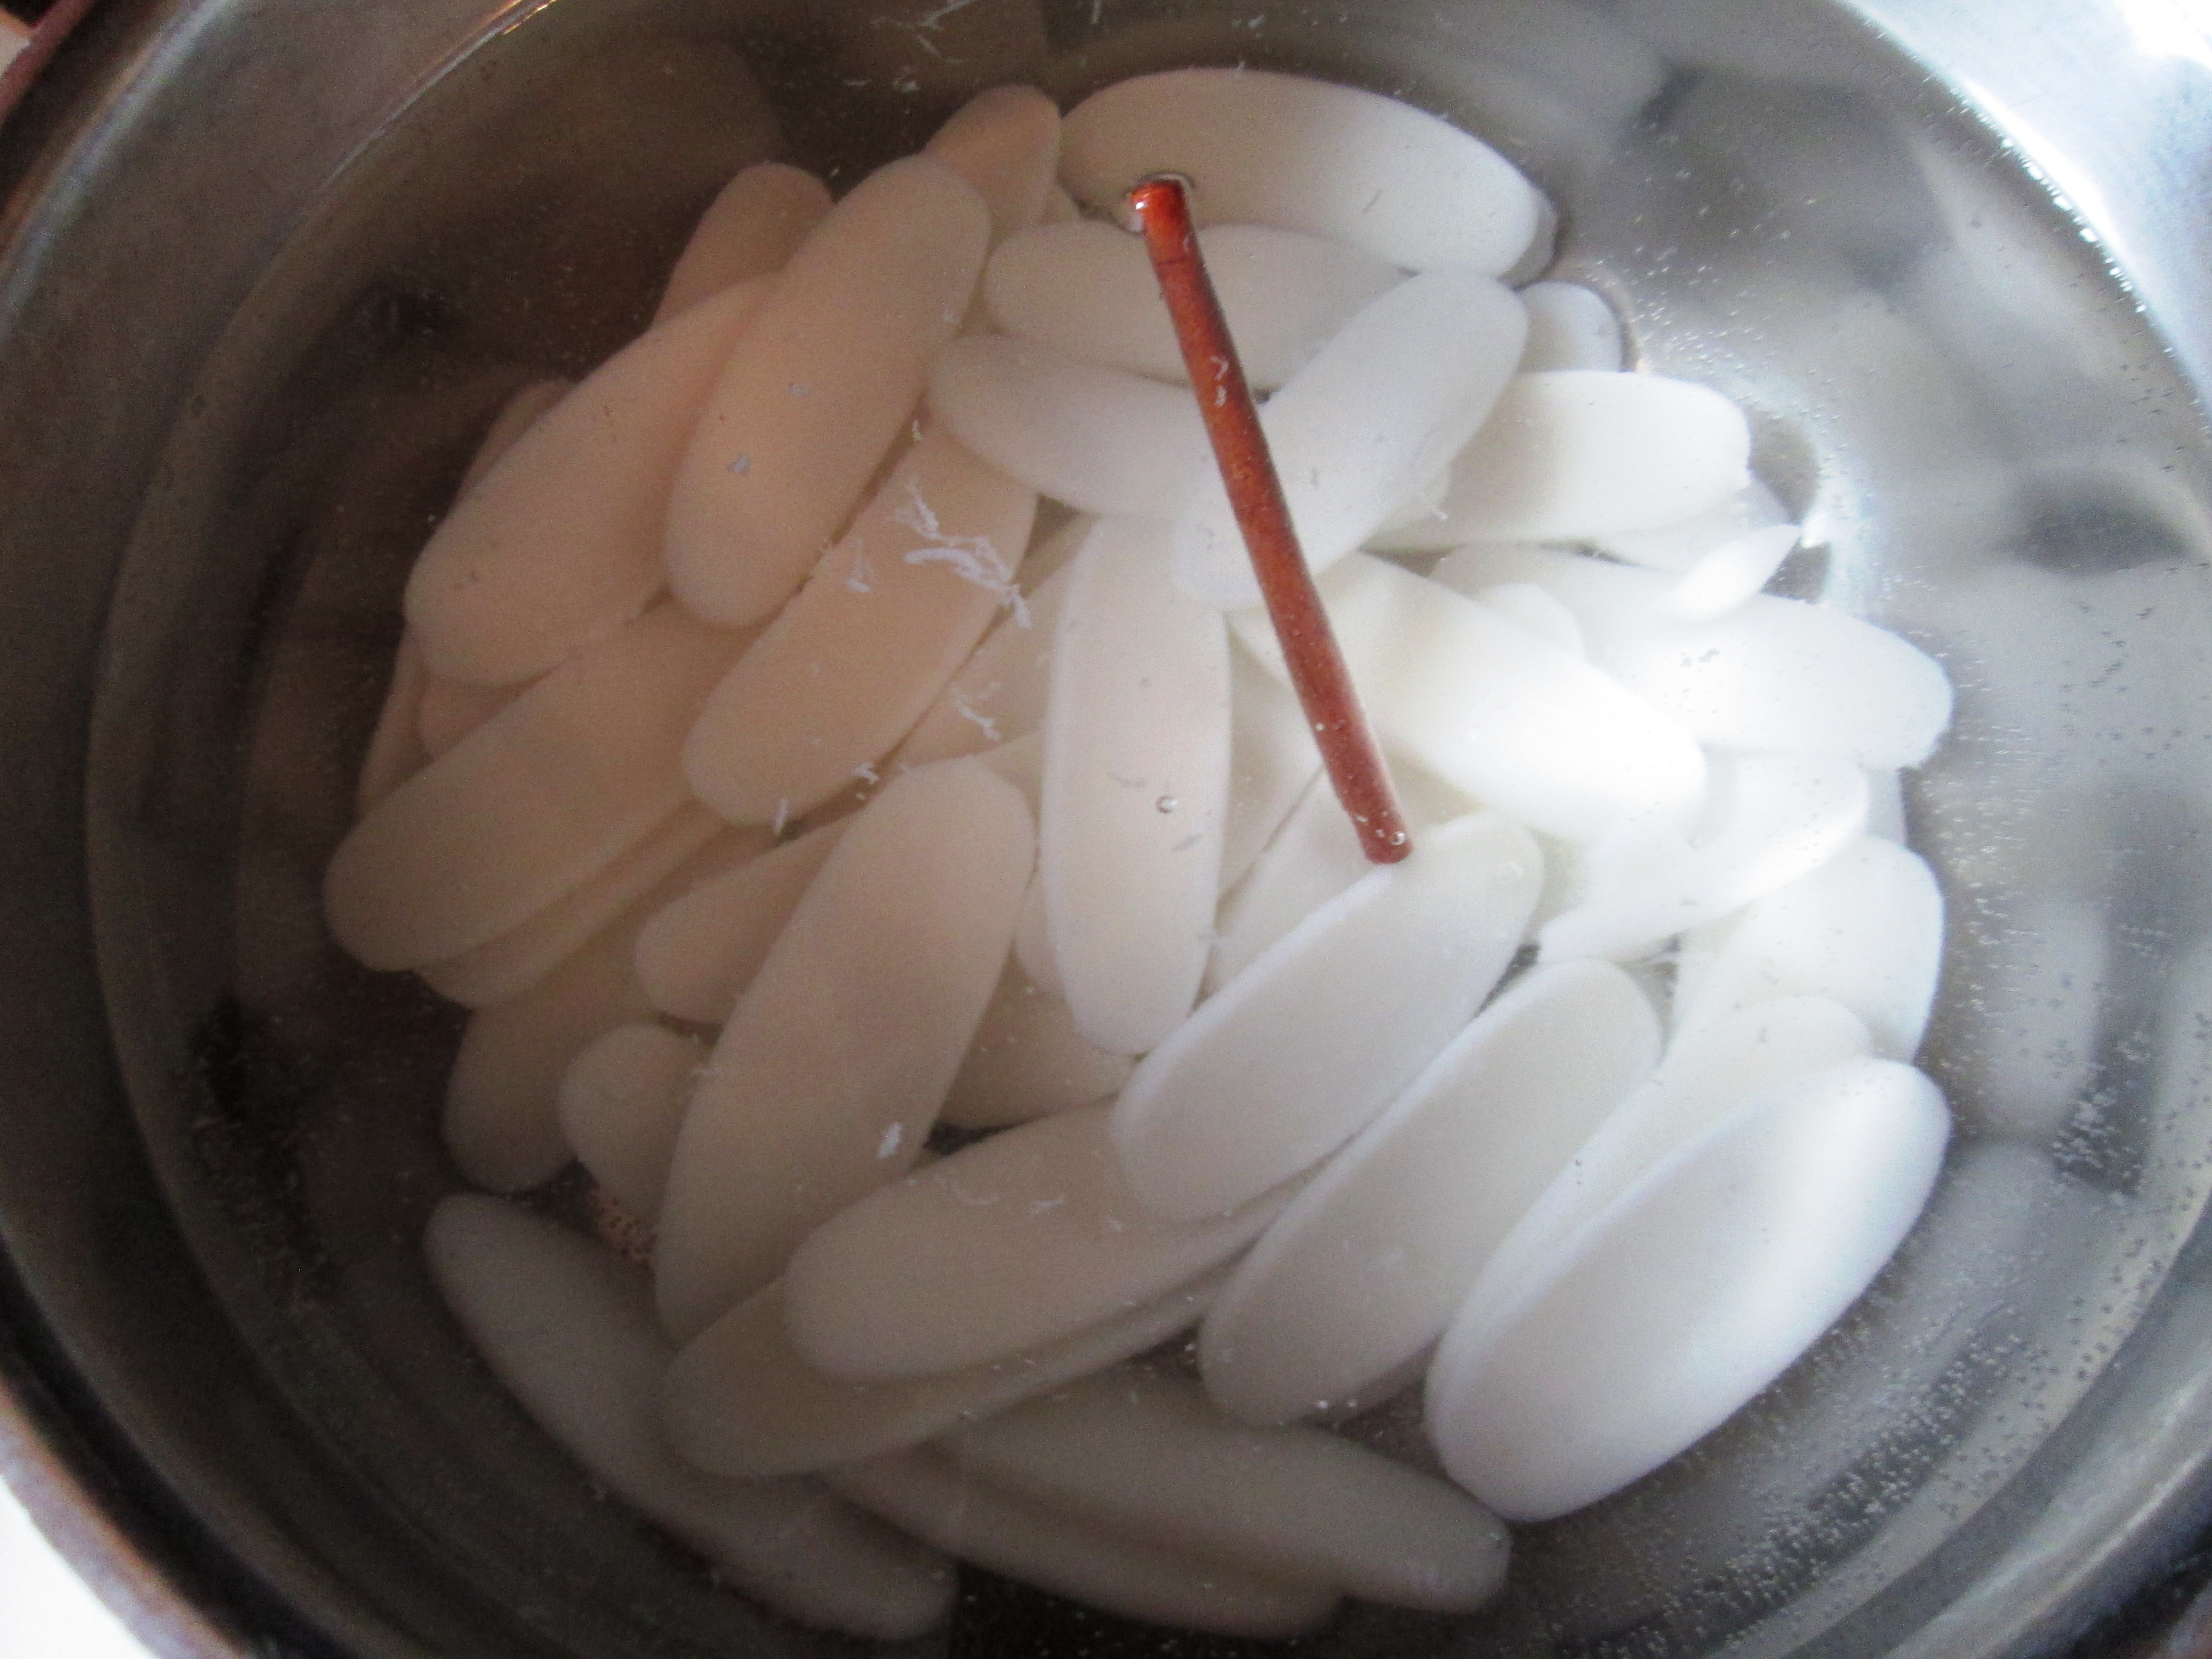
Place the rice cakes in a bowl with enough water to cover by about an inch for a small amount or 2 inches for an entire bag. Cover and let soak in refrigerator at least 12 hours or overnight.
Rice cakes after soaking overnight
Drain the rice cakes and place them, along with the cinnamon stick, in a medium saucepan with water to cover. Bring to a boil; lower the heat to low and simmer 5 minutes.Drain and return the rice cakes and cinnamon to the pot. Add the coconut milk, coconut water, sugar, salt, and vanilla. Bring to a boil; lower heat to low and simmer, partially covered, until thick and creamy, about 45 to 55 minutes. Stir frequently, especially in the last 15 minutes of cooking.
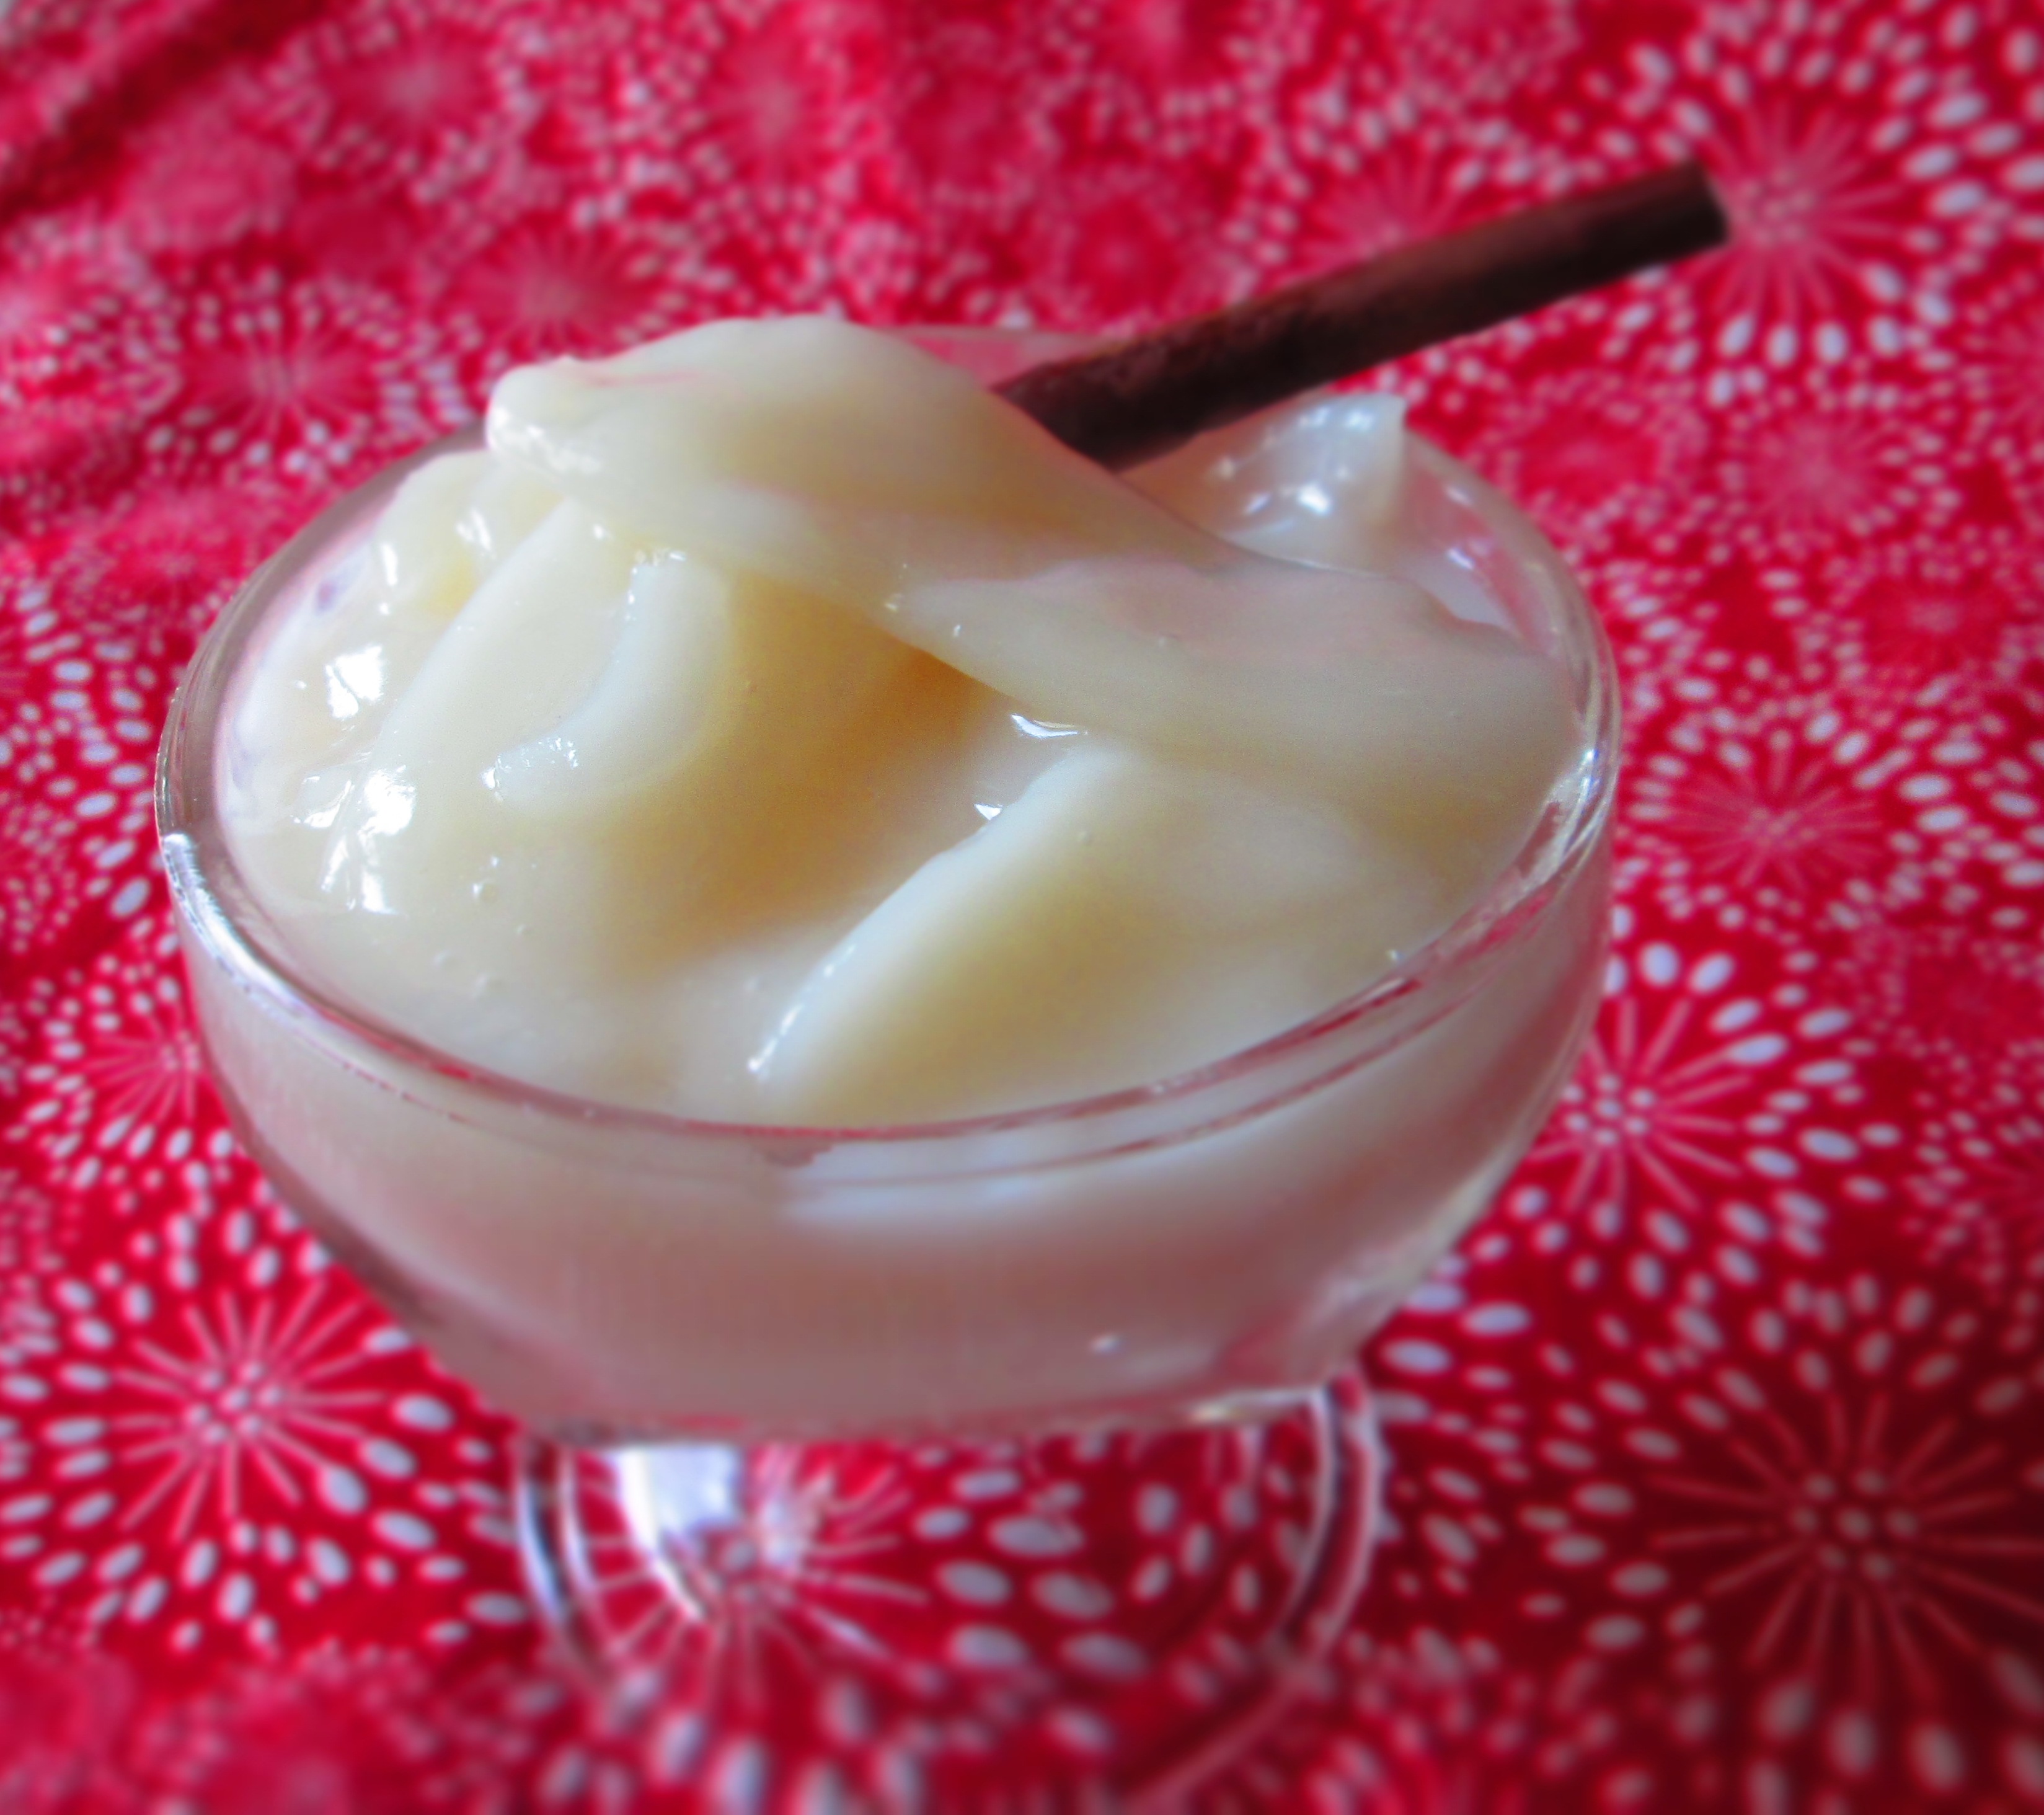
Divide the pudding between 2 pudding dishes and garnish with cinnamon and/or coconut flakes.
(I left my pudding unadorned in the photos so that you can see how the rice cakes retained their shape.)
Bok choy is part of the brassica family, also commonly called cruciferous vegetables. Other members of the brassica family are broccoli, cauliflower, cabbage, and Brussels sprouts. Cruciferous vegetables are known for their many health advantages, such as fighting cancer, heart disease, osteoporosis, strokes, and bad cholesterol. They are high in soluble fiber, antioxidants (vitamin C and beta-carotene), and the B vitamins.
Most Americans are familiar with bok choy as a vegetable in their stir fries. But it’s also great as a side dish on its own. Here are two very simple and quick ways to prepare bok choy to have with rice or noodles or on the side of just about any entrée.
There are many different types of Asian cabbages, and in an Asian market, you will find many different kinds side by side. All of them can be prepared in these two ways.
For 1 pound bok choy, wash thoroughly (grit gets trapped inside the leaves).
Recipes make approximately 6 servings. Enjoy!
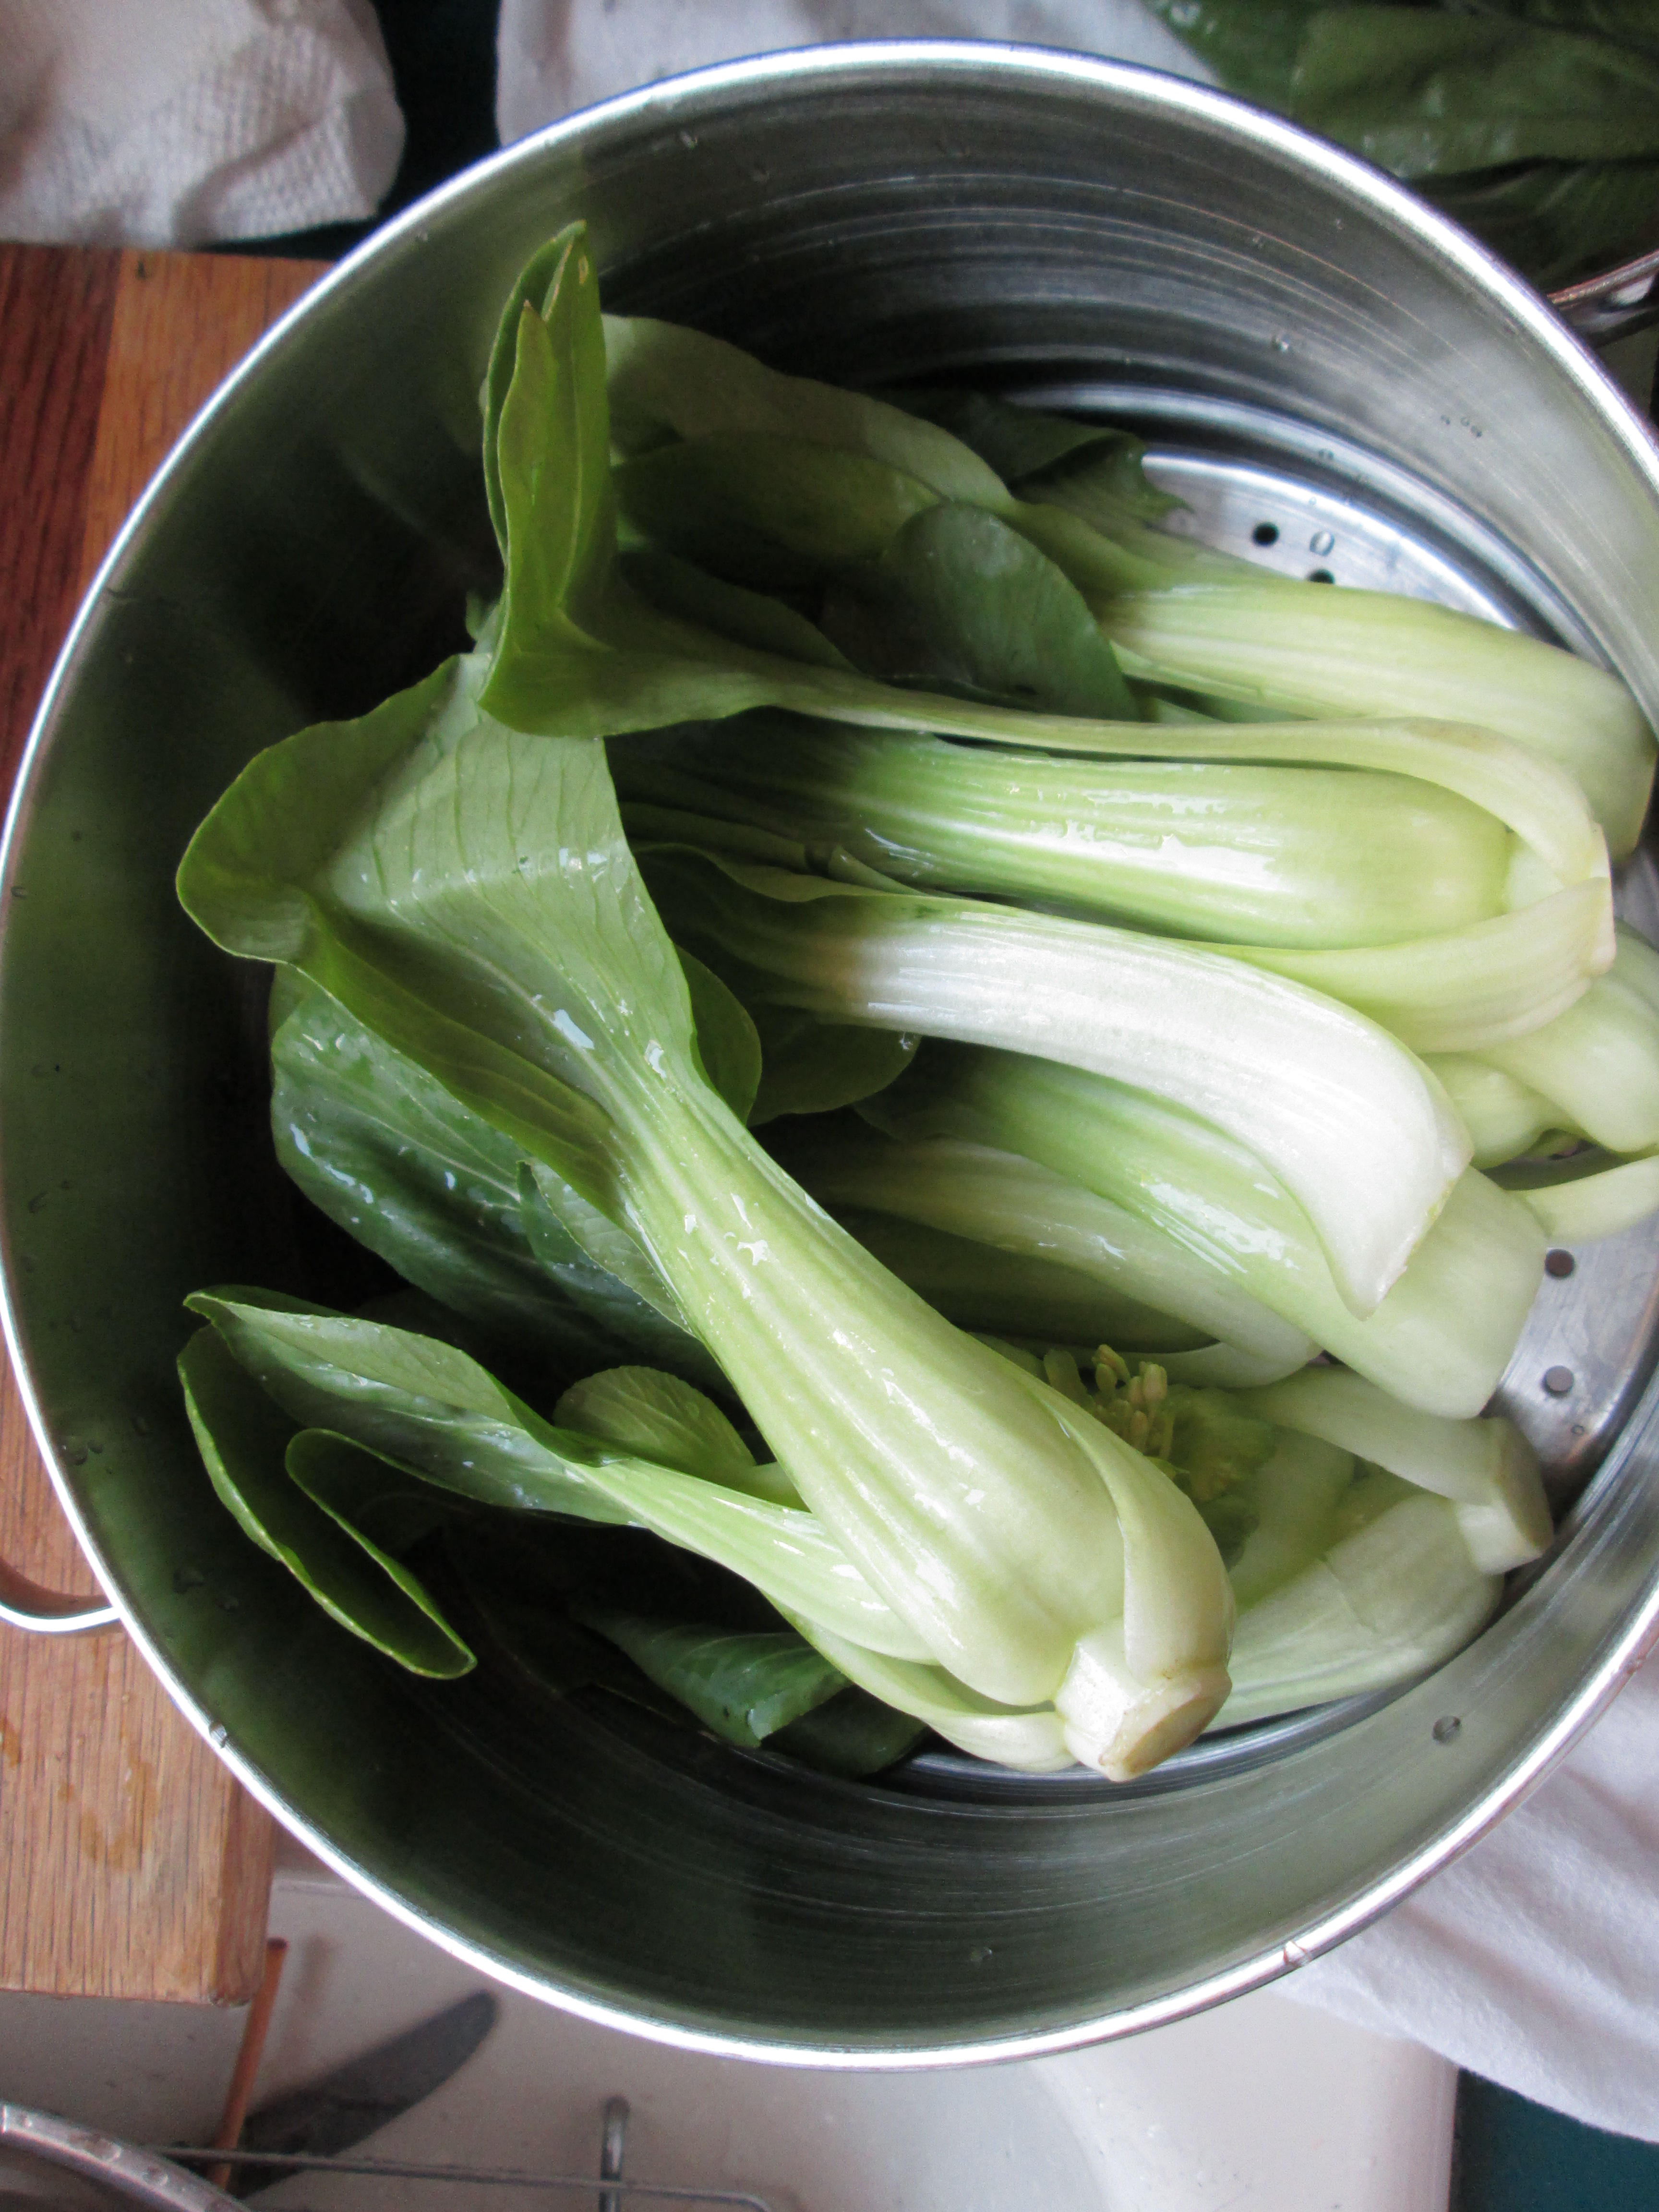
Steamed
Bring about 1 to 2 inches of water to a boil in the bottom of a steamer pot. Place bok choy in the steamer rack. Lower the heat to medium-low and simmer until bok choy is tender when pierced with a fork, about 10 minutes.Transfer to a serving plate. Sprinkle with salt and pepper, as desired. Drizzle with 1 tablespoon toasted sesame oil. Serve hot.
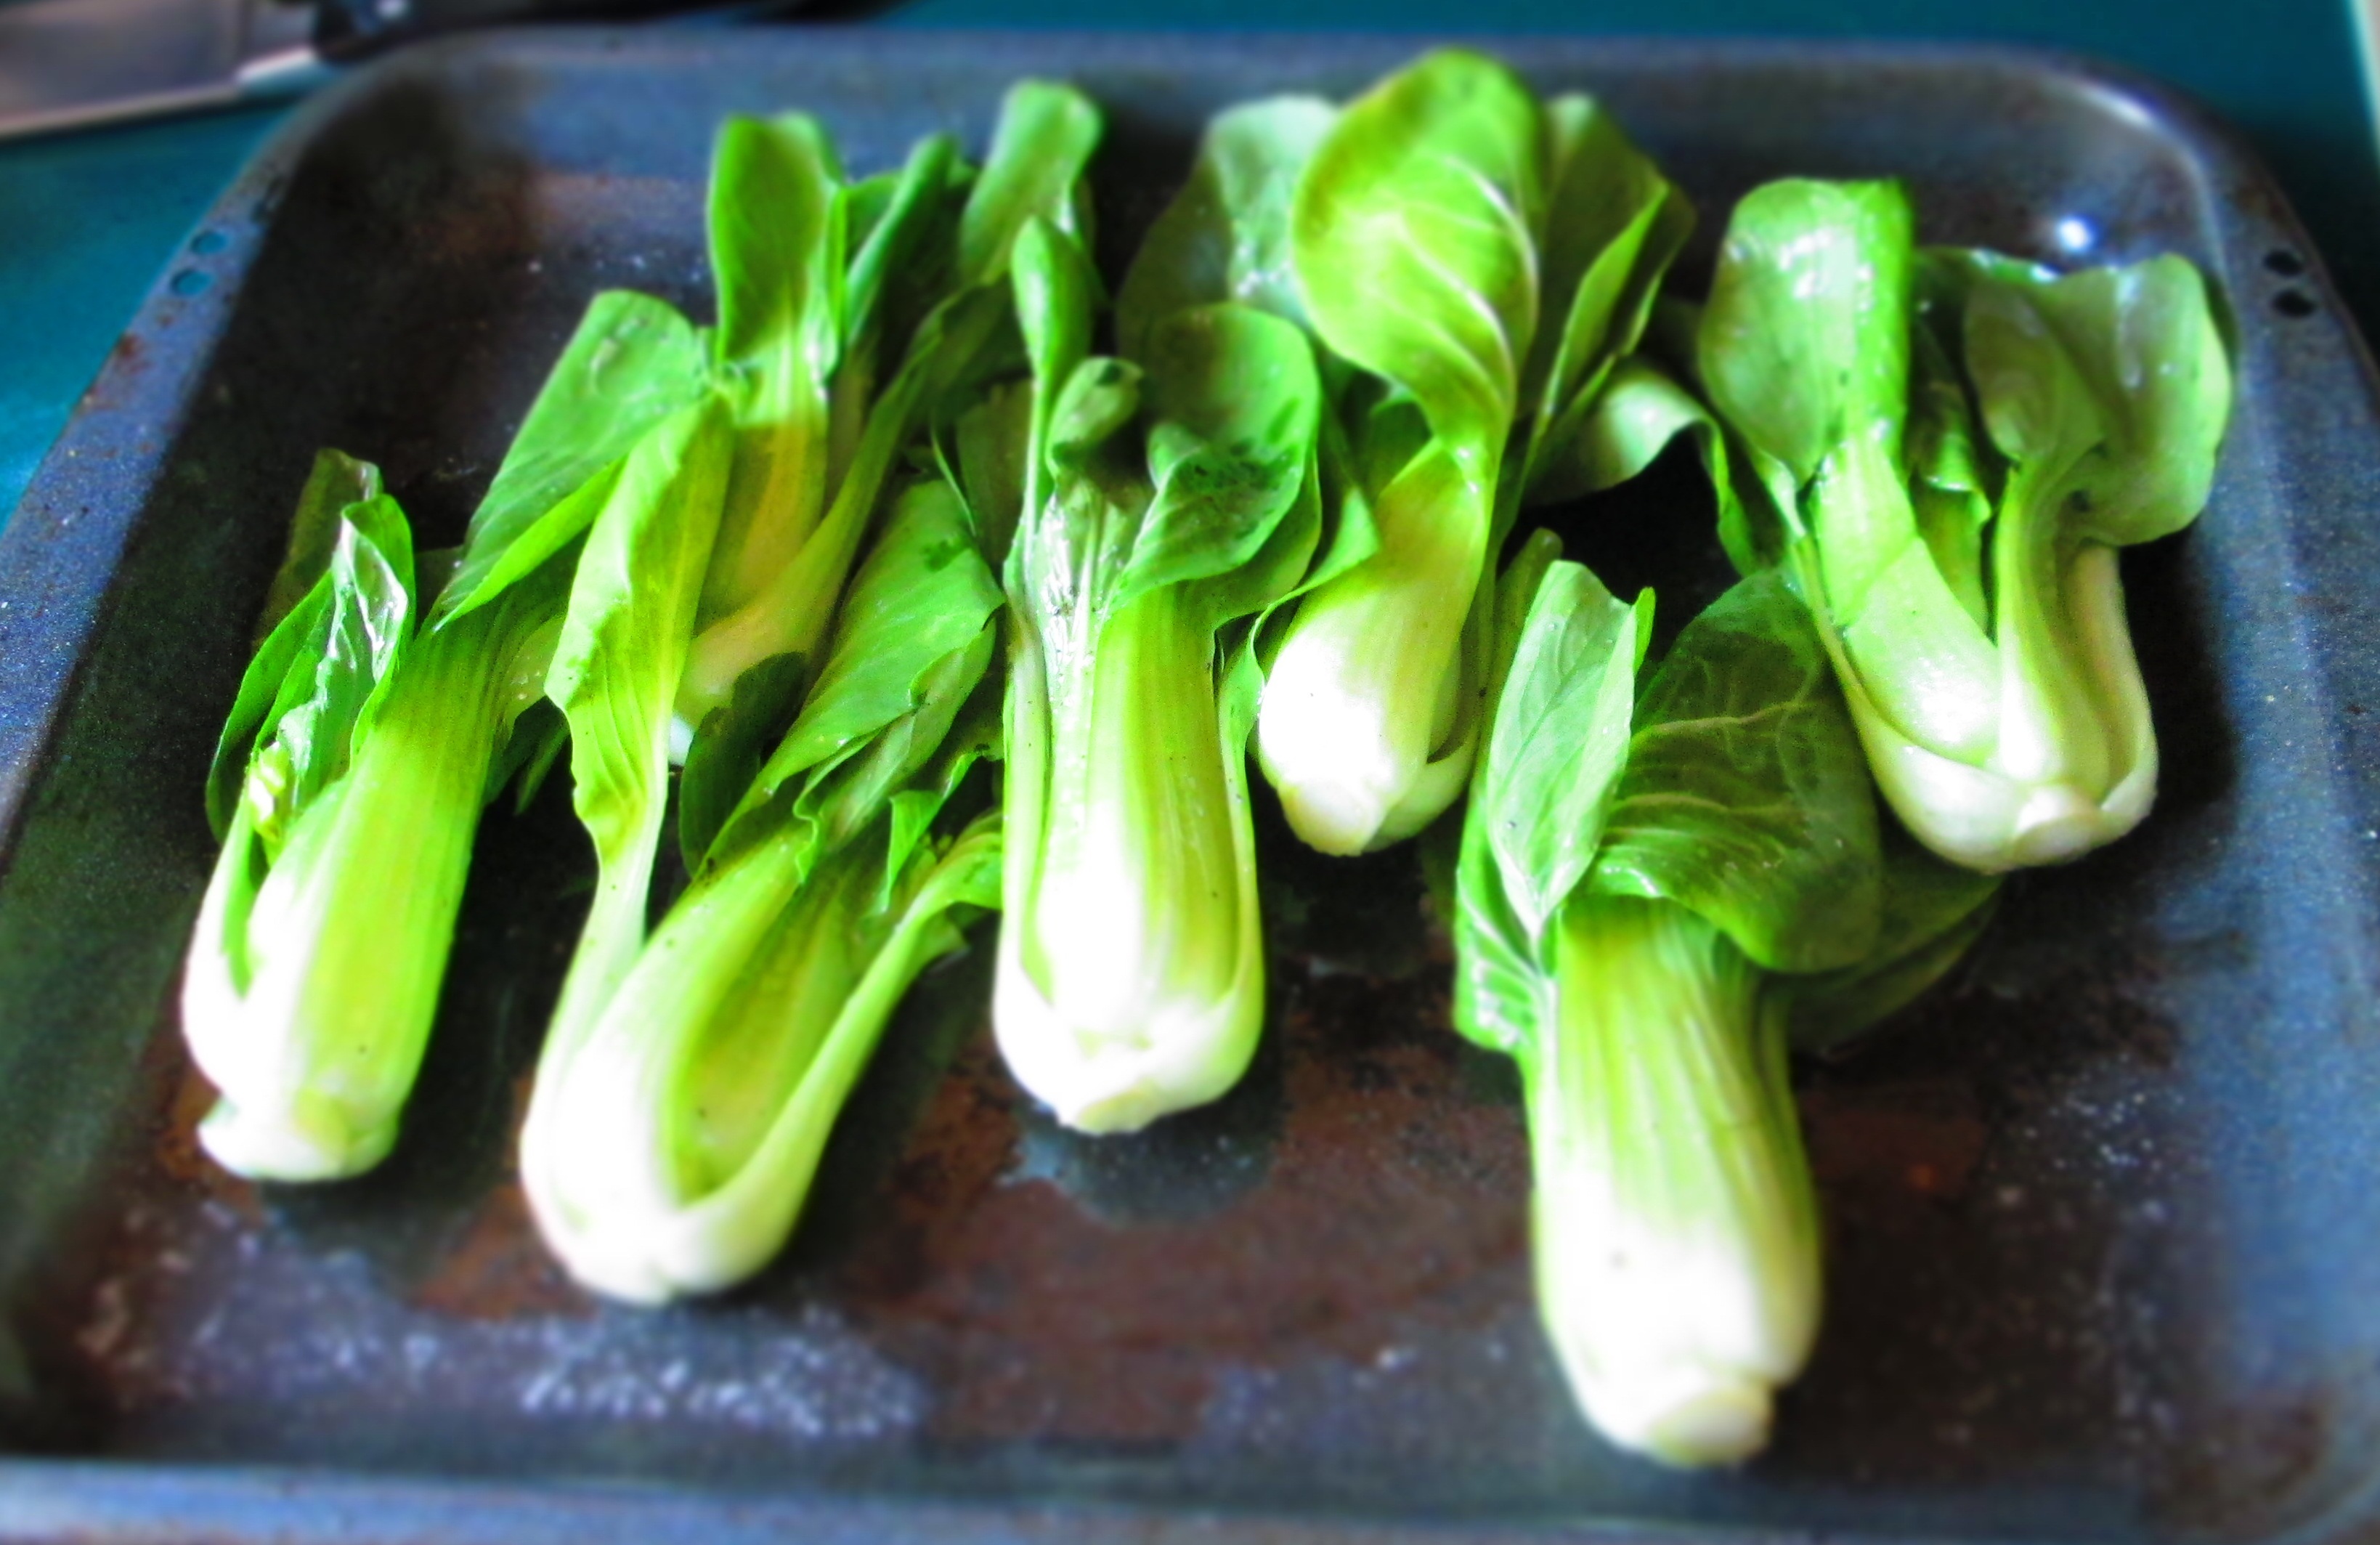
Roasted
Preheat oven to 350 degrees. F.
Thoroughly dry bok choy on kitchen towels. Place bok choy in a roasting pan. Pour about ½ cup olive oil over them, 2 teaspoons kosher salt, and freshly ground black pepper to taste. Mix everything together with your hands, making sure that all bok choy leaves are coated with oil. Spread them out as evenly as possible in the baking pan.
Roast until they’re tender and begins to brown, about 10 to 15 minutes. Turn them over and roast another 5 minutes to brown other side. Transfer to a serving platter. Serve hot.
Earlier this year, I learned about Barnraiser.us, whose mission it is to promote sustainable farming by raising and providing funds for farmers and food producers who want to provide sustainable products. When they were helping Carole Morison, a farmer, go free range, I contributed an egg recipe for a promotional collection they were putting together. I thought I’d share it with you.
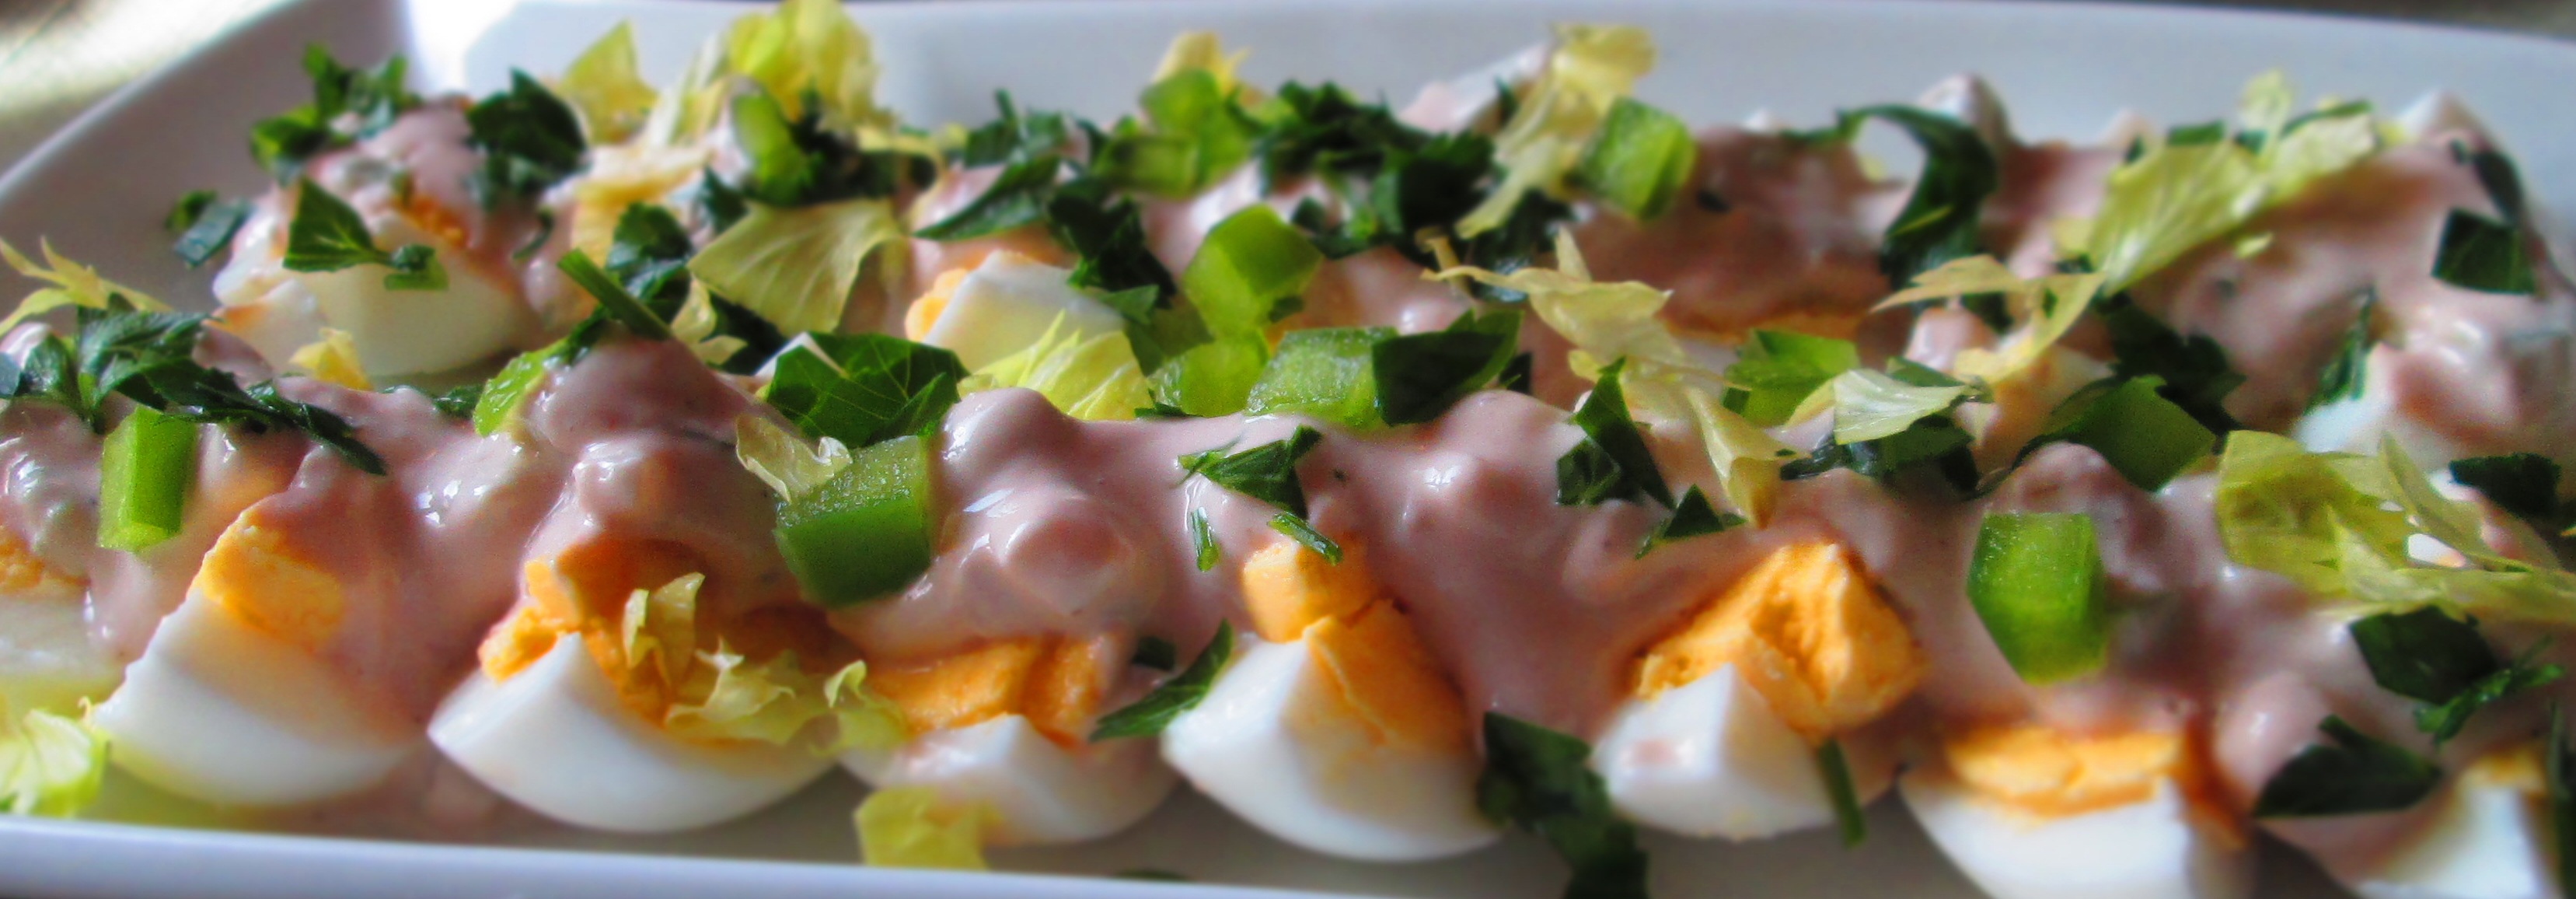
This is a cross between deviled eggs and egg salad. What makes this egg salad special is the dressing, which bursts with flavor, partly from the balsamic vinegar and partly from the mustard, and it’s healthier because rather than using the typical mayonnaise, I used Greek yogurt.
Choose a good-quality, flavored mustard—I first tried this with a wonderful bourbon-molasses mustard and it was a huge hit. Also, I suggest using whole-milk yogurt because low- or non-fat yogurt can be tarter and grainier than whole milk yogurt.
Try this at your next party, barbecue, or picnic. Enjoy!
Bedeviled Egg Salad
12 eggs
1 teaspoon sea salt, plus more
½ cup Geek yogurt
2 tablespoons balsamic vinegar
2 tablespoons minced shallot
1 teaspoon flavored mustard (like honey, beer, or bourbon or a fruit mustard)
1/3 cup finely minced celery
2 tablespoons minced green pepper
Black pepper to taste
Garnish: slivered red onion, chopped green pepper, minced parsley and/or celery leaves
Place the eggs in a pot big enough to hold them without crowding them. Fill pot with cold water to cover by at least an inch. Add ½ teaspoon salt. Cover and bring to a boil. Turn off the heat, keep the lid on, and let them sit for 10 minutes off heat.
Meanwhile, in a medium bowl, whisk together yogurt, balsamic vinegar, shallot, mustard, celery, green pepper, pepper, and remaining salt. Taste and adjust, as needed. Set aside.
Drain the eggs and place them in a bowl with cold water. Drain and refill with cold water a couple of times. Gently tap and roll the eggs on a counter or plate to crack the shells then place them back in cold water and let them sit about 15 minutes (this allows the water to seep underneath the shells, making them easier to peel).
Peel and rinse to remove all shell remnants. Dry on paper towels. Cut into quarters lengthwise and arrange them neatly on a platter.
Place dollops of the dressing over the eggs, spreading it out so that all the eggs are covered. Garnish as desired. Keep chilled until ready to serve.
In the world of gluten-free baking, things can get complicated. Without wheat flour, you need the right combination of ingredients to create a a cake that is light and flavorful, that has good texture and pleasant mouthfeel. A gluten-free cake can very easily be heavy, dense, bland, gritty, flat, and, at its worst, taste like sawdust.
But when the ingredients come together well, you have something that rivals traditional wheat-flour cake. It won’t taste exactly the same, but it’s just as good.
For some reason, I got it into my head that I wanted to make blue corn muffins, and what follows is my recipe.
But first, let’s talk about corn. Corn is, unfortunately, one of the most genetically modified crops in the United States. Unless you buy corn that is specifically labeled organic, you can be absolutely certain that the corn you just purchased has been genetically modified. And it isn’t just the corn that you eat, it is also the corn that is fed to the animals that you eat, and that means animal products as well—i.e., eggs, cheese, yogurt, etc.
Organic products aren’t cheap, though. Some people who are health conscious but can’t afford to go totally organic have a list of products that, if nothing else, they always buy organic. If you are one of those people, keep corn on that list.
Organic blue cornmeal is available (Arrowhead Mills has it and can be found in Whole Foods, other natural food markets, and sometimes well-stocked supermarkets). However, I wasn’t able to get my hands on organic blue corn meal in time to make the muffins when I wanted to make them. So, I made the conscious decision to use blue corn meal that I picked up at a Latin supermarket near where I work. Having said that, I urge you to use organic corn—in all its forms—whenever possible.
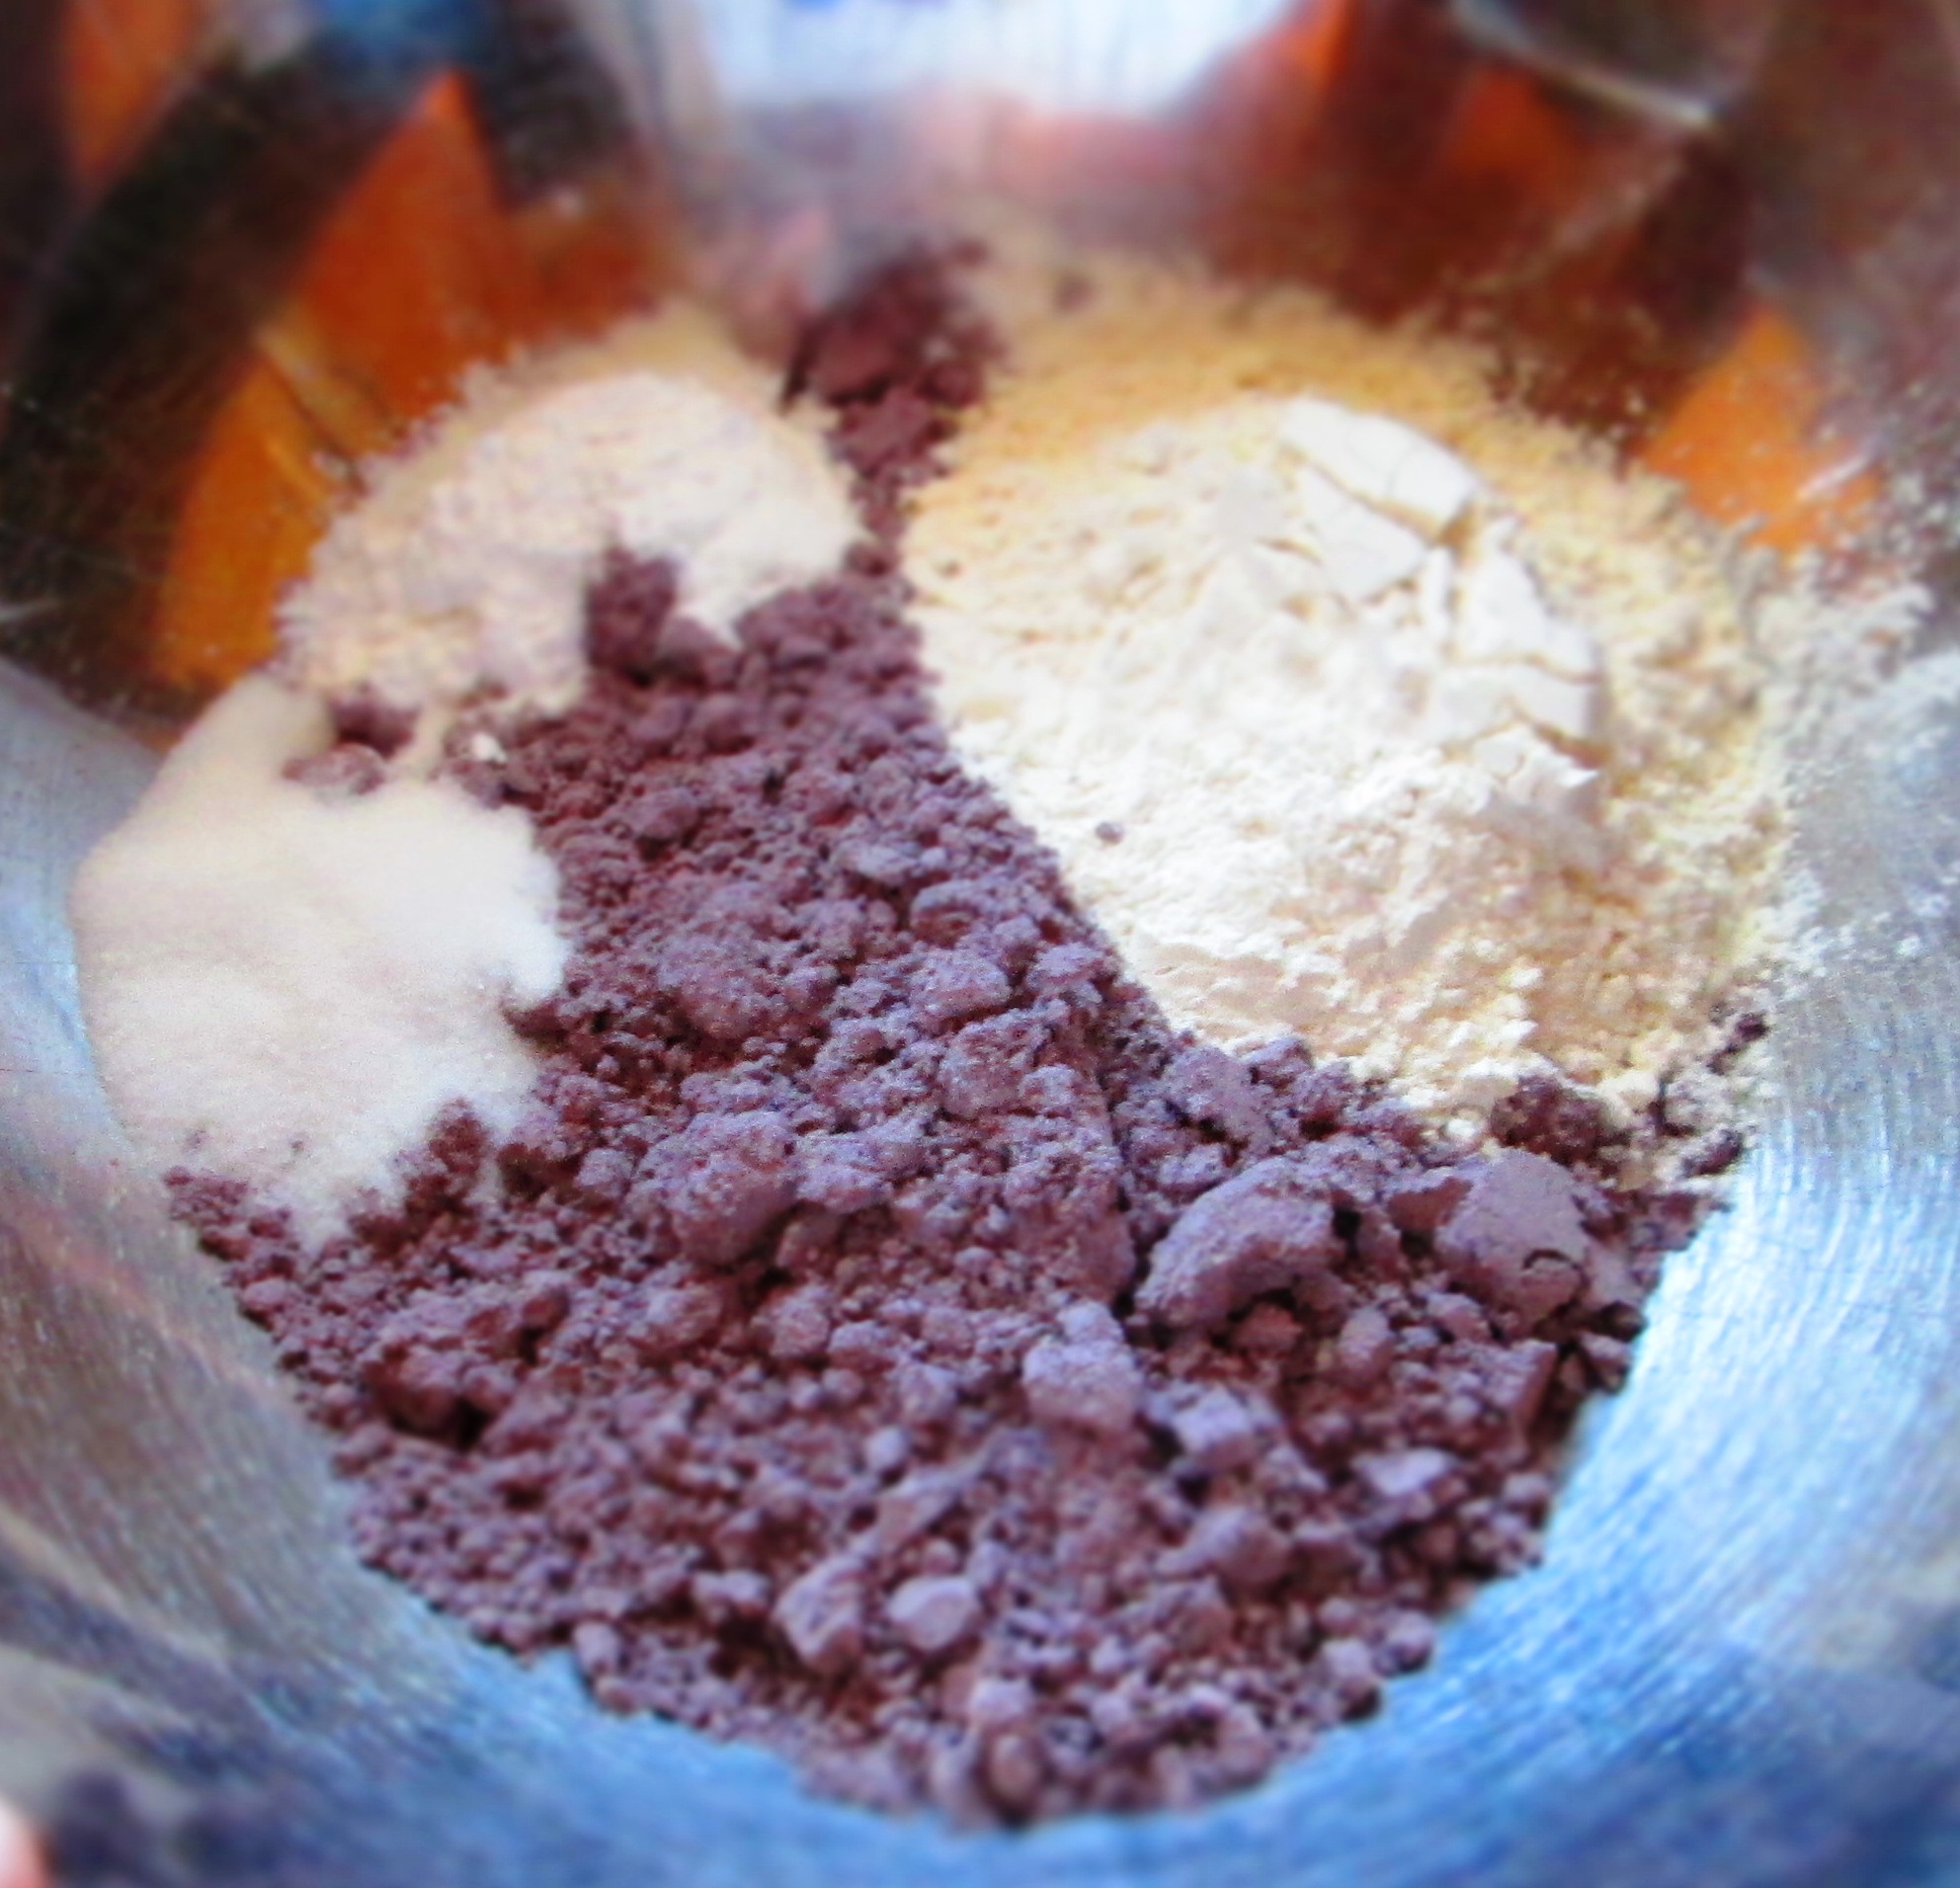
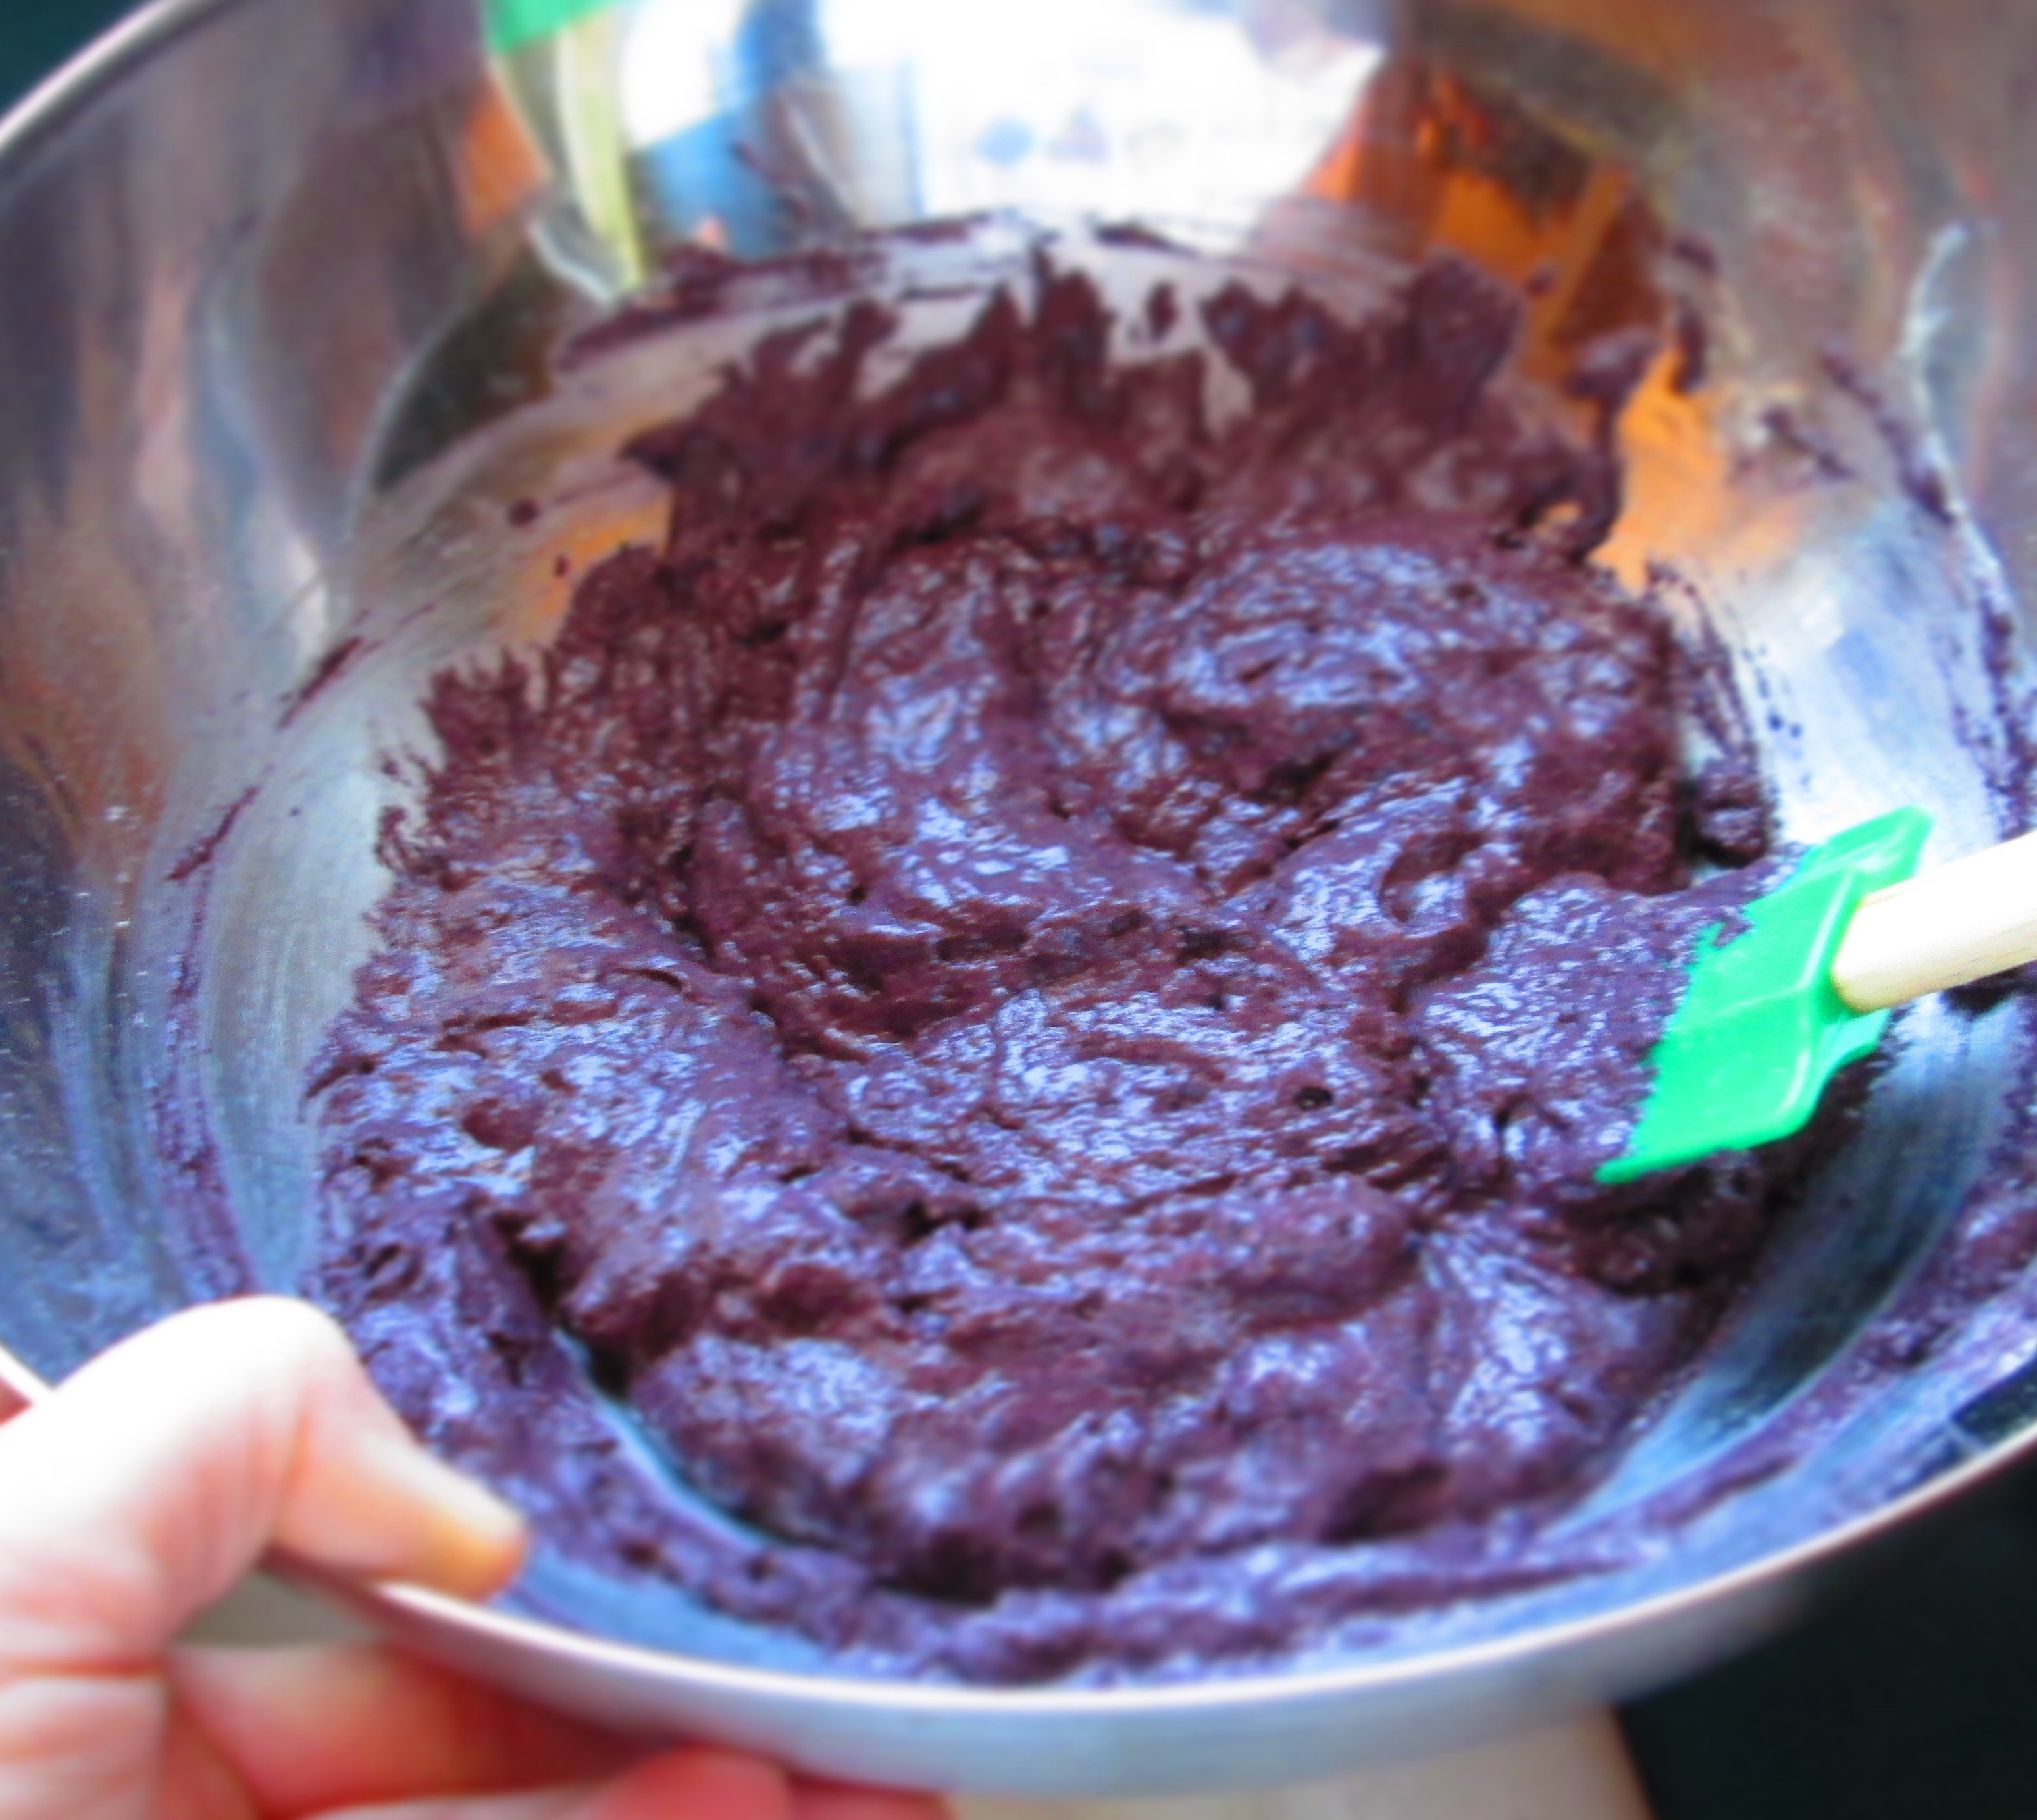
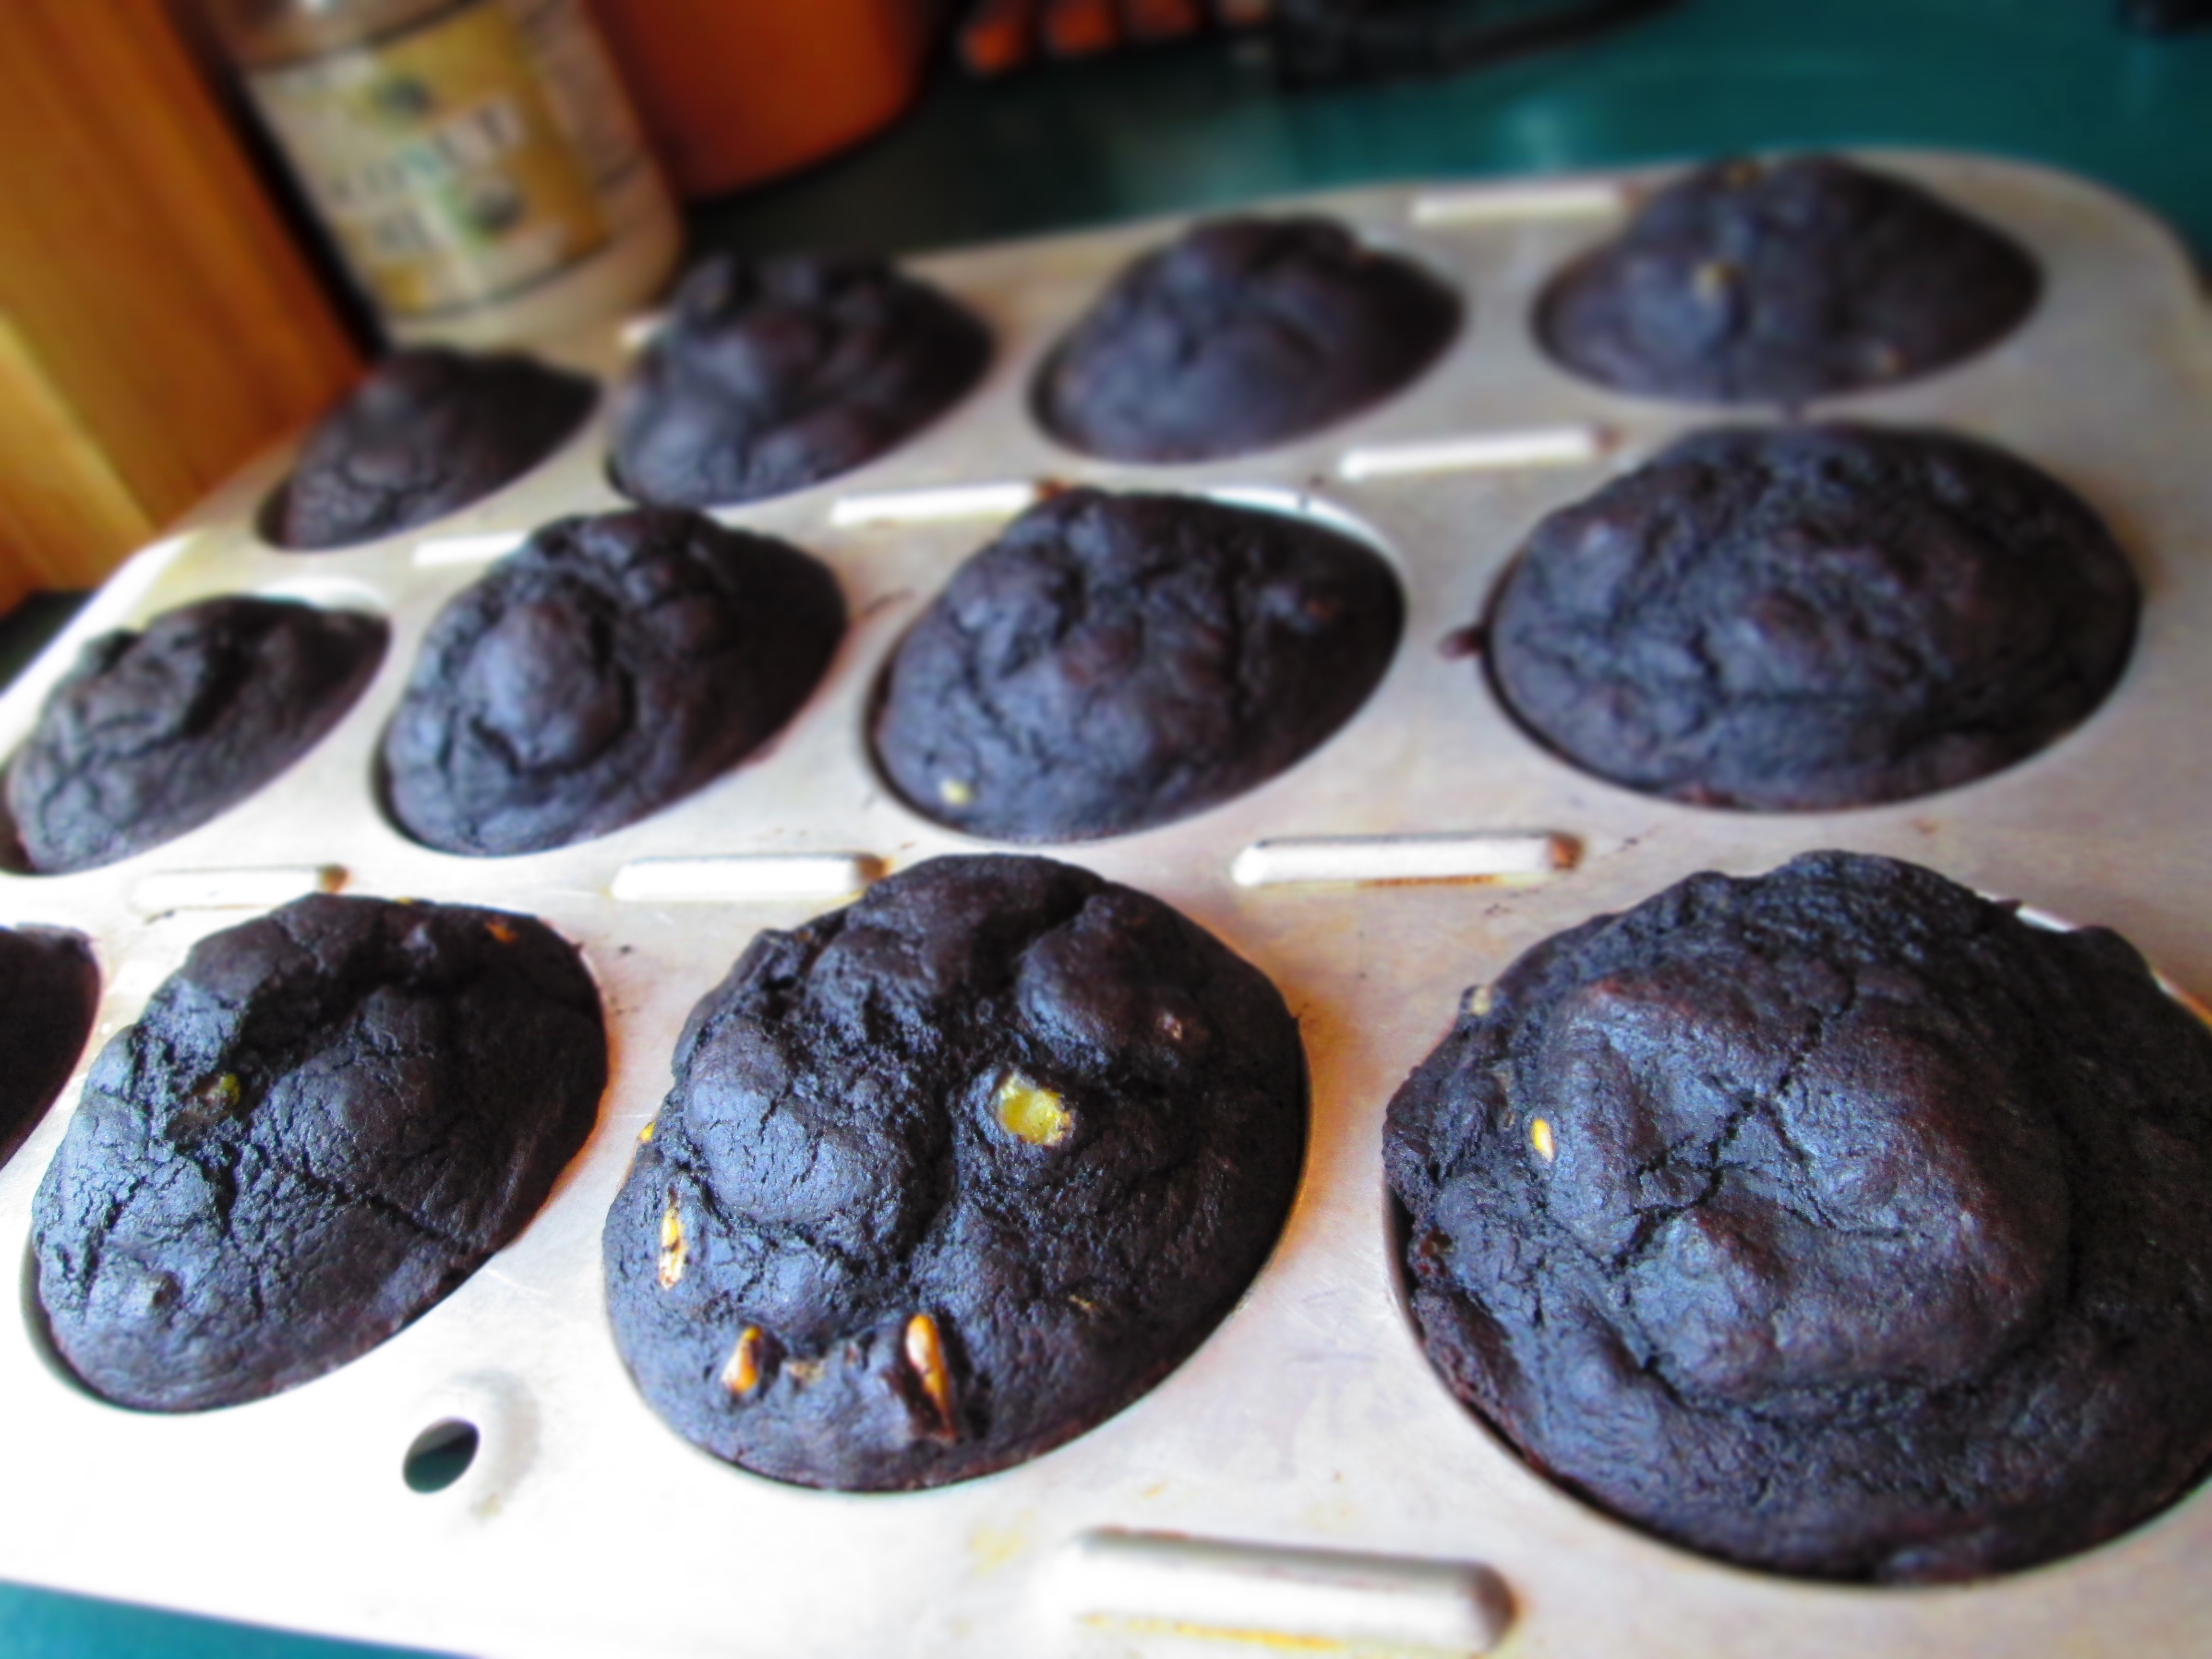
Now, onto the recipe. Blue corn meal makes for a beautiful purple batter, but the final product isn’t as vibrant. It’s usually a light lavender color. I’m not quite sure why mine came out so much darker than the average blue corn muffin—I suspect that my ratio of cornmeal to all-purpose flour was too high. Nevertheless, I decided that I like them and am keeping the recipe as is—at least for now. I like to add corn to the batter for an extra bit of texture, but you can omit it if you like.
Next time, I’m going to do a gluten-free version. Enjoy!
Blue Corn Muffins
Makes 12 muffins.
1½ cups blue cornmeal
½ cup all-purpose flour
1/4 cup grapeseed (or other) oil
2 teaspoons baking powder
1 tablespoon sugar
1 1/4 teaspoons salt
1/2 teaspoon baking soda
1 cup buttermilk
2 medium eggs
1 cup corn
Preheat oven to 425°F. Grease the cups of a medium 12-cup muffin tin, or line them with paper cupcake wrappers.
In large bowl, mix all the ingredients, except the corn, with spoon or rubber spatula just until mixed.Fold in the corn, if you’re using it.Fill the muffin cups equally. Bake 20 to 25 minutes or until a toothpick inserted into the center comes out clean. Place the tin on a rack and let cool. If you try to remove them immediately, they’ll crumble. If you have to, run the tip of a knife around the edges to loosen them.Turn them out onto the rack. Serve warm or at room temperature.Enjoy with butter and jam.
If you haven’t heard of lucuma, it’s because it’s a fruit indigenous to Peru, Chile, and Ecuador that hasn’t really had much play outside of its native region, especially since it only thrives in subtropical climates. It has a dark green skin, and a pit (sometimes two) that look like avocado pits. Its yellow flesh is dry and often compared to hard-boiled egg yolk, and its mild flavor has been likened to maple syrup, caramel, and sweet potatoes.
Indigenous Andean peoples used lucuma not just as food but medicinally as well. The Incas believed it to be a symbol of fertility and creation and it was dubbed “Gold of the Incas.” Modern studies of lucuma show that the fruit contains beta carotene, iron, zinc, vitamin B3, calcium, and protein. It aids in warding off heart disease and hypertension, maintaining skin health and blood sugar levels (and it is hoped that it will help people with diabetes), and supporting healthy digestion. Continue reading →
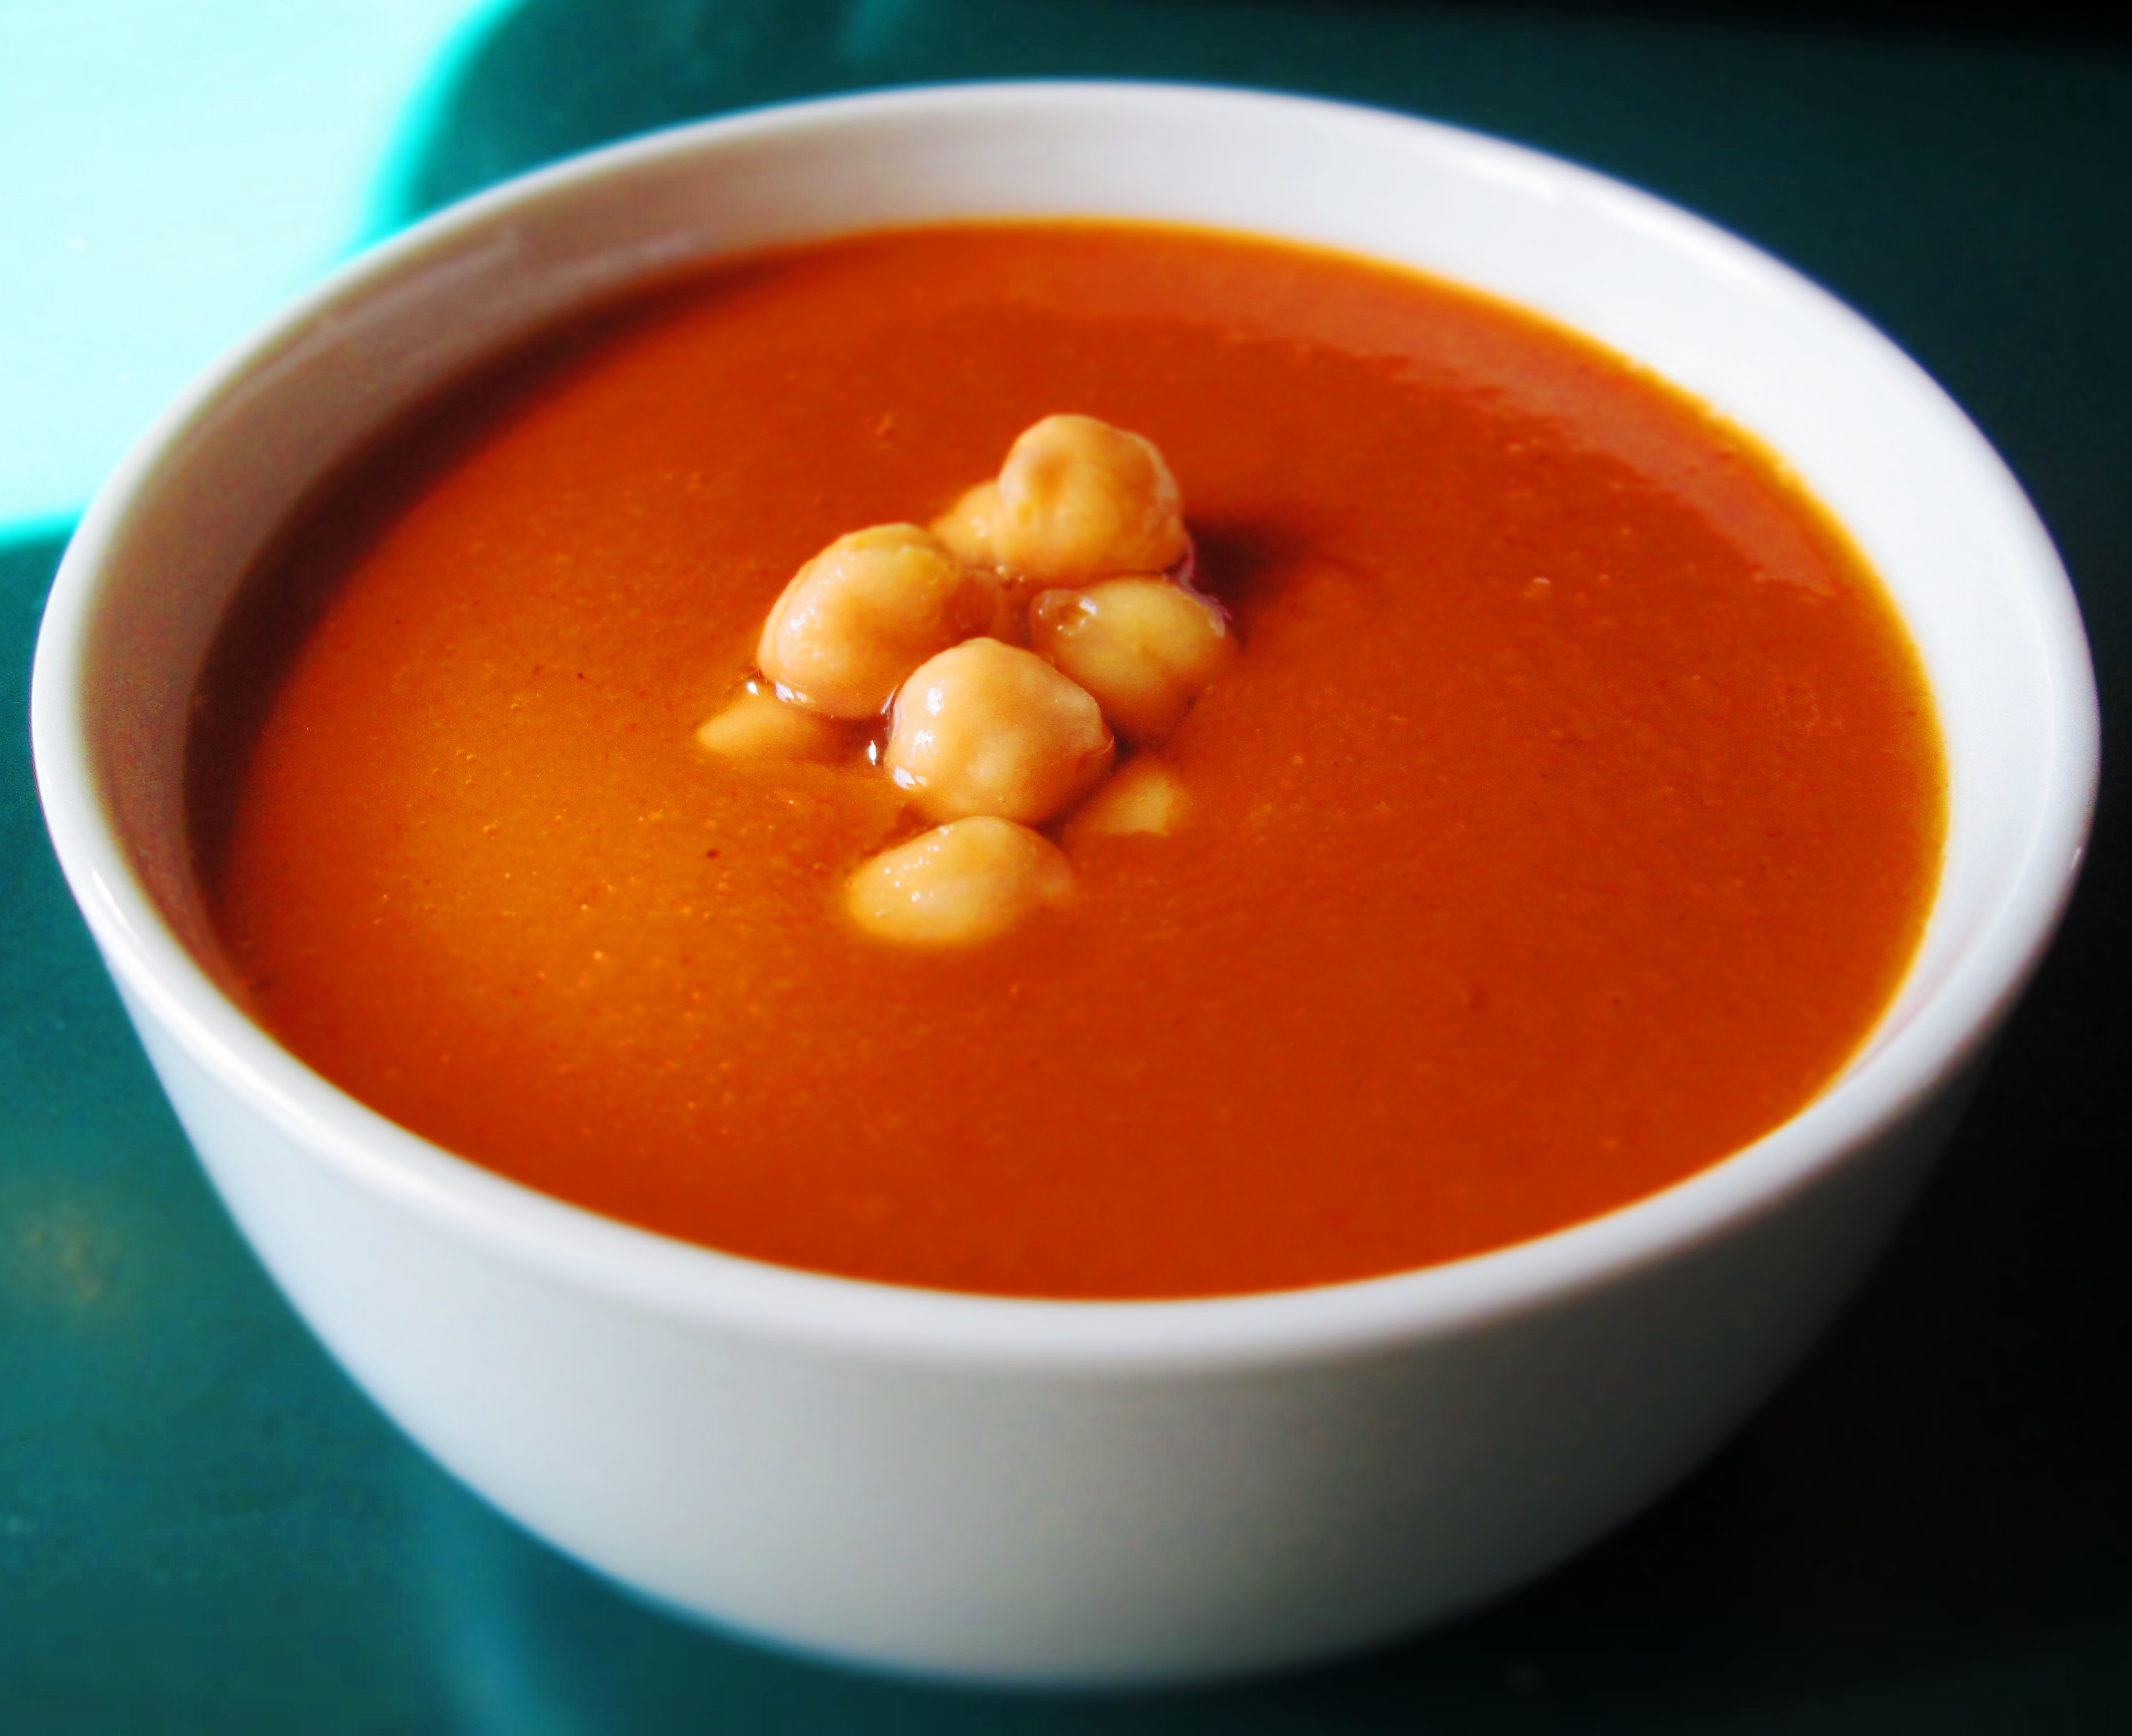
So, I was perusing the bean shelves in my favorite Indian market and found roasted split chickpeas (chana dalia). I’d never seen them before and wondered if they could be cooked just like split green peas. I bought a package and this recipe is the result of my experimentation.The resulting soup is very thick—not just in the viscosity of the soup but the pureed chickpeas themselves leave a thickness on the tongue. Unlike pureed split pea soup, it has a somewhat grainy—but not unpleasant—texture, and the flavor is intensely nutty.

 Garlic scapes come around once a year for a short period of time and I’ve generally only seen them at farmer’s markets. So when I do see them, I make sure to grab some.
 When I was at the farmer’s market this past week, I not only found garlic scapes, I found fresh peas as well (also quick to come and go at the market). I decided to combine them with some whole wheat Israeli couscous and the result was fabulous.
 Here’s the recipe. I guarantee you’ll love it.


![lucuma[1]](https://mizchef.com/wp-content/uploads/2015/04/lucuma1.jpg)