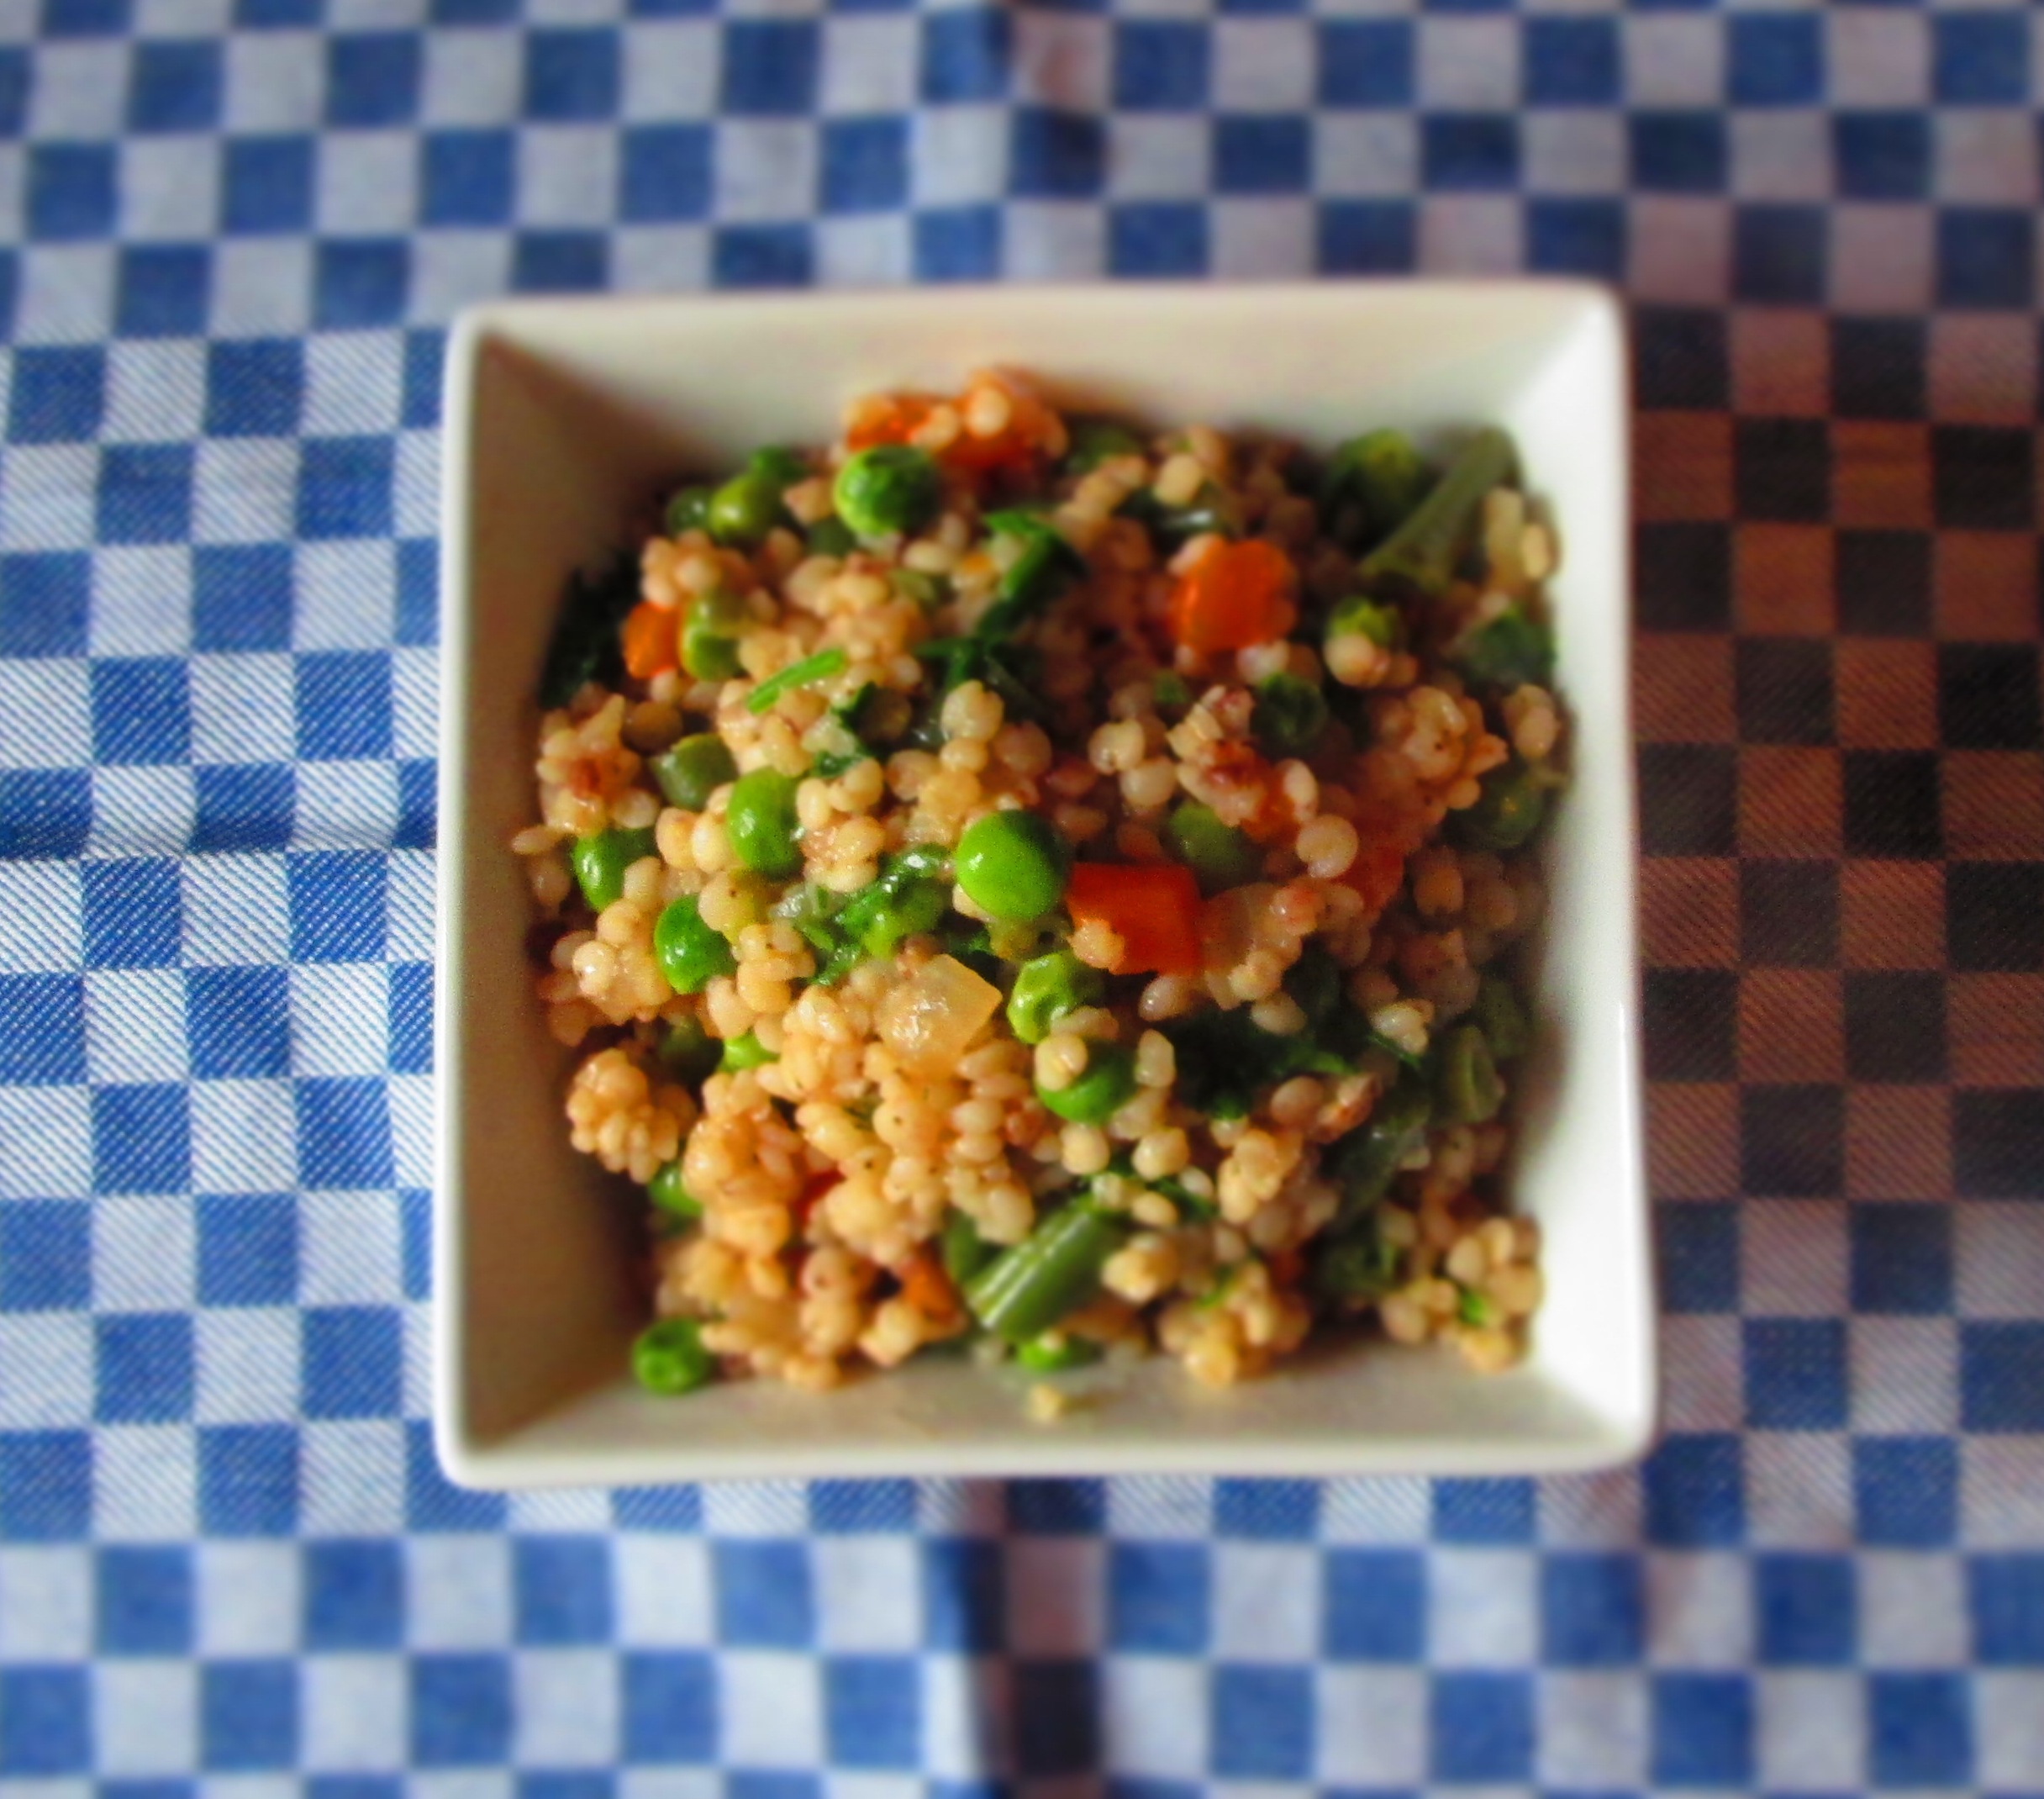
Sorghum is technically a grass (but for culinary purposes is classified as a grain) that is native to Africa, and was introduced to to the U.S. in the 1800s. It’s always been an important food crop around the world, but in the U.S., it’s been used primarily as animal feed. The exception to this is in the U.S. South, where sorghum molasses is a traditional sweetener, used much in the same way as honey or maple syrup. However, with the rising interest in gluten-free and ancient grains, sorghum is becoming more and more popular as human food in the U.S.
The great thing about sorghum, apart from the fact that it’s gluten free, is that it doesn’t have an outer shell that has to be removed to make it edible. That means that it’s a whole food, and that means that it’s healthy and just plain awesome. Continue reading →
Irish cuisine is traditionally hearty and to the point. Years of impoverishment and famine led to honest cooking that holds the utmost respect for the food being used. In other words, food was not taken for granted. And it made use of foods that were available—the crops that would easily grow in the Irish terrain and the livestock that were raised in the countryside.
The food probably most associated with Ireland is the potato. Potatoes were introduced in the 16th century and because they grew abundantly and cheaply, they became the most important crop in feeding the masses, which is why when a blight destroyed potato crops in the mid-1800s, famine decimated the population.
Another important item in Irish cuisine is cabbage. It, too, grows abundantly and cheaply and, like potatoes, lasts a long time in storage. Sometimes kale is used, or other members of the cabbage family.
Colcannon became known in the 18th century, but some food historians believe that it existed before then. It combines these two staple ingredients in the simplest, most basic of ways: boiled and combined into a mash. Okay, there’s a bit more to it than that, but not much. The potatoes and cabbage are flavored by sautéed leeks and enriched with butter.
For a little more in-depth history of Irish cuisine, and specifically colcannon, check out FoodTimeline.org or DoChara.com.
So, make this traditional Irish dish for St. Patrick’s Day and may the luck o’ the Irish be with you.
Erin go bragh.
(This recipe will be appearing in one of my upcoming cookbooks, so please do not reprint it in any format without express written permission. That doesn’t mean you shouldn’t print it out–you definitely should! Thanks!)
Colcannon
Mashed Potatoes and Cabbage
4 cups thinly sliced cabbage
1 tbsp + 1 tsp salt
2 large potatoes, quartered
2 tbsp butter
1 cup milk
Pepper to taste
1 tbsp canola oil
2 large leeks, washed and sliced
2 tbsp minced parsley for garnish (optional)
Bring a large pot of water to a boil; add the cabbage and 1 tsp salt. Lower the heat to medium-low and boil until tender, about 12 to 15 minutes. Drain well.
At the same time, place the potatoes in a medium pot and cover with water. Bring it to a boil; lower the heat to medium-low, partially cover, and boil until tender when pierced with a knife, about 15 to 20 minutes. Drain, peel, place in a bowl, and coarsely mash. Add the milk, butter, ½ tablespoon of the salt, and pepper and mix well.
Heat the oil in a wide pan. Add the leeks and sauté until soft and golden brown, about 15 minutes. Add the cooked cabbage and remaining salt and sauté over medium-high heat, stirring often, until cabbage starts to brown. Add to the mashed potatoes and mix well. Taste for seasoning and adjust, if necessary. Transfer the colcannon to a platter. Garnish with parsley and serve hot.
I had no plans for cauliflower over the course of my very busy weekend, but when I saw big, beautiful heads of cauliflower in the store the other day, I couldn’t resist buying one.
It’s cold, snowy, wintry weather, and days like this just scream soup, and what I wanted was a creamy bisque. But before I get to my recipe, let’s talk a bit about this wonderful cruciferous vegetable.
Cauliflower is part of the Brassicaceae family and is related to cabbage, broccoli, Brussels sprouts, bok choi, collard greens, and some other leafy green vegetables. In my cookbook, Vegetarian Italian: Traditions, Volume 1, I talk a little bit about the history of cauliflower and its health benefits: Continue reading →
Cambray onions, also known as spring onions, are related to scallions. In fact, they look like a cross between scallions and Texas onions—long green stems with big round bulbs.
I’d seen them before but had never purchased them, so when I saw them this past week, I grabbed a few. I learned that they are a popular onion in Latin cuisine (in which they are referred to as cebollitas de Cambray or cebolla Cambray), and almost always appear on mixed grill platters.
They can be used in many types of preparations, from salads to onion tarts to tacos. Being that this was the first time I was eating them (to my knowledge, anyway), I did what I often do with a new-to-me vegetables—I roasted them. I like to do this because it allows me to sample the new vegetable in its basic form with no added ingredients, besides olive oil, salt, and pepper. Plus, once you’ve grilled a vegetable, you can then add it into many other dishes.
So, I roasted the Cambrays until they were caramelized and tasted one by itself. It was sweet and creamy and I could imagine throwing them, cut up, into a dish of pasta or adding them to a stew or chili. I put a few pieces on some flat bread, drizzled some extra virgin olive oil over it, sprinkled a little more salt and pepper, and finished it with some grated Parmigiano-Reggiano. Very simple and very good.
Roasted Cambray Onions
Several Cambray onions
1/4 cup olive oil
1 teaspoon sea salt
Freshly ground black pepper
Preheat oven to 350 degrees.
Trim onions by slicing off roots and removing outer layers that look brown or funky.
Lay onions on a baking sheet. Drizzle oil over onions and rub them to coat with oil. Sprinkle on salt and pepper.Roast about 15 minutes; turn them over and roast another 10 minutes, or until both sides are golden brown.
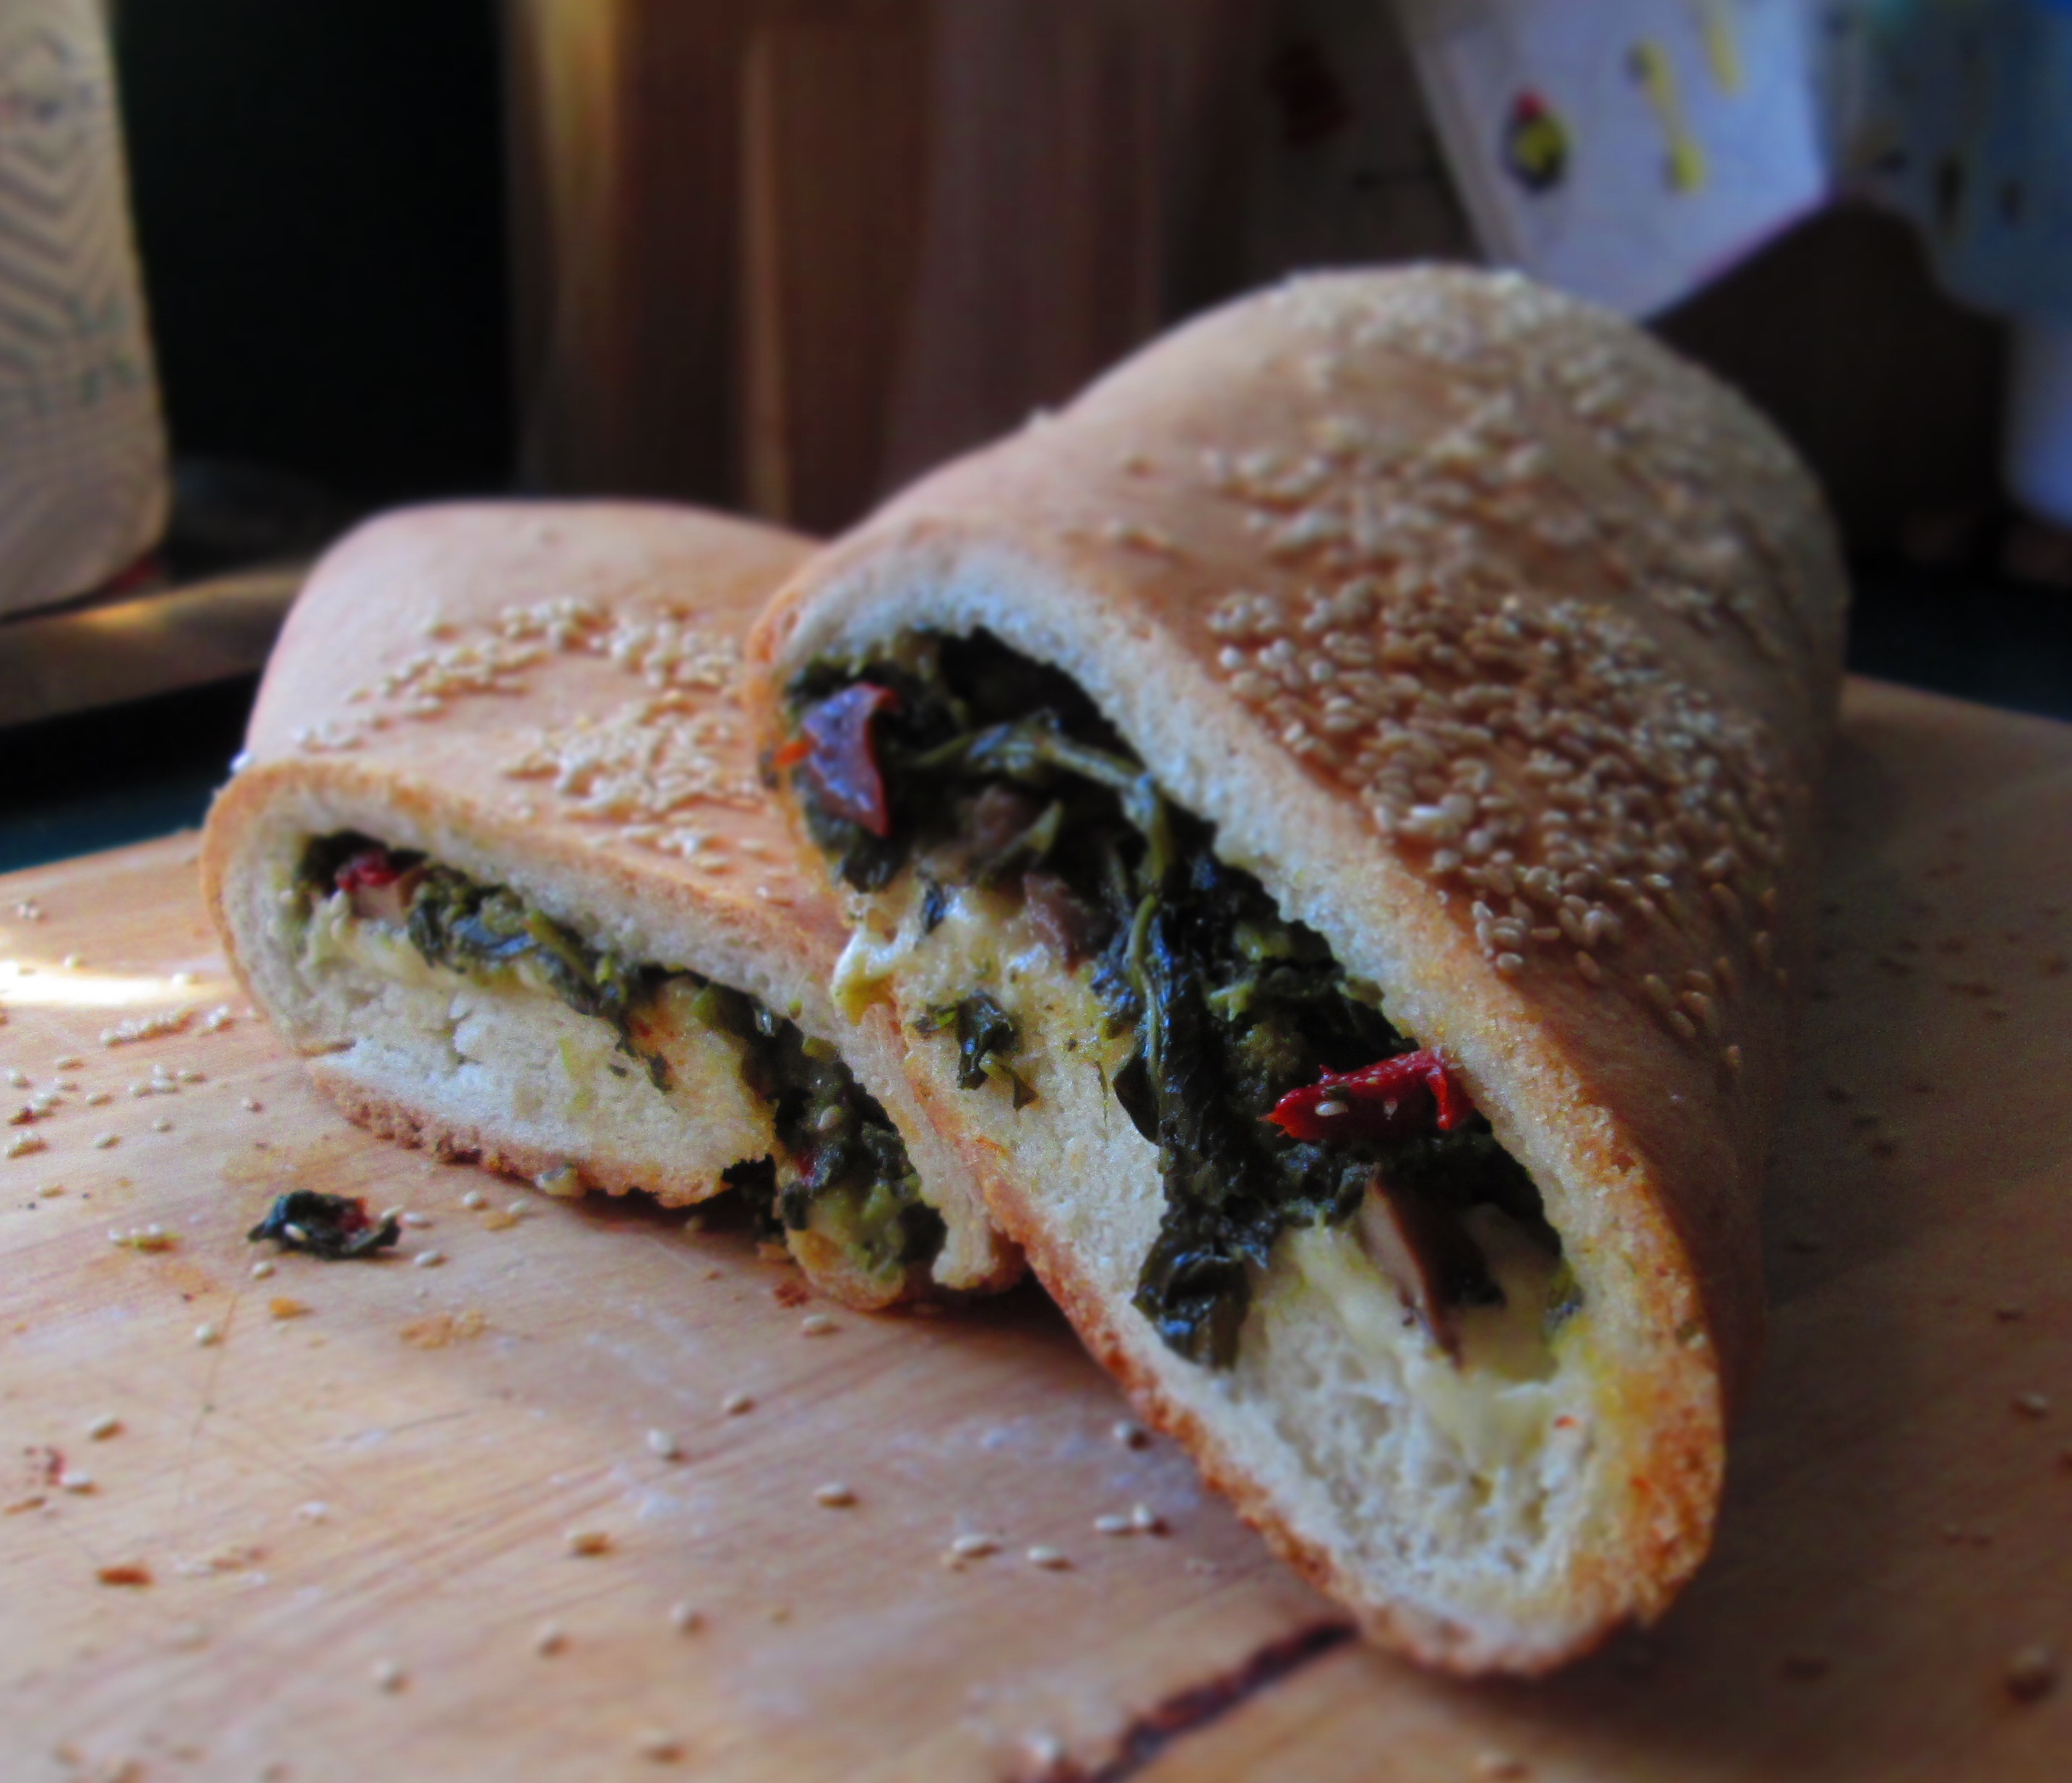
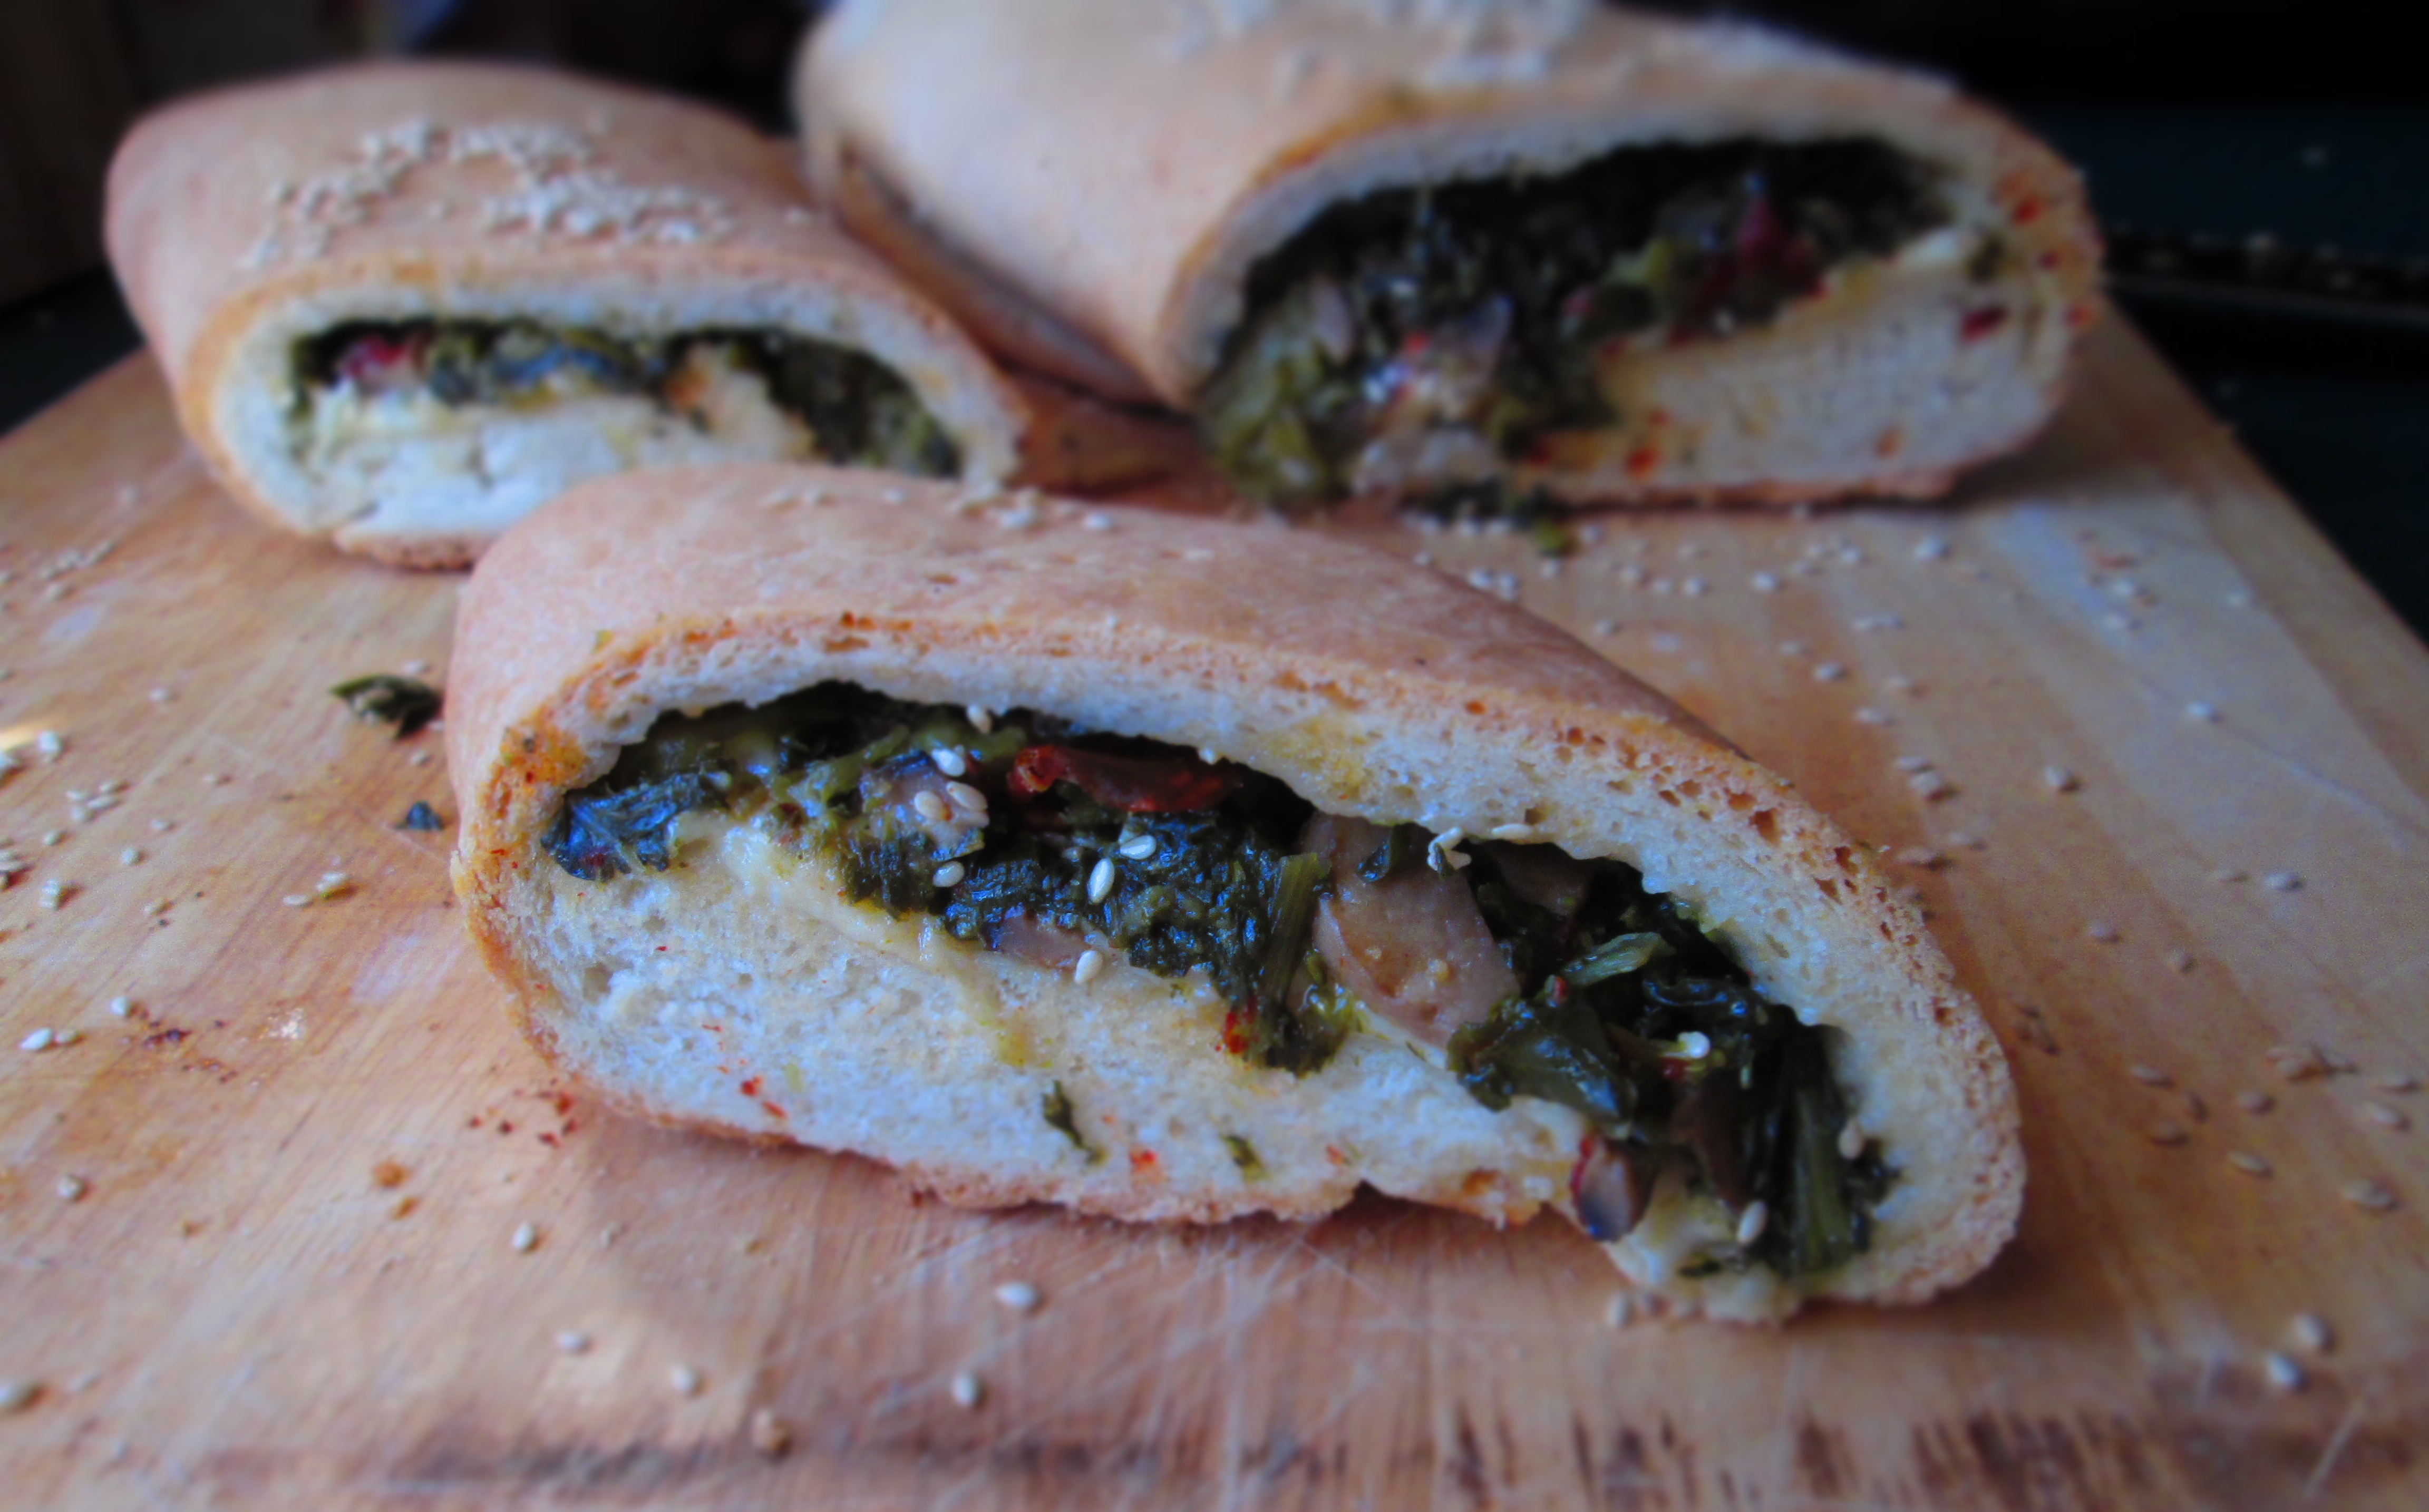
What happens when you have the urge to bake bread and have some broccoli rabe in the refrigerator? You make broccoli rabe bread, of course. Or, more specifically, broccoli rabe and cheese-stuffed bread.
Stuffed bread is an age-old delicacy and Italian cuisine is known for many kinds. In this one, the pleasant bitterness of the broccoli rabe is tamed by the rustic bread. The addition of cheese lends a salty sharpness to it. You can use whatever cheese you want. I used a blend of Fontina and Jarlsberg. If you like, you can add a sprinkle of parmesan cheese as well.
I just bought a big ol’ package of yeast, so I think I’m going to be on a bread-baking kick for a while. We’ll see. In the meantime, try this one out for breakfast, lunch, or a snack. By the way, it goes great with wine.
Broccoli Rabe and Cheese-Stuffed Bread
Bread:
2 teaspoons dry active yeast
½ teaspoon sugar
2 ½-3cups all-purpose flour
1 teaspoon kosher salt
1 tablespoon butter, melted
½ cup milk
2 teaspoon olive oil
Broccoli Rabe-Cheese Filling:
1 teaspoon olive oil
2 large garlic cloves, sliced
½ cup chopped mushrooms
1 teaspoon sea salt
1 large head broccoli rabe, chopped
1 teaspoon red pepper flakes
1 cup shredded cheese
1 egg, well beaten (optional)
2 tablespoons sesame seeds (optional)
Combine the yeast with sugar and ¼ cup very warm water. Stir until dissolved and let sit for 5 minutes until it bubbles and foams.
Combine 2½ cups flour and salt in the bowl of a stand mixer with the dough hook attached. Add the yeast and butter and begin mixing on medium speed. Begin adding milk a little at a time, then increase speed until dough comes together. Continue mixing for a couple of minutes.
Transfer dough to a lightly floured board and knead for 2 or 3 minutes. Place oil in bottom of mixer bowl; place dough in oil then turn it over so that all of dough is coated. Cover with a clean towel and place in a warm, draft-free place and let rise for 1 hour.
Meanwhile, make filling. Heat oil in a wide pan. Add garlic and saute for 1 minute. Add mushrooms and ½ teaspoon salt and sauté until they start to brown, about 10 minutes. Add broccoli rabe, red pepper flakes, and remaining salt; cover and let cook until tender, about 5 minutes. If pan dries out, add a little water, white wine, or broth.
When dough has risen for an hour, place on lightly floured board again. Roll out into a rectangle about 8 x 15 inches. (It doesn’t have to be perfect, as my picture can attest.) Place the broccoli rabe along the center of the dough, then spread on the cheese. Roll up dough and pinch the seam together. Tuck in the ends and pinch together. Place on a baking sheet lined with parchment paper. Cover with the cloth and let rise again for another hour.
Preheat oven to 375 degrees.
Prick the dough with a fork in several places. If you want to add sesame seeds, brush the top with egg and sprinkle on the sesame seeds.
Bake for about an hour, or until golden brown and bottom sounds hollow when thumped.
Move to a cooling rack and let sit for 5 minutes before cutting into it.
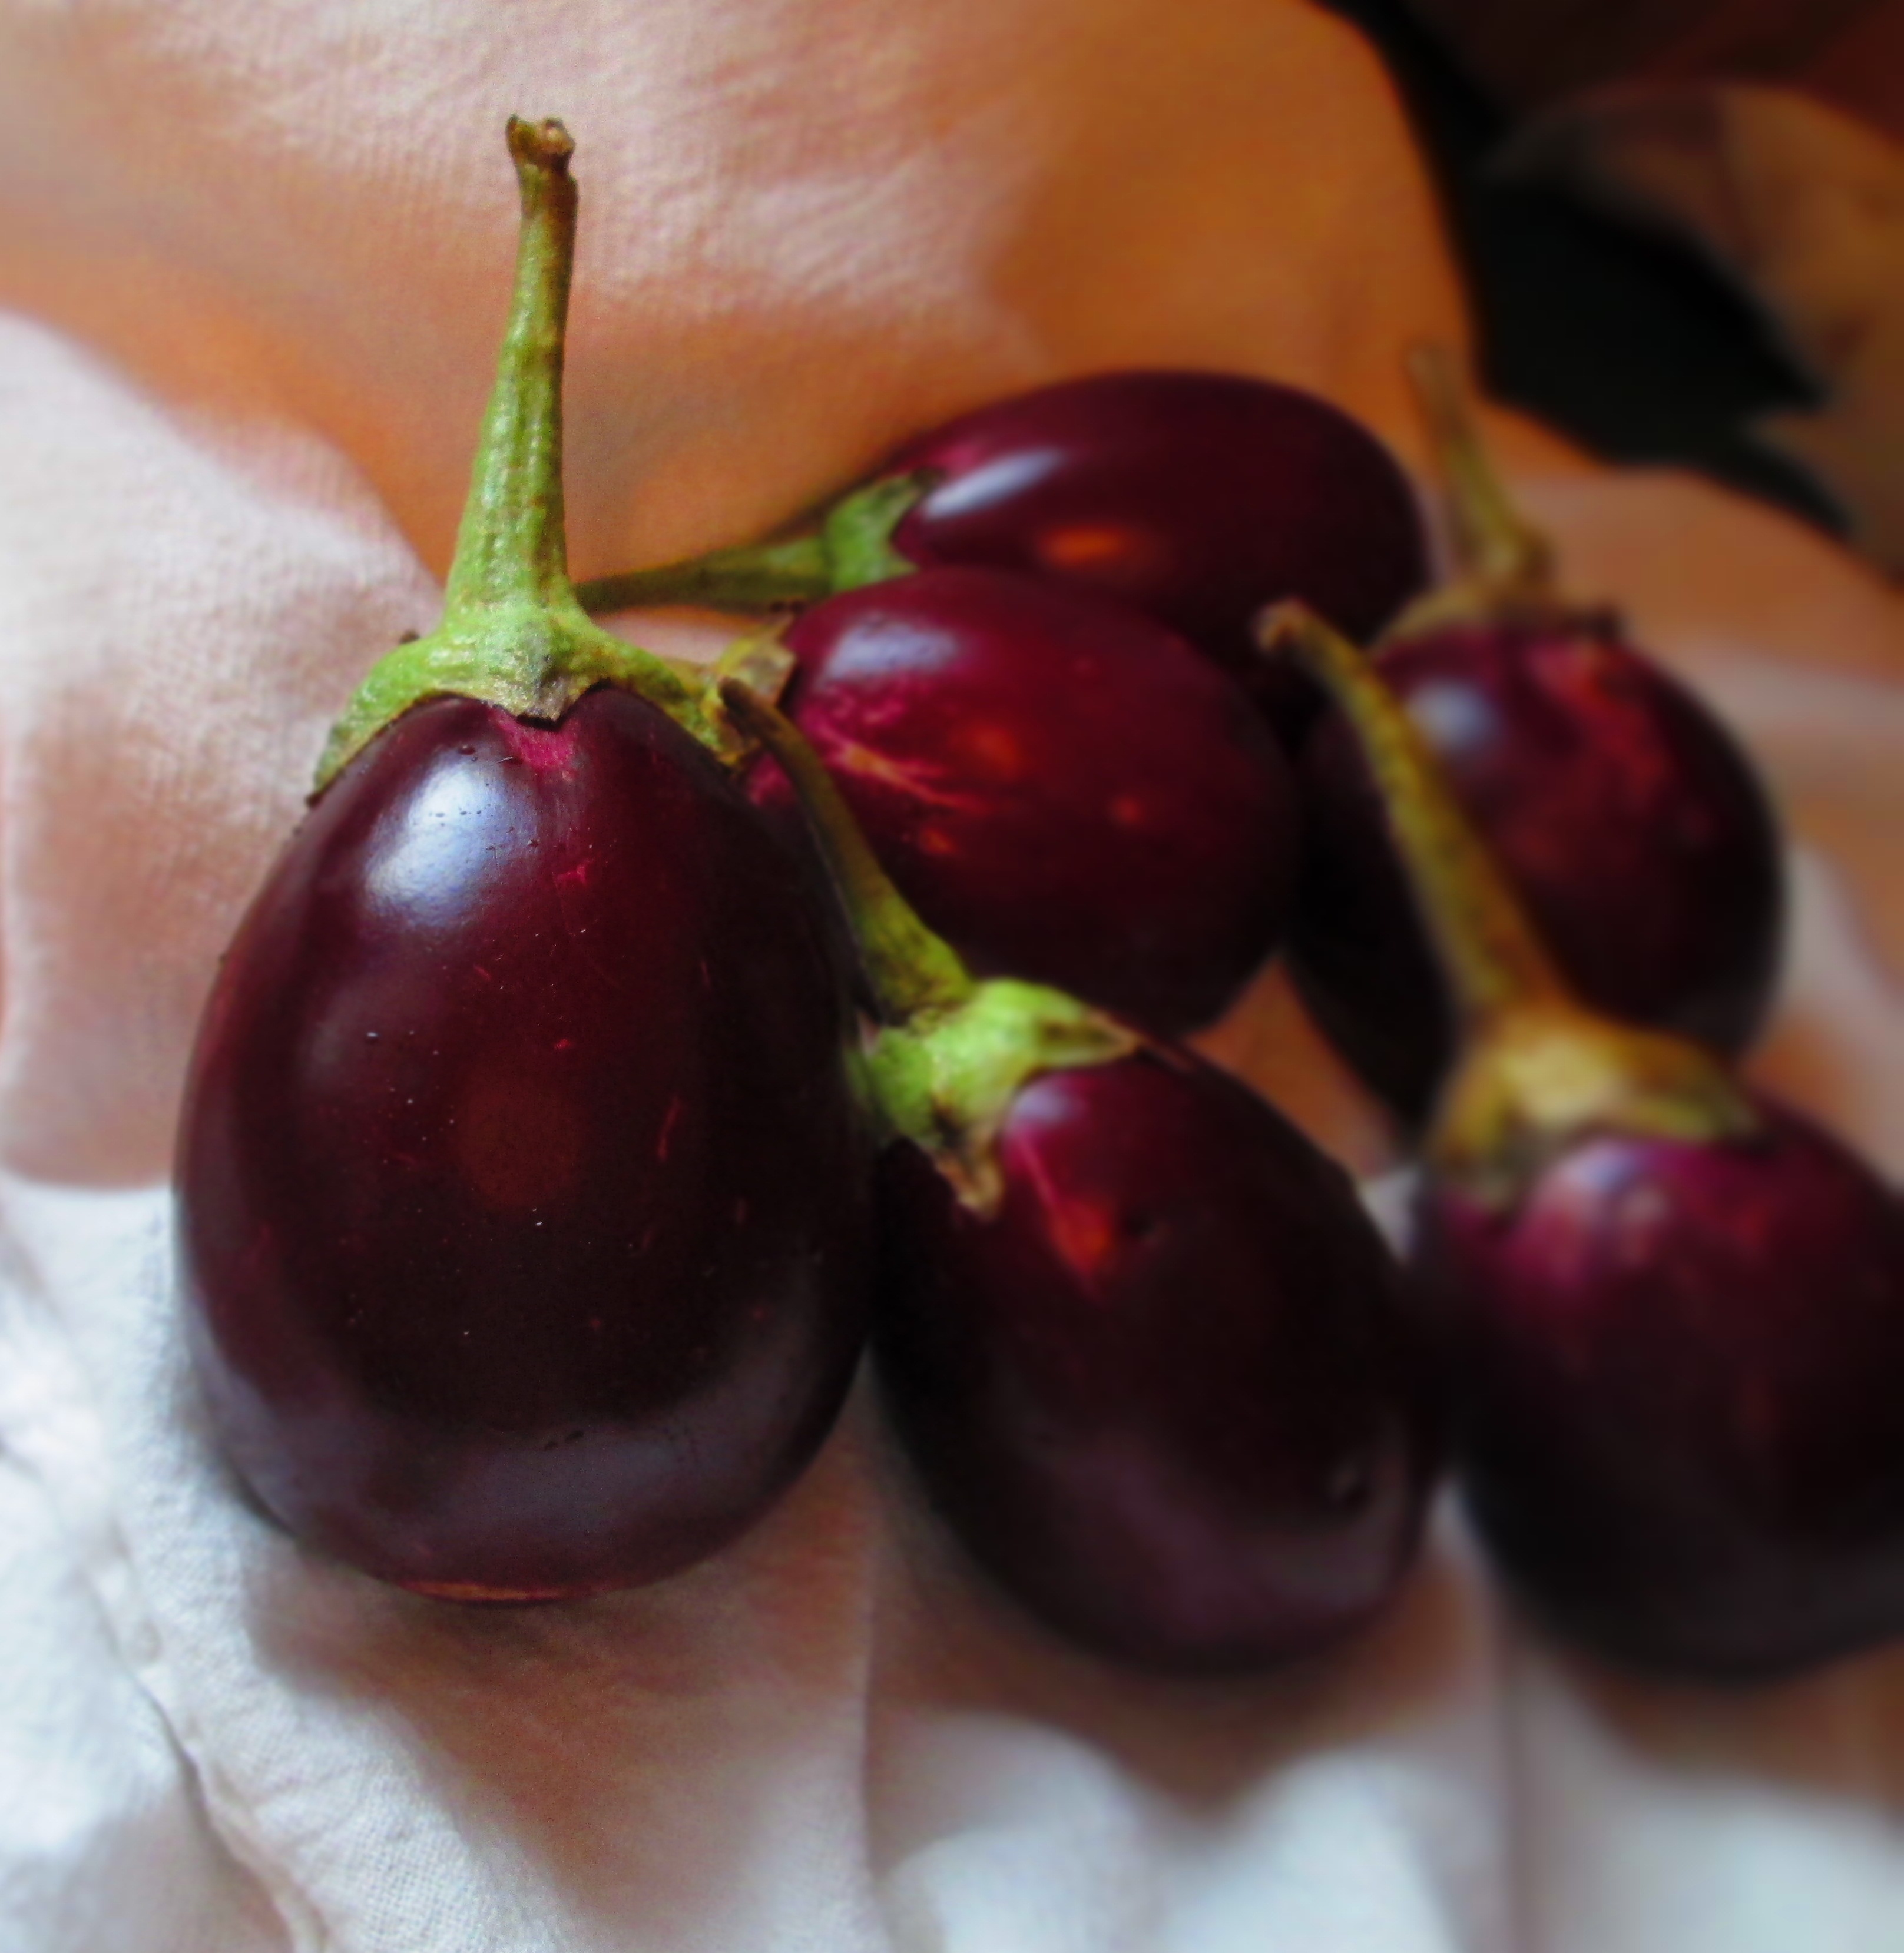
Simple ingredients call for simple preparations. I could have turned this beautiful Indian eggplant I found into so many wonderful dishes: ratatouille, vegetable chili, eggplant lasagna, pasta with roasted eggplant, etc., etc.
Instead, I wanted to keep this pretty vegetable pretty by just pan frying it. It’s the easiest thing in the world. Have this on the side with a protein or other vegetables, over rice, tossed with pasta, or (like I did) on homemade pizza.
Pan-Fried Indian Eggplant
1 1/2 lbs. Indian (or baby or Japanese) eggplant
1/4 cup oil (olive, sunflower, grapeseed)
1/2 teaspoon sea salt
Freshly ground black pepper
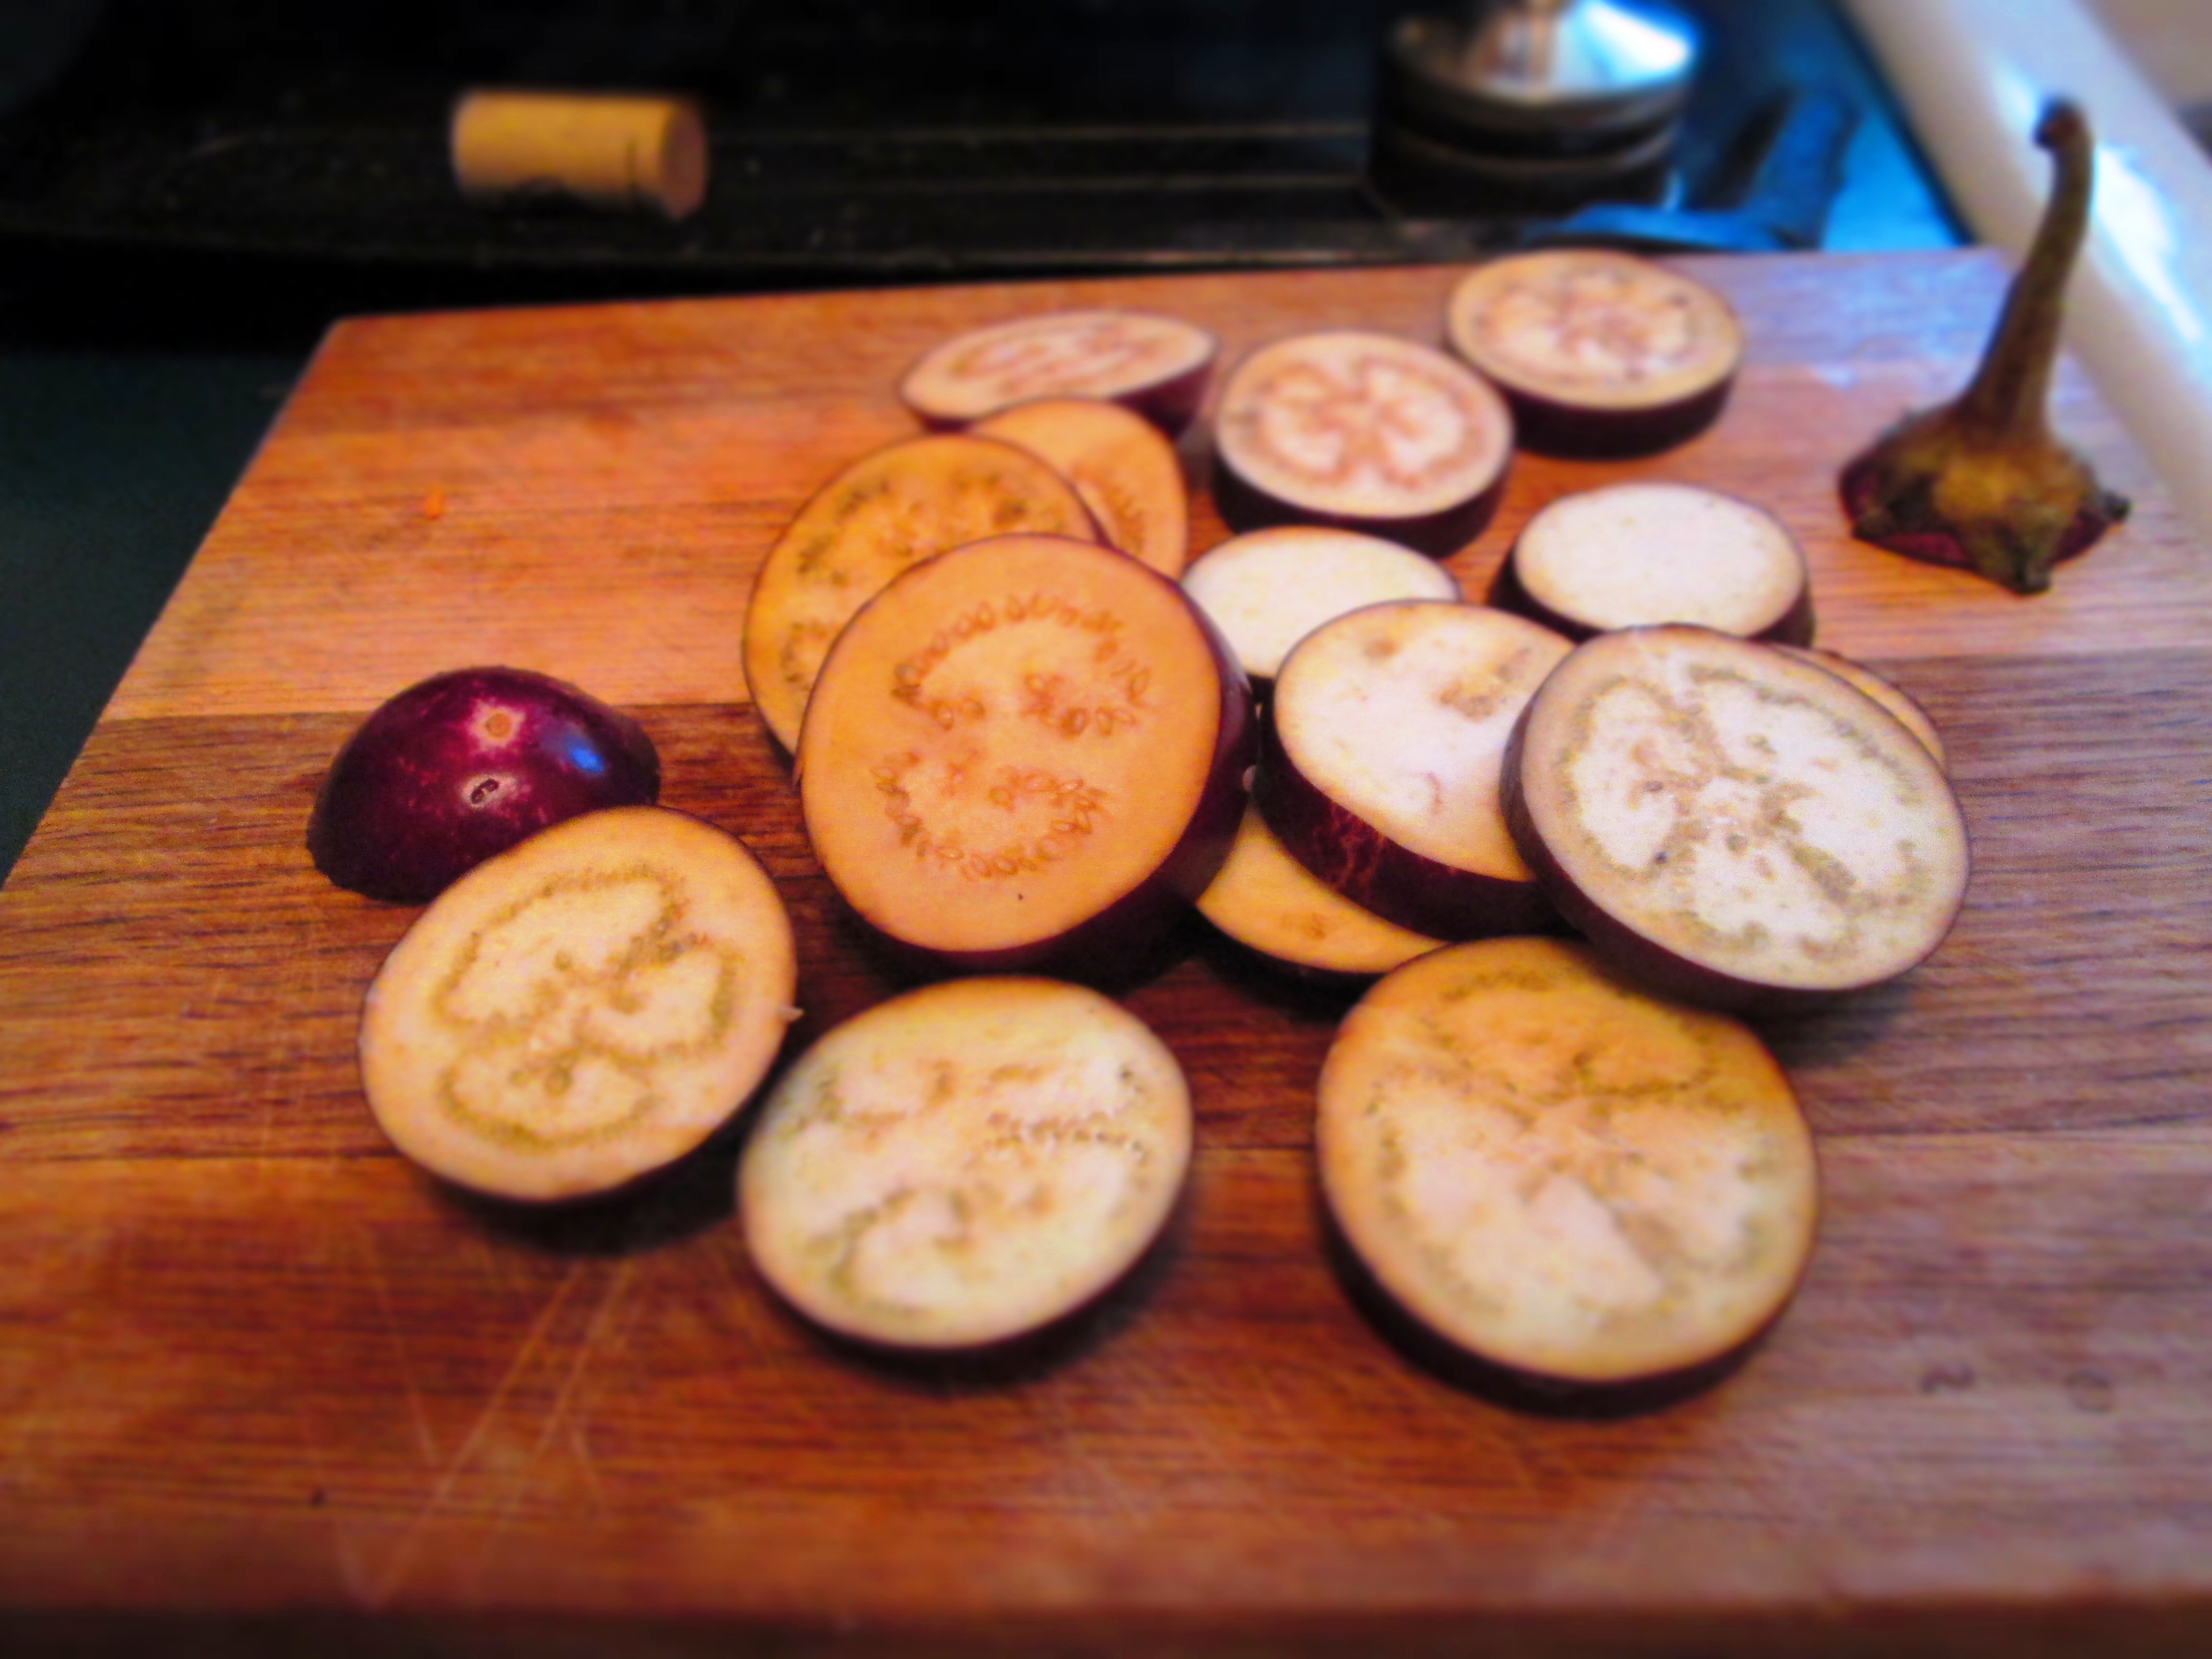
Slice the eggplant into 1/4-inch-thick rounds. Heat half the oil in a frying pan. Add some of the eggplant (don’t crowd the pan). Cook, turning them over once, until browned on both sides. Transfer to paper towels.
Repeat with remaining eggplant, adding more oil to the pan as needed (eggplant soaks up oil quickly). Sprinkle the salt over the eggplant. Enjoy!
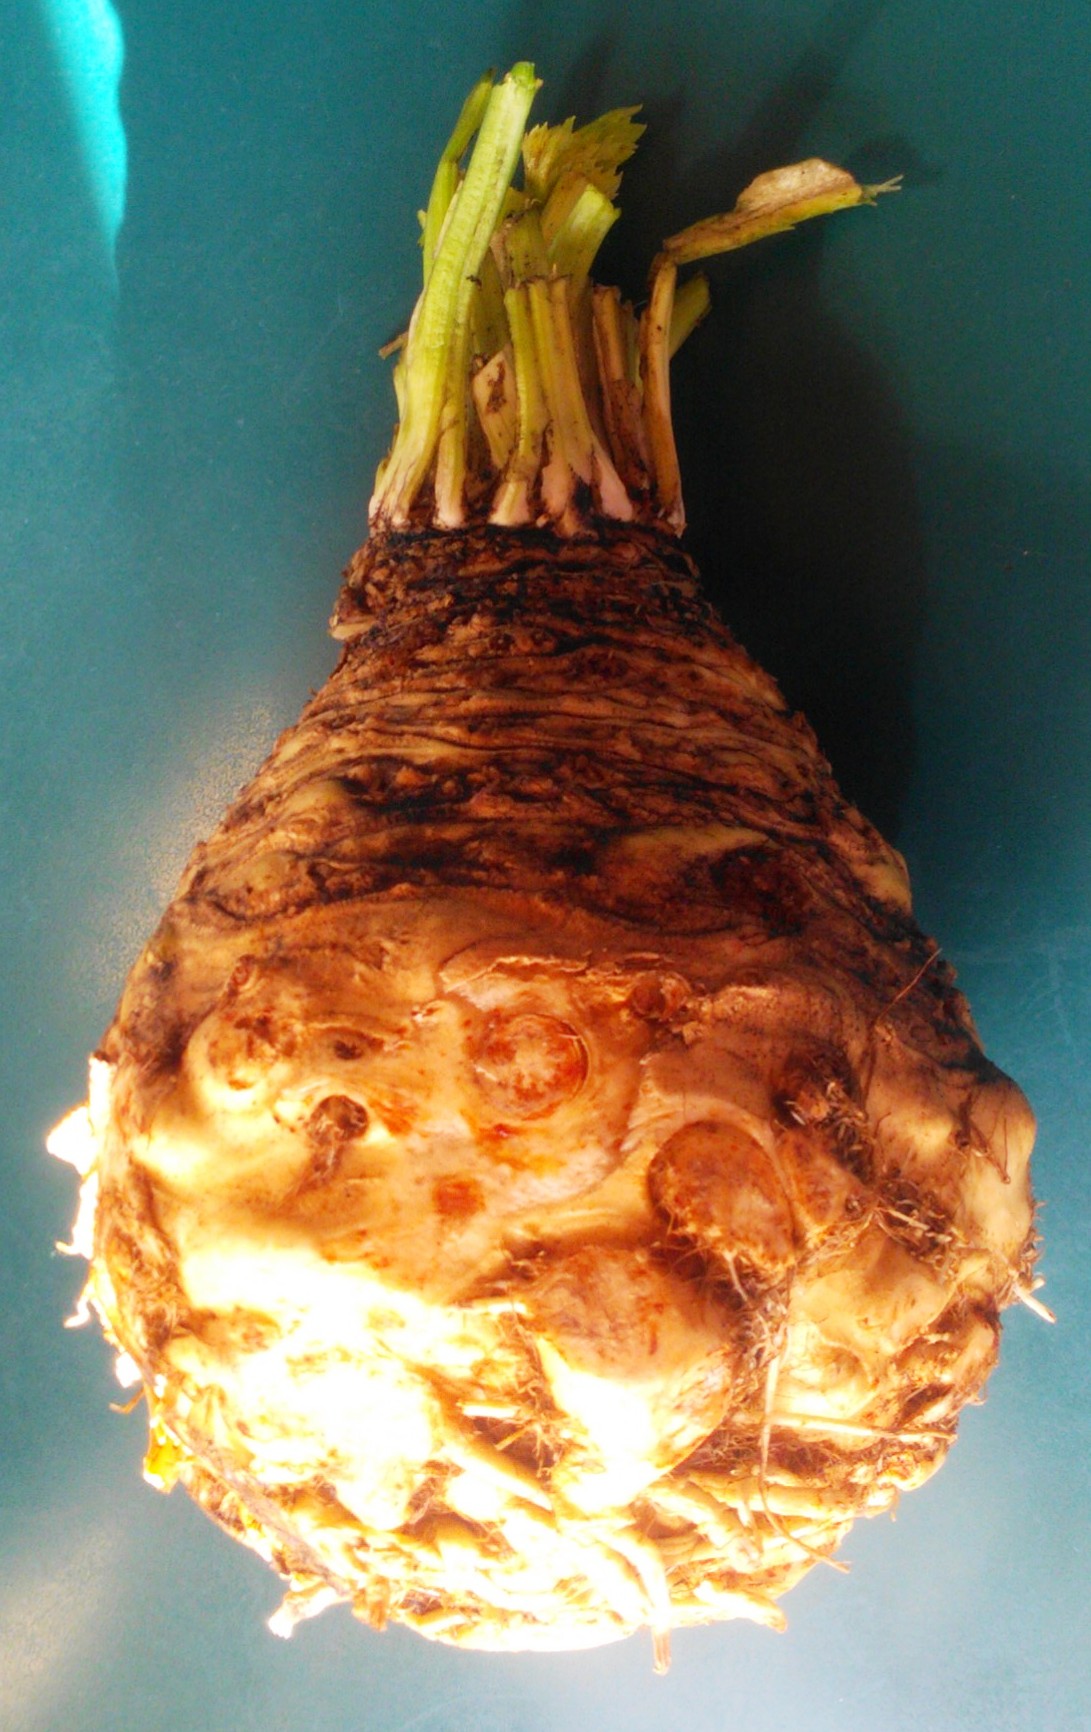
This week’s catch at the farmer’s market was a nice big knob of celeriac and red mustard greens.
I’ve had celeriac (also known as celery root and knob celery) before, and I’ve really enjoyed it. It has a great celery flavor to it, but a little sweeter and more intense. It also has parsley notes, and that’s because it’s part of the parsley family, and not the root of the celery plant. Like other root vegetables, it has a long shelf life (6 to 8 months in a cool place).
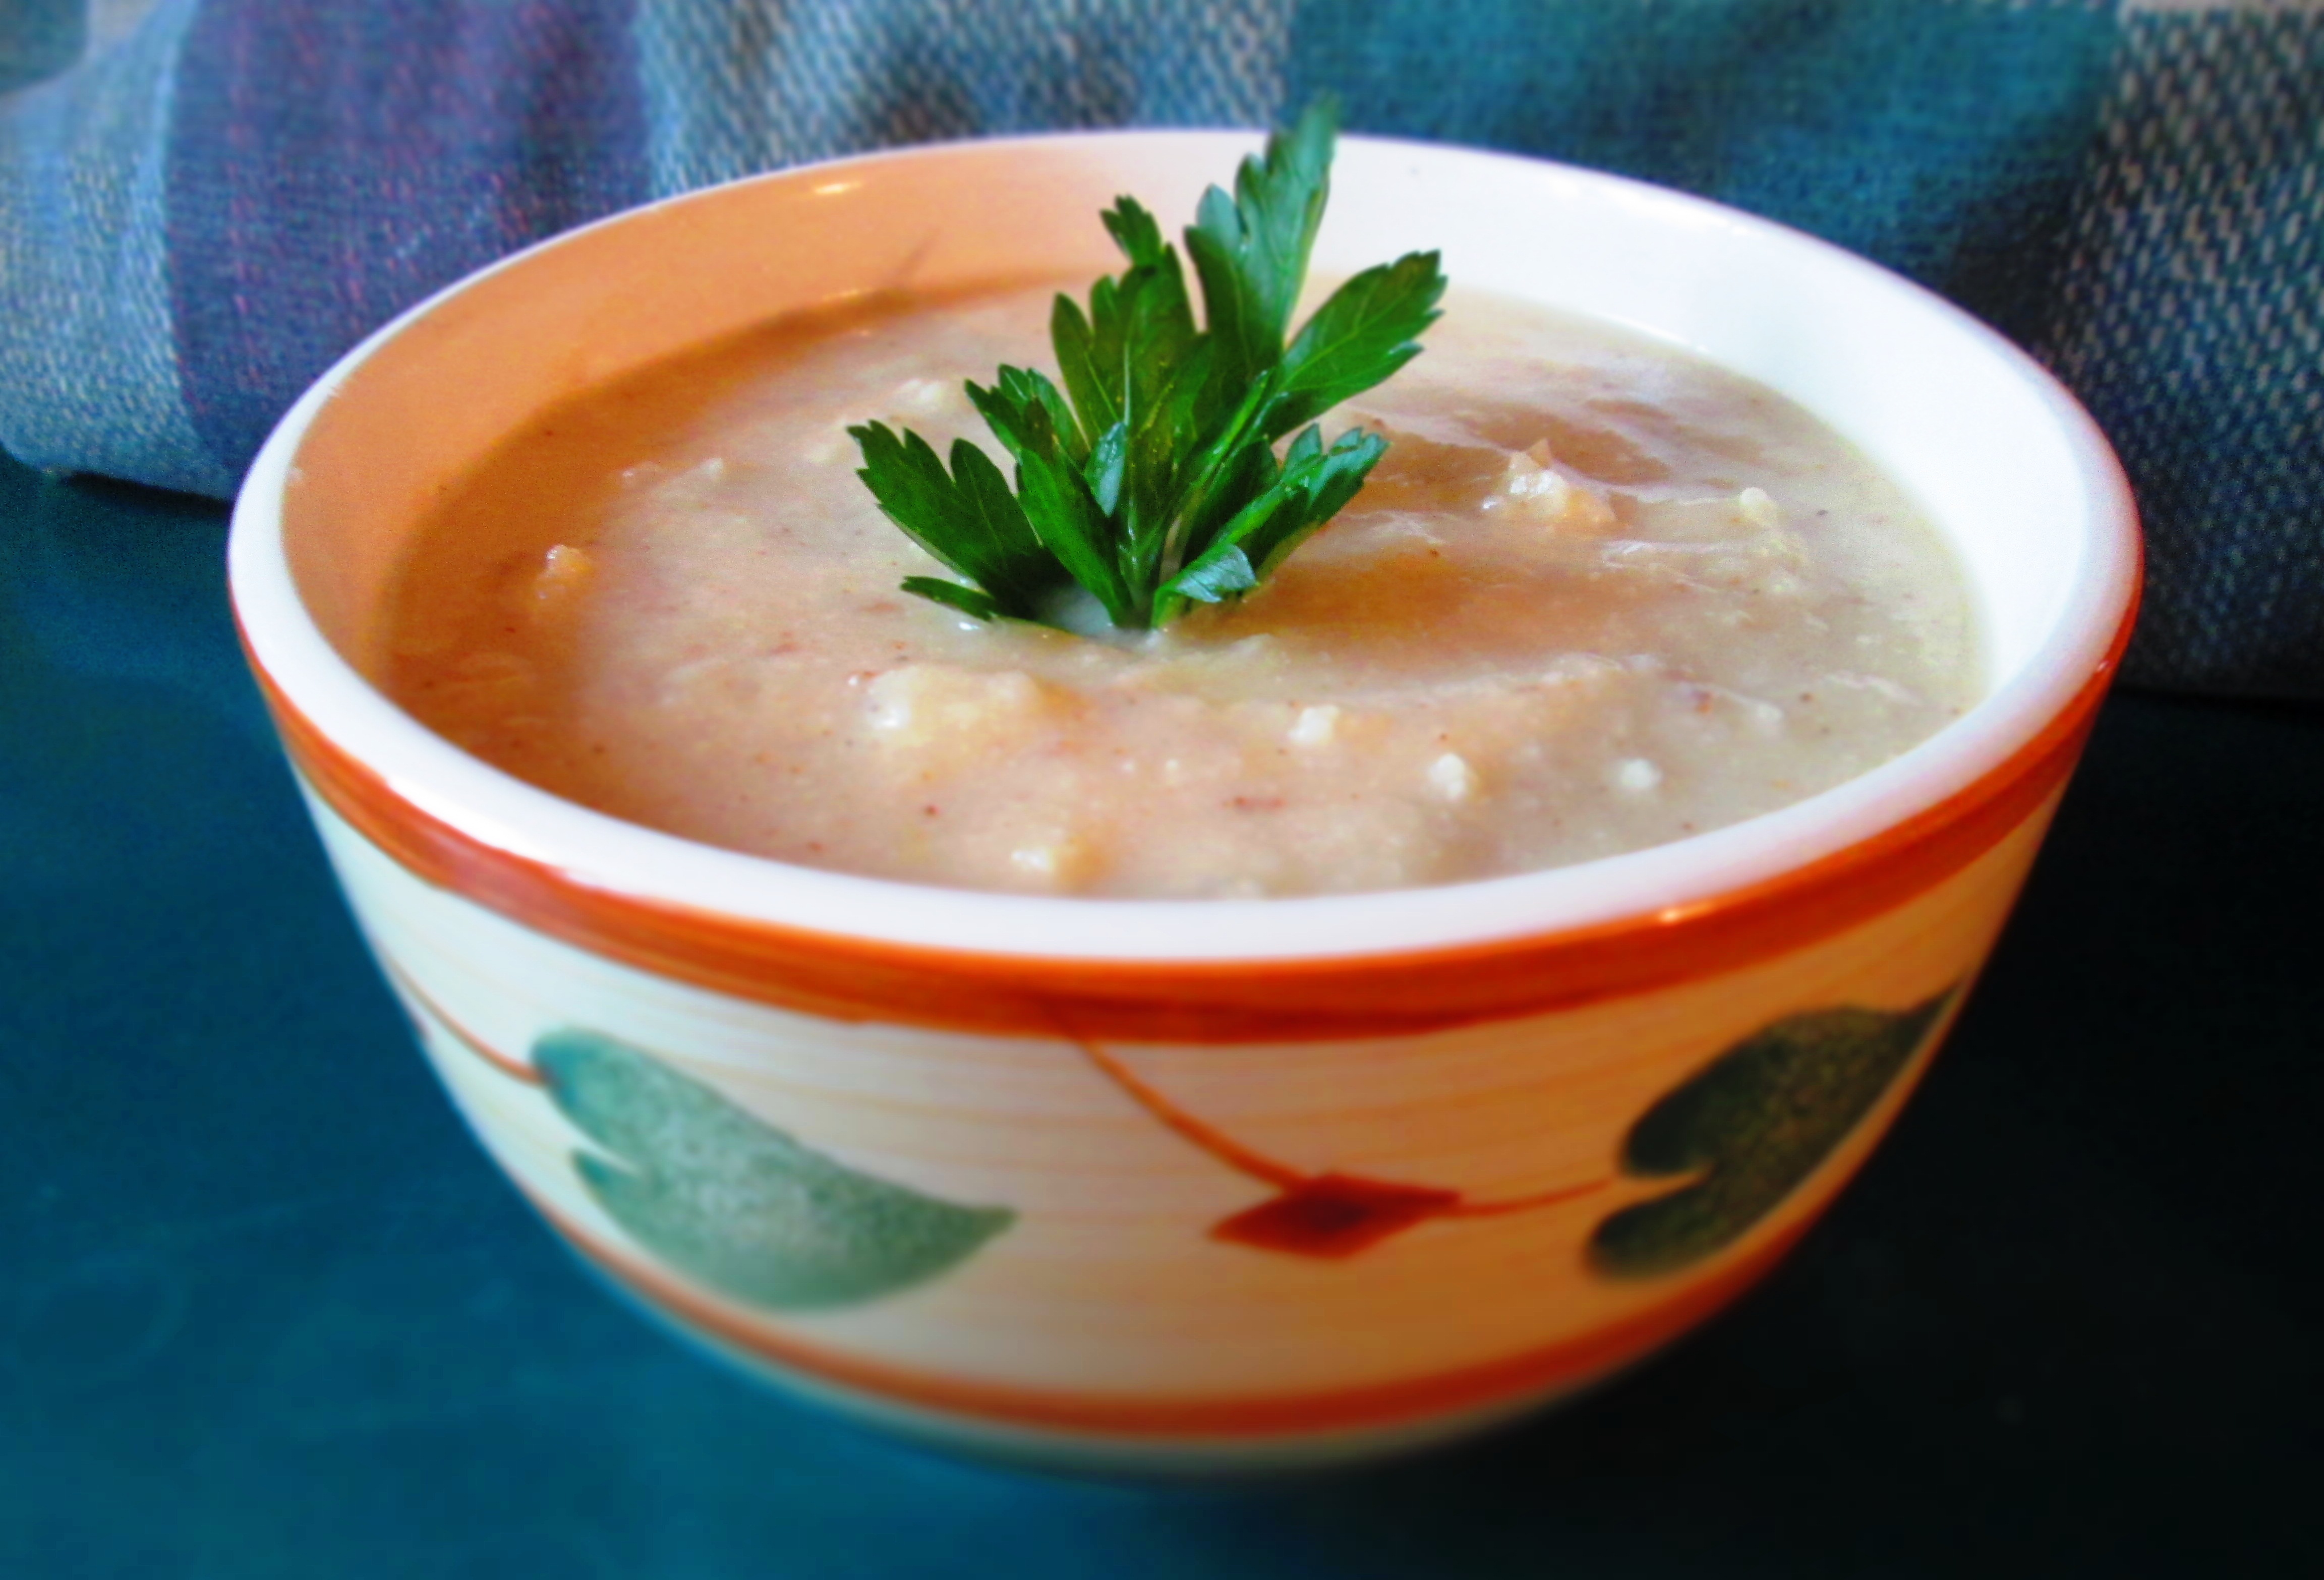
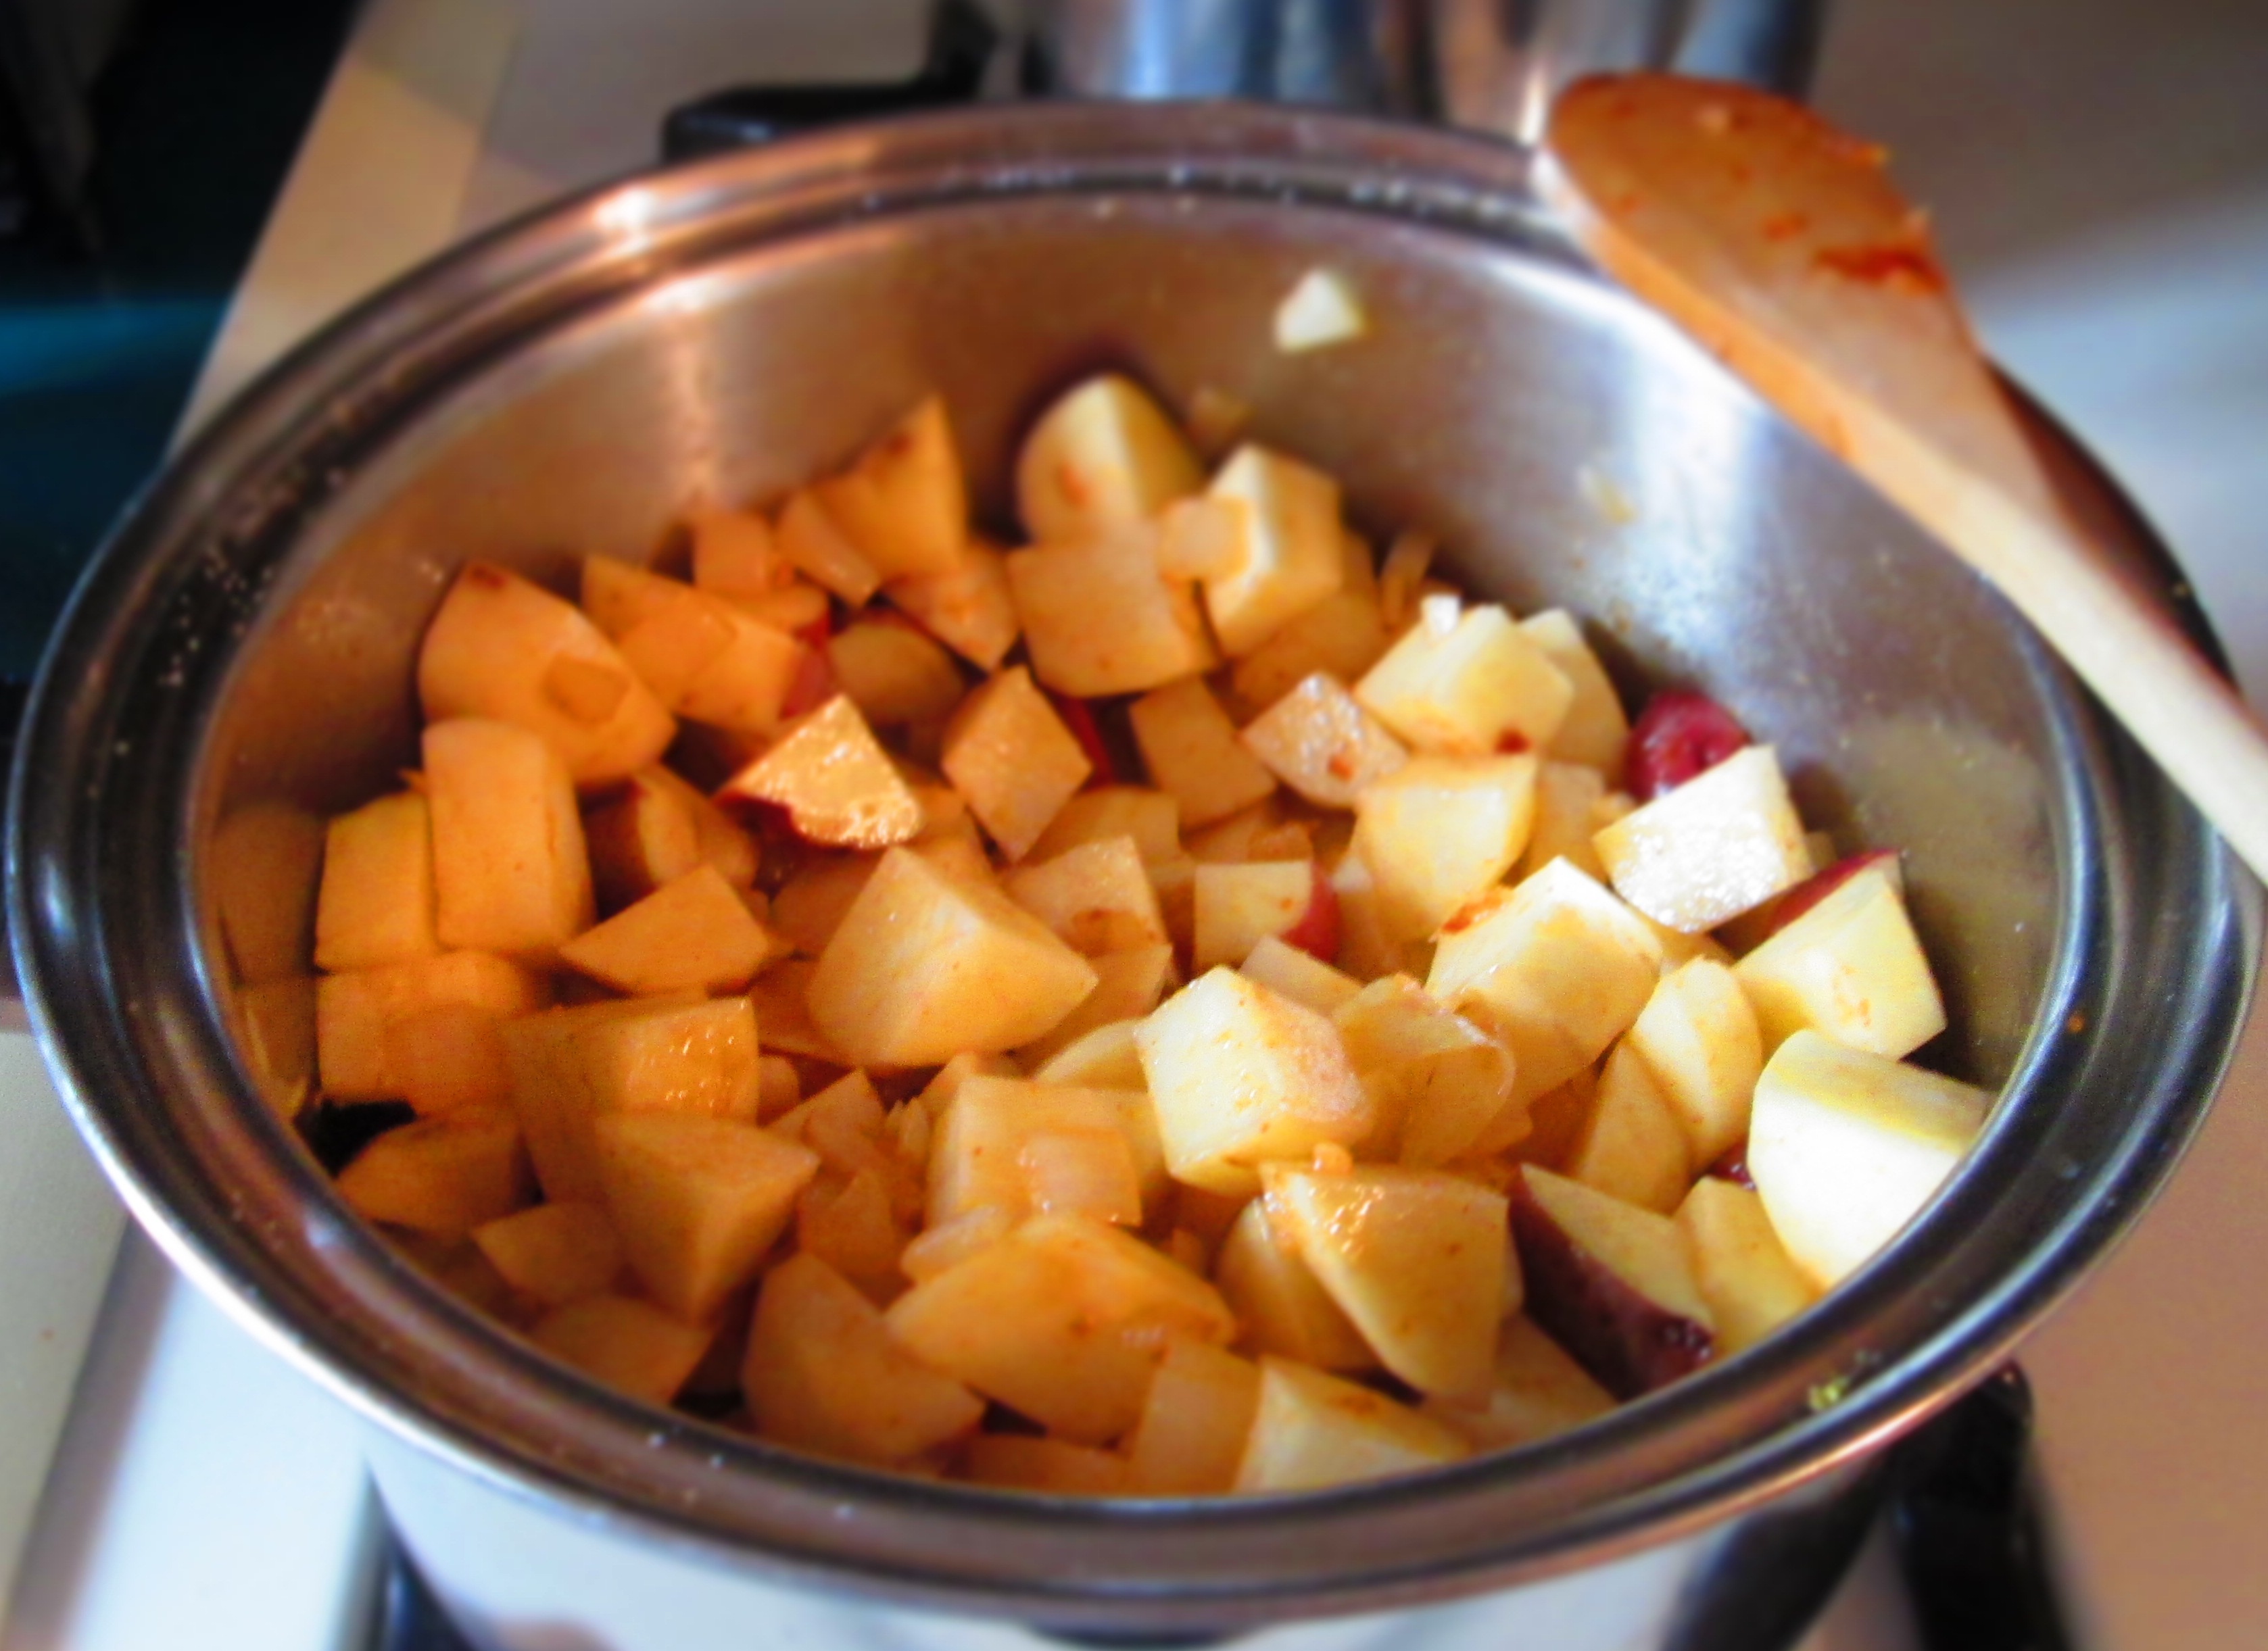
Celeriac is not a beauty queen, and many Americans have no clue what it is or what to do with it, but it’s a flavorful addition to anything. You can cut them up and roast them. You can add them to chilis and stews. Or you can do what many chefs do with them, and what I’ve done for the recipe below: make a bisque. It’s wonderfully creamy when pureed and combined with either apples or pears, it has a rich, complex flavor.
They’re good for you, too. Celeriac contains antioxidants, and is very a good source of vitamin K, phosphorus, iron, calcium, copper (good for the immune system, prevents anemia, and required for bone metabolism), and manganese. And it contains some B-complex vitamins, such as pyridoxine, pantothenic acid, niacin, riboflavin, and thiamin, and some vitamin C.
The red mustard greens are new to me, though. They are Chinese in origin, but are also cultivated in Japan. They’re lovely to look at and just as nutritious as other mustard greens, all part of the Brassica family, along with broccoli, cauliflower, cabbage, turnips, etc.
Celeriac is not found everywhere simply because they are an unfamiliar item for many people. But most larger stores, like supermarkets, carry a few, as do gourmet stores, and, of course, farmer’s markets. Enjoy!
Celeriac Bisque with Mustard Greens and Chick Peas
1 tablespoon olive oil
1 small yellow onion, coarsely chopped
2 large garlic cloves, chopped
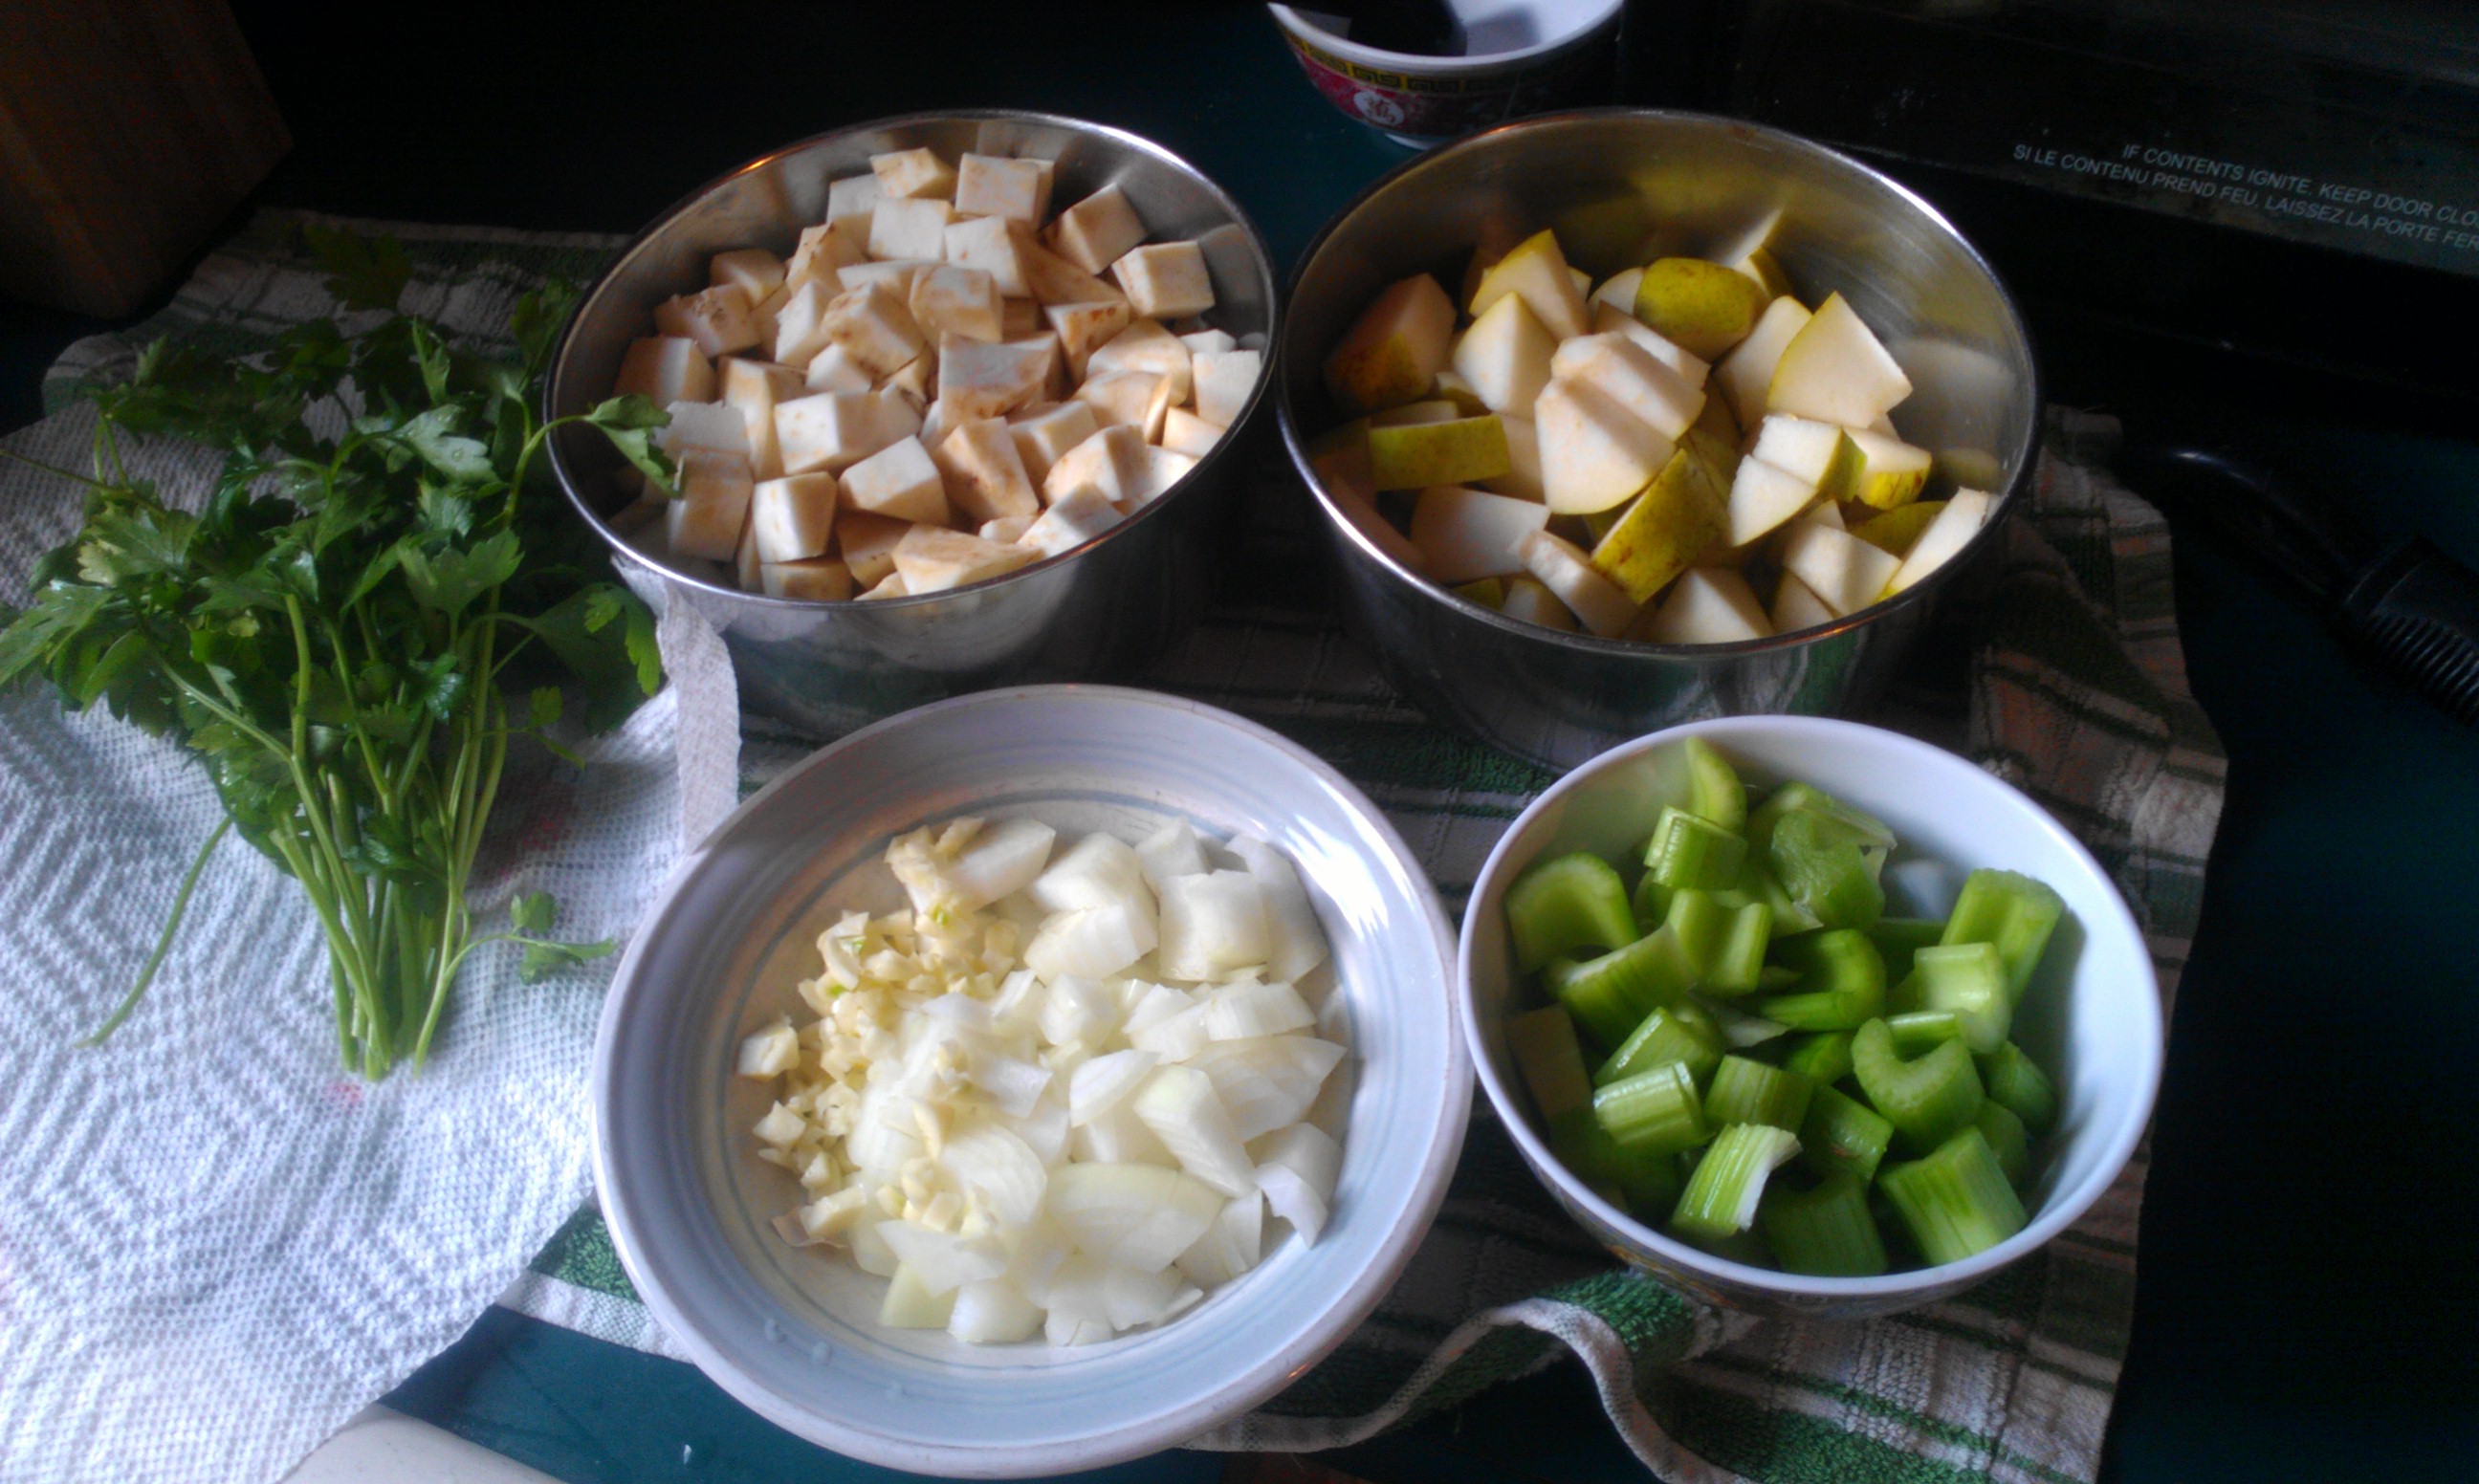
2 lb. celeriac (celery root), peeled and diced
3 small celery ribs, coarsely chopped
2 medium apples or Bartlett pears, peeled, cored, and chopped
¼ teaspoon sea salt
4 cups vegetable broth
¼ cup fresh Italian parsley
Freshly ground pepper to taste
8 oz. mustard greens (or other greens), washed and chopped
2 cups cooked chick peas
Garnish: chopped fresh parsley (optional)
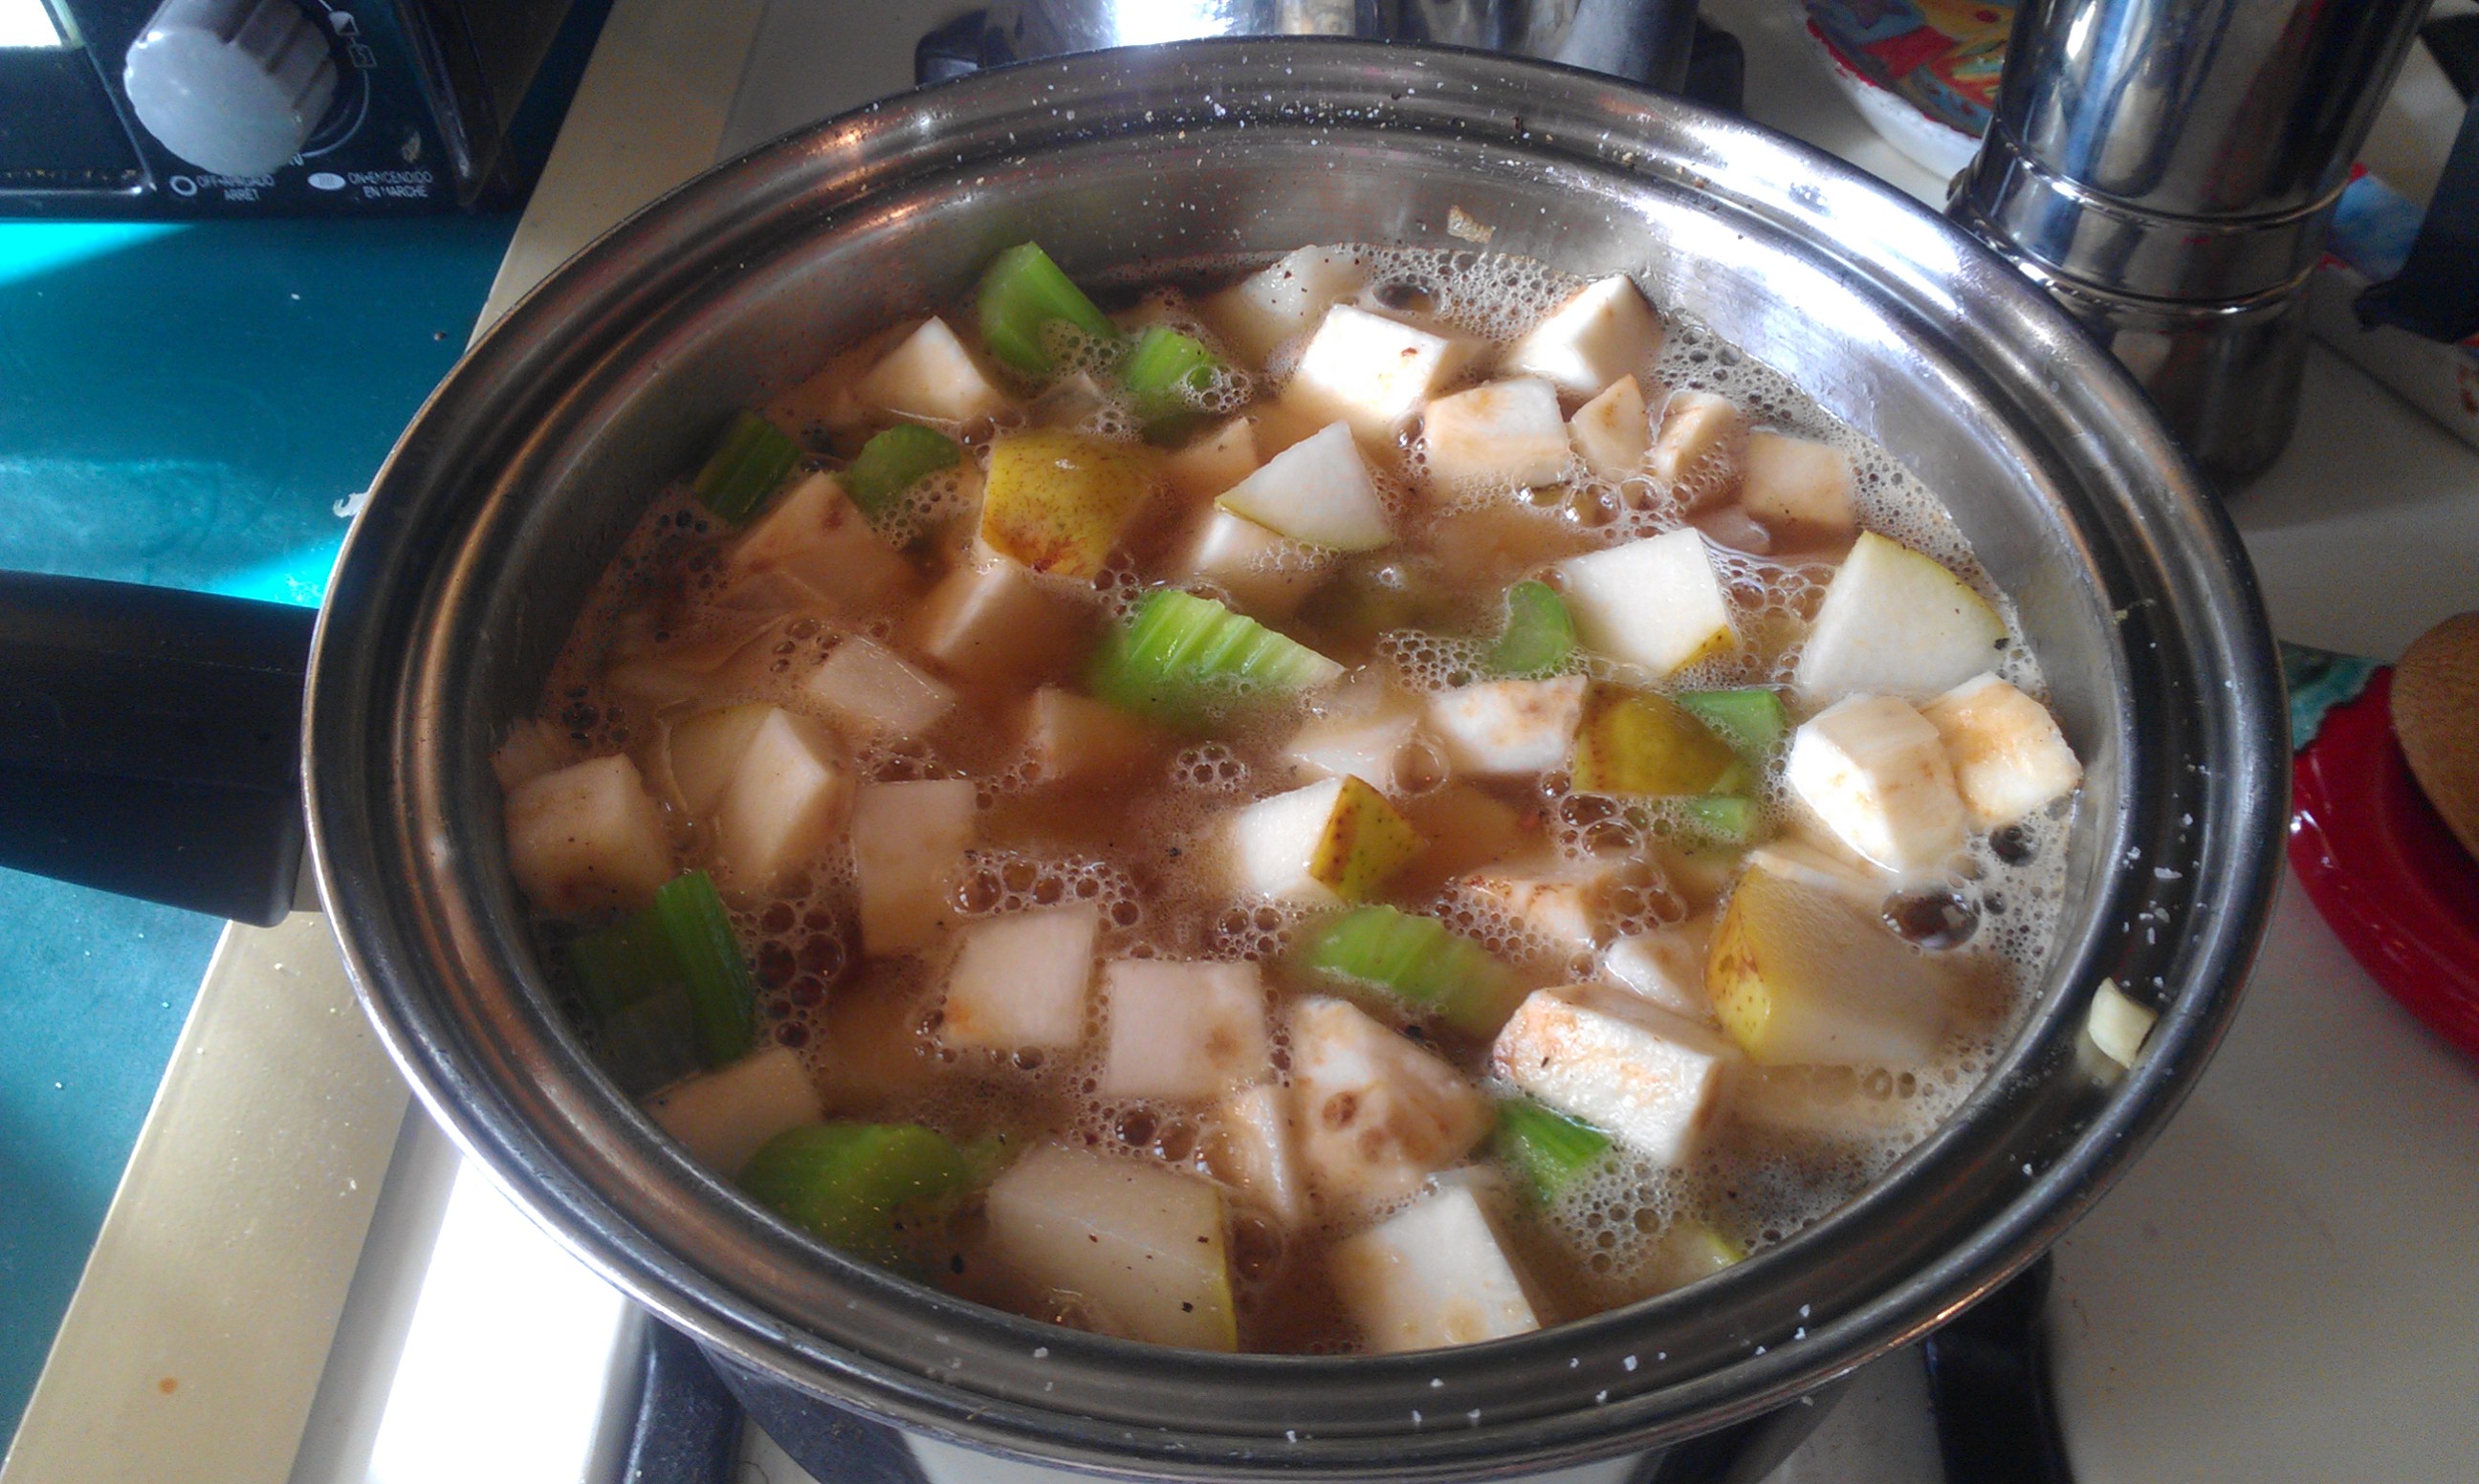
Heat oil in a medium-large sauce pan. Saute onion and garlic until translucent. Add celeriac, celery, apples or pears, and salt and saute another 5 minutes.
Pour in broth and bring to a boil; lower heat and simmer until vegetables are tender when pierced with a fork.
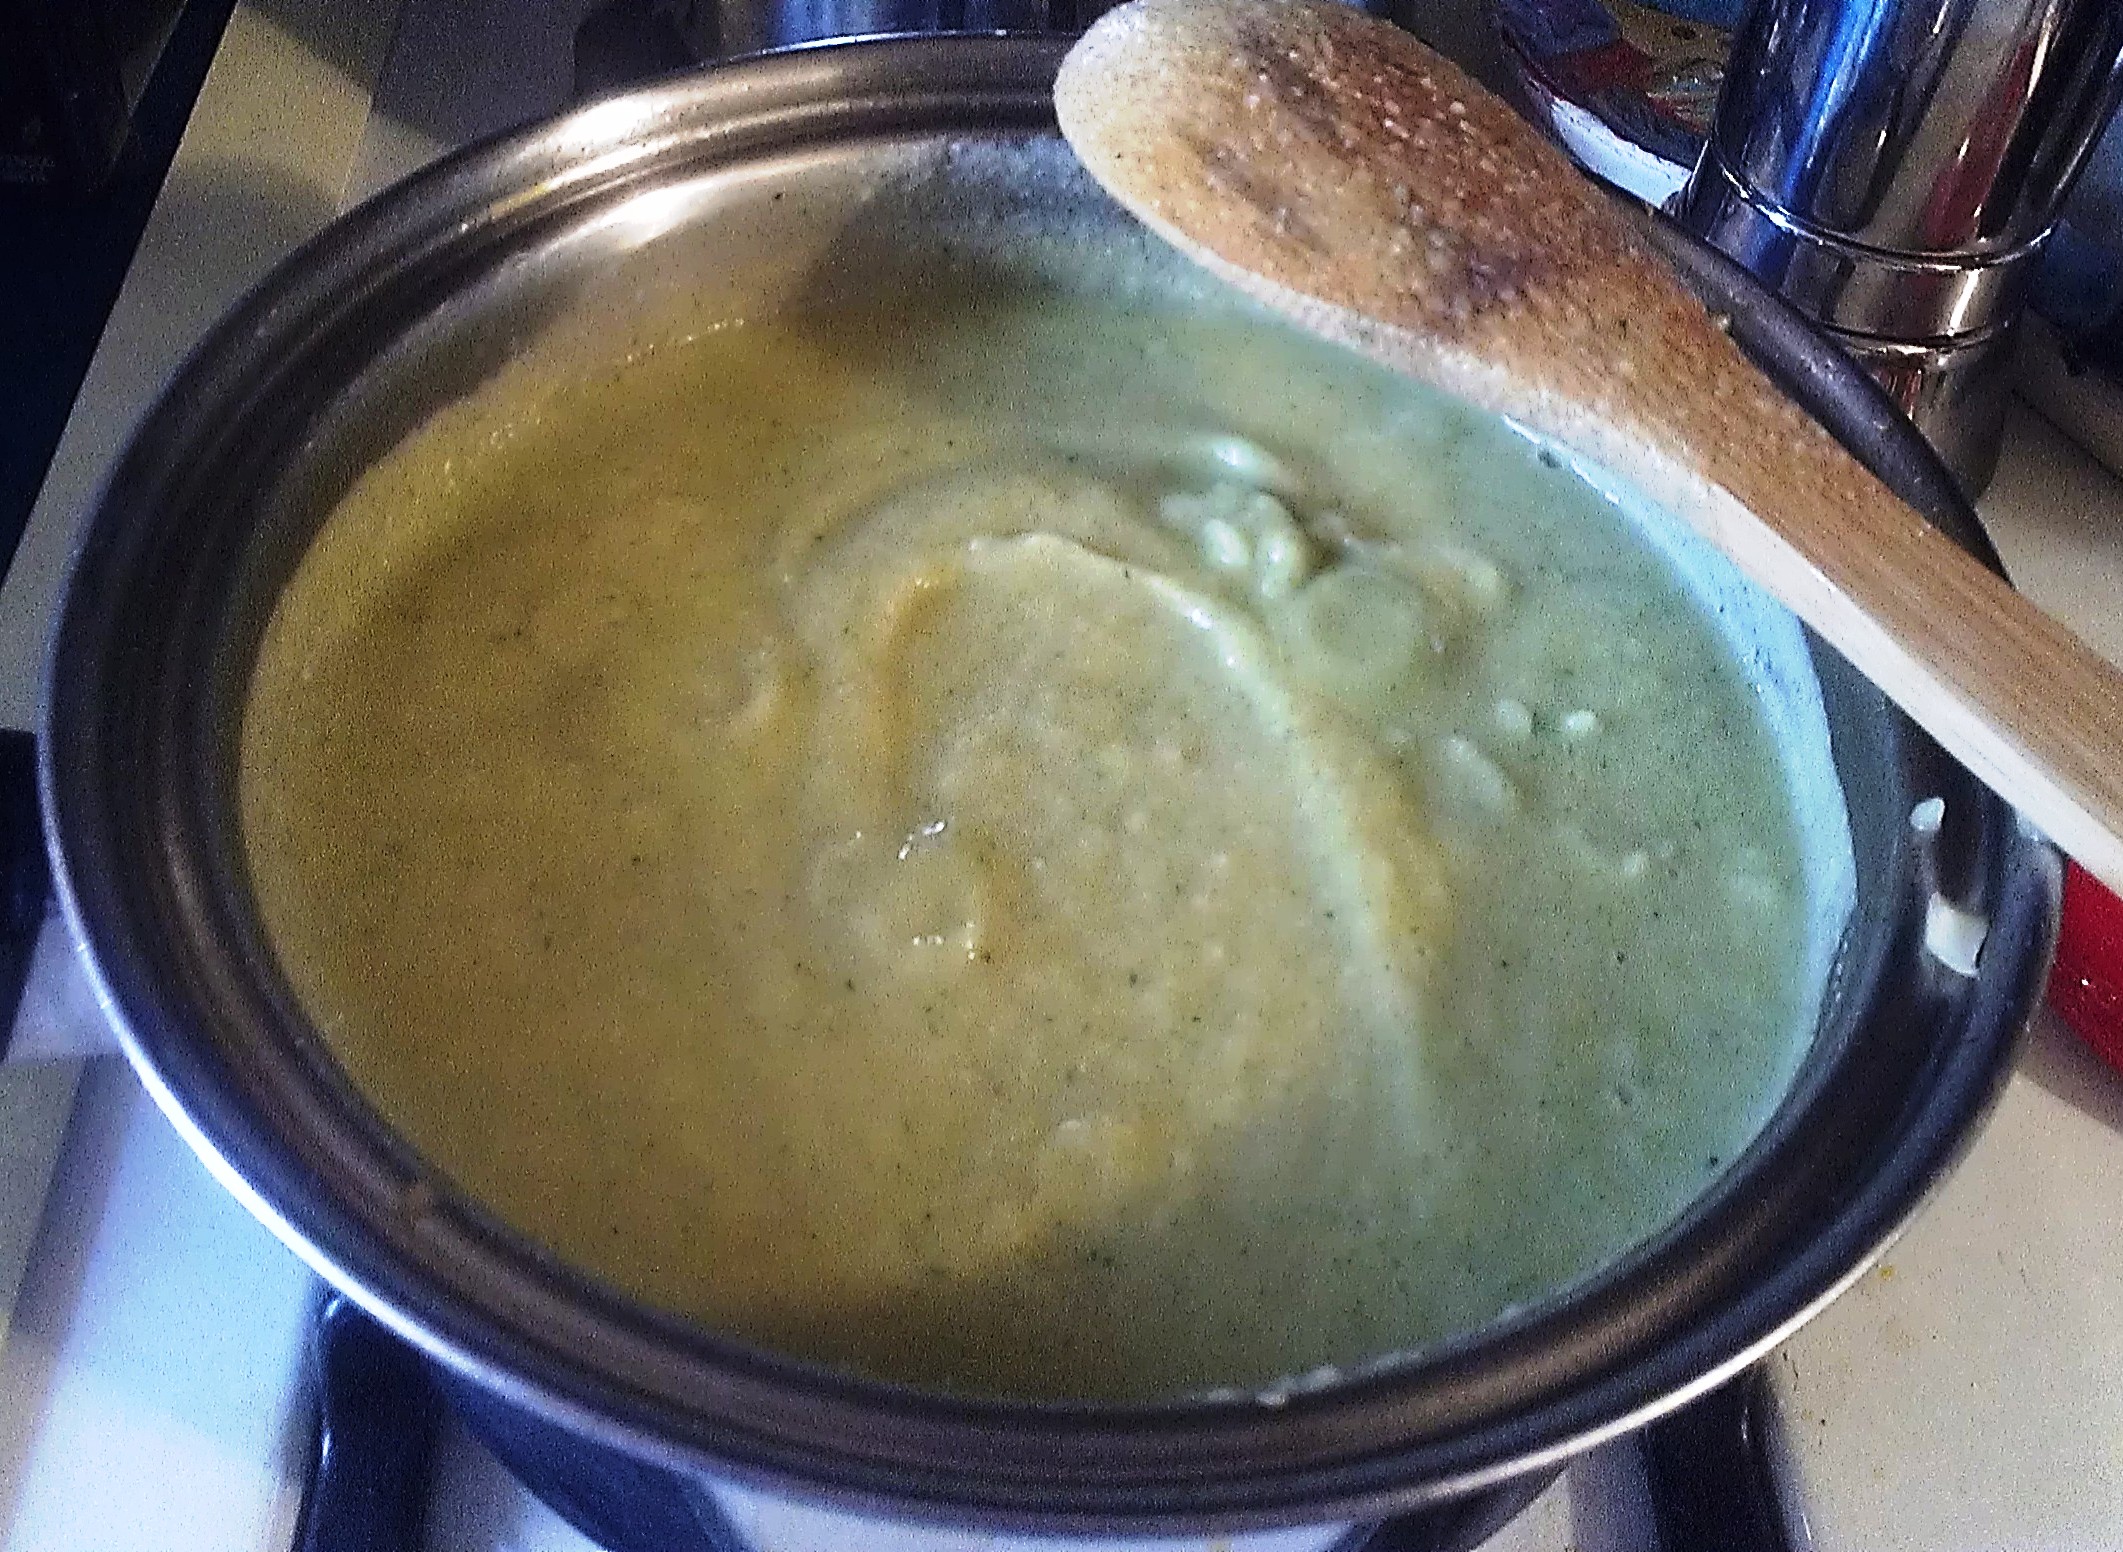
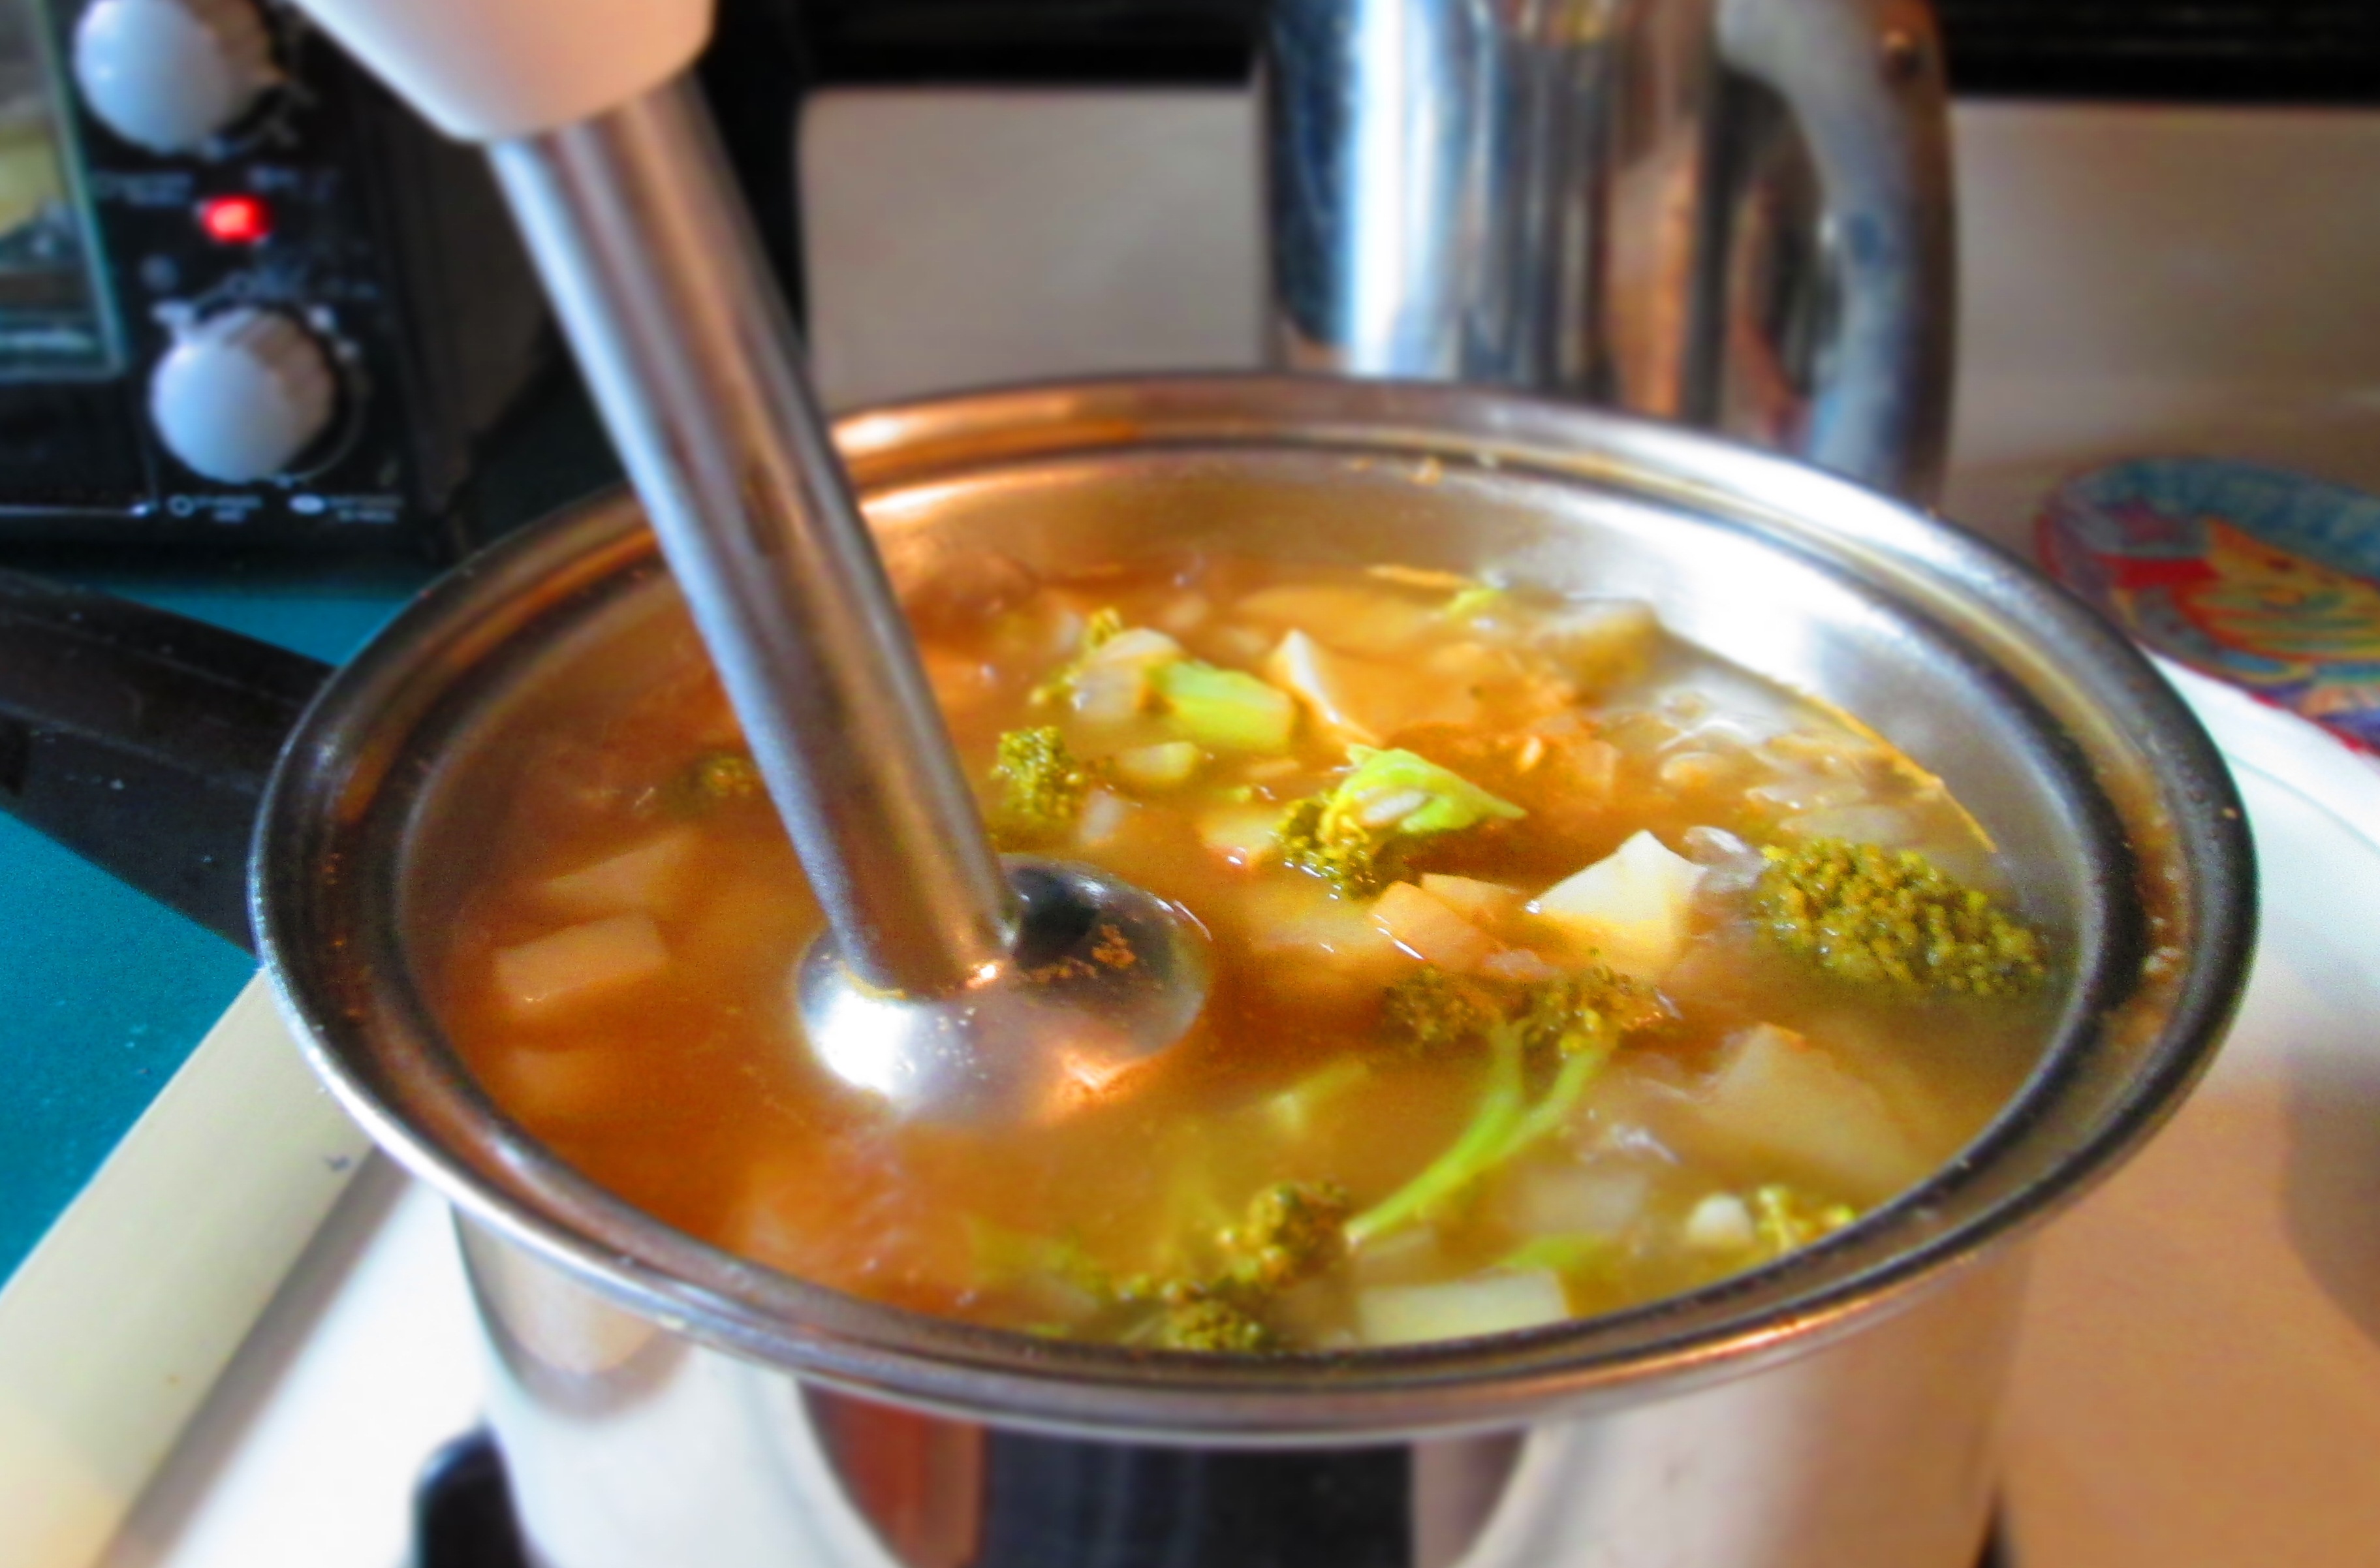
Transfer to a blender; add parsley and puree (the soup is hot so be careful to hold the lip of the blender with a hand towel.
Pour back into pot. (Alternatively, you can add parsley to pot and use a stick blender).
Add fresh pepper, mustard greens, and chick peas. Cook another 5 minutes. Check for seasoning and serve. Sprinkle parsley on top for garnish.
I get into these moods when I crave to make a pot of chili. The thing about chili is that there’s no way to make just a little. Just by its very nature, chili is a big-pot deal. I usually put a lot of it in the freezer and it really comes in handy to have.
This week, though, I did something a little different. I picked up a bunch of beets at the Greenmarket and it had some beautiful leaves attached. Normally, I would sauté the greens in garlic and olive oil (my favorite and go-to way to cook greens), but I wanted to do something different with those, too.
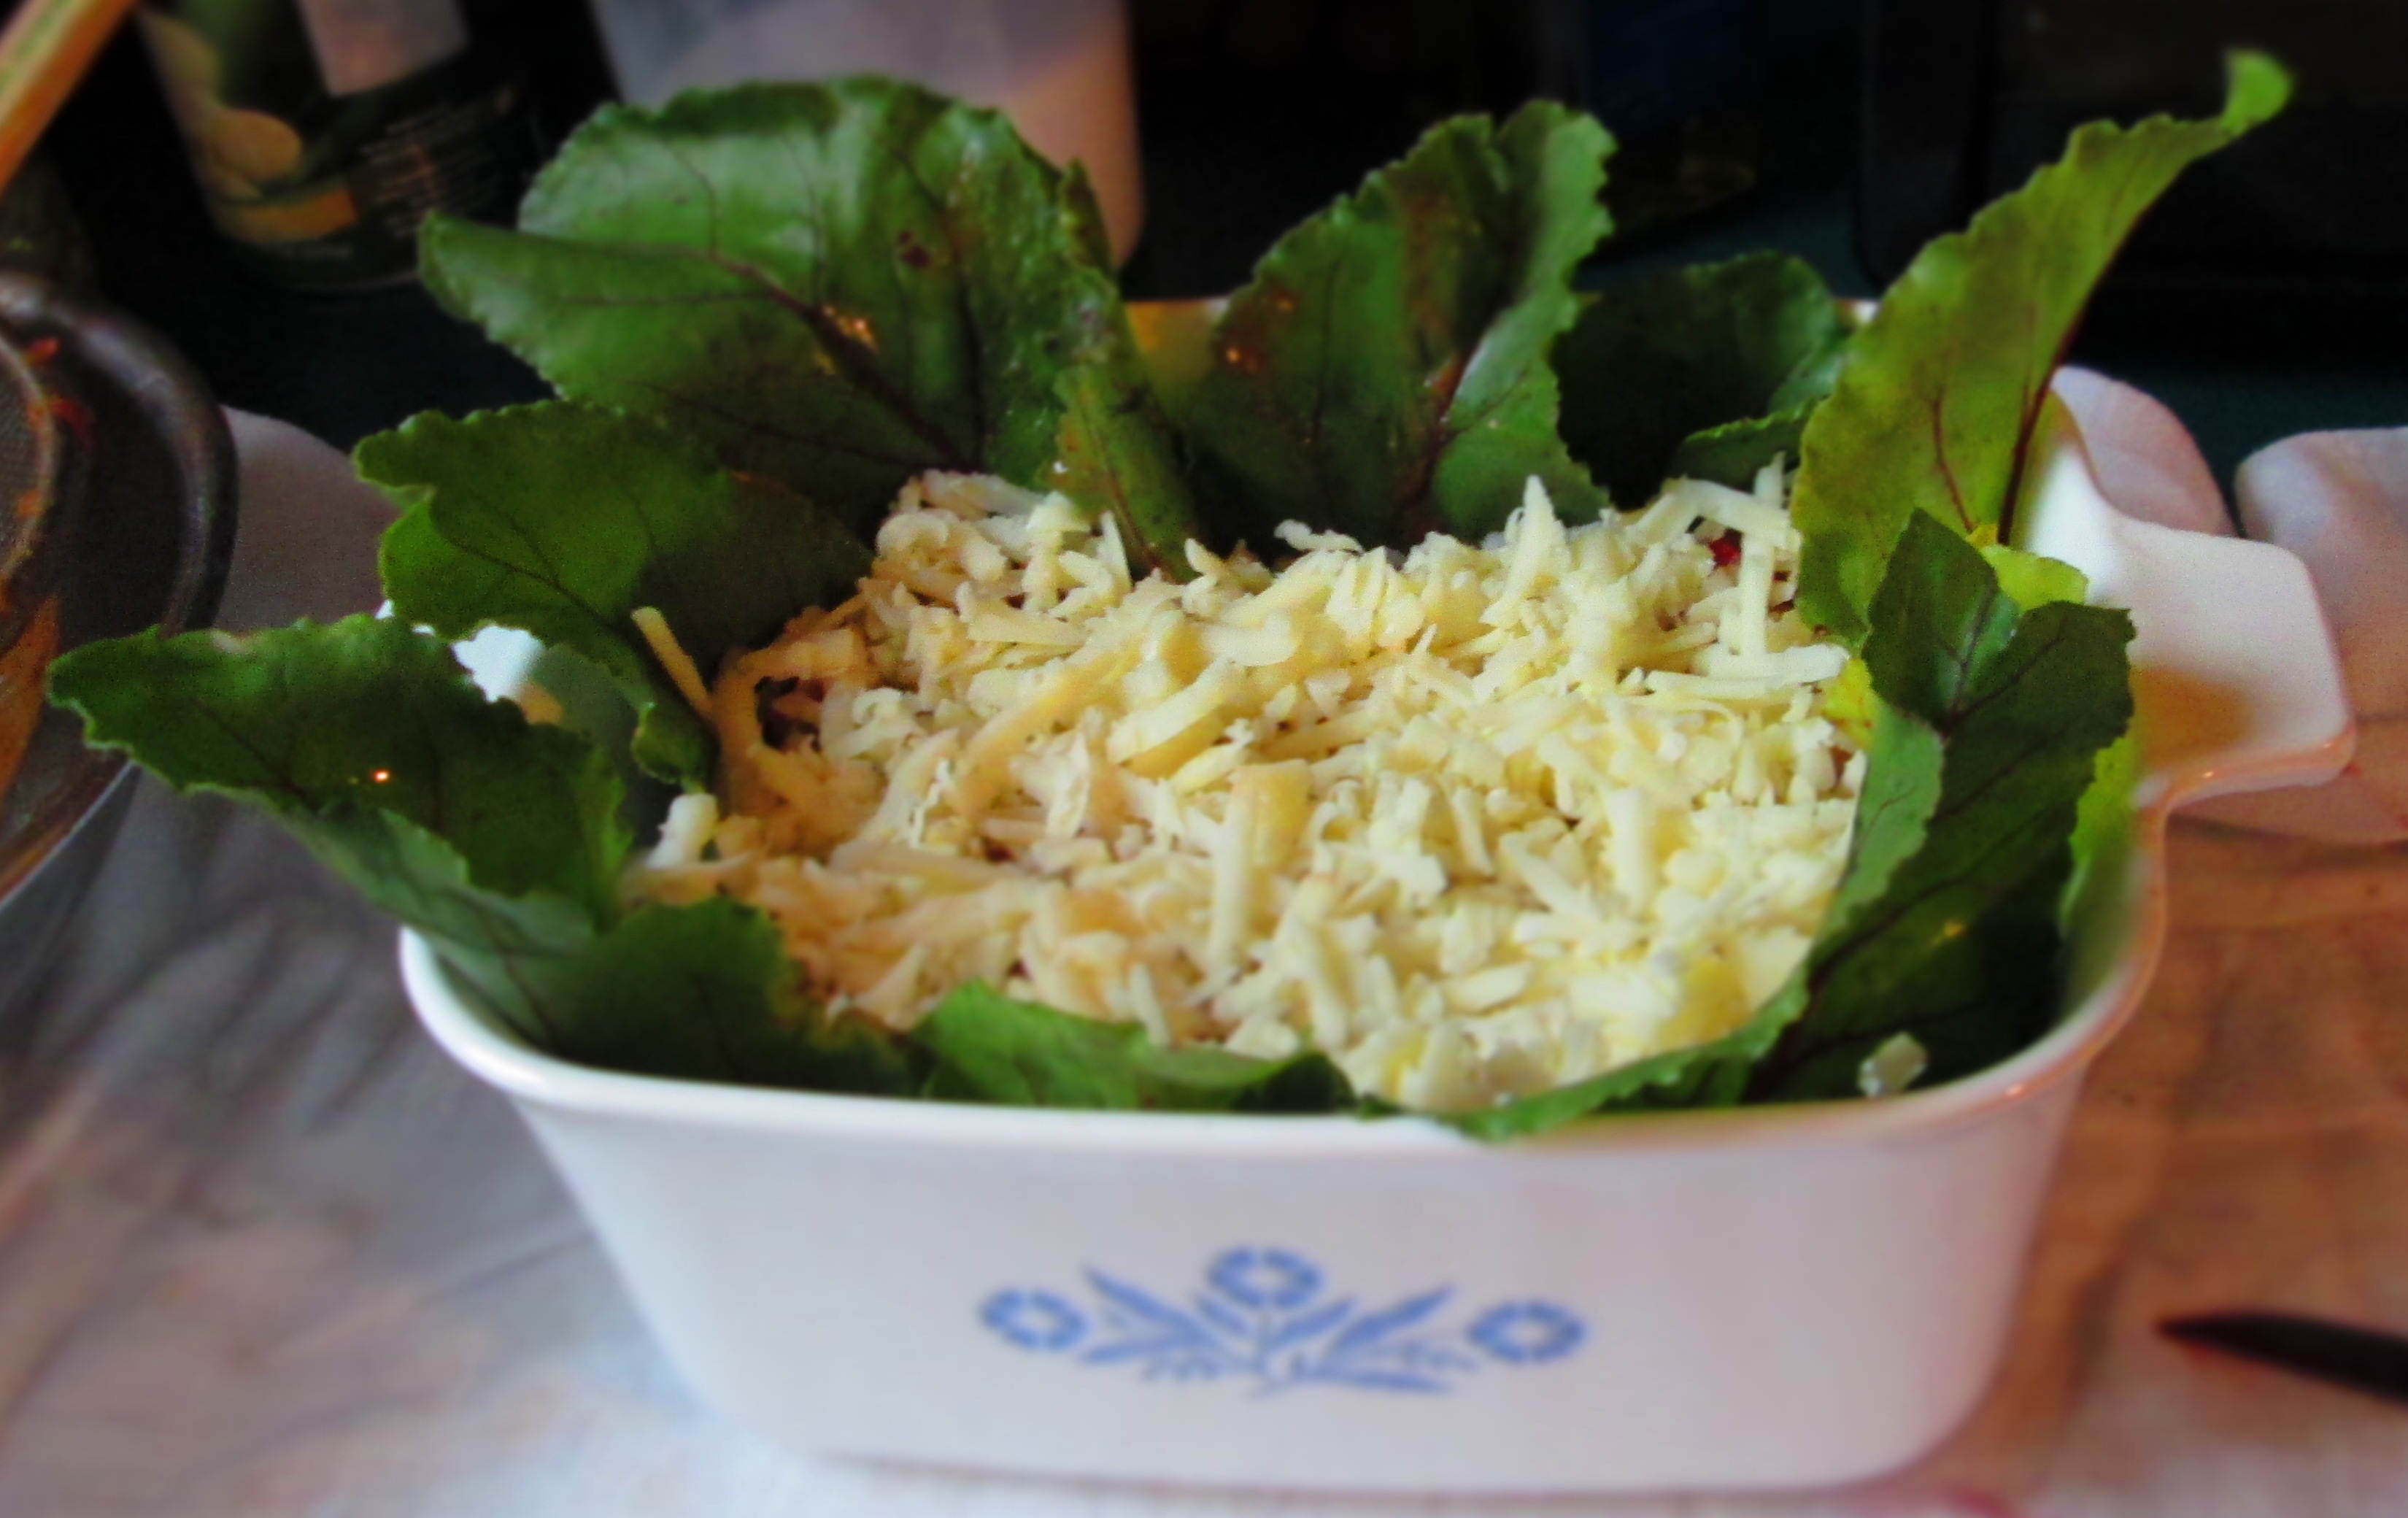
So, I decided to do a casserole, or what Italians call a timbale—a dish that is formed in some sort of mold shape. I used the beet leaves to wrap the chili in a small casserole dish (a 40-year-old cornflower Corningware!), added some cheese, and voilà.
My chili has tempeh in it for extra protein and texture. Tempeh adds a meatiness to chili that makes it appealing to meat-lovers as well. You can either dice, chop, or crumble it, according to your preference. Crumbling it gives it a chopped-meat texture, but I prefer a small dice. It’s important to drain the chili before putting it into the casserole; otherwise, there will be too much liquid. Also, I used homemade corn stock (which I also keep in the freezer), which gave it a fabulous flavor, but any vegetable stock will do.
Enjoy!
Tempeh Chili Casserole with Beet Greens
Makes 4 to 6 servings.
Chili
2 teaspoons olive oil
8 oz. tempeh, chopped
1 medium onion, chopped
Salt
3 large garlic cloves, minced
1 tablespoon tomato paste
1 medium red pepper, chopped
1 medium green pepper, chopped
1 small jalapeno, minced
1 medium carrot, chopped
1 tablespoon chili powder
1 teaspoon cumin
1 (15-oz) can plum tomatoes, chopped
2 cups cooked kidney beans
1 cup corn (preferably organic)
1 cup broth
1/4 cup chopped cilantro
Casserole
Greens from one bunch beets
Olive oil
Make the chili. Heat the oil in a larger pot. Add the tempeh and sauté, stirring often, until browned on all sides. Remove with a slotted spoon and set aside.Add the onions and a pinch of salt and sauté until soft and translucent (if the pot is completely dry, add a bit more oil). Add the garlic and sauté a minute.
Make a space in the pot and add the tomato paste. Begin stirring it in until it’s incorporated into the onions.
Add the red, green, and jalapeno peppers and carrots and continue sautéing until soft.
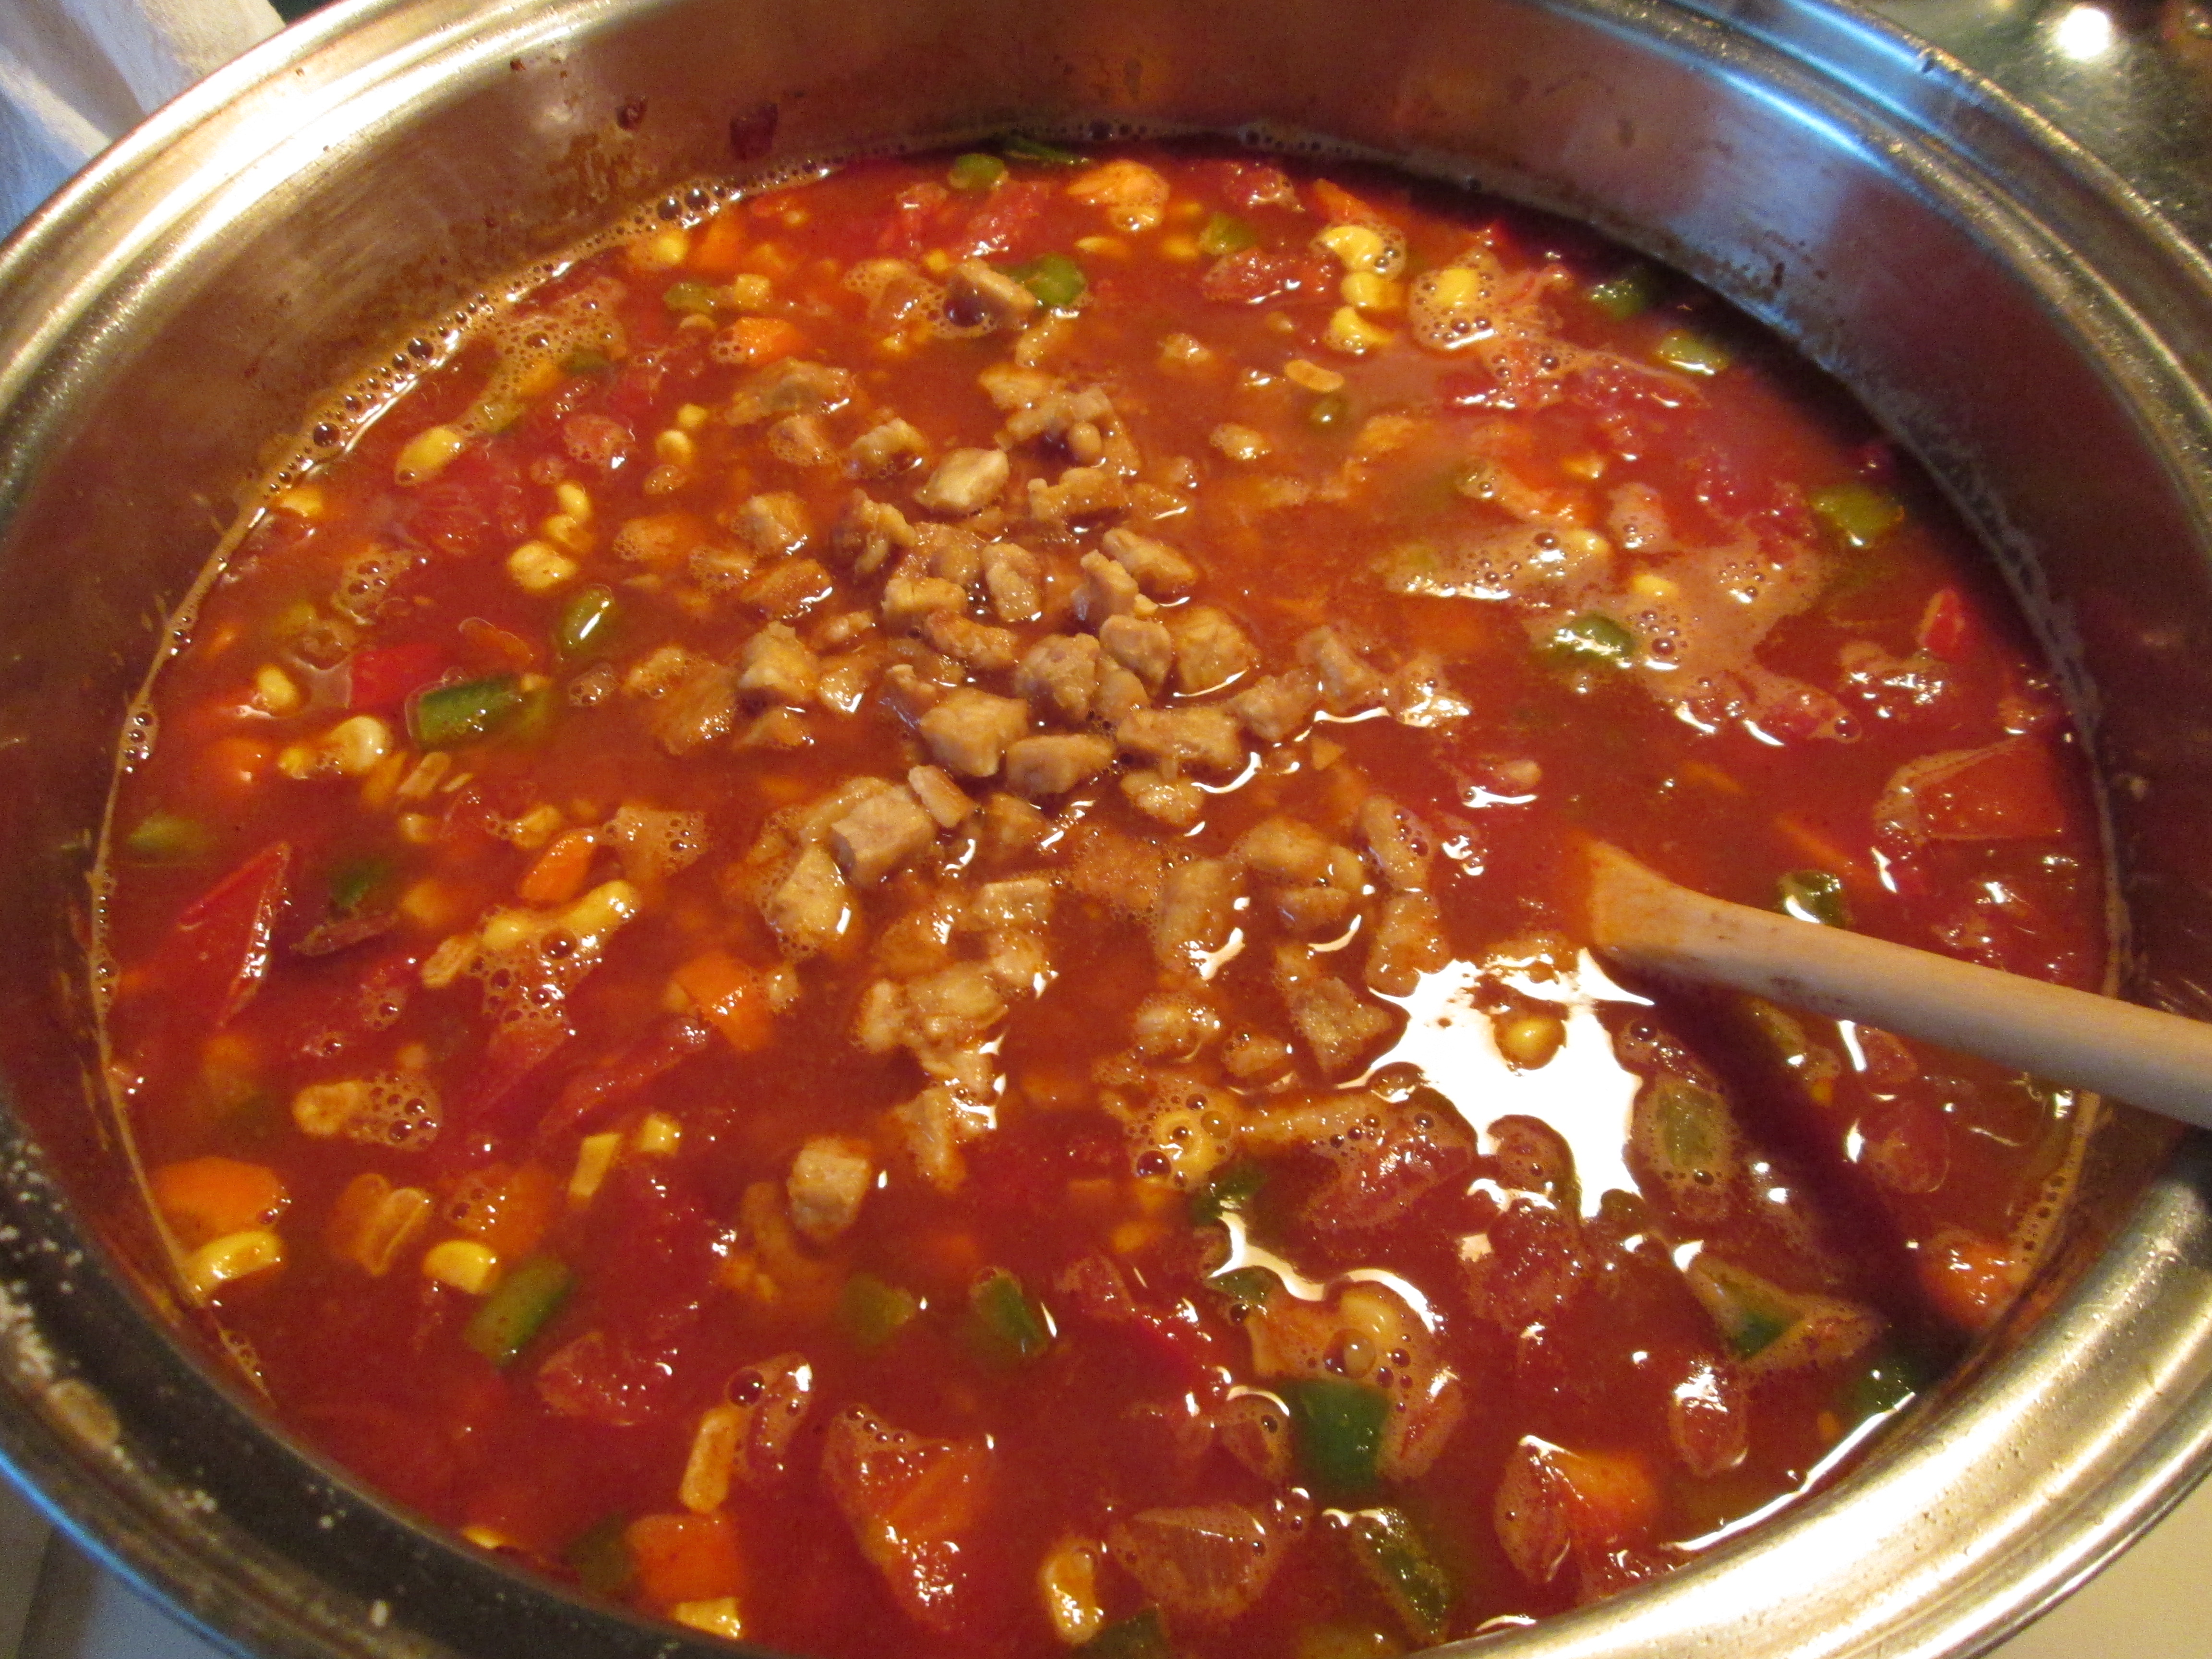
Stir in the tempeh, chili powder, and cumin and cook another 2 minutes, stirring frequently. Add the tomatoes, beans, corn, and broth and bring to a boil. Lower the heat and simmer, partially covered, about 30 minutes or until thickened. Stir in cilantro.
Take about 3 cups and set aside. Store the rest in the refrigerator or freezer.
Place the 3 cups chili in a strainer set over a bowl and let drain for at least half an hour. Stir occasionally.
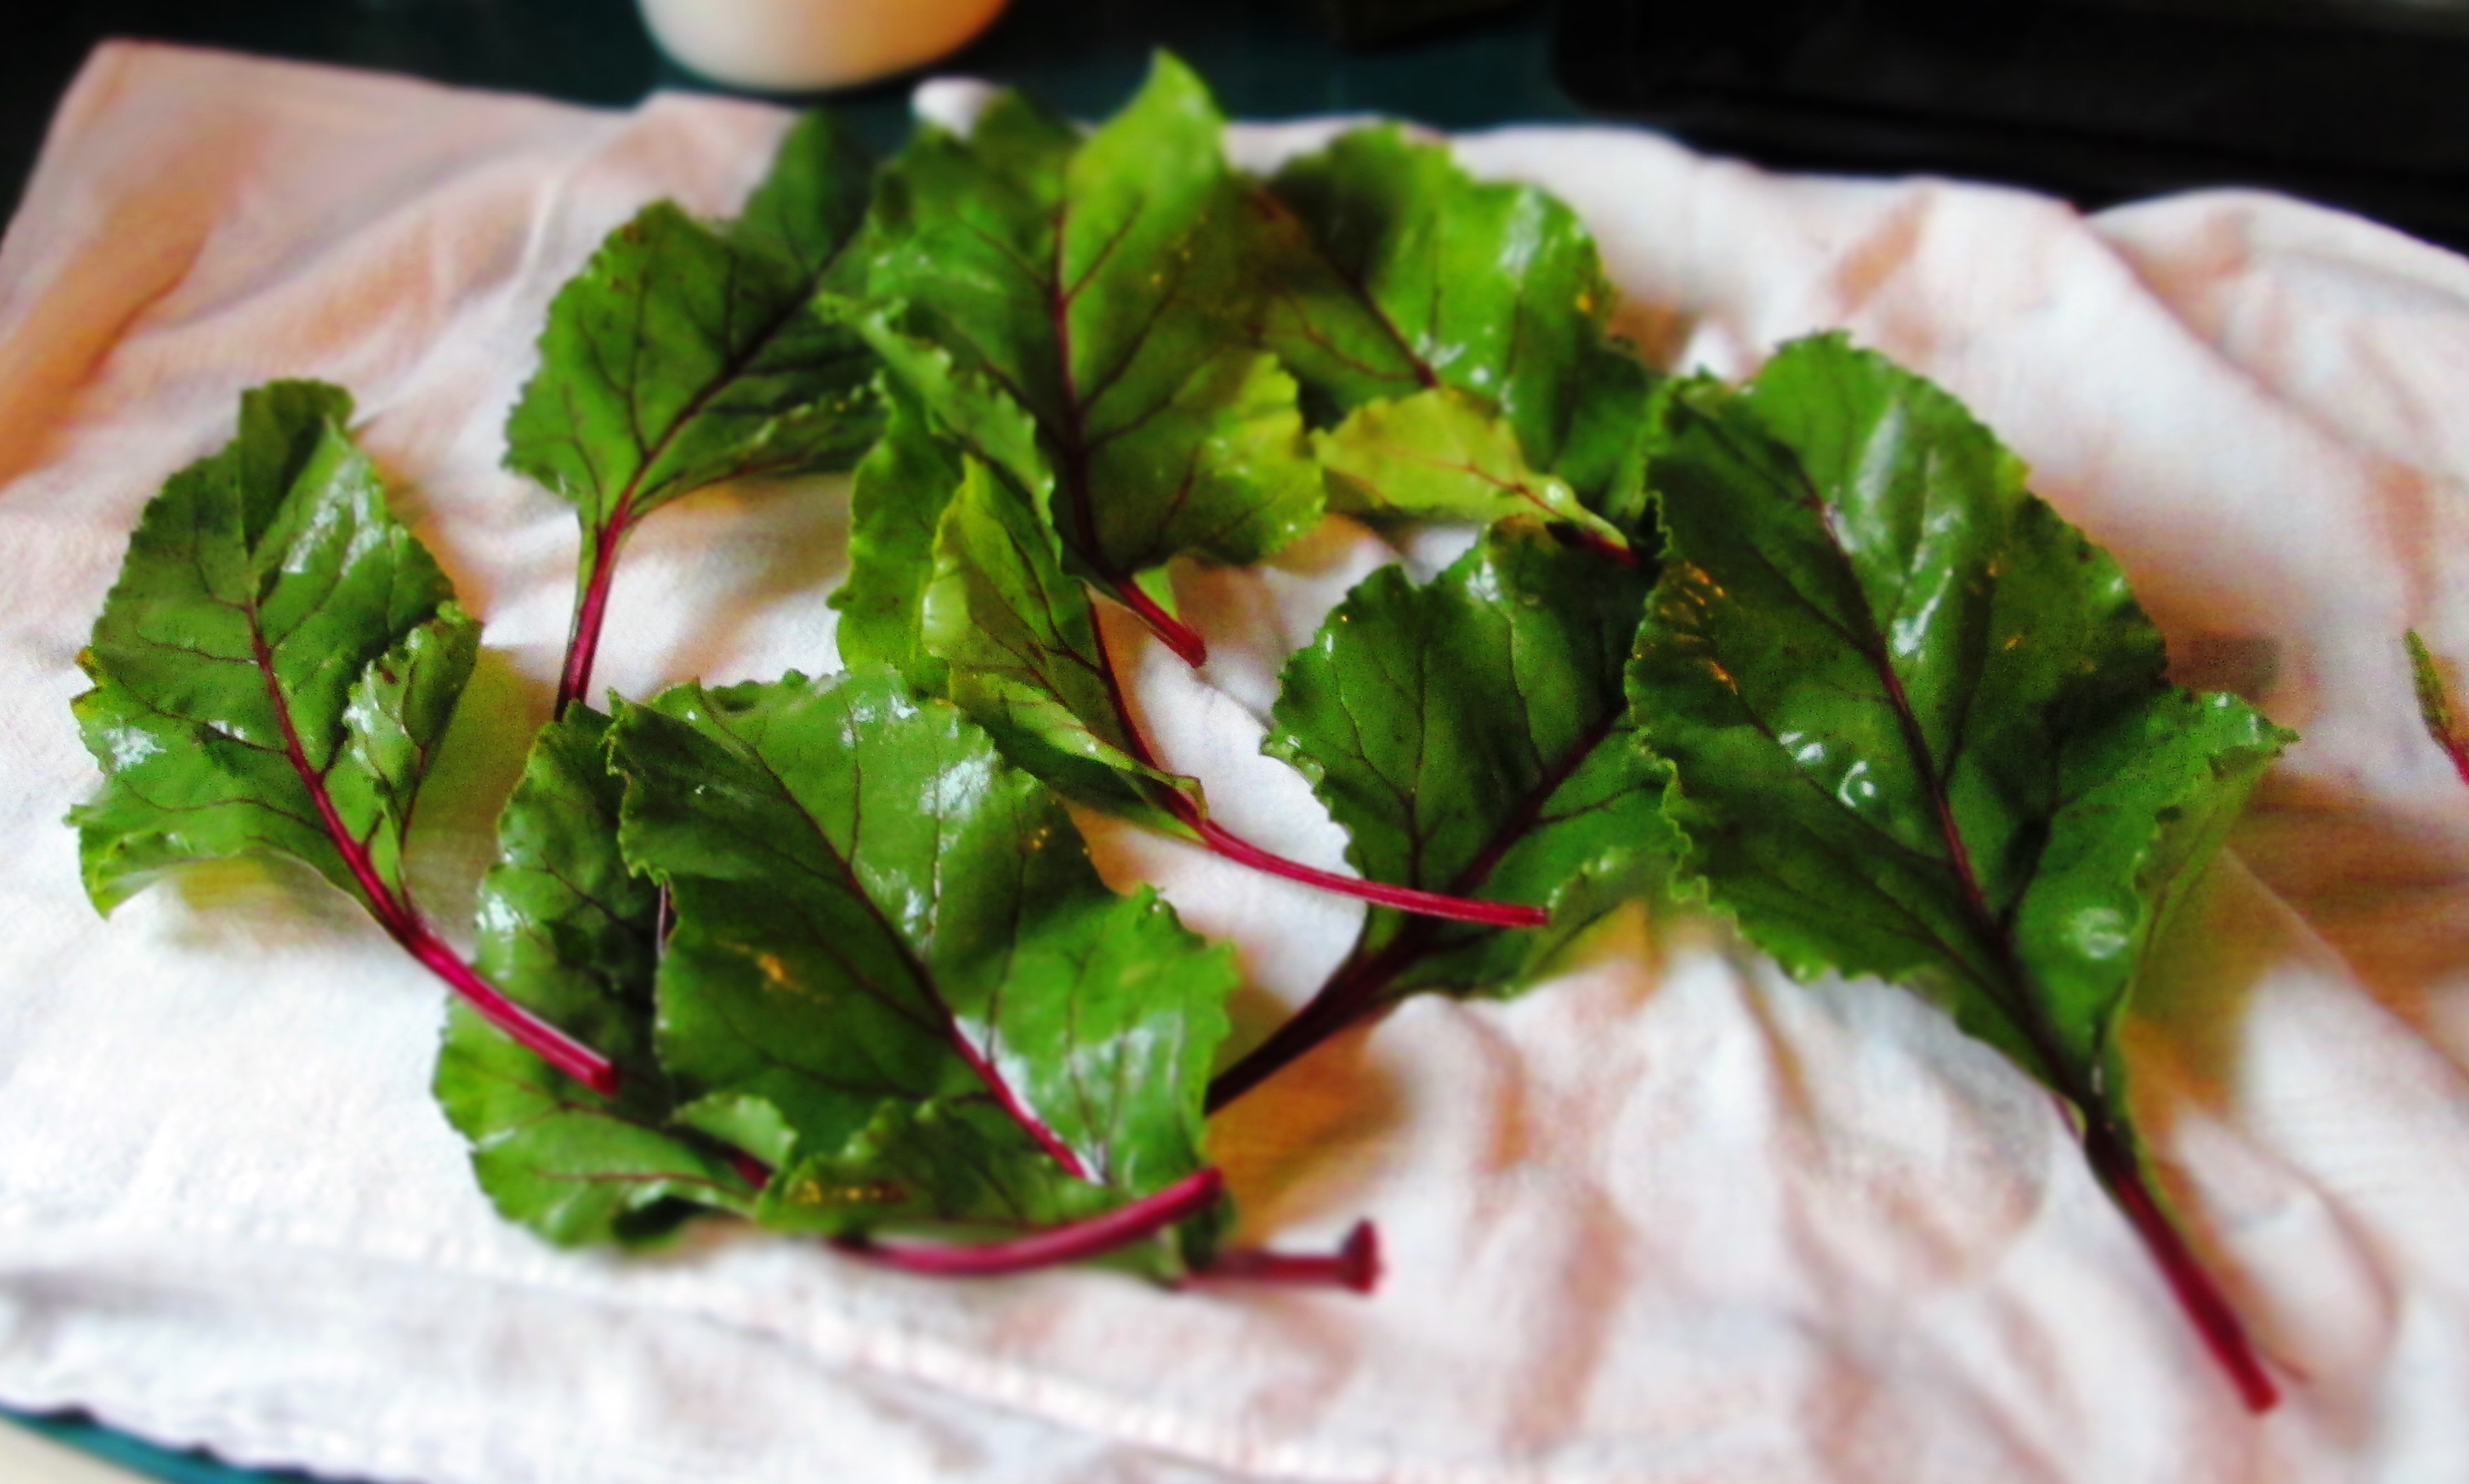
Meanwhile, place the beet greens in a large bowl filled with cold water. Swish them around then let sit for 15 minutes. Scoop the leaves out and transfer to another bowl or a clean towel. Pour out the water and rinse out the bowl. Place the leaves back in and fill with water again and let sit another 15 minutes. Scoop them out and lay out on a clean cloth or paper towels. Pat them dry. Pick out the largest ones.
Brush the inside of a 1- or 1½-quart casserole dish with oil. Line it with beet greens so that the greens hang out over the edges. Fill with drained chili. You may have to hold the leaves in place with one hand while you scoop with the other.
Cover the top with cheese.
With your fingertips, oil the leaves. This is important to do because otherwise the leaves will dry out and get crispy in the oven. Fold the leaves over to cover the top. If necessary, lay additional leaves across the top of the cheese (make sure those are oiled as well). If the leaves don’t want to stay down, insert toothpicks where needed.
Cover the top with lid or aluminum foil and bake 20 minutes. Remove foil and bake another 20 minutes or until liquid had dried up. Remove toothpicks.
Serve in casserole dish and scoop out, or invert onto a platter.
I love it when leftovers come together so beautifully that they make a healthy, delicious meal. Yep, this is another one of my everything-in-the-refrigerator concoctions. And it turned out pretty damn good.
I love soup, and it’s one of the easiest ways to utilize leftovers. In this case, I had a few potatoes, a piece of broccoli, and some leftover greens. So, this is what I came up with. I hope you give it a try and enjoy it.
Broccoli Potato Soup with Beans and Greens
2 teaspoons olive oil
½ cup chopped white onion
¾ teaspoon kosher salt
4 large garlic cloves, chopped
1 tablespoon tomato paste
3 cups chopped potatoes
4 cups vegetable broth
2 cups chopped broccoli
2 cups cooked beans
2 cups greens, washed
Heat the oil in a medium pot. Add onion and ¼ teaspoon salt and saute until translucent, about 5 minutes. Add garlic and saute another 2 minutes.
Make a space in the pot and place the tomato paste in that spot. Stir it for about 30 seconds then stir it into the onions and garlic. Mix well.
Add potatoes and stir them in. Let cook about 2 minutes, stirring occasionally.
Pour in the broth and add broccoli and ½ teaspoon salt. Bring to a boil; lower heat and simmer, covered, until potatoes and broccoli are tender, about 15 minutes.
Using a stick blender or blender, puree the soup. If you want a completely smooth soup, puree the entire pot (in a couple of batches). If you prefer it chunky, puree only half of it. If you’ve used a blender, pour the soup back into the pot.
Stir in beans and greens and continue cooking another 5 minutes. Taste for seasoning and adjust if needed.
Ladle into bowls. You can serve with black or red pepper, grated cheese, or croutons, if desired.
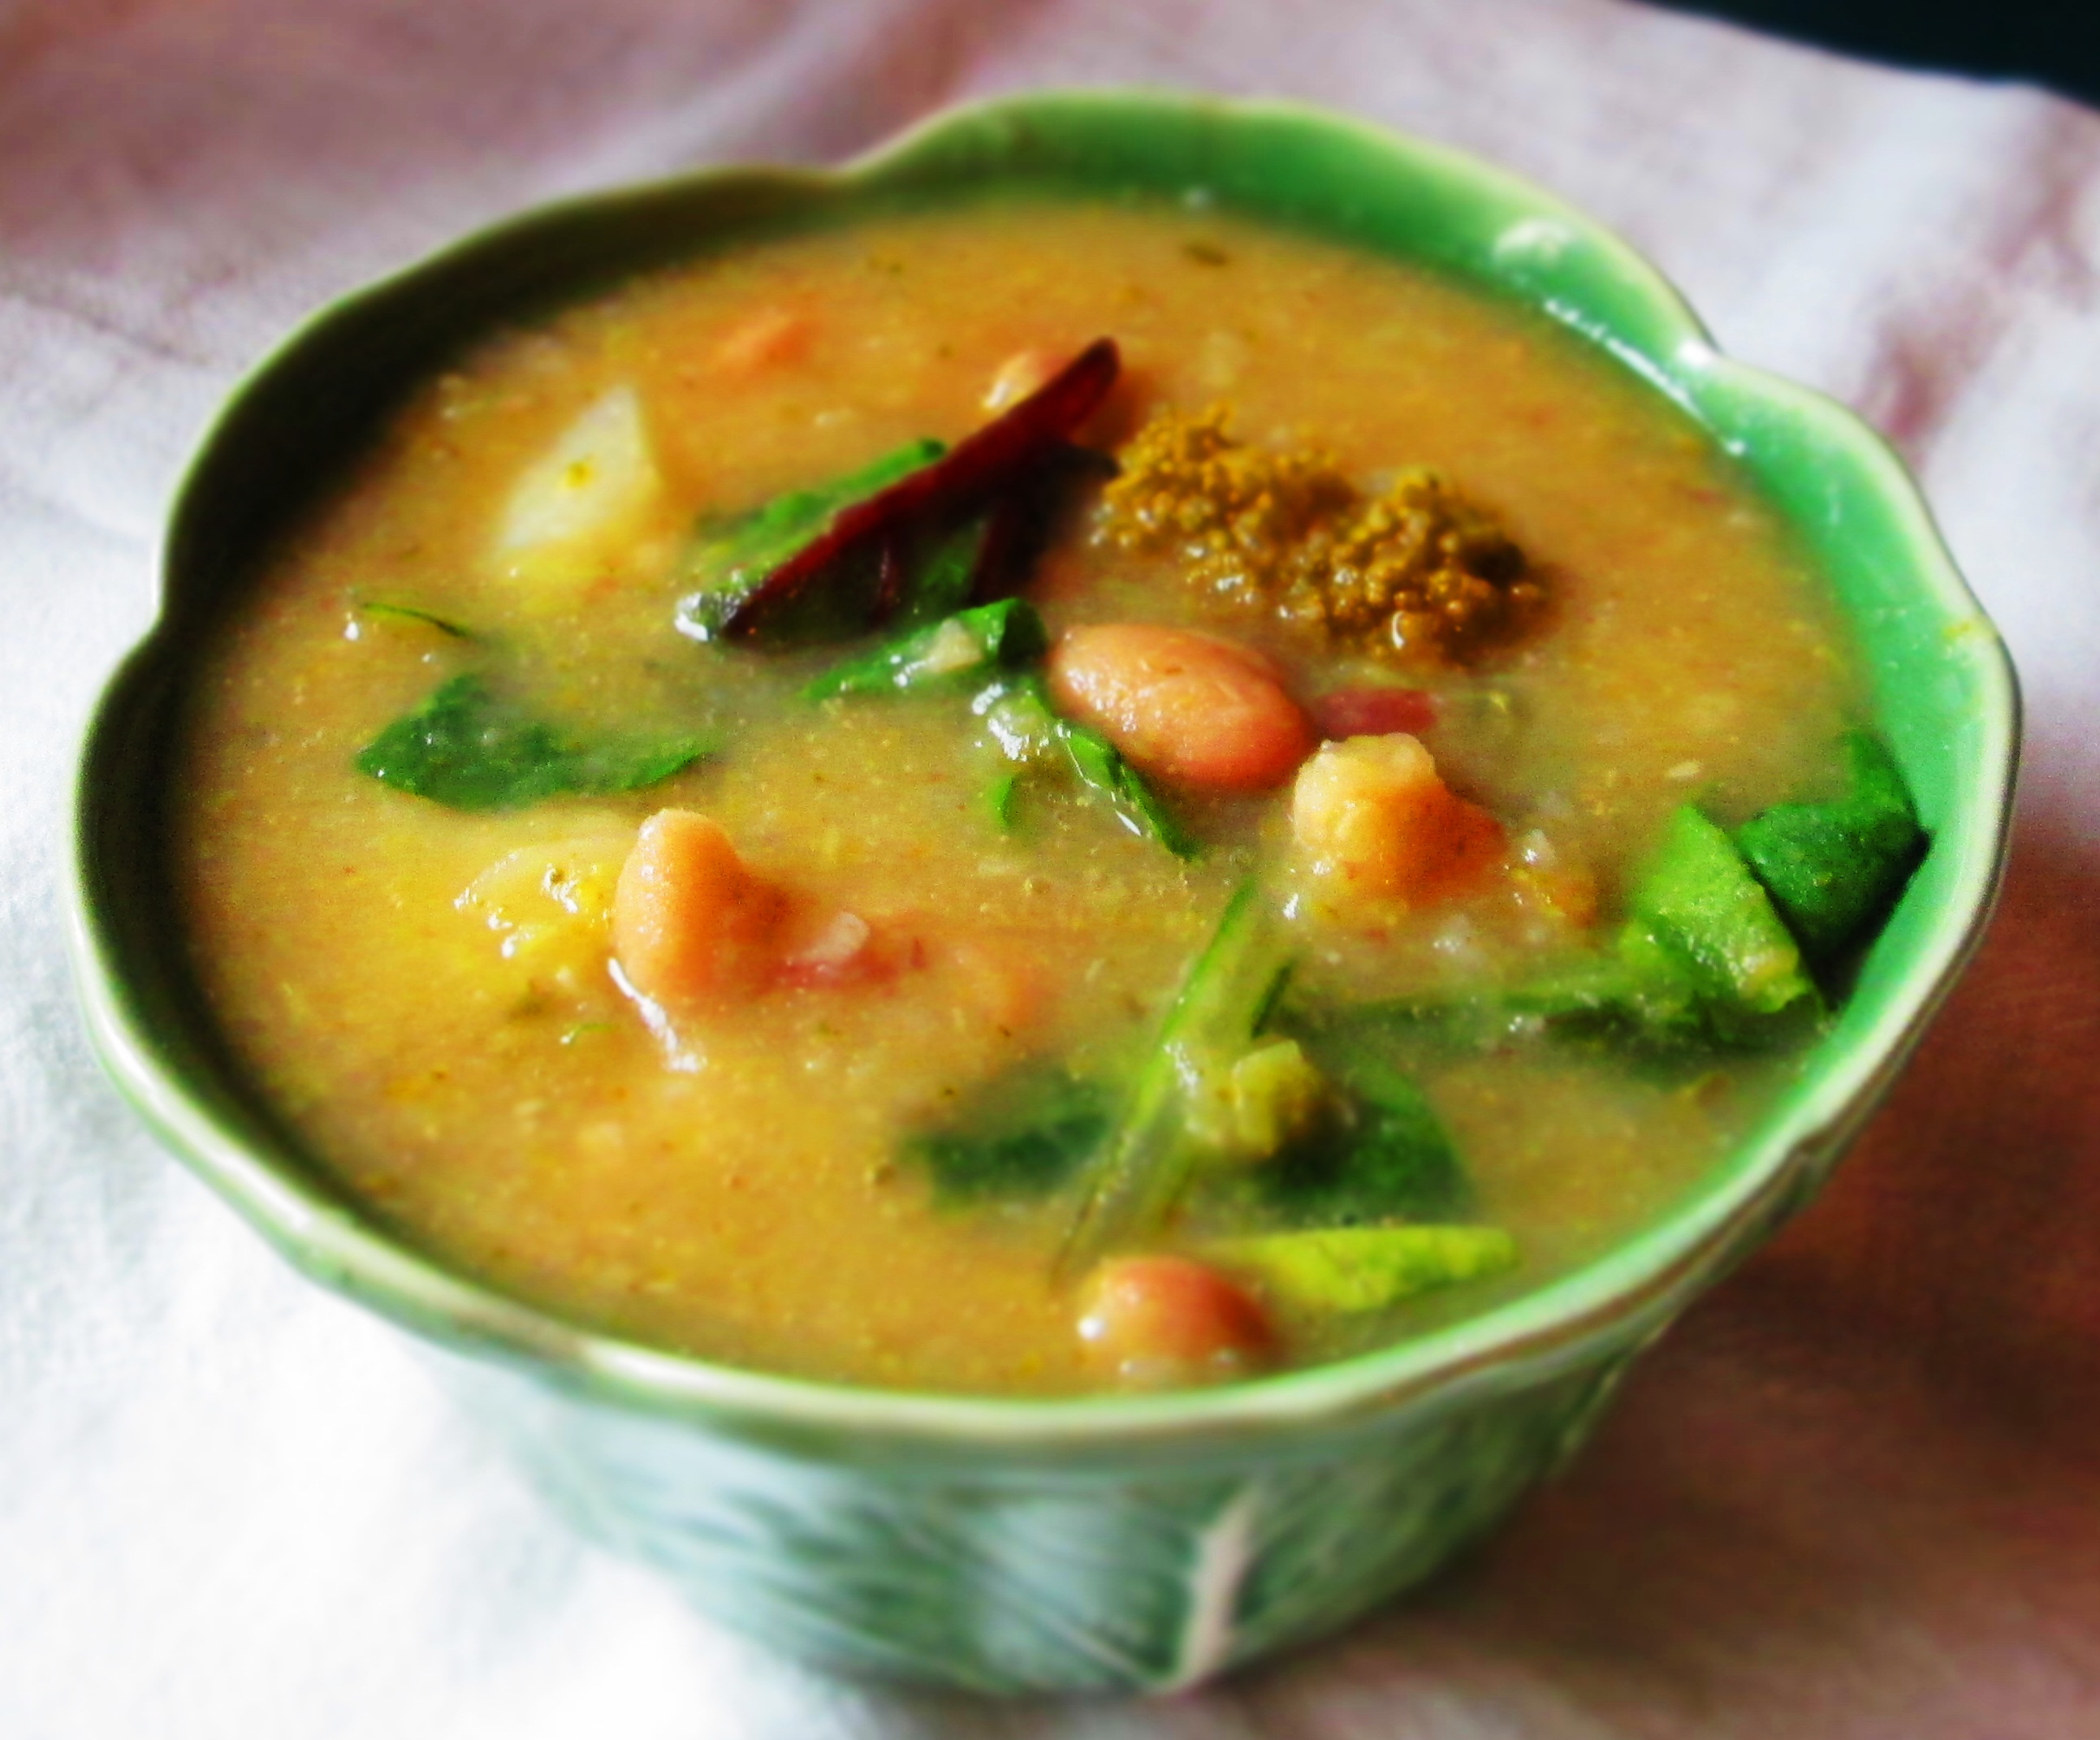
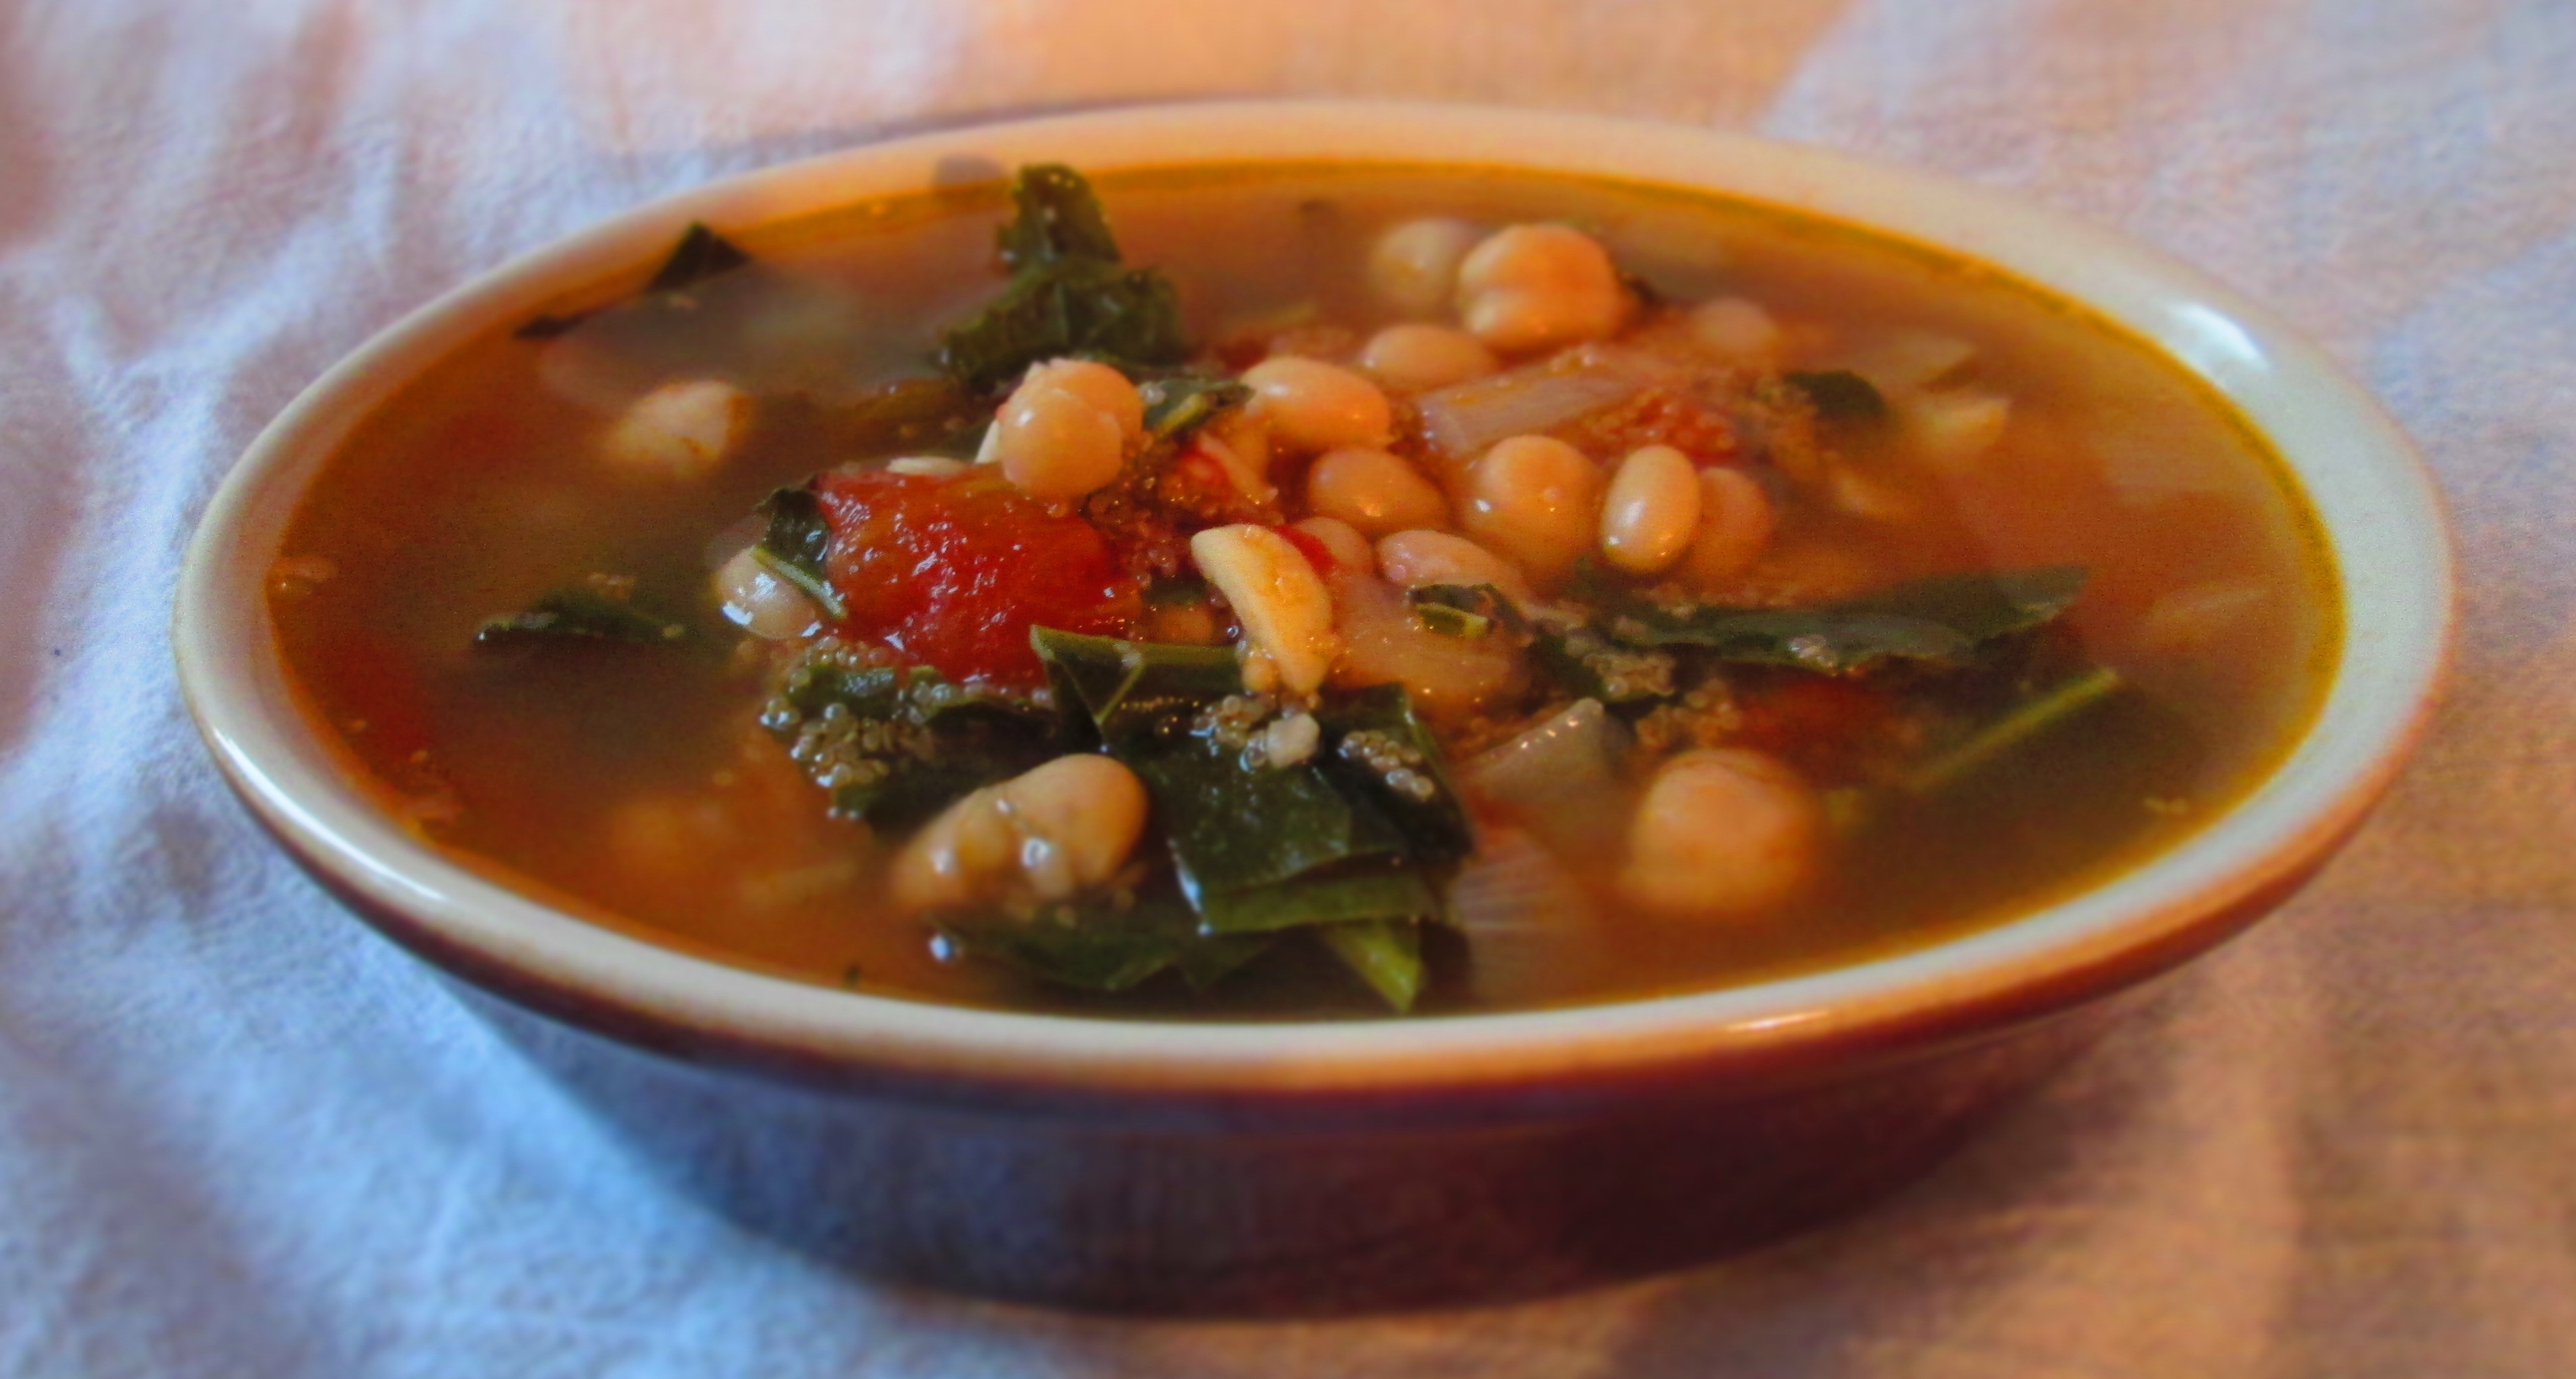
With all the greens flourishing right about now, I’ve been having a craving for bean soup with greens. Why in the world would I crave soup in the dead heat of summer, you ask. I can have soup any time of the year. I absolutely love it. Yes, it can be warm and comforting in winter, but summer also calls for comfort of a different sort.
Plus, studies have shown that eating warming dishes such as soup can actually acclimate you better to the heat by elevating your body temperature, thereby making the weather more tolerable.
Anyway, someone gave me a tiny little bunch of kale and I thought that it was the perfect opportunity to make that beans-and-greens soup. I decided to add some amaranth to it—I love pasta and grains in my soup and amaranth is an exceptionally healthy choice.
Amaranth has been grown in Central and South America and consumed by the regional people for hundreds of years. It’s been an important source of protein for the indigenous people of those regions, and it is less expensive and, consequently, less controversial than quinoa.
Amaranth is a very rich source of protein, and it is more digestible than that of other grains. It’s also an excellent source of lysine, an important amino acid. Amaranth has the most calcium of any grain next to teff. It also is a better source than other grains of magnesium, iron, copper, and fiber. Amaranth is a good source of zinc, potassium, phosphorus, folate, niacin, and riboflavin, and vitamins A, C, E, K, B5, and B6, as well as antioxidants, which fight cancer. It has been shown to lower cholesterol and blood pressure, reduce inflammation, boost the immune system, and—don’t hold me to this—helps prevent premature graying. For carb counters, it’s lower in carbs than other grains and it’s gluten free.
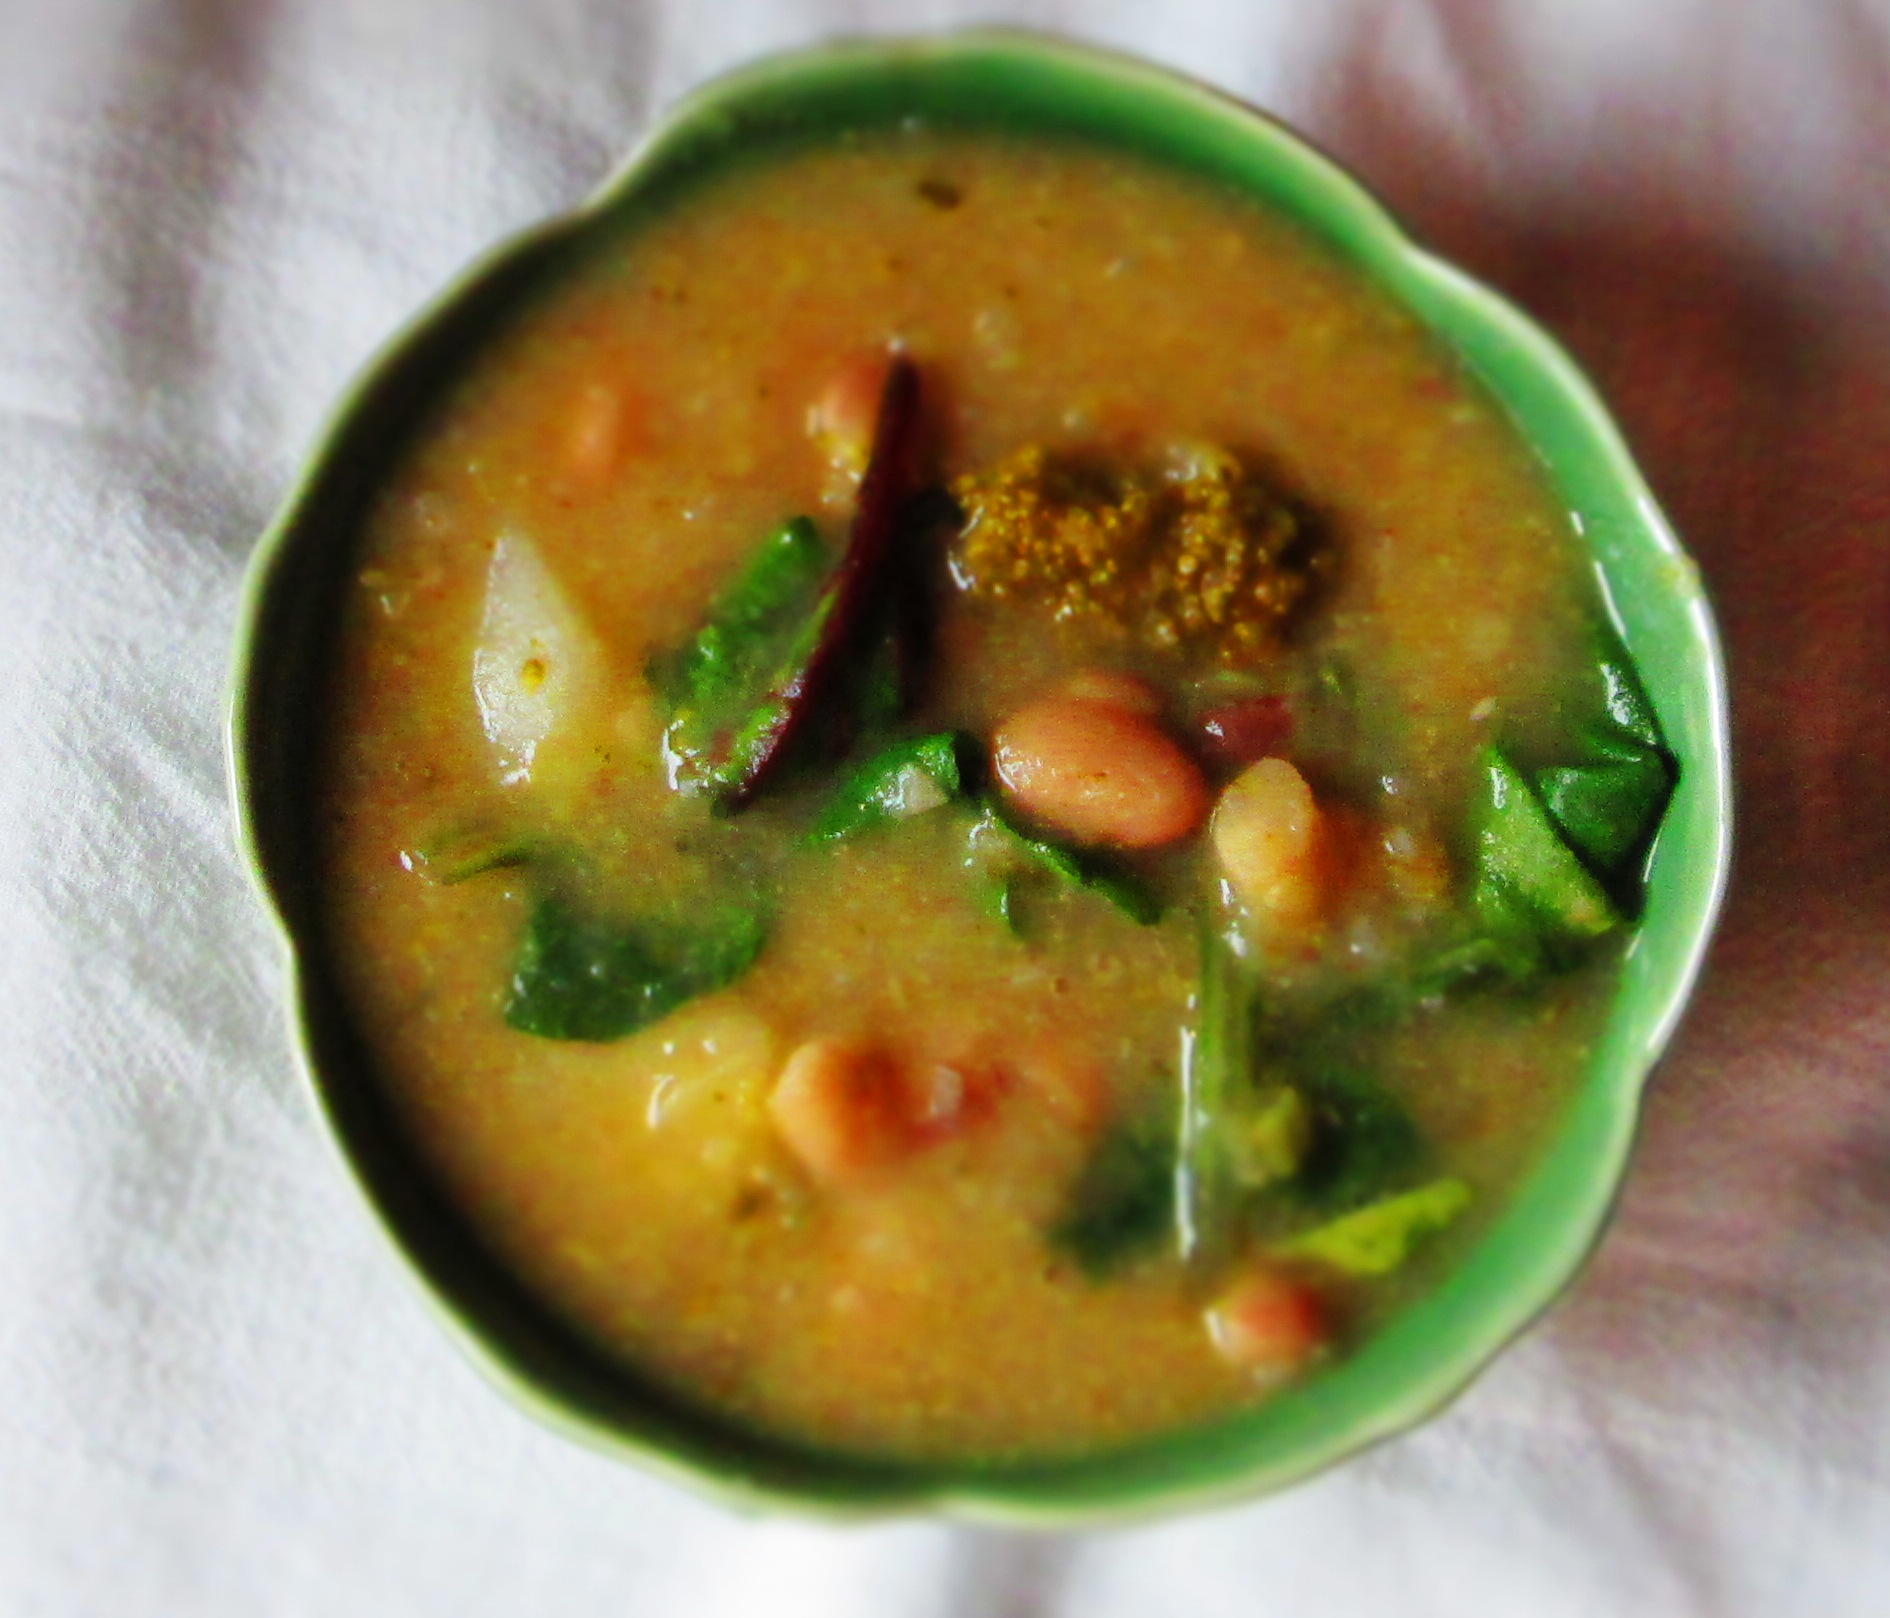
So, here’s my impromptu recipe for Kale-Bean Soup with Amaranth. These are approximate amounts, so use however much you like of anything. Soup is very forgiving where quantities of ingredients are concerned. Enjoy.
Kale-Bean Soup with Amaranth
Makes 4 servings.
1 small bunch kale
2 teaspoons olive oil
¼ cup diced onion
3 large garlic cloves, minced
1 teaspoon kosher salt
½ cup diced tomatoes
2 cups vegetable broth (or 2 cups water + 2 bouillon cubes)
¼ cup amaranth
1 cup cooked beans (whichever you prefer)
Wash the kale and remove thick stems. Chop into bite-sized pieces.
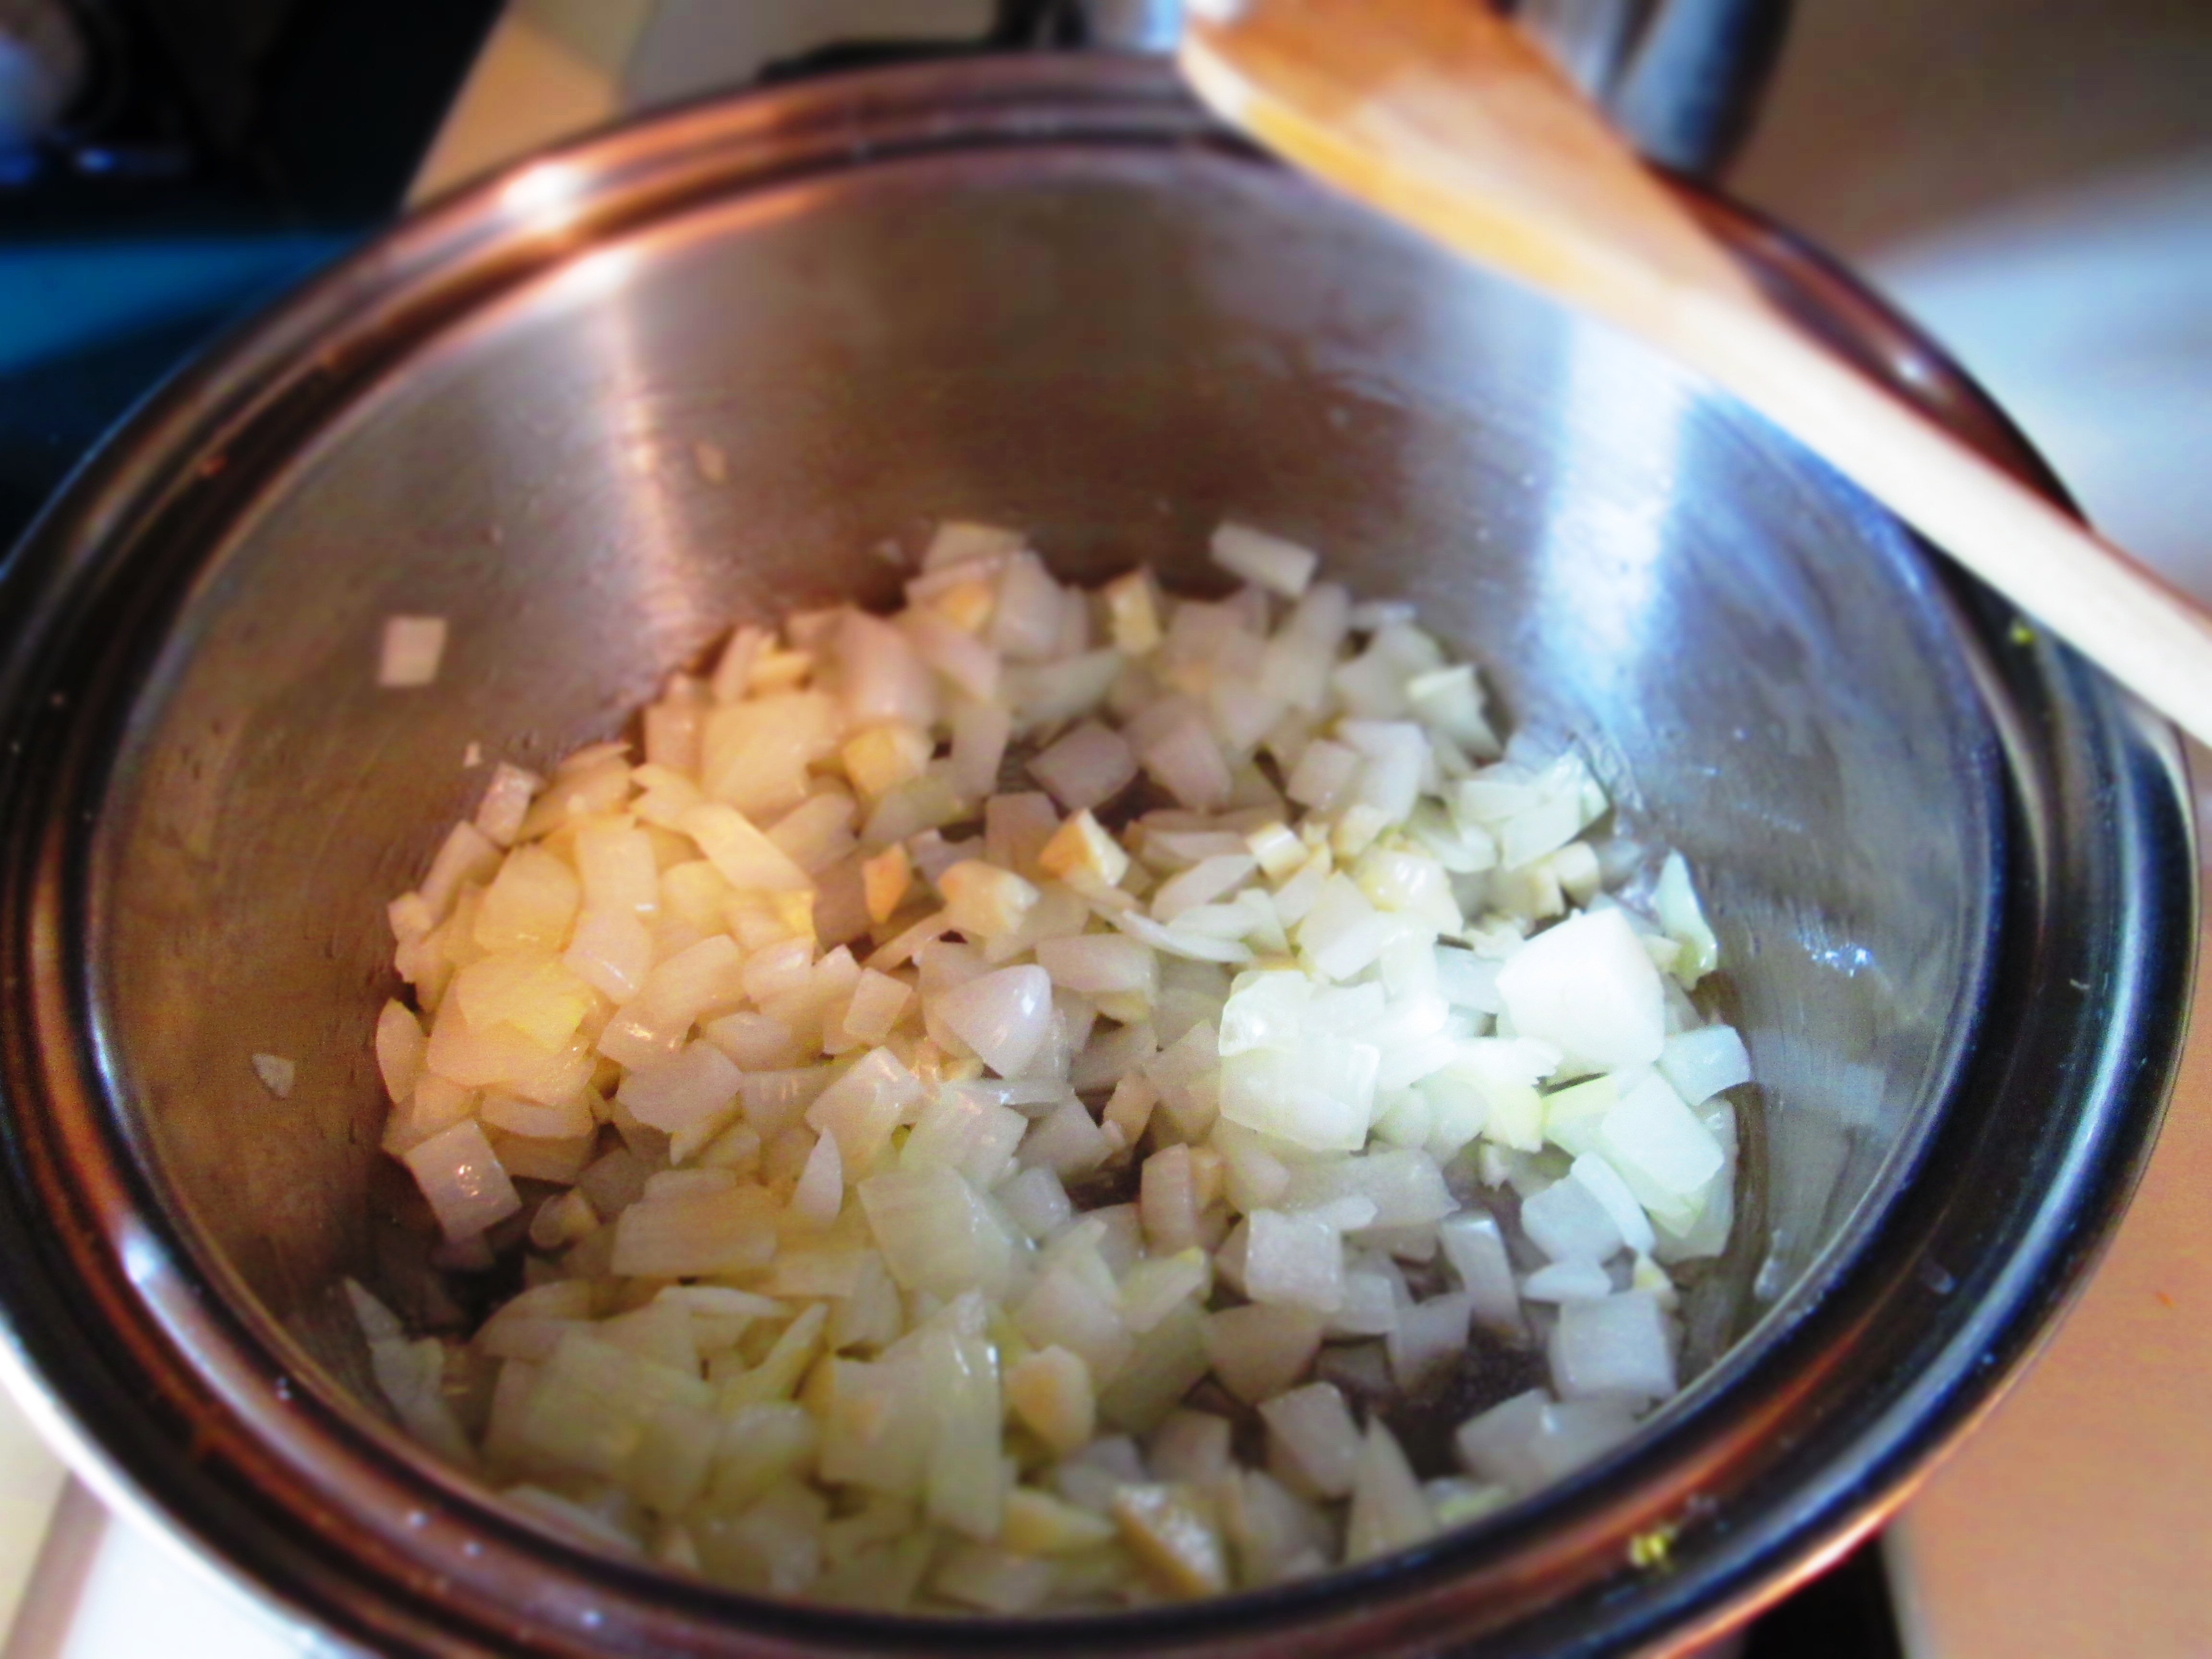
In a medium pot, heat oil; add onion, garlic, and salt. Sauté until onion is translucent, about 2 or 3 minutes.
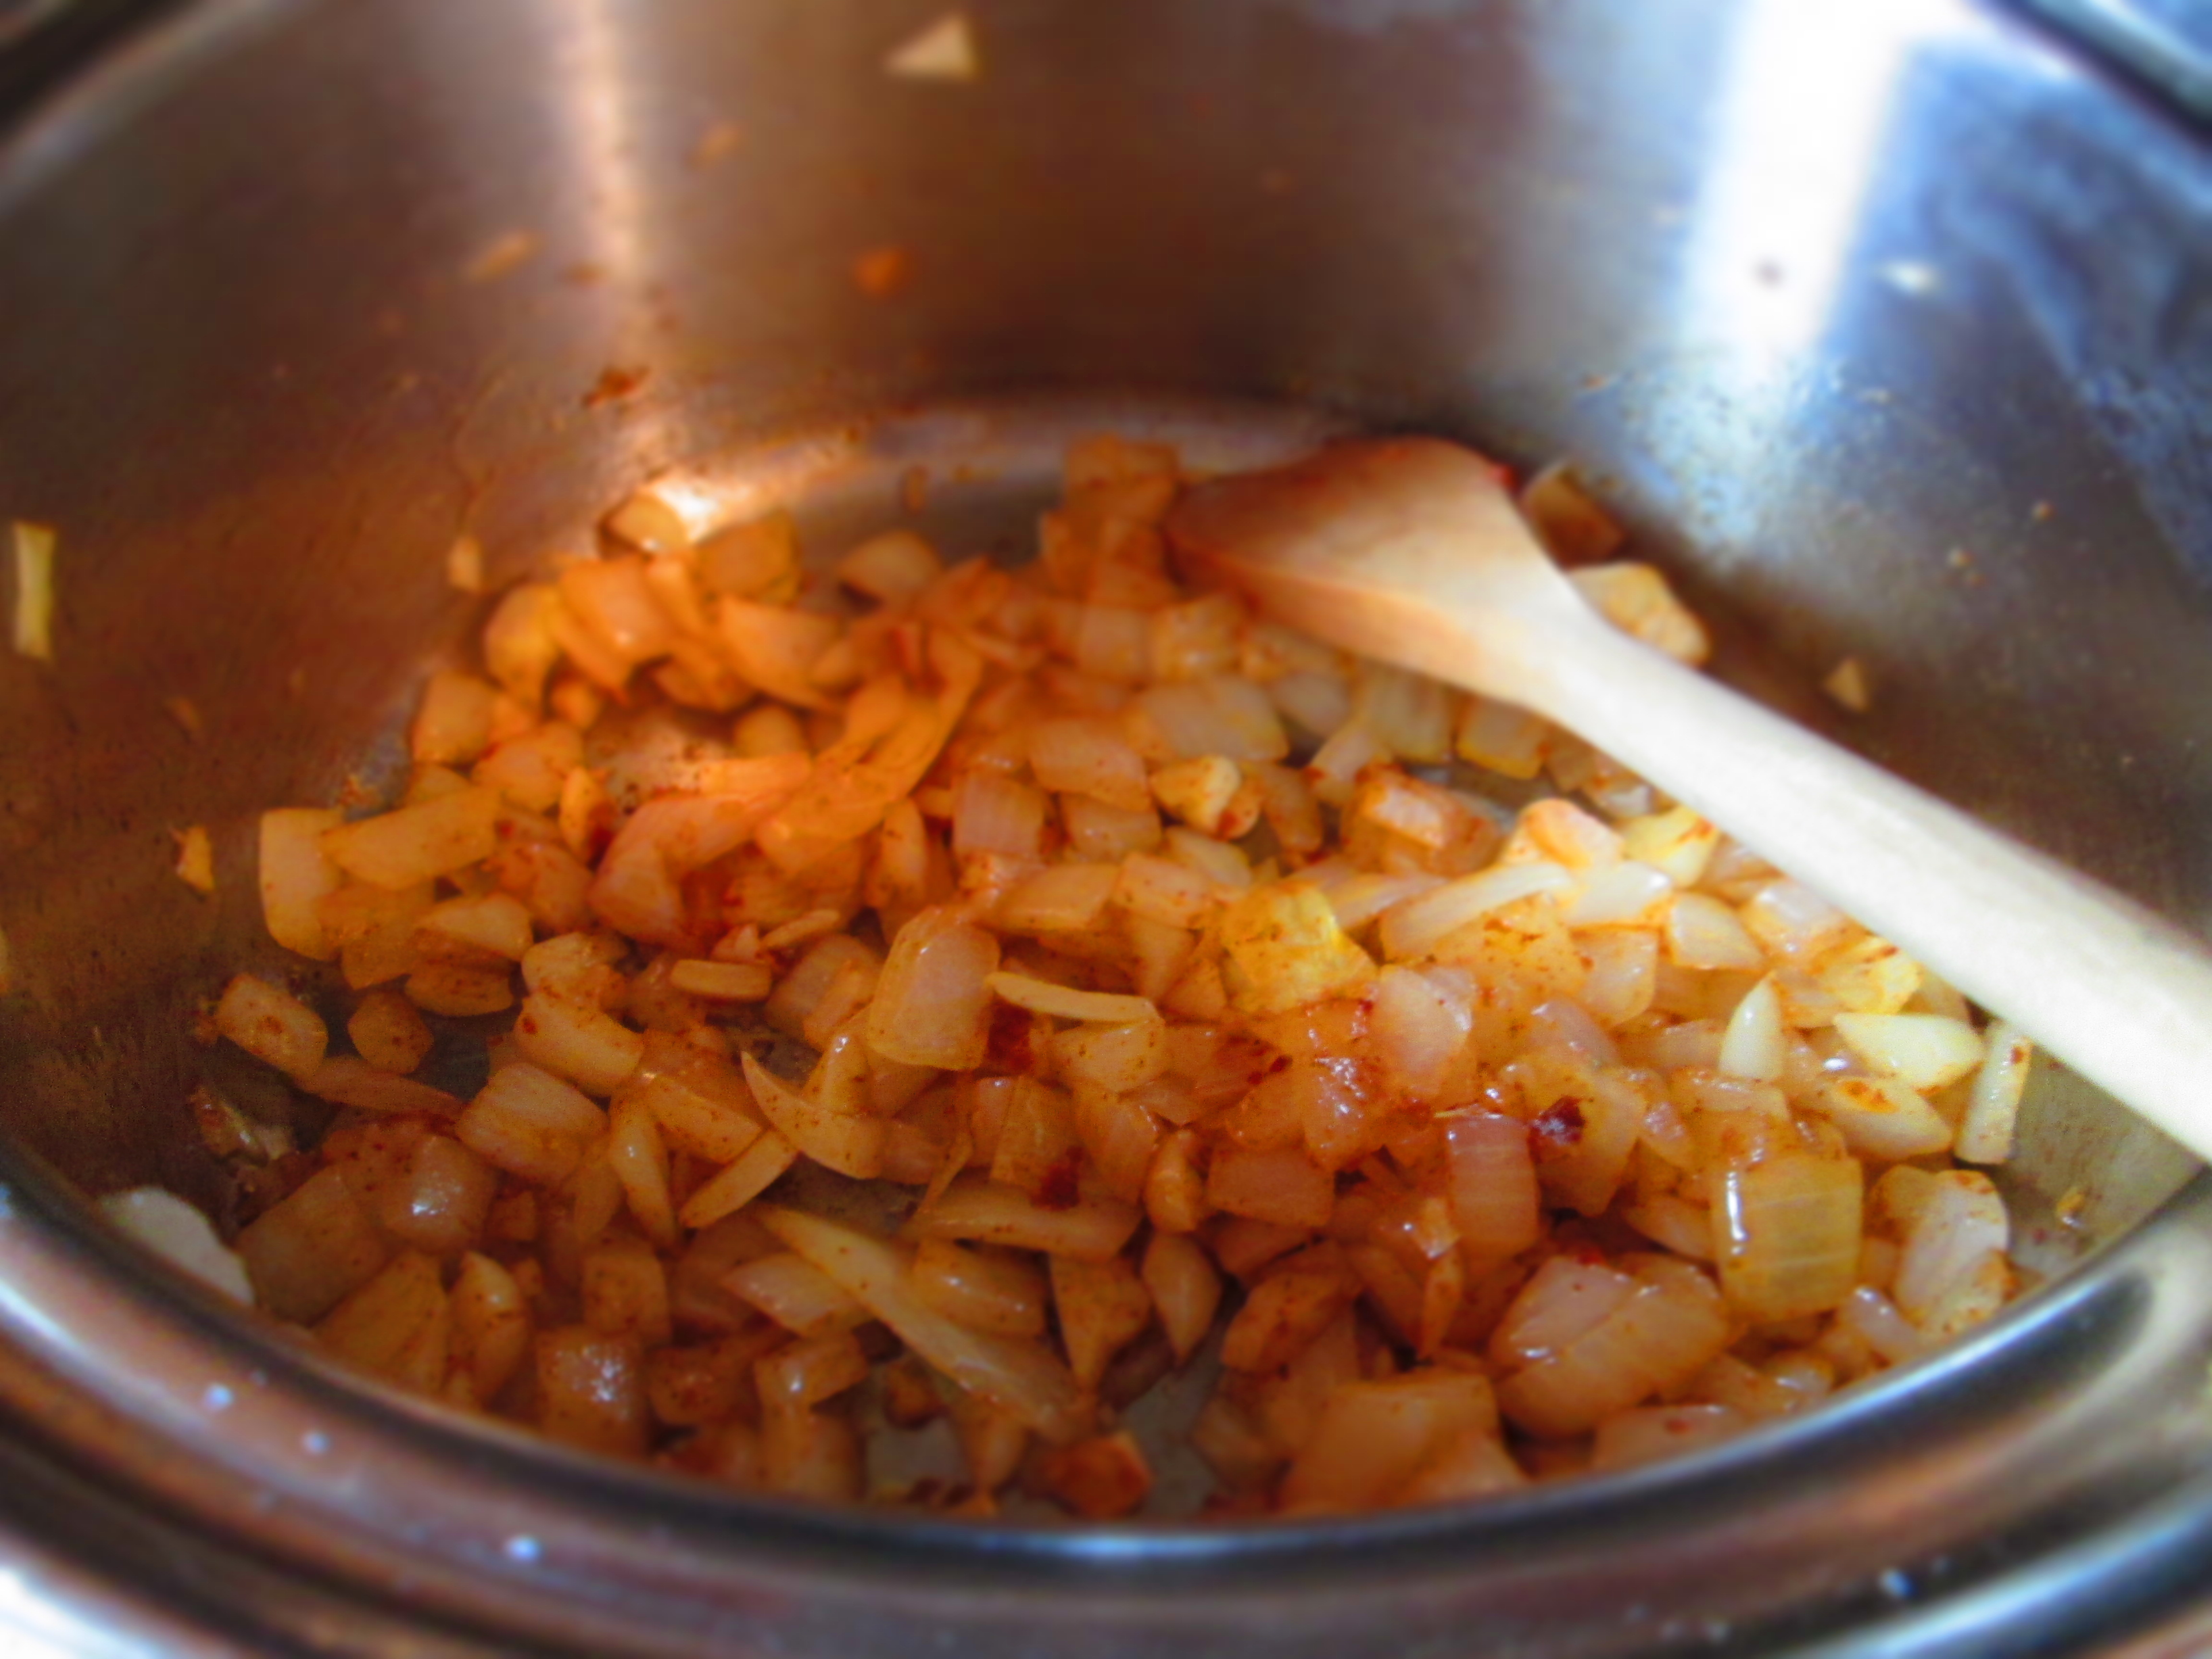
Add tomatoes and sauté another minute.
Pour in broth and let it come to a boil. Add amaranth; lower heat to medium-low and simmer until is cooked, about 10 minutes.
Add kale and beans and continue cooking until kale is tender (this can take anywhere from 5 to 10 minutes, depending on the size and “toughness” of the kale). Adjust seasoning to taste.
Serve as is or with grated cheese and/or crusty bread.