Miz Chef

Cooking Up a Healthy Life


2 Comments

Beet Green Rolls Stuffed with Millet and Eggplant

IMG_5427This recipe is another example of just how good leftovers can be. You can transform the things you have in your refrigerator and pantry, the little bits and pieces that remained behind, into something new and interesting.

I had purchased beets from the farmers’ market and wanted to do something different with the leaves than the usual saute with olive oil and garlic. As much as I like that particular dish, I think I’ve O.D.d on it. So I started thinking about other ways of using them.IMG_5398

I also happened to have leftover roasted eggplant slices and some millet in the pantry. After some thought I came up with this recipe: beet green rolls stuffed with millet and eggplant. Millet is the perfect grain for stuffing because it’s sticky and you won’t have little individual grains skittering across your plate. It will hold everything together. It’s also gluten free, so those of you with (or who have loved ones with) Celiac Disease or gluten intolerance, this is a great recipe for you. Further, beet greens are loaded with iron, vitamin C, beta carotene, and antioxidants.

Since I will assume that you don’t just happen to have roasted eggplant slices already in the fridge, or perhaps not even millet in your pantry (even if you do, I doubt you’d have both at the same time), I’ve written this recipe so that you can start from scratch. Btu it’s a very easy recipe—you can even make the eggplant a few days in advance so that you can just jump right into this recipe.

This is the perfect autumn/winter dish—hearty, delicious, and great to bring to gatherings. You can serve it as an appetizer, a main course, or side dish. Enjoy!

Beet Green Rolls Stuffed with Millet and Eggplant

½ cup olive oil, plus extra
1 medium Italian eggplant
¾ cup millet
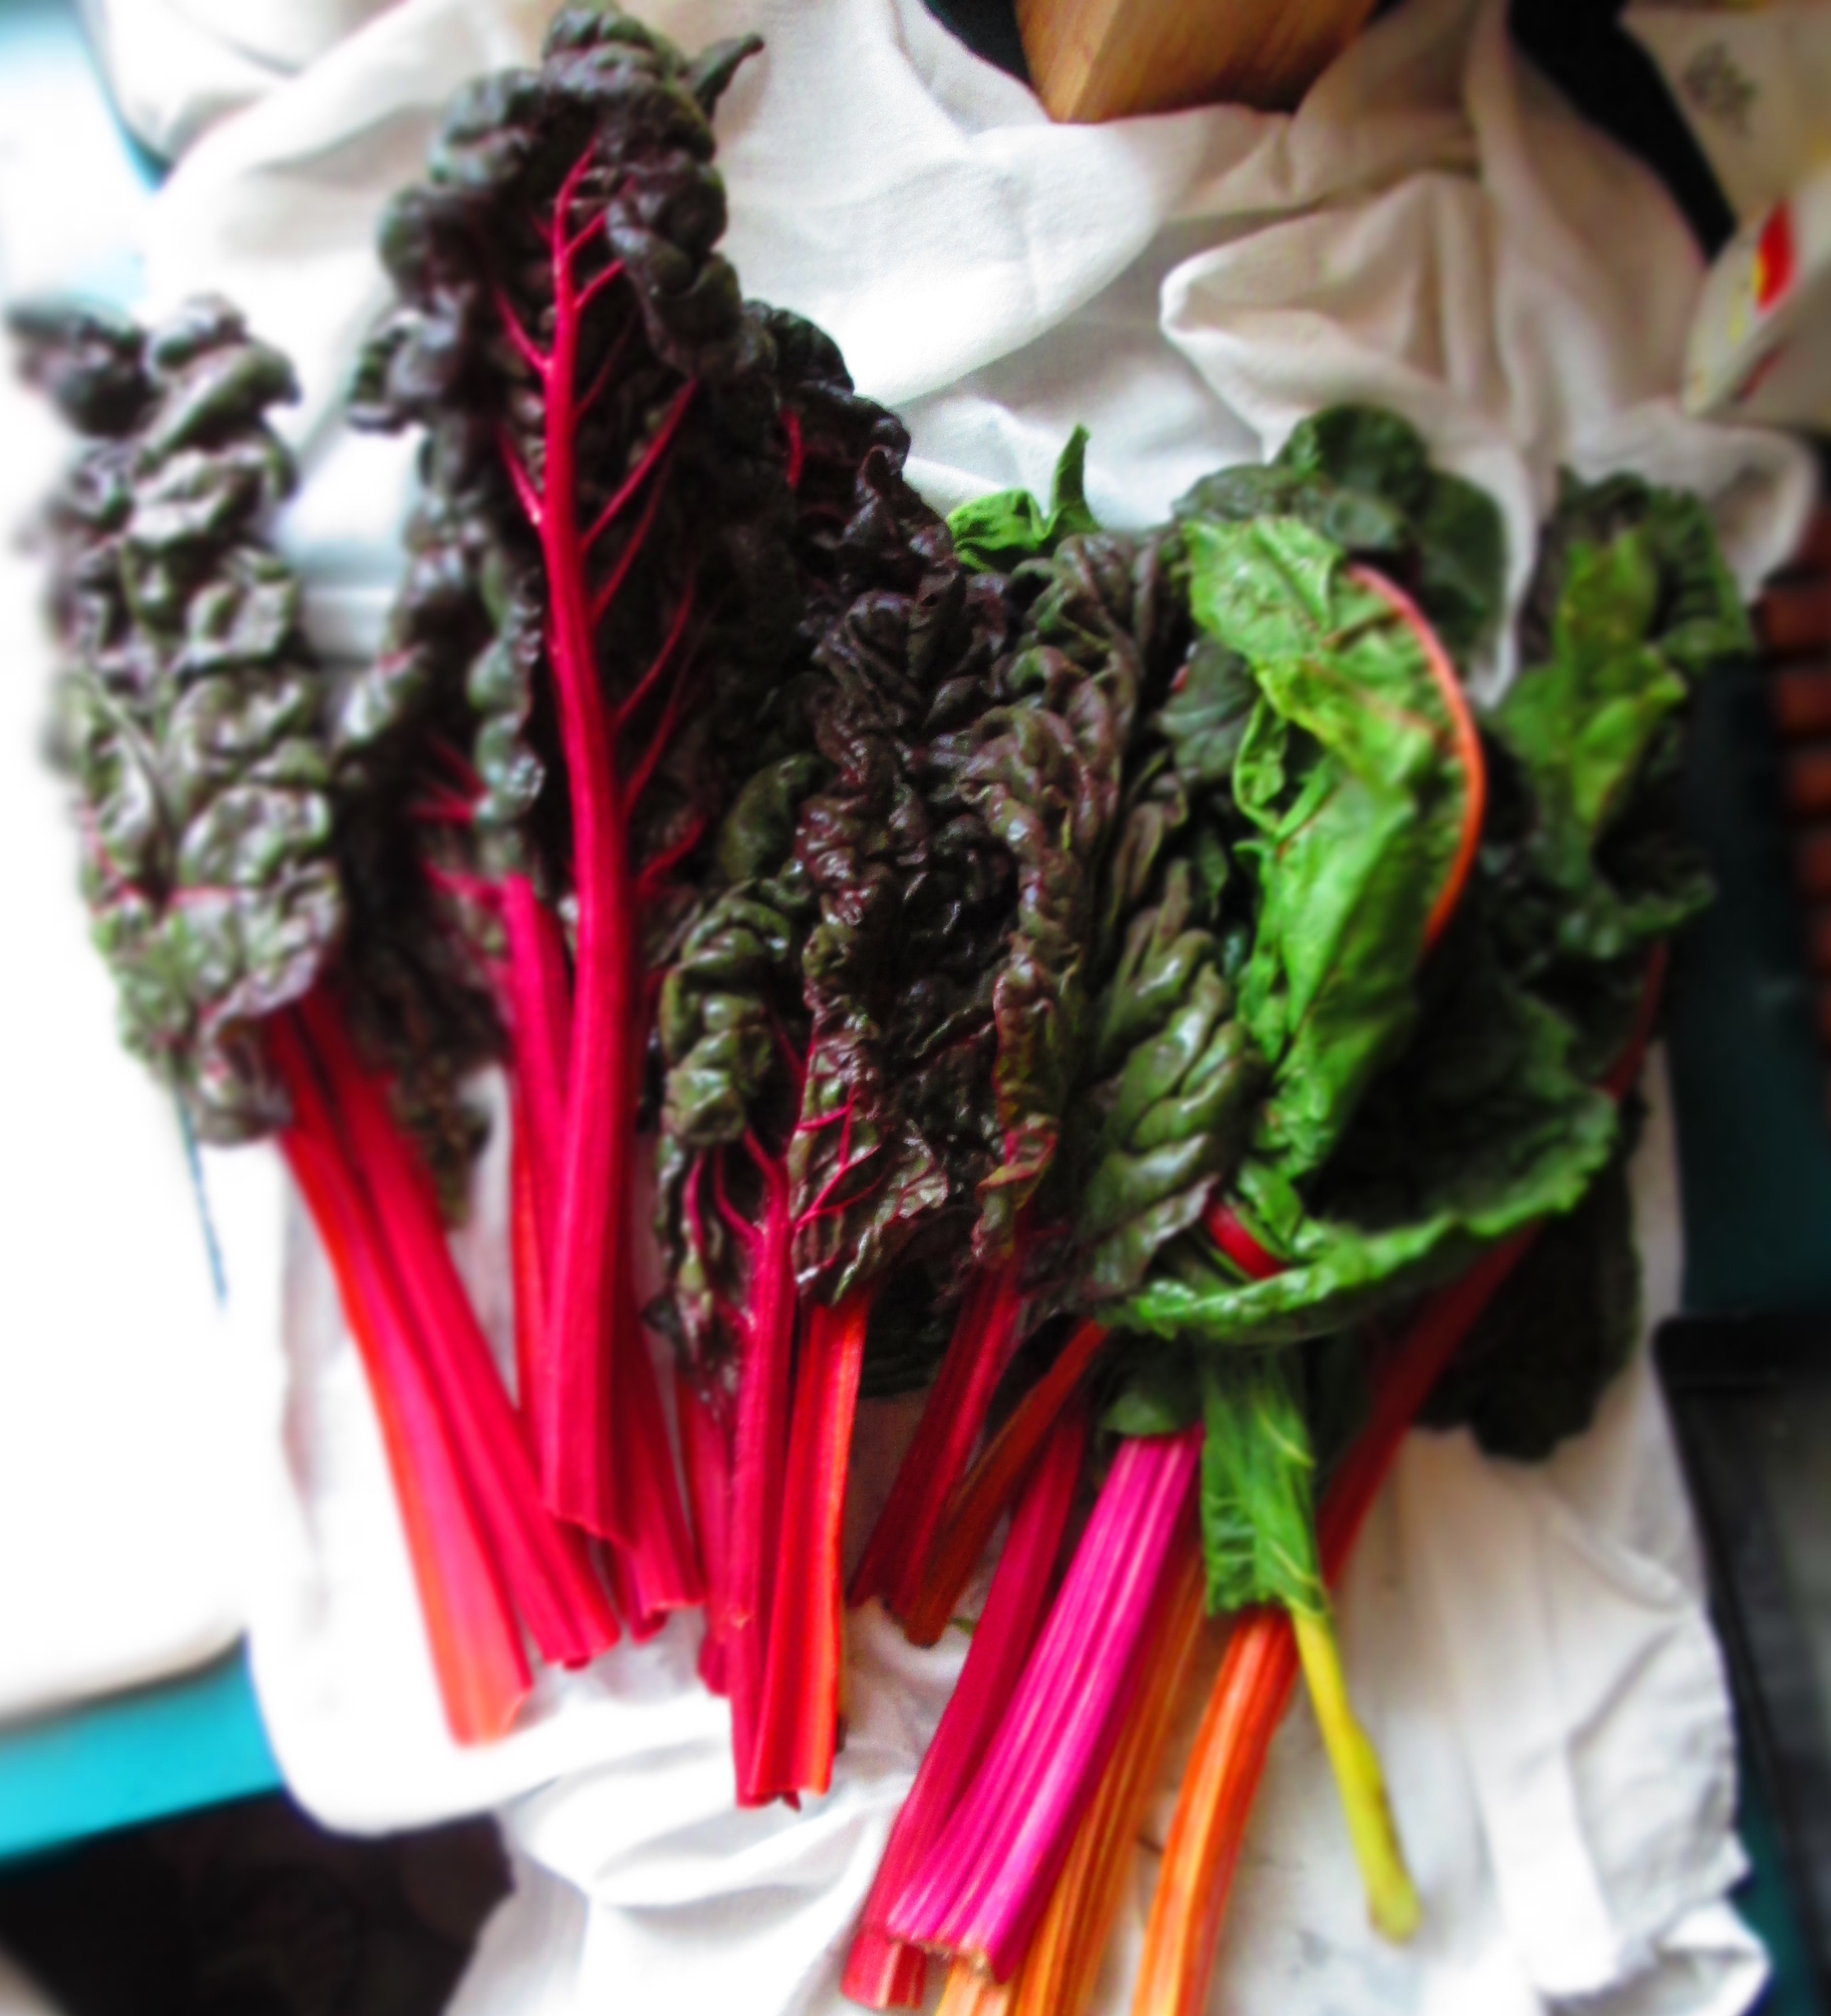
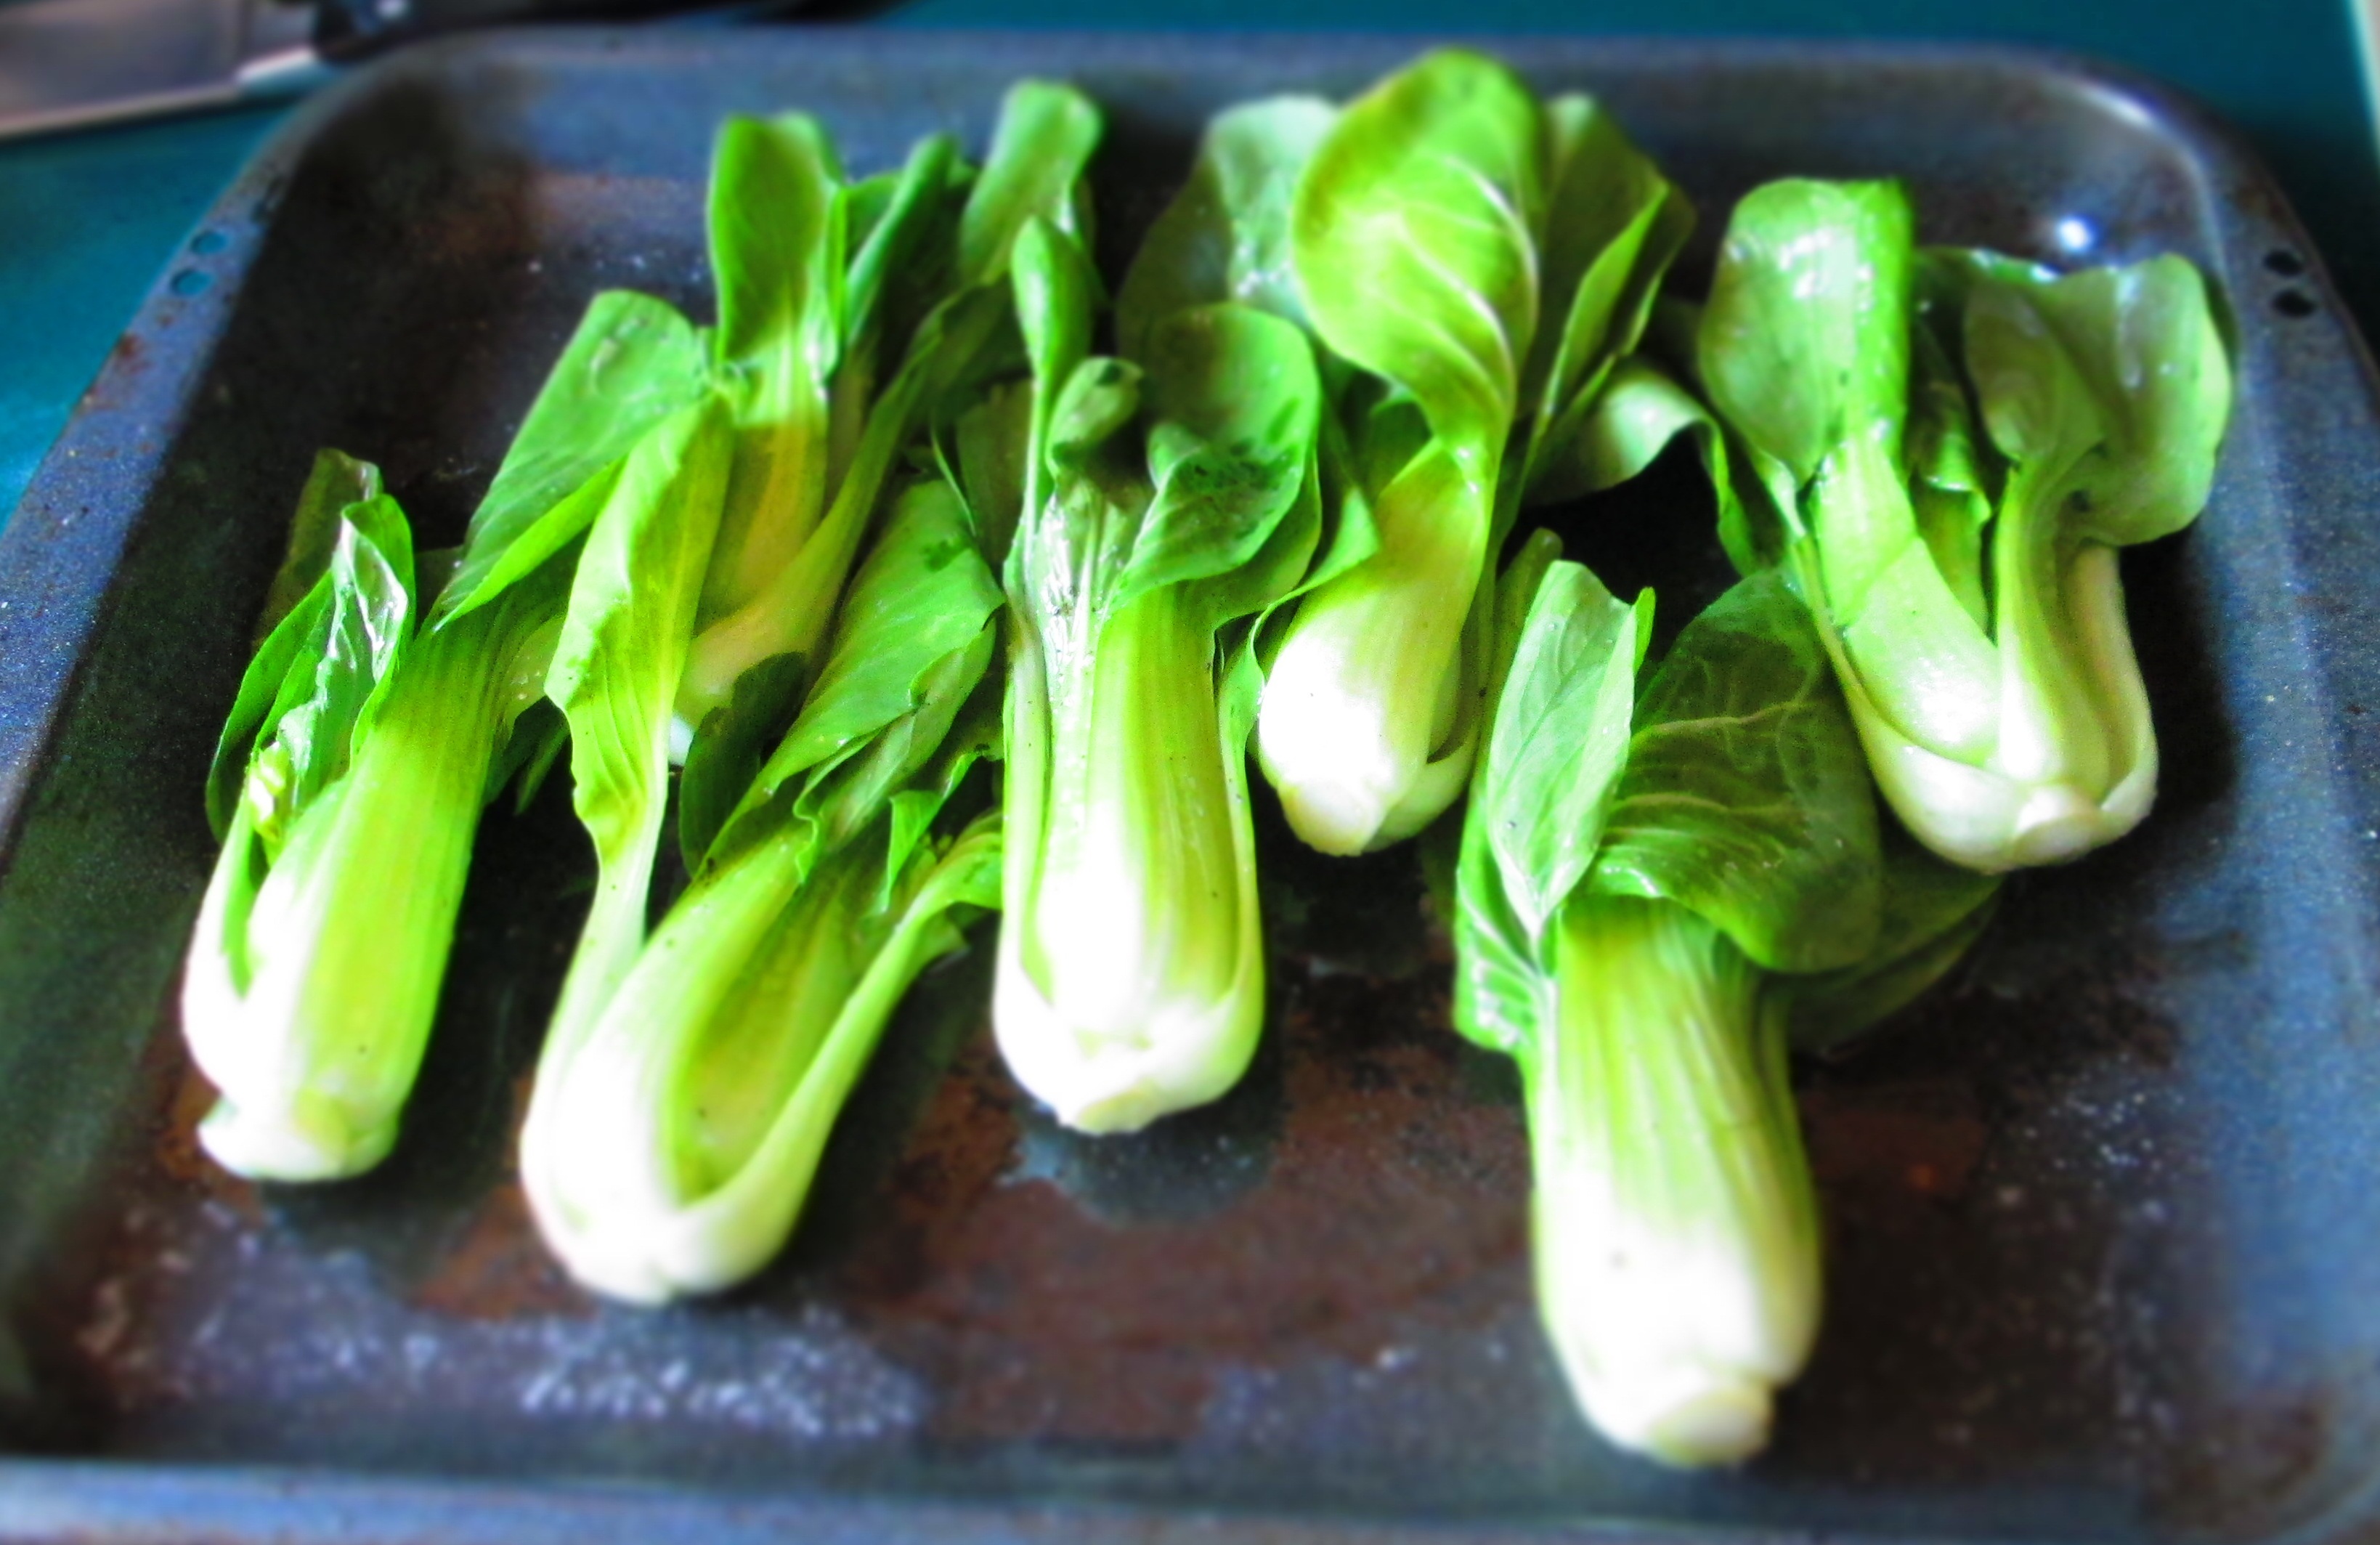
Greens from 1 bunch beets
1 tablespoon grated parmesan
Salt and pepper to taste
1 to 2 tablespoons extra virgin olive oil

Preheat the oven to 350 degrees F. Line a large baking sheet with aluminum foil or parchment paper. If you’re using foil, grease it with some of the olive oil.

Cut the eggplant into 1/2-inch-thick slices lengthwise and lay them on the baking sheet (use more than one baking sheet if you have to). Set aside 1 tablespoon of the olive oil and use the rest to brush both sides of the eggplant slices. Sprinkle with salt and pepper. Roast, turning over once, until browned on both sides, about 20 to 30 minutes. Remove from oven and let cool. Chop up the eggplant finely and measure out 2 cups. Reserve the rest for another recipe.IMG_5411Meanwhile, place the millet in a small saucepan with 1½ cups water. Bring to a boil; reduce the heat to low and simmer, partially covered, until tender, about 10 minutes.IMG_5399
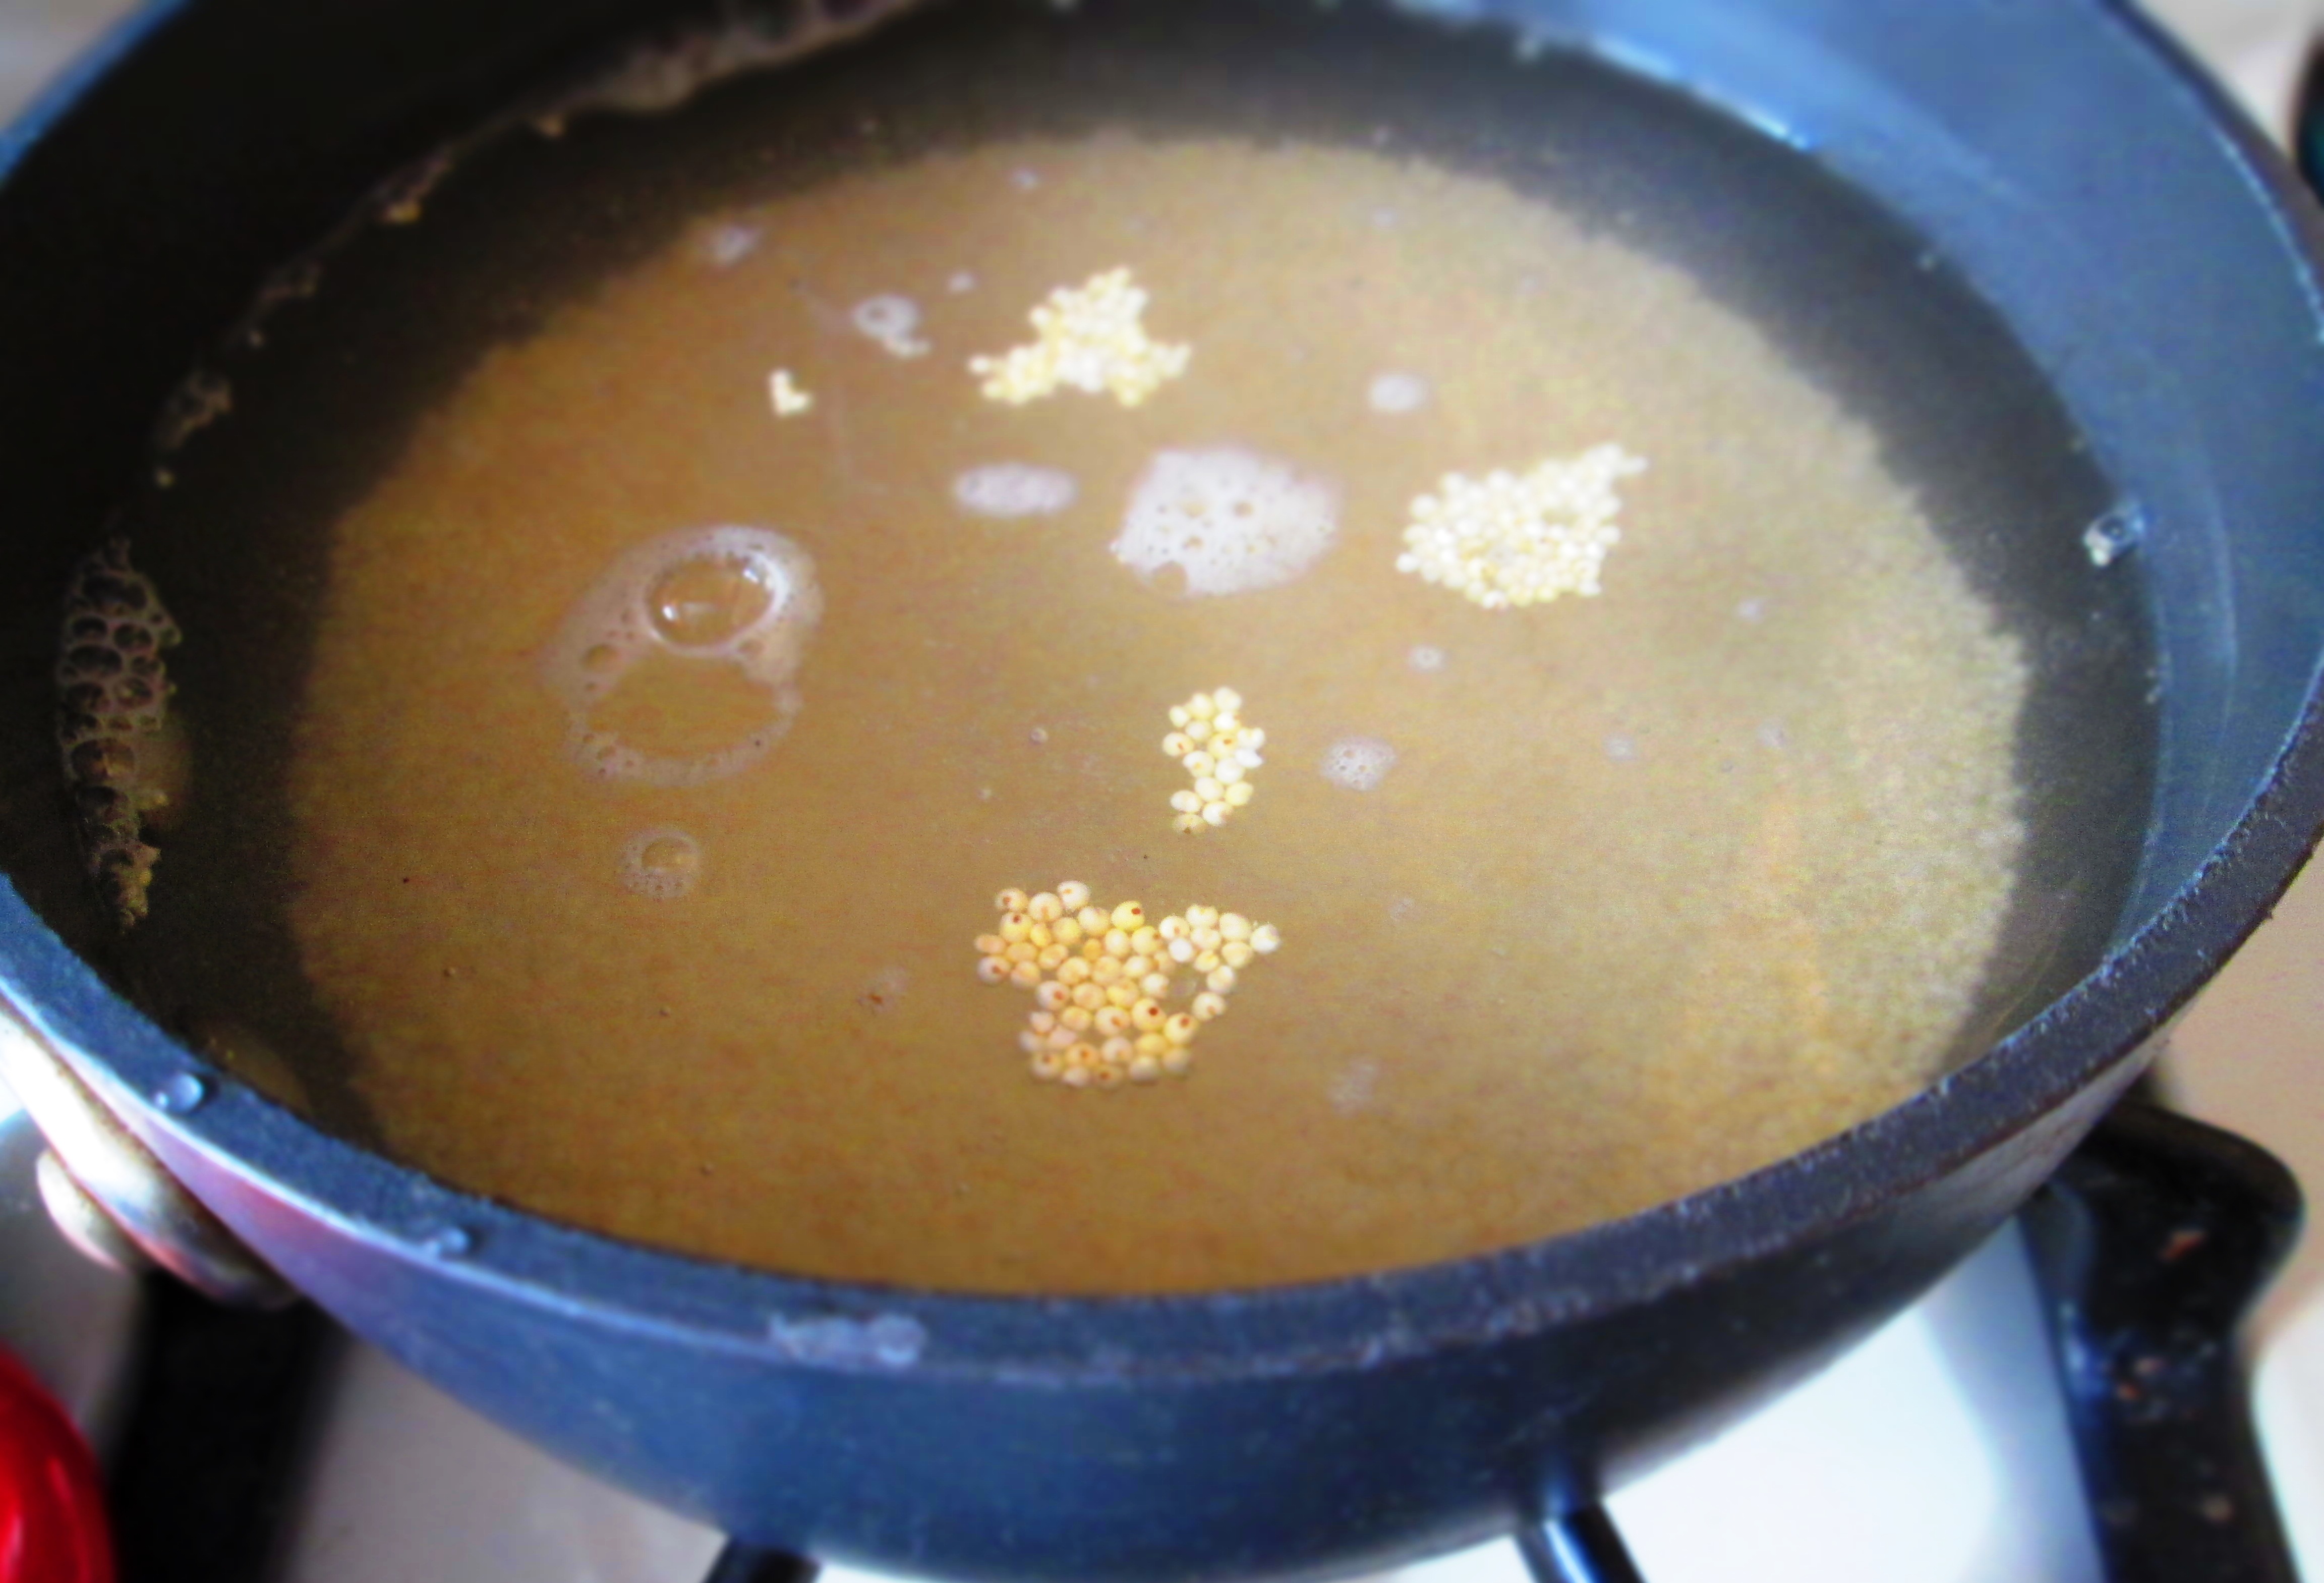
If the water hasn’t been all absorbed, drain the millet in a mesh strainer. If it needs to cook some more, you can add a little more water and continue simmering.IMG_5402Transfer the millet to a bowl. Add the eggplant, parmesan, 1 tablespoon olive oil, salt, and pepper; mix well.IMG_5412IMG_5413
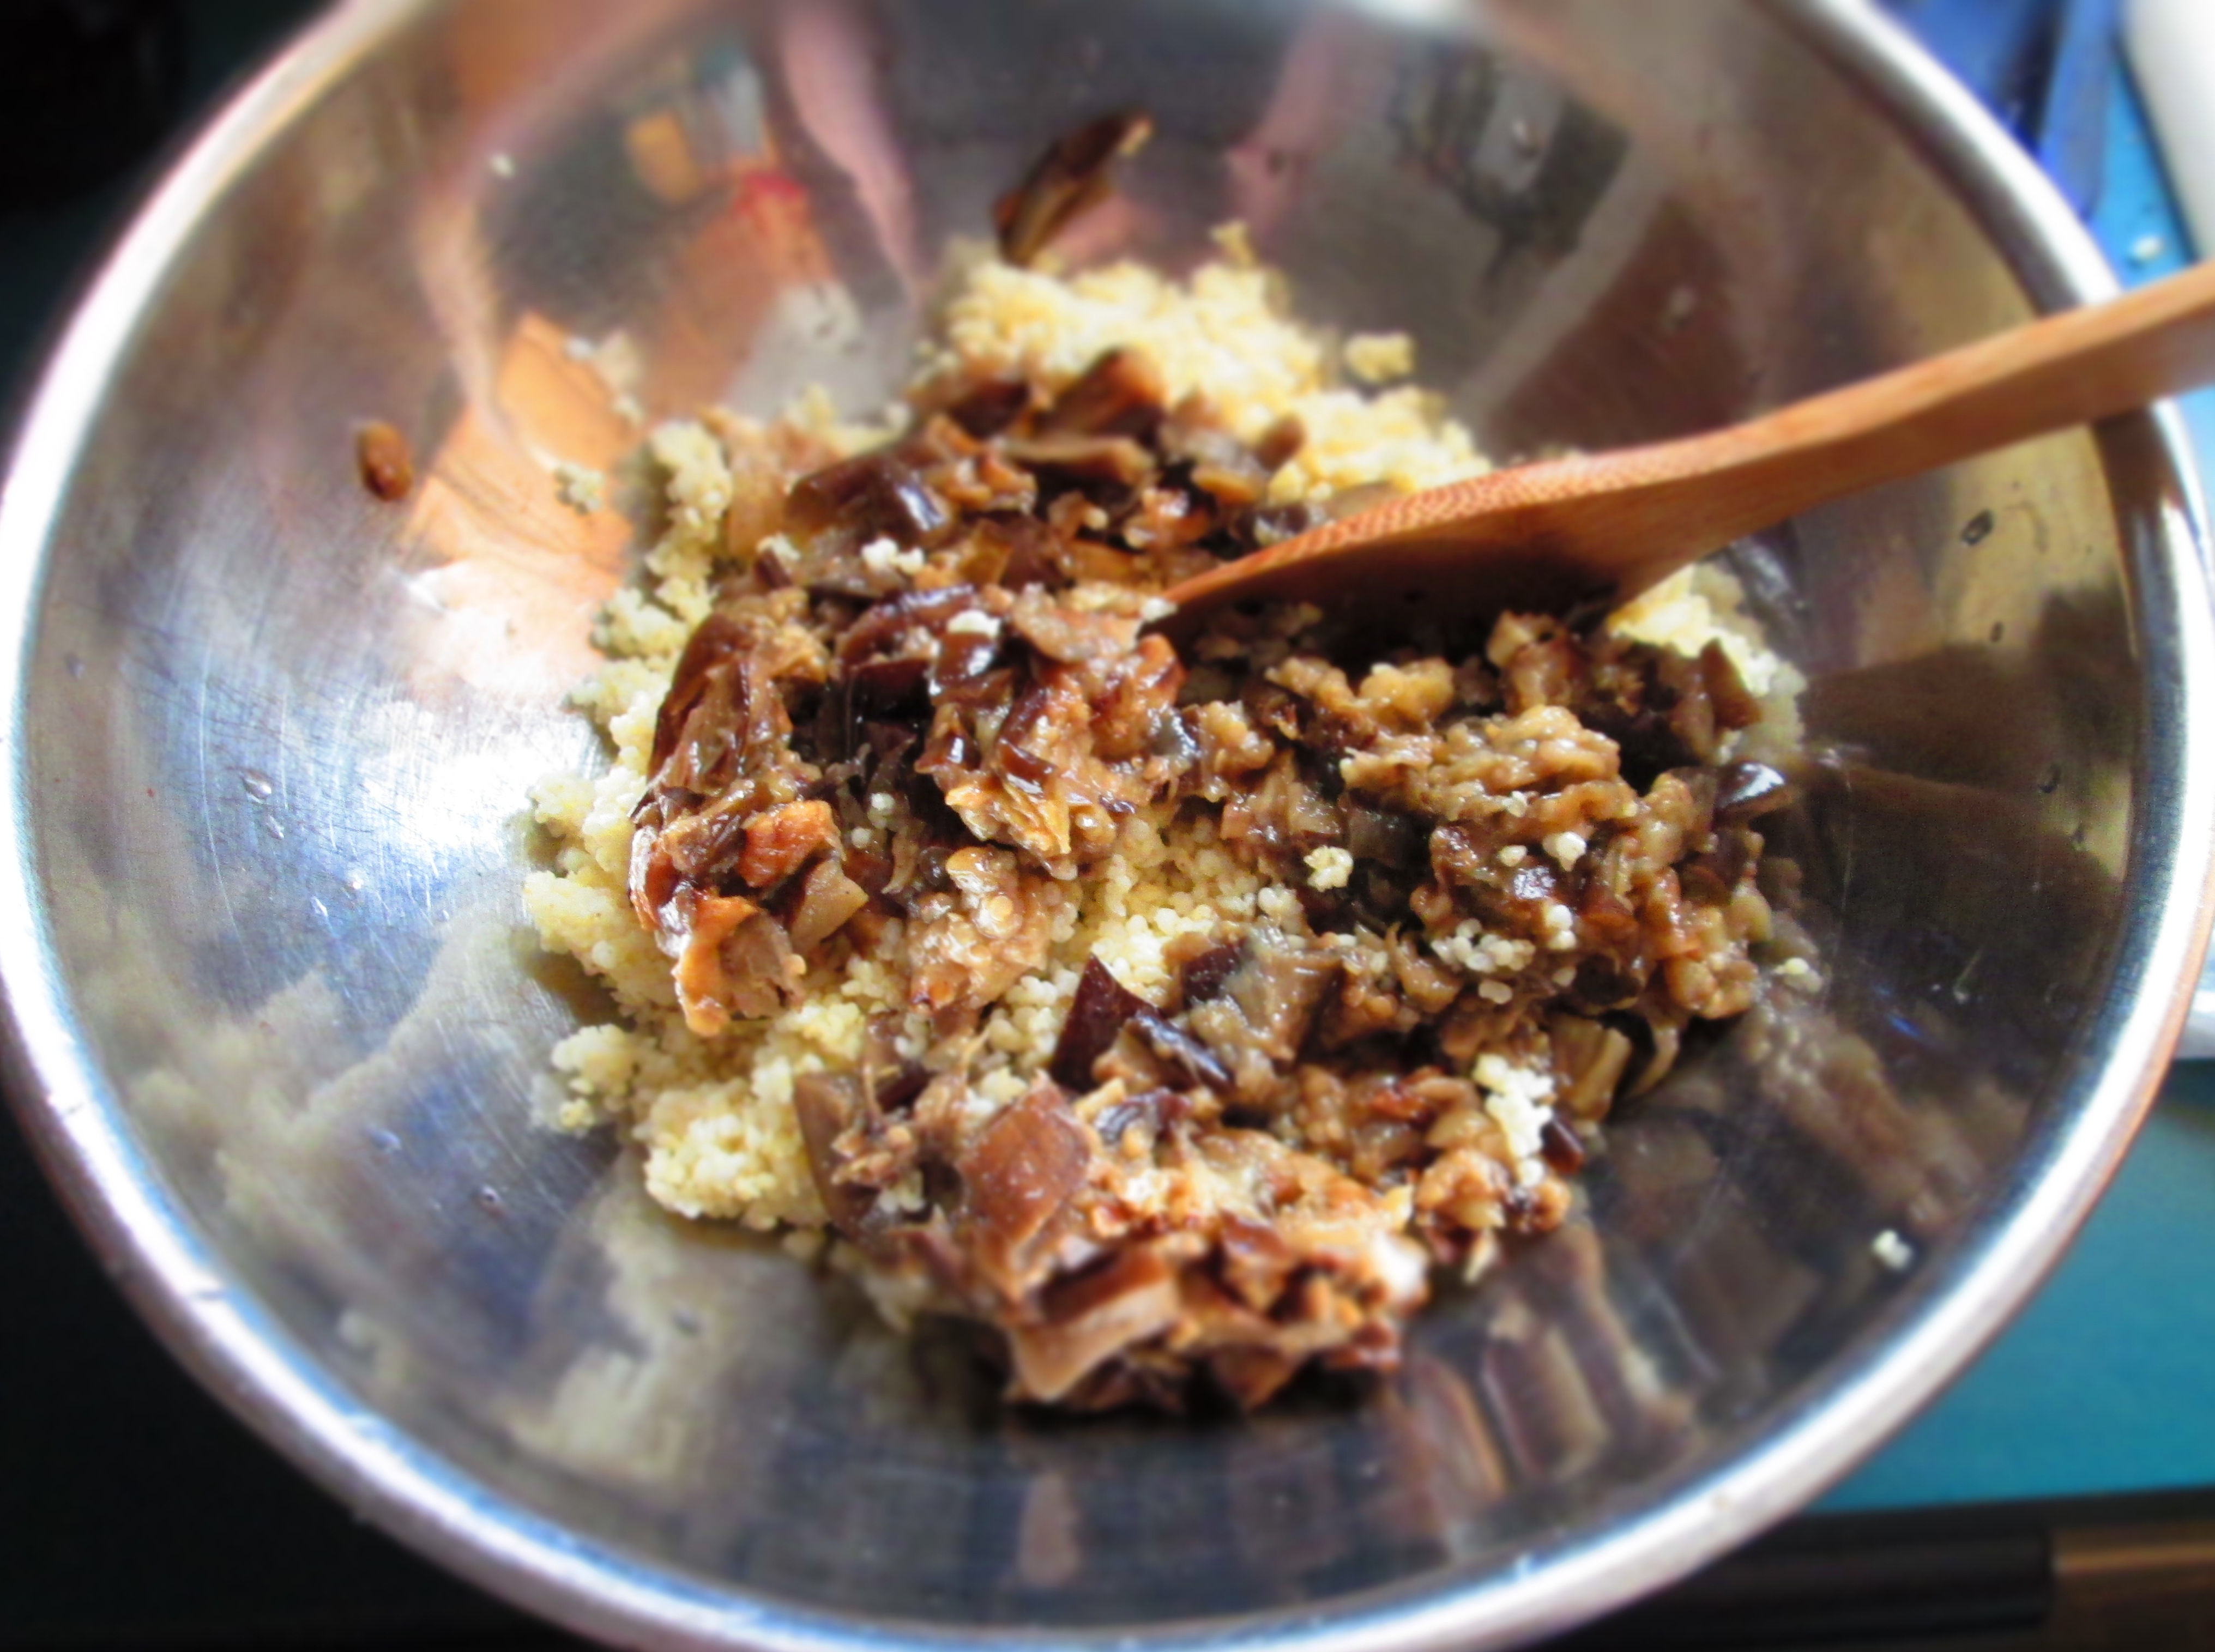
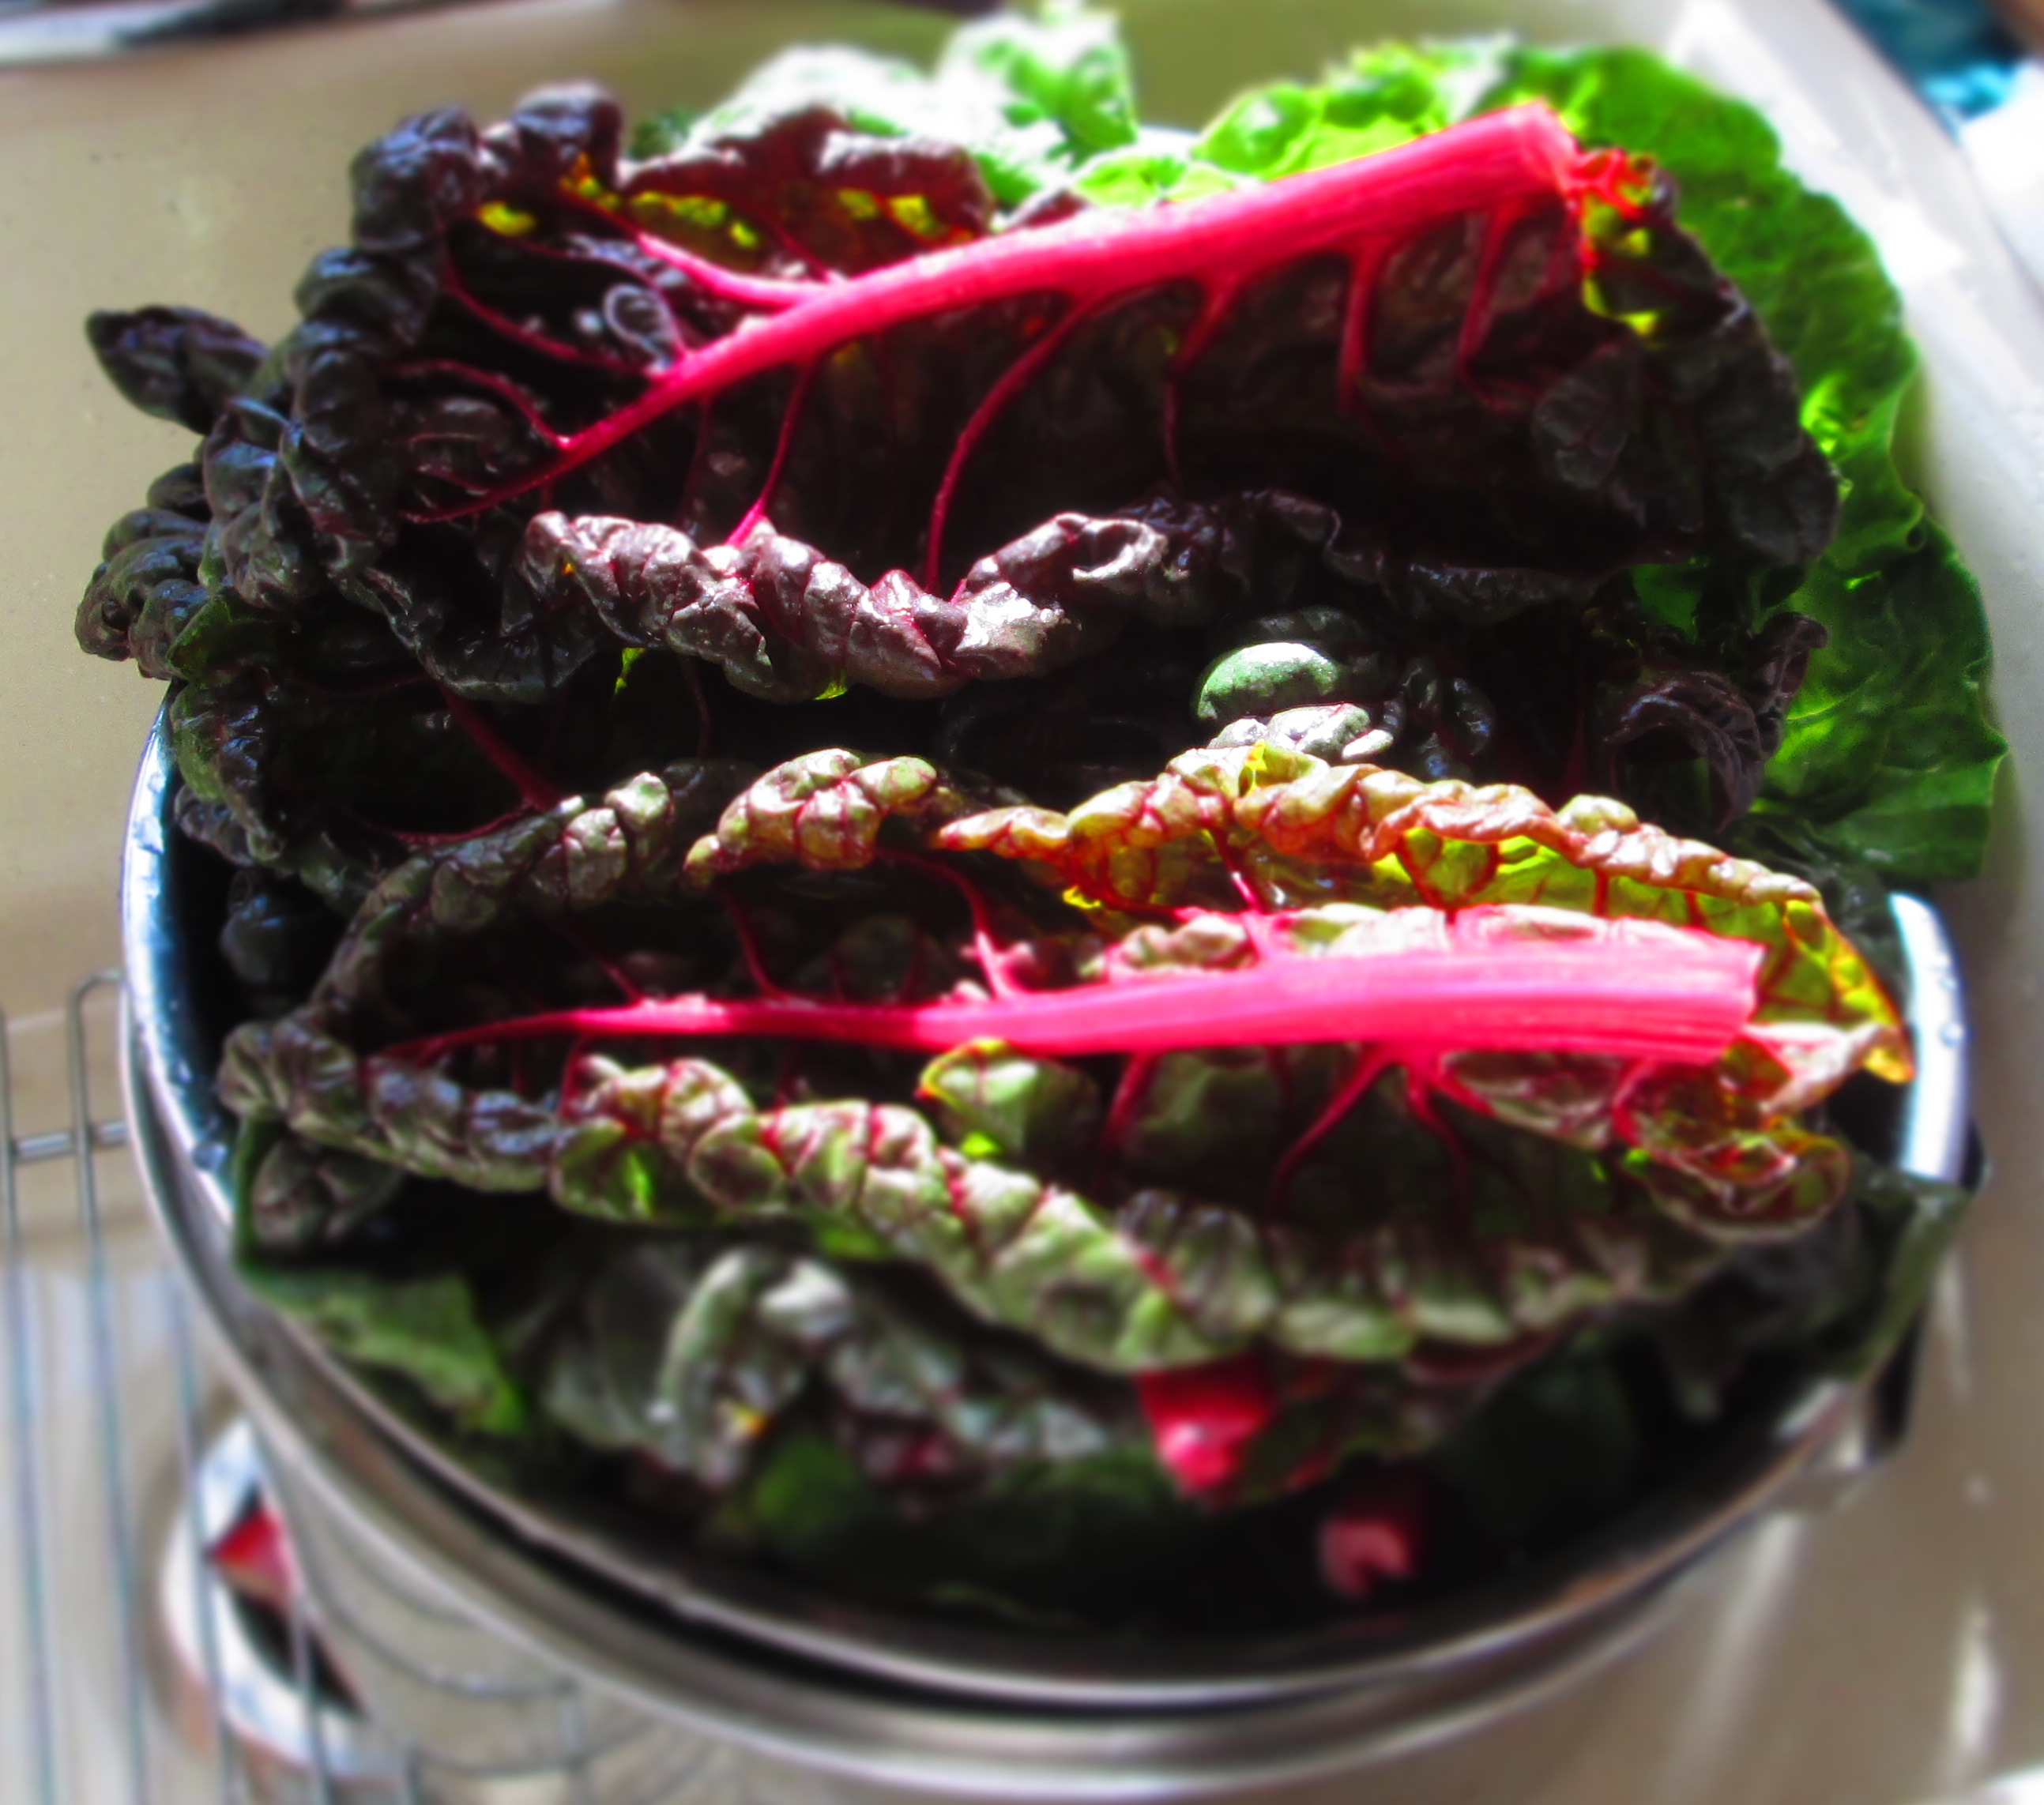
Place the beet greens in a large bowl of water and wash the greens in several changes of water.

IMG_5400
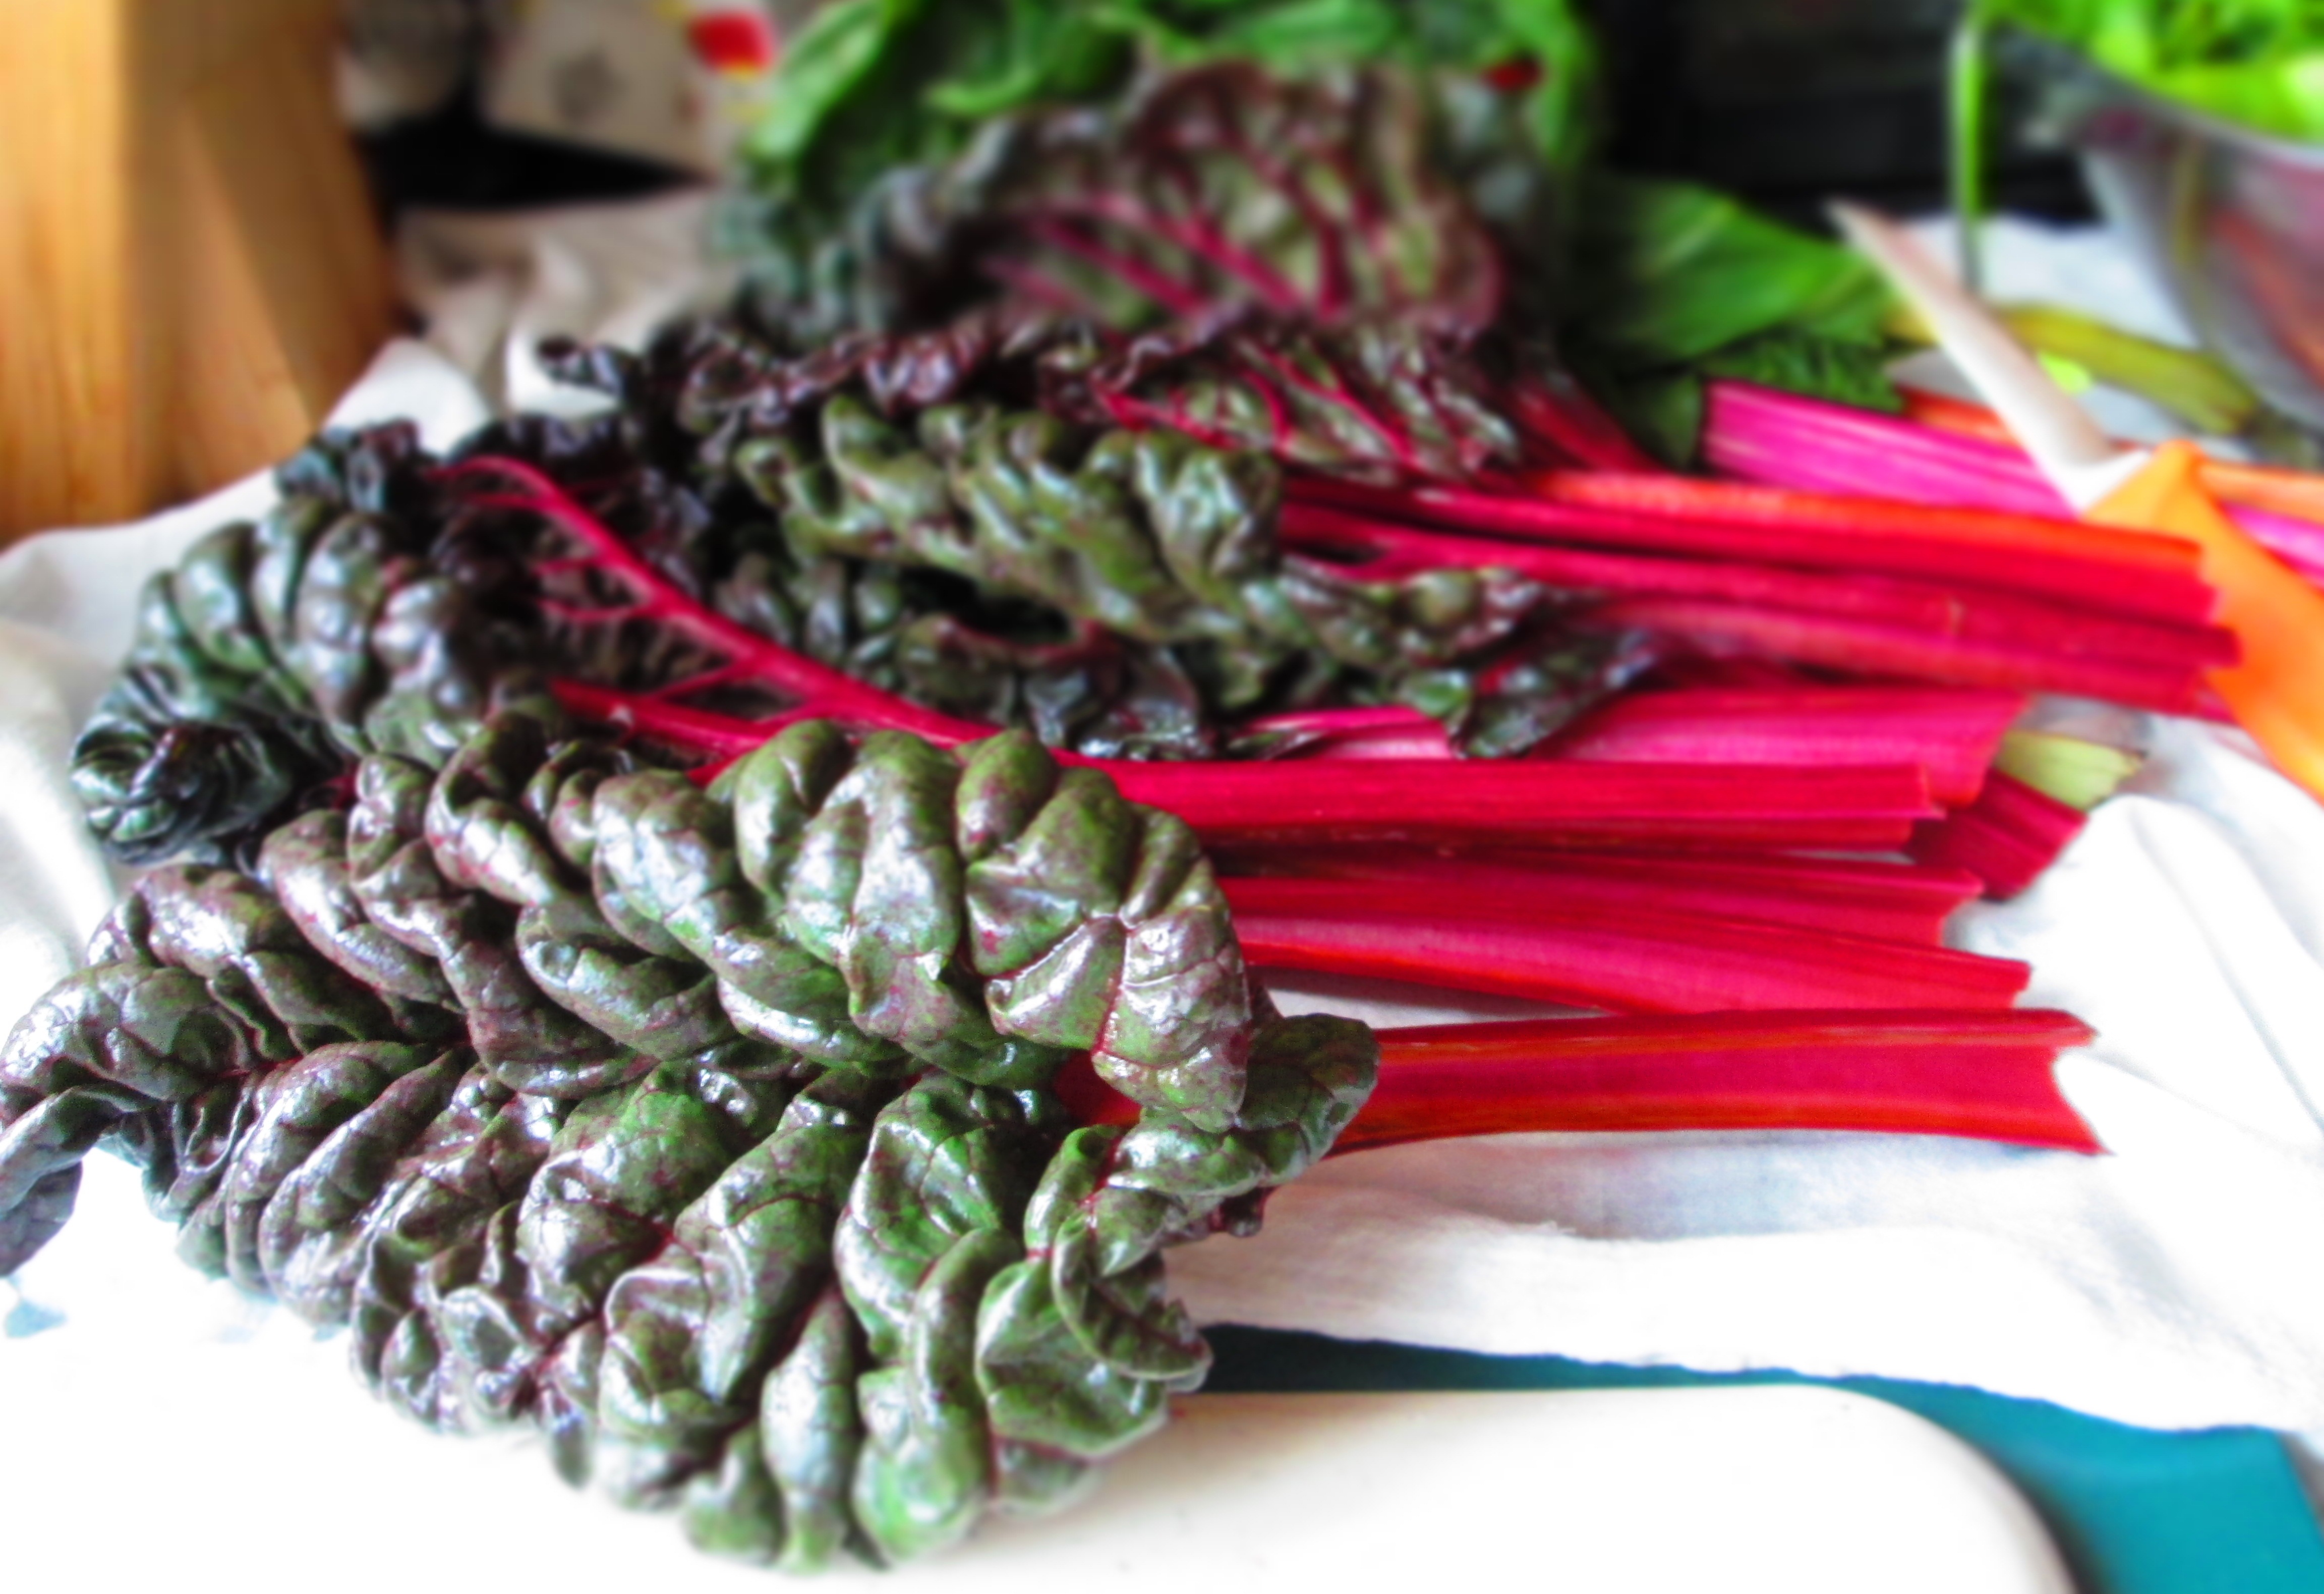
Pick out the largest, nicest leaves (you’ll need about 14) and place them on a kitchen towel to dry.IMG_5408Cut off the stems of the leaves. You may need to cut out a little bit of the ribs a the bottom if you find the leaves difficult to roll. IMG_5415Place 1/4 cup of the filling—less, if the leaf is smaller–at the base of a leaf and roll the leaf up. (It’s okay if the leaf tears a bit or the rib pokes through—you’re not making rolls that people will eat with their hand. These are fork rolls!)

IMG_5414Place it on the baking sheet. Repeat with remaining leaves. Pack the rolls close together. Gently brush olive oil over them.IMG_5419
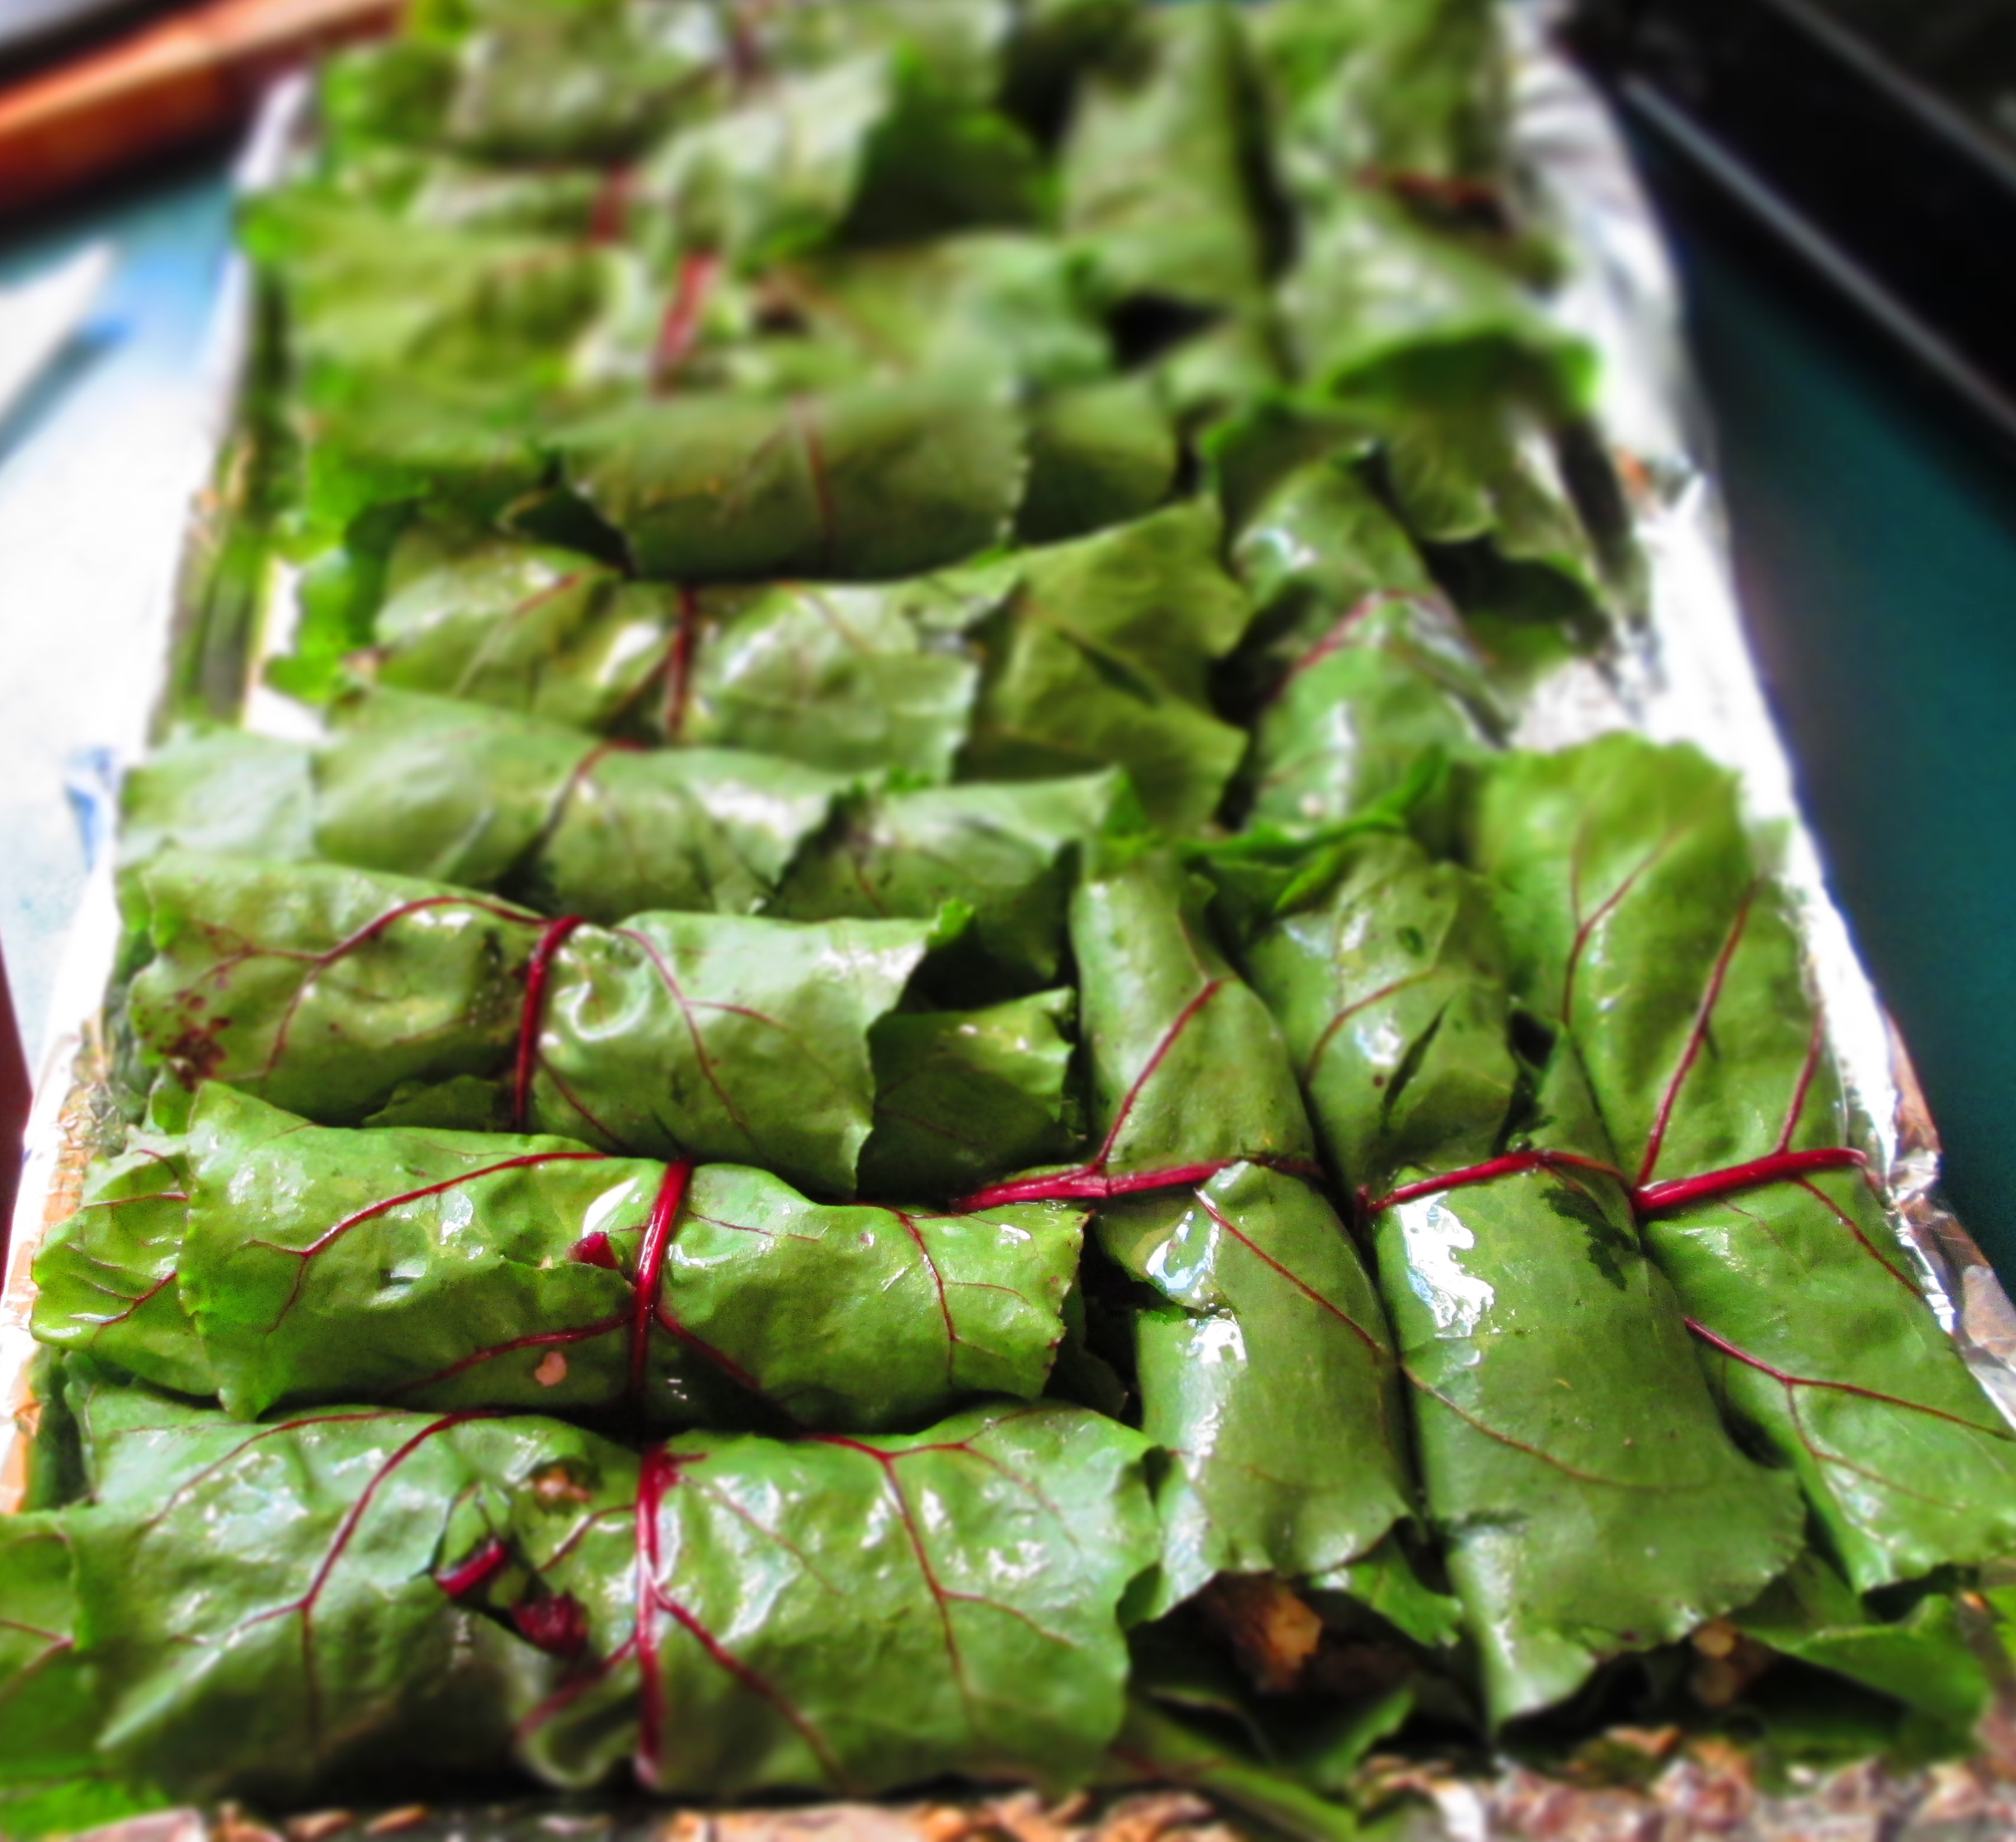
Cover tightly with foil. Bake 15 minutes. Transfer them to a serving platter, sprinkle more parmesan over the top, then drizzle with the extra virgin olive oil.IMG_5423
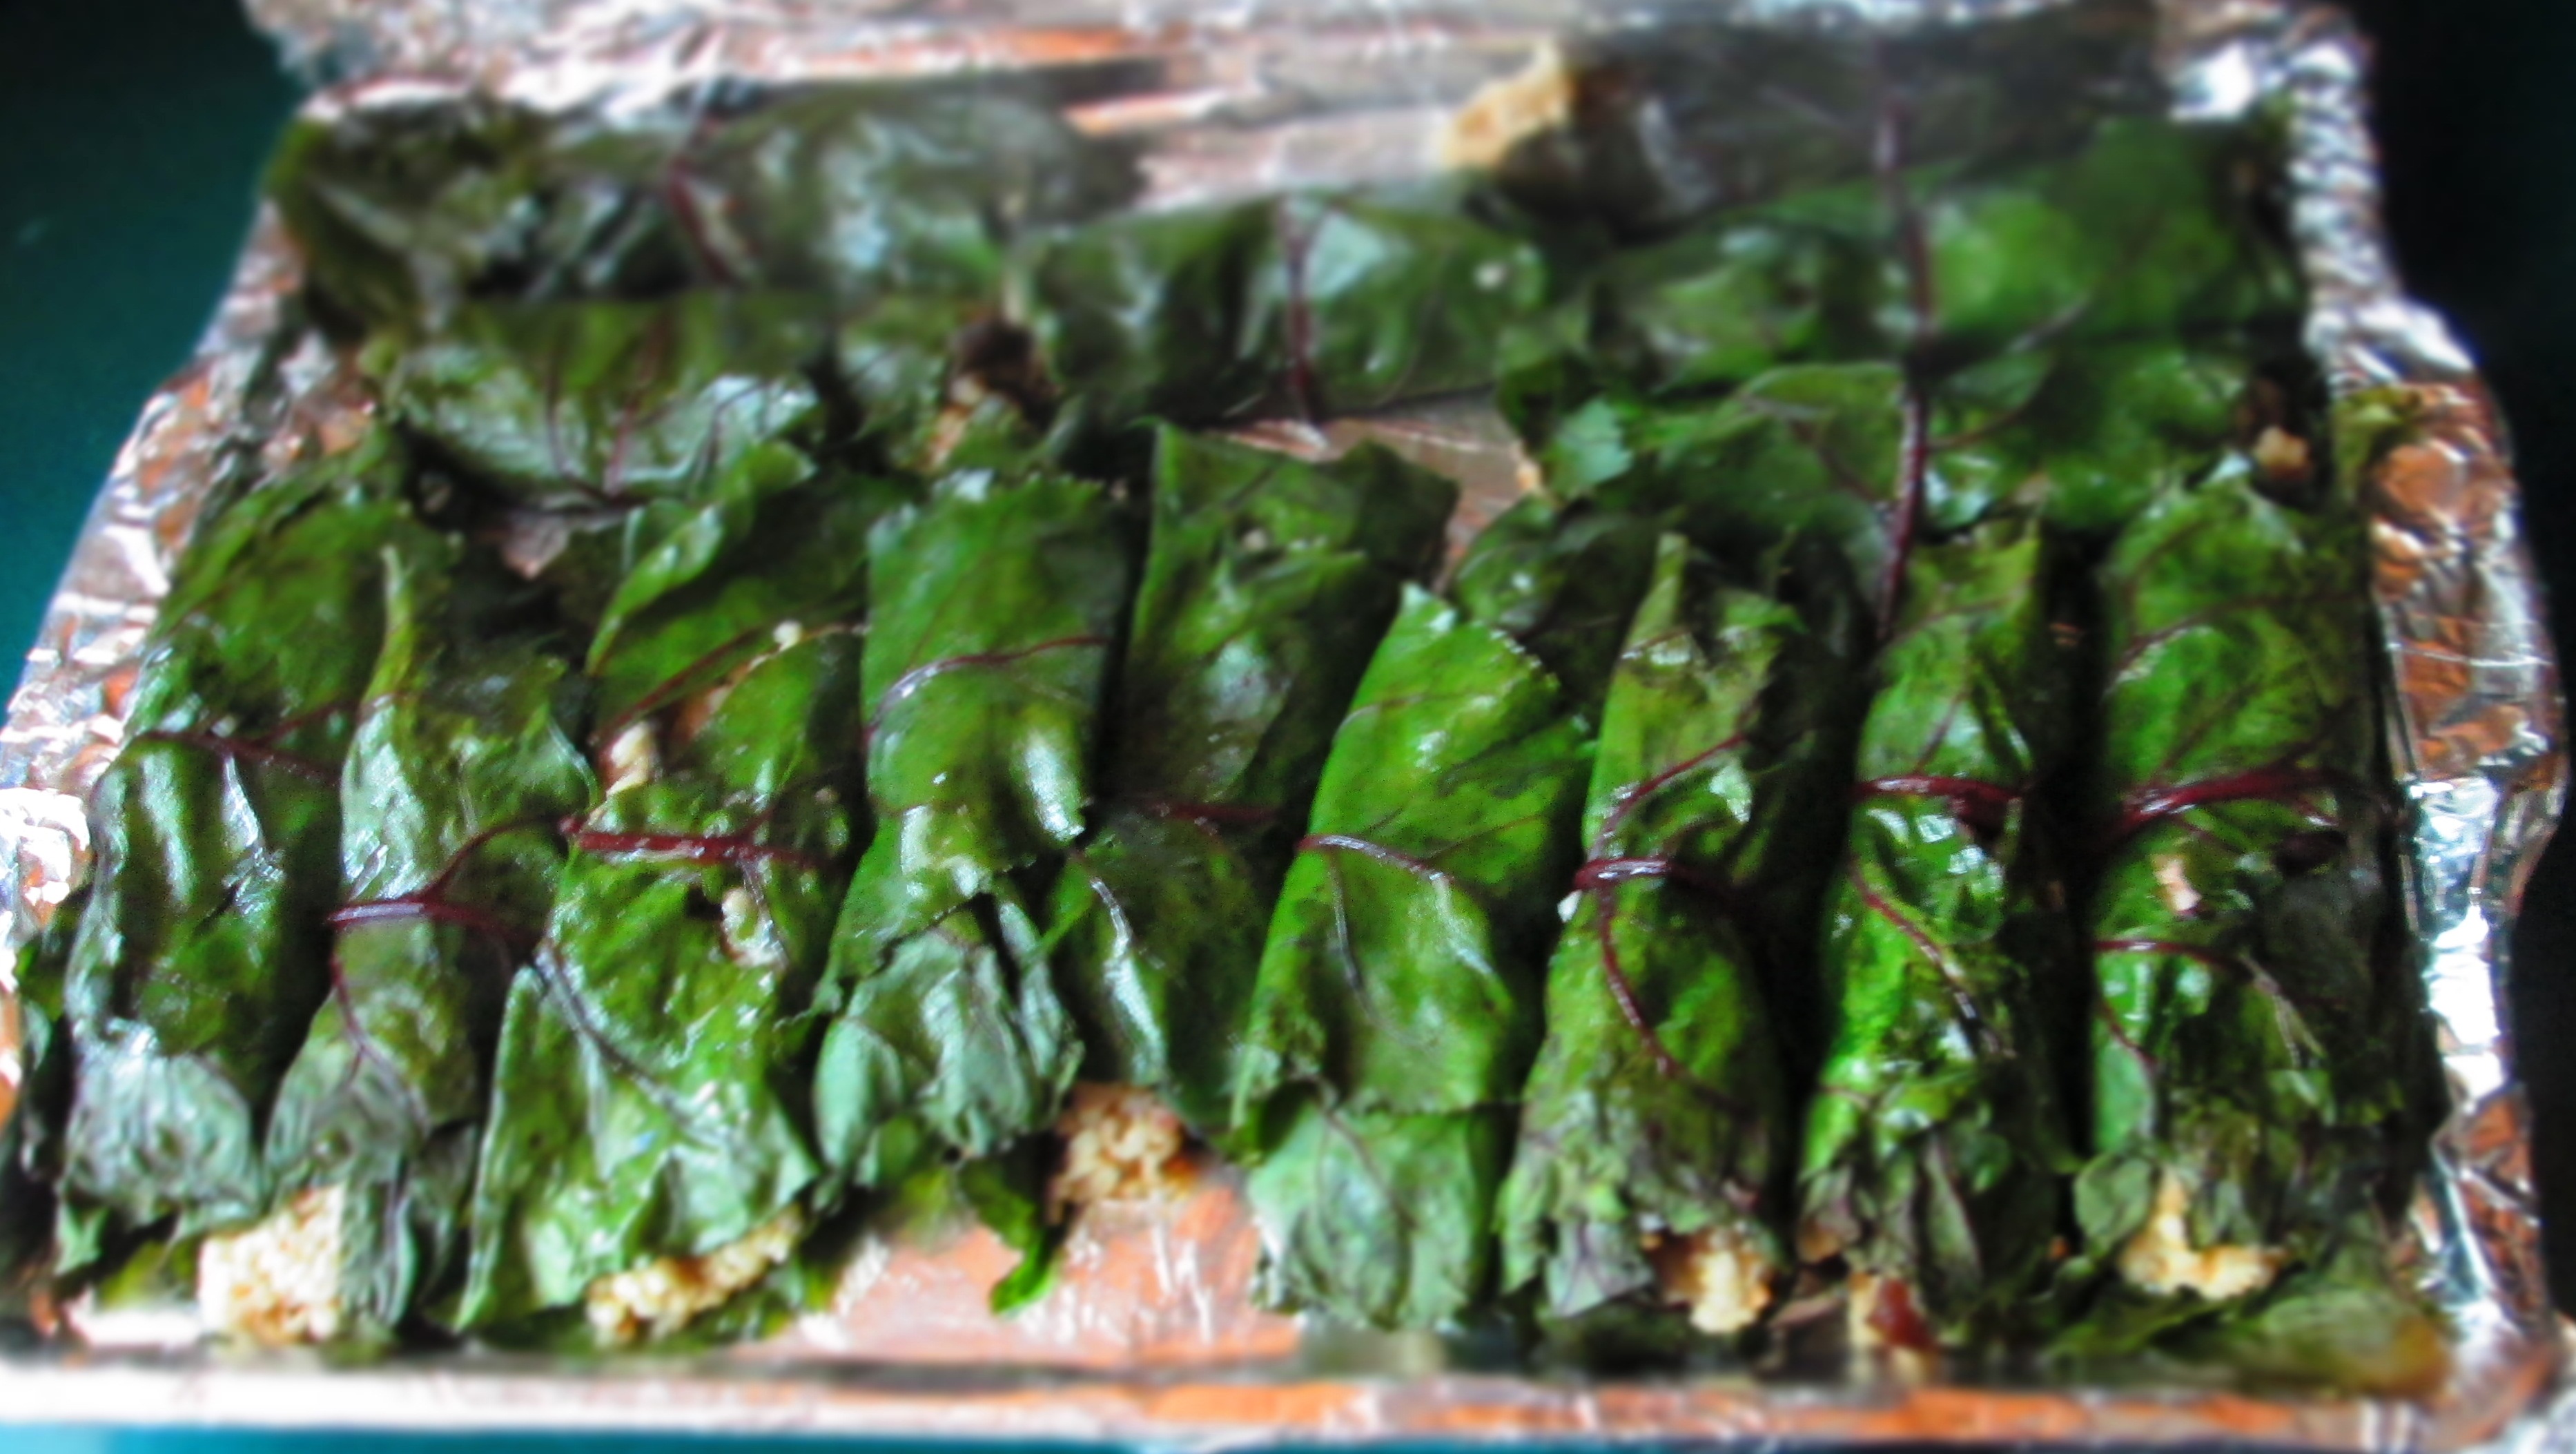
Serve hot or at room temperature.

Makes about 14 rolls.IMG_5430


Leave a comment

Spanish Spinach & Chickpeas

IMG_5396I was in Seattle this past week and as it usually is when I return from a trip, I found myself with an empty fridge. Well, what I consider empty, anyway. So, I went to the produce market to see what vegetables looked good. I was surprised to be irresistibly drawn to some spinach.

I say surprised because, although I like spinach, I don’t exactly go wild for it. But this particular store had bunches of spinach on sale for $1. And they were nice-looking bunches, too. Not wilted or dried, but fresh and green. So, I bought a couple of bunches.

After giving a little thought to what I might want to do with it, I quickly decided that I wanted to make a Spanish tapa staple: Espinaca con Garbanzos. Or Spinach with Chickpeas.

What makes this dish delectable is the bread crumbs, which turns the flavorful, garlicky spinach liquid into a thick, scoopable sauce. If you are gluten intolerant, you can use gluten-free bread crumbs. You can change the flavor profile very easily by adding any kind of spices you like. And best of all, this is a low-cal, low-fat, high-nutrient dish that is savory and comforting all at once.
Continue reading


Leave a comment

Chickpeas and Beet Salad

IMG_1024Despite the fact that I have less and less time to cook for myself these days, when I walk past the farmer’s market, I’m seduced by the beautiful vegetables. So, then I find myself with vegetables that I have no time to cook, but must.

This week, I had beets. The beets were firm and bright and the leaves were full and green. I couldn’t help myself. But I had to deal with them quickly. So, I went to my go-to beet recipe: Chickpea and Beet Salad. It’s simple, it’s fast (once the beets are cooked), and it’s satisfying.

The greens? My go-to greens recipe: sautéed in olive oil and garlic.

The reason for my lack of time? Well, apart from my work/commute issue, I have multiple projects happening at the same time. One of those is volume 2 of Vegetarian Italian: Traditions, which is finally under way after a very long delay at my publisher. It’s slated for release in April 2016. With any luck, that will be the case.

This beet recipe, by the way, appears in volume 1 of Vegetarian Italian: Traditions, and it’s just one of many delectable dishes straight from the Mediterranean. Continue reading


Leave a comment

Mediterranean White Bean Spread

IMG_5318I recently found myself with an abundance of dried Great Northern beans, and if you stopped by here last time, you saw that I took some of those beans to make Tomato-y White Beans.

I had cooked up a huge batch, so I needed to come up with something else. And, as I also said last time, because it’s summer, I’ve had access to a bunch of tomatoes. Well, both they went into a food processor for a white bean spread. With a few additional ingredients, this is a flavorful, filling, yet light, snack. It’s also perfect to taking to a picnic or barbecue.IMG_5309

Continue reading


Leave a comment

Tomato-y White Beans

IMG_5305Sometimes you go through your pantry or refrigerator and see a bunch of stuff that you know you have to use or it will go bad. It’s been that way with me and all of these dried beans I realized I had. And since it’s summer, I also find myself with a steady influx of tomatoes.IMG_5298

I’m a whiz at utilitarian cooking. And I say that because it really doesn’t take much to be a whiz at utilitarian cooking. You basically just throw a bunch of stuff you have together and that’s it. And, usually, it works out better than any pre-meditated, planned, plotted, and plated dish you can conjure.

Okay, sometimes it doesn’t work out, but it usually does. I wouldn’t tell you about the stuff that doesn’t work out, anyway.

So, I cooked up a mess of Great Northern beans, added some fresh tomatoes from my mother’s garden, and got this: tomato-y white beans. It’s really simple, so I hope you give it a try.

Tomato-y White Beans

Makes about 6 servings.

1½ cups dried Great Northern beans
2 bay leaves
4 large garlic cloves
½ large onion, sliced
2 teaspoons kosher salt
2 teaspoons olive oil
¼ cup white wine
3 or 4 medium tomatoes, seeded and chopped
Freshly ground black pepper
1/2 cup vegetable broth
Fresh herbs (whatever you have available)

Place the beans in a bowl and cover with water by about 3 inches. Cover and soak overnight.IMG_5297The next day, drain the beans and place them in a medium pot. Add water to cover by about 2 inches. Add the bay leaves. Smash two of the garlic cloves and add them to the pot, along with half the onion, and 1 teaspoon of the salt. Bring to a boil. Lower the heat to low; partially cover the pot, and simmer until the beans are tender but still firm, about 45 minutes.IMG_5299Drain the beans in a colander and remove the bay leaves and garlic and discard. Finely chop the rest of the garlic.IMG_5300Heat the oil, in a wide pan. Add the rest of the onion and cook until translucent. Add the garlic and sauté one more minute. Add the wine and let it cook until it’s evaporated. Add the tomatoes, the rest of the salt, pepper and sauté 5 minutes.IMG_5302Add the beans, broth, and herbs (I had basil, savory, and parsley), and cook for about 5 minutes, or until it thickens.IMG_5303IMG_5304You’re ready to eat. Have it over rice, pasta, or with crusty bread. IMG_5306


4 Comments

Chinese Celery Soup

Continue reading


Leave a comment

Garlic Scapes with Fresh Peas & Israeli Couscous

IMG_5159Garlic scapes come around once a year for a short period of time and I’ve generally only seen them at farmer’s markets. So when I do see them, I make sure to grab some.

The first time I bought garlic scapes, I used them raw in a pesto. It was delicious but incredibly strong. Very garlicky. So after that, I used them only cooked.IMG_5110When I was at the farmer’s market this past week, I not only found garlic scapes, I found fresh peas as well (also quick to come and go at the market). I decided to combine them with some whole wheat Israeli couscous and the result was fabulous.

IMG_5118Here’s the recipe. I guarantee you’ll love it.
Continue reading


Leave a comment

Sautéed Rainbow chard with Roman Beans

IMG_5114I found the most beautiful rainbow chard at the farmer’s market this week. In fact, it was so beautiful, I hated to cook it. The leaves were so plump and full and the stems so colorful and vivid, I wanted to just look at them all day. They were ruby red, fuchsia, lemony yellow, and light orange. Nature does stunning work.IMG_5081IMG_5087But, alas, uncooked chard soon becomes not so beautiful. So cook it, I must.
Continue reading


2 Comments

Roasted Cabbage

IMG_5071Roasting is probably my favorite way to prepare vegetables. They get golden brown, charred here and there, and caramelized for sweet, intense flavor.

I have never, however, tried roasting cabbage. It’s just never occurred to me. So, I had this head of cabbage sitting in my refrigerator and I was trying to decide what to do with it. Cabbage has may possibilities—I could boil it, steam it, saute it, make soup with it… But I was bored with all those options. I wanted to do something different.

And that’s when it hit me. Roast it. I cut it up, coated the pieces with olive oil, salt, and pepper. Then I roasted them at 350 F. The result? Delicious. The cabbage was tender, toasty brown, and so flavorful. I ate it all week long.

Here’s what I did. Give it a try.

Roasted Cabbage

Preheat the oven to 350 degrees.

Cut the cabbage in half through the core, then each half in thirds. (If you have a particularly large cabbage, you may want to cut the pieces even further.)IMG_5059Lay the pieces a baking sheet. Pour ¼ cup olive oil over the pieces and use your hands to coat them thoroughly. Sprinkle them with salt and pepper.IMG_5067Cover with foil and bake for 15 minutes.IMG_5068Turn the pieces over and cover again with foil. IMG_5070Bake another 15 minutes.Uncover the pan and roast 10 to 15 minutes, or until tender (it will depend on the size of your pieces).IMG_5075


2 Comments

Bok Choy 2 Ways

IMG_4972Bok choy is part of the brassica family, also commonly called cruciferous vegetables. Other members of the brassica family are broccoli, cauliflower, cabbage, and Brussels sprouts. Cruciferous vegetables are known for their many health advantages, such as fighting cancer, heart disease, osteoporosis, strokes, and bad cholesterol. They are high in soluble fiber, antioxidants (vitamin C and beta-carotene), and the B vitamins.

Most Americans are familiar with bok choy as a vegetable in their stir fries. But it’s also great as a side dish on its own. Here are two very simple and quick ways to prepare bok choy to have with rice or noodles or on the side of just about any entrée.

There are many different types of Asian cabbages, and in an Asian market, you will find many different kinds side by side. All of them can be prepared in these two ways.

For 1 pound bok choy, wash thoroughly (grit gets trapped inside the leaves).

Recipes make approximately 6 servings. Enjoy!

SteamedIMG_4968

Bring about 1 to 2 inches of water to a boil in the bottom of a steamer pot. Place bok choy in the steamer rack. Lower the heat to medium-low and simmer until bok choy is tender when pierced with a fork, about 10 minutes.Transfer to a serving plate. Sprinkle with salt and pepper, as desired. Drizzle with 1 tablespoon toasted sesame oil. Serve hot.IMG_4977

Roasted

Preheat oven to 350 degrees. F.

Thoroughly dry bok choy on kitchen towels. Place bok choy in a roasting pan. Pour about ½ cup olive oil over them, 2 teaspoons kosher salt, and freshly ground black pepper to taste. Mix everything together with your hands, making sure that all bok choy leaves are coated with oil. Spread them out as evenly as possible in the baking pan.IMG_4974

Roast until they’re tender and begins to brown, about 10 to 15 minutes. Turn them over and roast another 5 minutes to brown other side. Transfer to a serving platter. Serve hot. IMG_4981