I recently found myself with an abundance of dried Great Northern beans, and if you stopped by here last time, you saw that I took some of those beans to make Tomato-y White Beans.
I had cooked up a huge batch, so I needed to come up with something else. And, as I also said last time, because it’s summer, I’ve had access to a bunch of tomatoes. Well, both they went into a food processor for a white bean spread. With a few additional ingredients, this is a flavorful, filling, yet light, snack. It’s also perfect to taking to a picnic or barbecue.
Sometimes you go through your pantry or refrigerator and see a bunch of stuff that you know you have to use or it will go bad. It’s been that way with me and all of these dried beans I realized I had. And since it’s summer, I also find myself with a steady influx of tomatoes.
I’m a whiz at utilitarian cooking. And I say that because it really doesn’t take much to be a whiz at utilitarian cooking. You basically just throw a bunch of stuff you have together and that’s it. And, usually, it works out better than any pre-meditated, planned, plotted, and plated dish you can conjure.
Okay, sometimes it doesn’t work out, but it usually does. I wouldn’t tell you about the stuff that doesn’t work out, anyway.
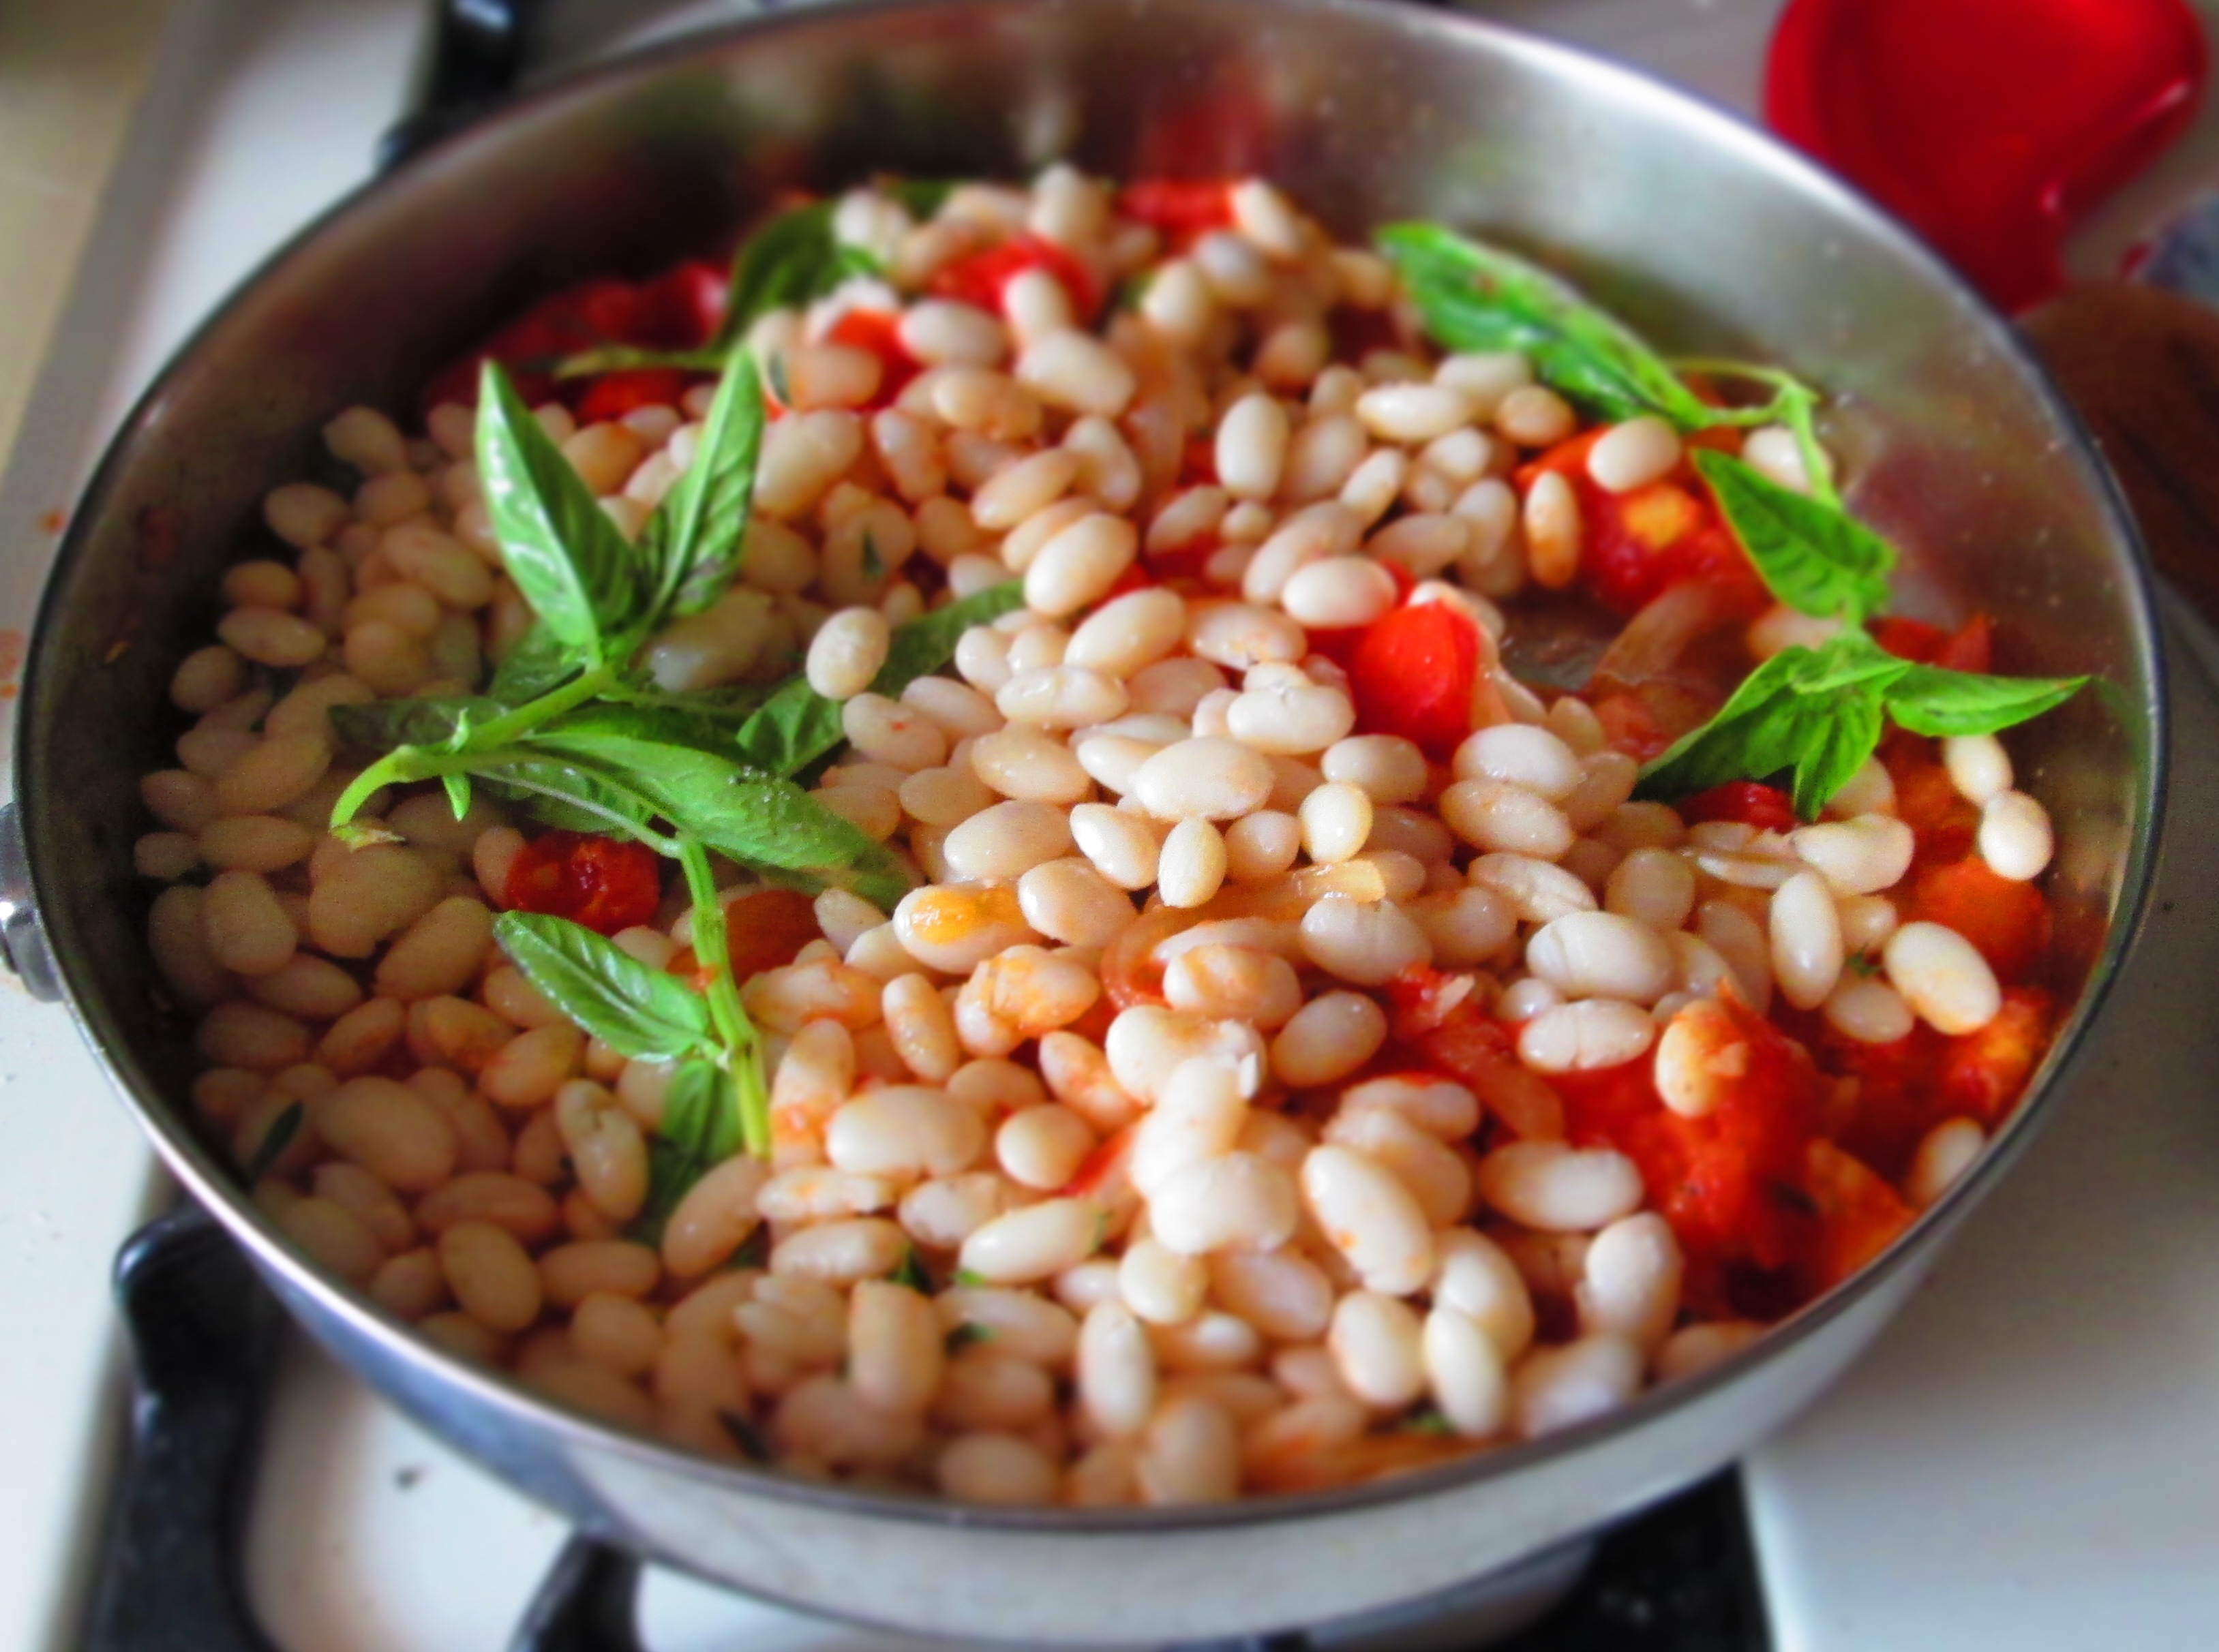
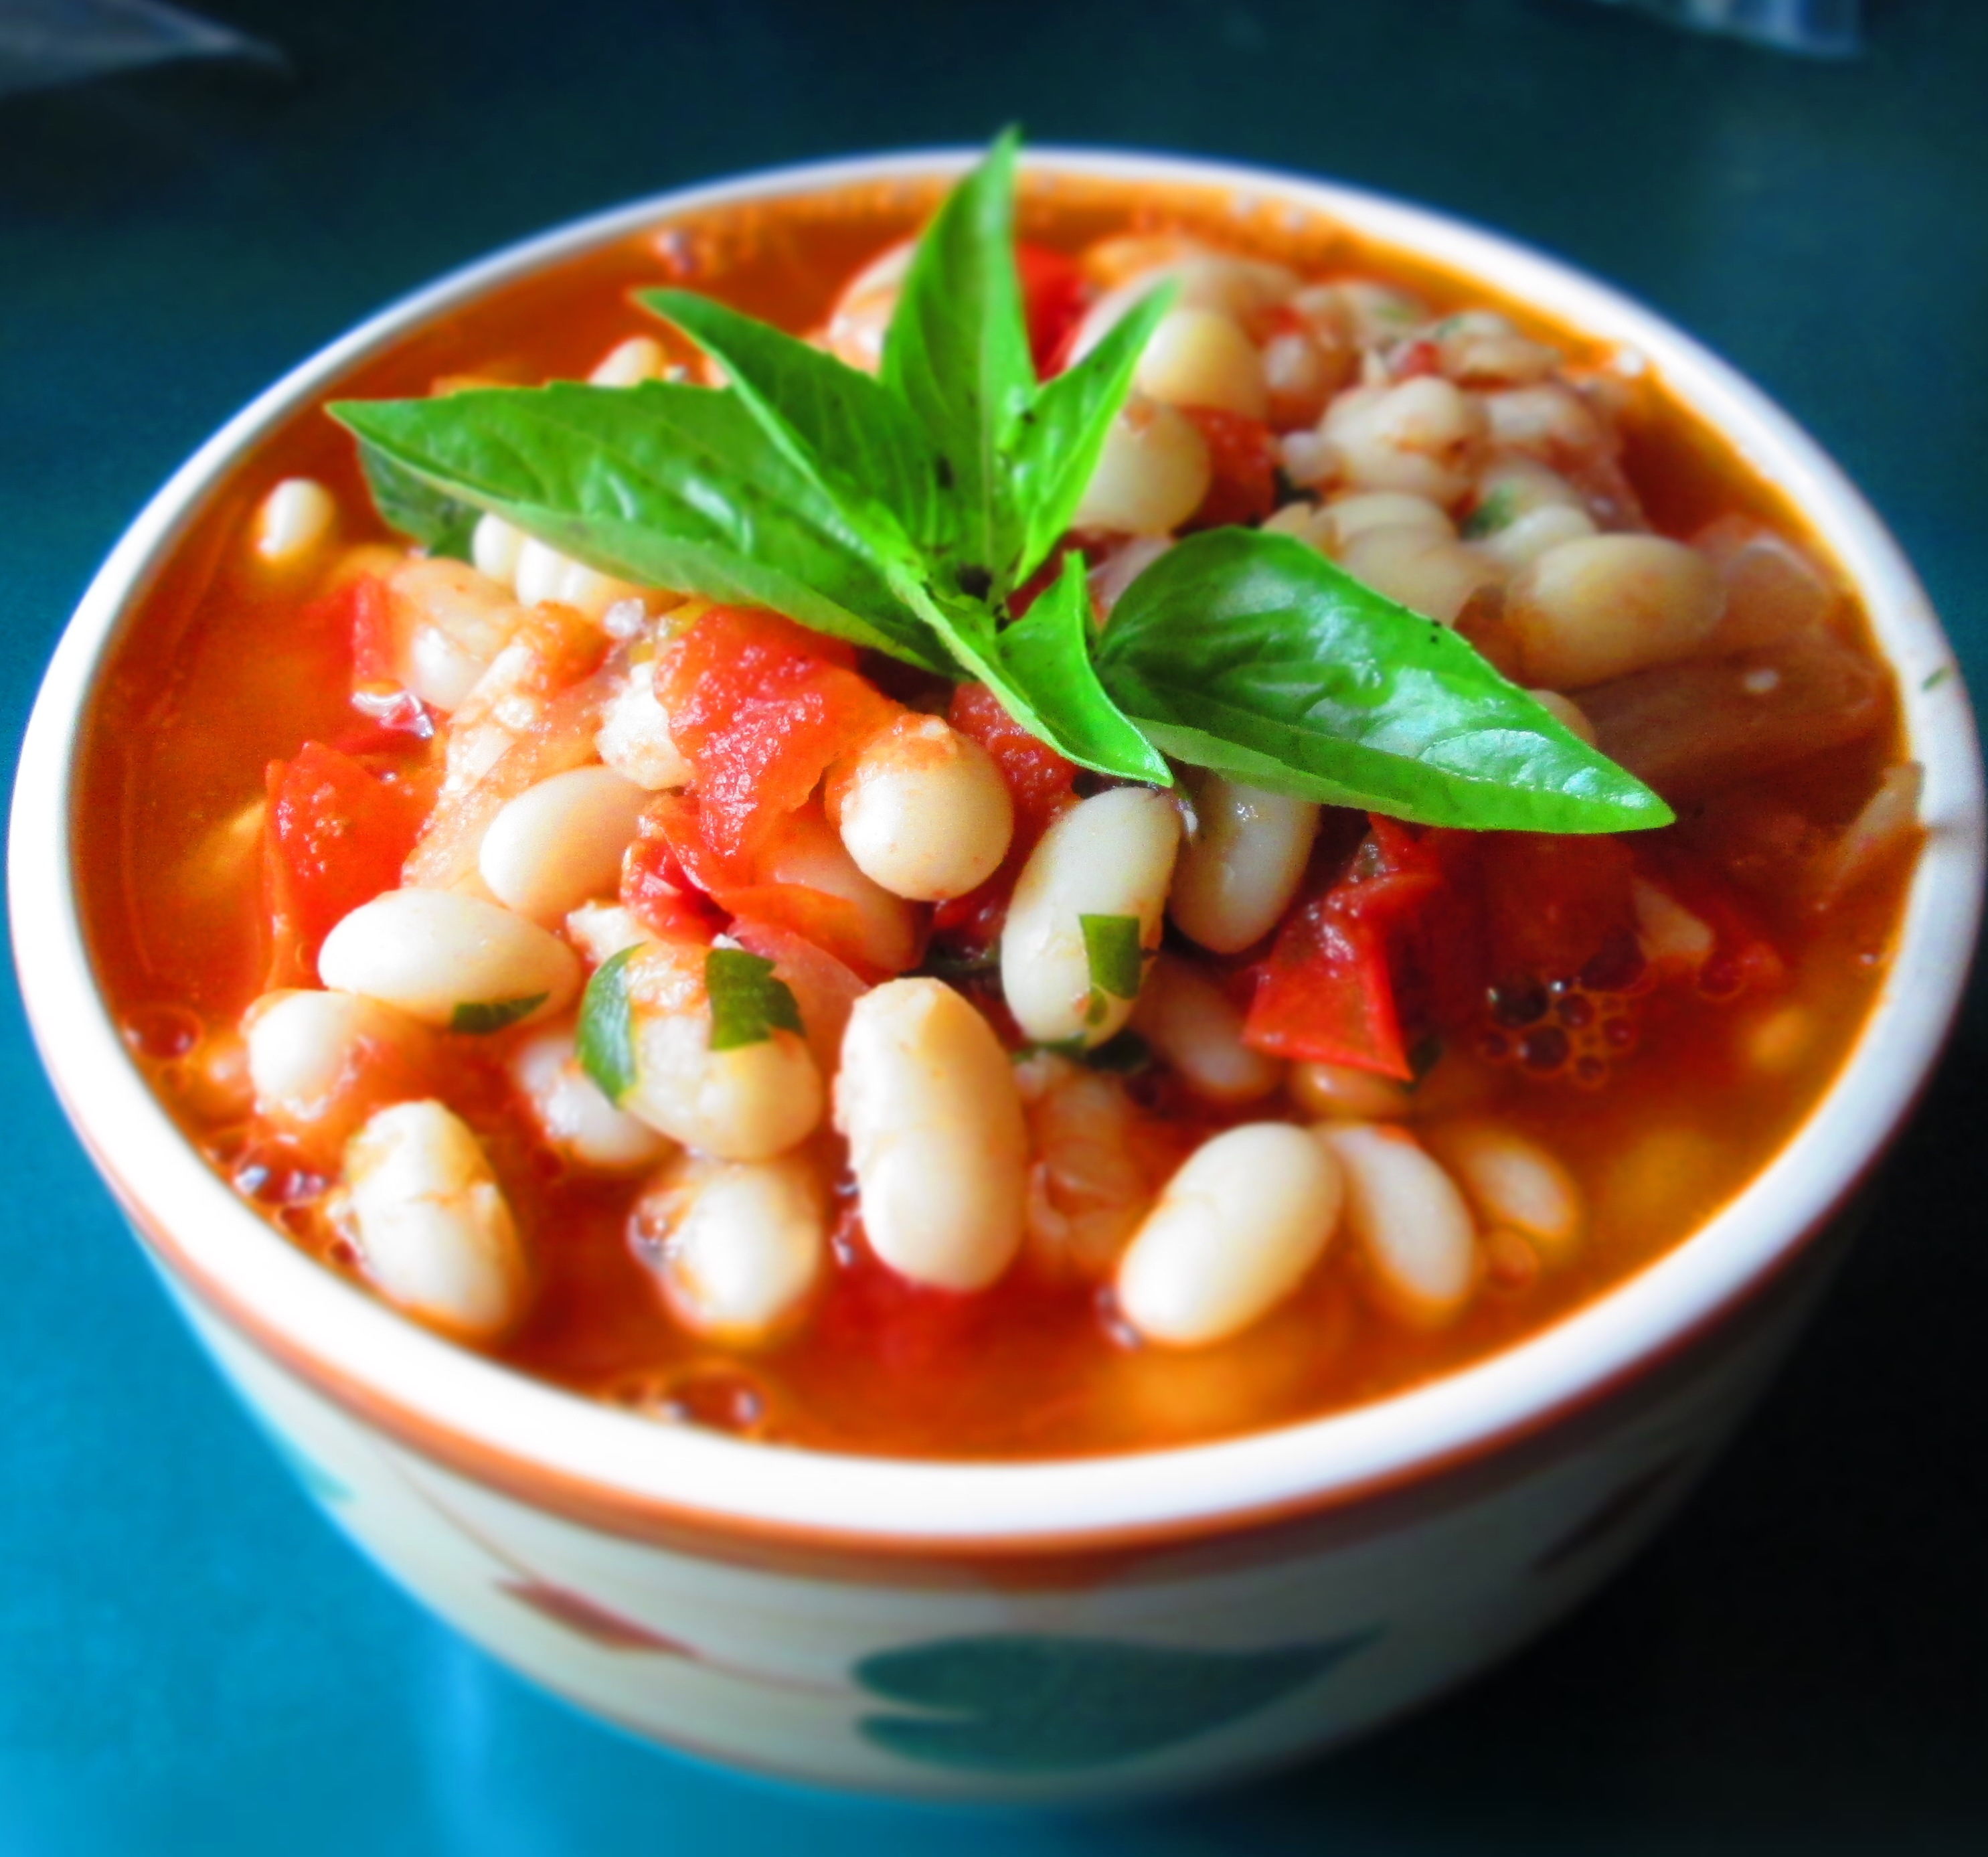
So, I cooked up a mess of Great Northern beans, added some fresh tomatoes from my mother’s garden, and got this: tomato-y white beans. It’s really simple, so I hope you give it a try.
Tomato-y White Beans
Makes about 6 servings.
1½ cups dried Great Northern beans 2 bay leaves 4 large garlic cloves ½ large onion, sliced 2 teaspoons kosher salt 2 teaspoons olive oil ¼ cup white wine 3 or 4 medium tomatoes, seeded and chopped Freshly ground black pepper 1/2 cup vegetable broth Fresh herbs (whatever you have available)
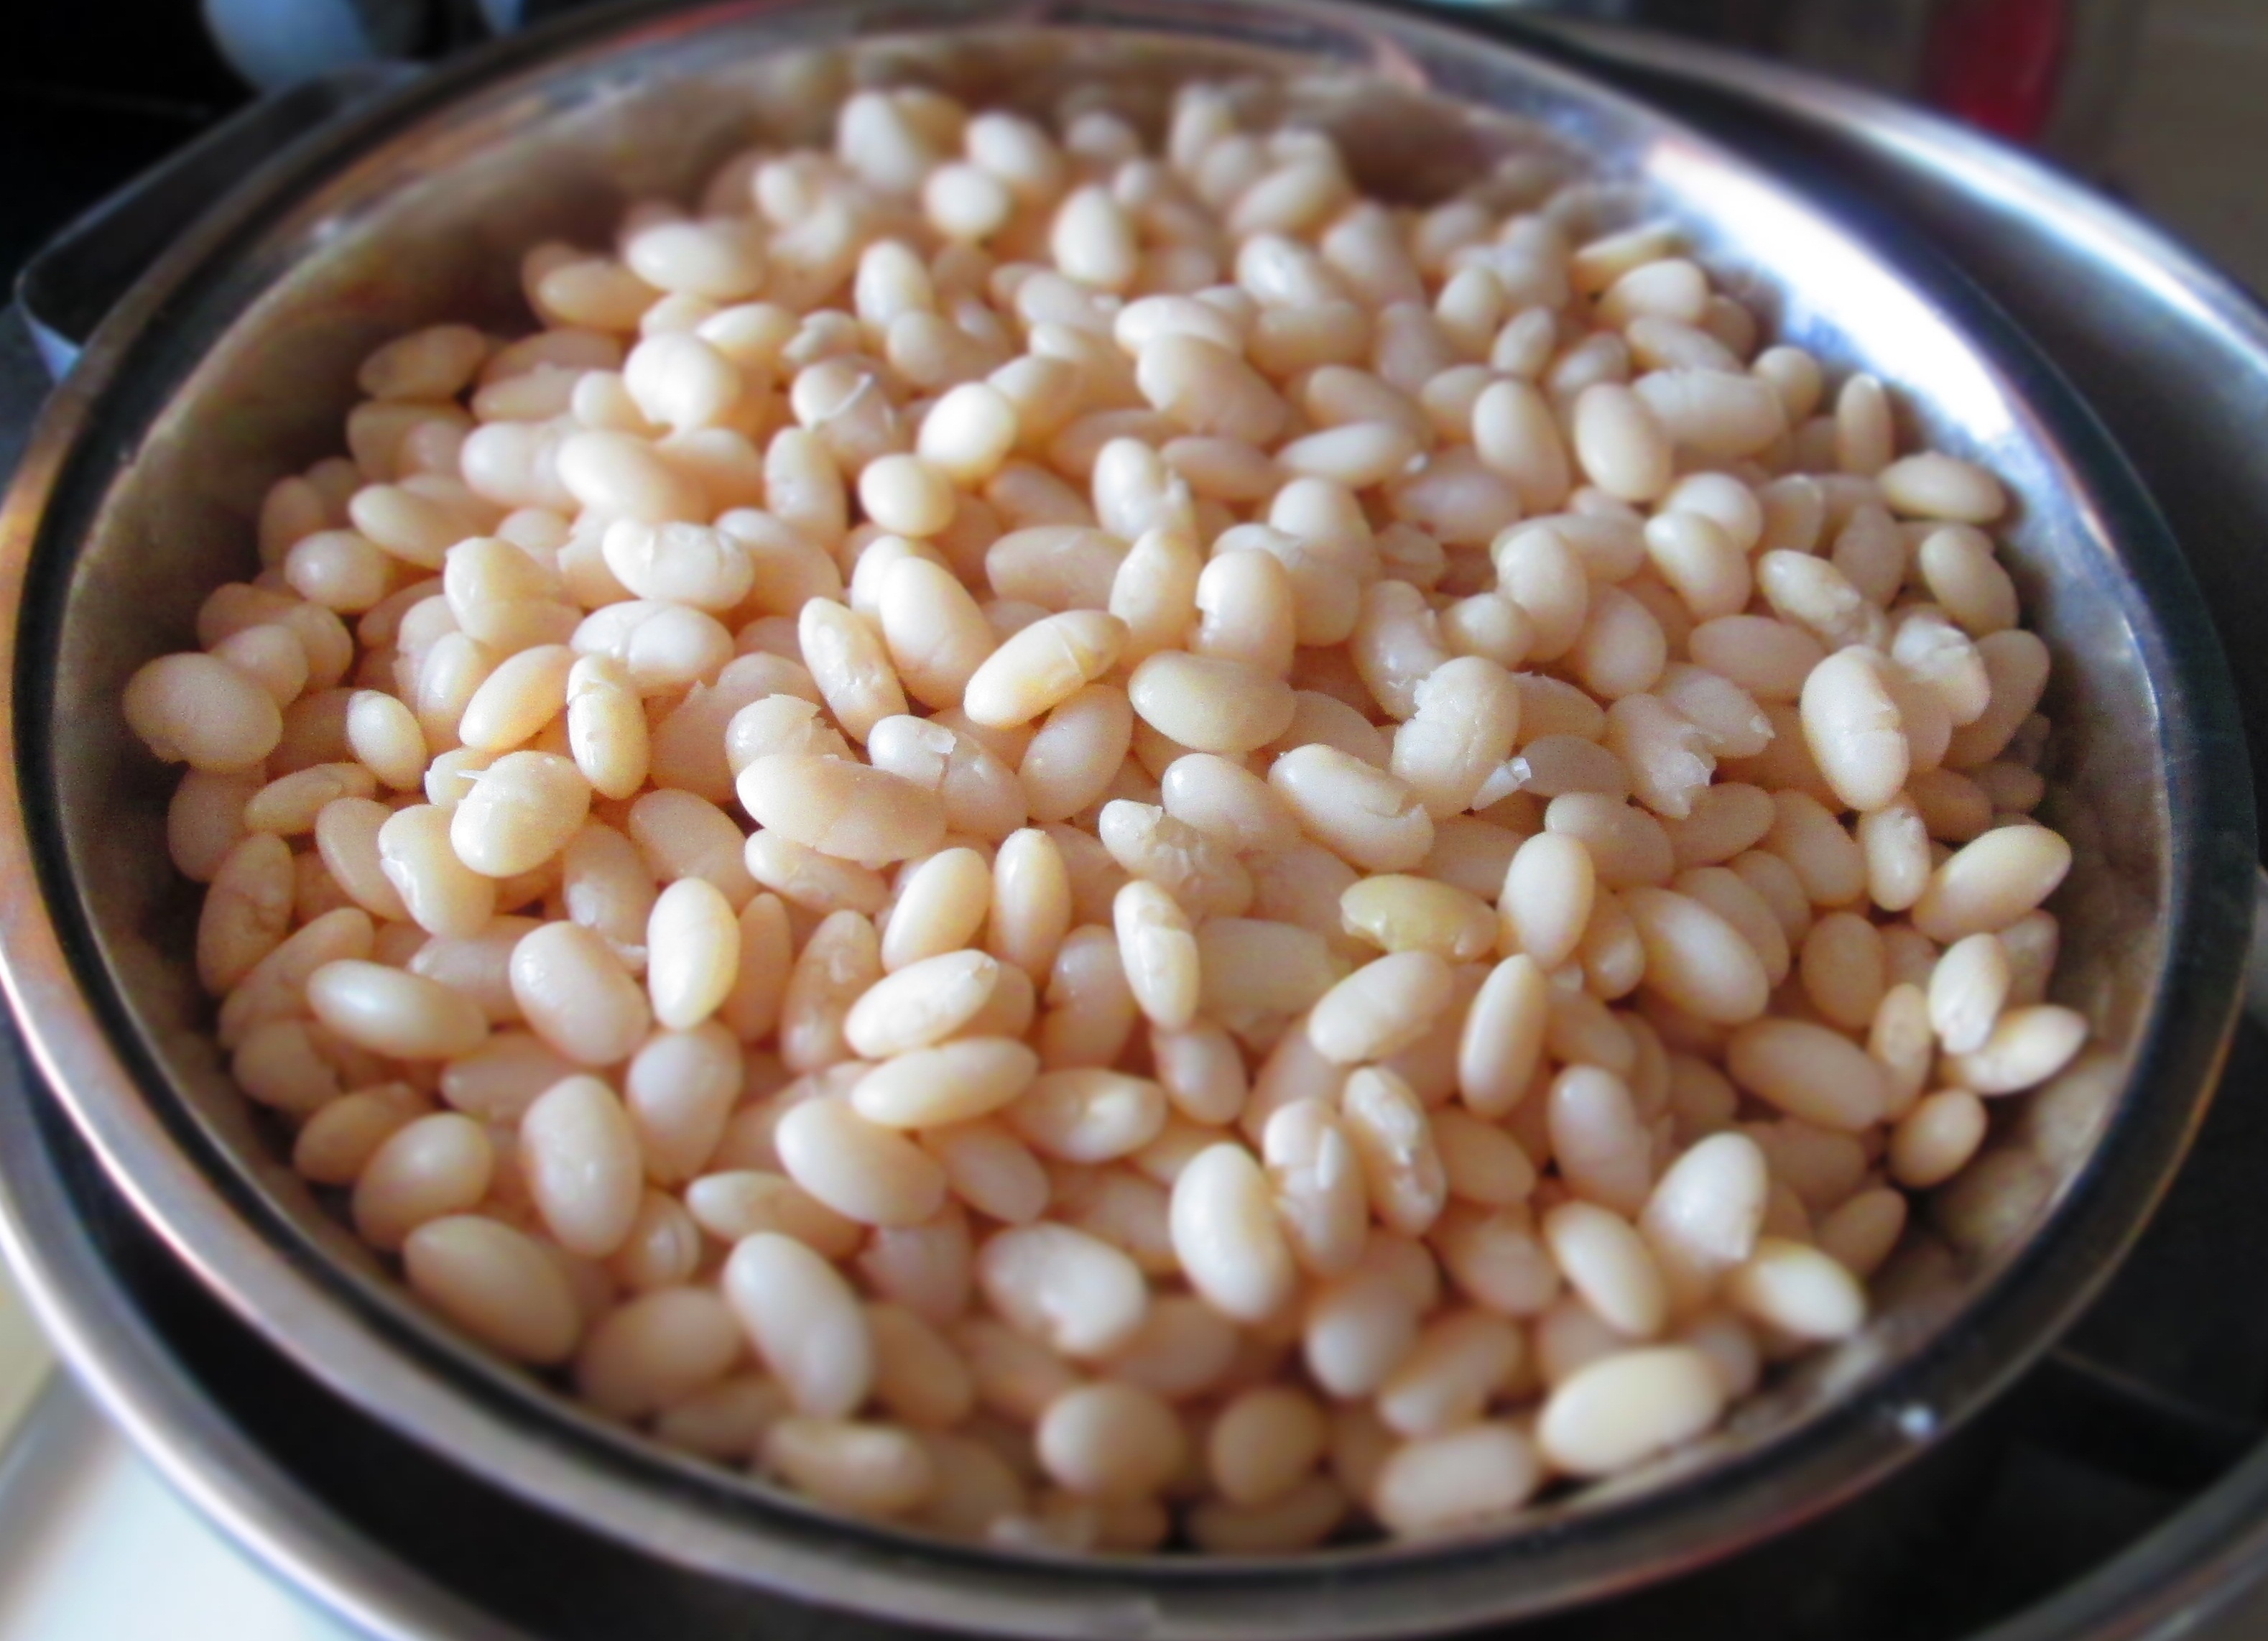
Place the beans in a bowl and cover with water by about 3 inches. Cover and soak overnight.The next day, drain the beans and place them in a medium pot. Add water to cover by about 2 inches. Add the bay leaves. Smash two of the garlic cloves and add them to the pot, along with half the onion, and 1 teaspoon of the salt. Bring to a boil. Lower the heat to low; partially cover the pot, and simmer until the beans are tender but still firm, about 45 minutes.Drain the beans in a colander and remove the bay leaves and garlic and discard. Finely chop the rest of the garlic.Heat the oil, in a wide pan. Add the rest of the onion and cook until translucent. Add the garlic and sauté one more minute. Add the wine and let it cook until it’s evaporated. Add the tomatoes, the rest of the salt, pepper and sauté 5 minutes.Add the beans, broth, and herbs (I had basil, savory, and parsley), and cook for about 5 minutes, or until it thickens.You’re ready to eat. Have it over rice, pasta, or with crusty bread.
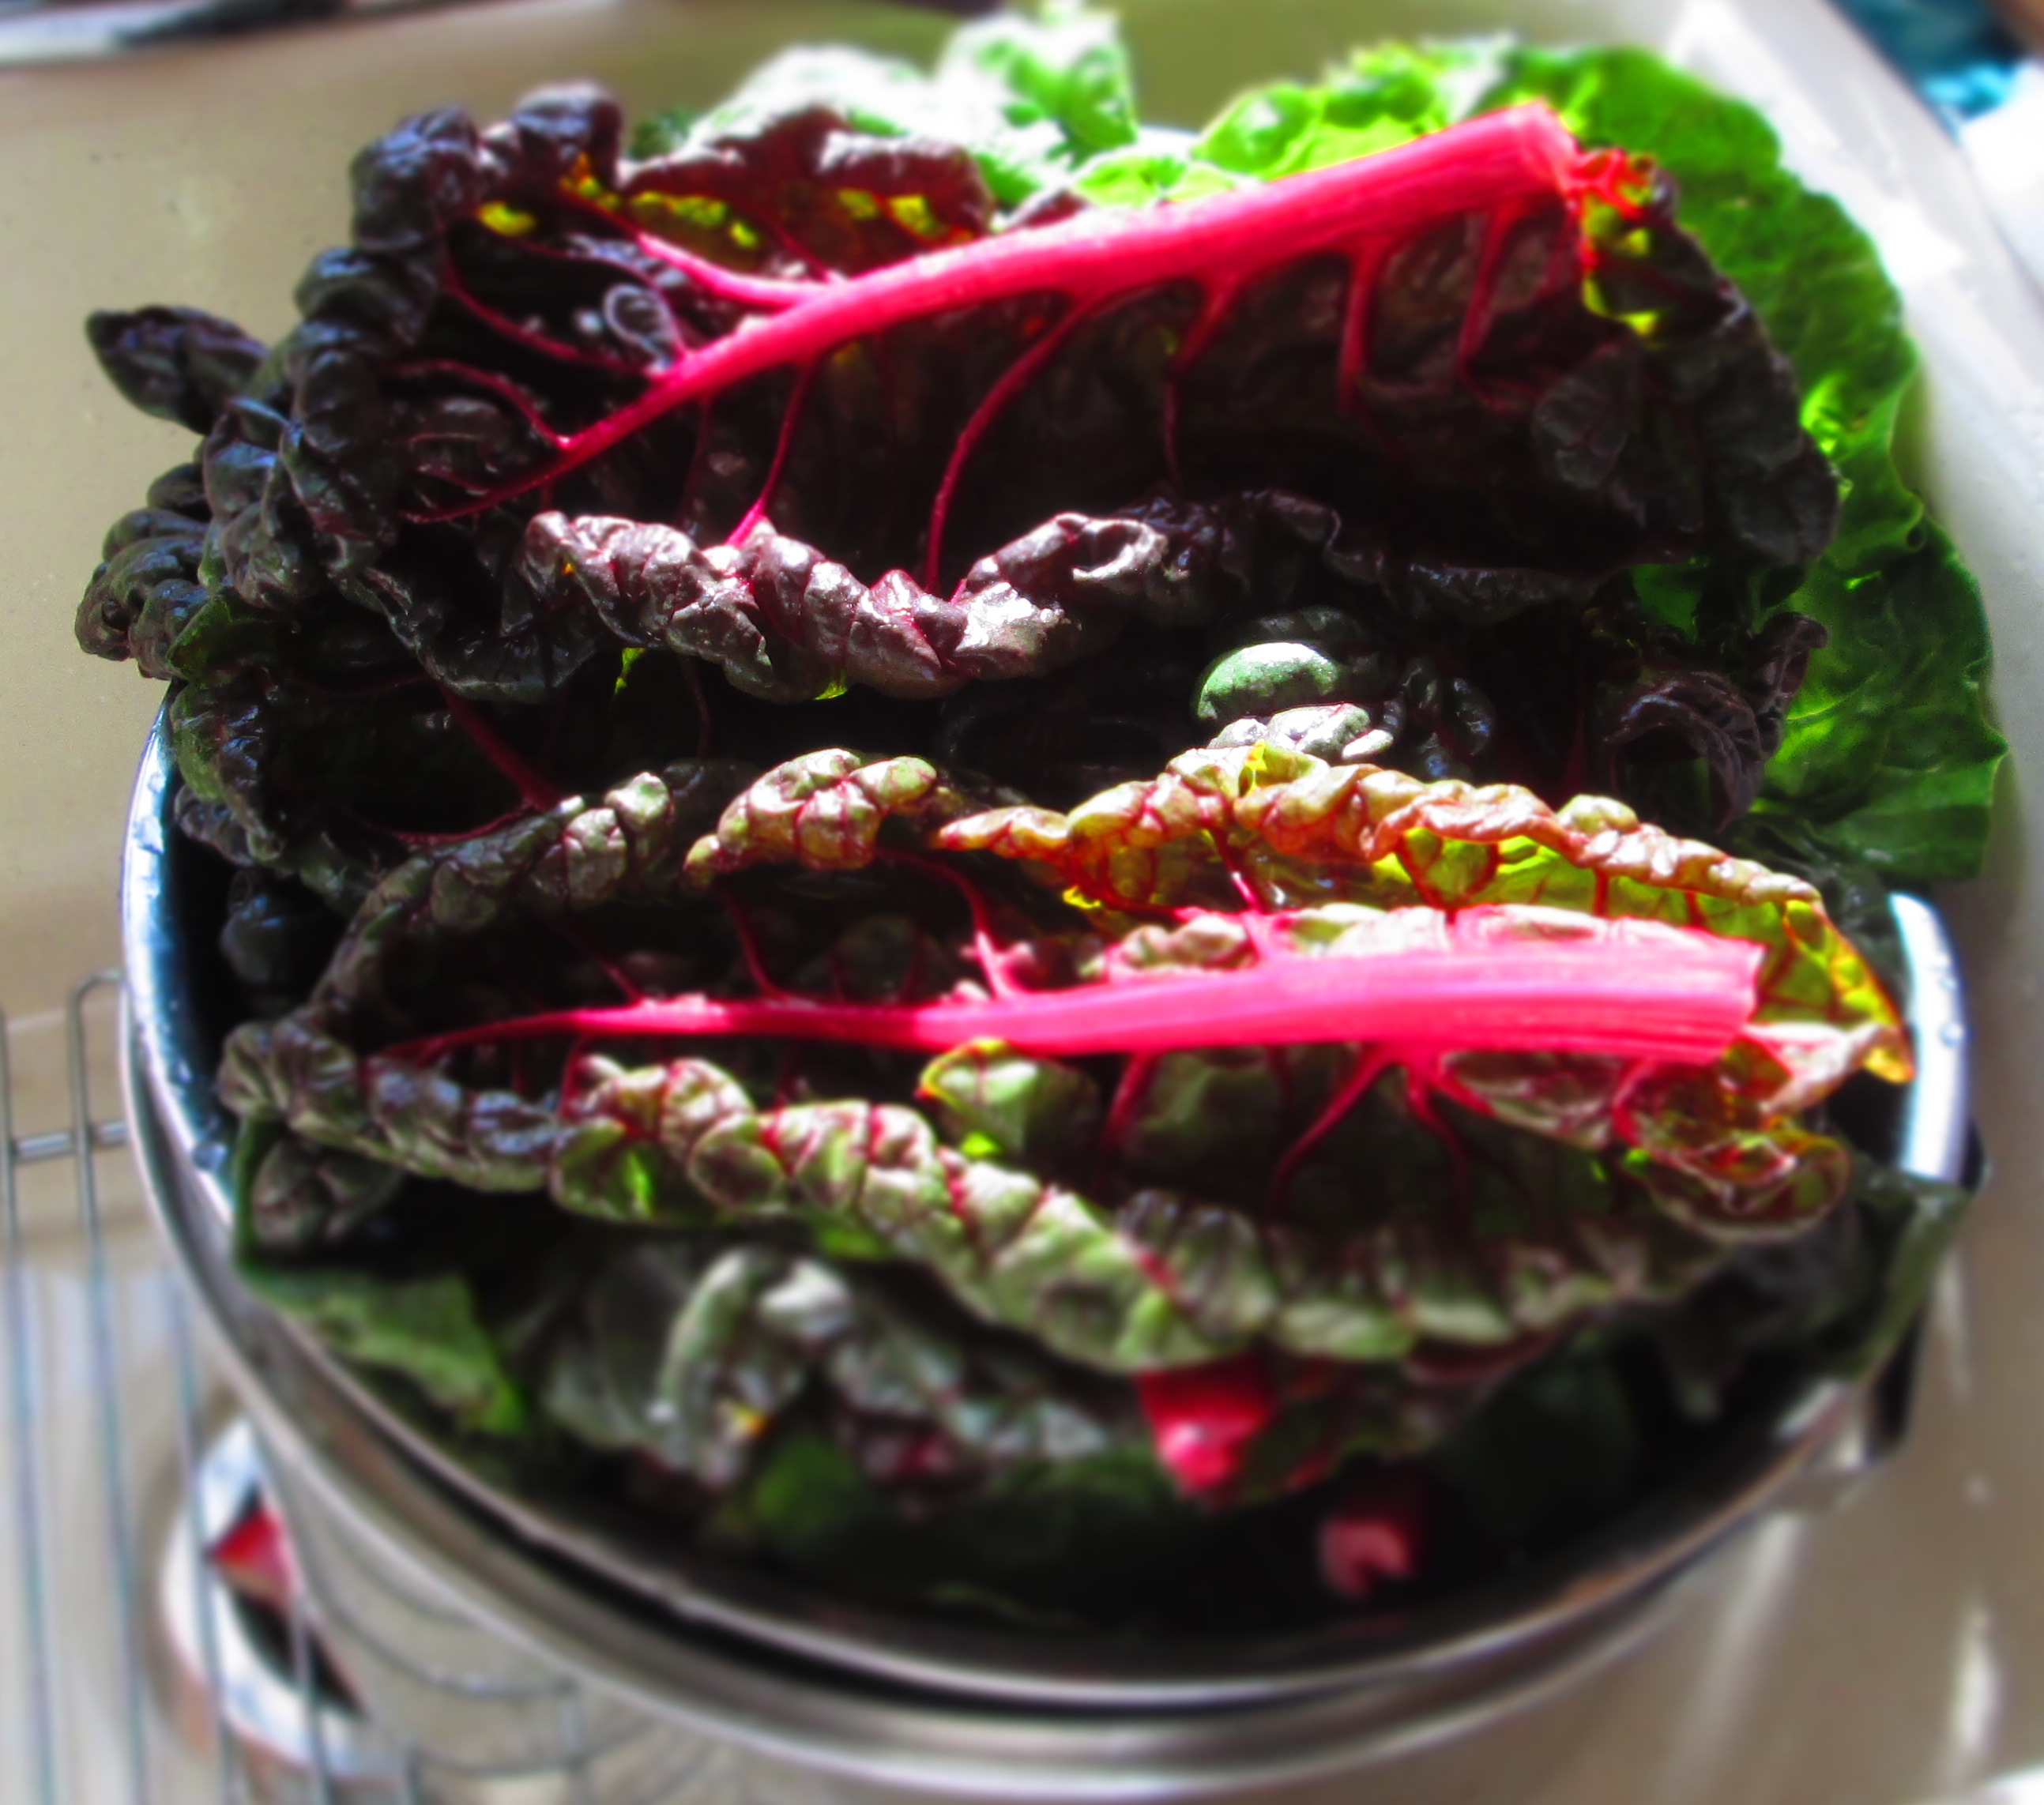
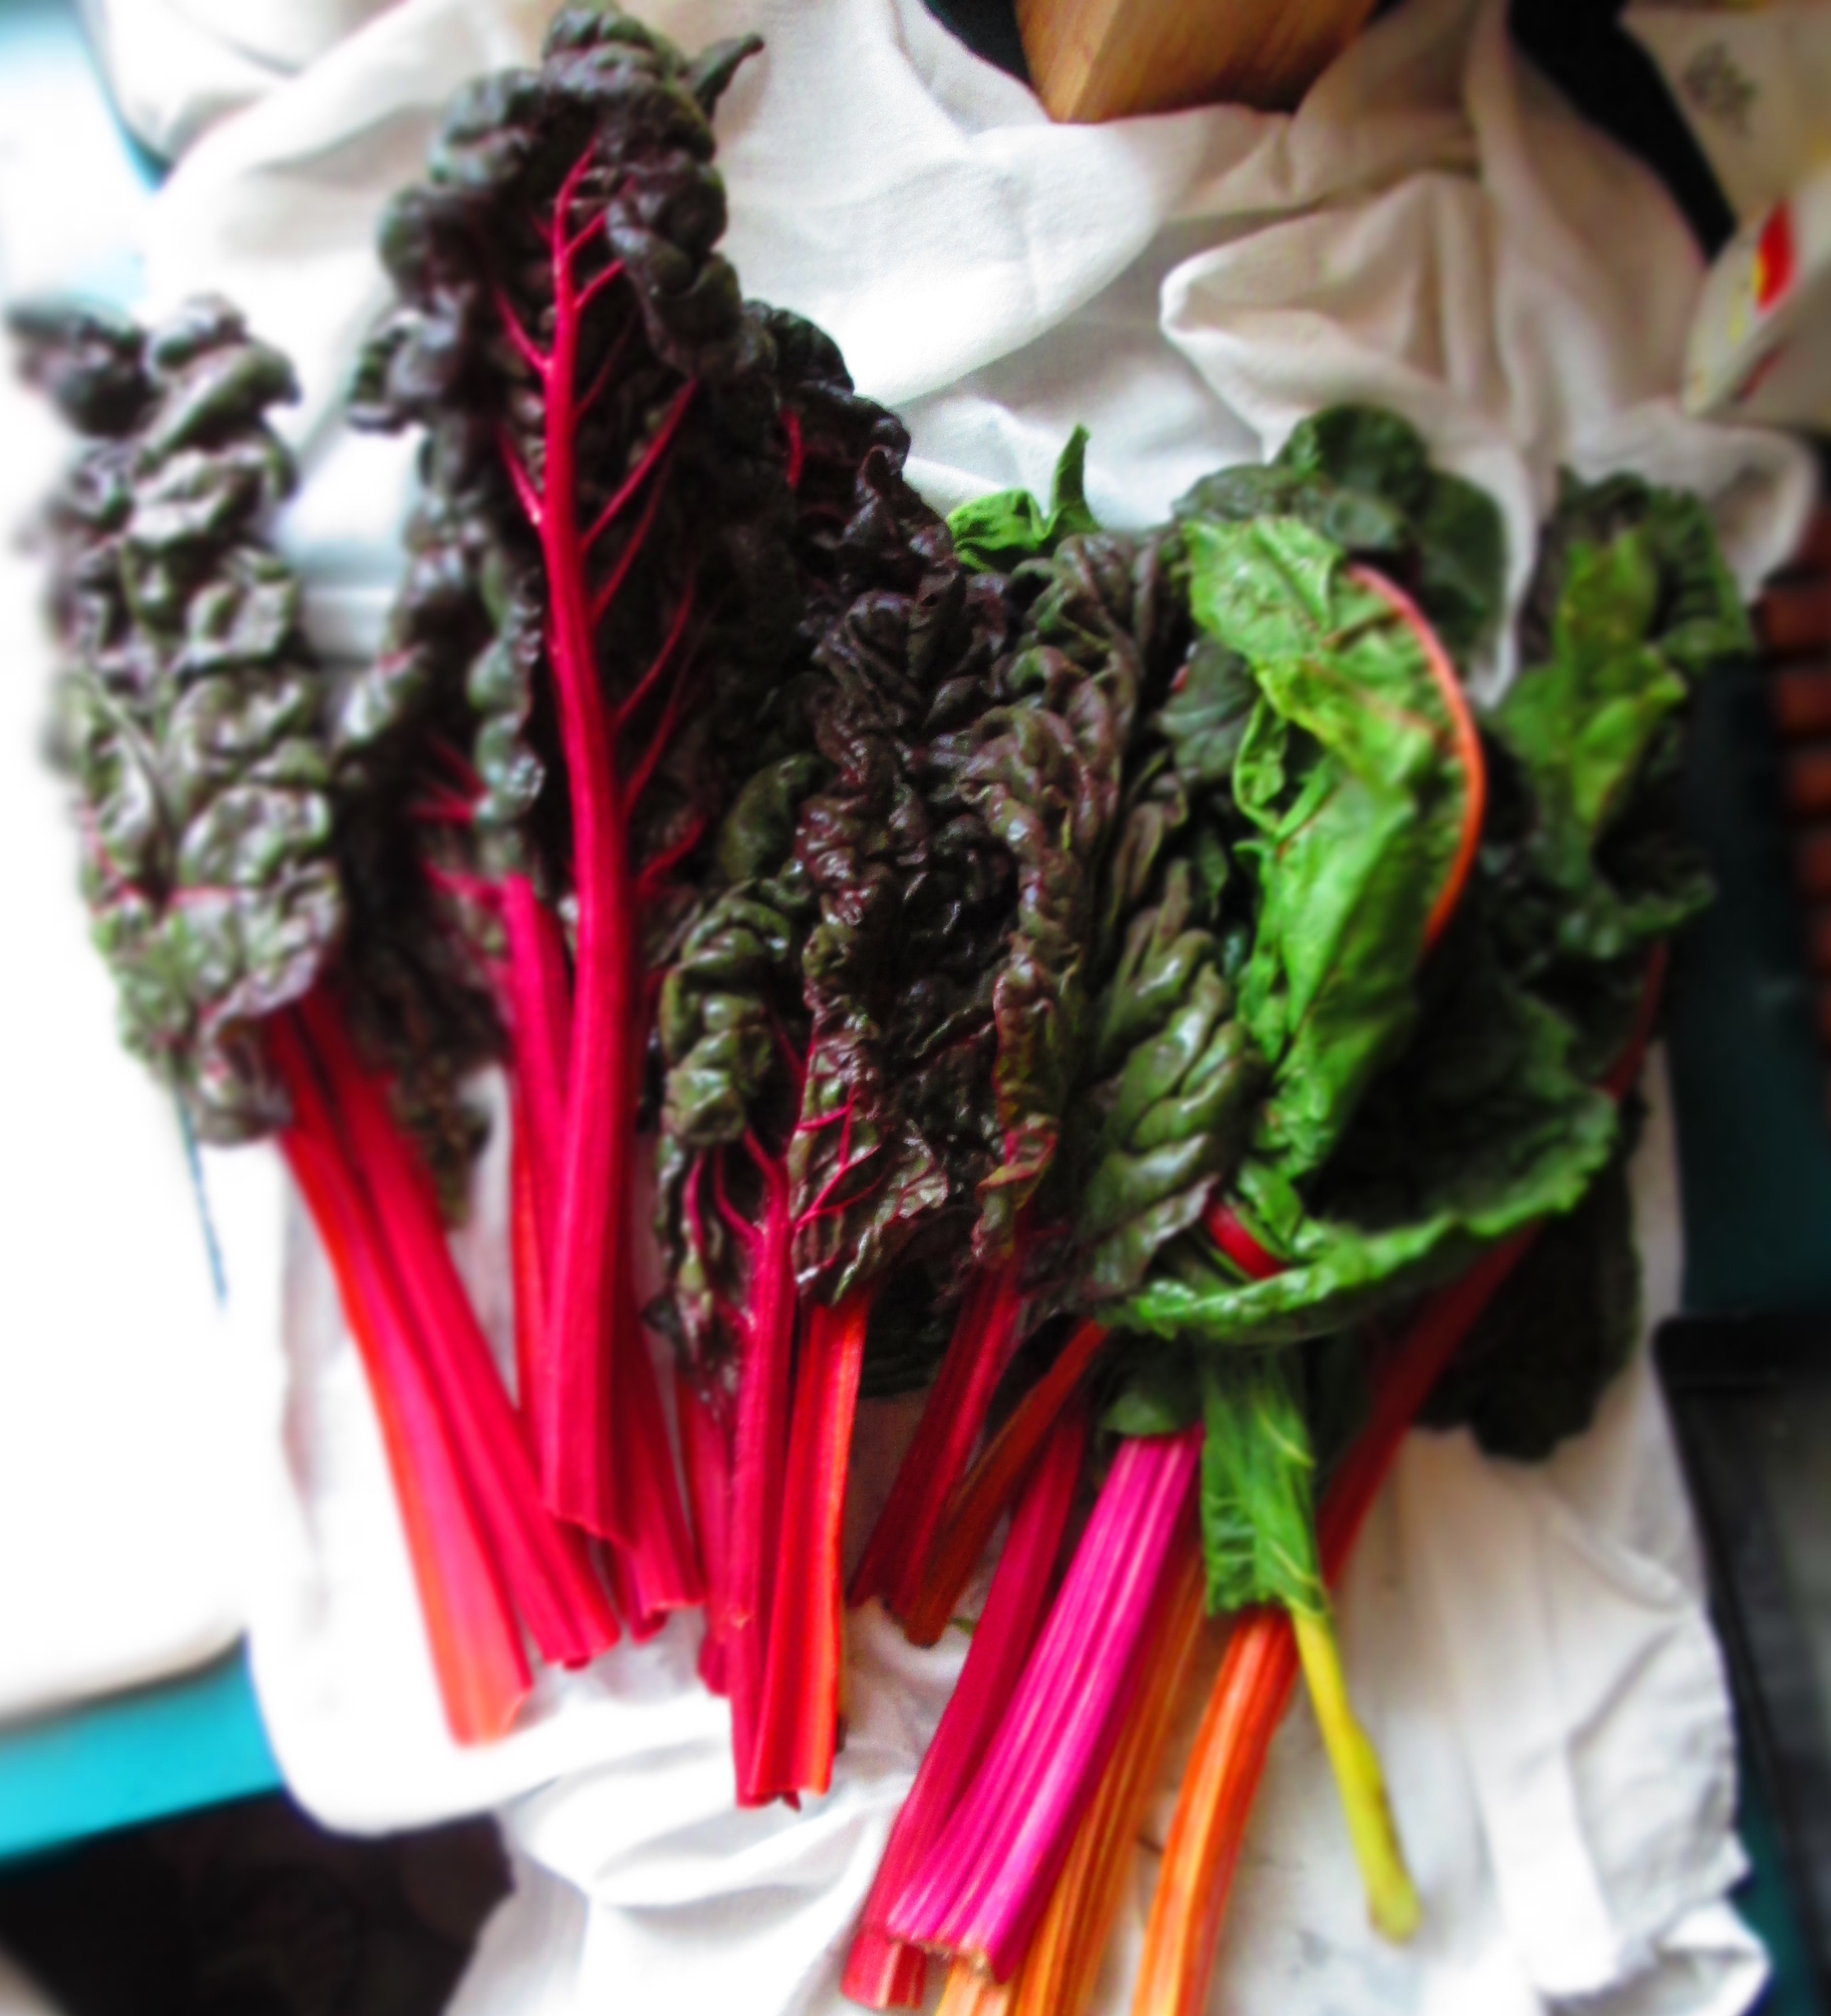
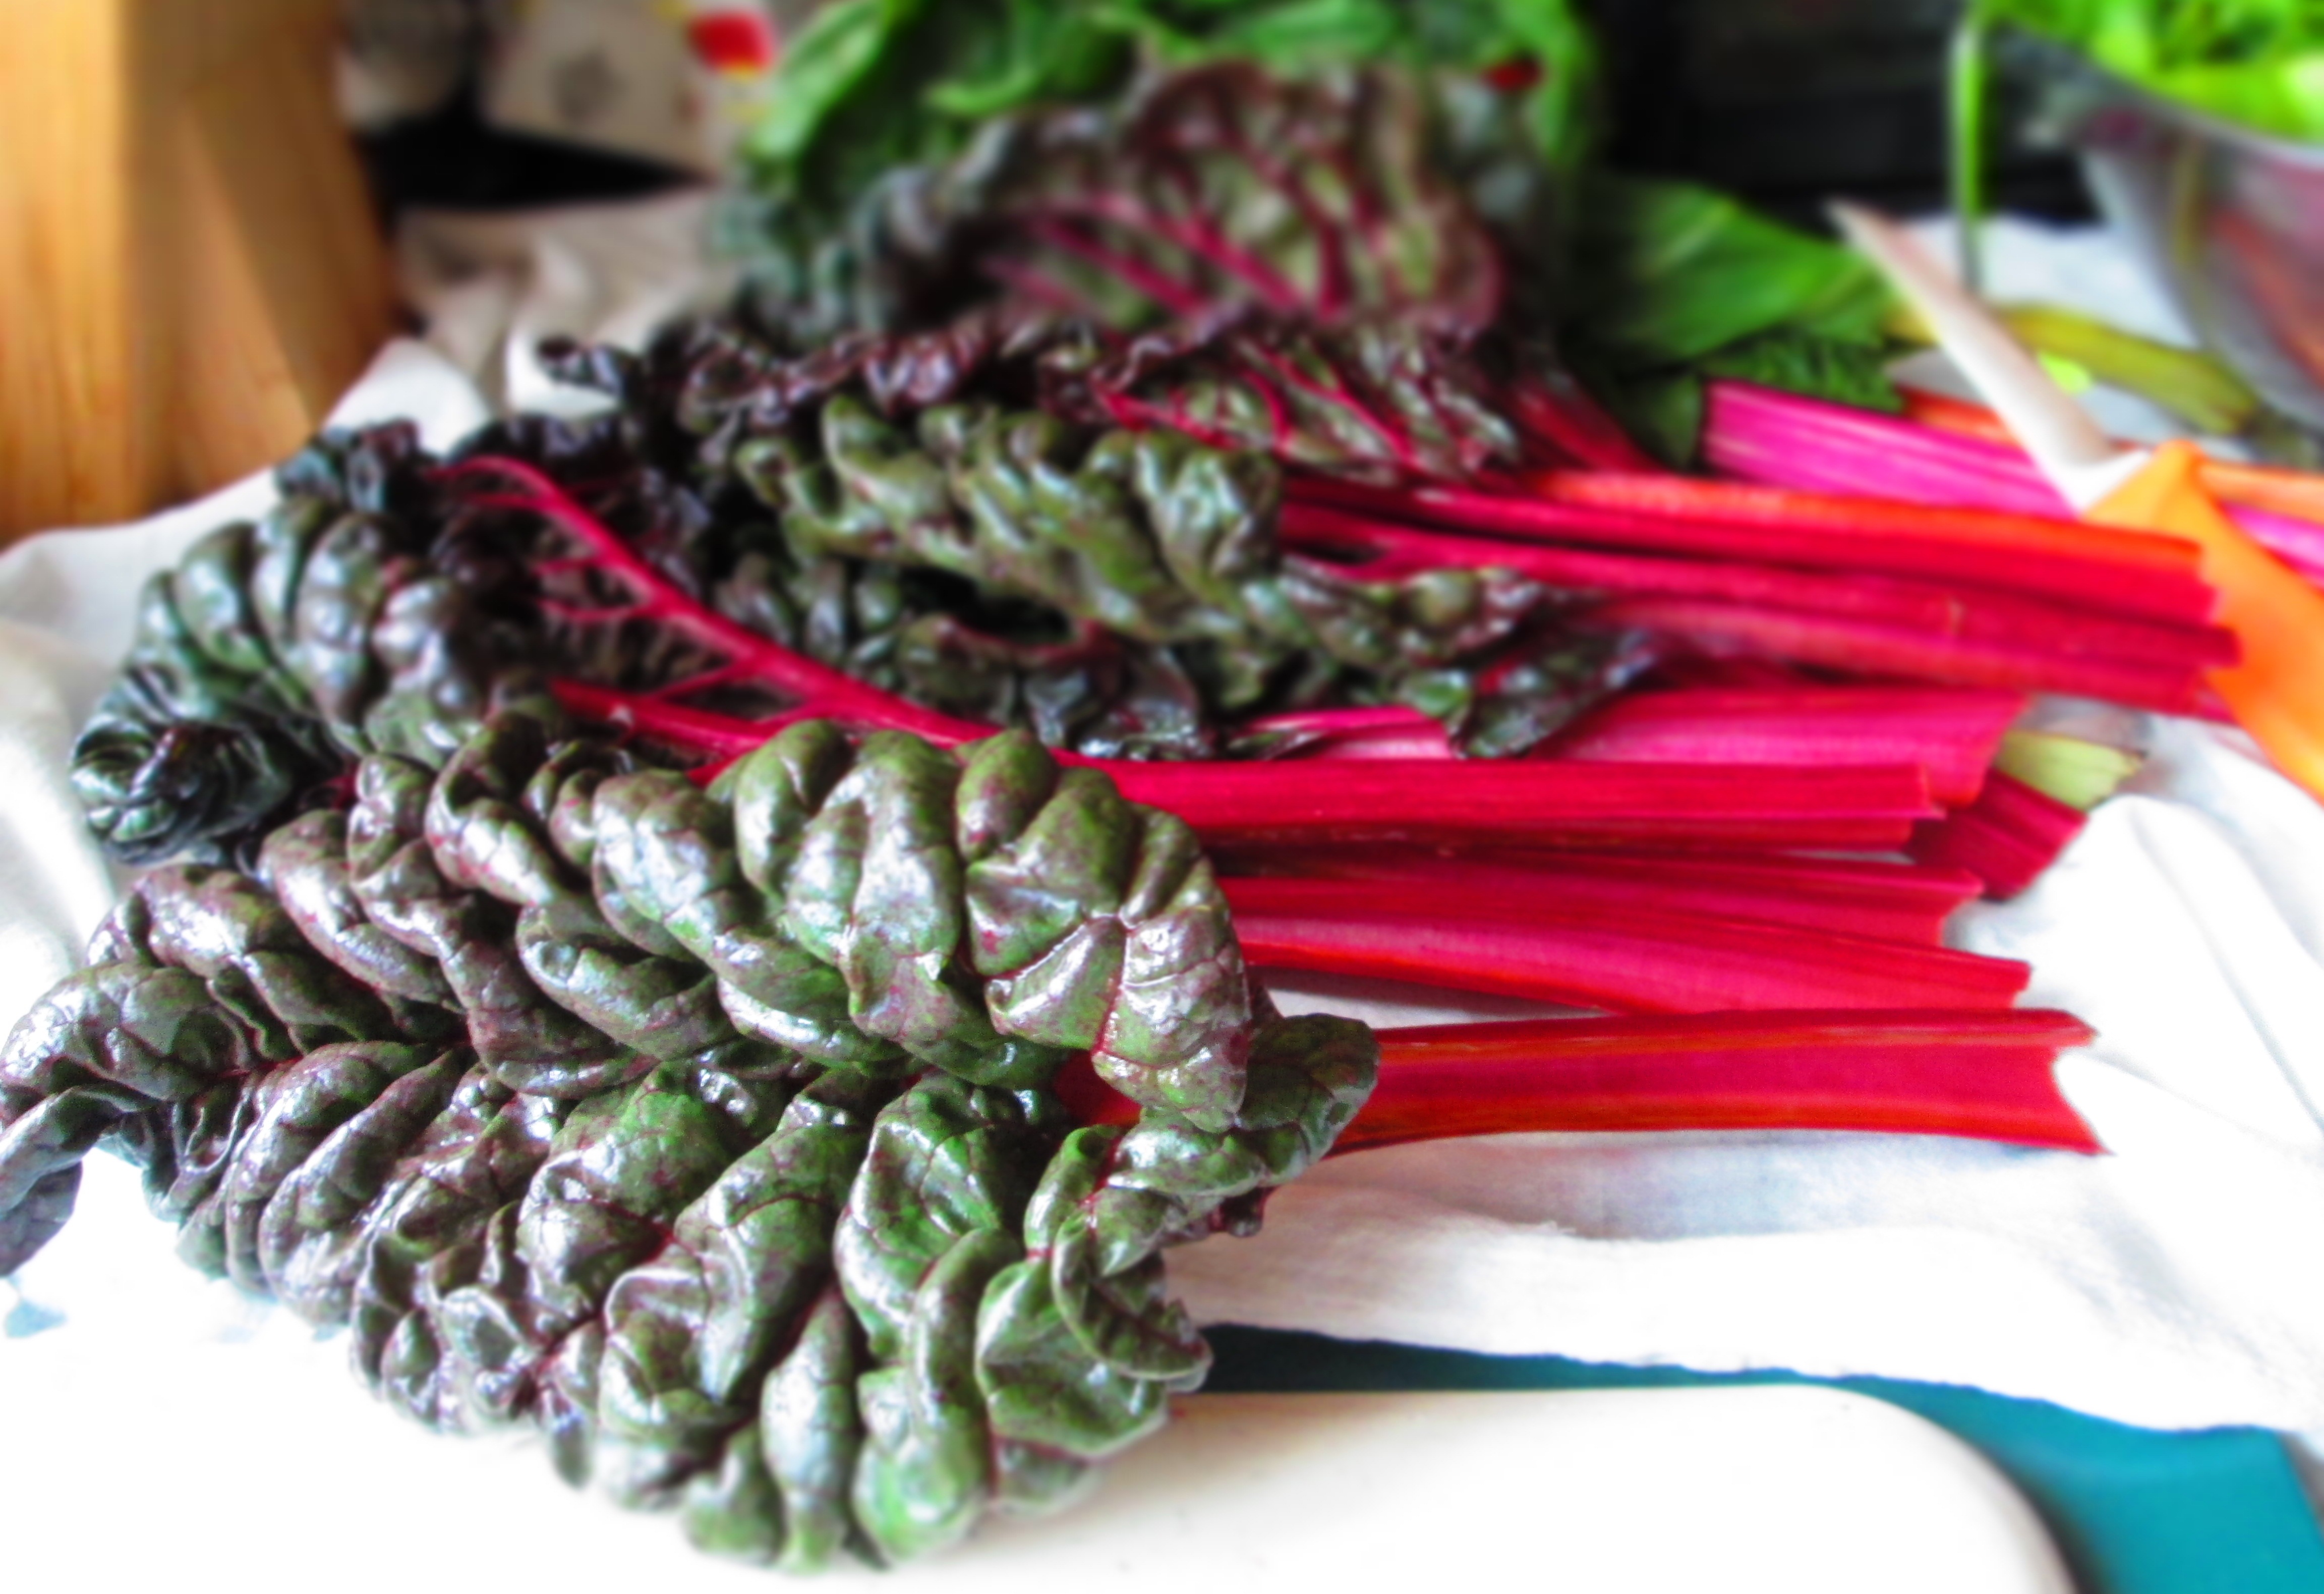
I found the most beautiful rainbow chard at the farmer’s market this week. In fact, it was so beautiful, I hated to cook it. The leaves were so plump and full and the stems so colorful and vivid, I wanted to just look at them all day. They were ruby red, fuchsia, lemony yellow, and light orange. Nature does stunning work.But, alas, uncooked chard soon becomes not so beautiful. So cook it, I must. Continue reading →
What is rice-cake pudding? you ask. I’m going to tell you.
I recently found in an Asian market another product that I had never seen before: rice cakes. Not the round disks of puffed rice that dieters have been munching on for decades, but flattened oval, kind of paddle-shaped, disks made from pounded sticky rice. Of course, I bought some.I had absolutely no idea at the time what I was supposed to do with these, so I looked around a bit. I saw a few recipes where the rice cakes are sautéed or stir fried with other vegetables, and that’s something that I’m going to try. But according to the package, they can be fried for a popped rick cake snack, to which you can add “highly tasteful or plain ingredients” for “indeed a favourable dish either for entertainment or for home meal.”Well, how could I not give it a try? I fried a small batch in oil and, as you can see in the photo below, they do puff up. I fried them until they were golden brown, at which point they are quite crisp but hard. Not unpleasantly hard—some people like that, including me. The ones that were more lightly fried had a flakier texture. A sprinkle of sea salt over the top and that was it.
So there you have it for fried rice cakes—a lighter fry for flaky/crispy, a longer fry for crunchy/crispy. (Make sure you dry the rice cakes before putting them in the oil. See note below about soaking.)But what I really wanted to try was rice pudding. Would it taste or be anything like regular rice pudding? I made mine with coconut milk and I can honestly say that it came out pretty darn good. What made it truly different from regular rice pudding, though, was the texture. Because the rice is in the form of these paddles that retain their shape, you have something that requires chewing, not just a mashing, as with regular rice pudding. I’m very much about texture where food is concerned, so I enjoyed this more than I normally enjoy rice pudding (never one of my favorite desserts).
If rice pudding is not usually your thing, whether because of the texture or because it’s a “milky” dish (another reason why I don’t usually care for it), try my recipe below. You might just like it.
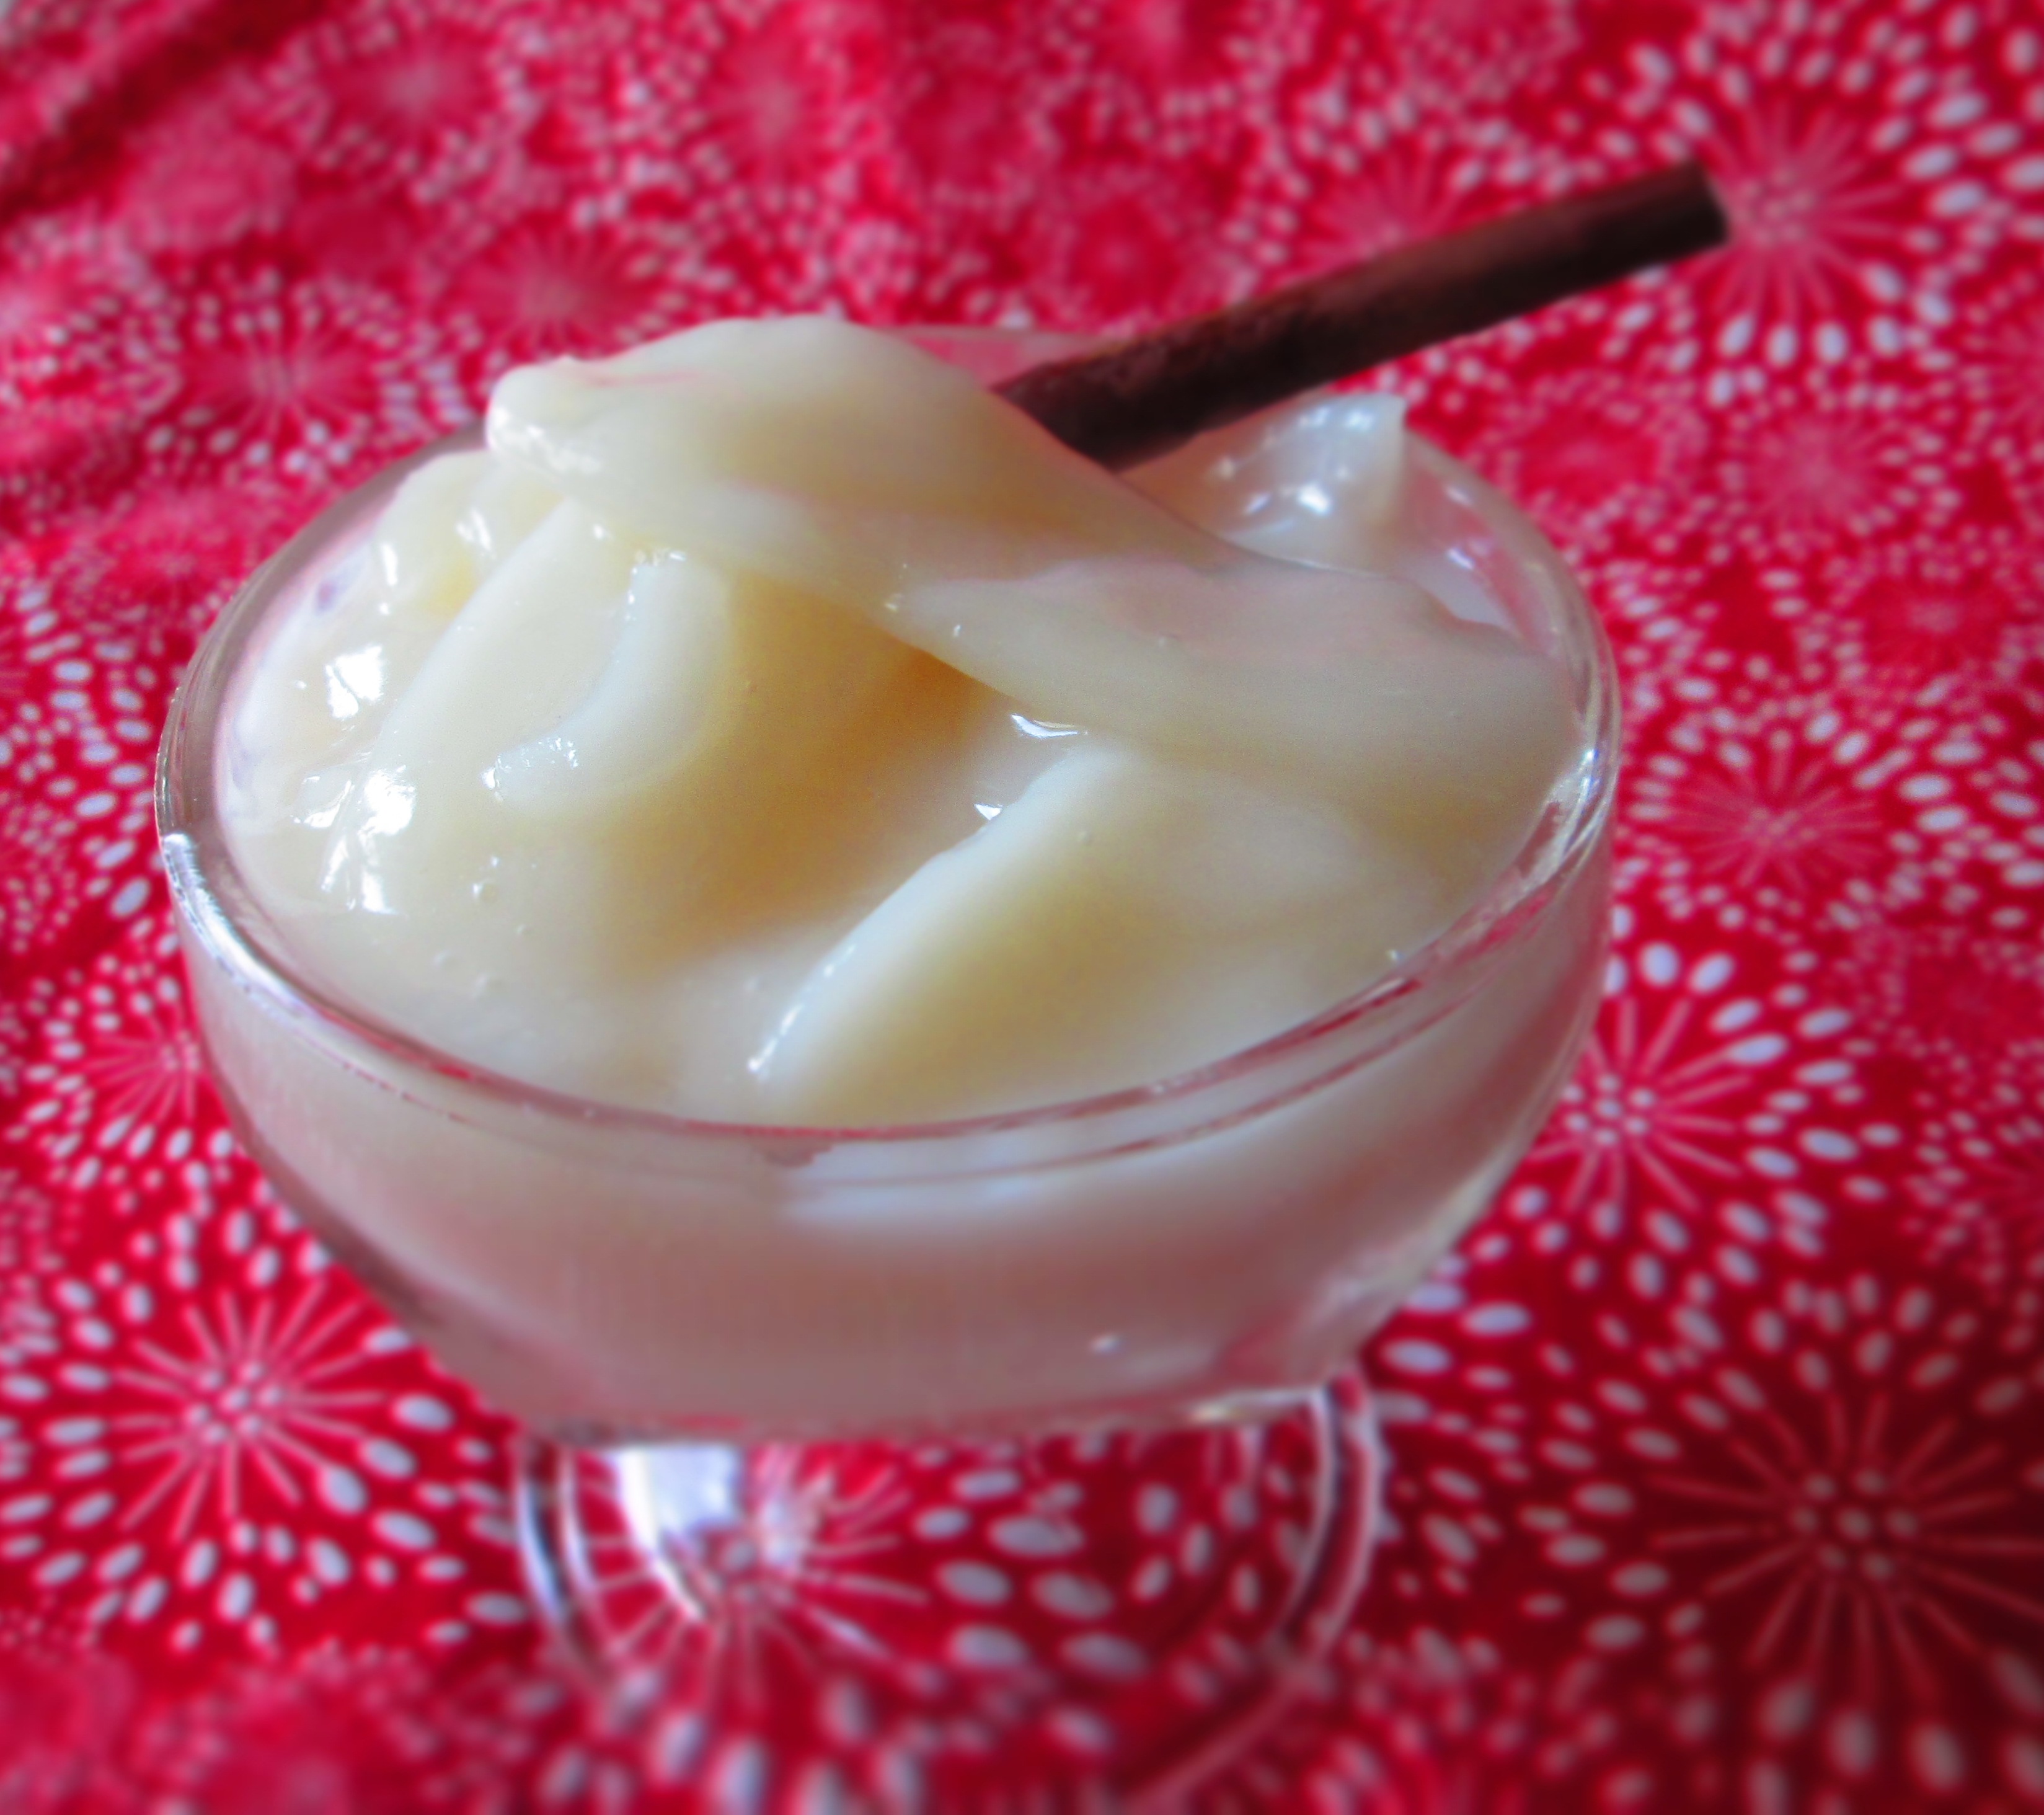
So this is my coconut rice-cake pudding. It’s vegan, gluten free, and dairy free. Give it a go, and let me know what you think. Enjoy!
Coconut Rice-Cake Pudding
Note that the rice cakes have to soak in water a minimum of 12 hours or overnight before using them in any recipe.
Makes 2 servings.
2 ounces (about 2 cups) rice cakes
1 cinnamon stick
2 cups coconut milk
½ cup coconut water or plain water
¼- 1/3 cup sugar (based on your sweetness preference)
½ teaspoon kosher salt
½ teaspoon vanilla extract
Garnish: Cinnamon and coconut flakes
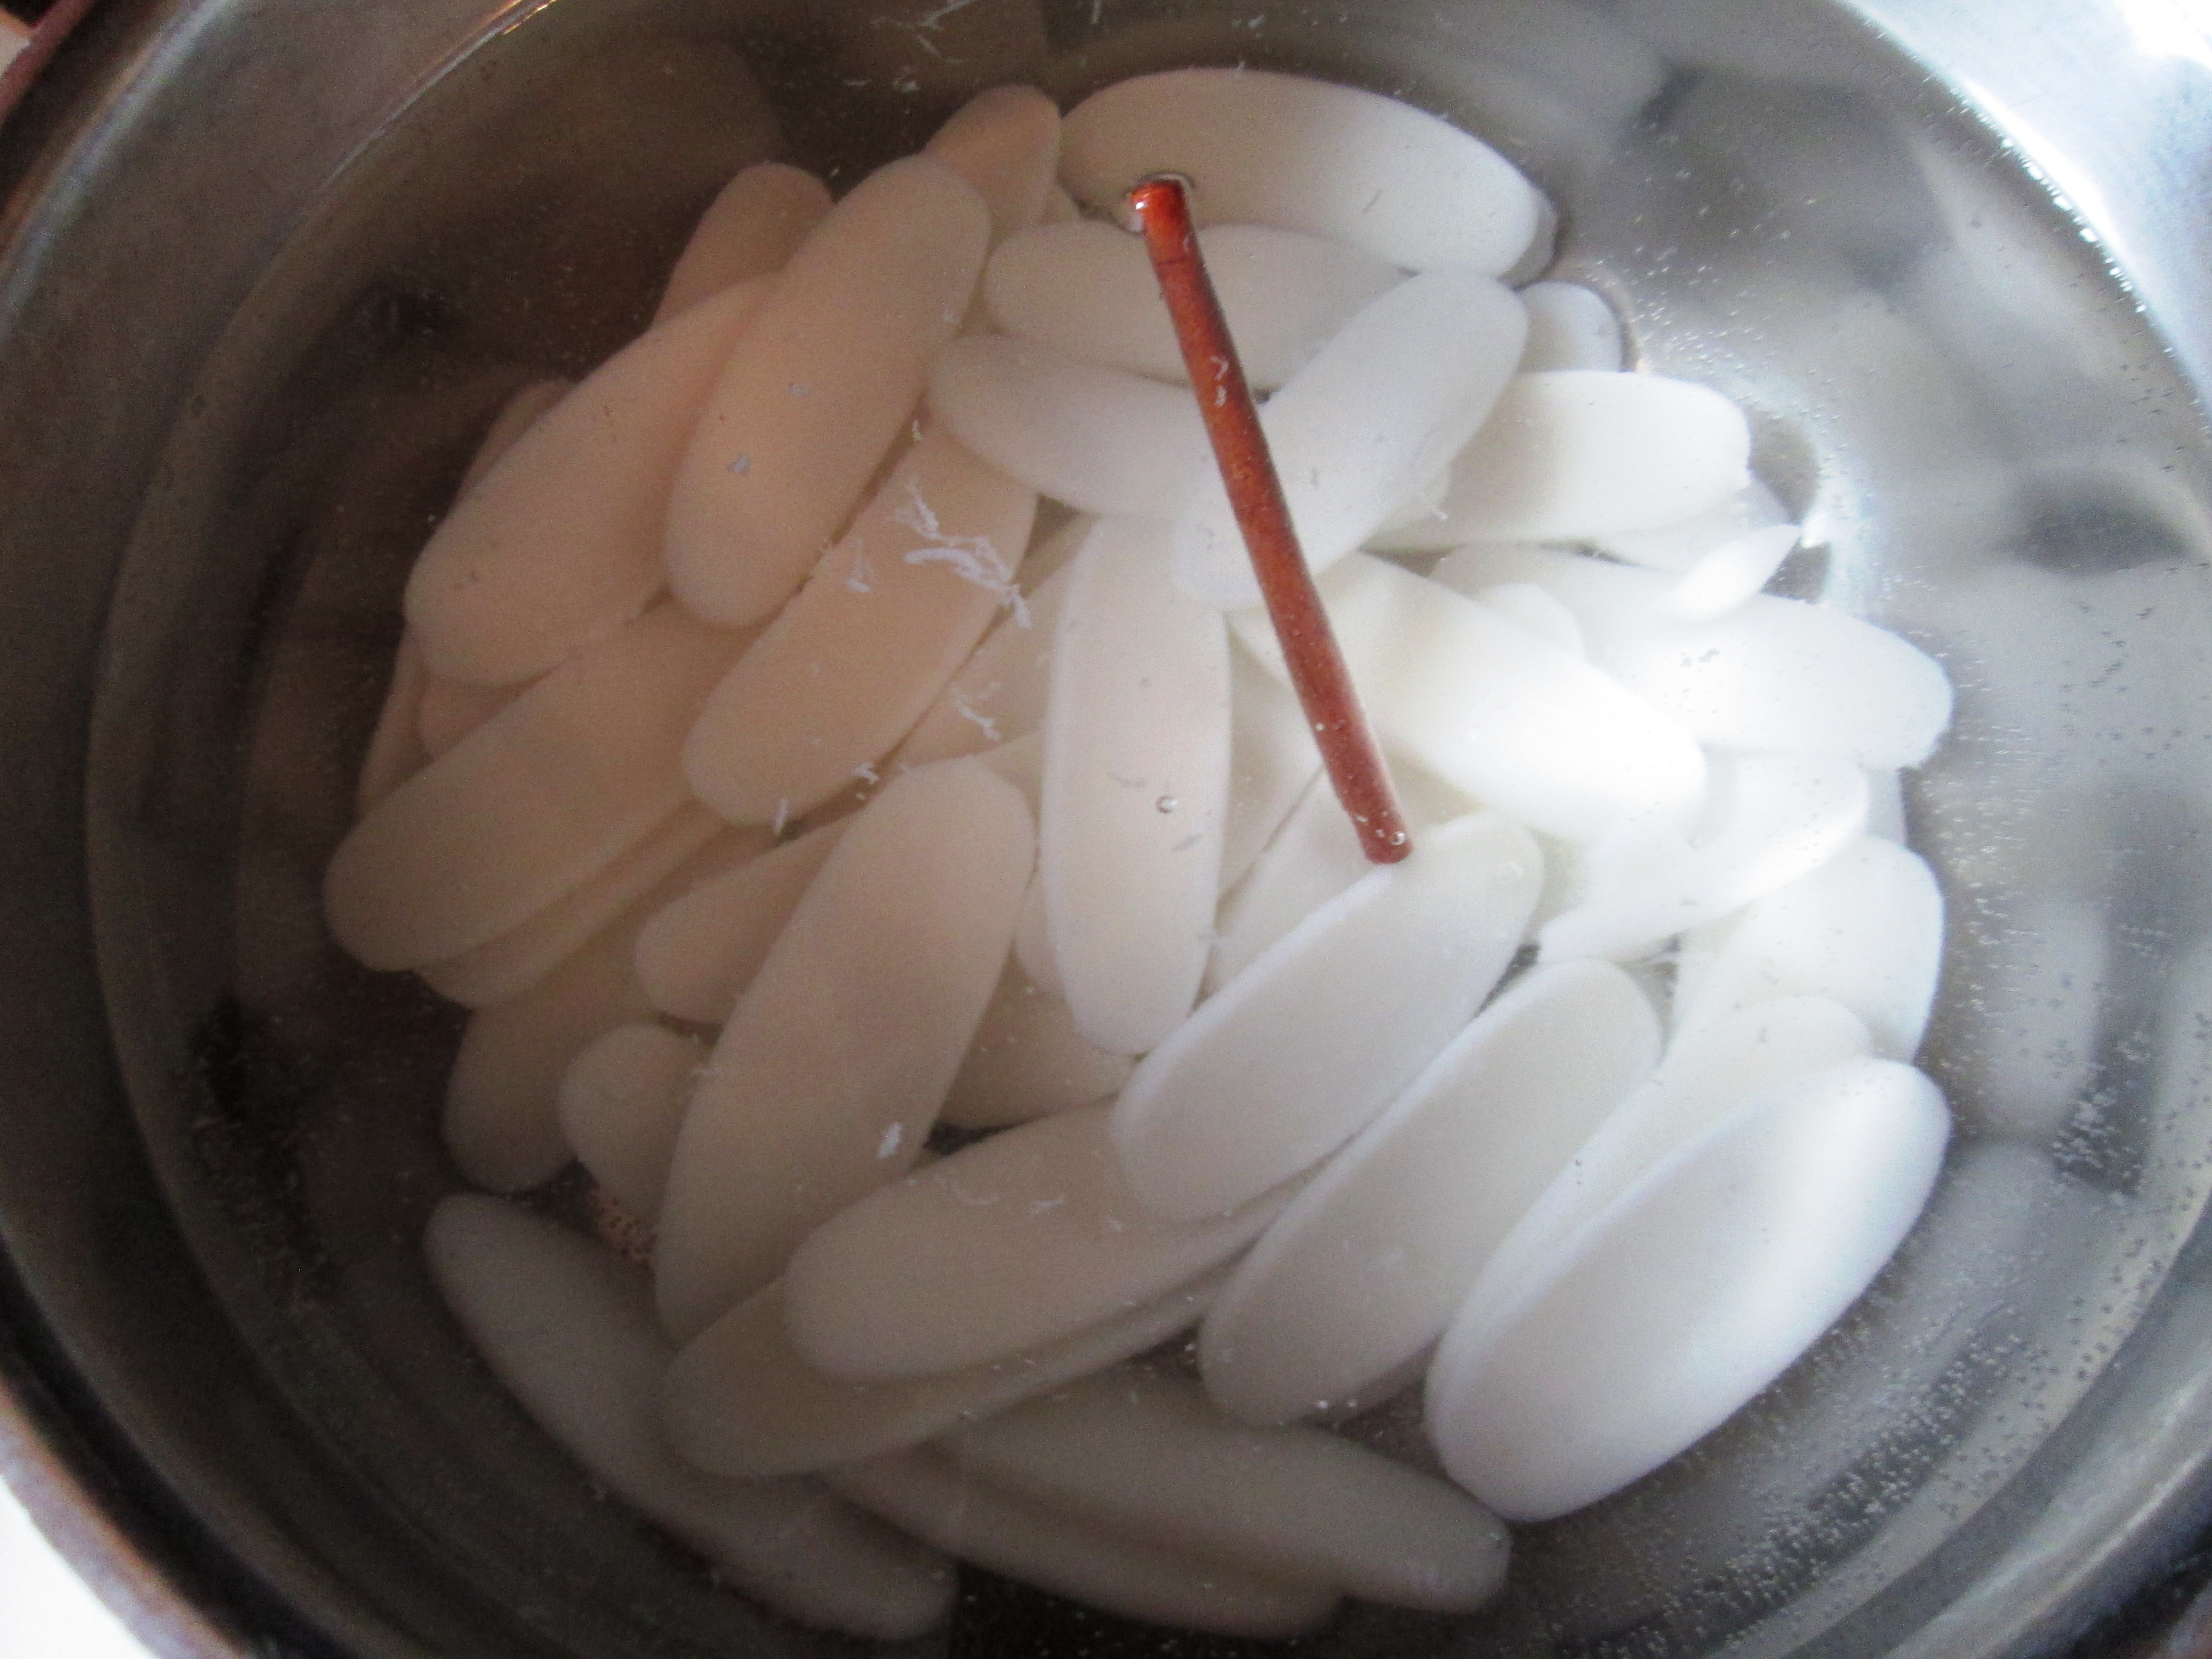
Place the rice cakes in a bowl with enough water to cover by about an inch for a small amount or 2 inches for an entire bag. Cover and let soak in refrigerator at least 12 hours or overnight.
Rice cakes after soaking overnight
Drain the rice cakes and place them, along with the cinnamon stick, in a medium saucepan with water to cover. Bring to a boil; lower the heat to low and simmer 5 minutes.Drain and return the rice cakes and cinnamon to the pot. Add the coconut milk, coconut water, sugar, salt, and vanilla. Bring to a boil; lower heat to low and simmer, partially covered, until thick and creamy, about 45 to 55 minutes. Stir frequently, especially in the last 15 minutes of cooking.
Divide the pudding between 2 pudding dishes and garnish with cinnamon and/or coconut flakes.
(I left my pudding unadorned in the photos so that you can see how the rice cakes retained their shape.)
Bok choy is part of the brassica family, also commonly called cruciferous vegetables. Other members of the brassica family are broccoli, cauliflower, cabbage, and Brussels sprouts. Cruciferous vegetables are known for their many health advantages, such as fighting cancer, heart disease, osteoporosis, strokes, and bad cholesterol. They are high in soluble fiber, antioxidants (vitamin C and beta-carotene), and the B vitamins.
Most Americans are familiar with bok choy as a vegetable in their stir fries. But it’s also great as a side dish on its own. Here are two very simple and quick ways to prepare bok choy to have with rice or noodles or on the side of just about any entrée.
There are many different types of Asian cabbages, and in an Asian market, you will find many different kinds side by side. All of them can be prepared in these two ways.
For 1 pound bok choy, wash thoroughly (grit gets trapped inside the leaves).
Recipes make approximately 6 servings. Enjoy!
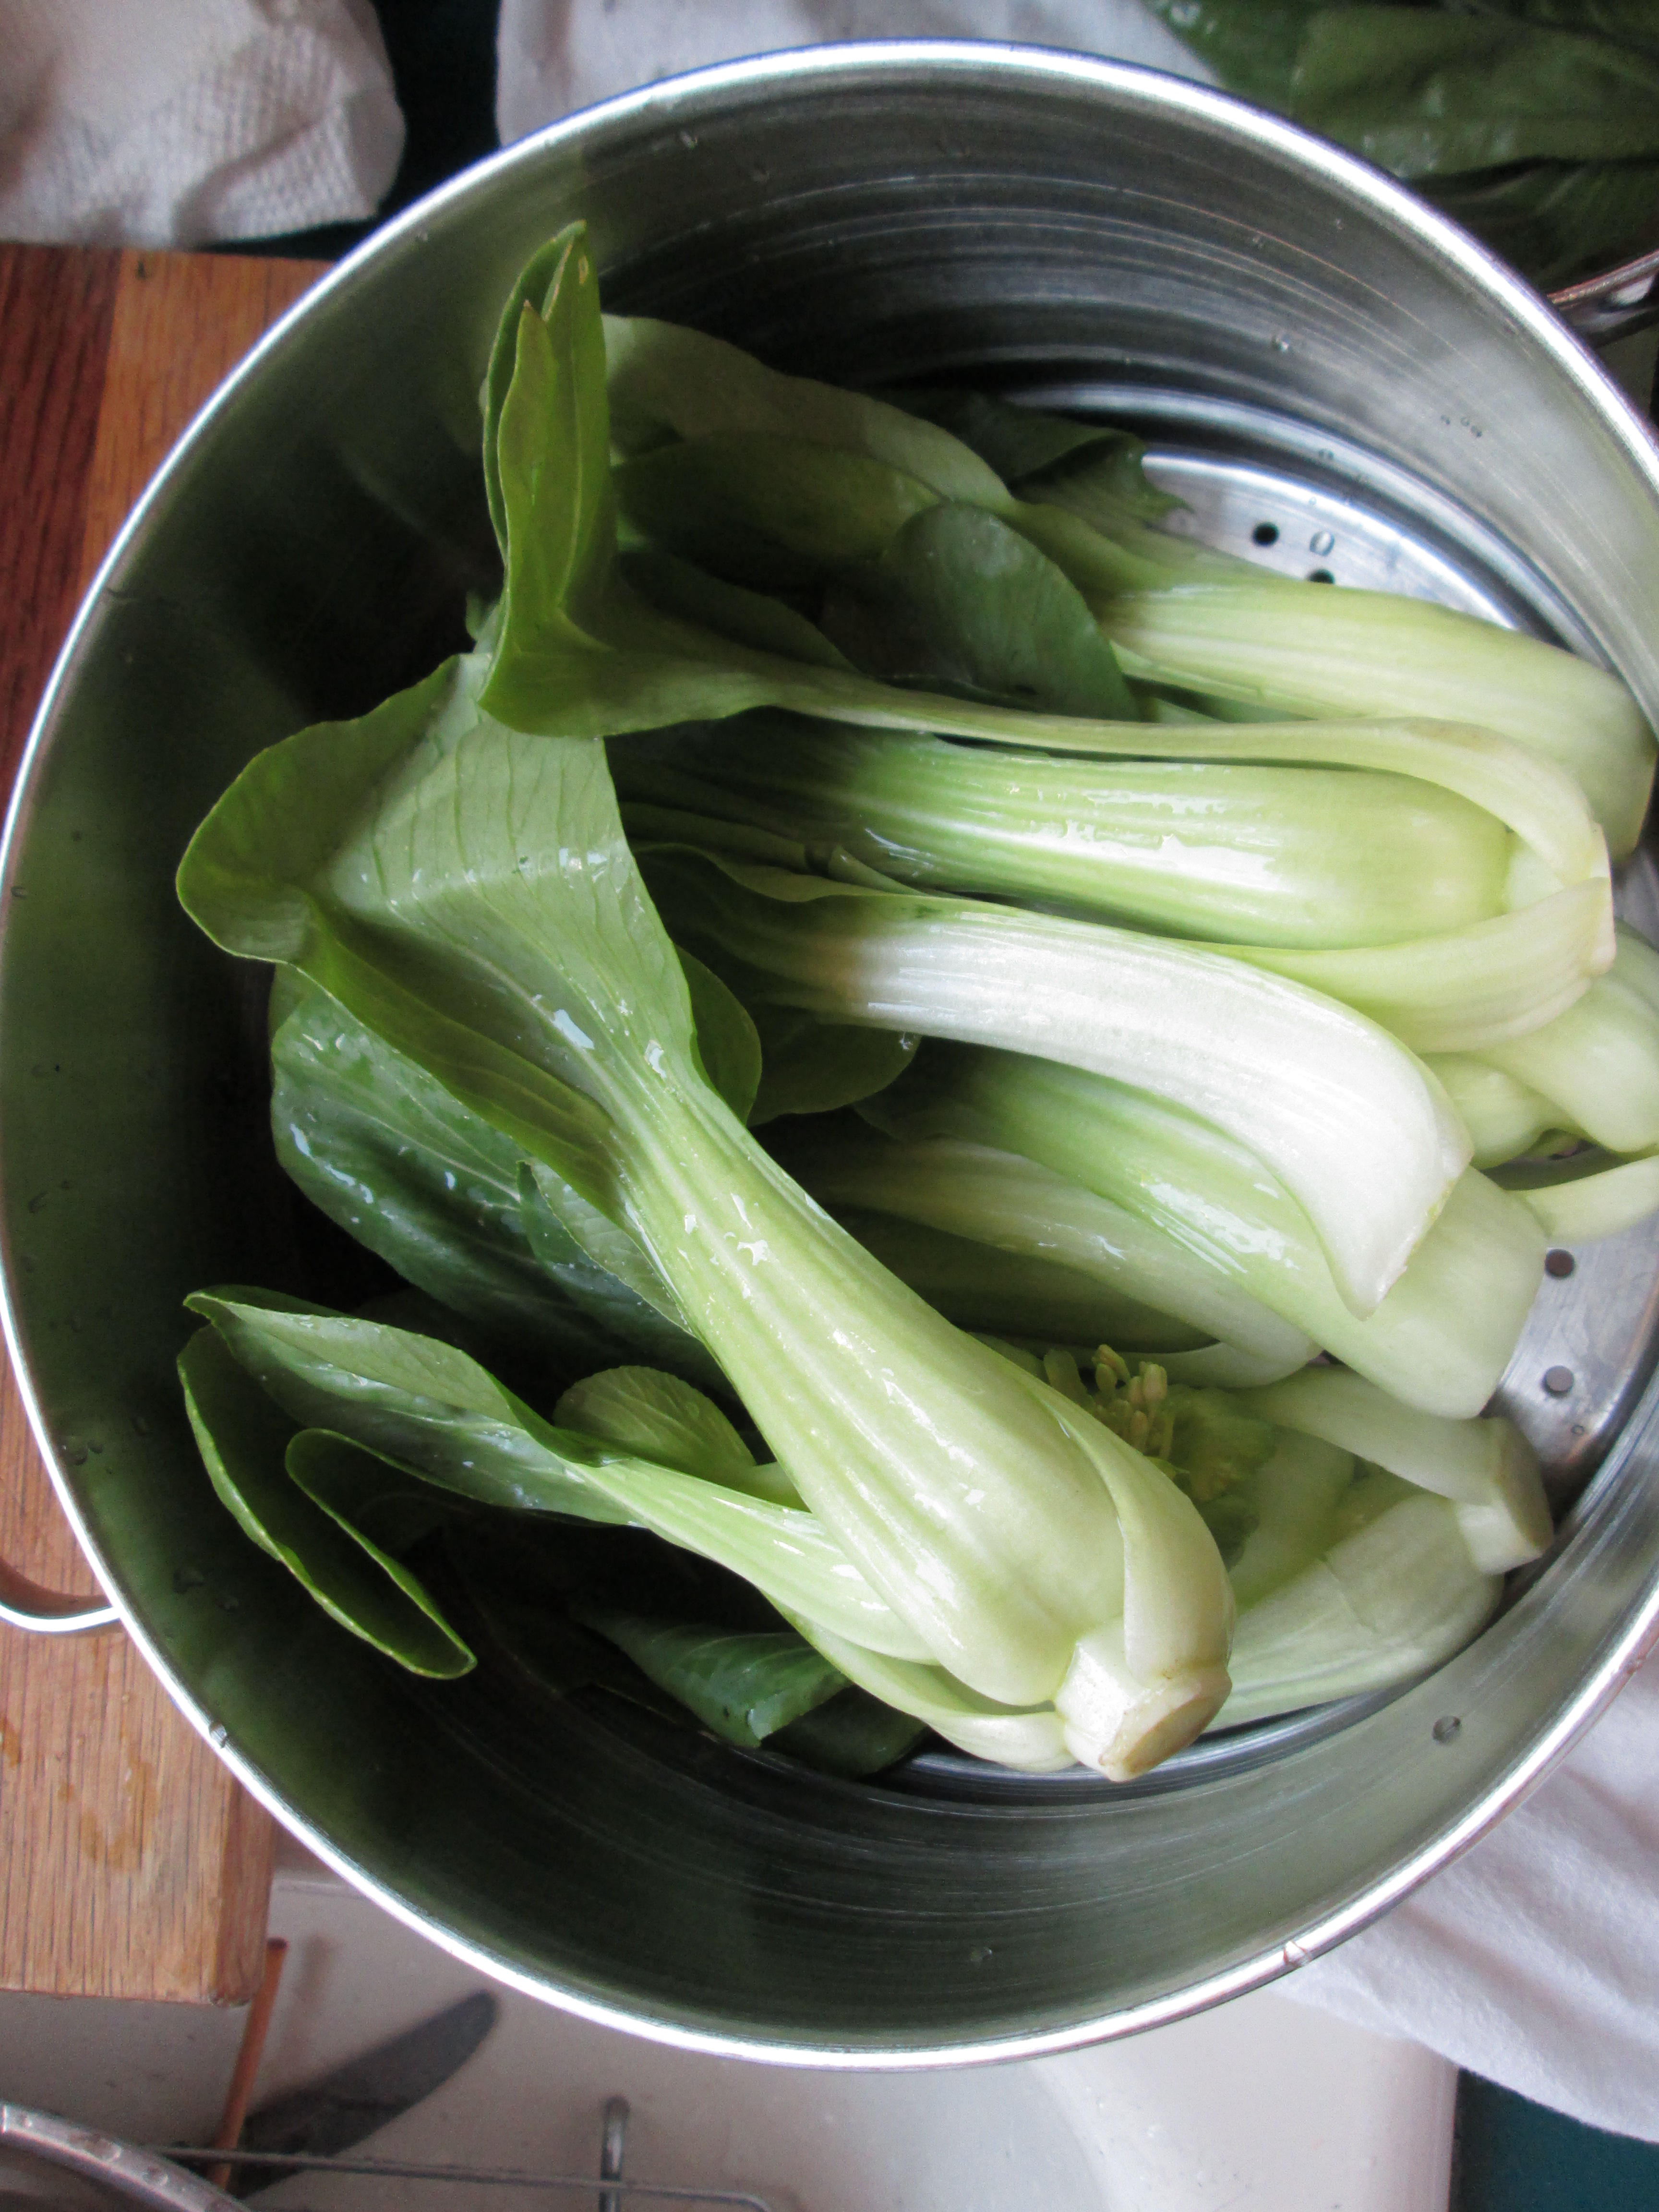
Steamed
Bring about 1 to 2 inches of water to a boil in the bottom of a steamer pot. Place bok choy in the steamer rack. Lower the heat to medium-low and simmer until bok choy is tender when pierced with a fork, about 10 minutes.Transfer to a serving plate. Sprinkle with salt and pepper, as desired. Drizzle with 1 tablespoon toasted sesame oil. Serve hot.
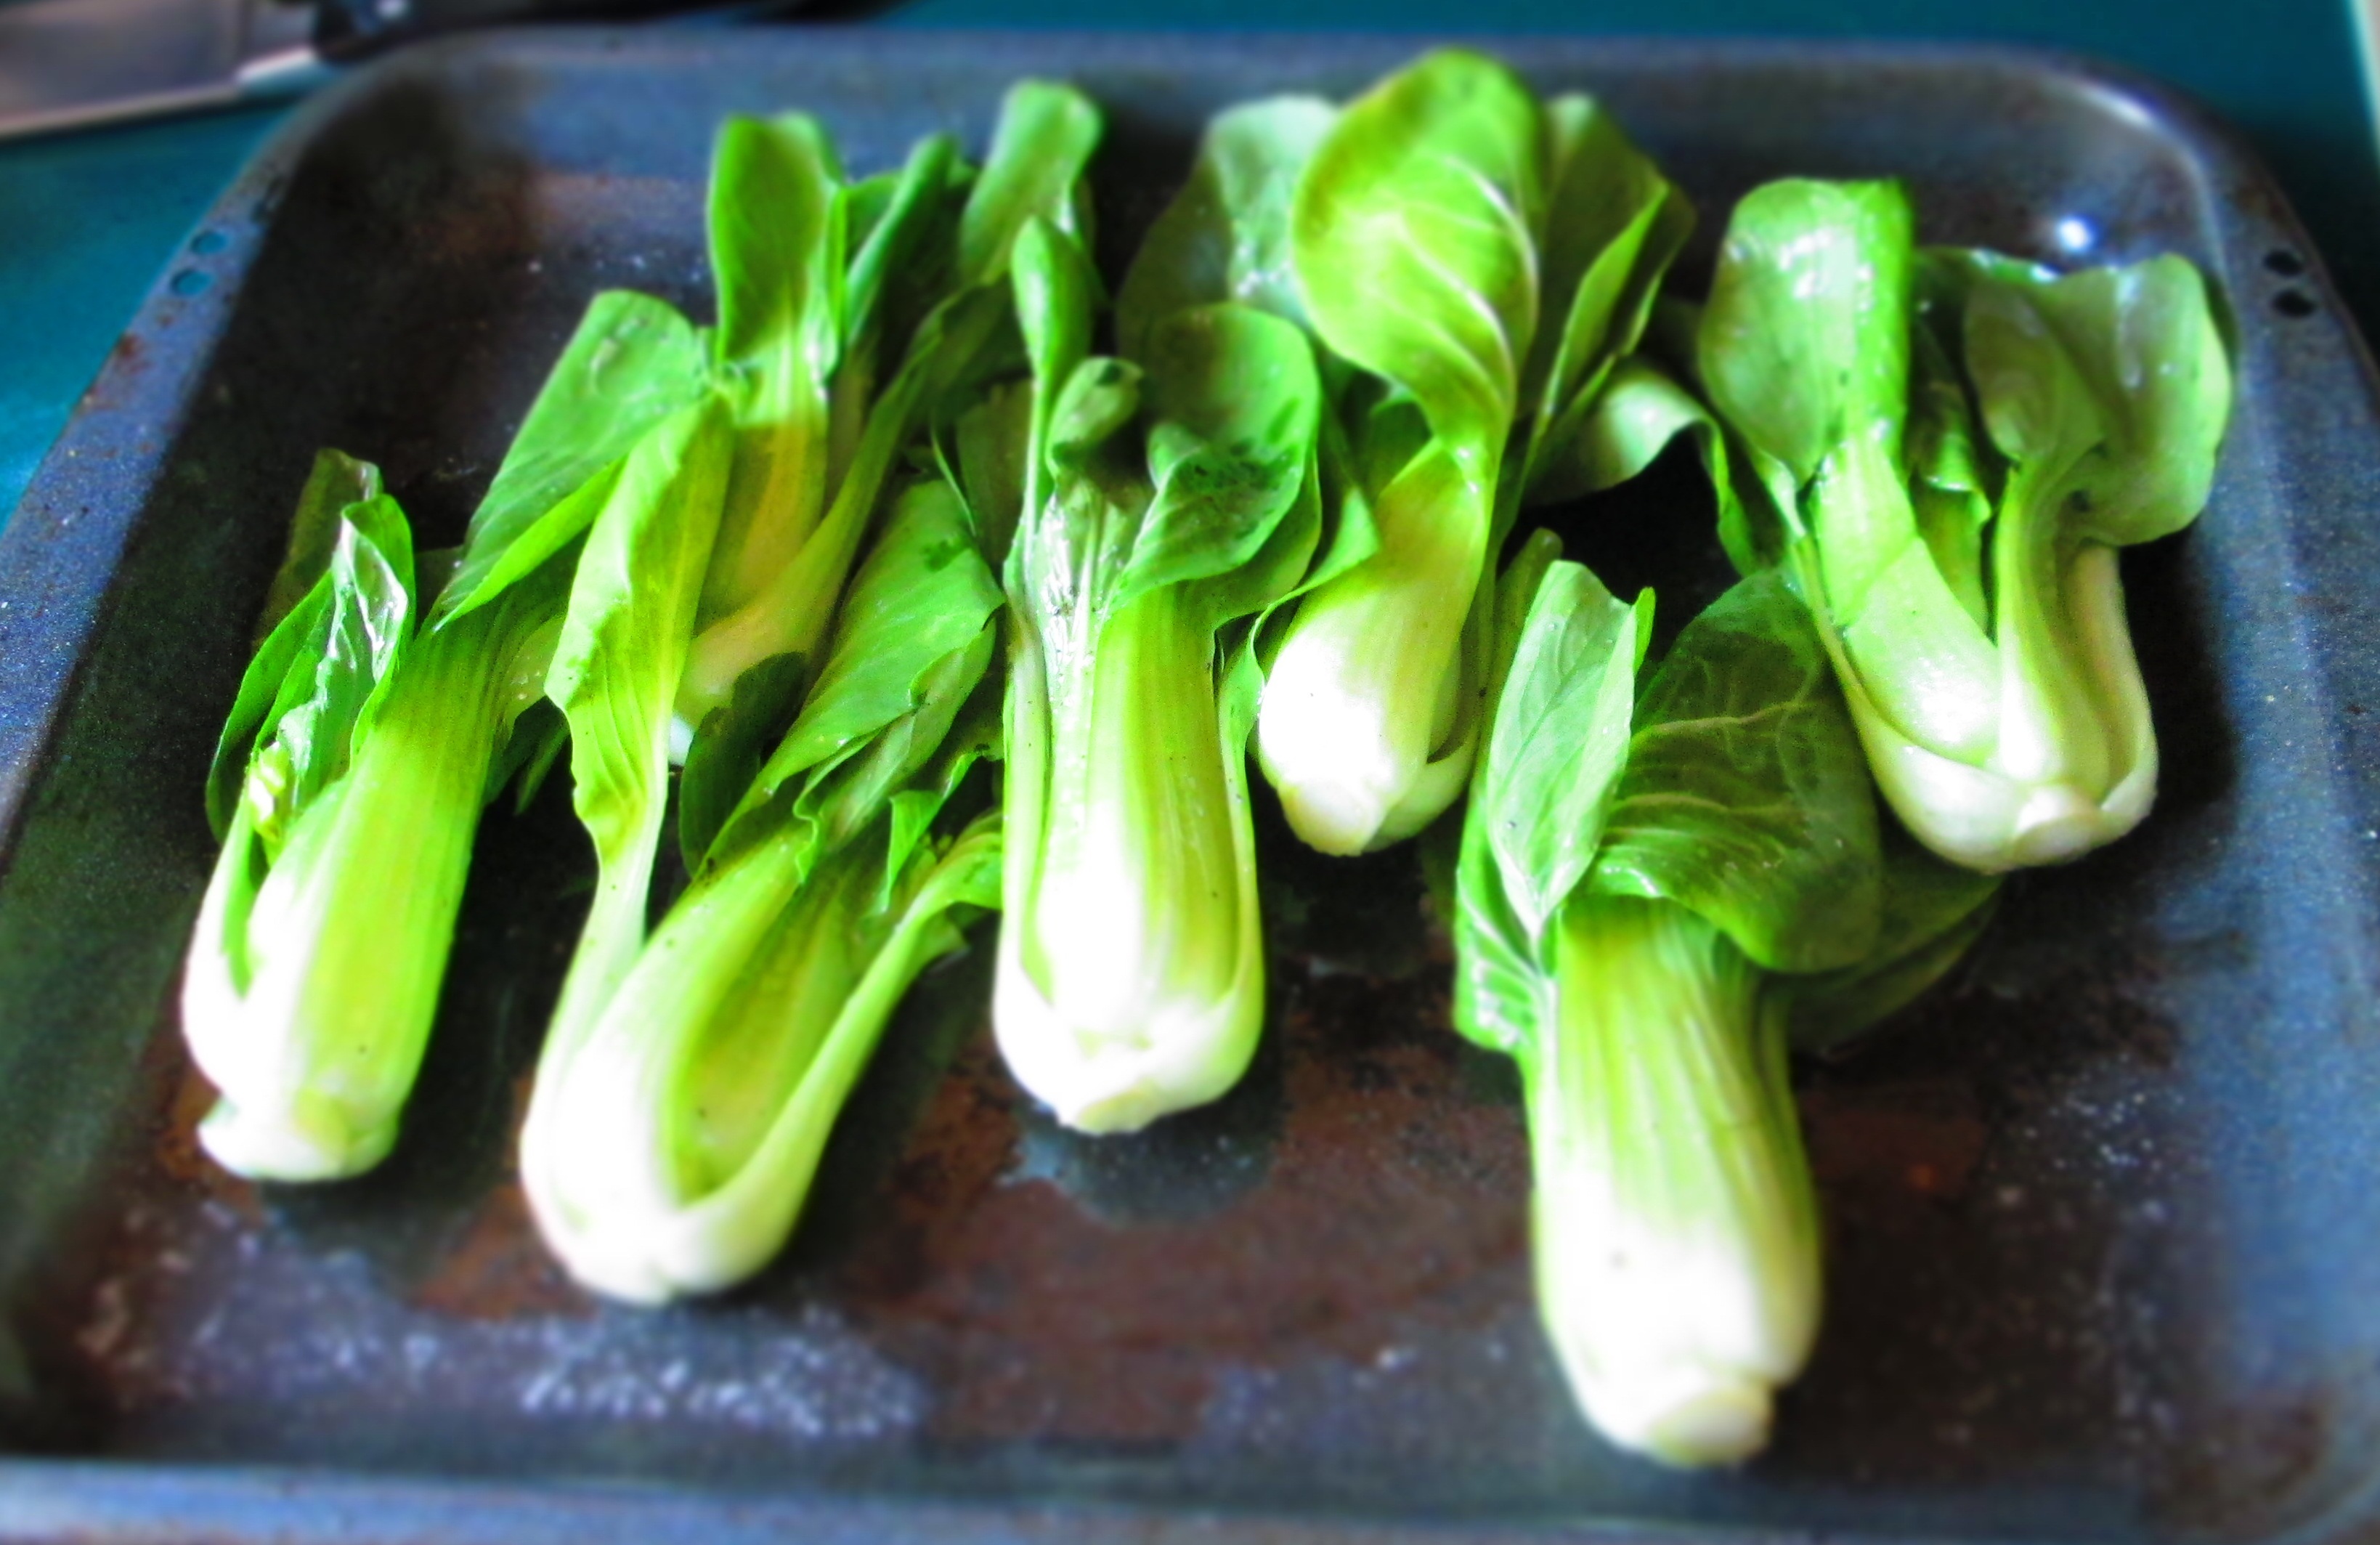
Roasted
Preheat oven to 350 degrees. F.
Thoroughly dry bok choy on kitchen towels. Place bok choy in a roasting pan. Pour about ½ cup olive oil over them, 2 teaspoons kosher salt, and freshly ground black pepper to taste. Mix everything together with your hands, making sure that all bok choy leaves are coated with oil. Spread them out as evenly as possible in the baking pan.
Roast until they’re tender and begins to brown, about 10 to 15 minutes. Turn them over and roast another 5 minutes to brown other side. Transfer to a serving platter. Serve hot.
Earlier this year, I learned about Barnraiser.us, whose mission it is to promote sustainable farming by raising and providing funds for farmers and food producers who want to provide sustainable products. When they were helping Carole Morison, a farmer, go free range, I contributed an egg recipe for a promotional collection they were putting together. I thought I’d share it with you.
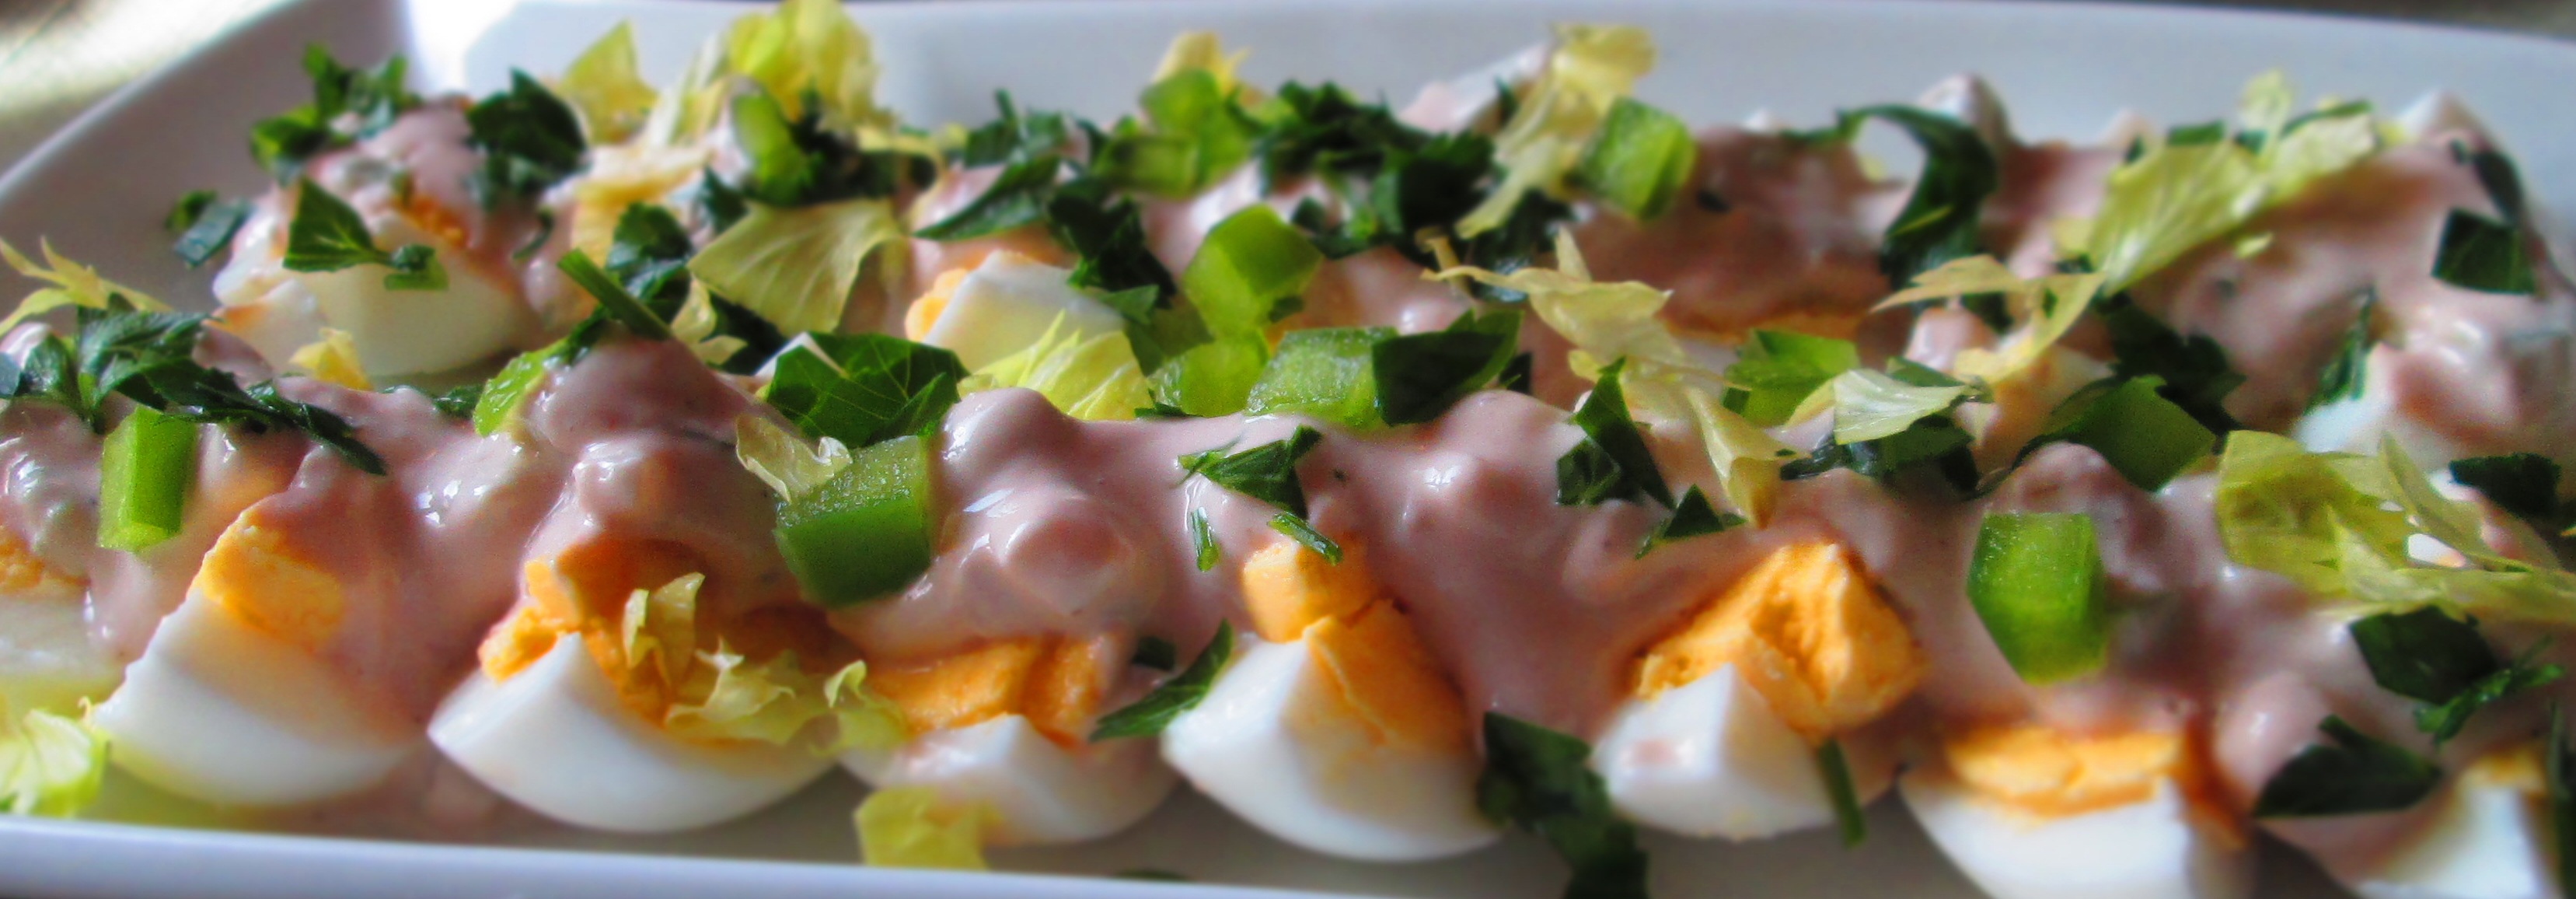
This is a cross between deviled eggs and egg salad. What makes this egg salad special is the dressing, which bursts with flavor, partly from the balsamic vinegar and partly from the mustard, and it’s healthier because rather than using the typical mayonnaise, I used Greek yogurt.
Choose a good-quality, flavored mustard—I first tried this with a wonderful bourbon-molasses mustard and it was a huge hit. Also, I suggest using whole-milk yogurt because low- or non-fat yogurt can be tarter and grainier than whole milk yogurt.
Try this at your next party, barbecue, or picnic. Enjoy!
Bedeviled Egg Salad
12 eggs
1 teaspoon sea salt, plus more
½ cup Geek yogurt
2 tablespoons balsamic vinegar
2 tablespoons minced shallot
1 teaspoon flavored mustard (like honey, beer, or bourbon or a fruit mustard)
1/3 cup finely minced celery
2 tablespoons minced green pepper
Black pepper to taste
Garnish: slivered red onion, chopped green pepper, minced parsley and/or celery leaves
Place the eggs in a pot big enough to hold them without crowding them. Fill pot with cold water to cover by at least an inch. Add ½ teaspoon salt. Cover and bring to a boil. Turn off the heat, keep the lid on, and let them sit for 10 minutes off heat.
Meanwhile, in a medium bowl, whisk together yogurt, balsamic vinegar, shallot, mustard, celery, green pepper, pepper, and remaining salt. Taste and adjust, as needed. Set aside.
Drain the eggs and place them in a bowl with cold water. Drain and refill with cold water a couple of times. Gently tap and roll the eggs on a counter or plate to crack the shells then place them back in cold water and let them sit about 15 minutes (this allows the water to seep underneath the shells, making them easier to peel).
Peel and rinse to remove all shell remnants. Dry on paper towels. Cut into quarters lengthwise and arrange them neatly on a platter.
Place dollops of the dressing over the eggs, spreading it out so that all the eggs are covered. Garnish as desired. Keep chilled until ready to serve.
In the world of gluten-free baking, things can get complicated. Without wheat flour, you need the right combination of ingredients to create a a cake that is light and flavorful, that has good texture and pleasant mouthfeel. A gluten-free cake can very easily be heavy, dense, bland, gritty, flat, and, at its worst, taste like sawdust.
But when the ingredients come together well, you have something that rivals traditional wheat-flour cake. It won’t taste exactly the same, but it’s just as good.
If you haven’t heard of lucuma, it’s because it’s a fruit indigenous to Peru, Chile, and Ecuador that hasn’t really had much play outside of its native region, especially since it only thrives in subtropical climates. It has a dark green skin, and a pit (sometimes two) that look like avocado pits. Its yellow flesh is dry and often compared to hard-boiled egg yolk, and its mild flavor has been likened to maple syrup, caramel, and sweet potatoes.
Indigenous Andean peoples used lucuma not just as food but medicinally as well. The Incas believed it to be a symbol of fertility and creation and it was dubbed “Gold of the Incas.” Modern studies of lucuma show that the fruit contains beta carotene, iron, zinc, vitamin B3, calcium, and protein. It aids in warding off heart disease and hypertension, maintaining skin health and blood sugar levels (and it is hoped that it will help people with diabetes), and supporting healthy digestion. Continue reading →
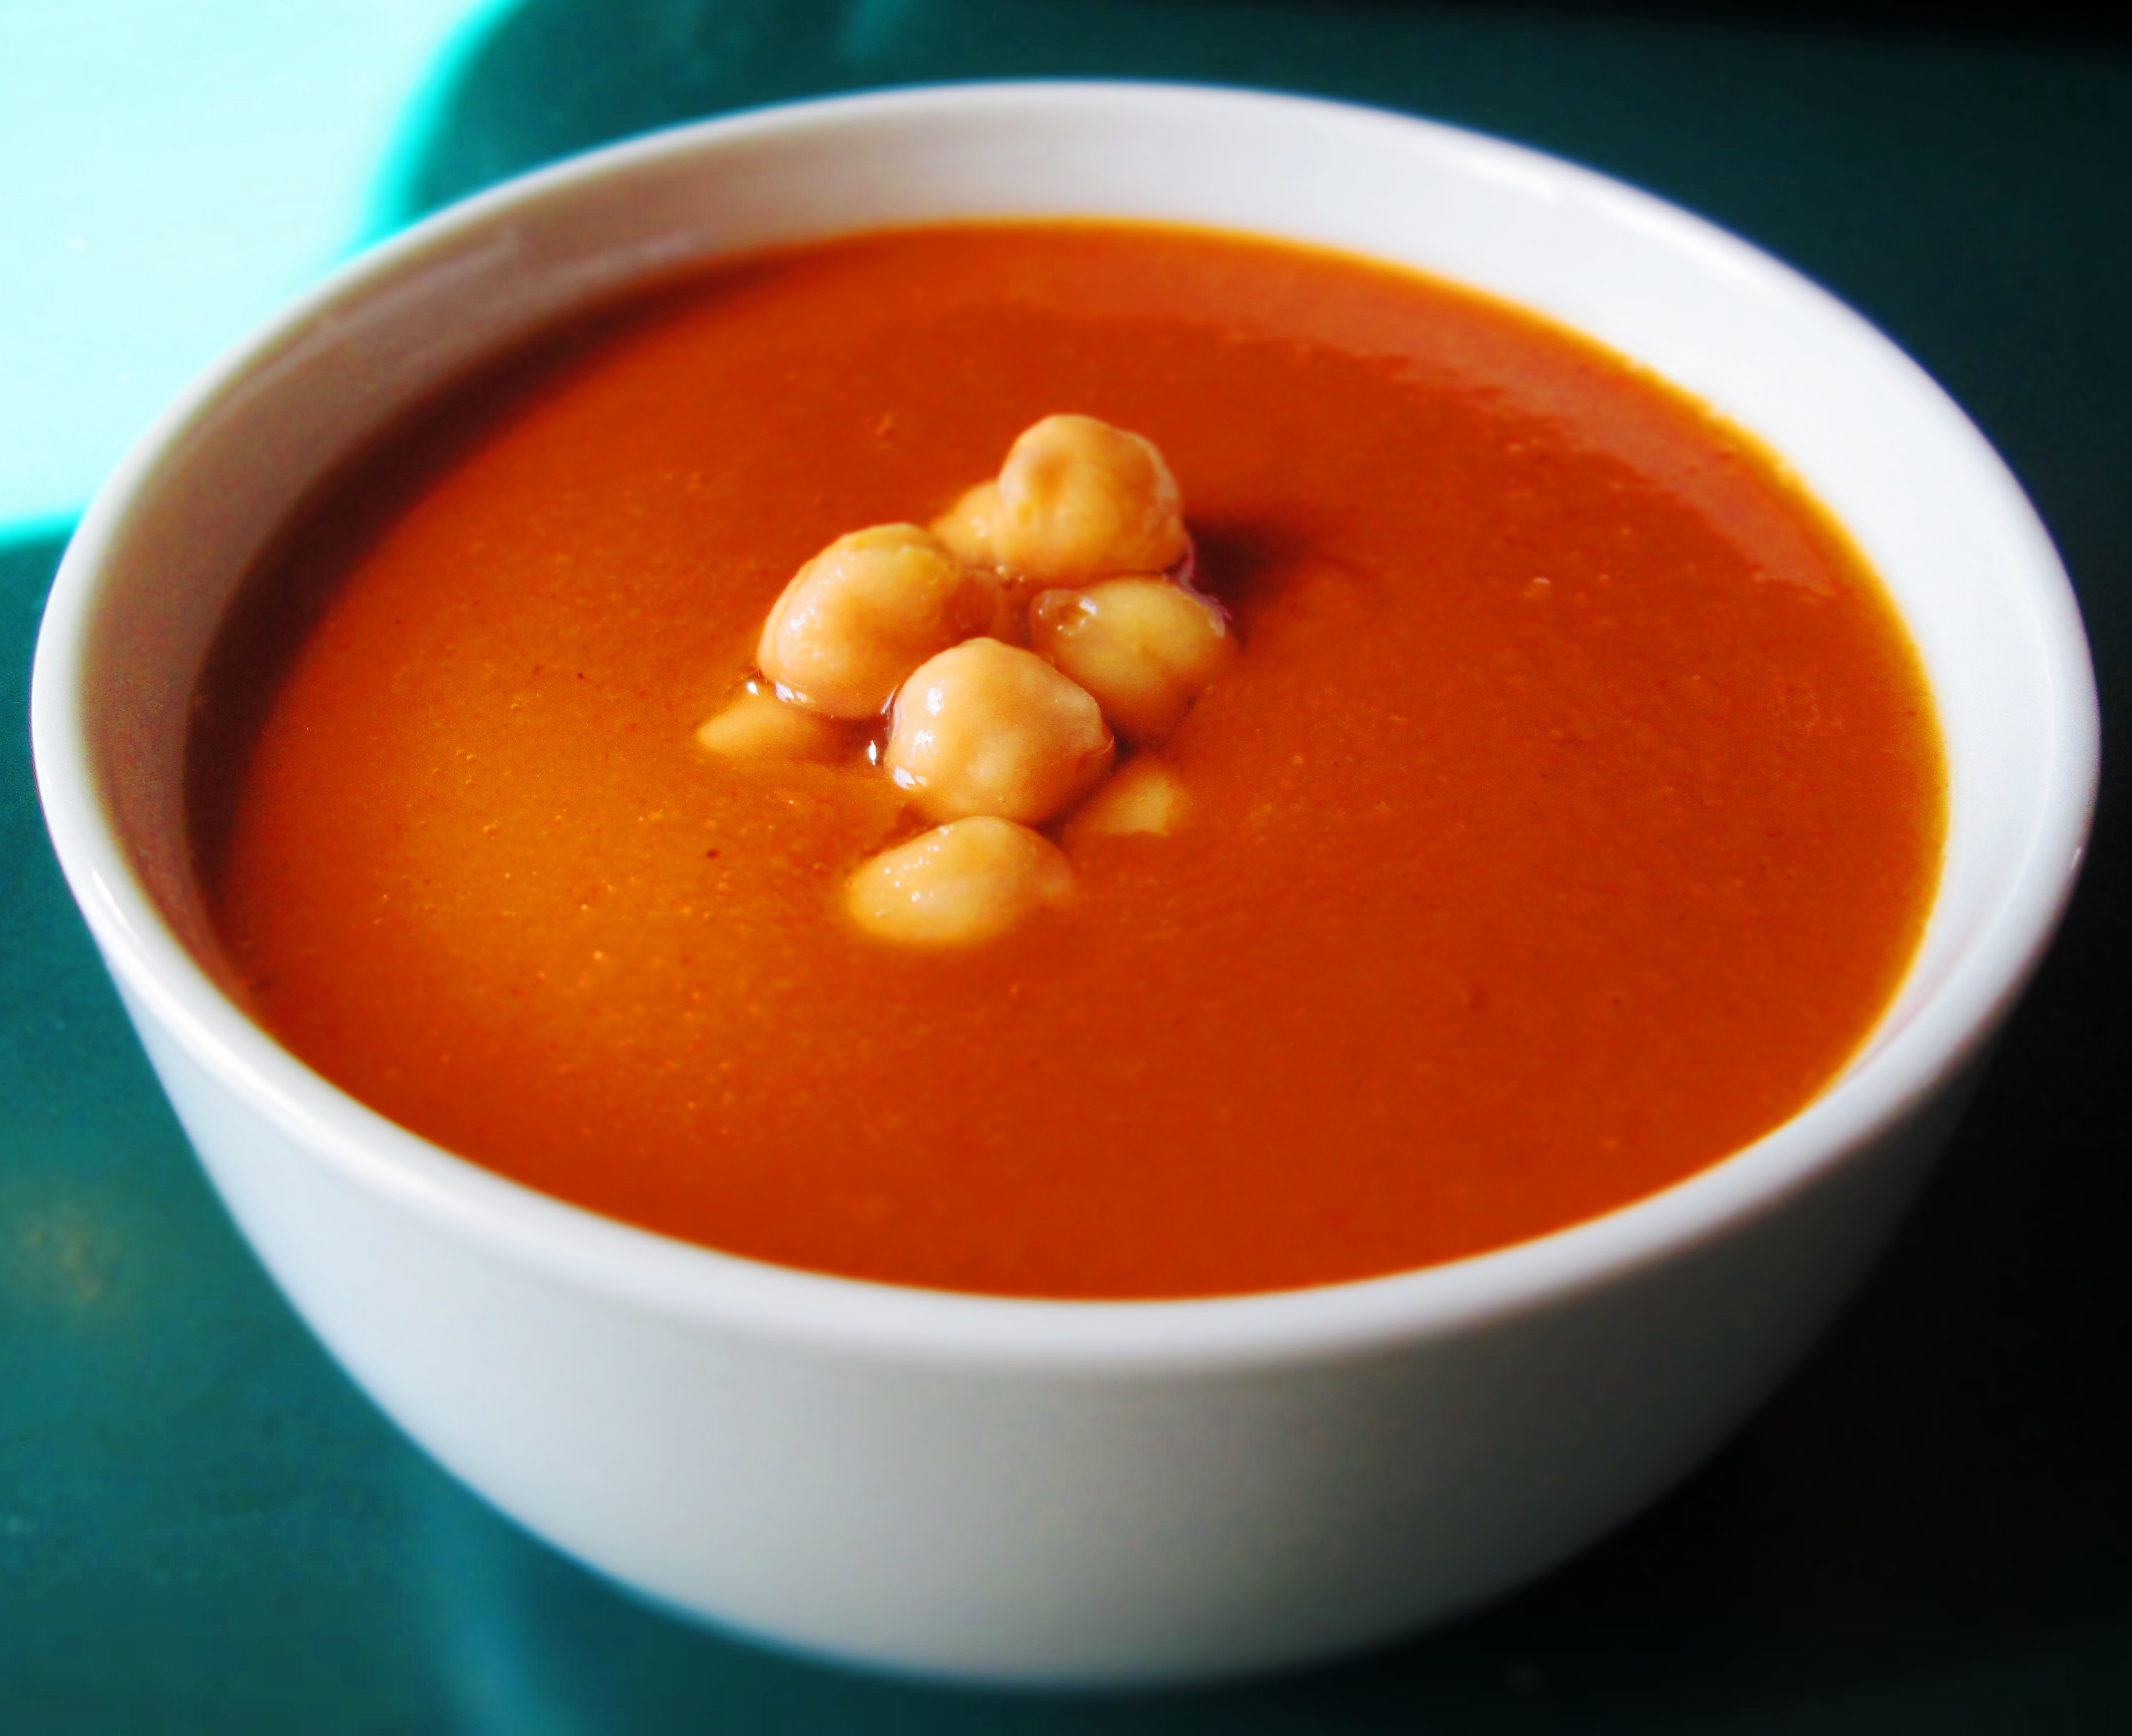
So, I was perusing the bean shelves in my favorite Indian market and found roasted split chickpeas (chana dalia). I’d never seen them before and wondered if they could be cooked just like split green peas. I bought a package and this recipe is the result of my experimentation.The resulting soup is very thick—not just in the viscosity of the soup but the pureed chickpeas themselves leave a thickness on the tongue. Unlike pureed split pea soup, it has a somewhat grainy—but not unpleasant—texture, and the flavor is intensely nutty.

 I recently found myself with an abundance of dried Great Northern beans, and if you stopped by here last time, you saw that I took some of those beans to make Tomato-y White Beans.


![lucuma[1]](https://mizchef.com/wp-content/uploads/2015/04/lucuma1.jpg)