My pantry is stuffed to the gills with all sorts of items that the average cook with raise an eyebrow to. In fact, I’ll bet I have a few items in there that the average cook has possibly not even heard of, let alone used. If you were my neighbor and needed something for a recipe you were cooking or baking, chances are I’d have it. Anything at all. Need some flour? What kind? All-purpose? Whole wheat? Pastry? Spelt? Soy? Buckwheat? Barley? Teff? Oat? Fava bean?
Need rice? Currently, I’ve got brown, basmati, brown basmati, jasmin, Thai black, rosematta, glutinous Thai, and Japanese short grain.
Looking for grains? Choose from white and red quinoa, buckwheat, amaranth, sorghum, millet, and teff.
So, what am I saying here? That I am constantly looking for ways to use up all of that stuff! And so here is what I came up with to use both amaranth and some mixed dal I had. I could’ve just made a soup, but I wanted to do something different. This is what I came up with—Amaranth-Dal Patties. If you’re not familiar with amaranth, they’re tiny little grains that are gluten-free and high in iron and lysine. Here’s a link for more information.
Amaranth
You can season the patties with whatever herbs or spices you like, and/or dress them with any kind of sauce, from raita to salsa to piri piri (just make sure to pair the seasonings and dressing appropriately—you wouldn’t want to use garam masala as a seasoning and then dip them in Asian soy dipping sauce!). You can also substitute the flour for something that is gluten-free.Continue reading →
Hi there. It was homemade vegetable stock day here at Chez Roberti, so I wanted to offer a quick and easy way to make your own. Just follow along on the infographic below and you’ll be all set.
A note on salt: Traditionally, salt is not used in stock because it’s supposed to act as a base to support other flavors. By not adding salt, you control the salt content in a recipe later on. However, if you’re going to use this stock as a basic soup broth, you can add some kosher salt, if you want.
Yeah, that would be MY bar. It’s a cart in the corner of my dining room loaded up with various alcoholic delights. Don’t judge me.
Anyway, we hit a little cool snap here last week on the East Coast and suddenly people with gardens found themselves having to make some quick decisions about their remaining vegetables. My parents still had a garden full of tomatoes that had to be taken in.
There’s no better opportunity to make fried green tomatoes.
Although fried green tomatoes are associated with the American South, according to an article on Smithsonian.com and this article from Bon Appetit, they’re actually from the North and Midwest, possibly of Ashkenazi Jewish origins. But the use of cornmeal is probably a Southern contribution to the dish, and I think that the flavor and texture of the cornmeal are what makes the tomatoes so tasty and unique.
Fried green tomatoes are really easy to make and can be flavored with whatever spices you like.
Enjoy!
Fried Green Tomatoes
1½ pounds green tomatoes 1 medium egg 2 teaspoons milk (any kind) ¾ cup cornmeal 1 teaspoon garlic powder
1 teaspoon paprika
1 teaspoon kosher salt freshly ground pepper to taste Coconut oil
Line a large plate with paper towels and place it by the stove.
Slice the tomatoes into ½-inch-thick slices.Beat the egg with the milk in a medium bowl. Combine the cornmeal, garlic powder, paprika, salt, and pepper on platter. Place a few of the tomato slices in the egg and coat both sides. Then put them in the cornmeal and coat both sides.Heat about ½ inch oil. Gently shake off excess cornmeal from the tomato slices and place them in the oil. Fry, flipping them over once, until golden brown on both sides, about 3 or 4 minutes per side. Transfer to the paper towels.
Repeat with the remaining tomatoes. Replenish the oil in the pan as needed.
Serve with a creamy dressing, sour cream, or salsa.
This recipe is another example of just how good leftovers can be. You can transform the things you have in your refrigerator and pantry, the little bits and pieces that remained behind, into something new and interesting.
I had purchased beets from the farmers’ market and wanted to do something different with the leaves than the usual saute with olive oil and garlic. As much as I like that particular dish, I think I’ve O.D.d on it. So I started thinking about other ways of using them.
I also happened to have leftover roasted eggplant slices and some millet in the pantry. After some thought I came up with this recipe: beet green rolls stuffed with millet and eggplant. Millet is the perfect grain for stuffing because it’s sticky and you won’t have little individual grains skittering across your plate. It will hold everything together. It’s also gluten free, so those of you with (or who have loved ones with) Celiac Disease or gluten intolerance, this is a great recipe for you. Further, beet greens are loaded with iron, vitamin C, beta carotene, and antioxidants.
Since I will assume that you don’t just happen to have roasted eggplant slices already in the fridge, or perhaps not even millet in your pantry (even if you do, I doubt you’d have both at the same time), I’ve written this recipe so that you can start from scratch. Btu it’s a very easy recipe—you can even make the eggplant a few days in advance so that you can just jump right into this recipe.
This is the perfect autumn/winter dish—hearty, delicious, and great to bring to gatherings. You can serve it as an appetizer, a main course, or side dish. Enjoy!
Beet Green Rolls Stuffed with Millet and Eggplant
½ cup olive oil, plus extra 1 medium Italian eggplant ¾ cup millet Greens from 1 bunch beets 1 tablespoon grated parmesan
Salt and pepper to taste
1 to 2 tablespoons extra virgin olive oil
Preheat the oven to 350 degrees F. Line a large baking sheet with aluminum foil or parchment paper. If you’re using foil, grease it with some of the olive oil.
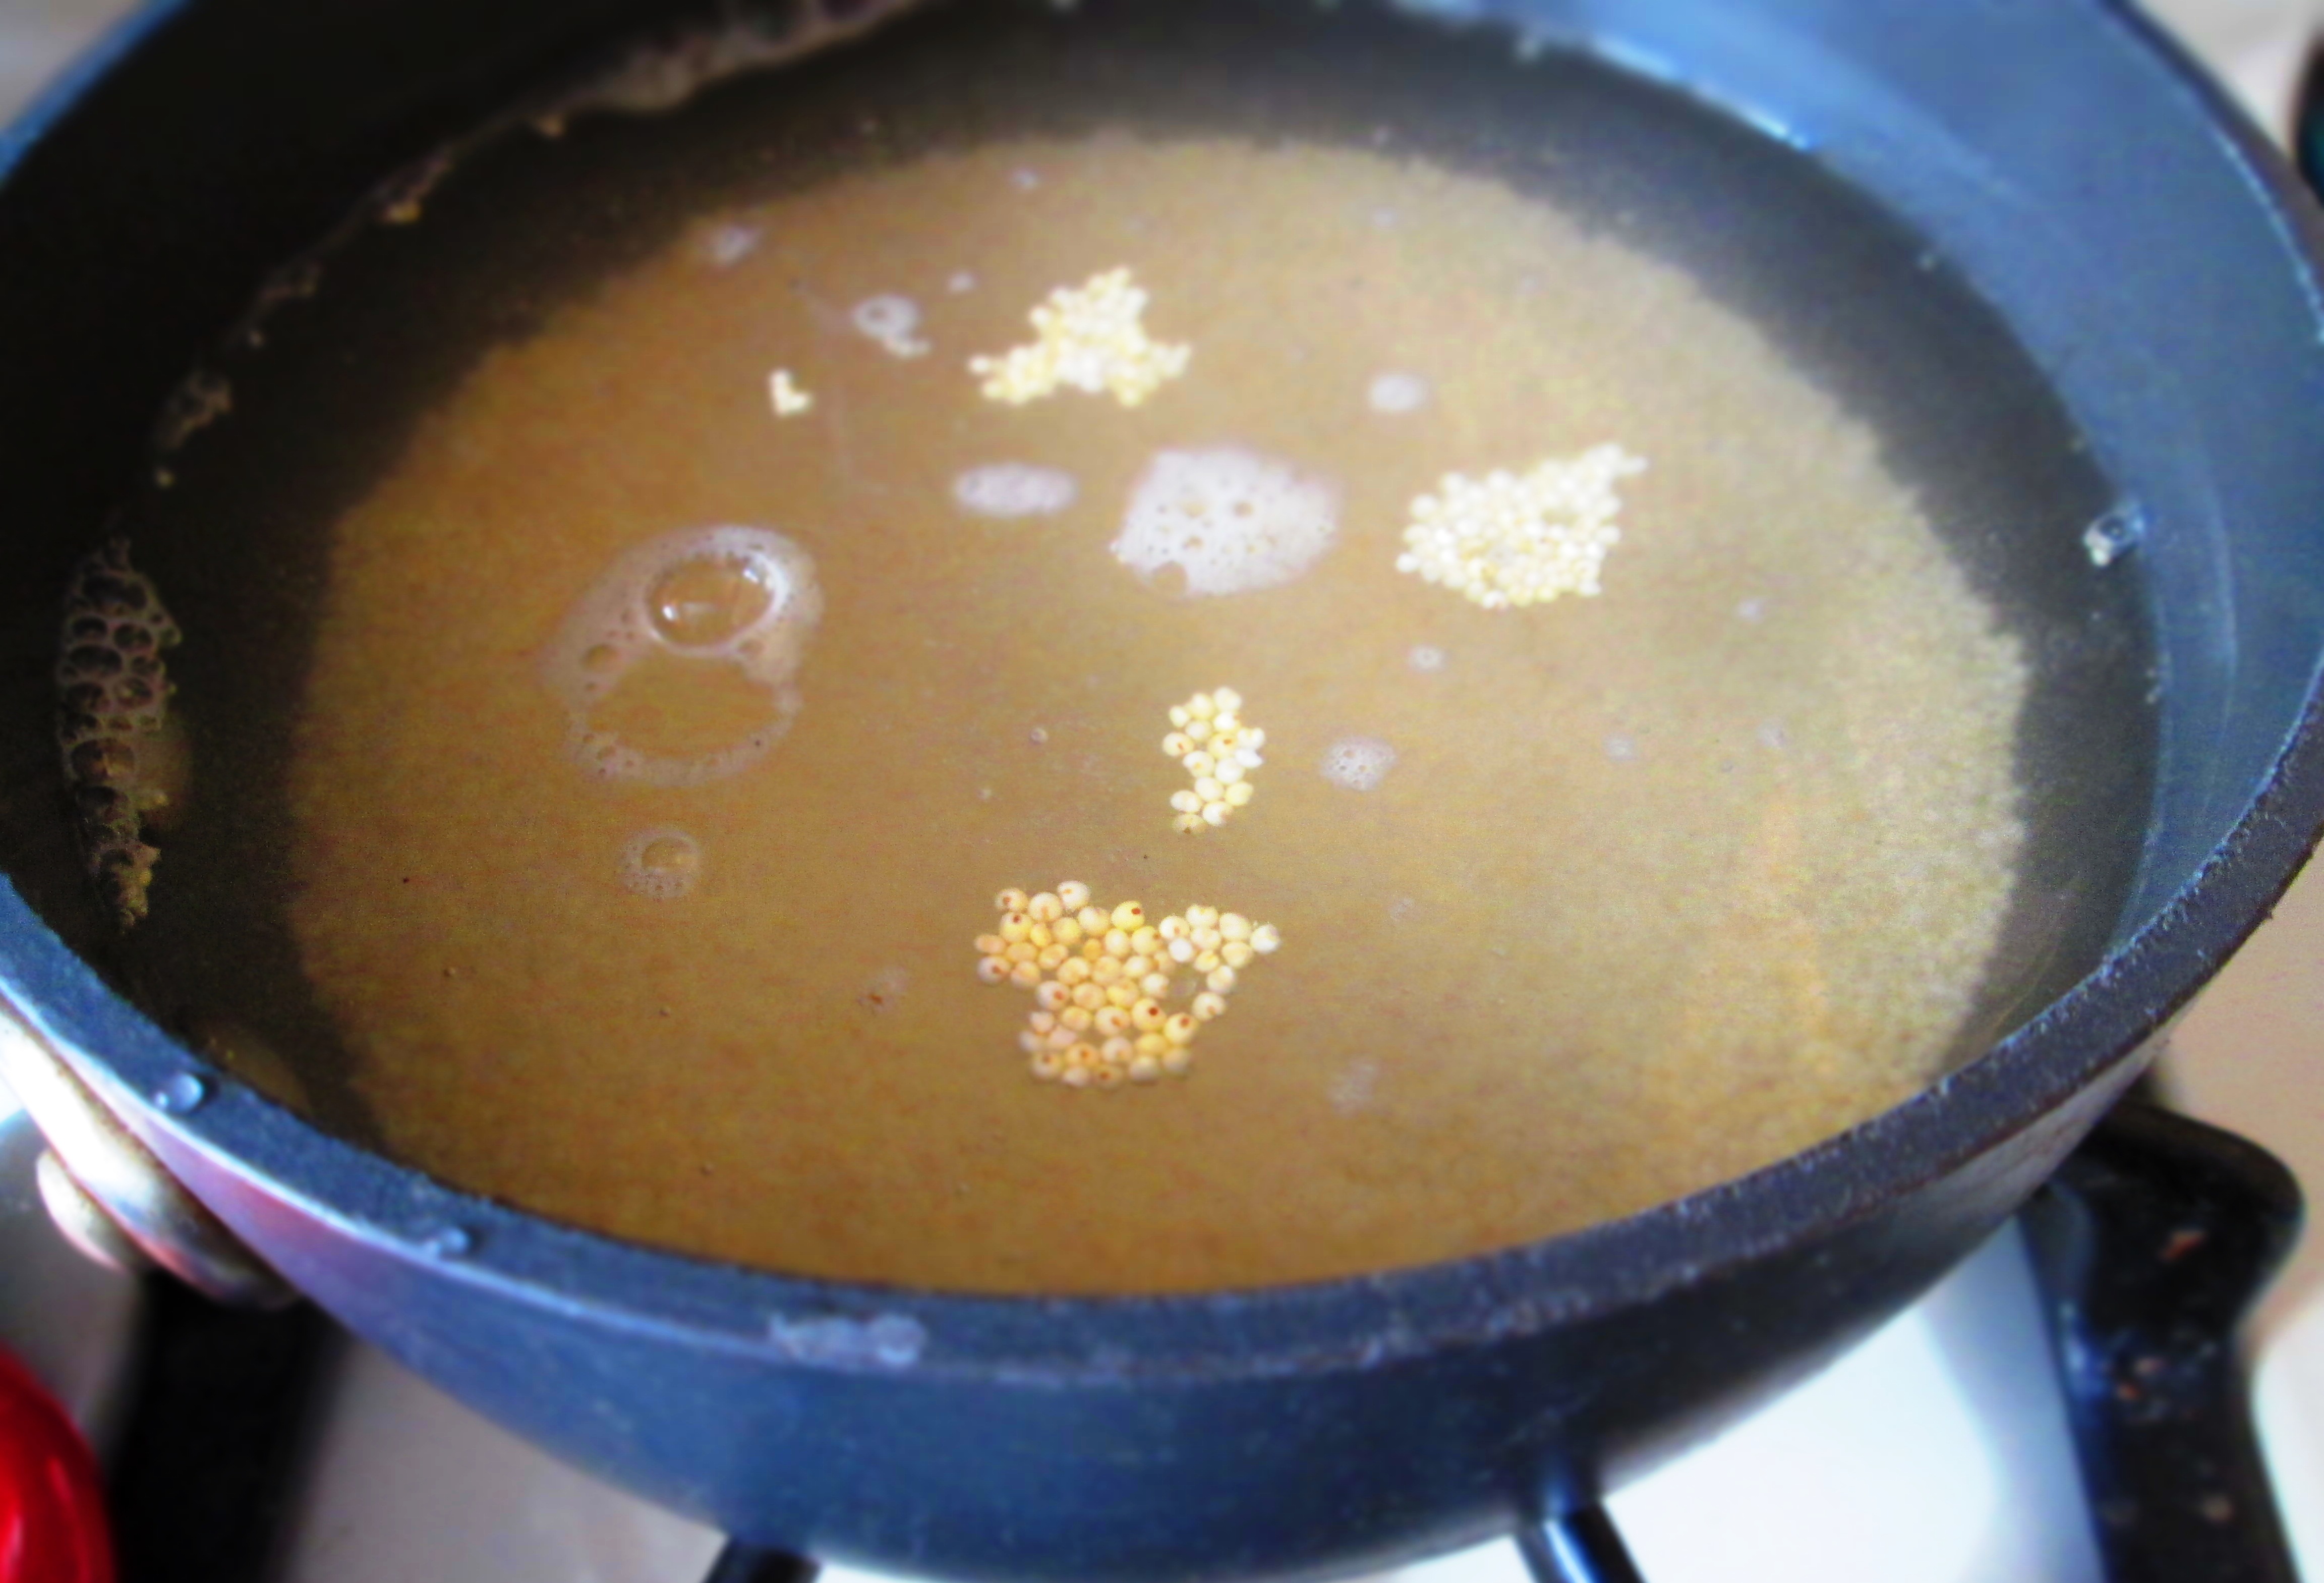
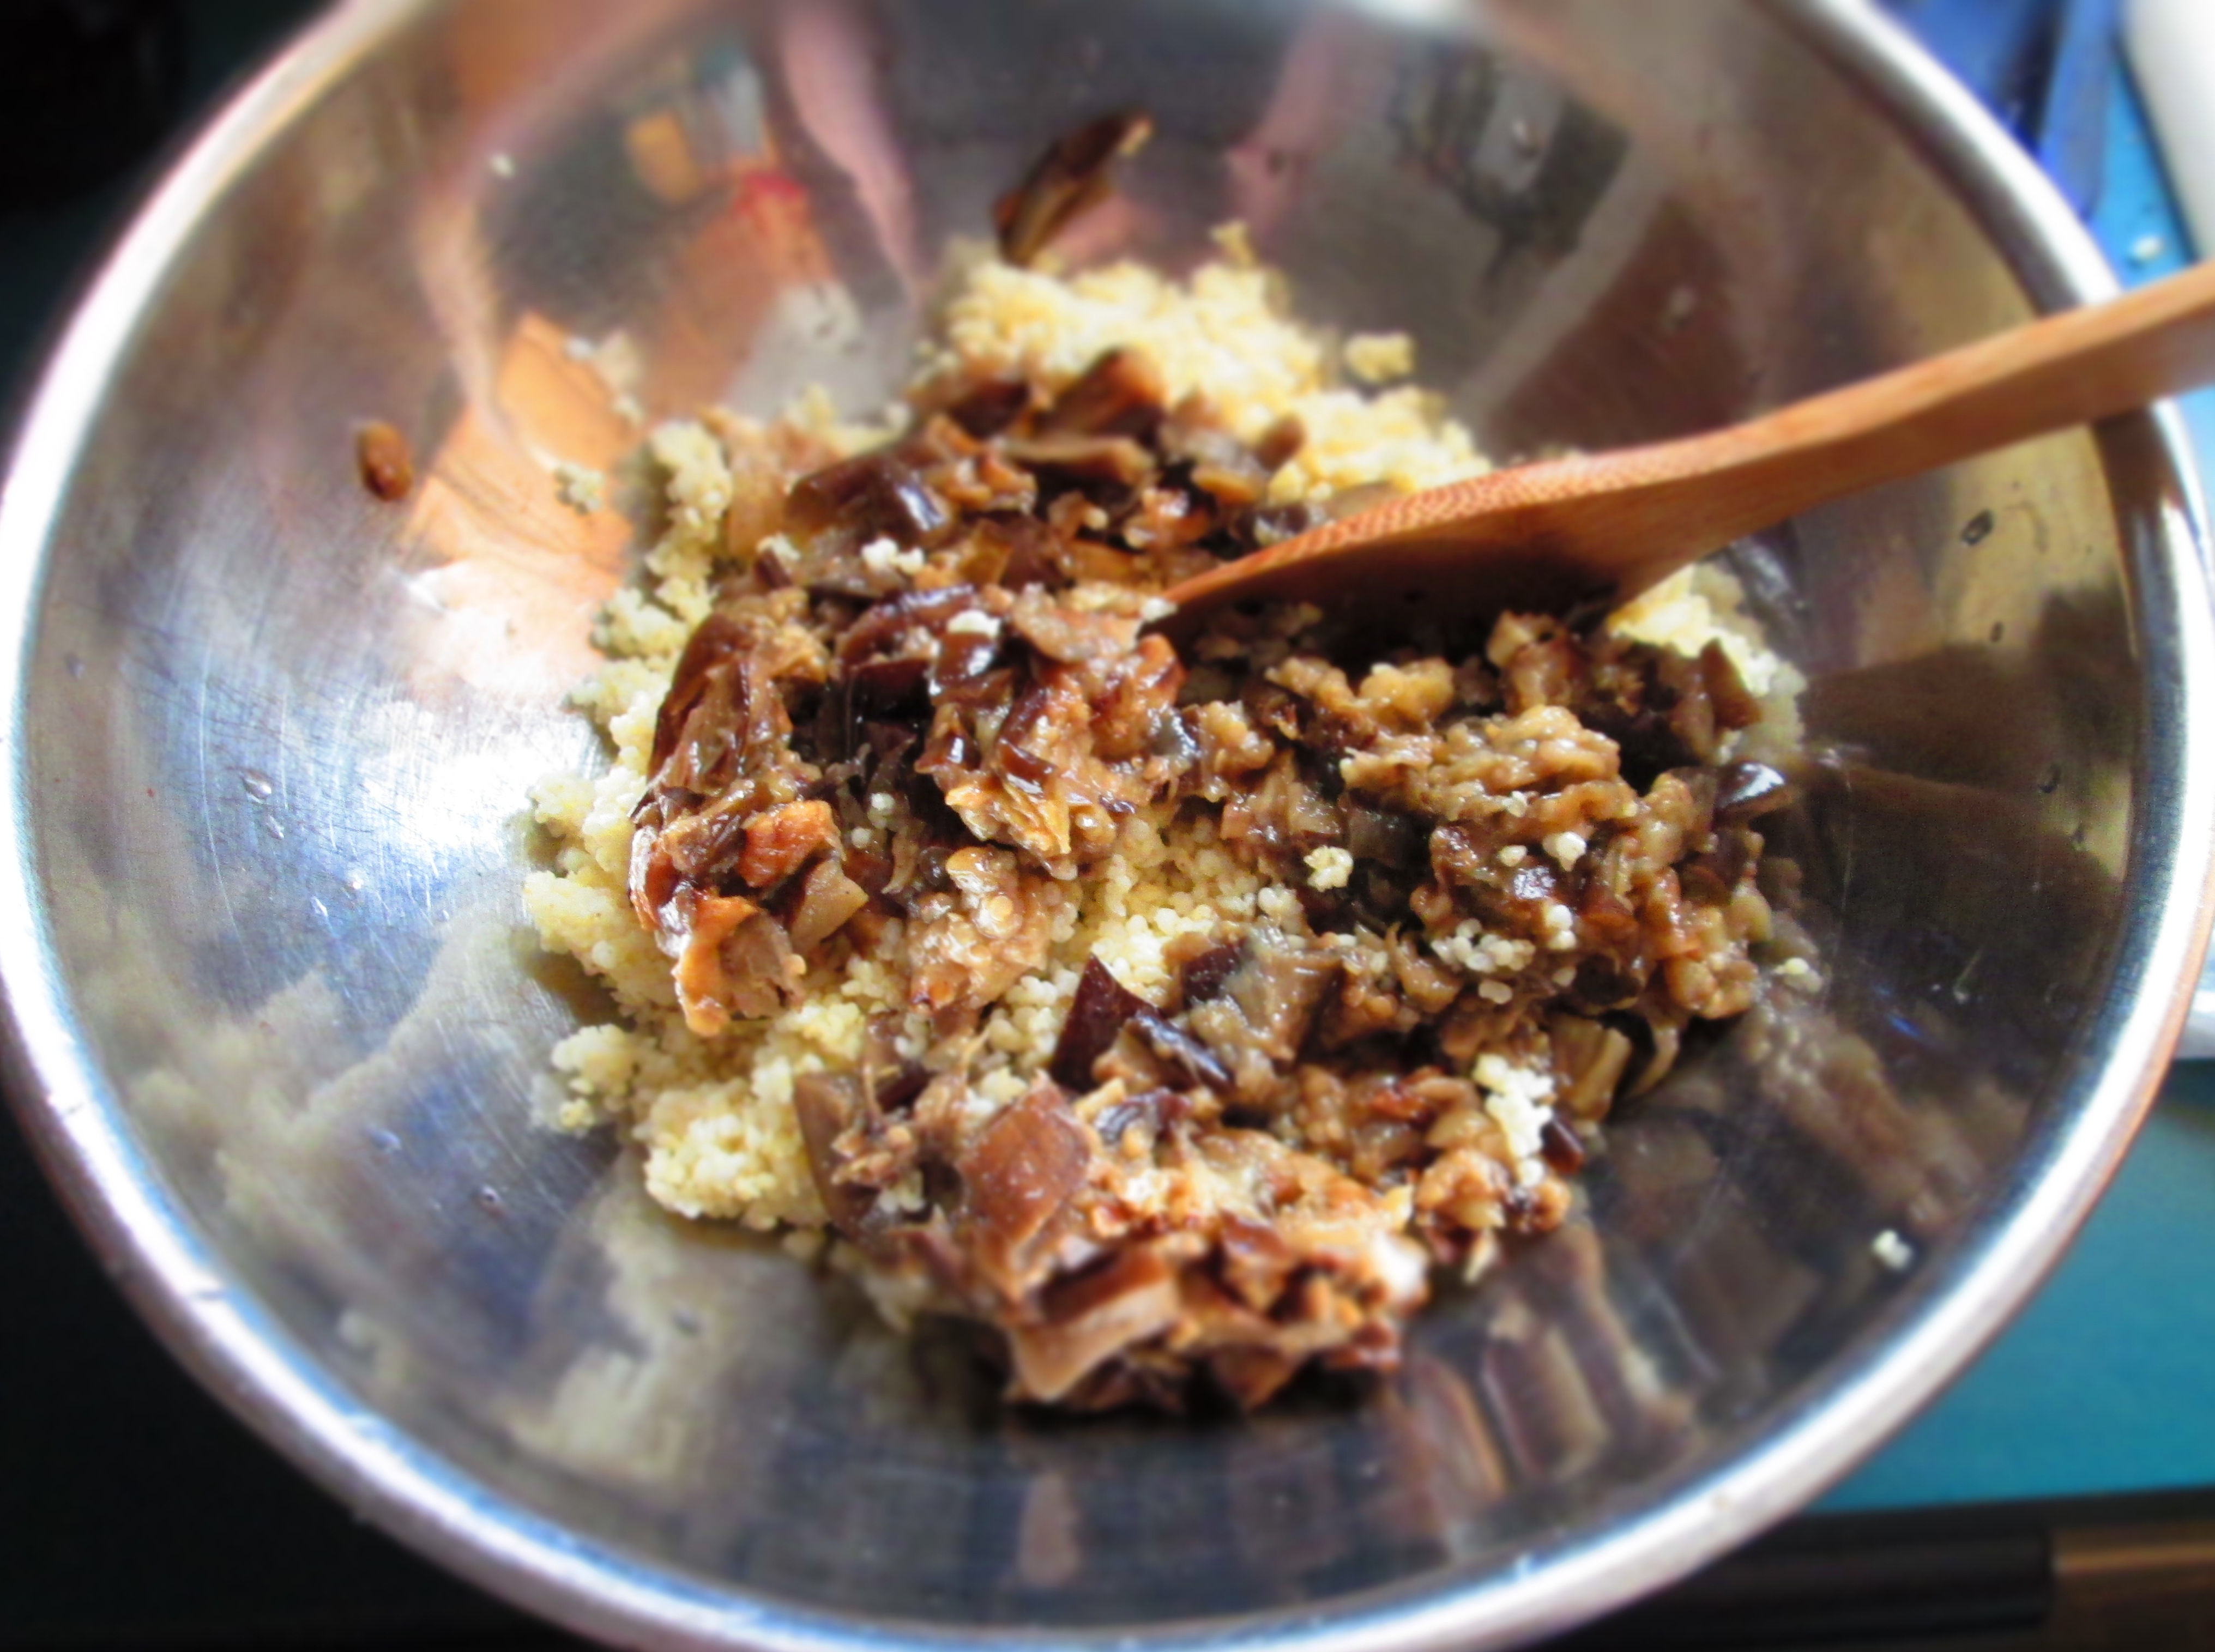
Cut the eggplant into 1/2-inch-thick slices lengthwise and lay them on the baking sheet (use more than one baking sheet if you have to). Set aside 1 tablespoon of the olive oil and use the rest to brush both sides of the eggplant slices. Sprinkle with salt and pepper. Roast, turning over once, until browned on both sides, about 20 to 30 minutes. Remove from oven and let cool. Chop up the eggplant finely and measure out 2 cups. Reserve the rest for another recipe.Meanwhile, place the millet in a small saucepan with 1½ cups water. Bring to a boil; reduce the heat to low and simmer, partially covered, until tender, about 10 minutes.If the water hasn’t been all absorbed, drain the millet in a mesh strainer. If it needs to cook some more, you can add a little more water and continue simmering.Transfer the millet to a bowl. Add the eggplant, parmesan, 1 tablespoon olive oil, salt, and pepper; mix well.Place the beet greens in a large bowl of water and wash the greens in several changes of water.
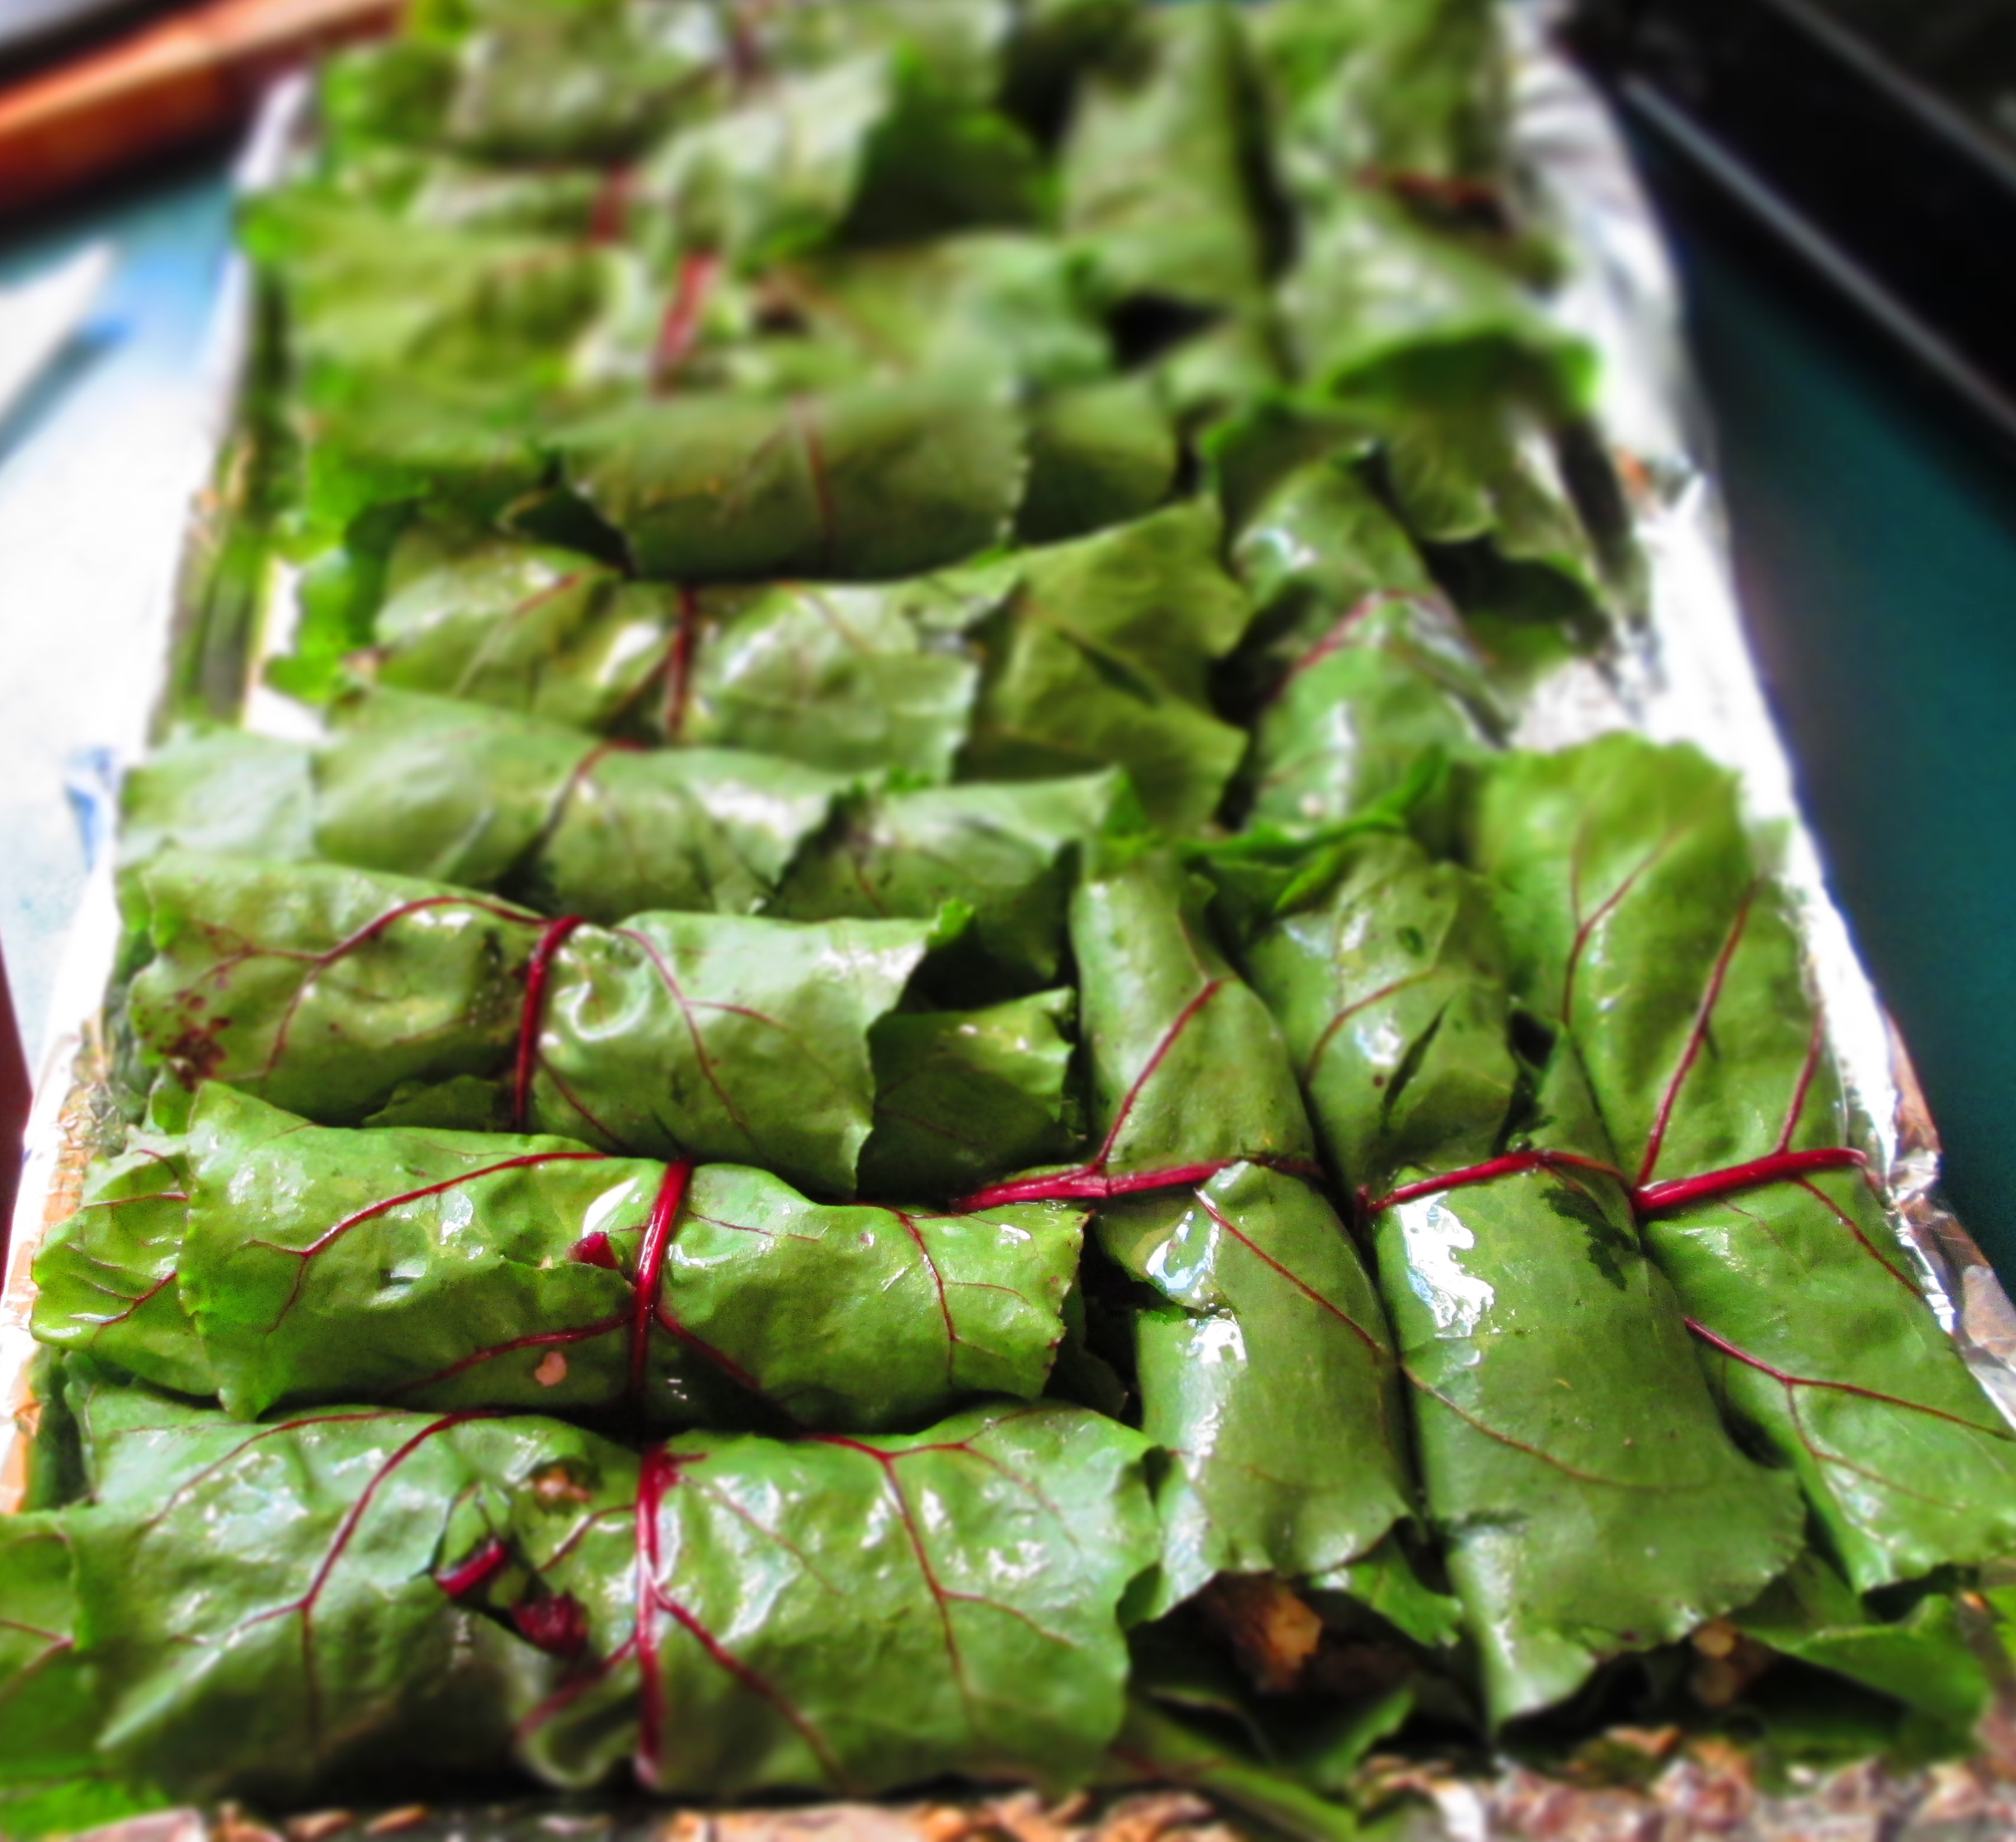
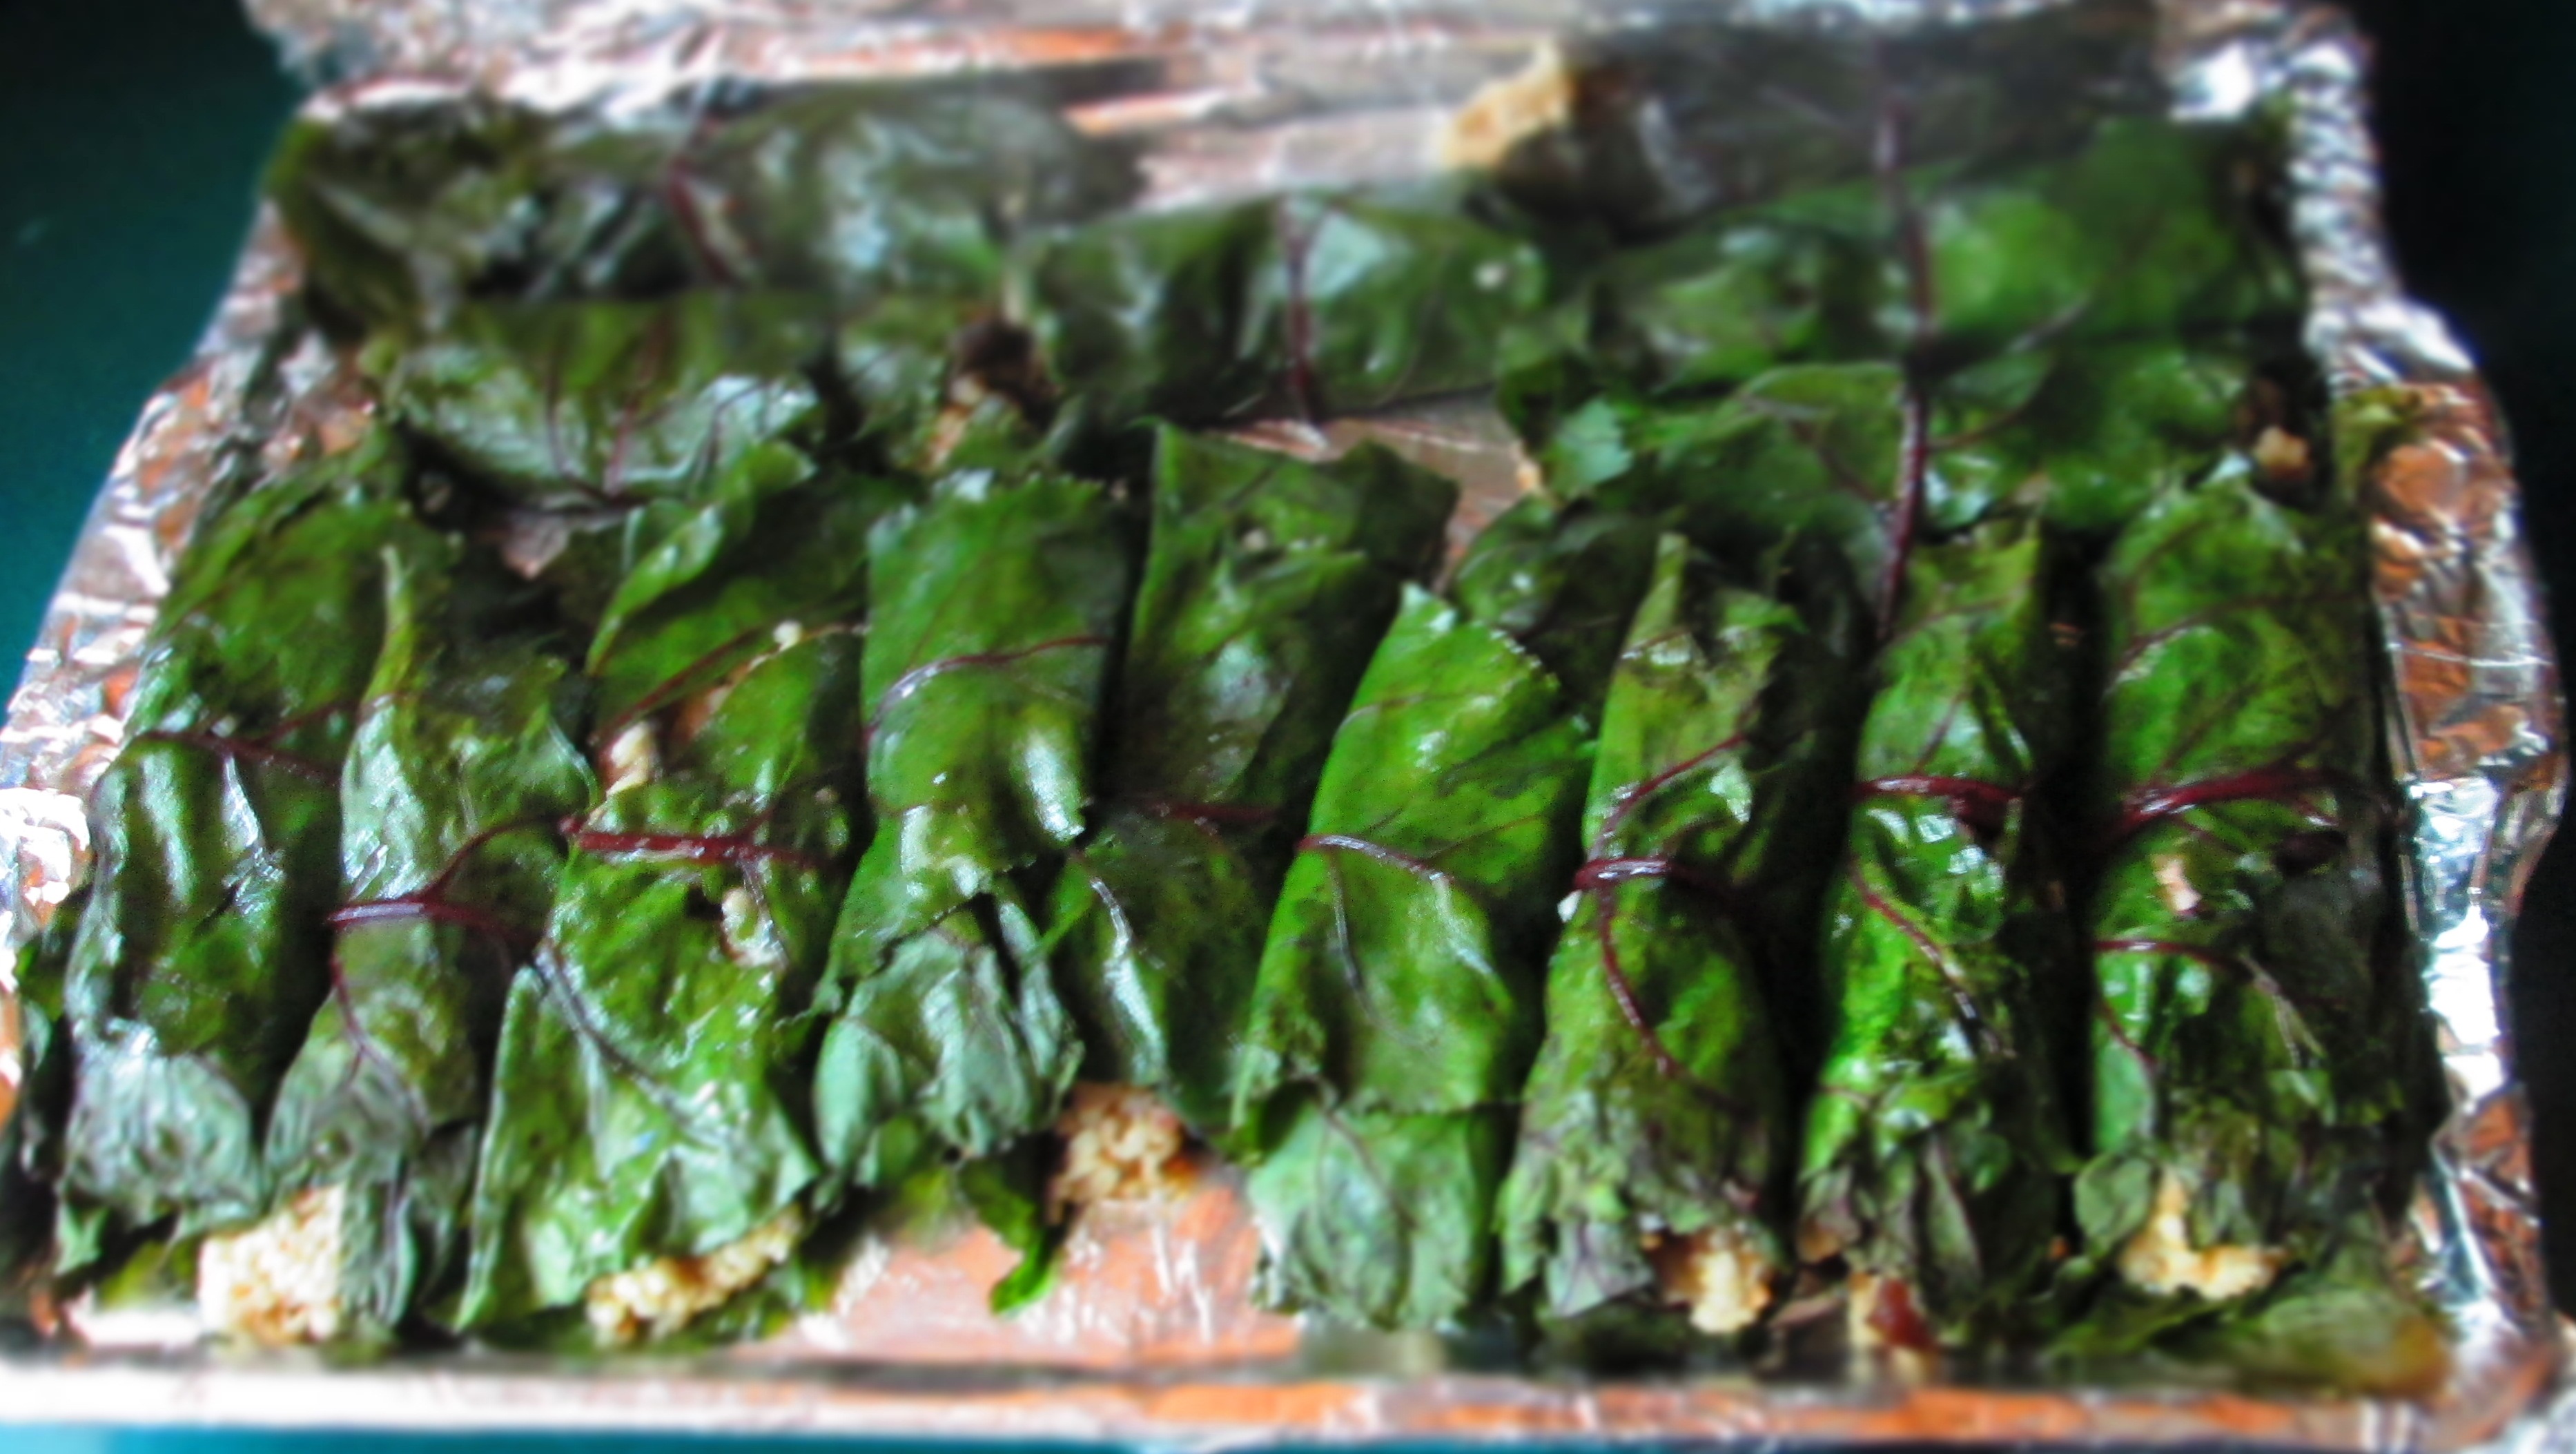
Pick out the largest, nicest leaves (you’ll need about 14) and place them on a kitchen towel to dry.Cut off the stems of the leaves. You may need to cut out a little bit of the ribs a the bottom if you find the leaves difficult to roll. Place 1/4 cup of the filling—less, if the leaf is smaller–at the base of a leaf and roll the leaf up. (It’s okay if the leaf tears a bit or the rib pokes through—you’re not making rolls that people will eat with their hand. These are fork rolls!)
Place it on the baking sheet. Repeat with remaining leaves. Pack the rolls close together. Gently brush olive oil over them.Cover tightly with foil. Bake 15 minutes. Transfer them to a serving platter, sprinkle more parmesan over the top, then drizzle with the extra virgin olive oil.Serve hot or at room temperature.
Despite the fact that I have less and less time to cook for myself these days, when I walk past the farmer’s market, I’m seduced by the beautiful vegetables. So, then I find myself with vegetables that I have no time to cook, but must.
This week, I had beets. The beets were firm and bright and the leaves were full and green. I couldn’t help myself. But I had to deal with them quickly. So, I went to my go-to beet recipe: Chickpea and Beet Salad. It’s simple, it’s fast (once the beets are cooked), and it’s satisfying.
The greens? My go-to greens recipe: sautéed in olive oil and garlic.
The reason for my lack of time? Well, apart from my work/commute issue, I have multiple projects happening at the same time. One of those is volume 2 of Vegetarian Italian: Traditions, which is finally under way after a very long delay at my publisher. It’s slated for release in April 2016. With any luck, that will be the case.
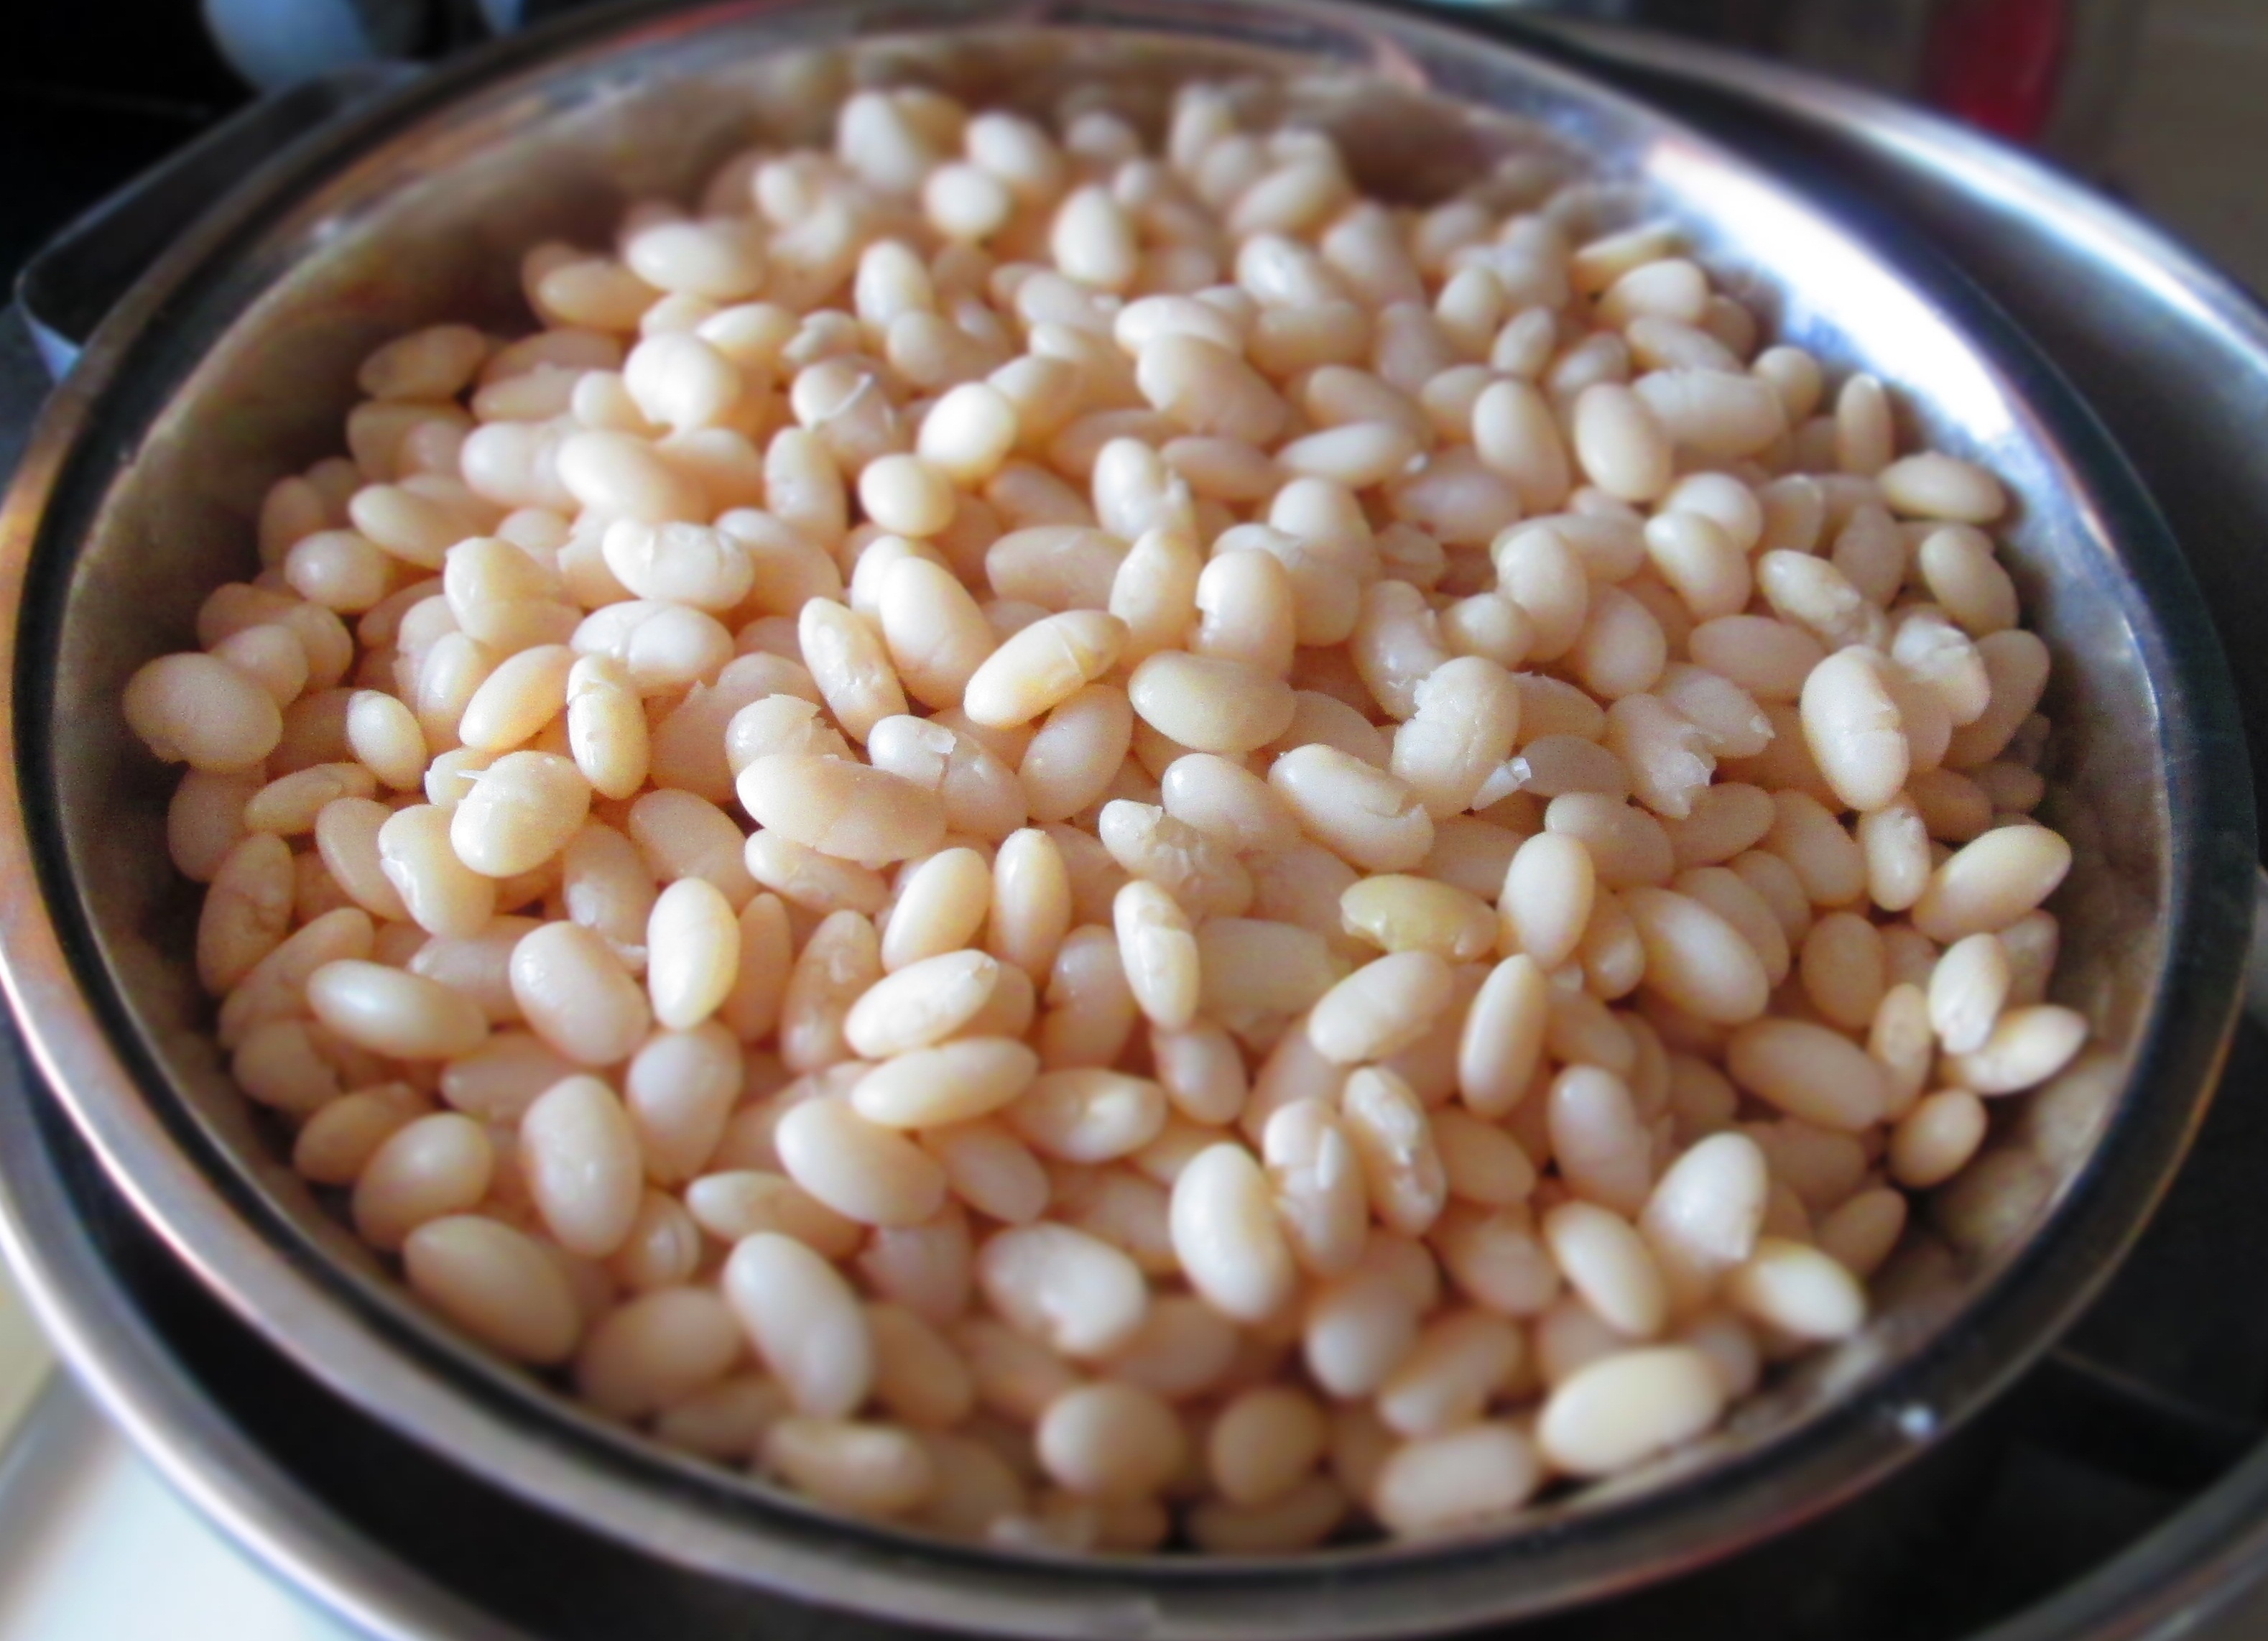
I recently found myself with an abundance of dried Great Northern beans, and if you stopped by here last time, you saw that I took some of those beans to make Tomato-y White Beans.
I had cooked up a huge batch, so I needed to come up with something else. And, as I also said last time, because it’s summer, I’ve had access to a bunch of tomatoes. Well, both they went into a food processor for a white bean spread. With a few additional ingredients, this is a flavorful, filling, yet light, snack. It’s also perfect to taking to a picnic or barbecue.
Sometimes you go through your pantry or refrigerator and see a bunch of stuff that you know you have to use or it will go bad. It’s been that way with me and all of these dried beans I realized I had. And since it’s summer, I also find myself with a steady influx of tomatoes.
I’m a whiz at utilitarian cooking. And I say that because it really doesn’t take much to be a whiz at utilitarian cooking. You basically just throw a bunch of stuff you have together and that’s it. And, usually, it works out better than any pre-meditated, planned, plotted, and plated dish you can conjure.
Okay, sometimes it doesn’t work out, but it usually does. I wouldn’t tell you about the stuff that doesn’t work out, anyway.
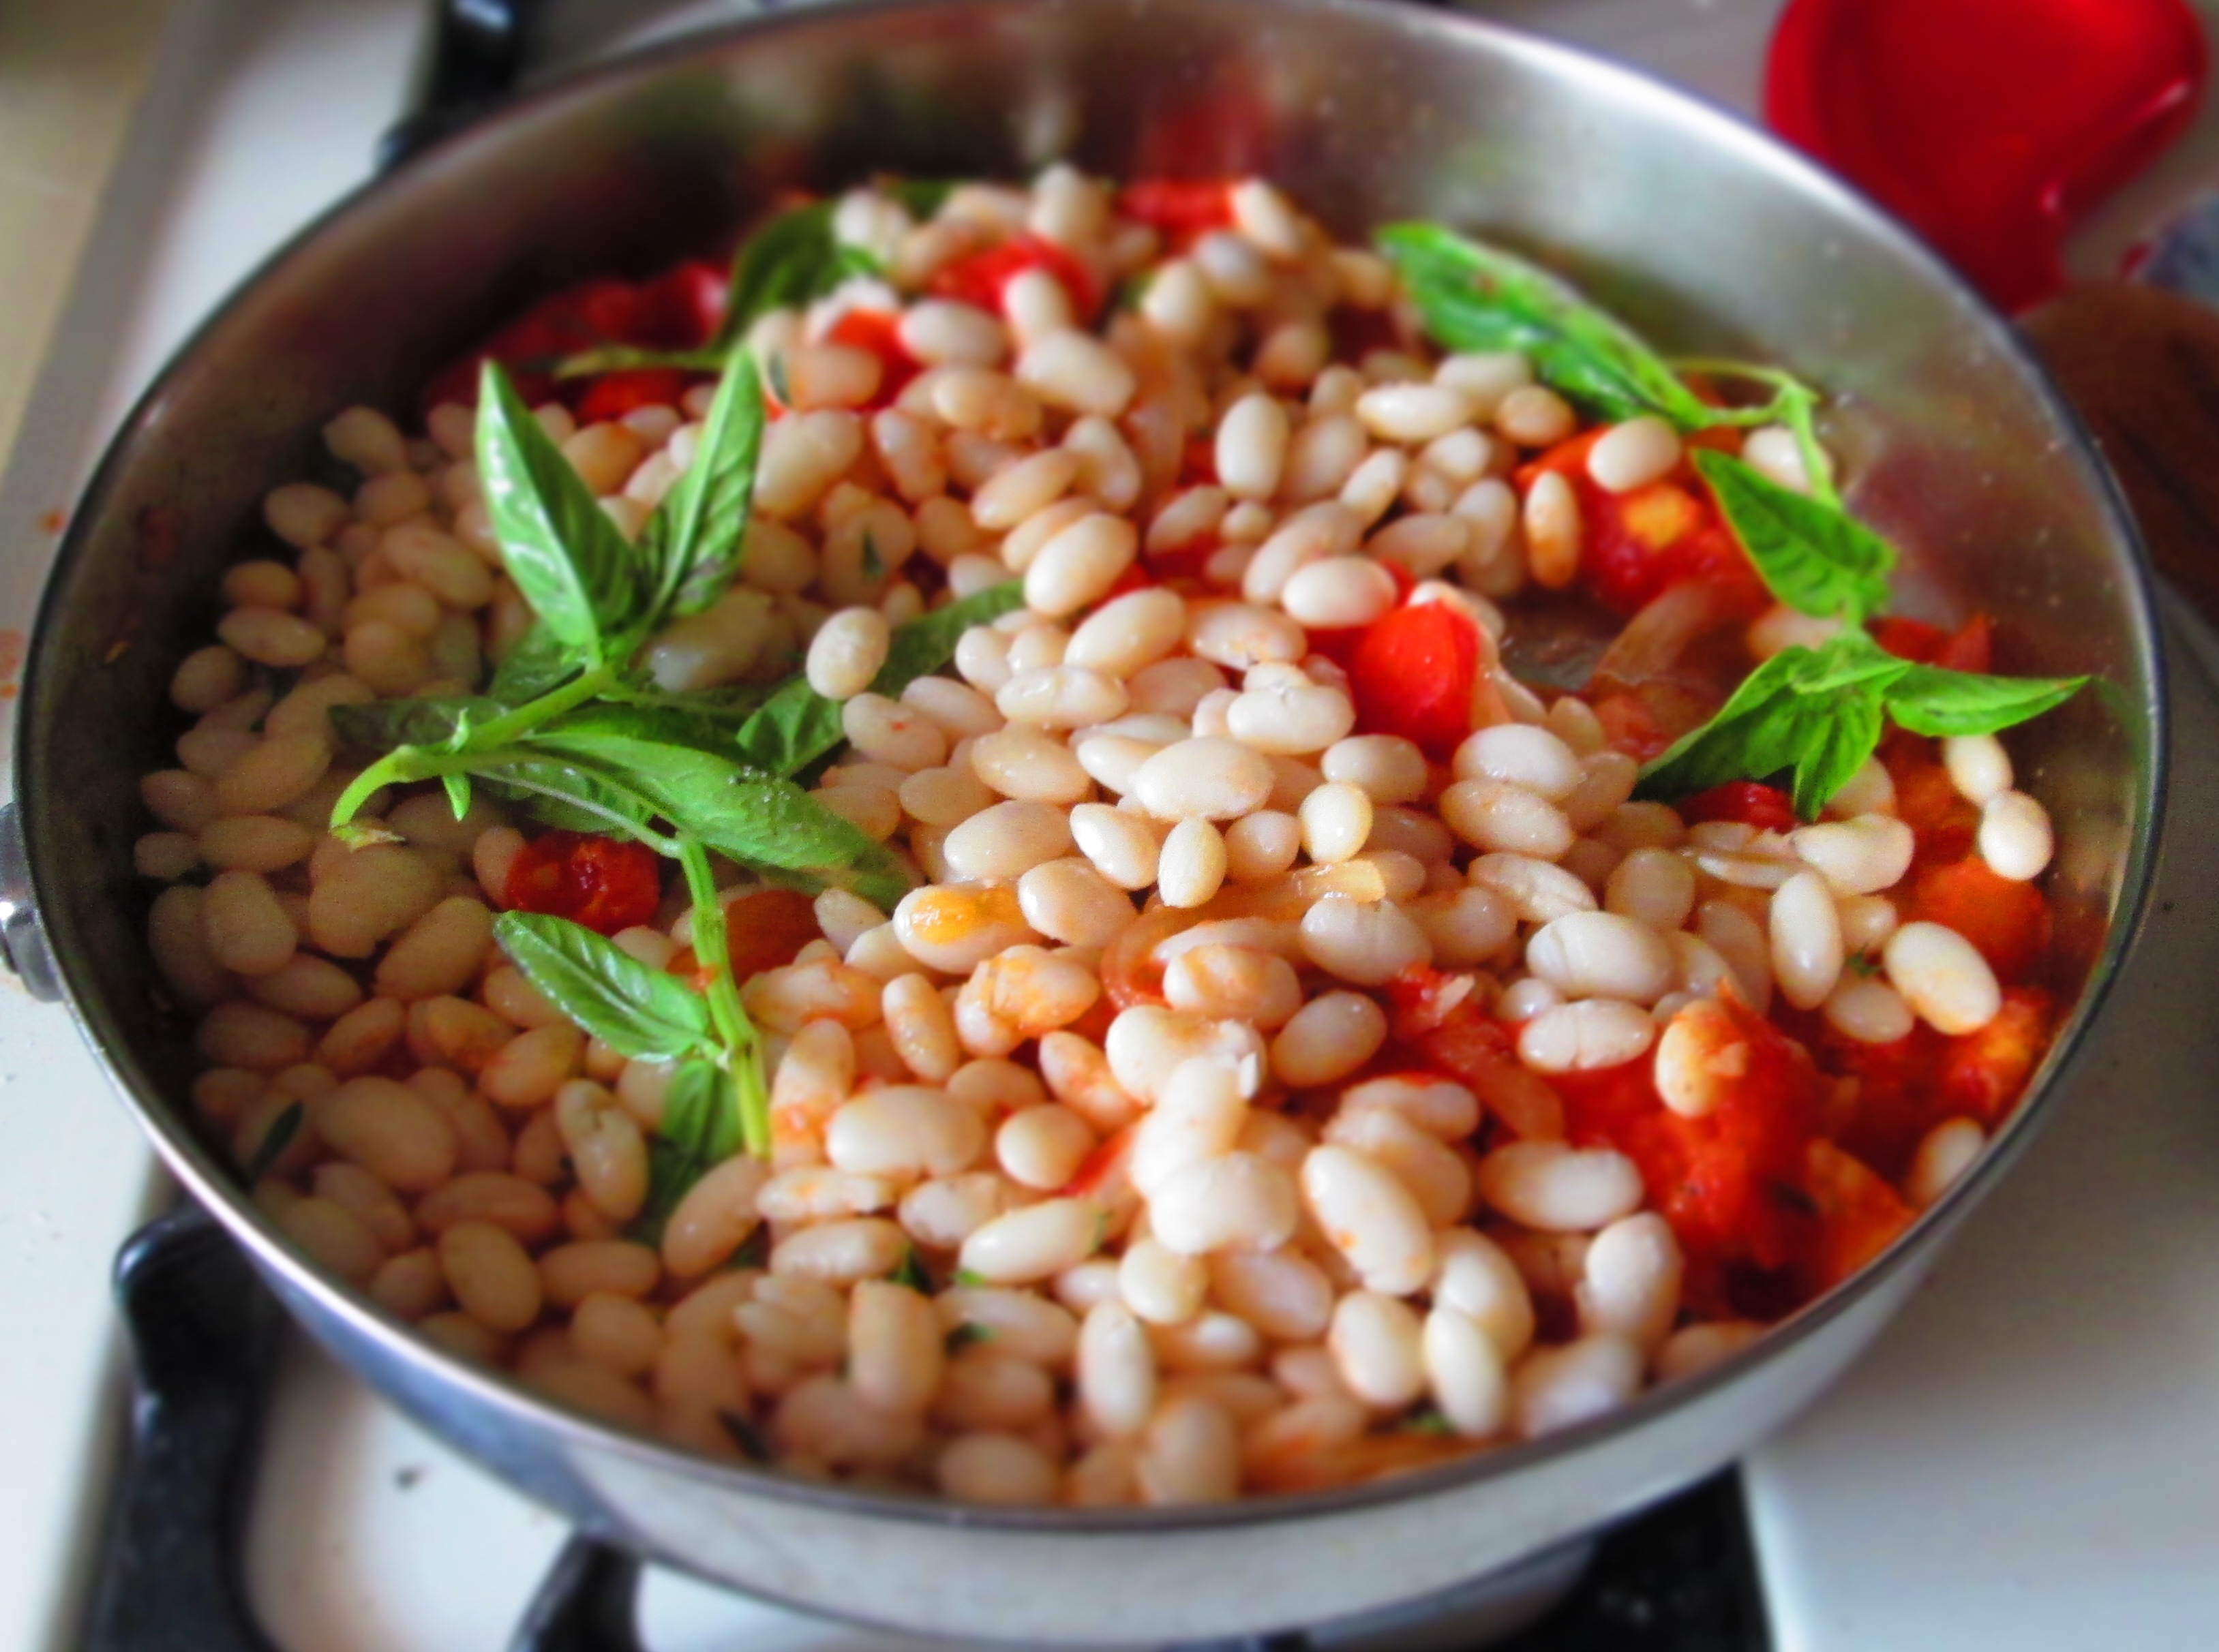
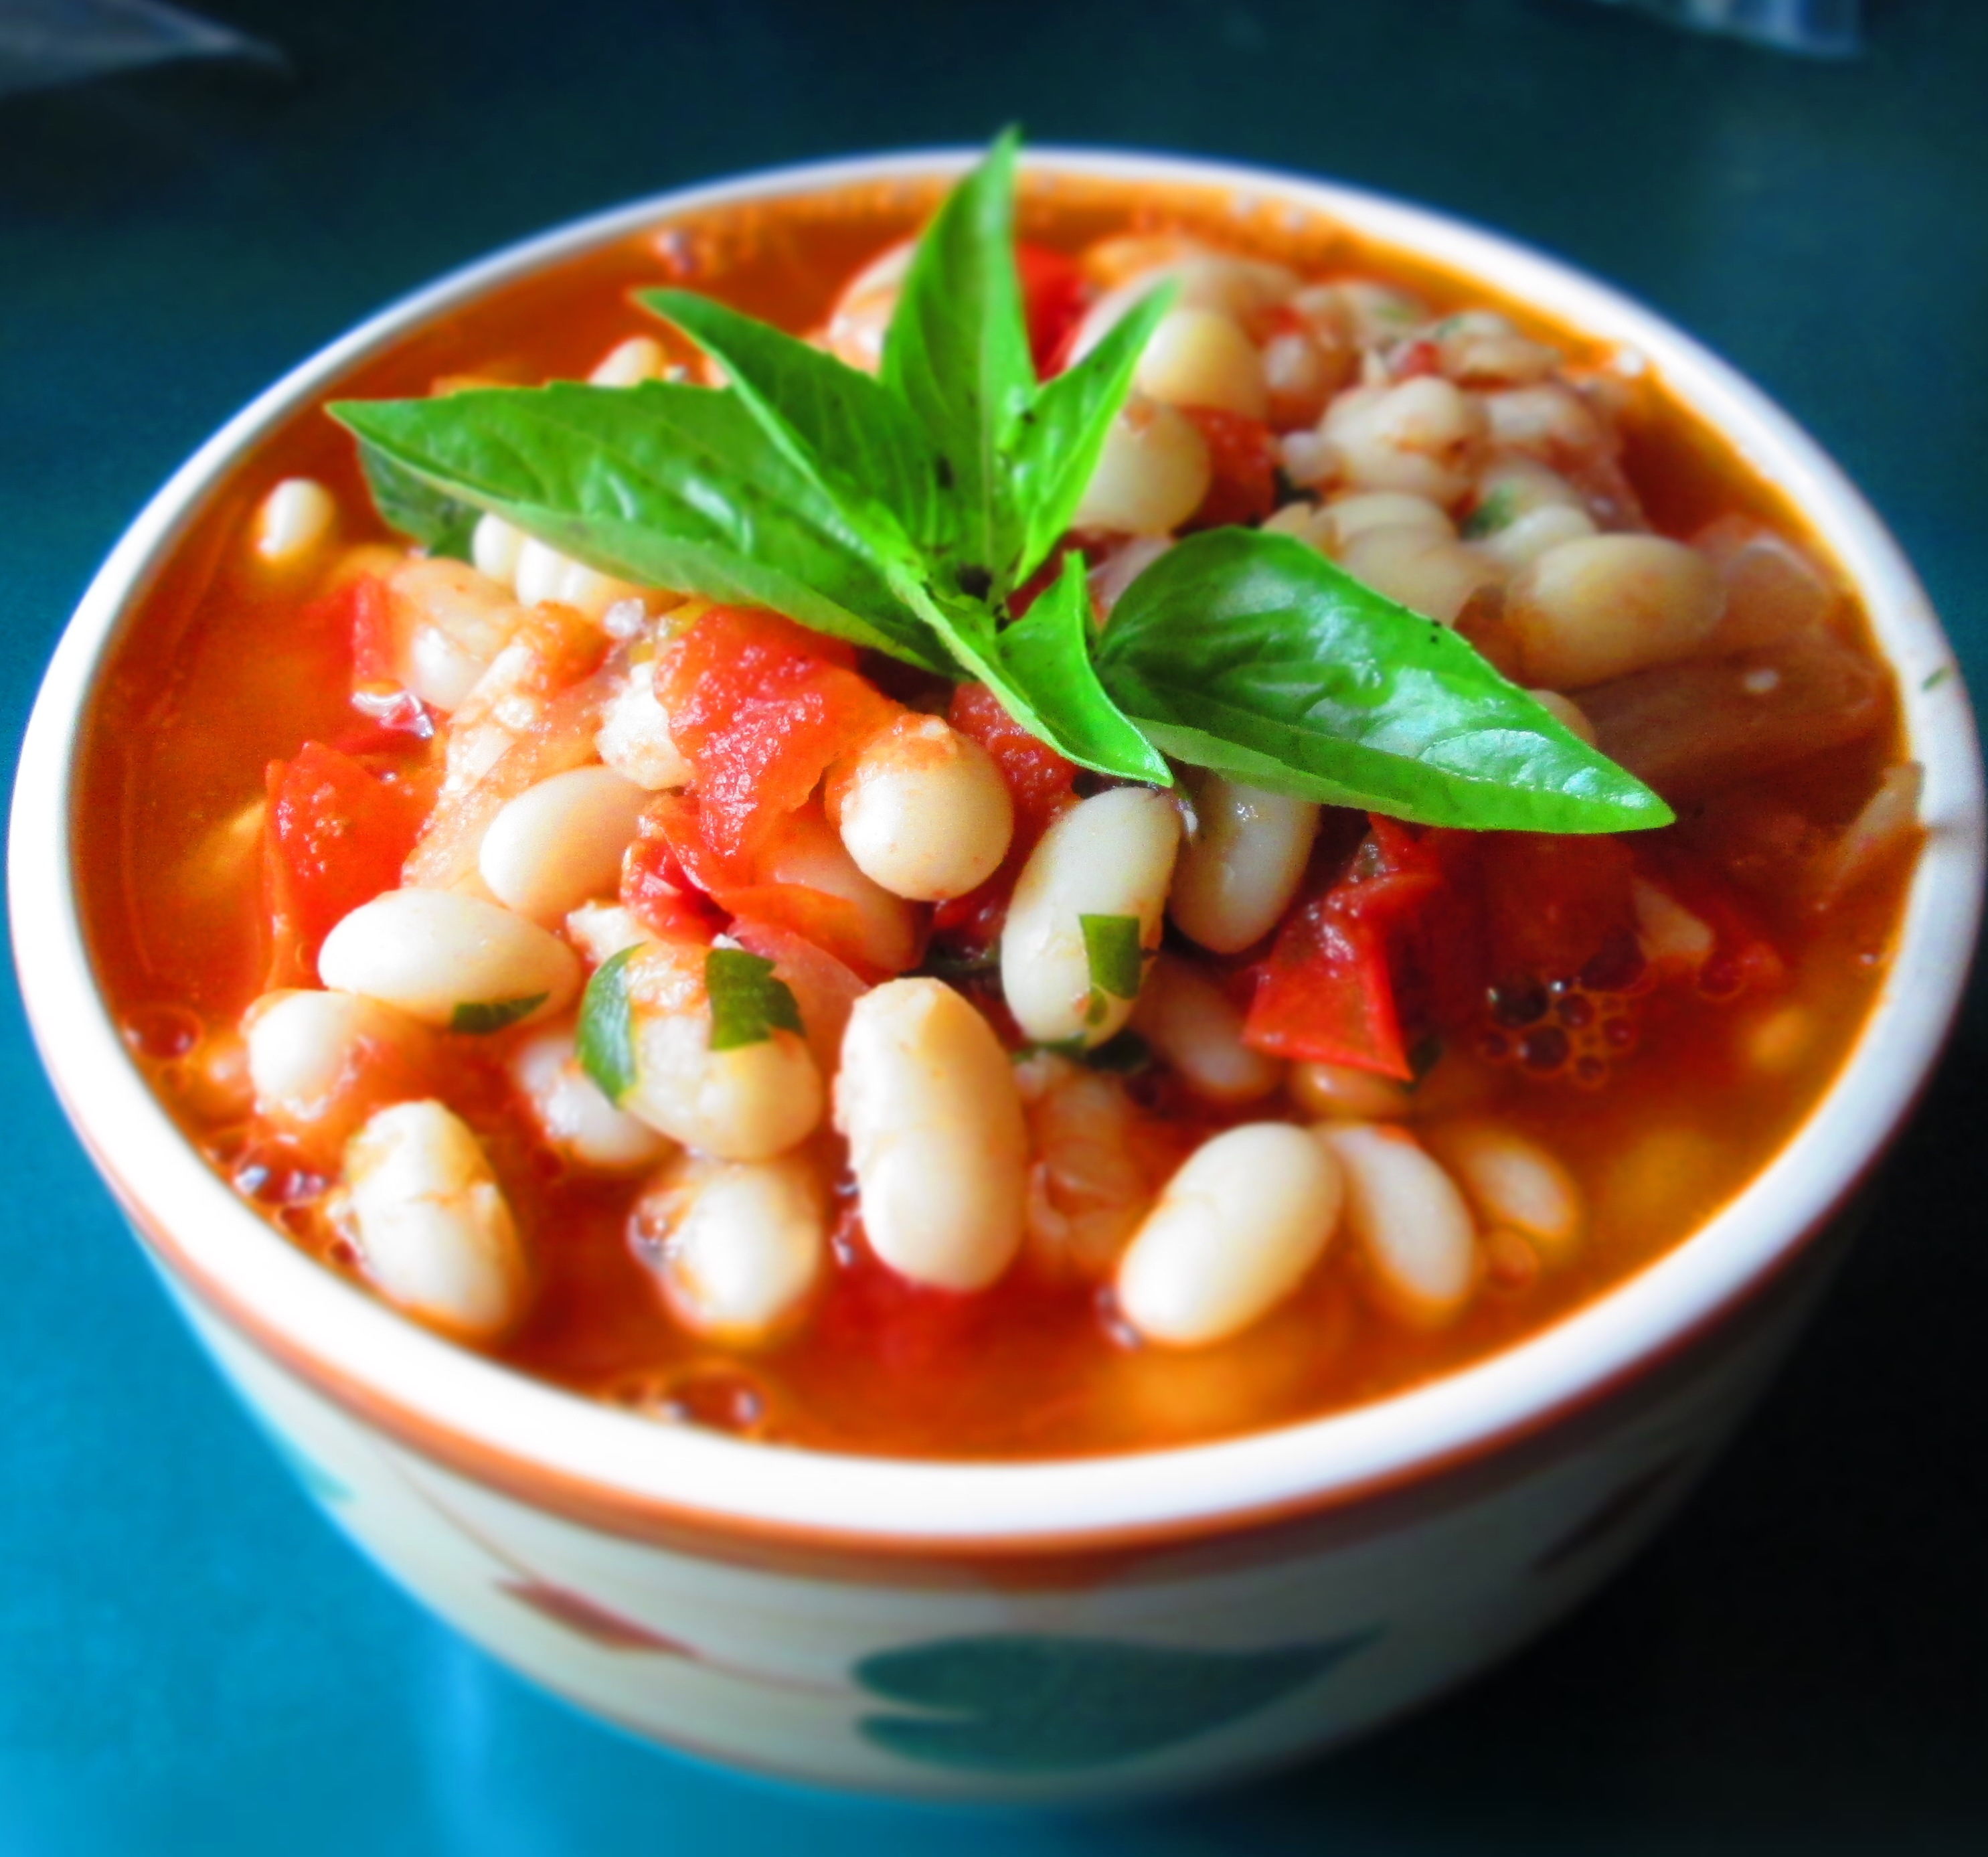
So, I cooked up a mess of Great Northern beans, added some fresh tomatoes from my mother’s garden, and got this: tomato-y white beans. It’s really simple, so I hope you give it a try.
Tomato-y White Beans
Makes about 6 servings.
1½ cups dried Great Northern beans 2 bay leaves 4 large garlic cloves ½ large onion, sliced 2 teaspoons kosher salt 2 teaspoons olive oil ¼ cup white wine 3 or 4 medium tomatoes, seeded and chopped Freshly ground black pepper 1/2 cup vegetable broth Fresh herbs (whatever you have available)
Place the beans in a bowl and cover with water by about 3 inches. Cover and soak overnight.The next day, drain the beans and place them in a medium pot. Add water to cover by about 2 inches. Add the bay leaves. Smash two of the garlic cloves and add them to the pot, along with half the onion, and 1 teaspoon of the salt. Bring to a boil. Lower the heat to low; partially cover the pot, and simmer until the beans are tender but still firm, about 45 minutes.Drain the beans in a colander and remove the bay leaves and garlic and discard. Finely chop the rest of the garlic.Heat the oil, in a wide pan. Add the rest of the onion and cook until translucent. Add the garlic and sauté one more minute. Add the wine and let it cook until it’s evaporated. Add the tomatoes, the rest of the salt, pepper and sauté 5 minutes.Add the beans, broth, and herbs (I had basil, savory, and parsley), and cook for about 5 minutes, or until it thickens.You’re ready to eat. Have it over rice, pasta, or with crusty bread.
I was passing by a market that had some fruit on display outside. I was paying no attention to it, but something caught my eye. They had a box of mini round watermelons. They looked so cute, I had to have one. So, I picked one out and took it home. (I paid for it first, of course.)
When I cut it open, I discovered that it was a yellow watermelon. They hadn’t labeled it yellow—the sign only said “sweet.” I love finding yellow watermelons. They’re like yellow topazes, sparkling in the light.
Unfortunately, it was a lot prettier than it was tasty. They lied. It wasn’t sweet.
Now I had to find a way to enjoy this melon without resenting the money I paid for it.
So, I cut it up and put some booze in it. But not just any booze. I had this beautiful elderflower rum that I picked up at a farmers’ market in Vermont and it paired perfectly with the melon. Then I decided to mash it and make it into a slushy.Continue reading →
Irish cuisine is traditionally hearty and to the point. Years of impoverishment and famine led to honest cooking that holds the utmost respect for the food being used. In other words, food was not taken for granted. And it made use of foods that were available—the crops that would easily grow in the Irish terrain and the livestock that were raised in the countryside.
The food probably most associated with Ireland is the potato. Potatoes were introduced in the 16th century and because they grew abundantly and cheaply, they became the most important crop in feeding the masses, which is why when a blight destroyed potato crops in the mid-1800s, famine decimated the population.
Another important item in Irish cuisine is cabbage. It, too, grows abundantly and cheaply and, like potatoes, lasts a long time in storage. Sometimes kale is used, or other members of the cabbage family.
Colcannon became known in the 18th century, but some food historians believe that it existed before then. It combines these two staple ingredients in the simplest, most basic of ways: boiled and combined into a mash. Okay, there’s a bit more to it than that, but not much. The potatoes and cabbage are flavored by sautéed leeks and enriched with butter.
For a little more in-depth history of Irish cuisine, and specifically colcannon, check out FoodTimeline.org or DoChara.com.
So, make this traditional Irish dish for St. Patrick’s Day and may the luck o’ the Irish be with you.
Erin go bragh.
(This recipe will be appearing in one of my upcoming cookbooks, so please do not reprint it in any format without express written permission. That doesn’t mean you shouldn’t print it out–you definitely should! Thanks!)
Colcannon
Mashed Potatoes and Cabbage
4 cups thinly sliced cabbage
1 tbsp + 1 tsp salt
2 large potatoes, quartered
2 tbsp butter
1 cup milk
Pepper to taste
1 tbsp canola oil
2 large leeks, washed and sliced
2 tbsp minced parsley for garnish (optional)
Bring a large pot of water to a boil; add the cabbage and 1 tsp salt. Lower the heat to medium-low and boil until tender, about 12 to 15 minutes. Drain well.
At the same time, place the potatoes in a medium pot and cover with water. Bring it to a boil; lower the heat to medium-low, partially cover, and boil until tender when pierced with a knife, about 15 to 20 minutes. Drain, peel, place in a bowl, and coarsely mash. Add the milk, butter, ½ tablespoon of the salt, and pepper and mix well.
Heat the oil in a wide pan. Add the leeks and sauté until soft and golden brown, about 15 minutes. Add the cooked cabbage and remaining salt and sauté over medium-high heat, stirring often, until cabbage starts to brown. Add to the mashed potatoes and mix well. Taste for seasoning and adjust, if necessary. Transfer the colcannon to a platter. Garnish with parsley and serve hot.
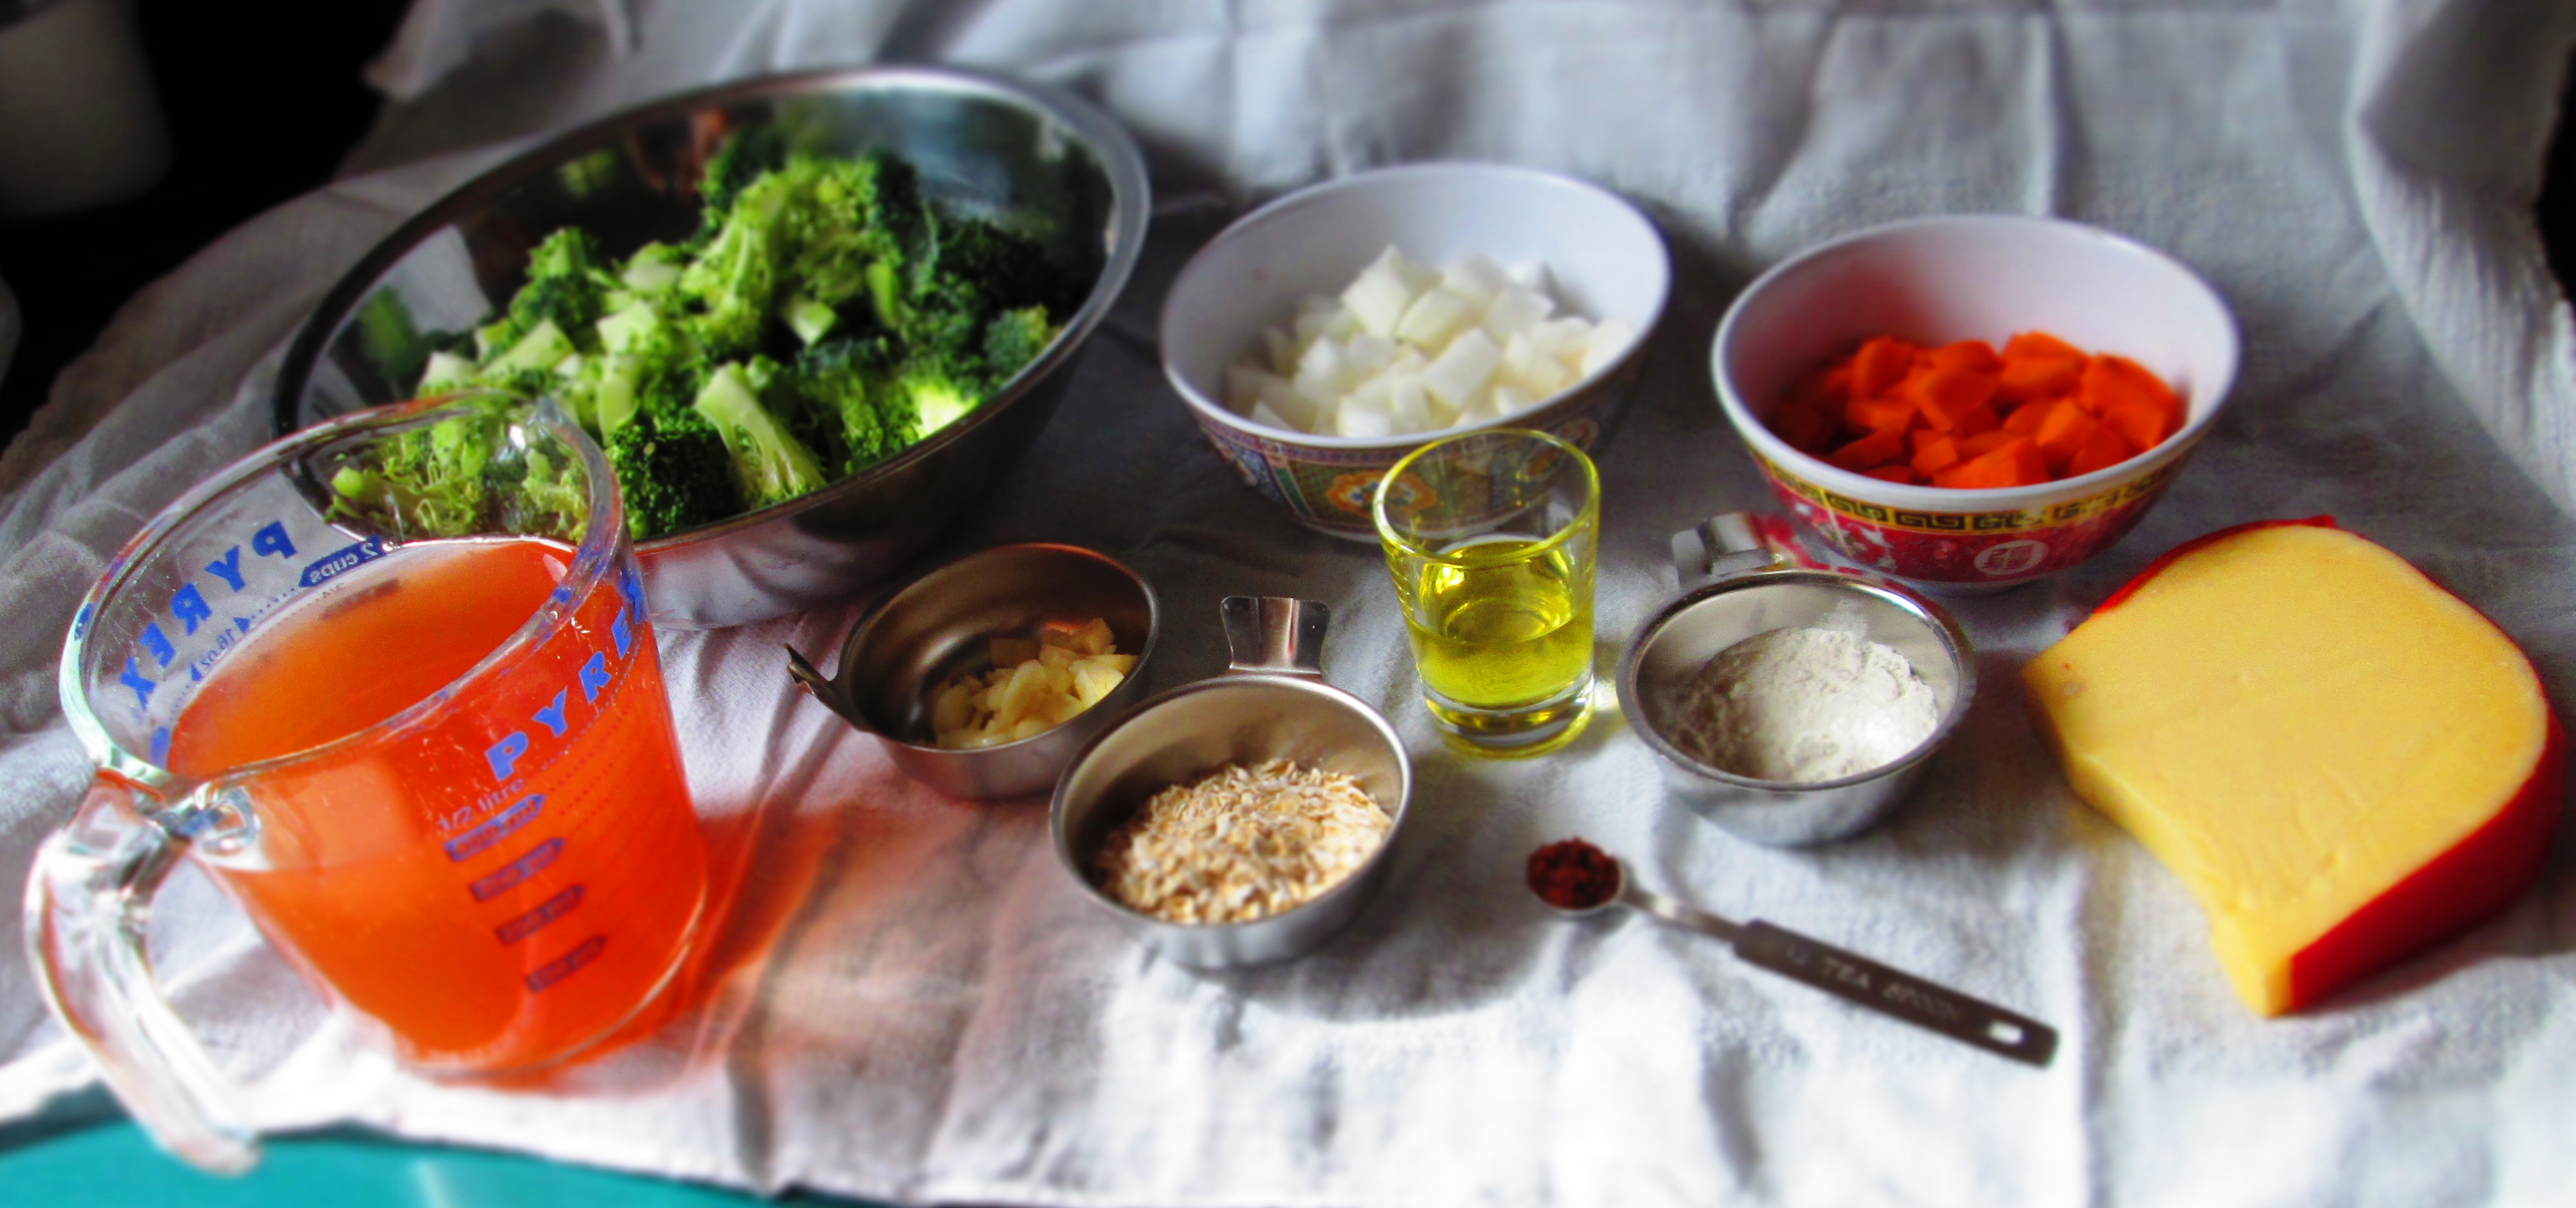
This is one of those recipes that came from wanting to satisfy a craving with what was already at hand. I had purchased a head of broccoli because I wanted some in a veggie quesadilla. But there’s only so much broccoli you can put in a quesadilla.
I looked at the leftover broccoli and cheddar cheese (also purchased for the quesadilla) and I instantly thought “broccoli-cheddar soup.” Then I remembered that I had a piece of Gouda cheese that needed to be used and I thought, “Okay, broccoli-Gouda soup.”
Traditionally, broccoli-cheese soup uses milk or half-and-half, but I didn’t want to use any dairy (apart from the cheese). So I thought to use a technique I learned in culinary school for thickening cream soups: oats. It thickens it up without adding the extra fat and calories and keeps the soup light and filling without being overly rich.
I just threw all these ingredients together and I was immensely pleased with the result. This soup is hearty and filling, but less heavy than cream-based soups as well as healthier. The flavor is deep and pleasing, and it looks really appetizing. It would be well complemented by croutons or toast, and a side of green or bean salad.
By the way, if you want to go completely dairy-free, the soup was already delicious even before I stirred in the cheese. So go ahead and omit it—you’ll enjoy it just the same.
Creamless Broccoli-Gouda Soup
Makes 4 servings.
1 tablespoon olive oil
1 cup coarsely chopped white onion
4 large cloves garlic, finely chopped
¼ teaspoon nutmeg
1 medium head broccoli, chopped (florets and tender stems)
1 small carrot, coarsely chopped
1 teaspoon kosher salt
Freshly ground black pepper to taste
2 cups vegetable broth
2 tablespoons quick-cooking oats
2 tablespoons flour
4 oz. Gouda, shredded
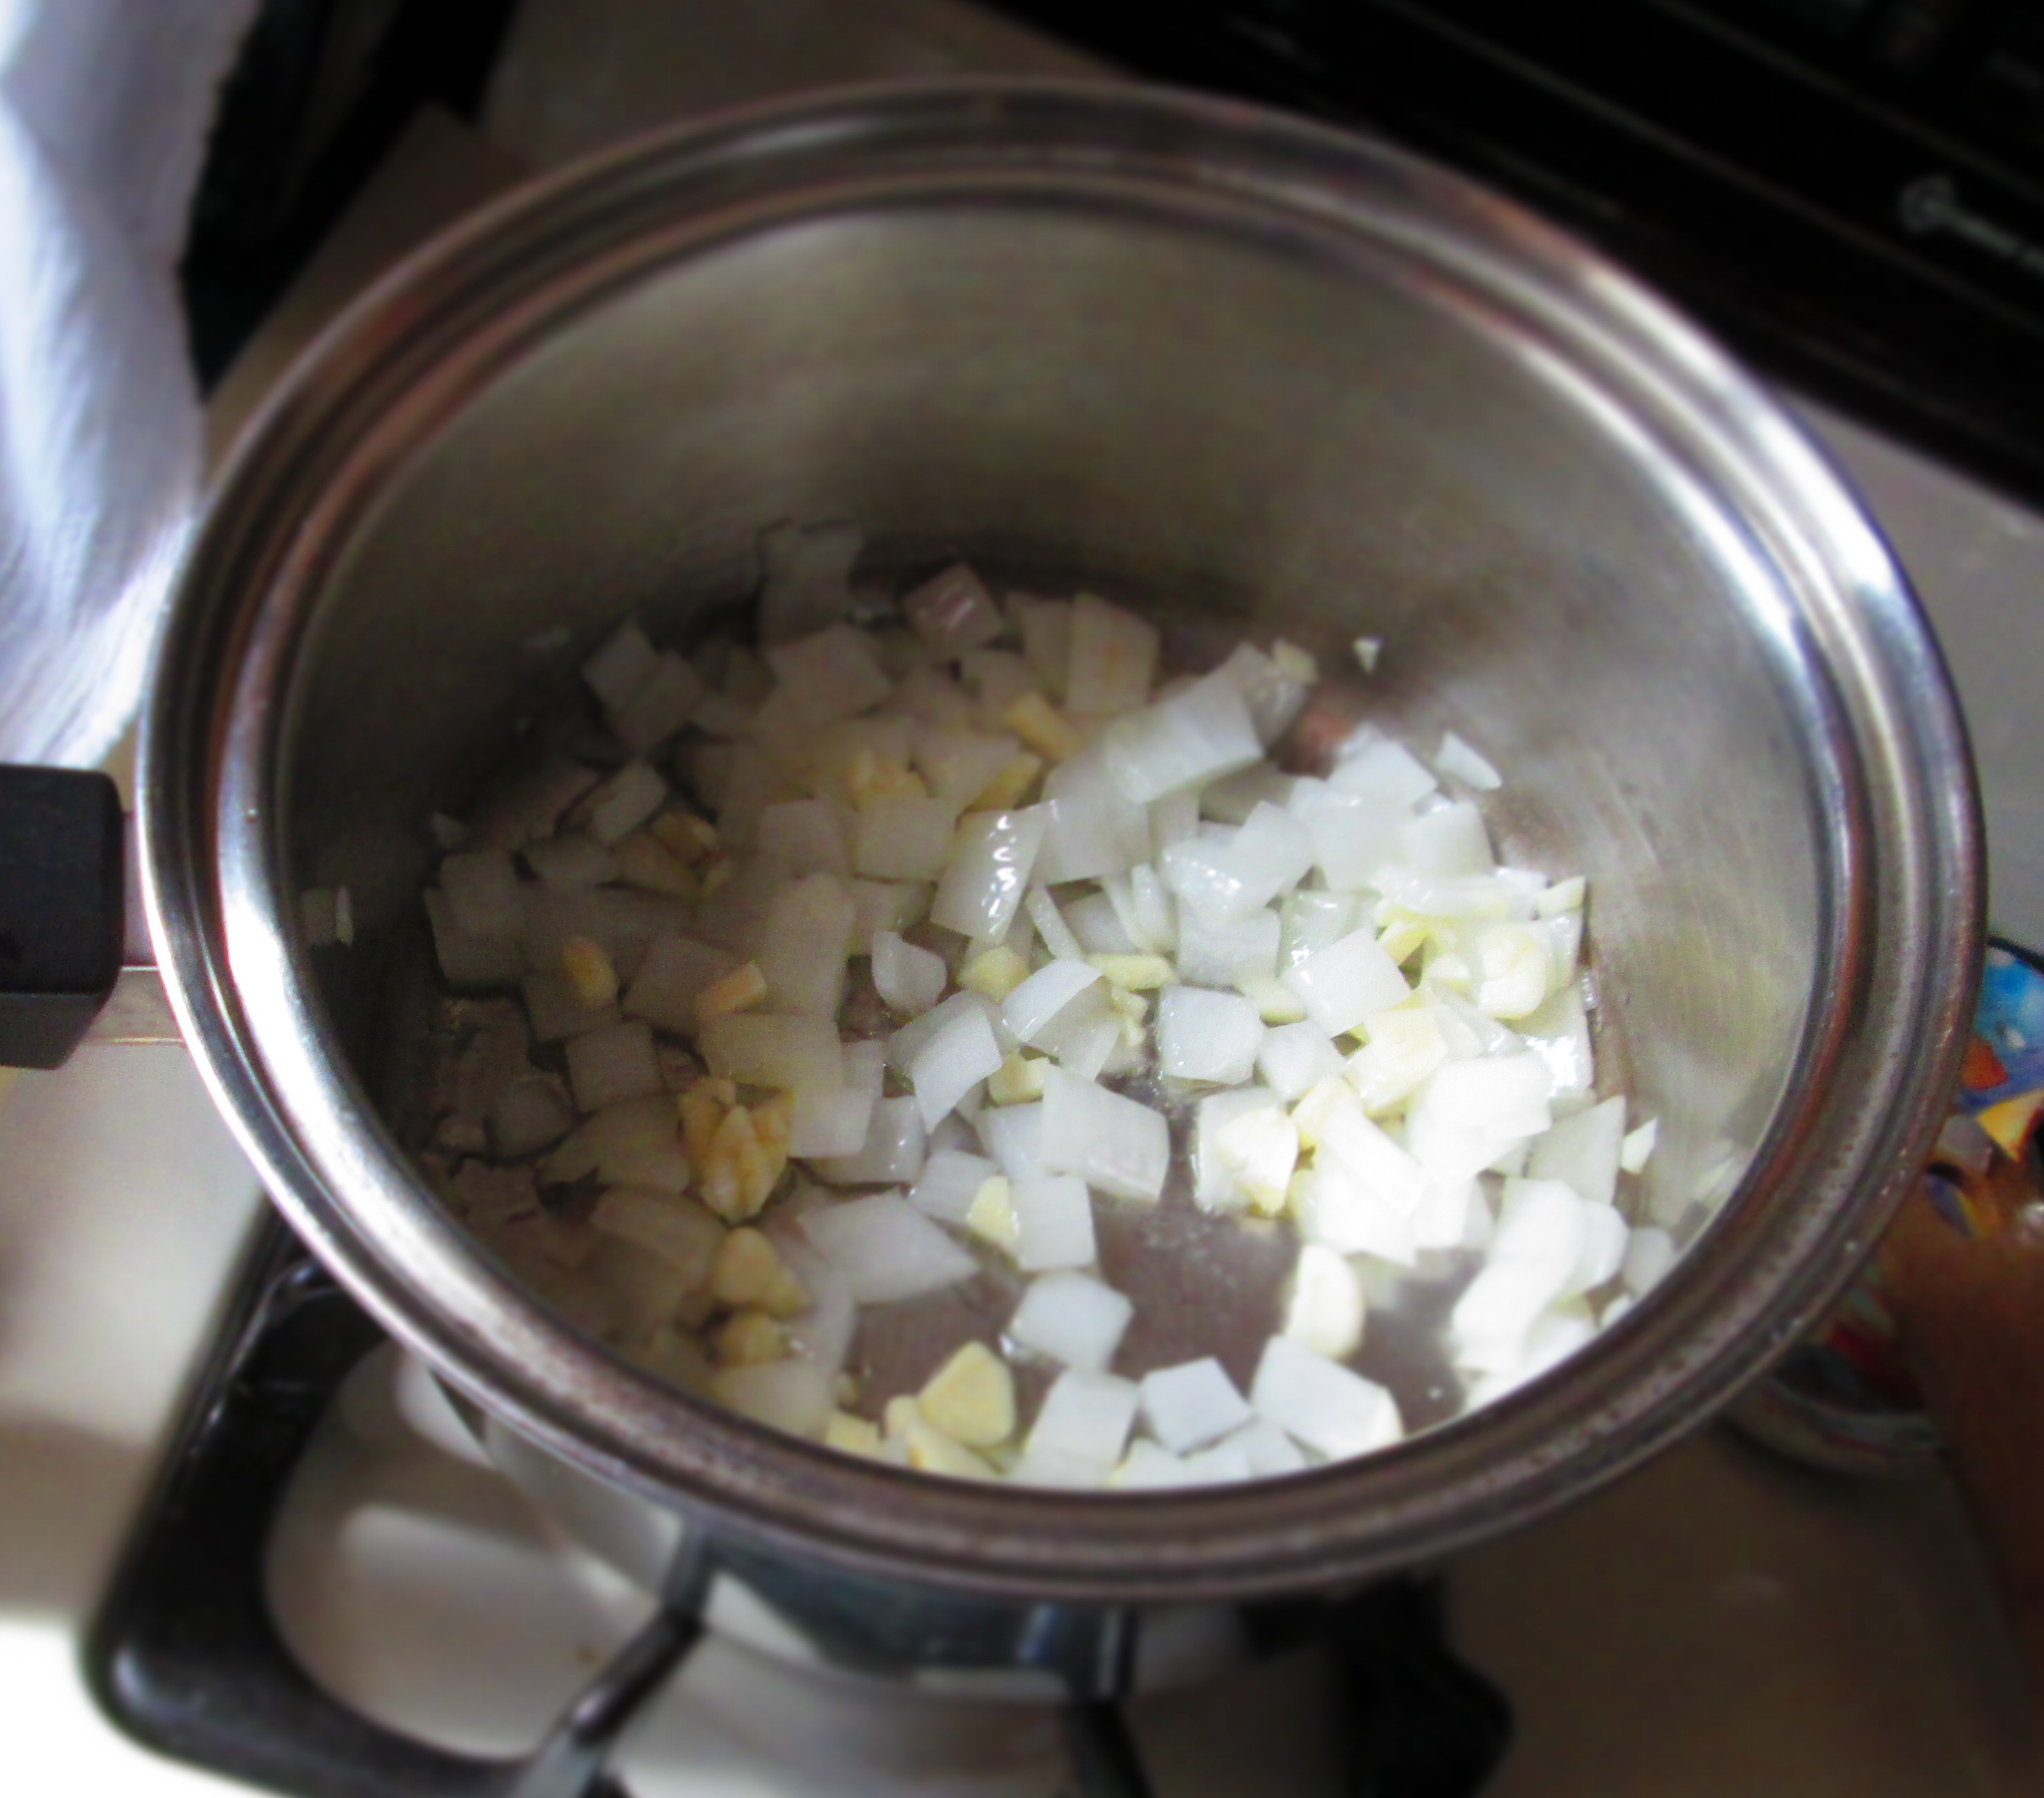
Heat 1 teaspoon oil in a medium pot. Add onion and saute over medium heat until soft and translucent. Add garlic and nutmeg and saute another minute.
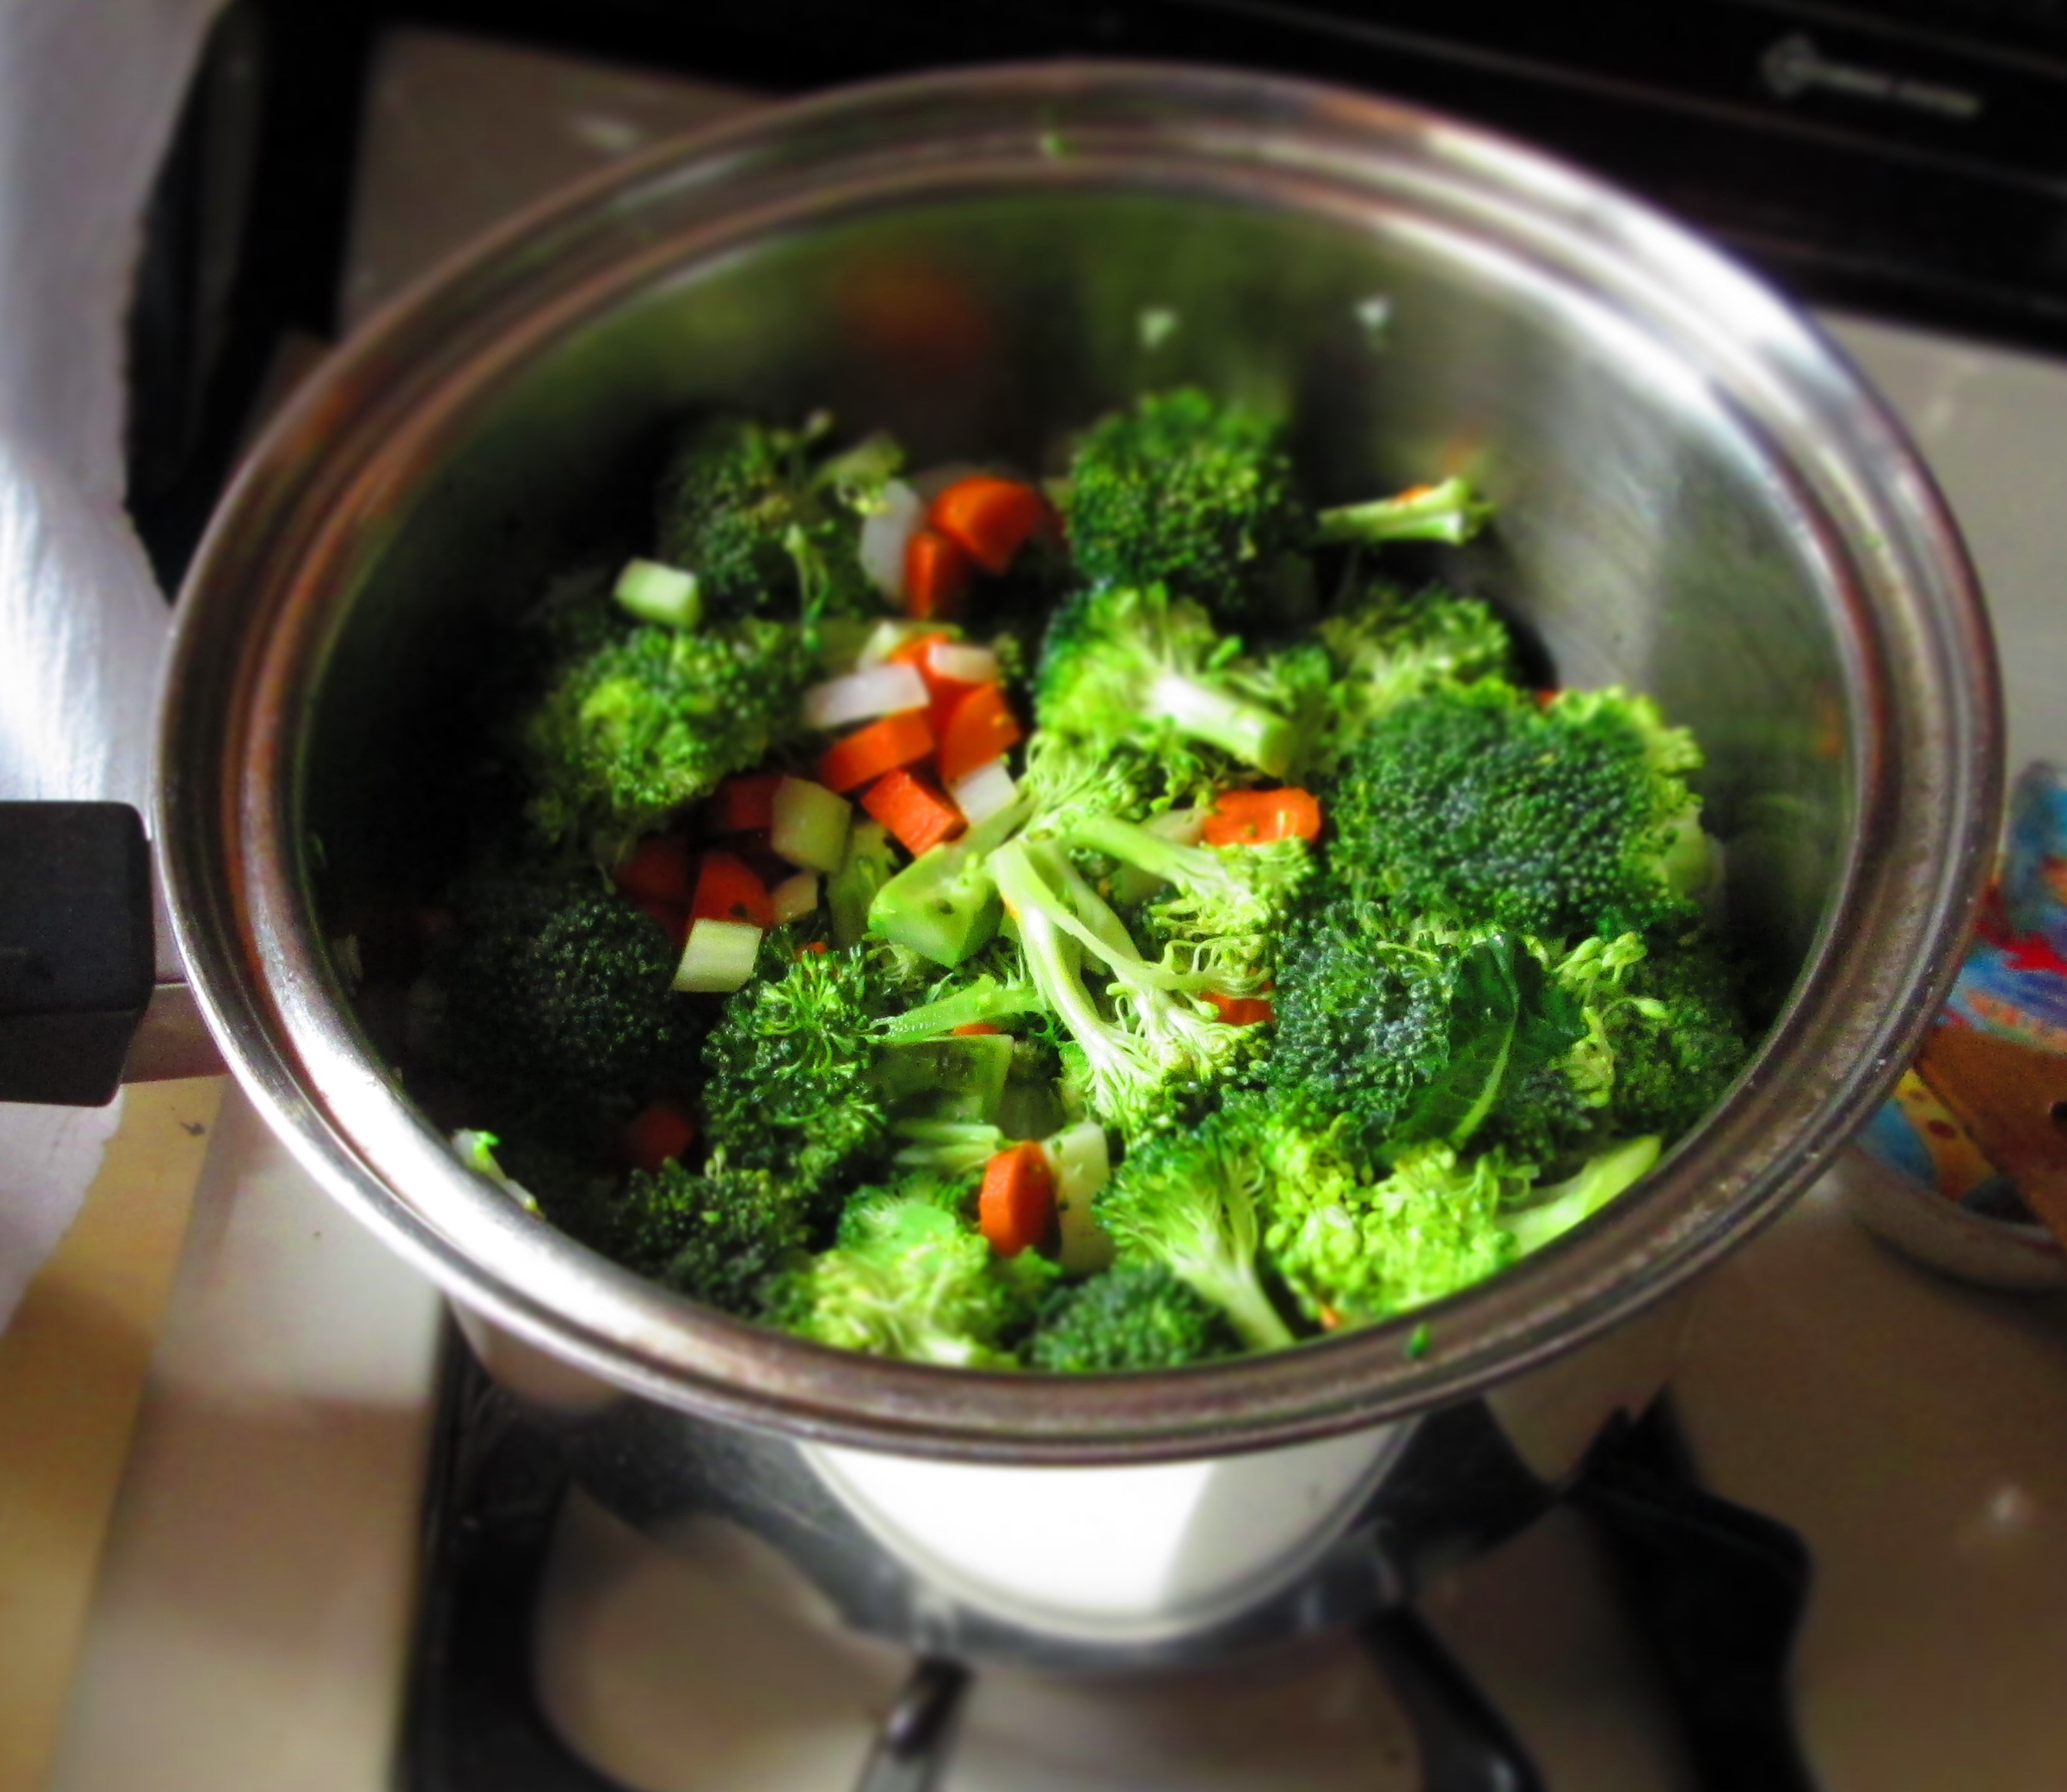
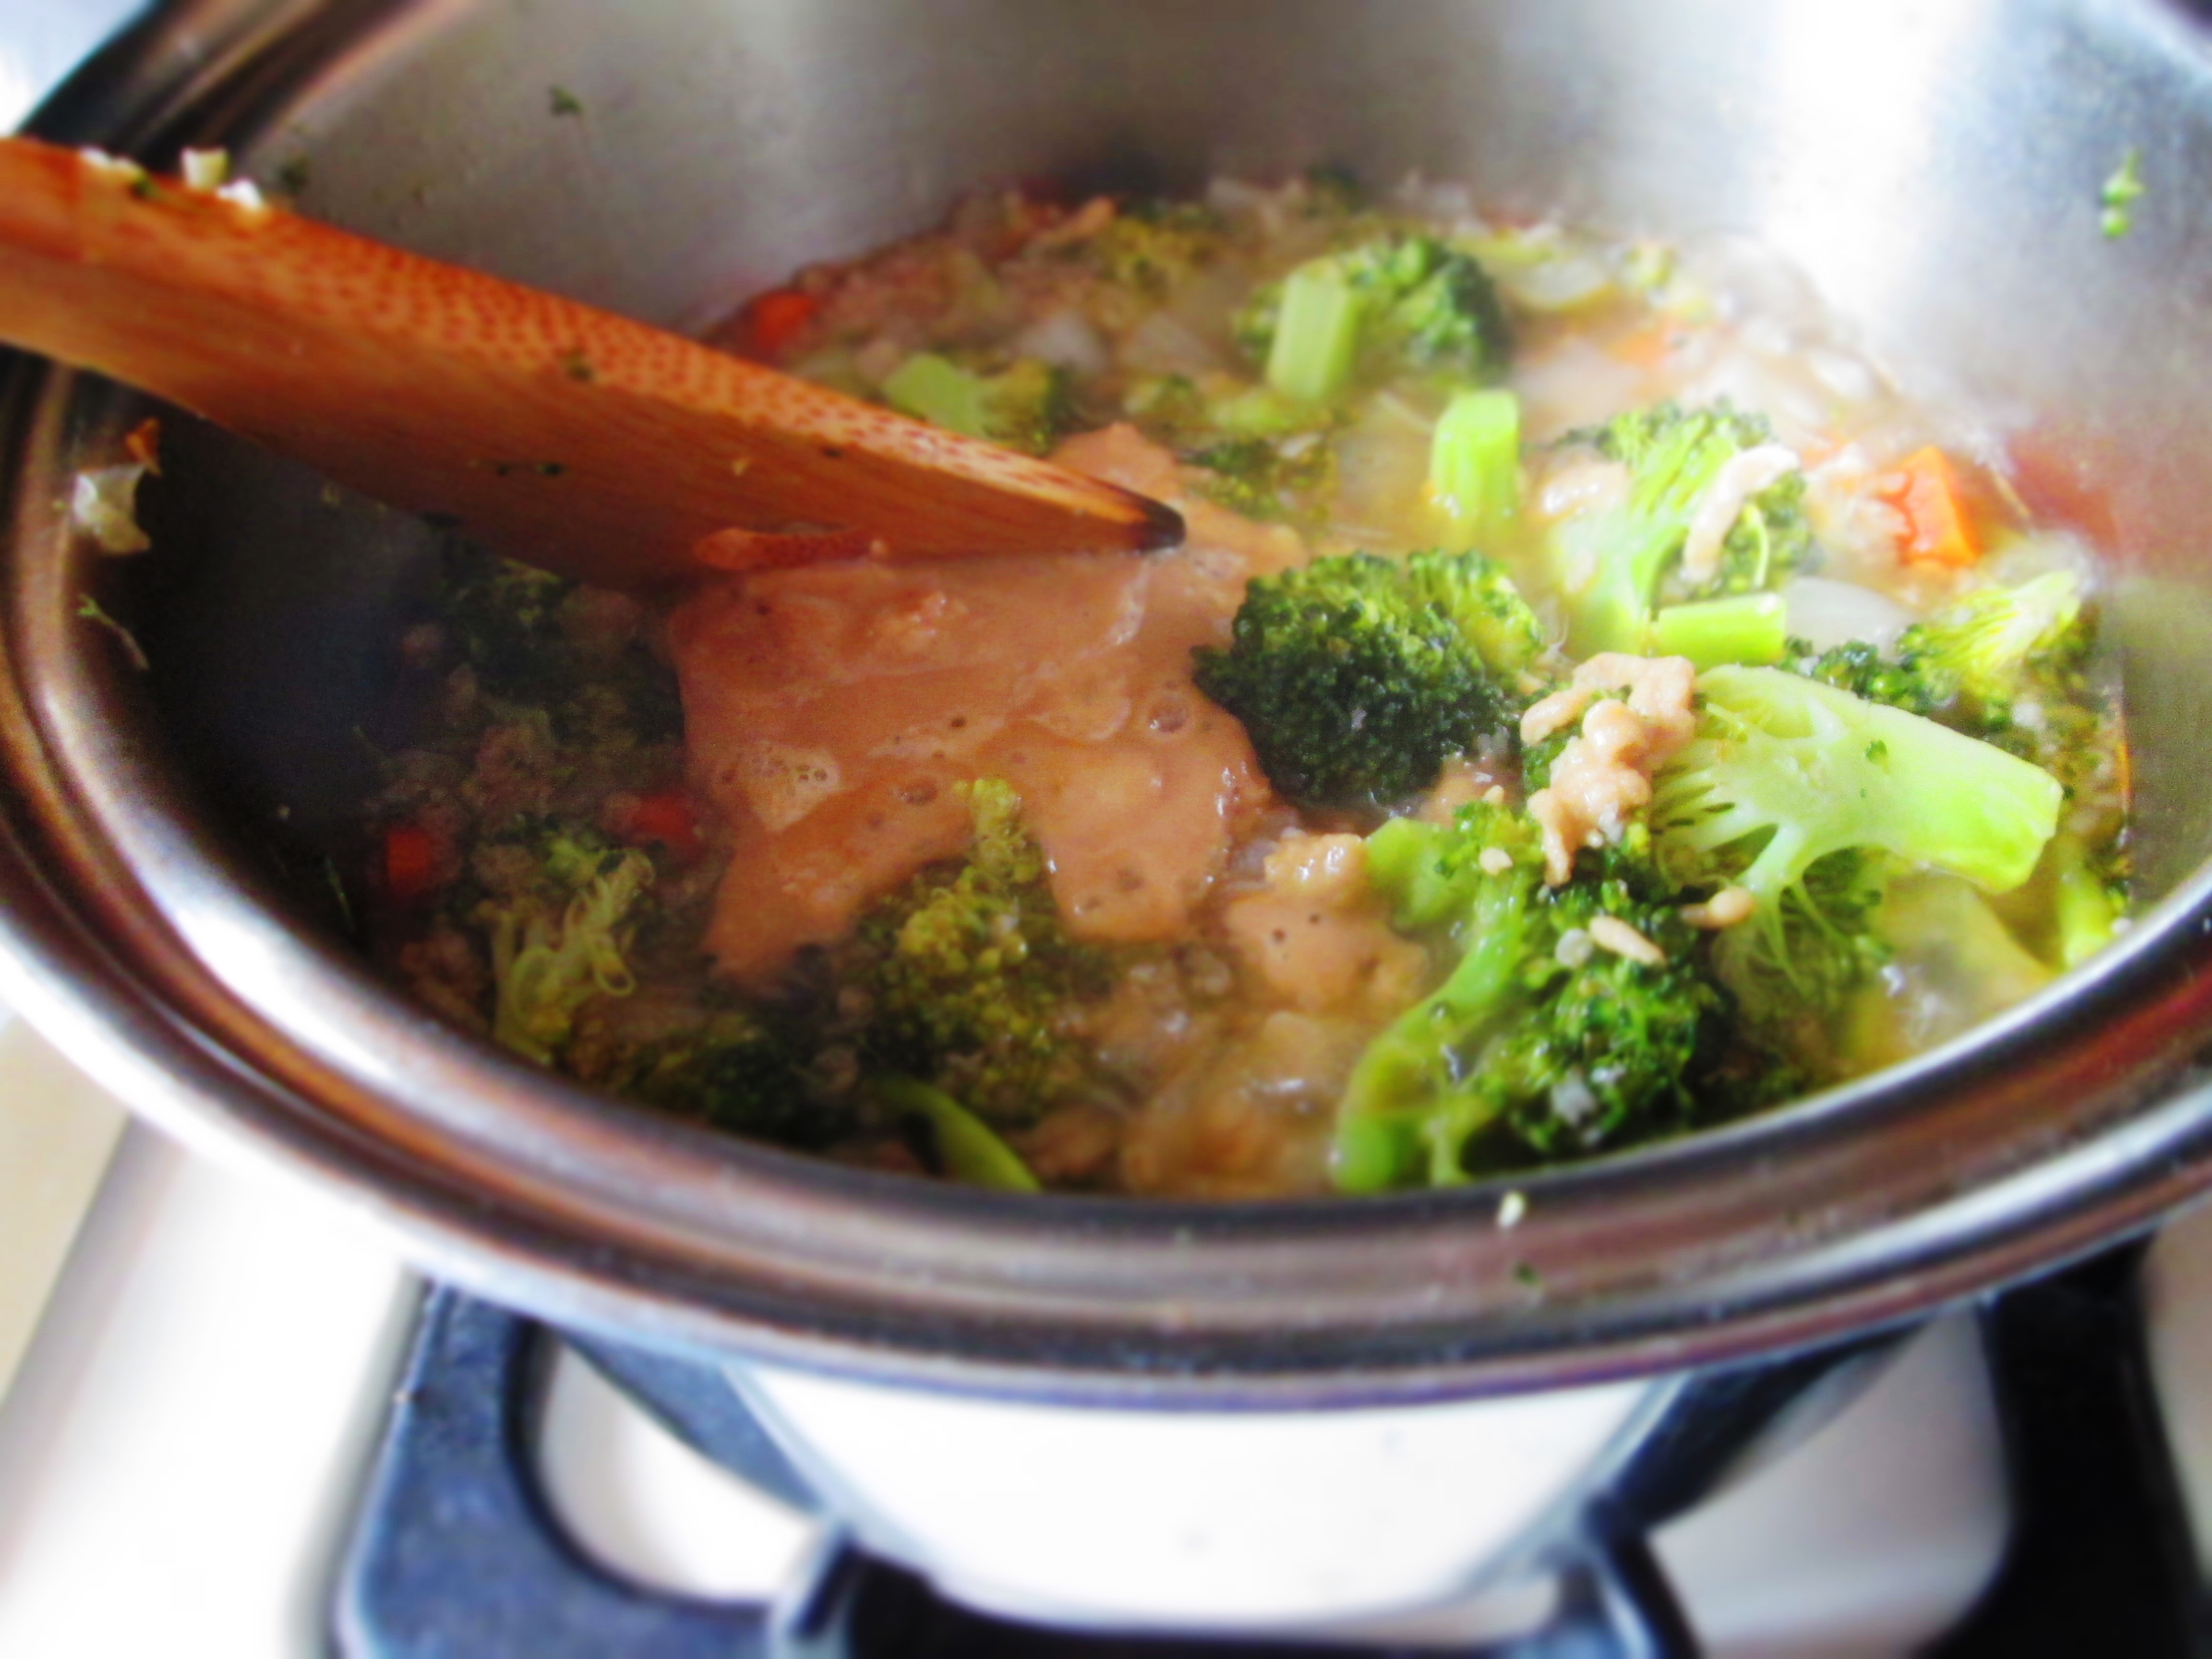
Add broccoli, carrot, salt, and black pepper to taste and cook, stirring often, until broccoli turns bright green.
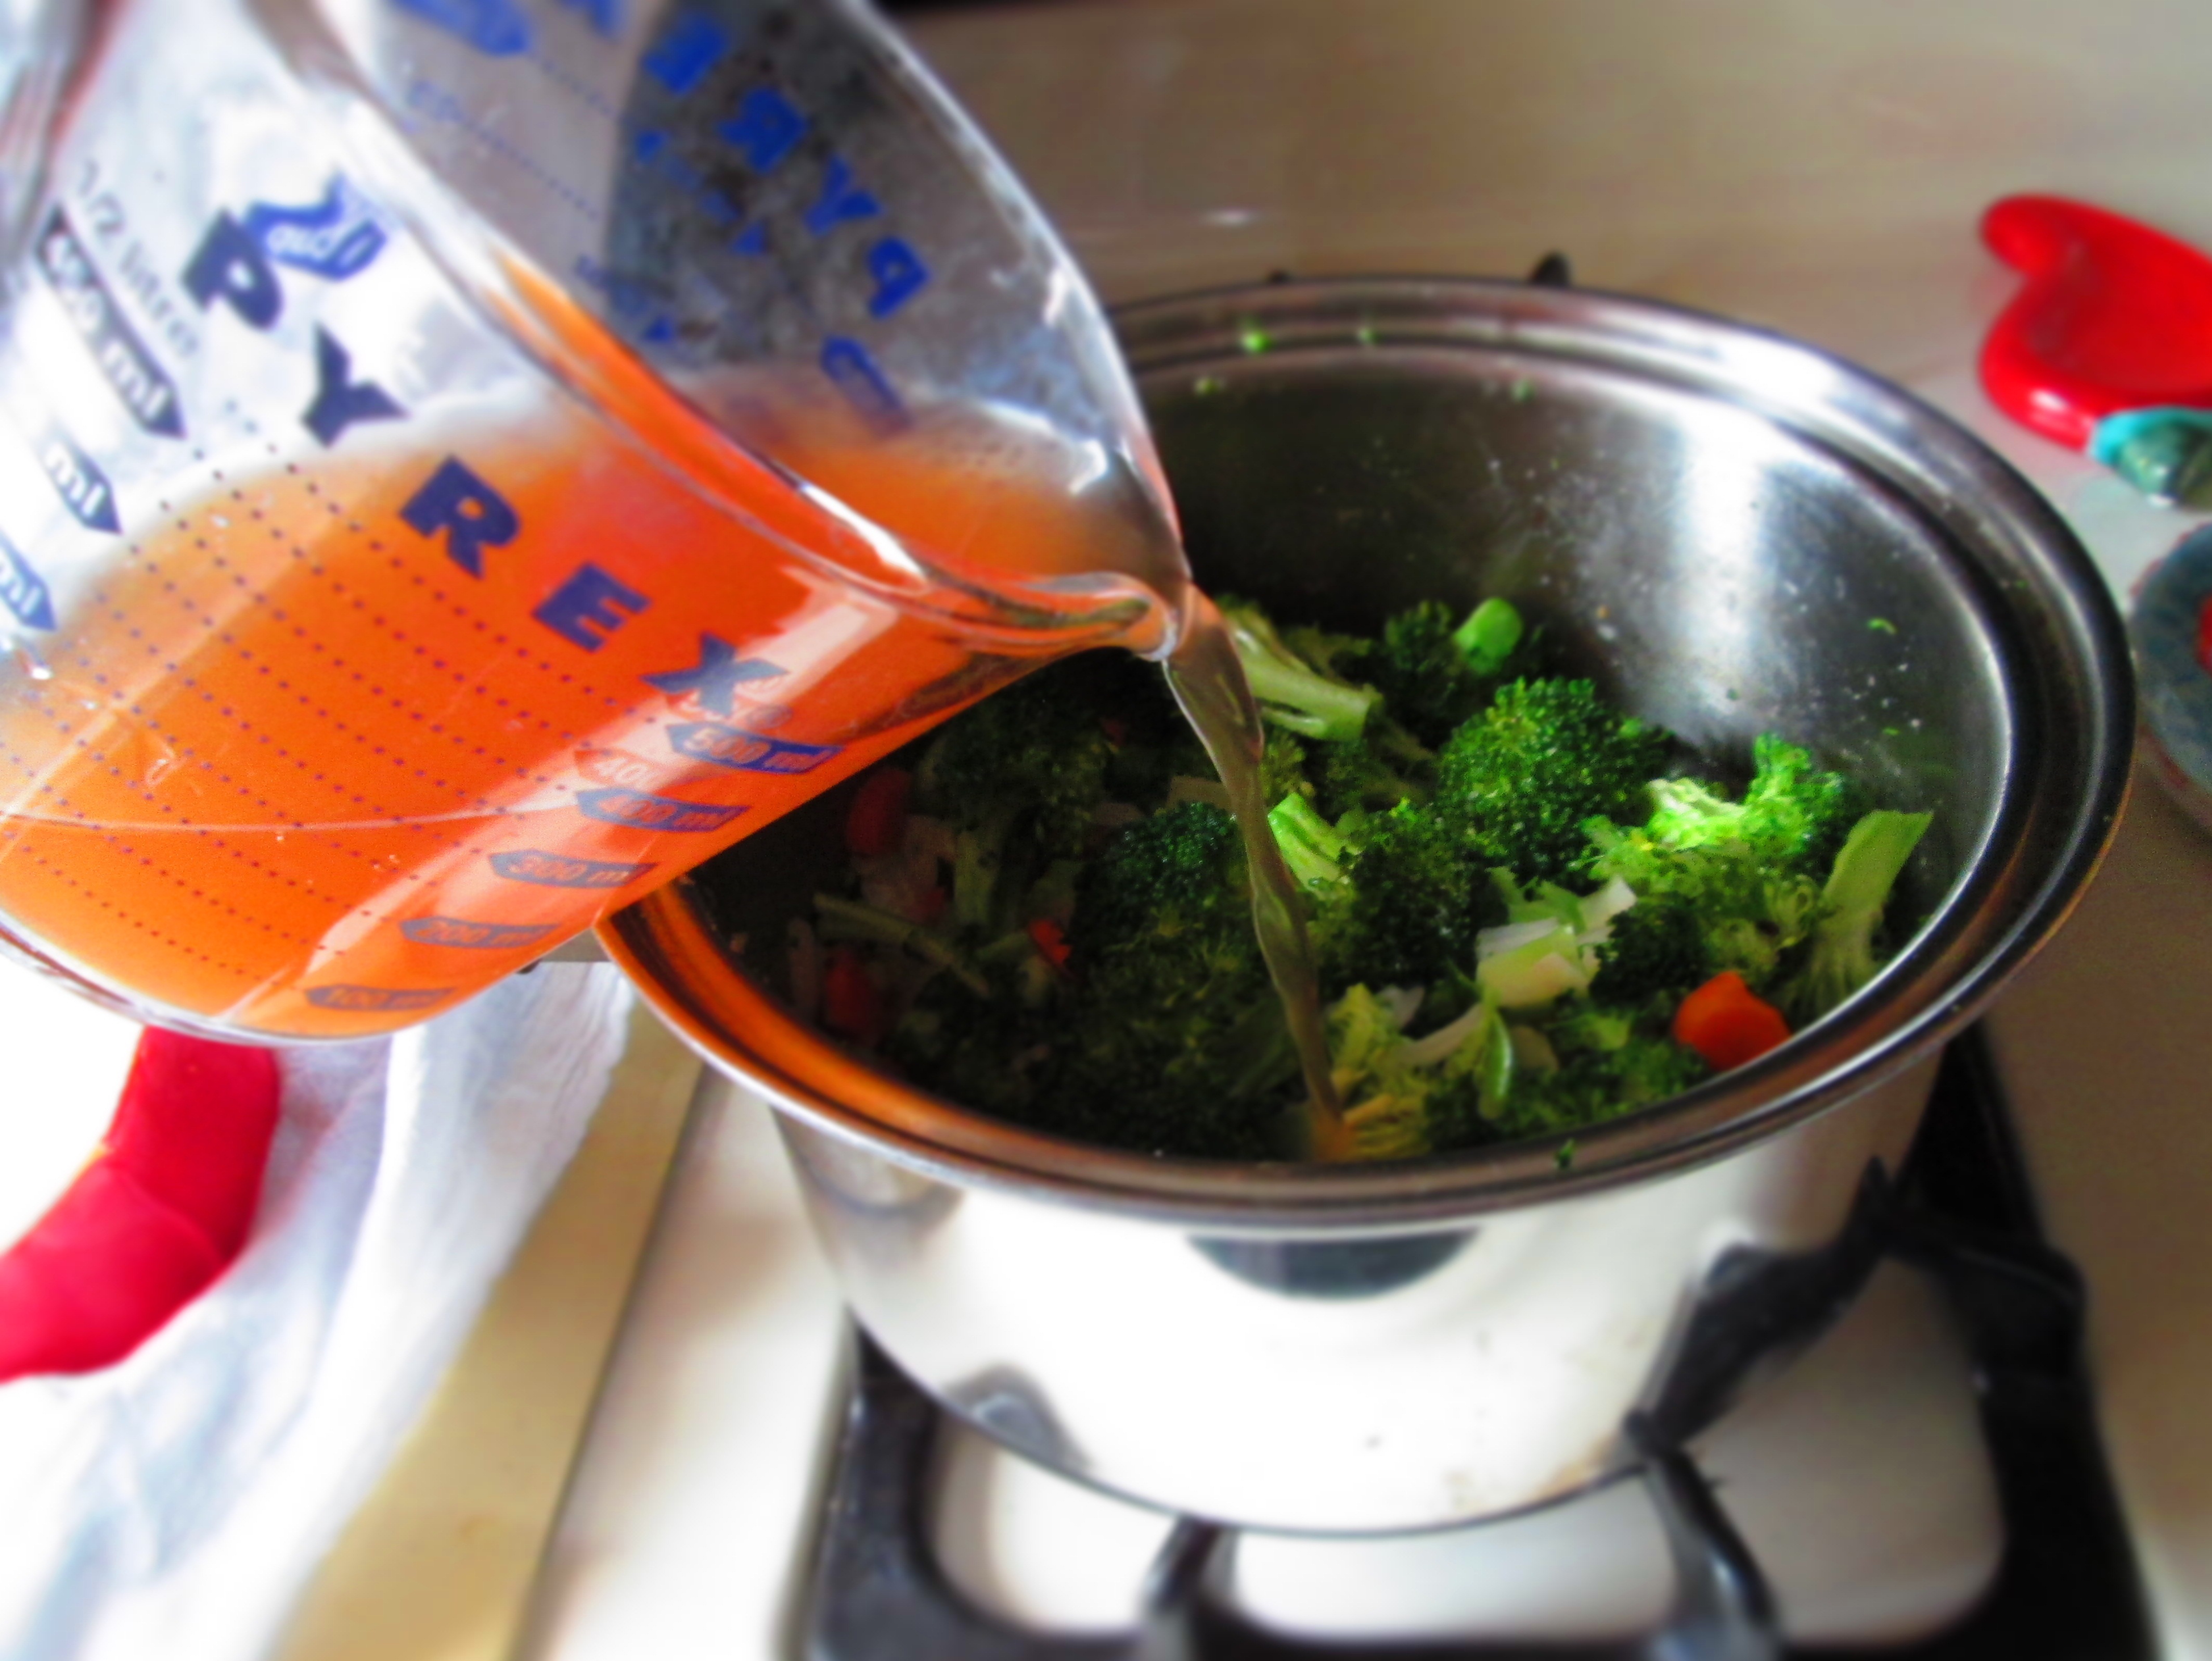
Add broth and oats; stir and bring to a boil over medium-high heat. Lower heat, cover, and simmer until tender, about 10 minutes.
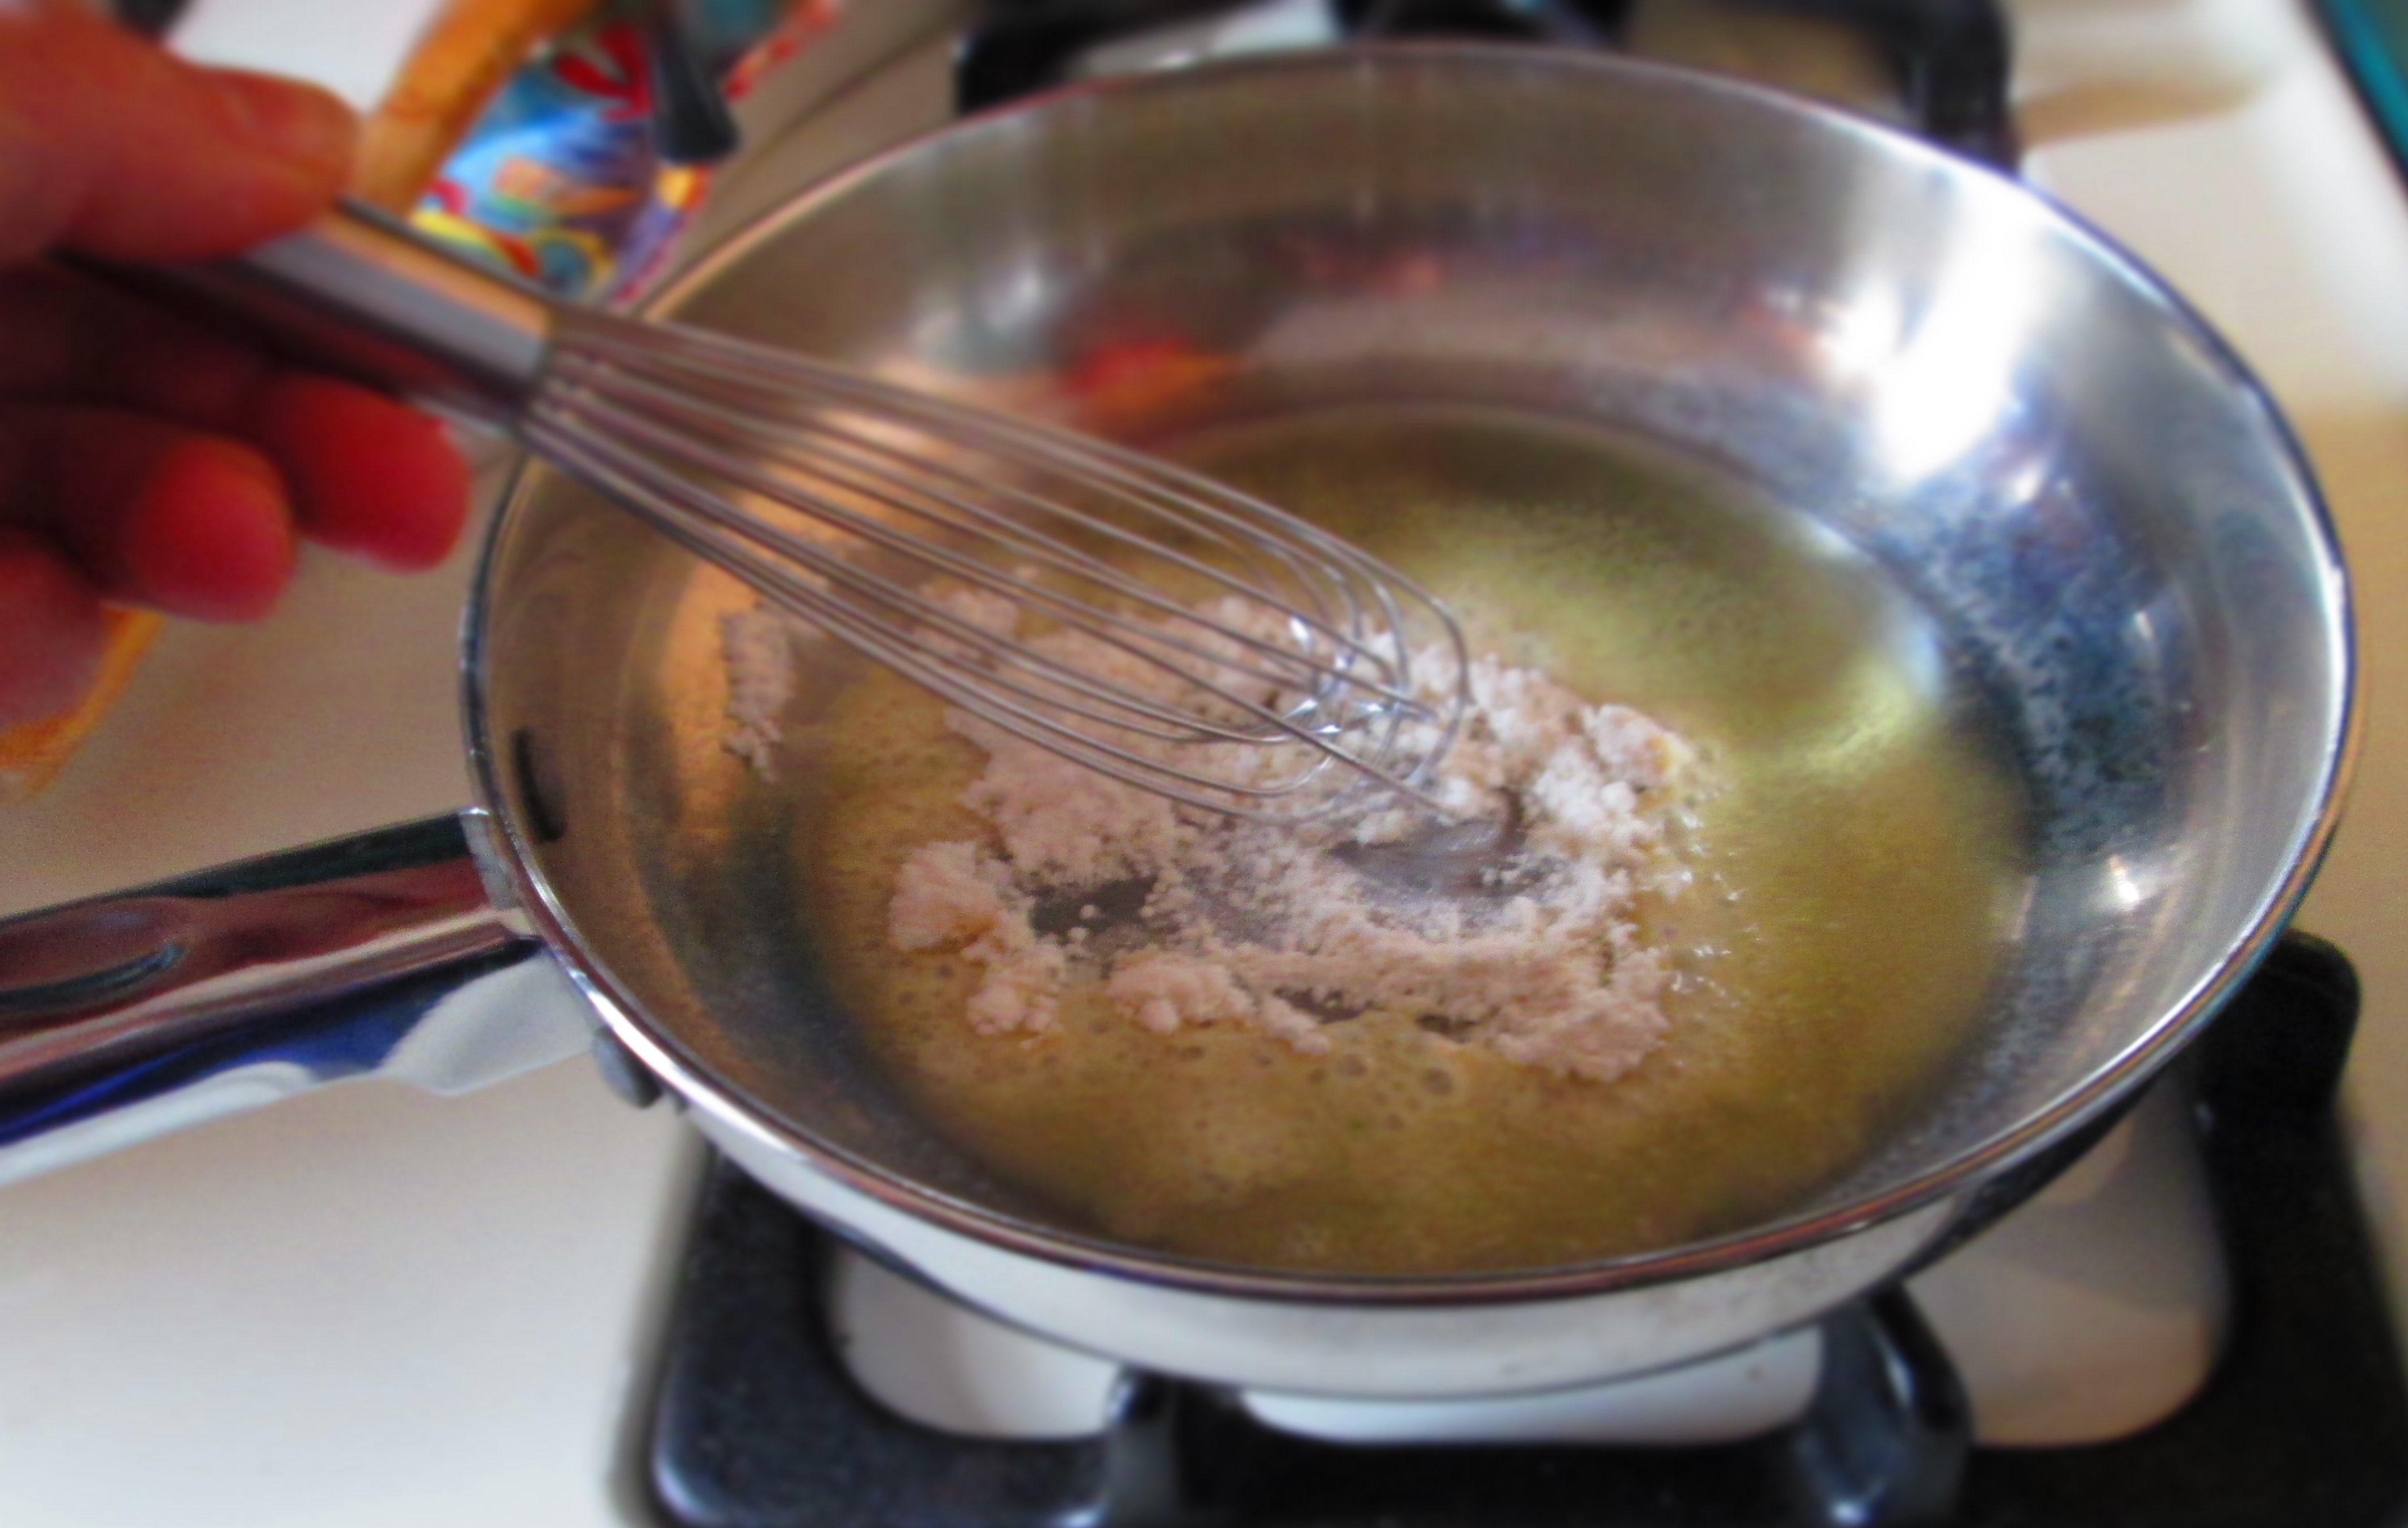
Make a roux by heating the remaining oil in a small skillet. Sprinkle in flour and whisk until it cakes up and becomes slightly stiff. Keep whisking until it turns a nutty brown. This will take only a minute or so.
Stir it into the soup until it’s well blended.
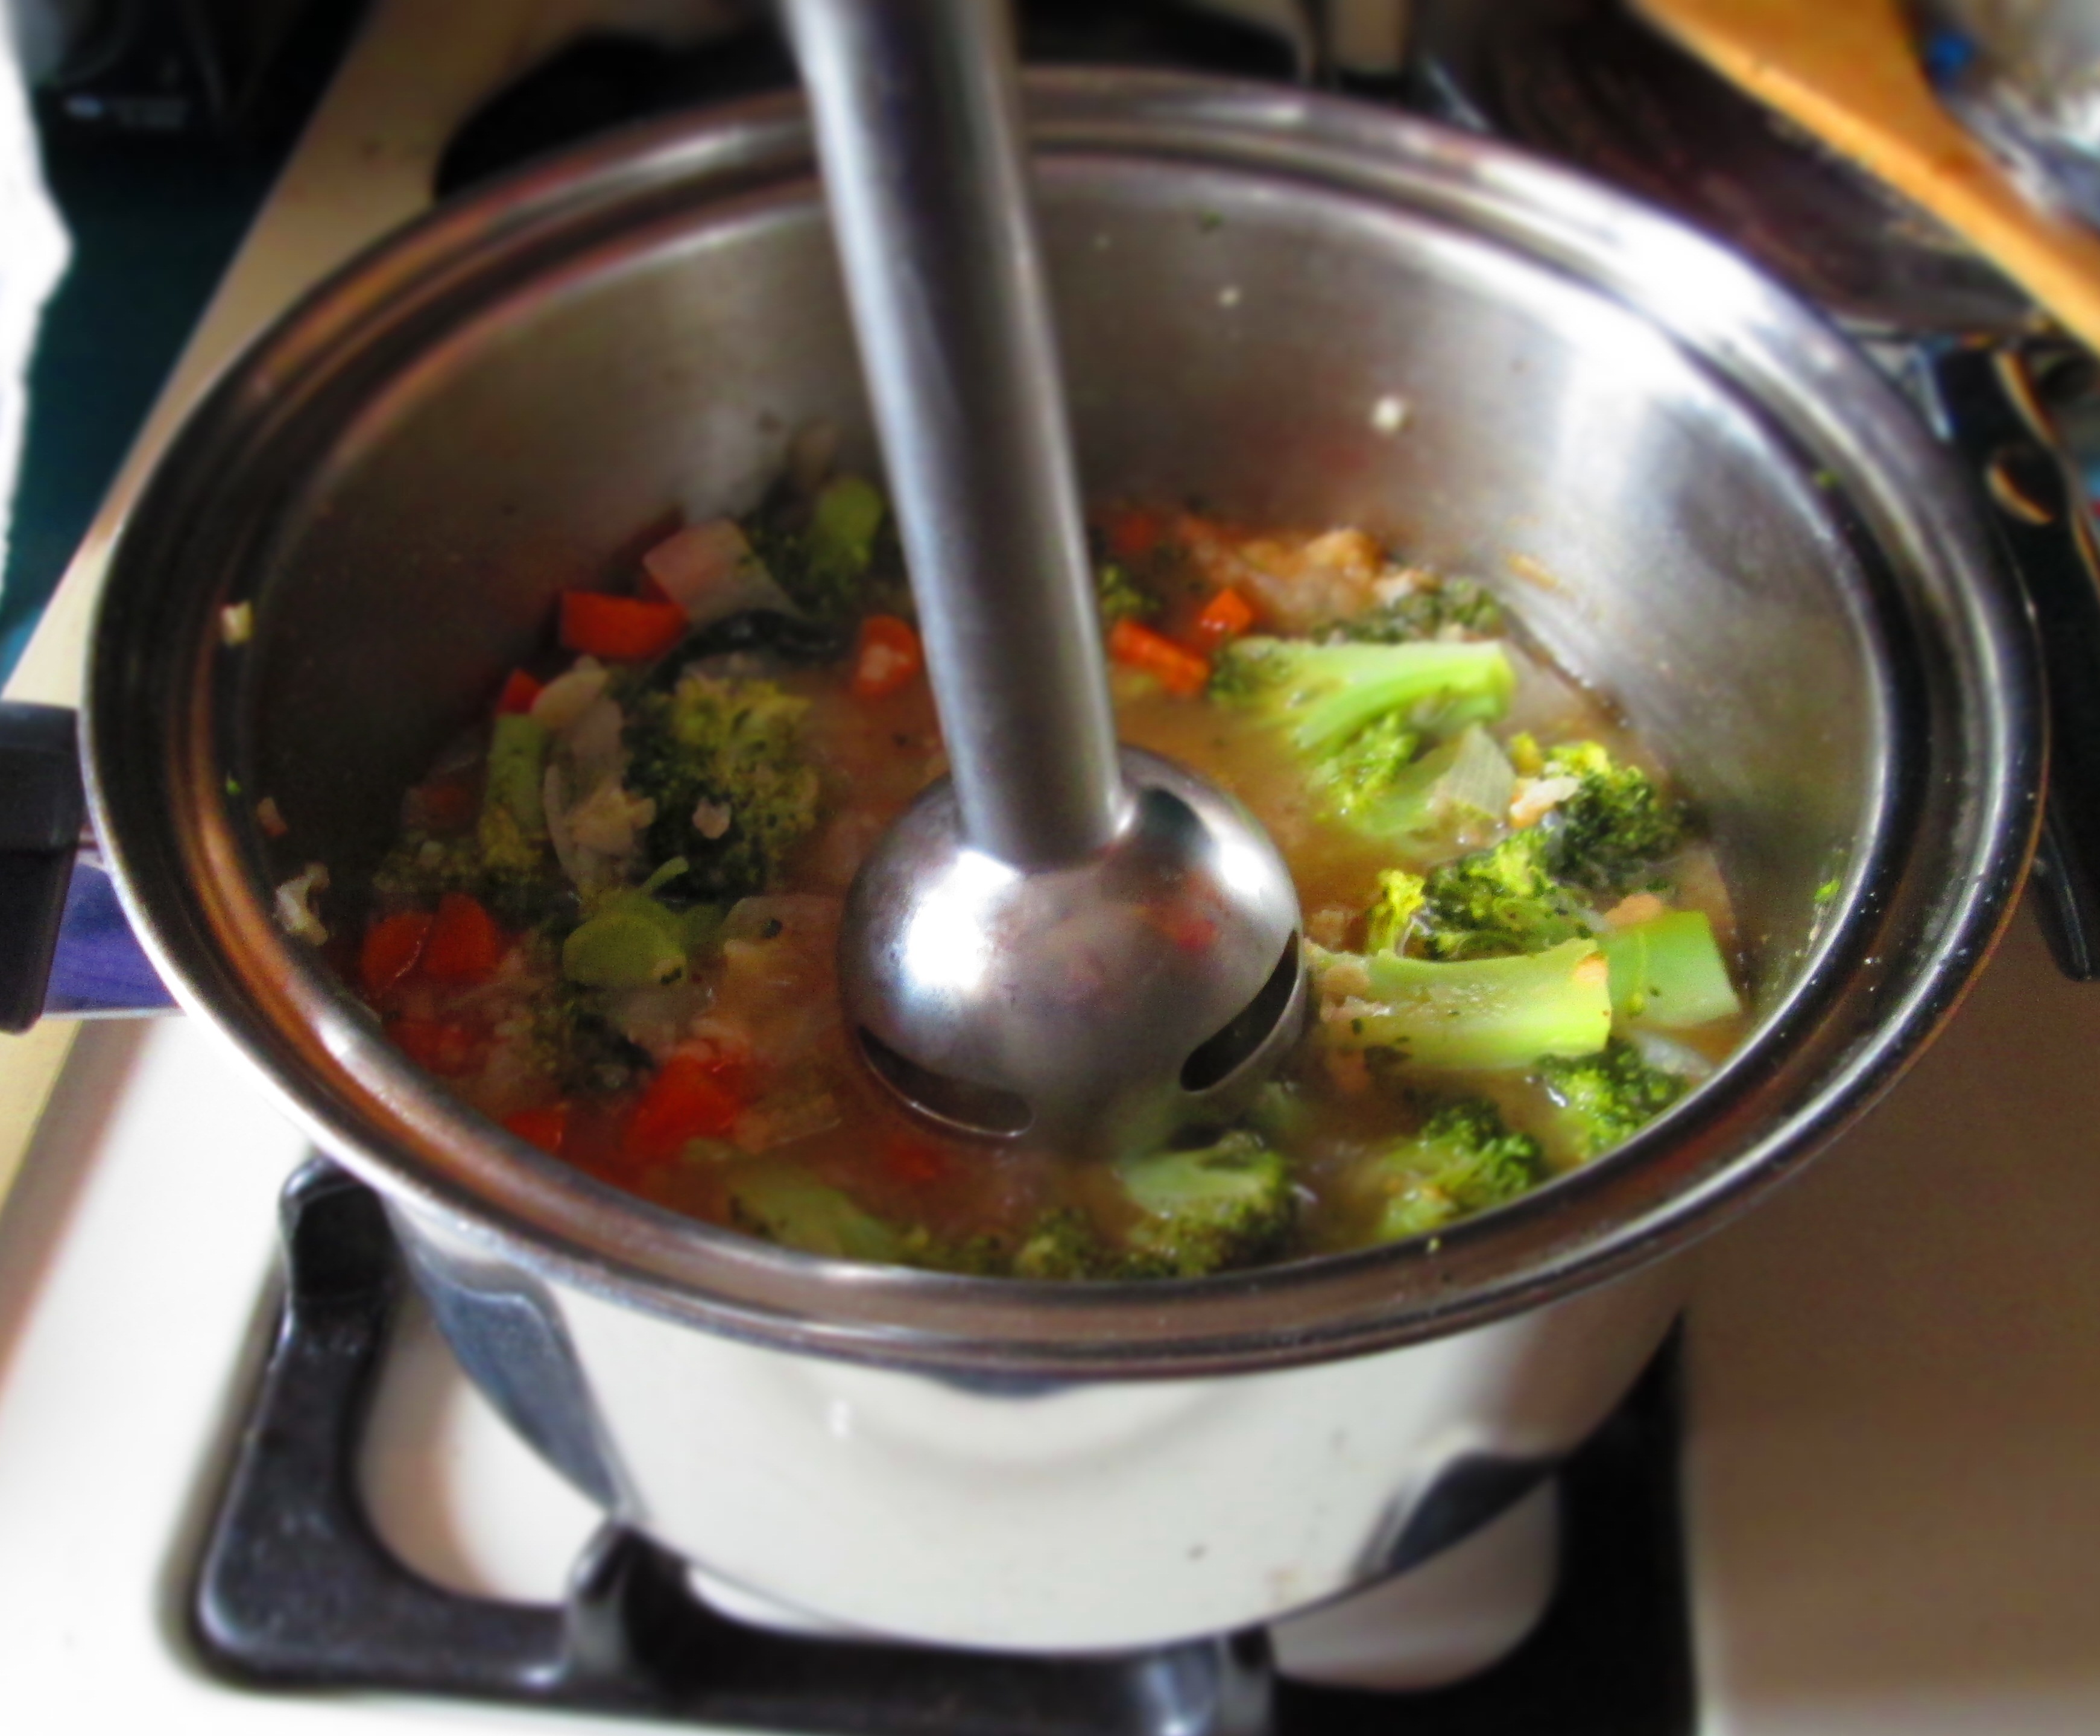
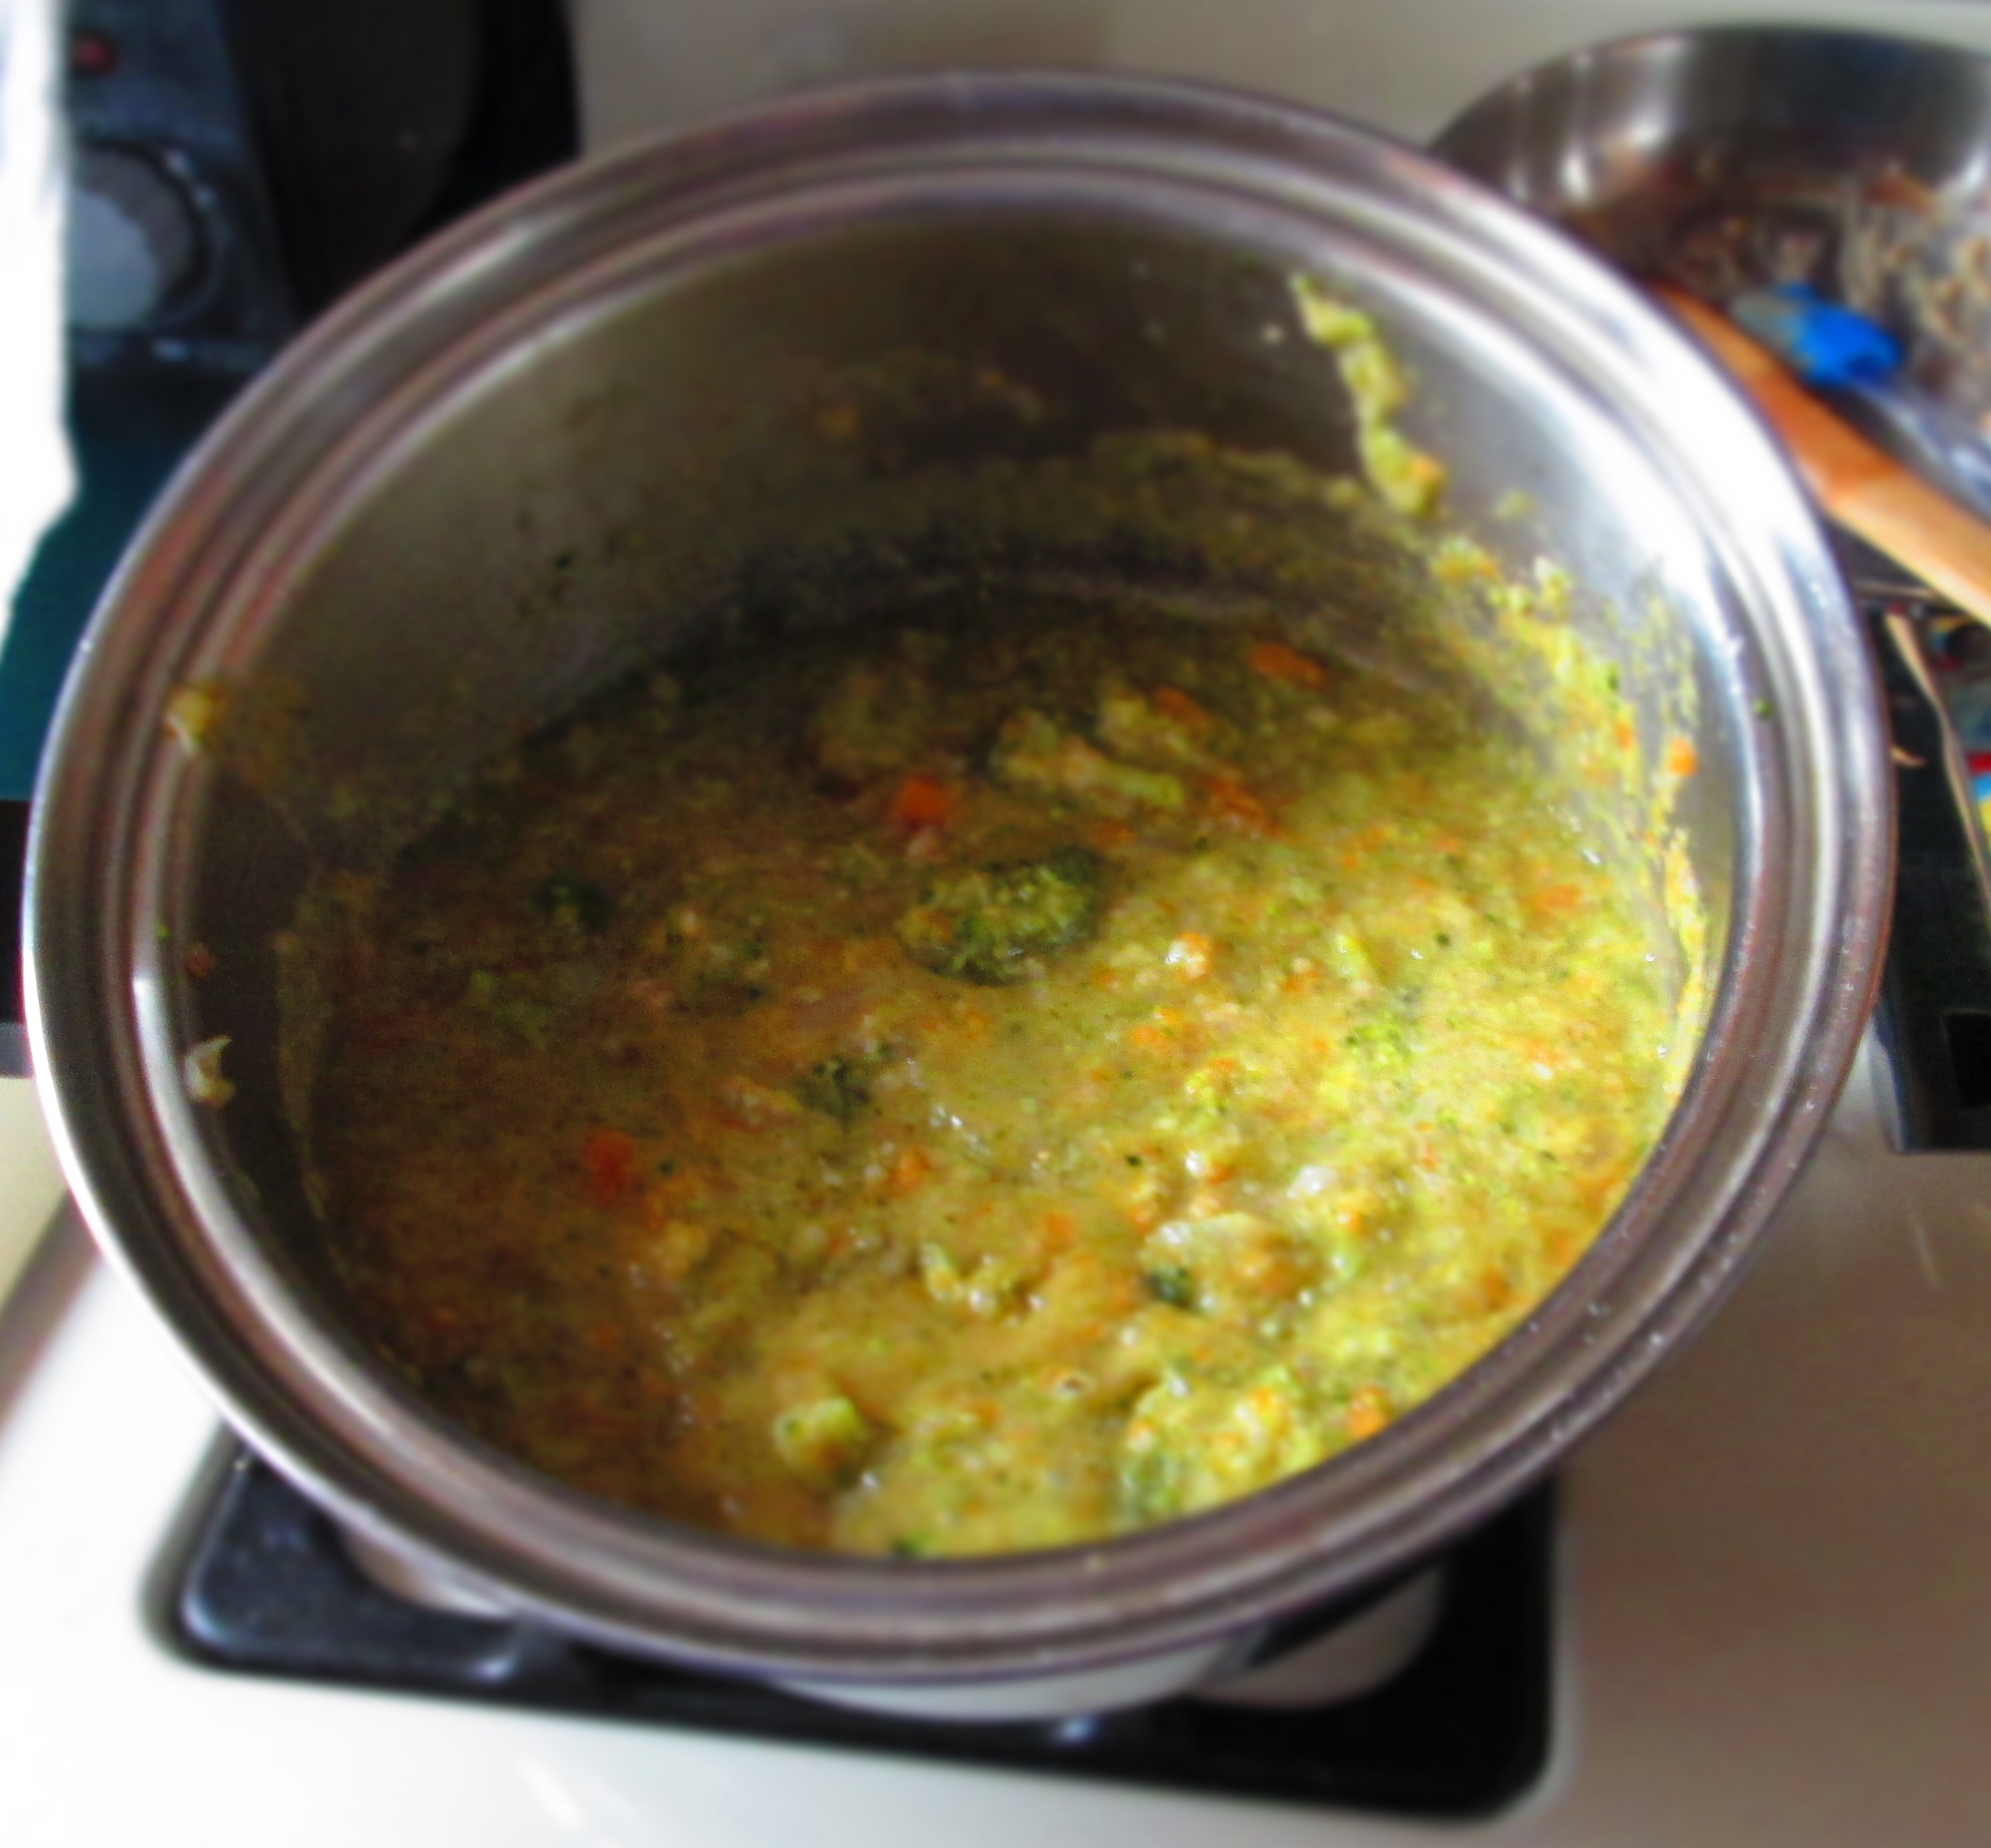
Puree the soup, either in a blender with an immersion blender, to the consistency that you like―fully blend for a smooth soup, or leave some pieces for a chunkier soup (I like it chunky). If you’ve used a blender, pour it back into the pot.
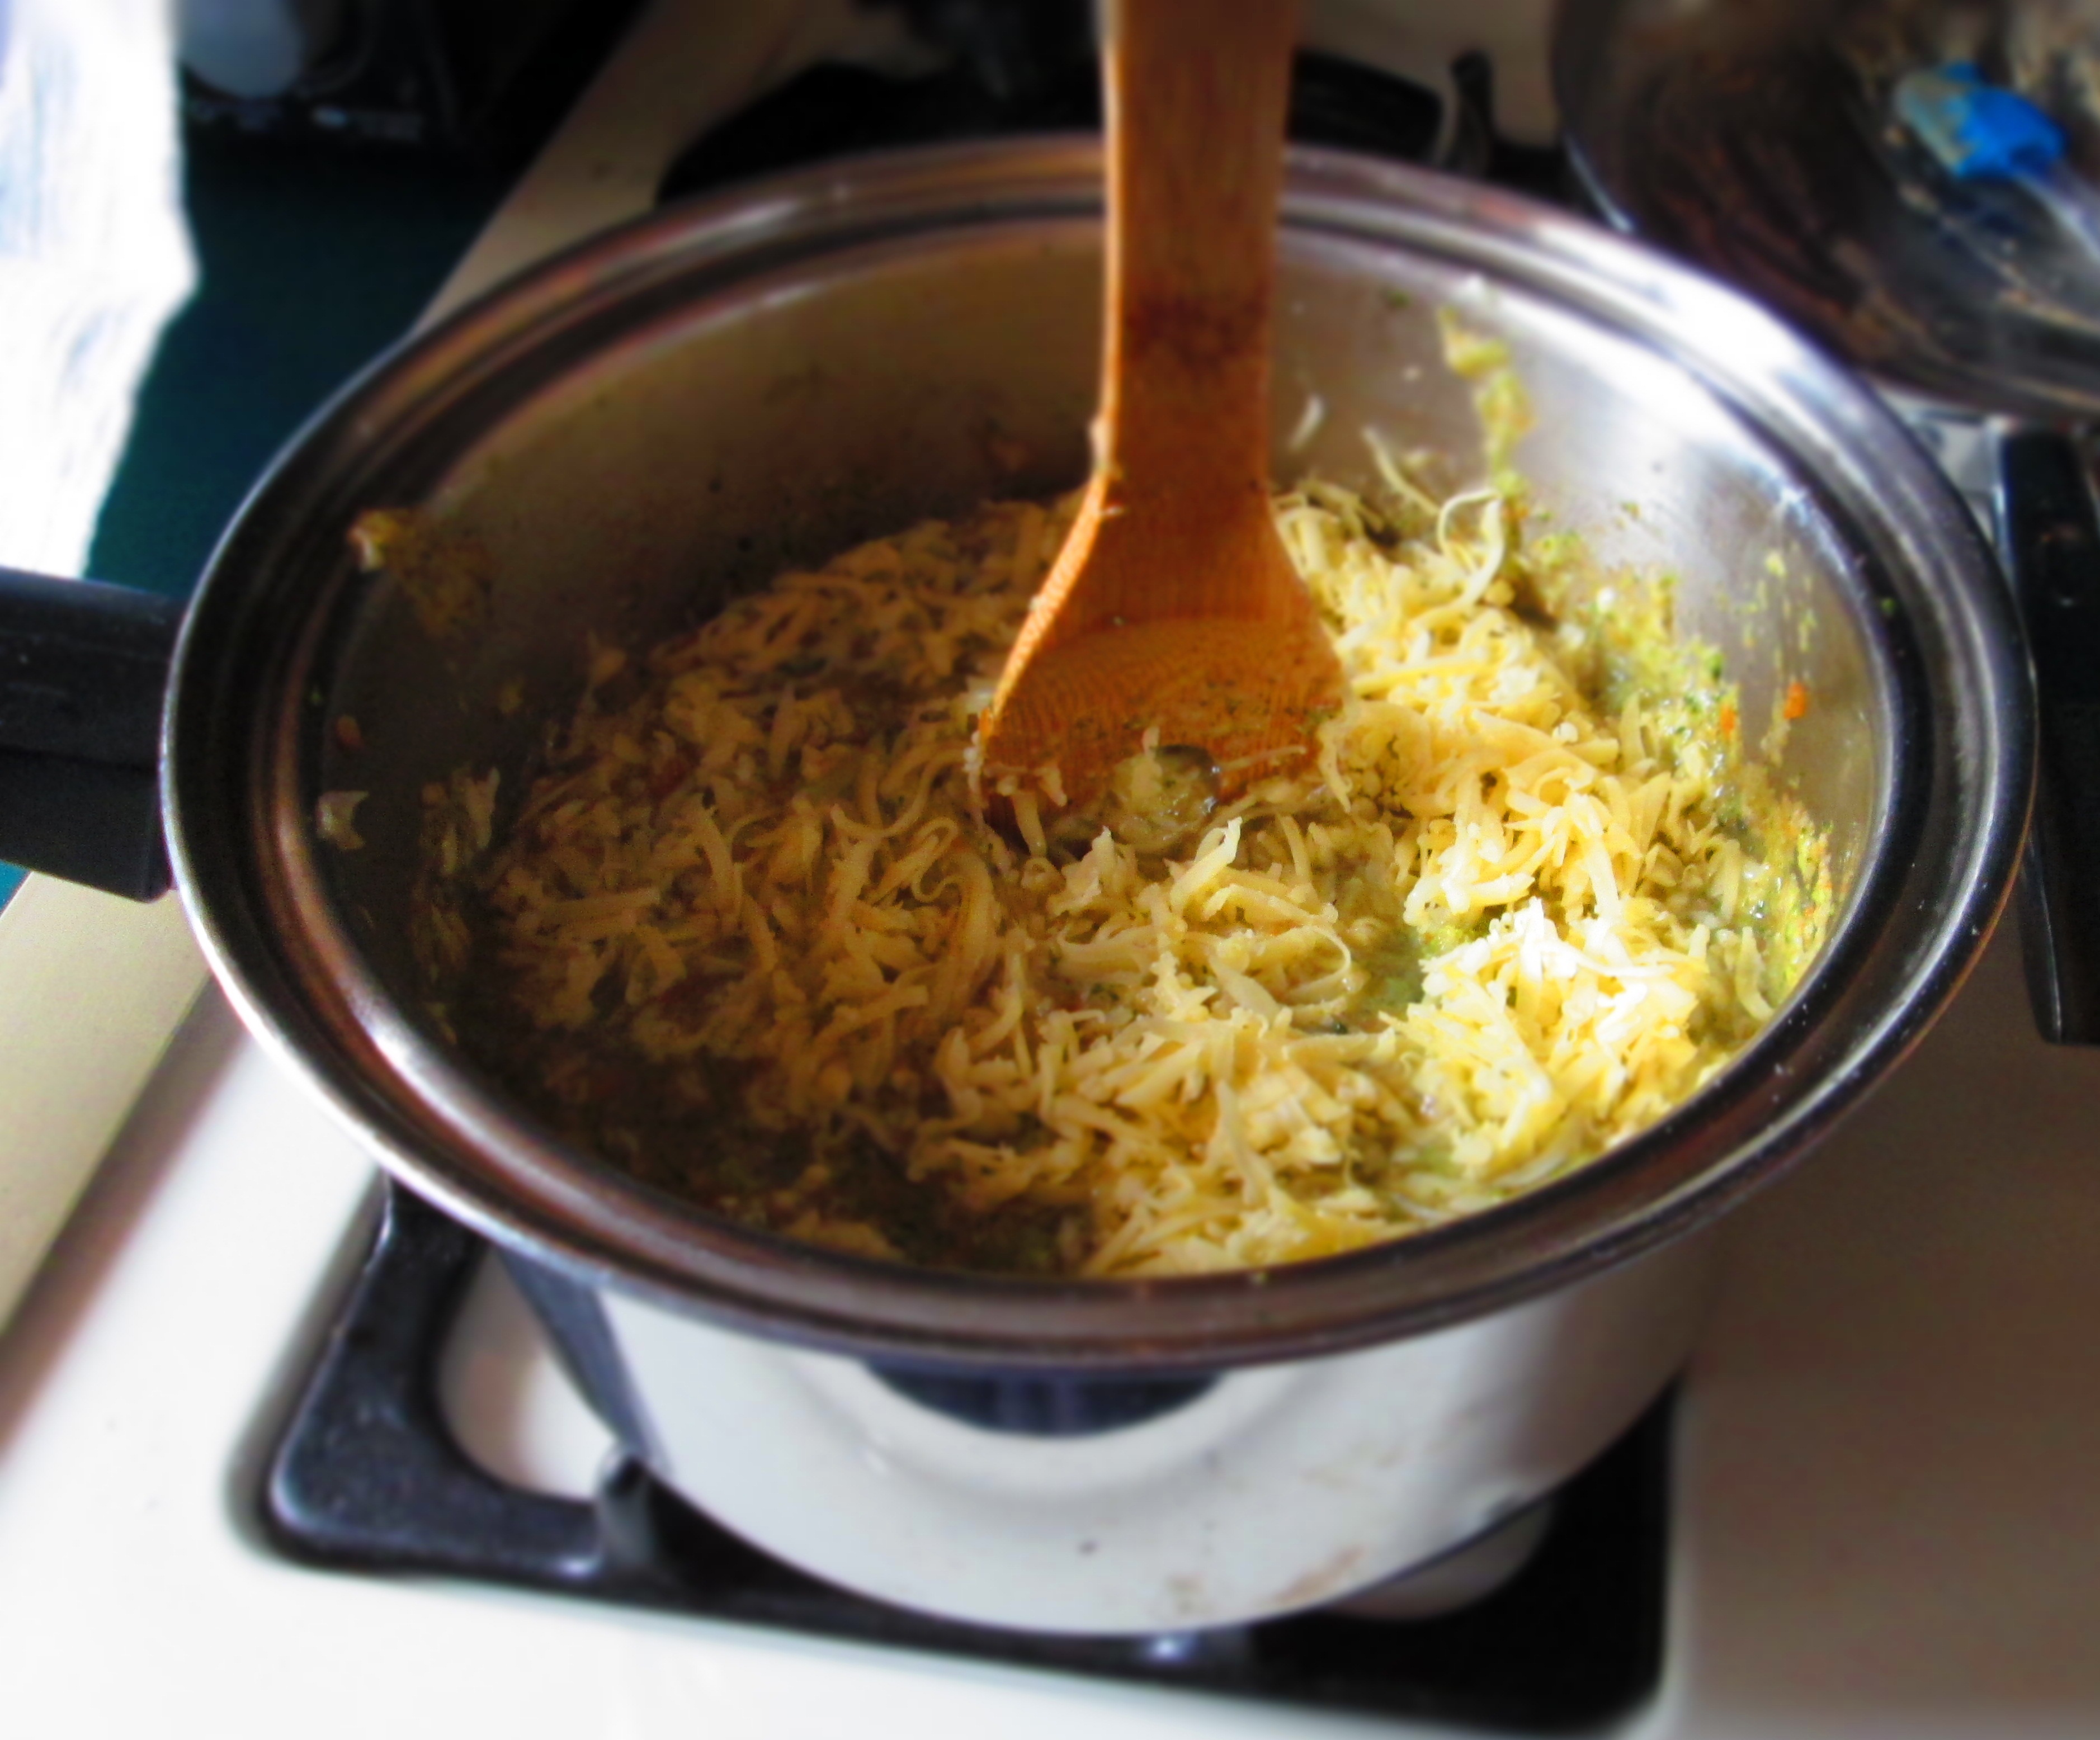
Stir in the cheese and continue stirring over low heat until it’s melted in. Check for seasoning and adjust, if desired.