Oh, my peeps, do I have a great recipe for you this week. I saw these beautiful Mexican guavas at the store and picked up a carton. I’m a big fan of guava and knew that I could do quite a few things with them.
First, I decided to make a puree and I would go from there. When I cut them open, I was surprised to find that they were white guavas rather than the pink ones that we most often think of. They’re delicious, just not as pretty. But that’s okay.
I also happened to have some queso fresco on hand, which I’d purchased for another recipe. Queso fresco—literally, “fresh cheese”—is like a feta cheese in flavor and texture, but it’s much milder, and it’s used frequently in Latin American cuisines. You can find it in Latin American markets, or supermarkets that have a decent cheese selection. If you can’t find it, any crumbly feta-like cheese will do.
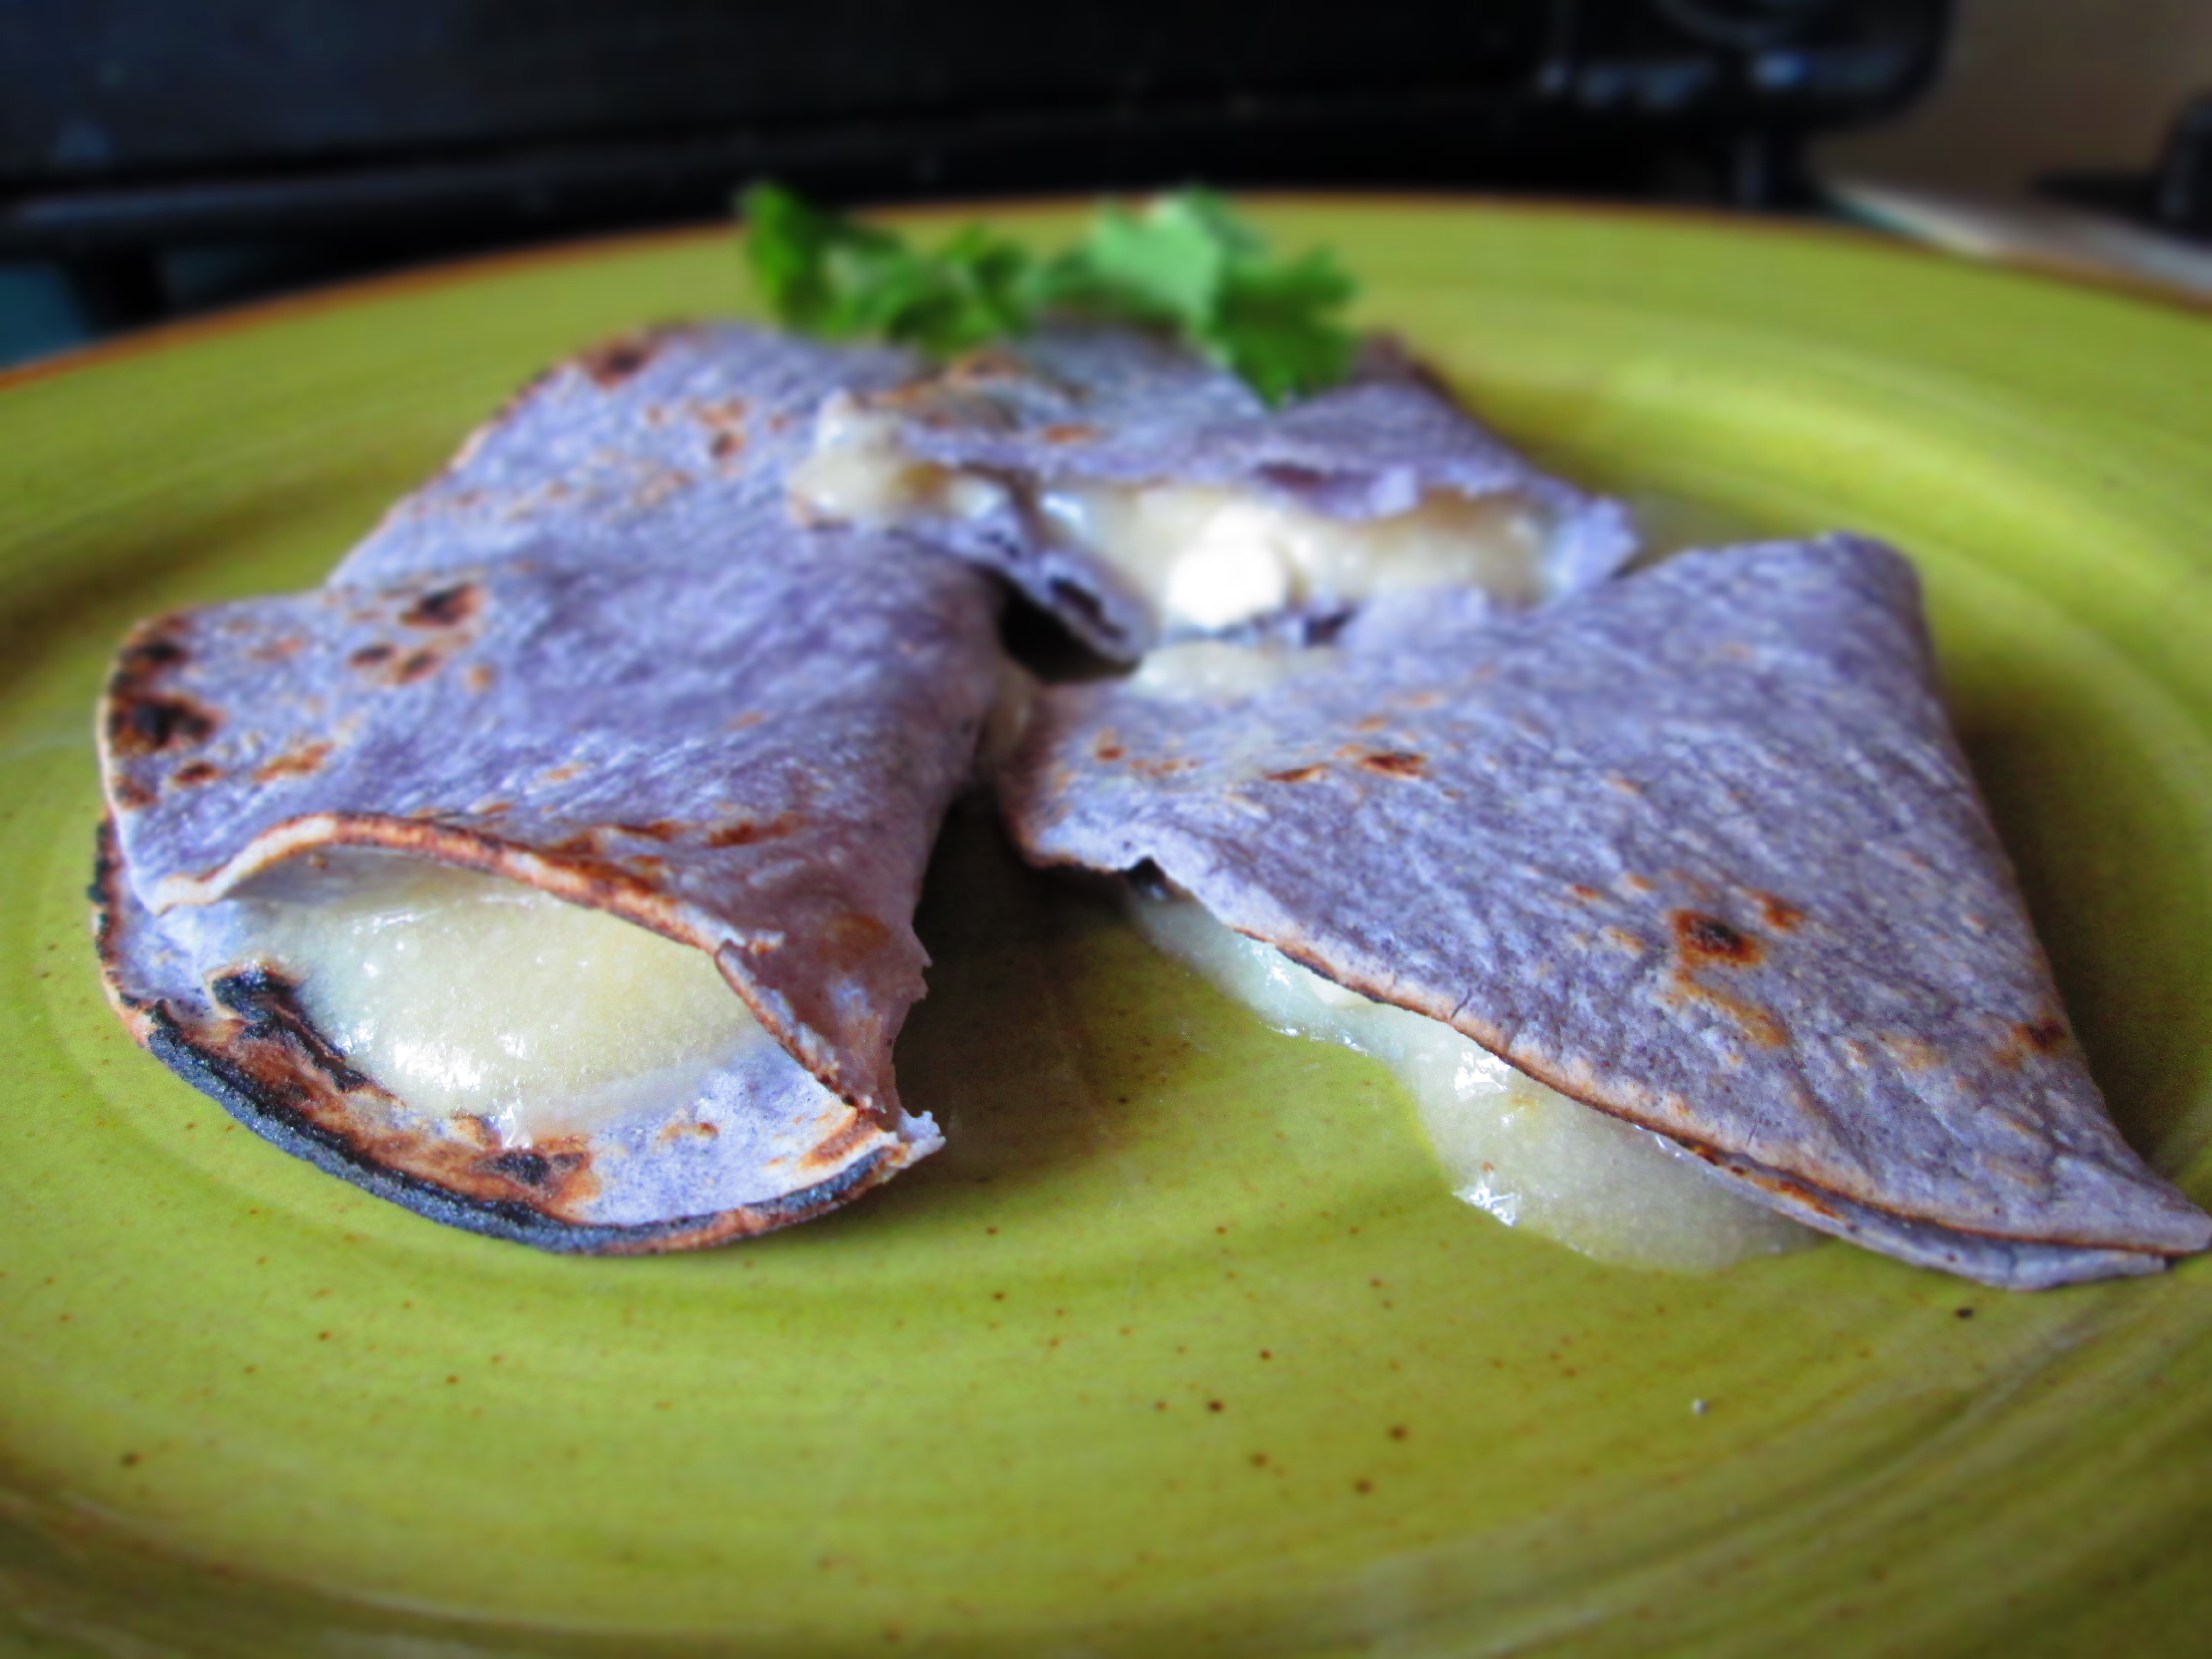
Oh, and I also had blue corn tortillas. My decision was easy. I would make guava quesadillas. They require so few ingredients, yet guava quesadillas are so flavor-packed and really fun to eat. The sweetness of the guava is offset by the saltiness of the cheese, so you can actually have them as part of a meal, a snack, or dessert. And you can add whatever toppings you like: salsa, guacamole, hot sauce. It all works.Continue reading →
Despite the fact that I have less and less time to cook for myself these days, when I walk past the farmer’s market, I’m seduced by the beautiful vegetables. So, then I find myself with vegetables that I have no time to cook, but must.
This week, I had beets. The beets were firm and bright and the leaves were full and green. I couldn’t help myself. But I had to deal with them quickly. So, I went to my go-to beet recipe: Chickpea and Beet Salad. It’s simple, it’s fast (once the beets are cooked), and it’s satisfying.
The greens? My go-to greens recipe: sautéed in olive oil and garlic.
The reason for my lack of time? Well, apart from my work/commute issue, I have multiple projects happening at the same time. One of those is volume 2 of Vegetarian Italian: Traditions, which is finally under way after a very long delay at my publisher. It’s slated for release in April 2016. With any luck, that will be the case.
I recently found myself with an abundance of dried Great Northern beans, and if you stopped by here last time, you saw that I took some of those beans to make Tomato-y White Beans.
I had cooked up a huge batch, so I needed to come up with something else. And, as I also said last time, because it’s summer, I’ve had access to a bunch of tomatoes. Well, both they went into a food processor for a white bean spread. With a few additional ingredients, this is a flavorful, filling, yet light, snack. It’s also perfect to taking to a picnic or barbecue.
Sometimes you go through your pantry or refrigerator and see a bunch of stuff that you know you have to use or it will go bad. It’s been that way with me and all of these dried beans I realized I had. And since it’s summer, I also find myself with a steady influx of tomatoes.
I’m a whiz at utilitarian cooking. And I say that because it really doesn’t take much to be a whiz at utilitarian cooking. You basically just throw a bunch of stuff you have together and that’s it. And, usually, it works out better than any pre-meditated, planned, plotted, and plated dish you can conjure.
Okay, sometimes it doesn’t work out, but it usually does. I wouldn’t tell you about the stuff that doesn’t work out, anyway.
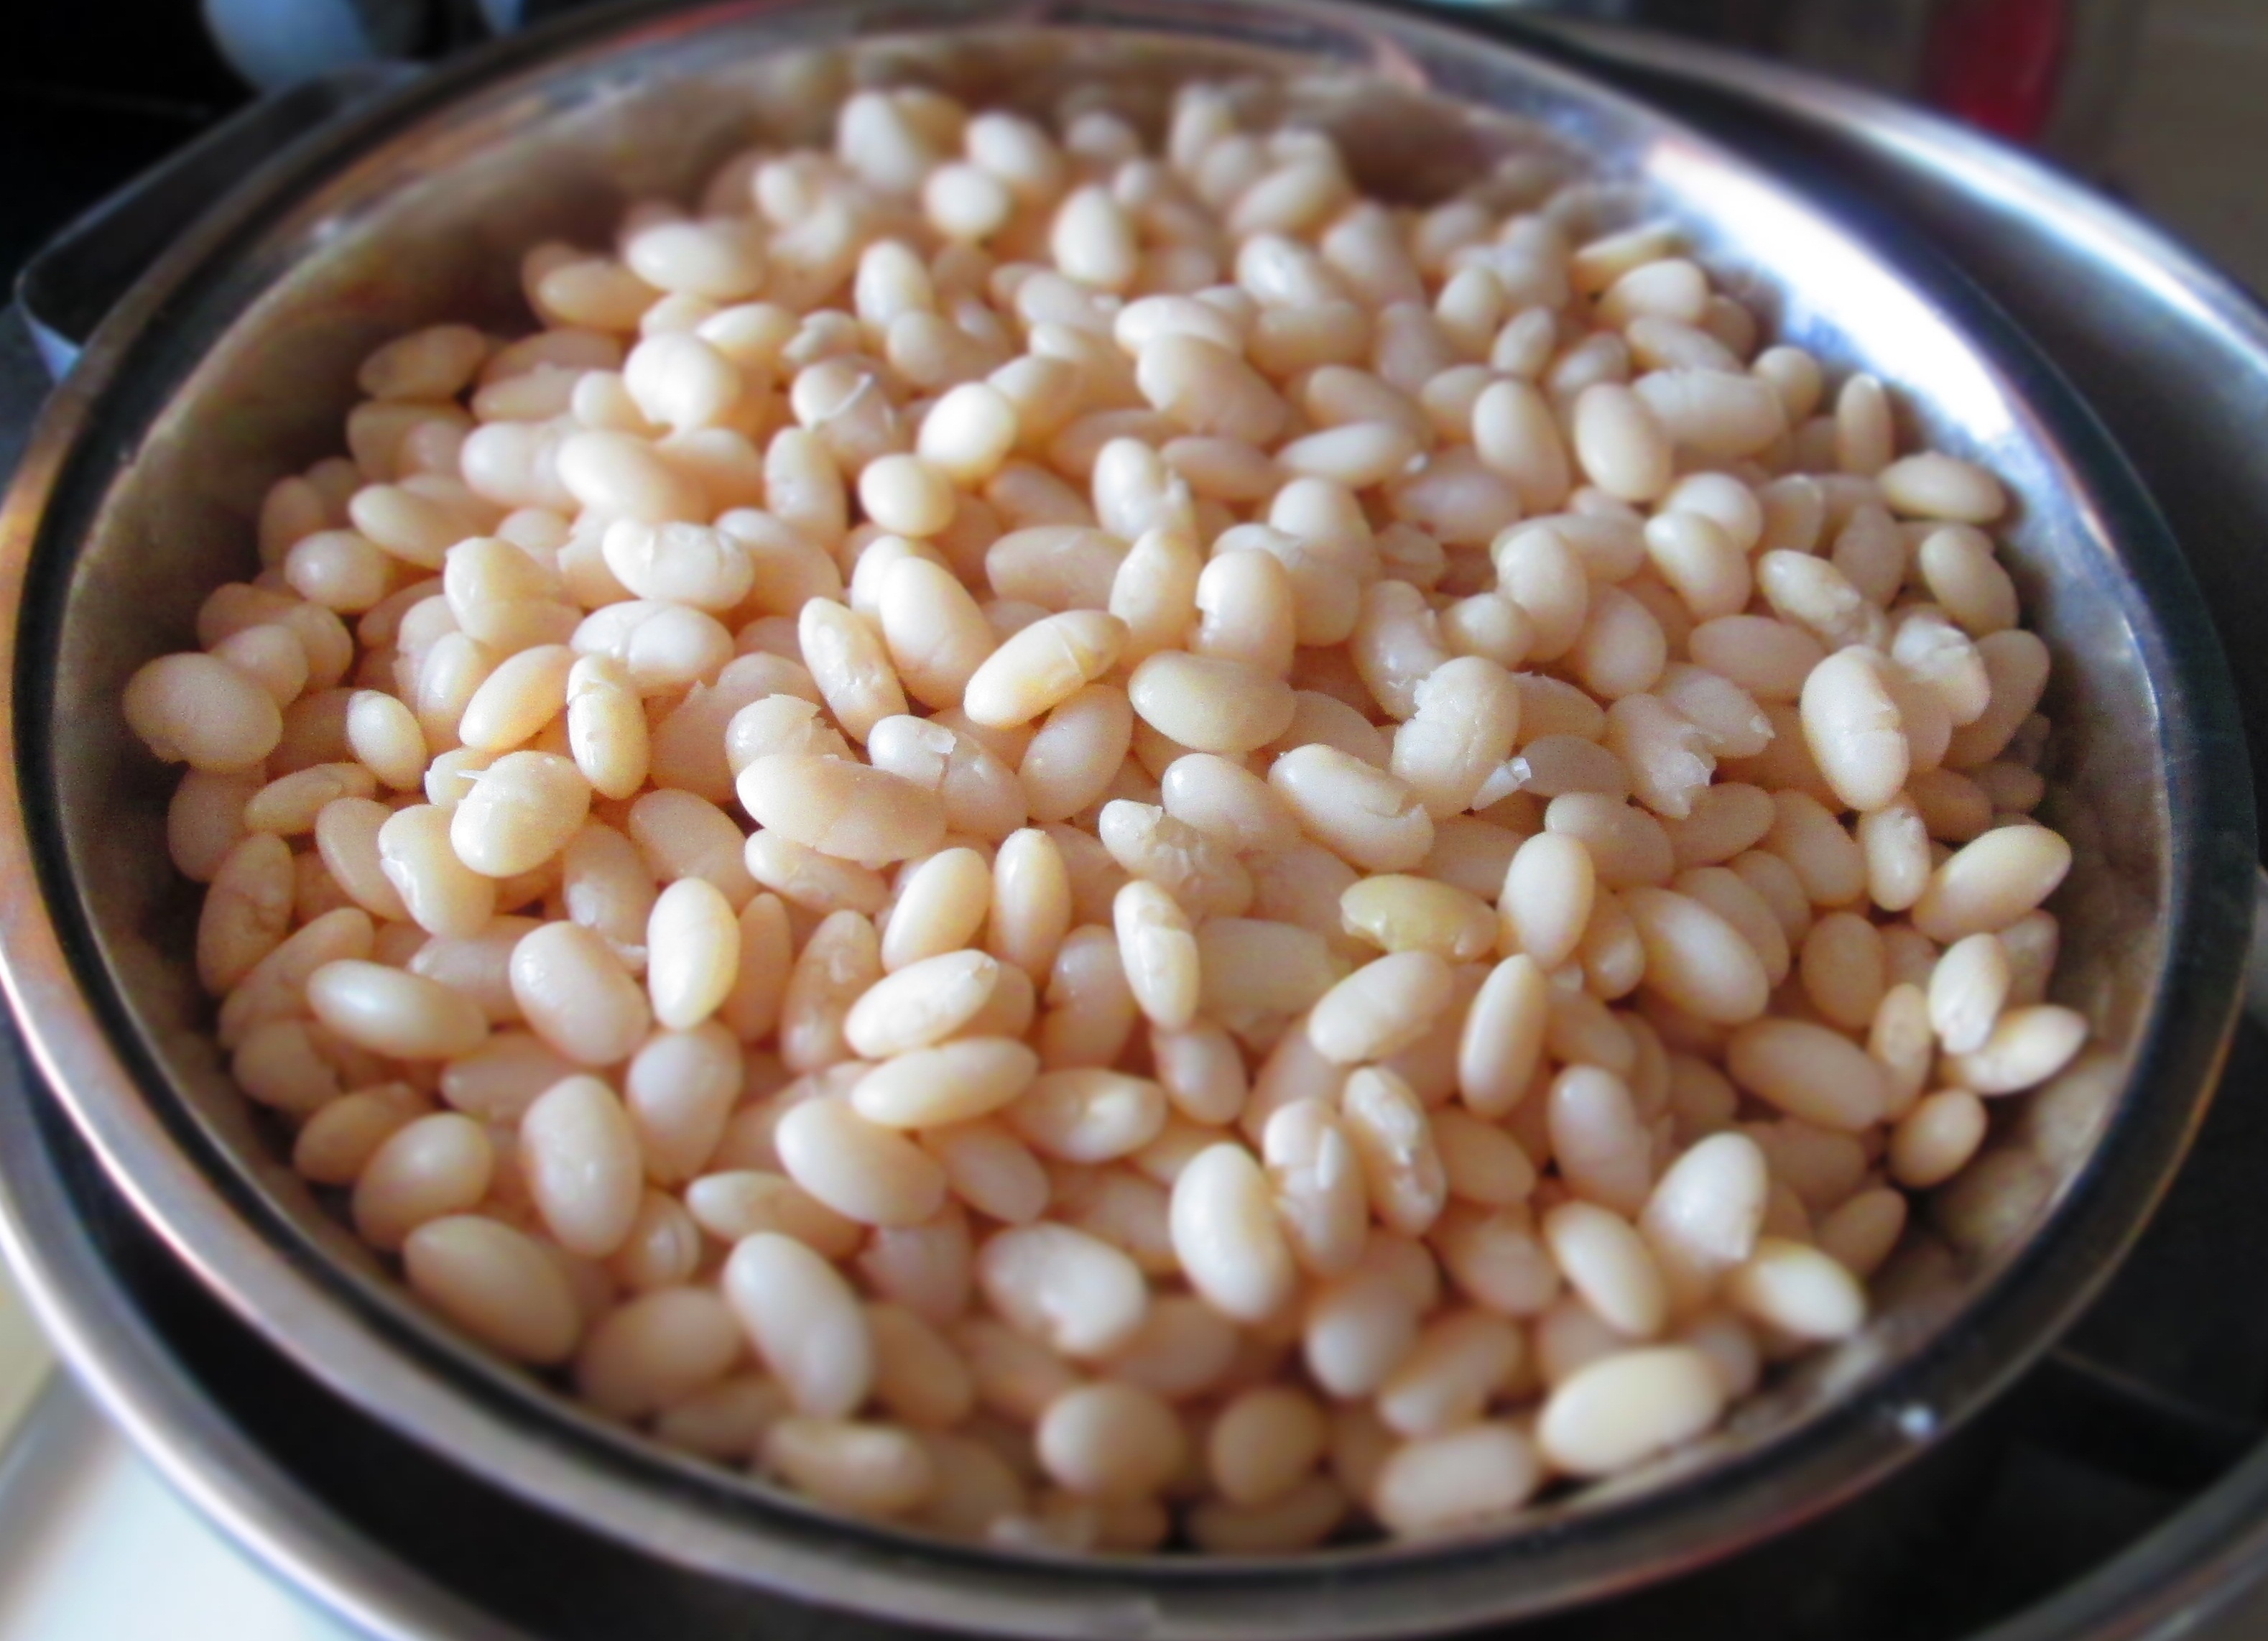
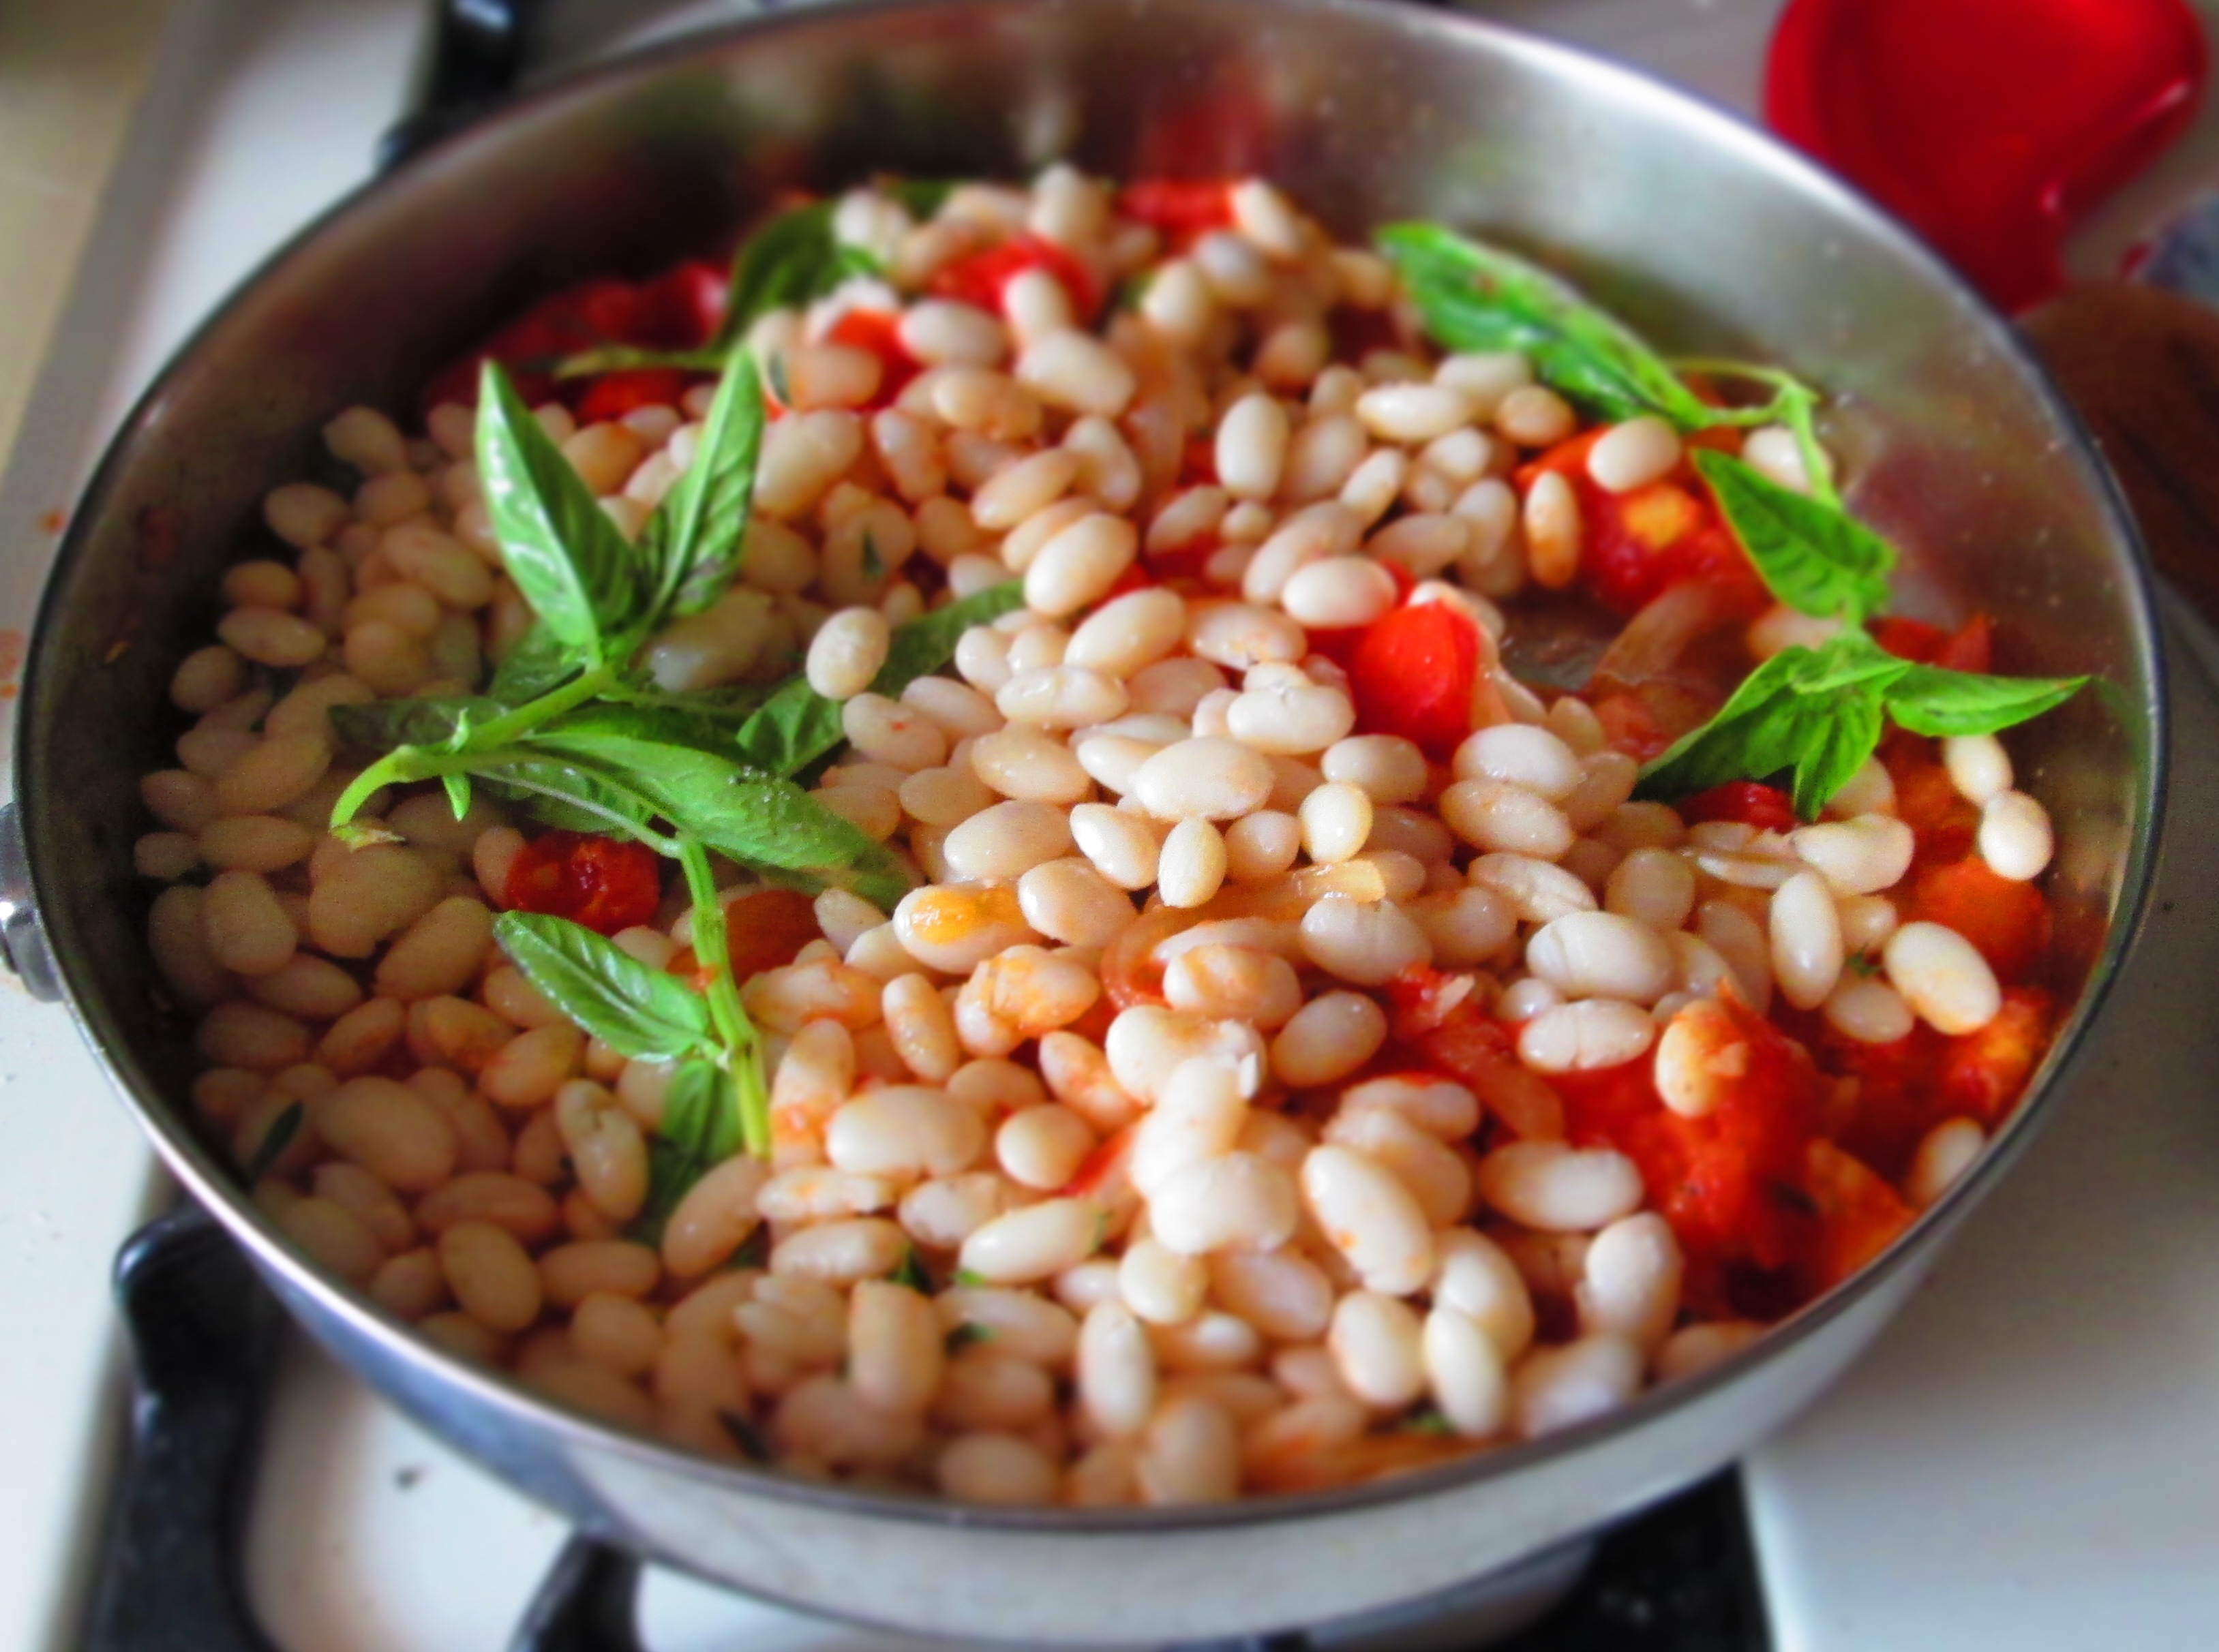
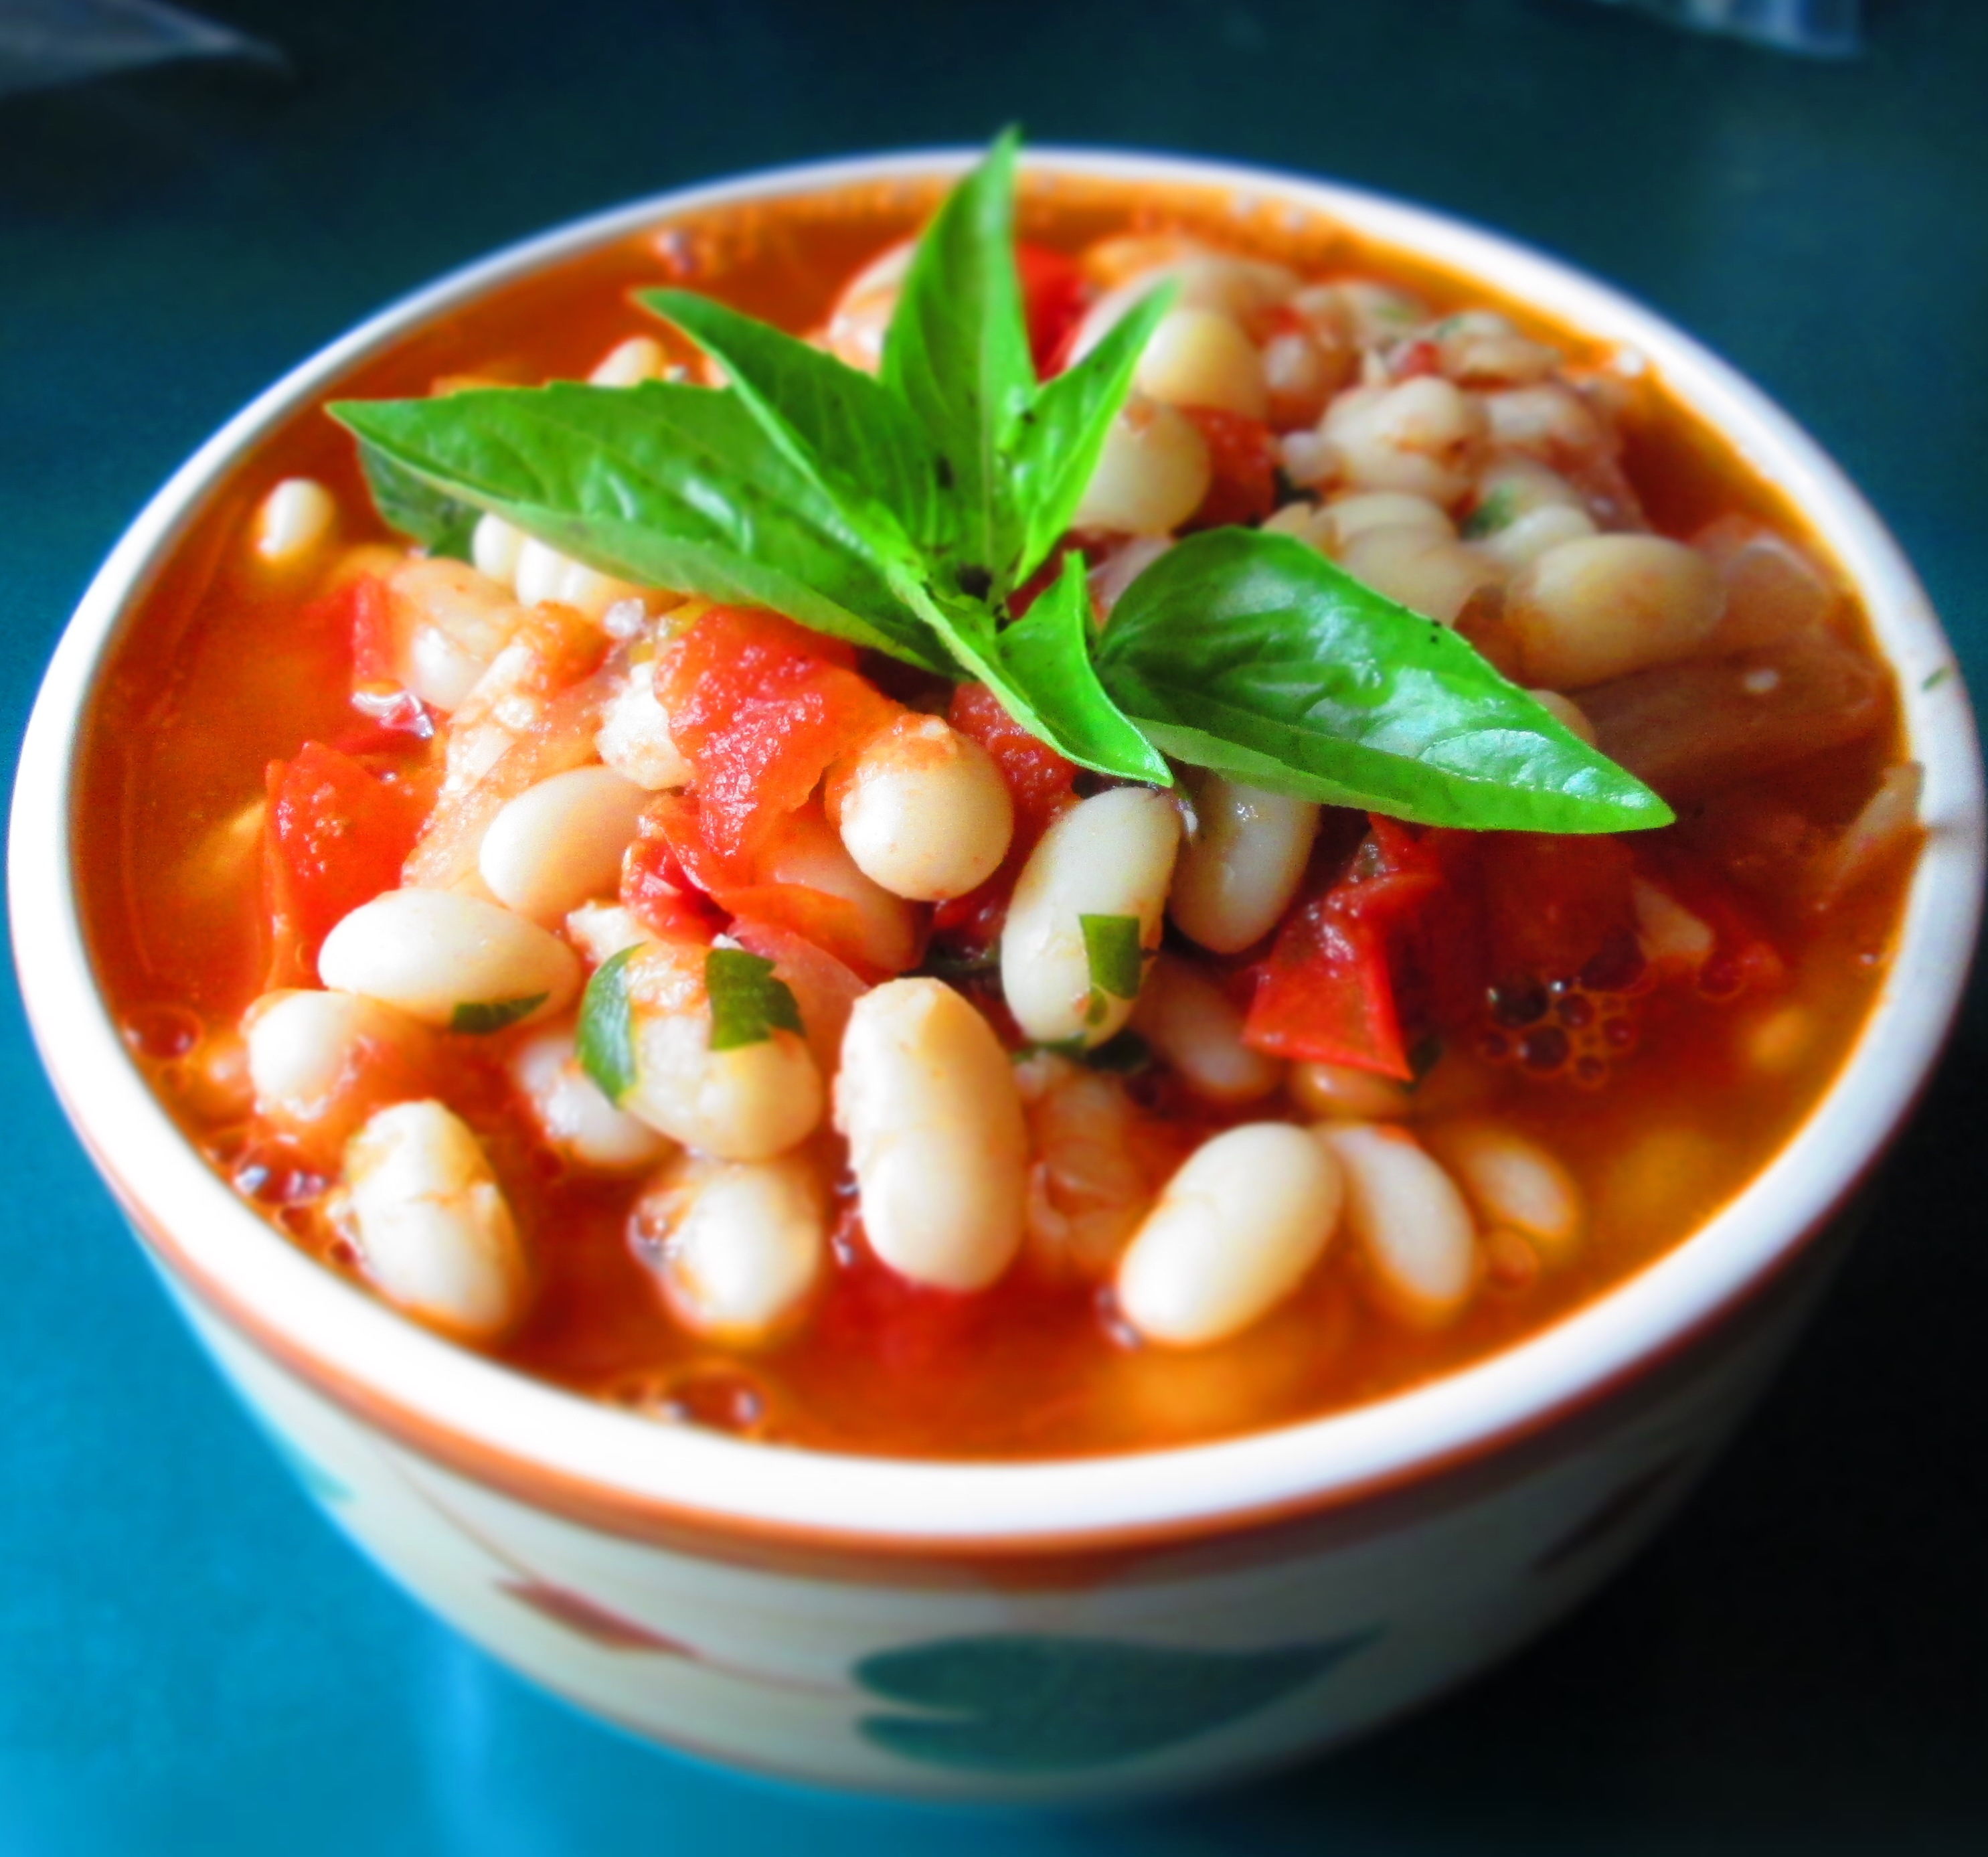
So, I cooked up a mess of Great Northern beans, added some fresh tomatoes from my mother’s garden, and got this: tomato-y white beans. It’s really simple, so I hope you give it a try.
Tomato-y White Beans
Makes about 6 servings.
1½ cups dried Great Northern beans 2 bay leaves 4 large garlic cloves ½ large onion, sliced 2 teaspoons kosher salt 2 teaspoons olive oil ¼ cup white wine 3 or 4 medium tomatoes, seeded and chopped Freshly ground black pepper 1/2 cup vegetable broth Fresh herbs (whatever you have available)
Place the beans in a bowl and cover with water by about 3 inches. Cover and soak overnight.The next day, drain the beans and place them in a medium pot. Add water to cover by about 2 inches. Add the bay leaves. Smash two of the garlic cloves and add them to the pot, along with half the onion, and 1 teaspoon of the salt. Bring to a boil. Lower the heat to low; partially cover the pot, and simmer until the beans are tender but still firm, about 45 minutes.Drain the beans in a colander and remove the bay leaves and garlic and discard. Finely chop the rest of the garlic.Heat the oil, in a wide pan. Add the rest of the onion and cook until translucent. Add the garlic and sauté one more minute. Add the wine and let it cook until it’s evaporated. Add the tomatoes, the rest of the salt, pepper and sauté 5 minutes.Add the beans, broth, and herbs (I had basil, savory, and parsley), and cook for about 5 minutes, or until it thickens.You’re ready to eat. Have it over rice, pasta, or with crusty bread.
There’s one thing I love about Eataly, the Italian market in Chelsea in New York, and it’s not the prices. It’s the fact that you can get products that have been imported from Italy, things that you wouldn’t otherwise find, at least not easily.
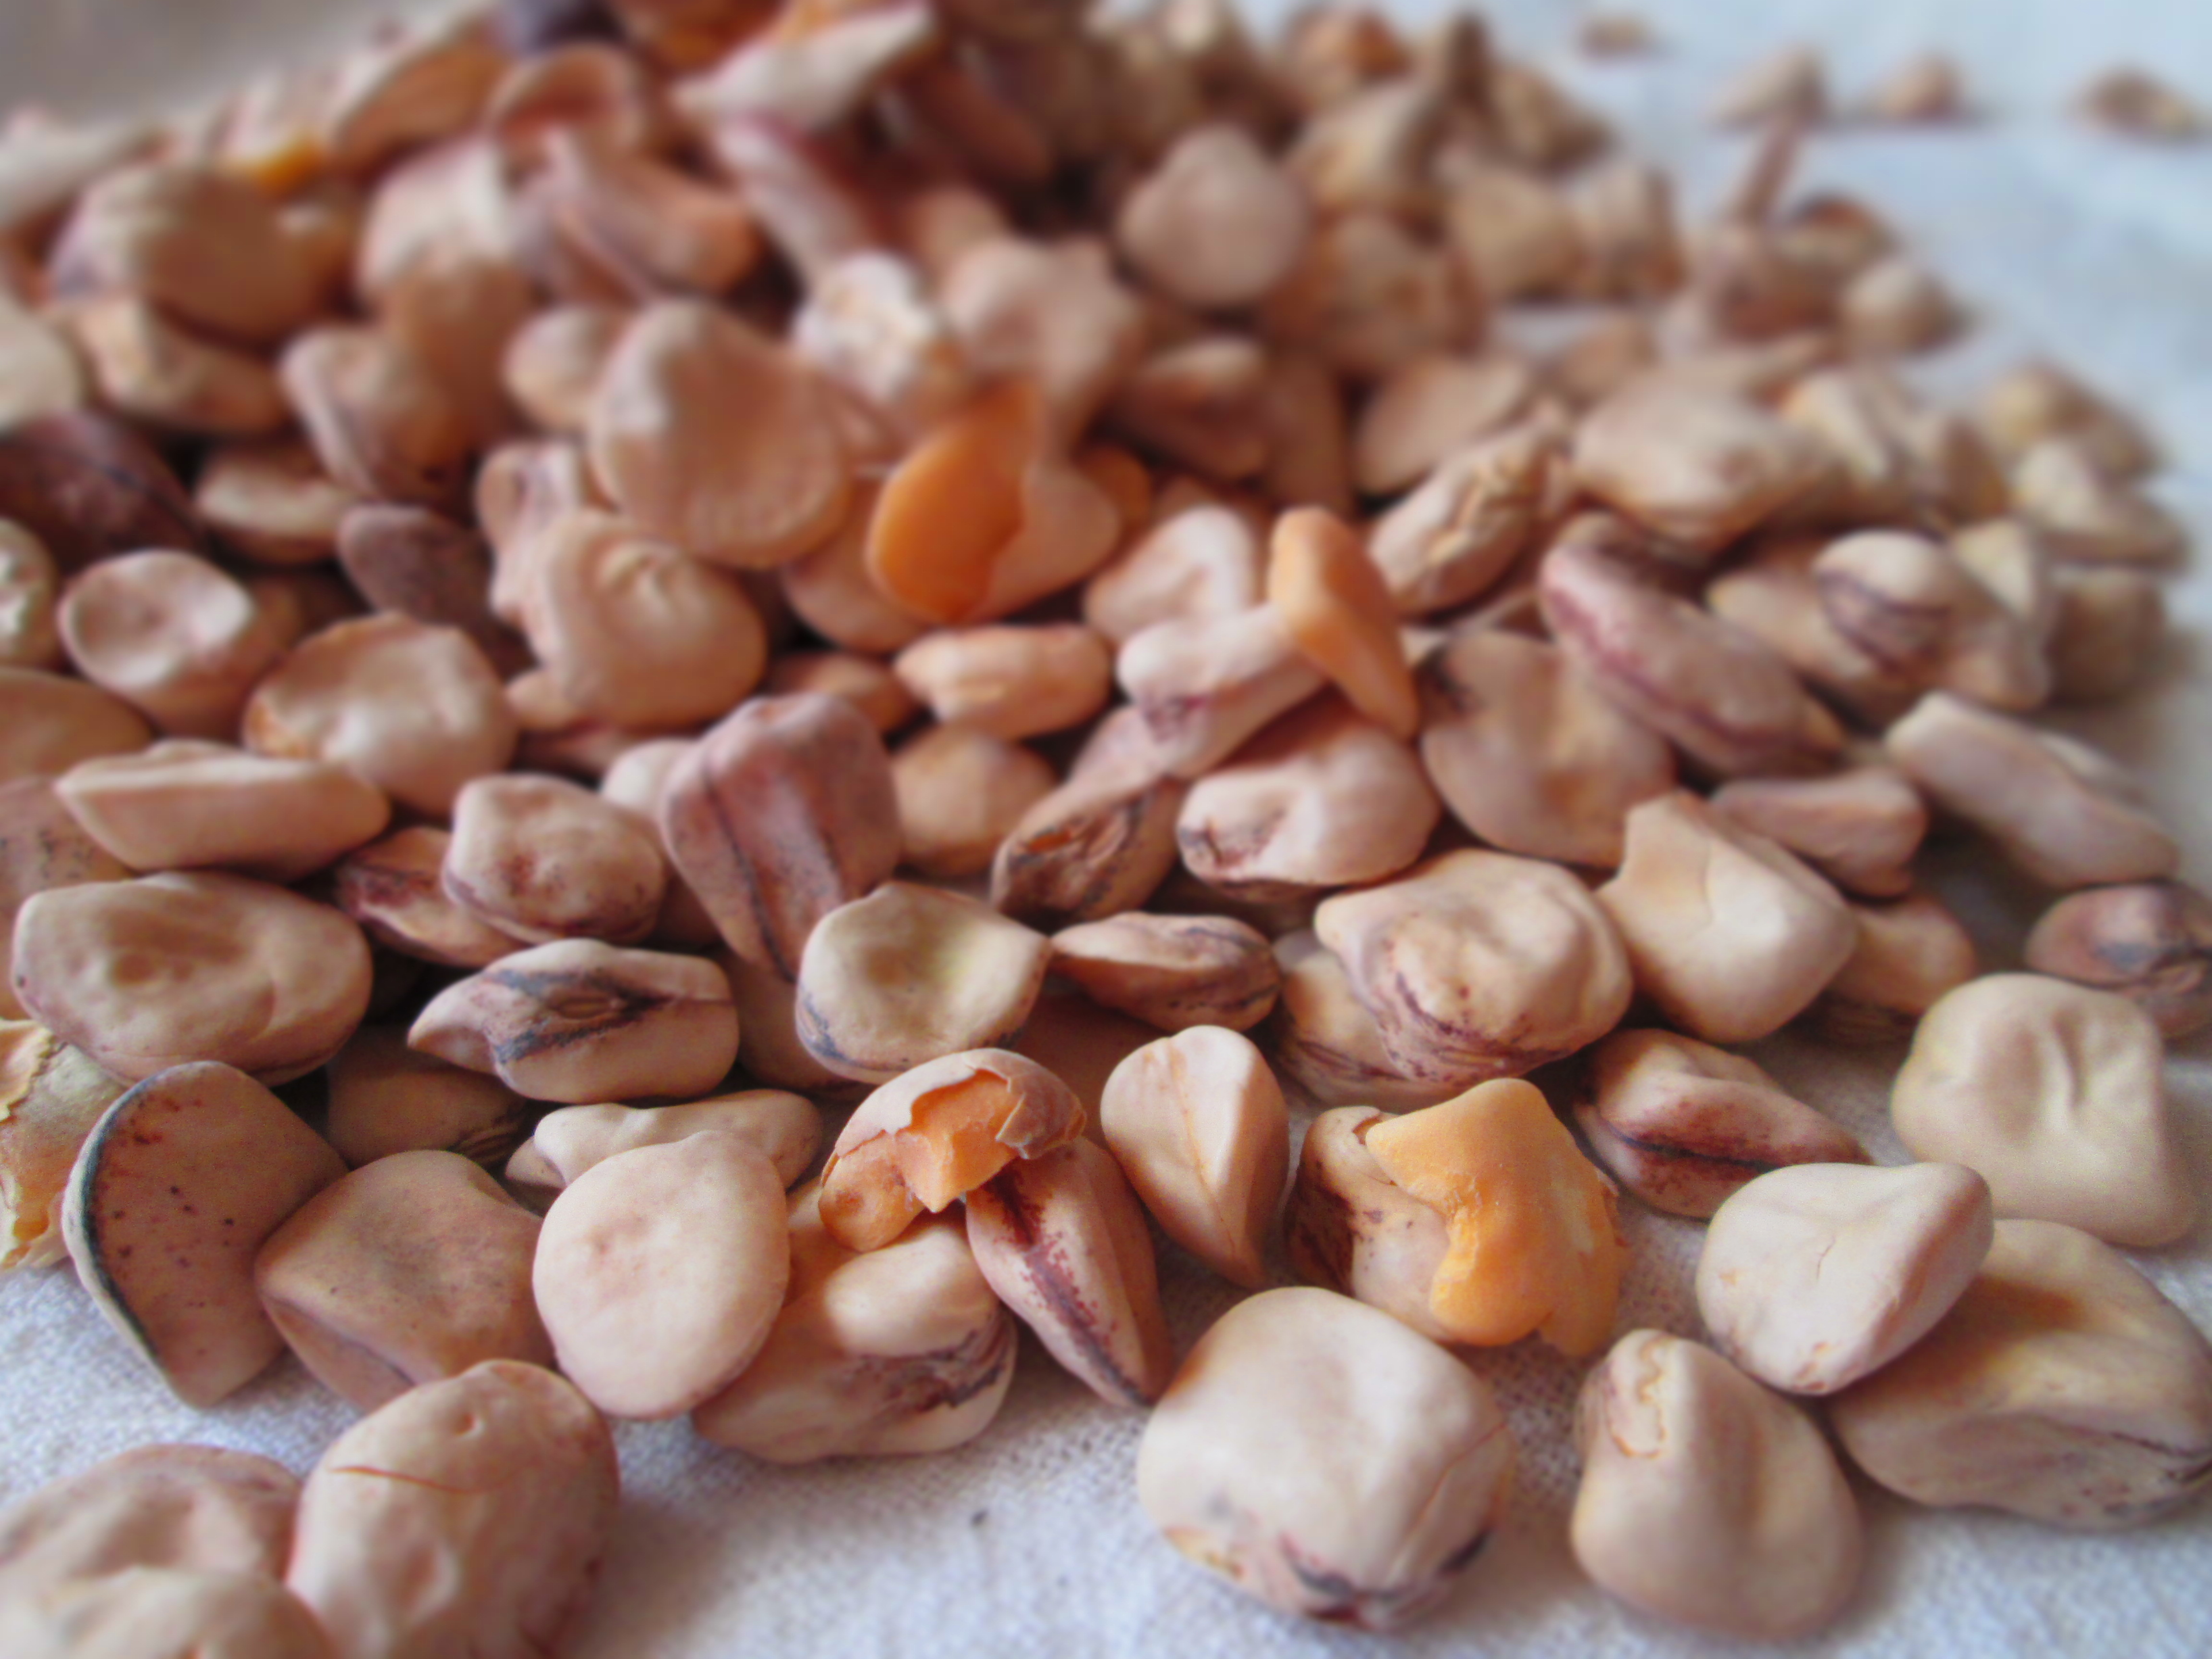
During one particular perusal of the market, I found cicerchia, an Umbrian hybrid of chickpeas and fava beans. Ceceri means chickpeas, so I imagine that cirechia is a playful word meaning “in the realm of chickpeas.” Italians love playing with their words almost as much as their food.
It’s probably a good thing, though, that cicerchia isn’t available widely. According to Vorrei Italianfood, they contain a neurotoxin and should not be eaten every day over a prolonged period of time (alhough I don’t know what that means.)
I wasn’t sure what to do with them, though, as this was not a common product, at least not in the region where my family is from (Basalicata). Ultimately, I decided to use them in a typical Umbrian dish: chickpea soup.
If you’re able to get your hands on cicerchia, try this recipe—it’s light but filling and scrumptious. Continue reading →
Garlic scapes come around once a year for a short period of time and I’ve generally only seen them at farmer’s markets. So when I do see them, I make sure to grab some.
The first time I bought garlic scapes, I used them raw in a pesto. It was delicious but incredibly strong. Very garlicky. So after that, I used them only cooked.When I was at the farmer’s market this past week, I not only found garlic scapes, I found fresh peas as well (also quick to come and go at the market). I decided to combine them with some whole wheat Israeli couscous and the result was fabulous.
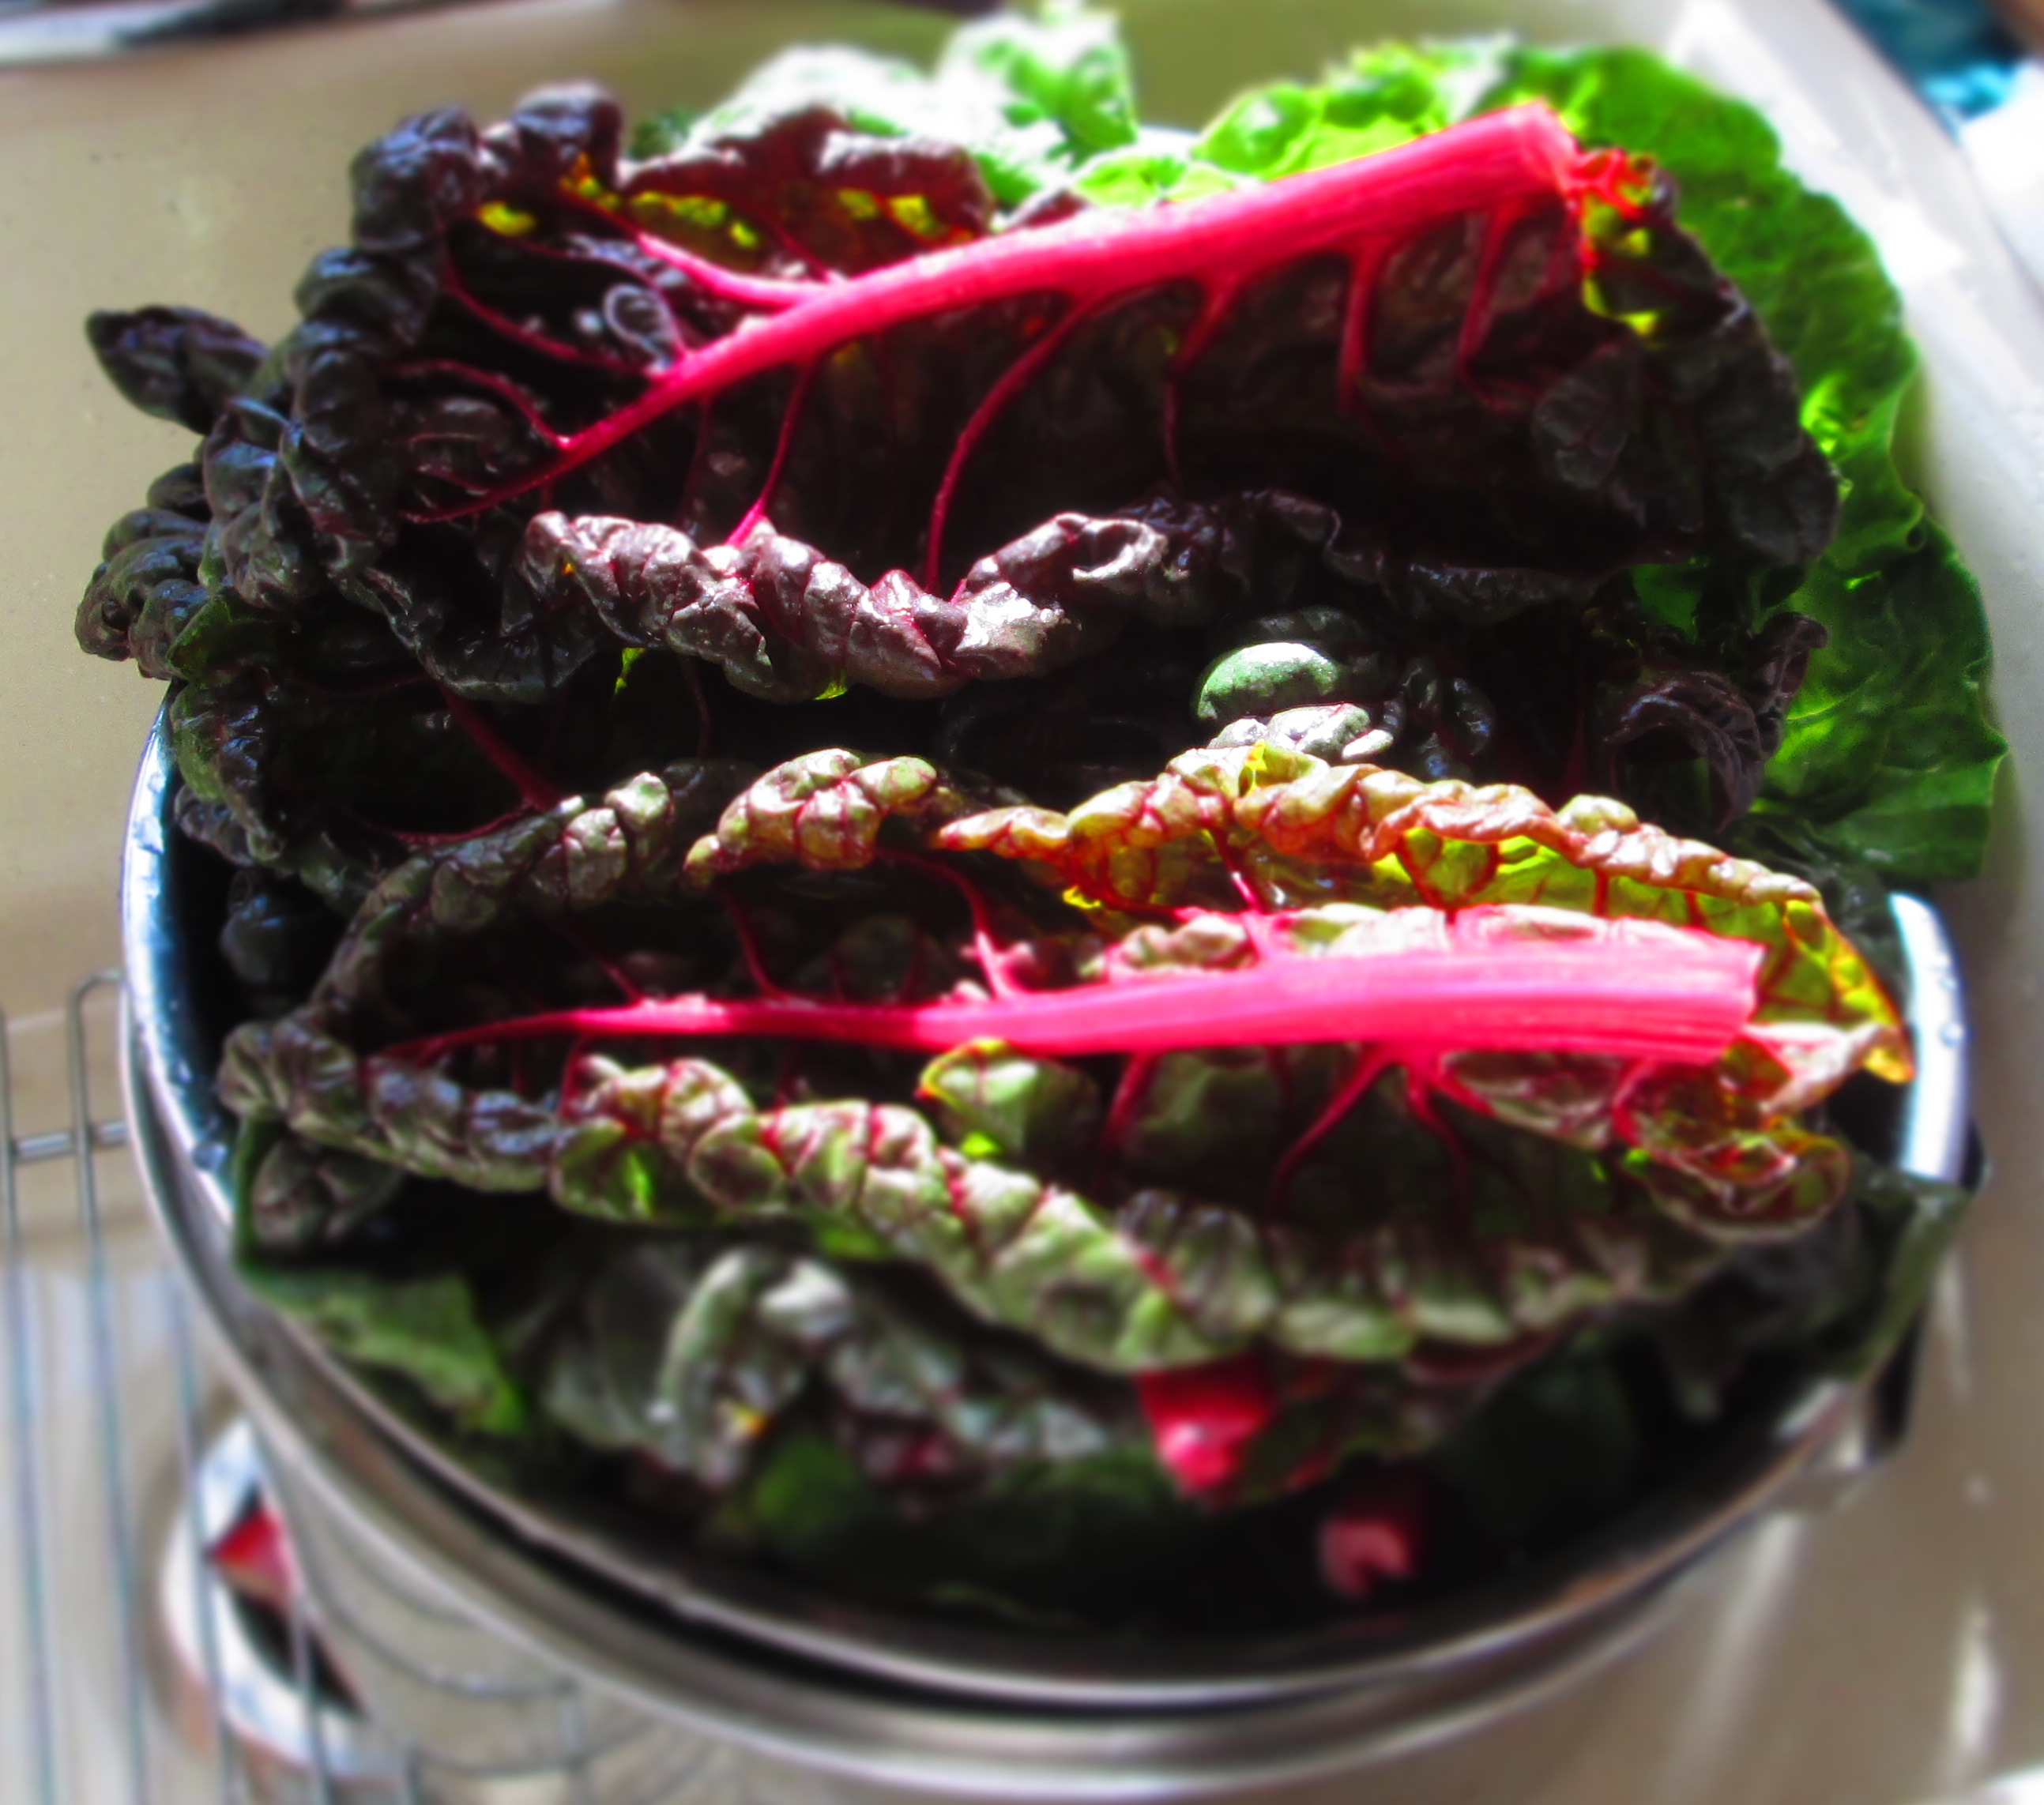
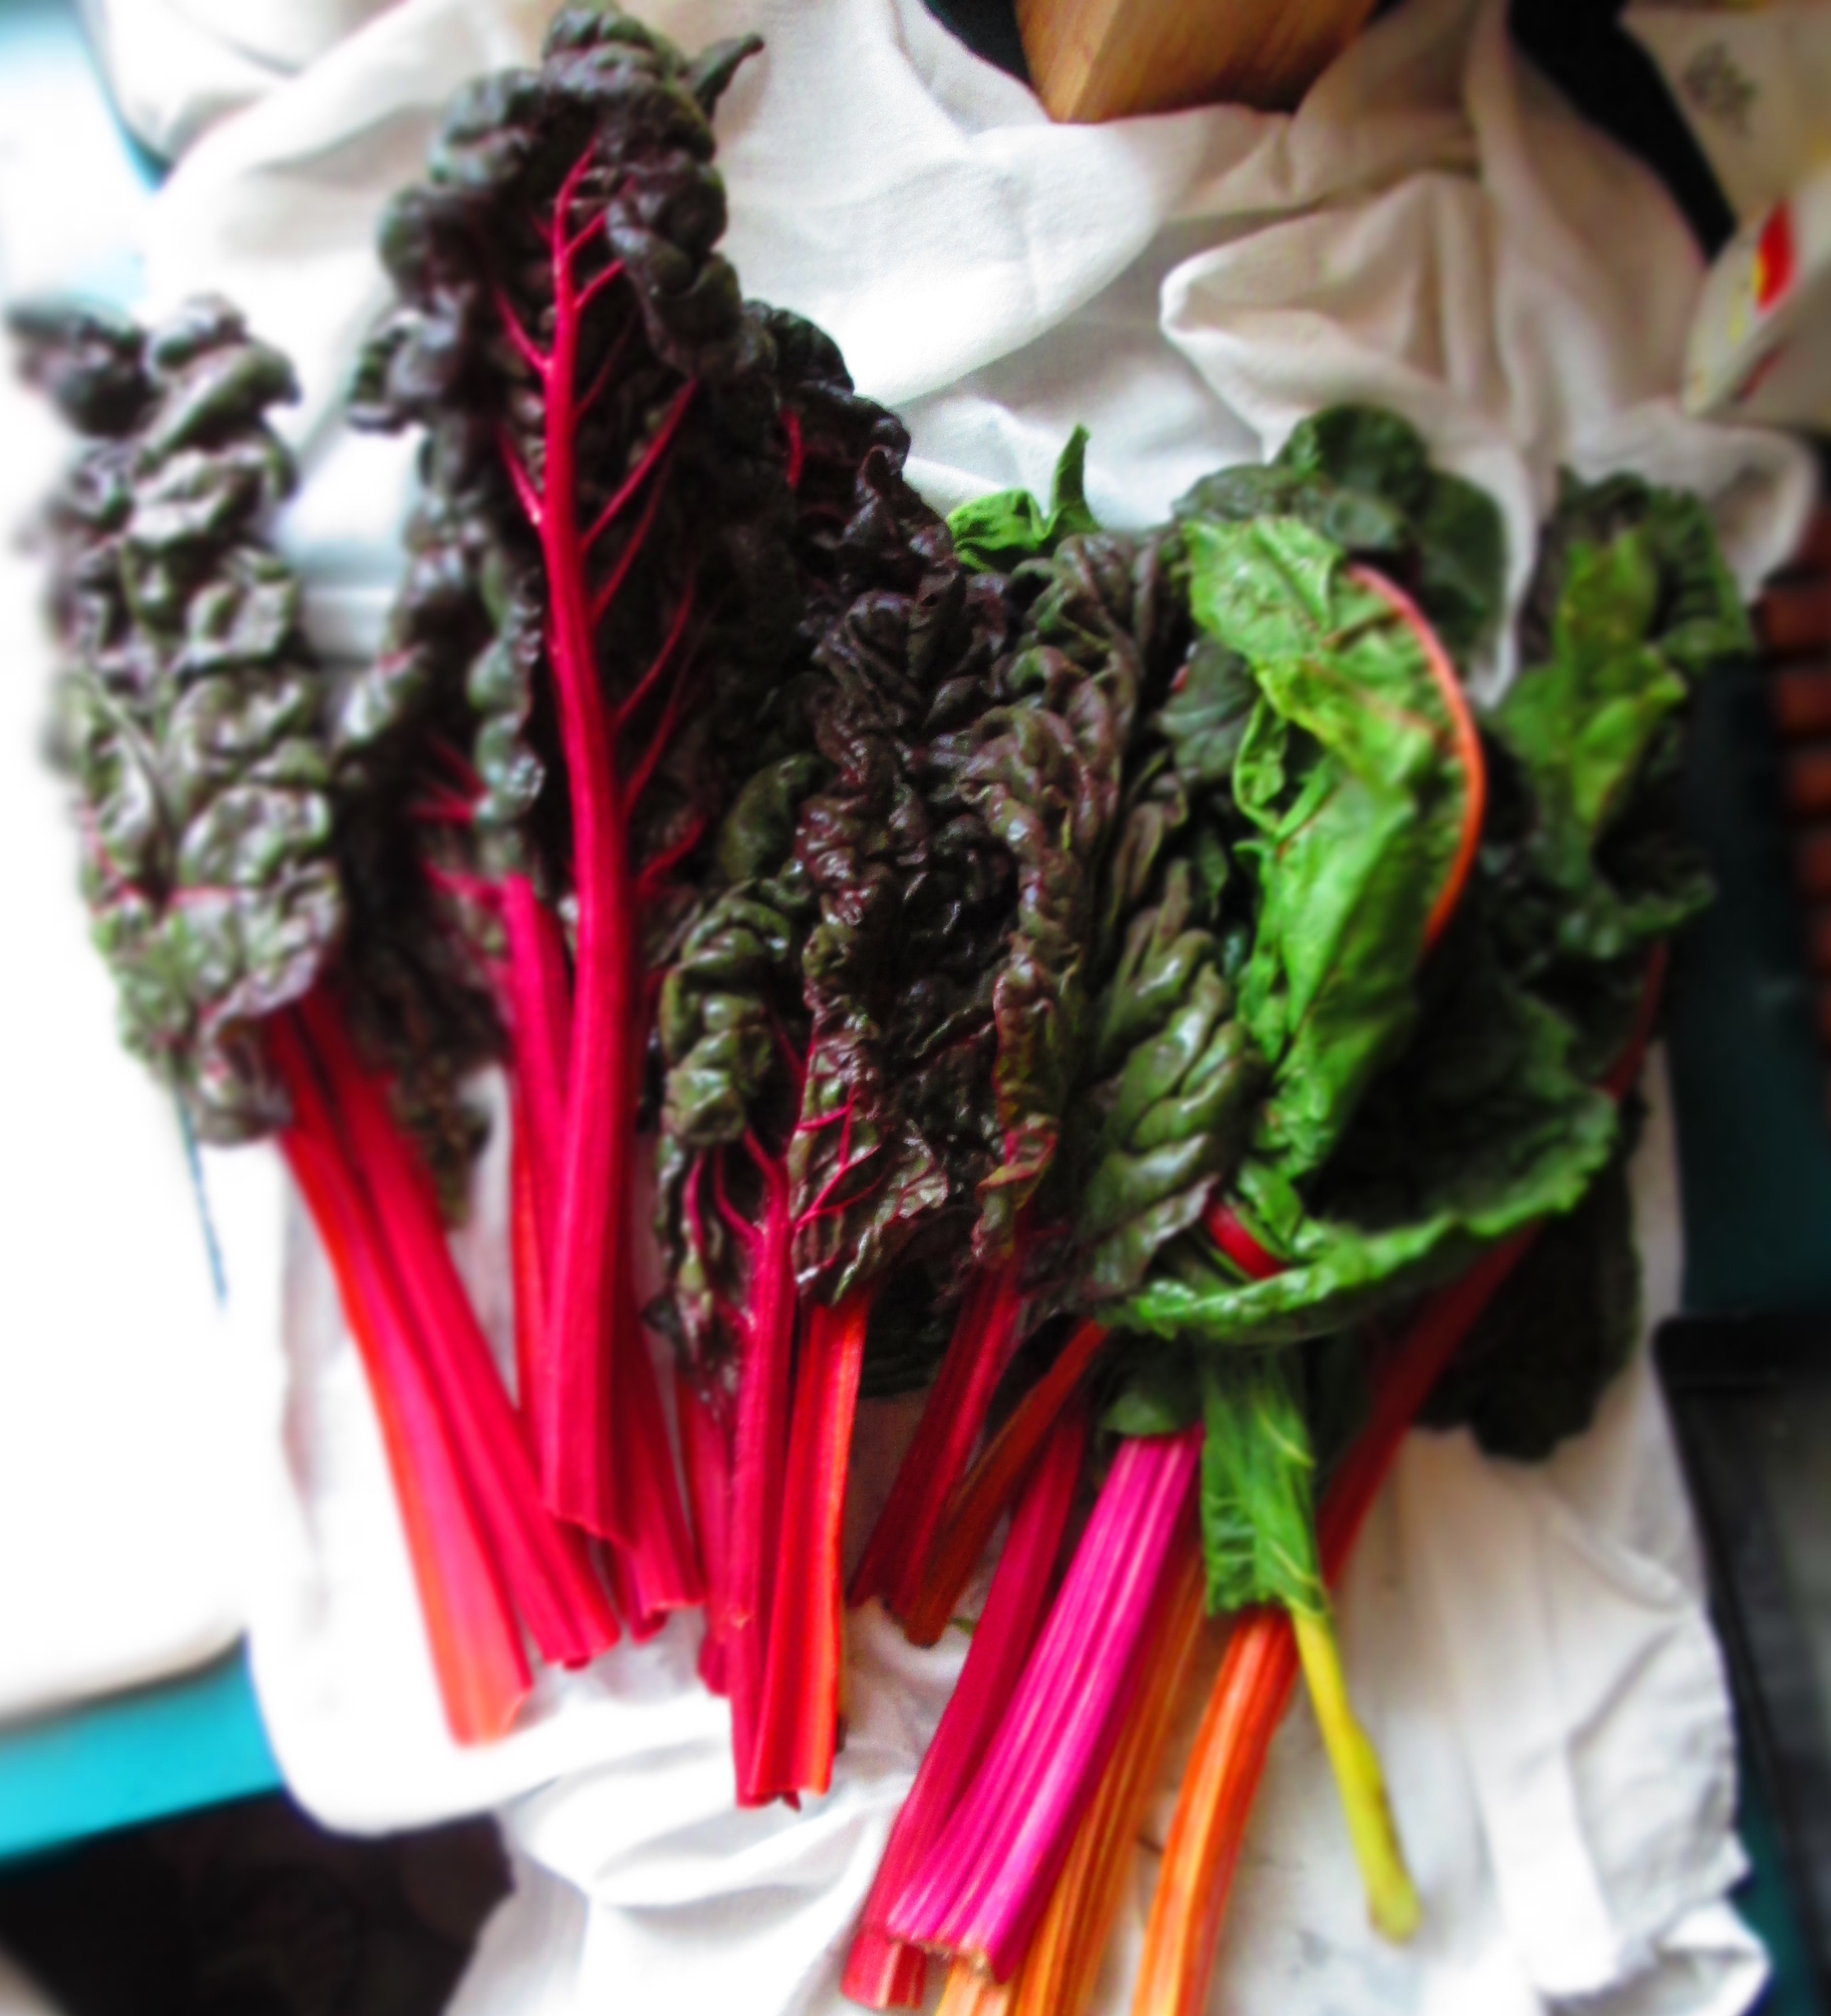
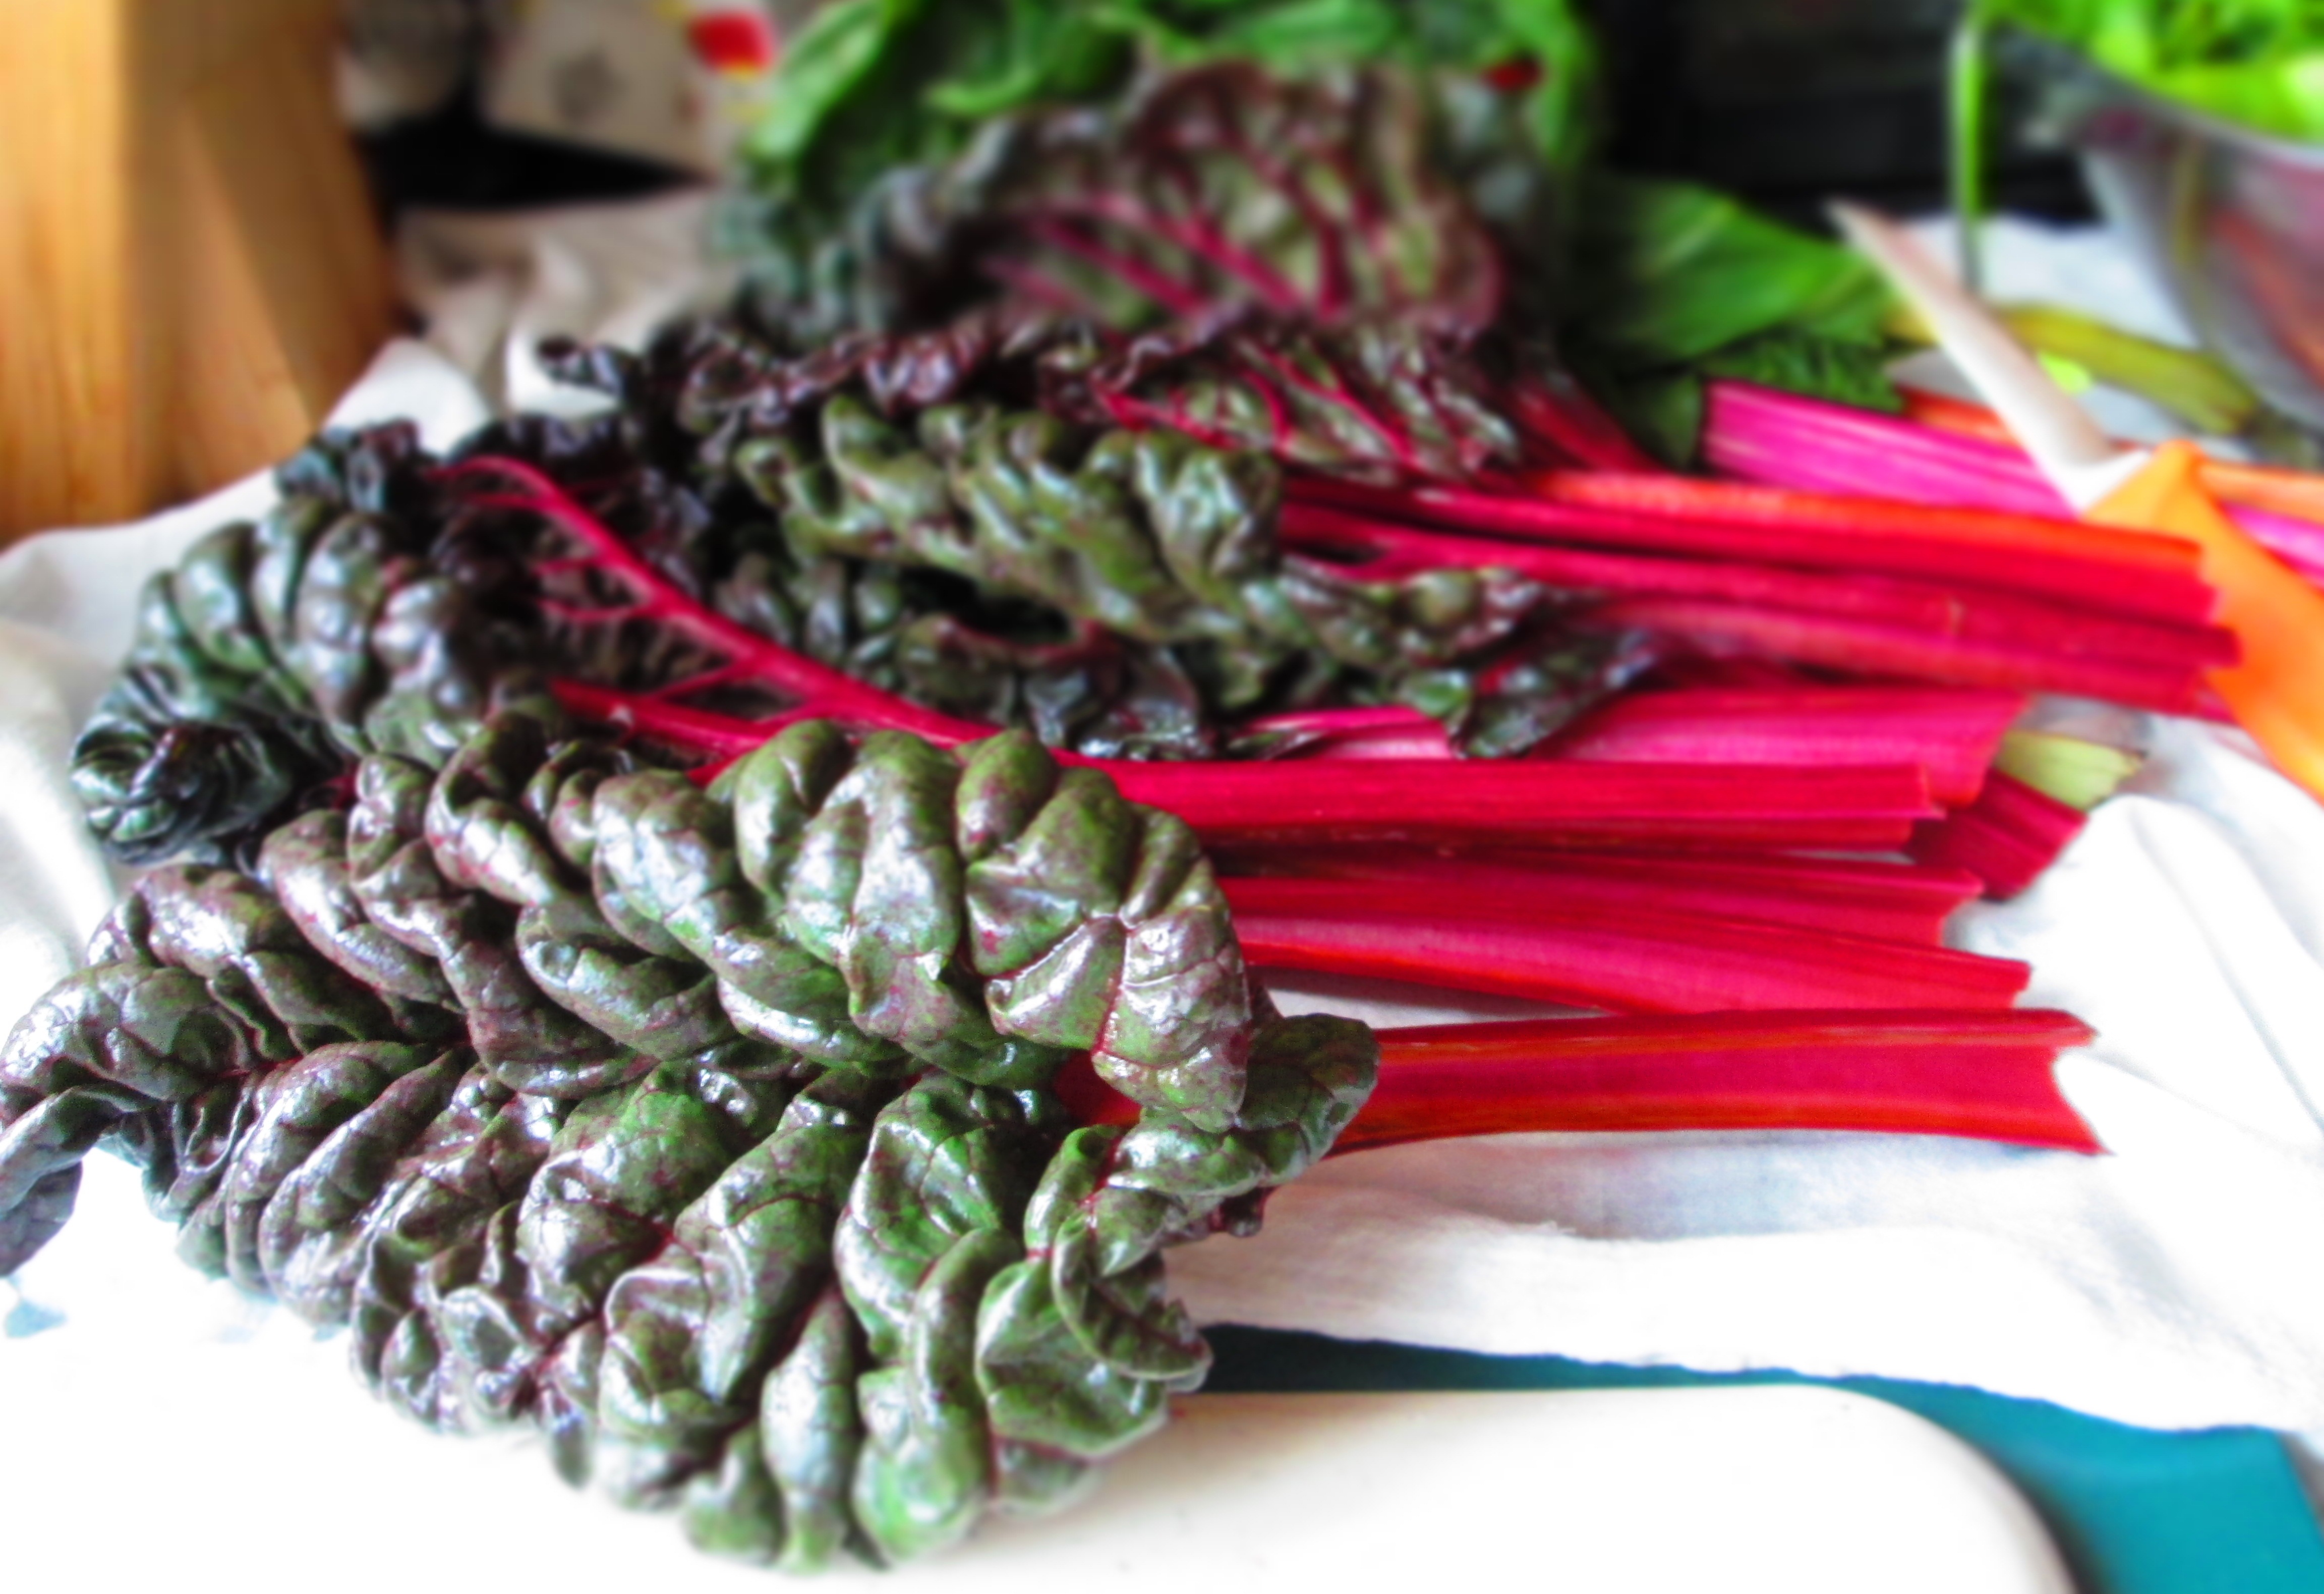
I found the most beautiful rainbow chard at the farmer’s market this week. In fact, it was so beautiful, I hated to cook it. The leaves were so plump and full and the stems so colorful and vivid, I wanted to just look at them all day. They were ruby red, fuchsia, lemony yellow, and light orange. Nature does stunning work.But, alas, uncooked chard soon becomes not so beautiful. So cook it, I must. Continue reading →
Roasting is probably my favorite way to prepare vegetables. They get golden brown, charred here and there, and caramelized for sweet, intense flavor.
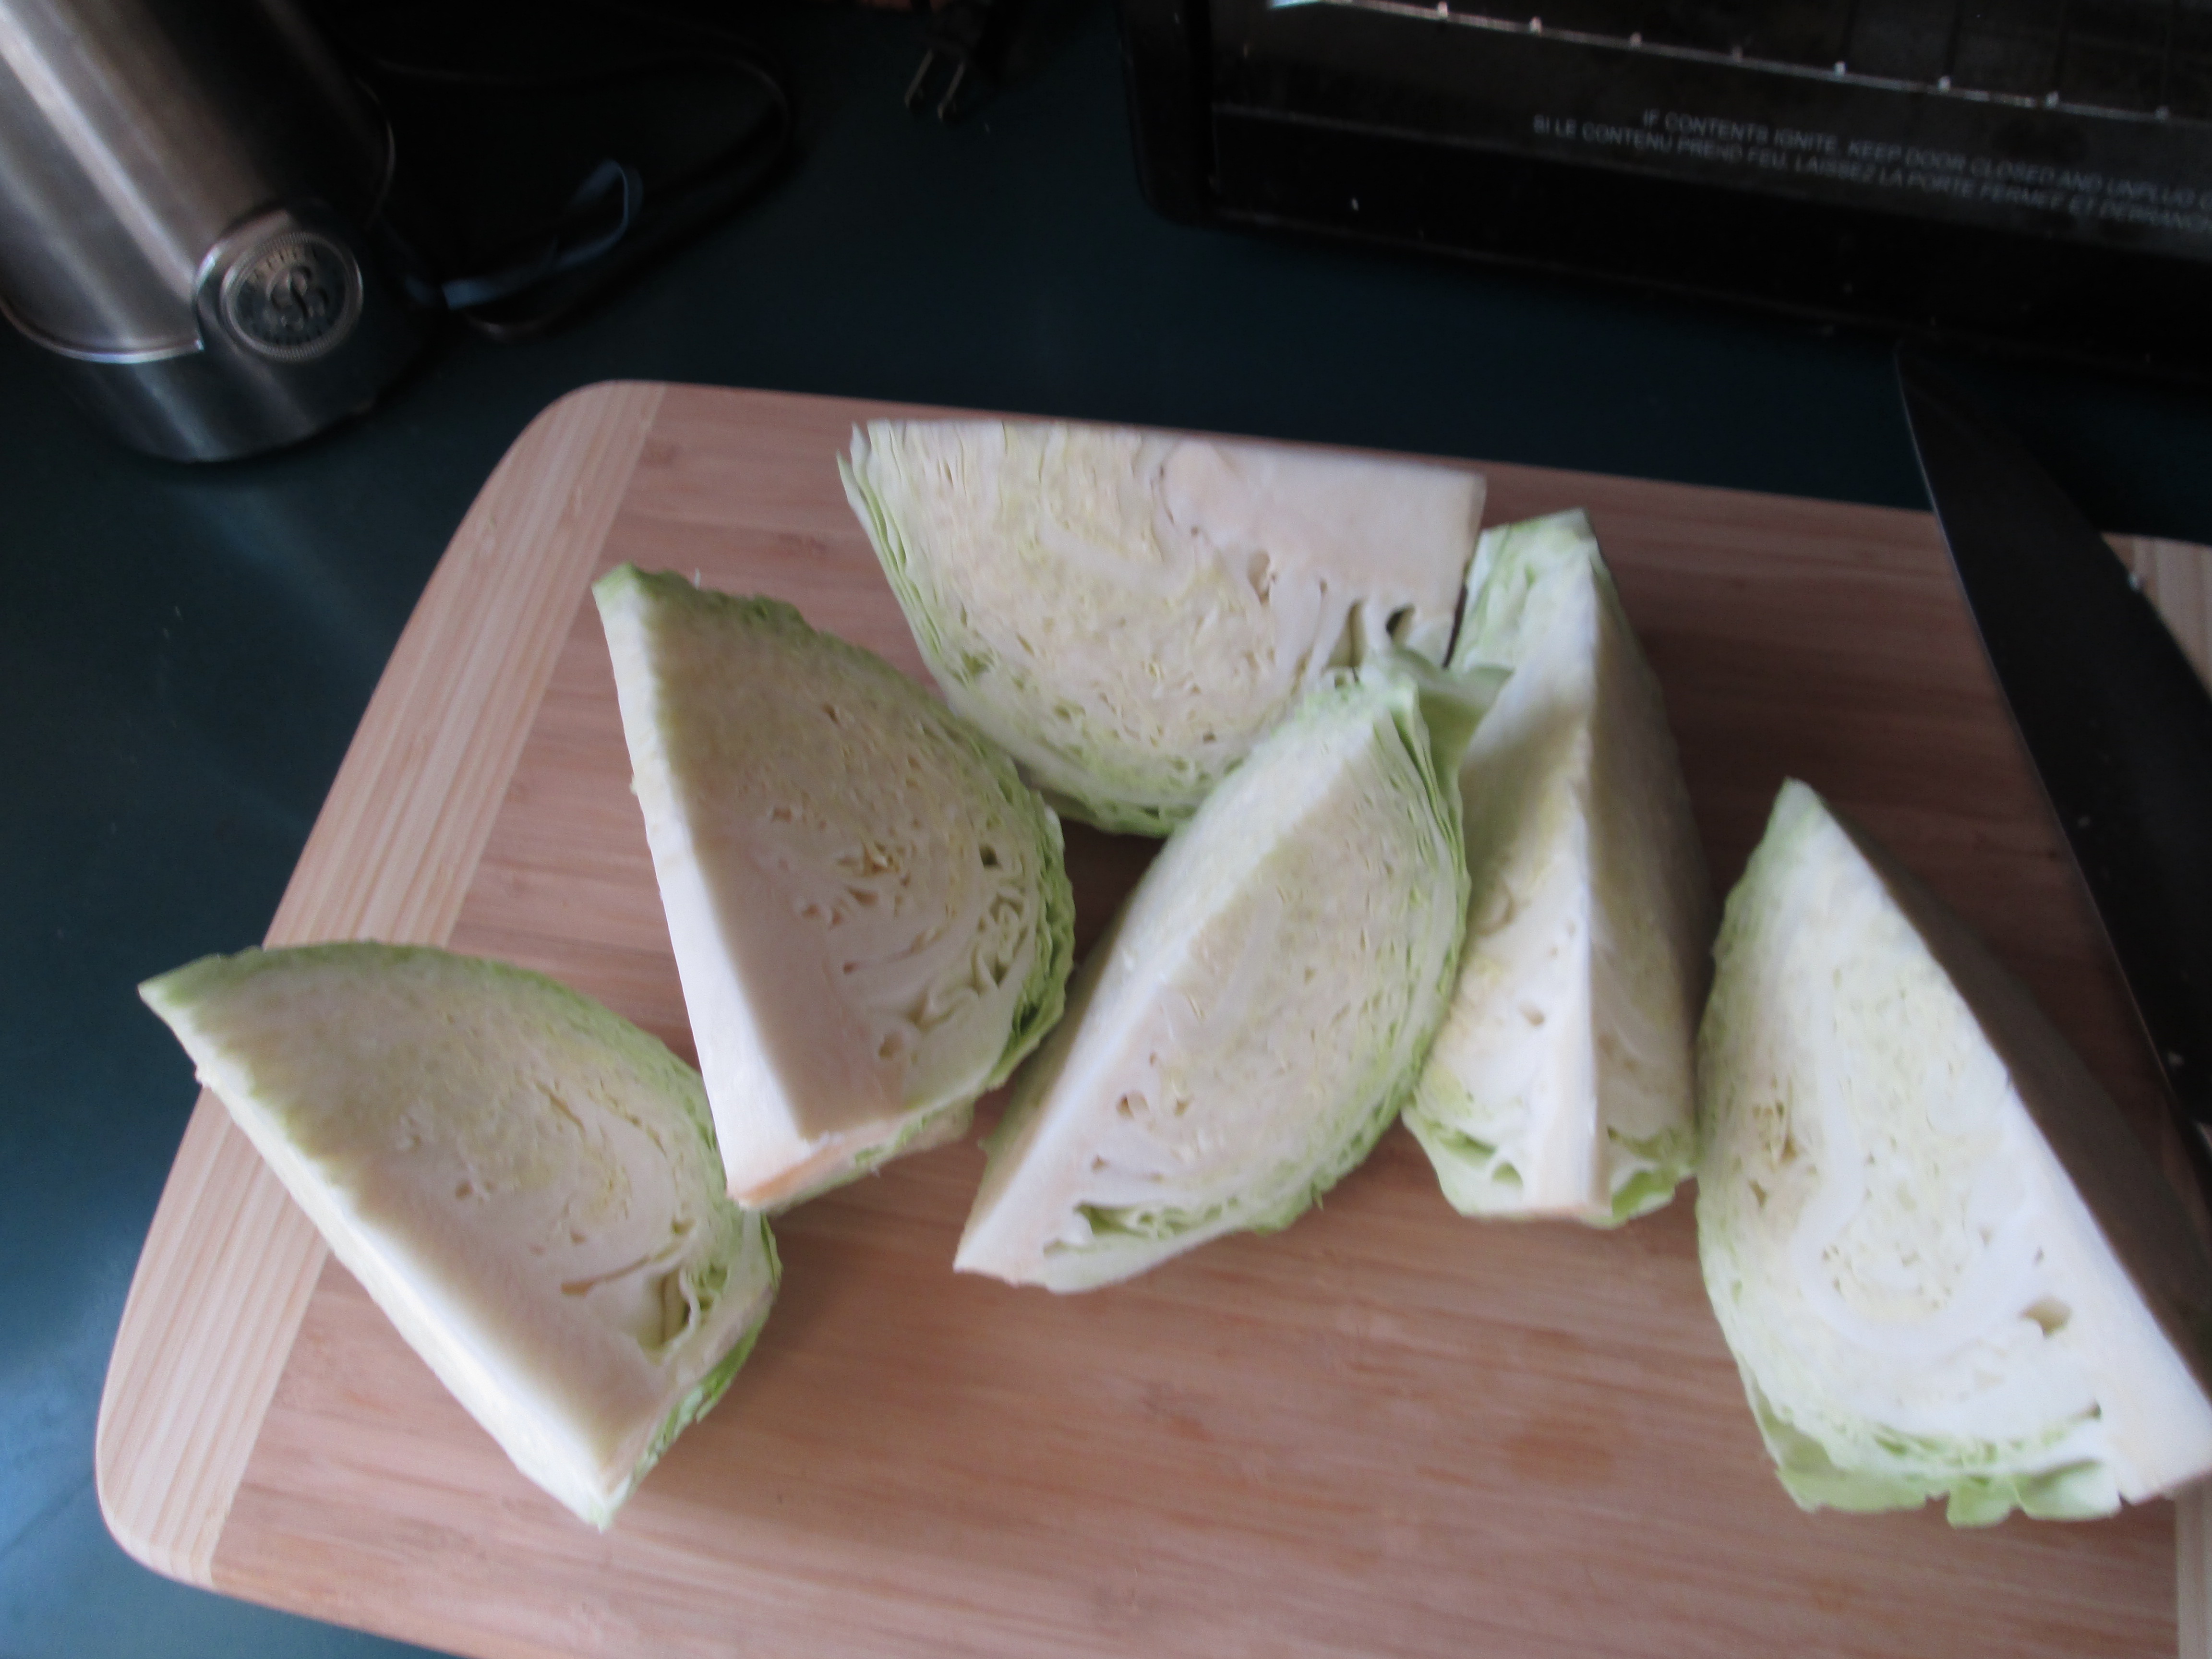
I have never, however, tried roasting cabbage. It’s just never occurred to me. So, I had this head of cabbage sitting in my refrigerator and I was trying to decide what to do with it. Cabbage has may possibilities—I could boil it, steam it, saute it, make soup with it… But I was bored with all those options. I wanted to do something different.
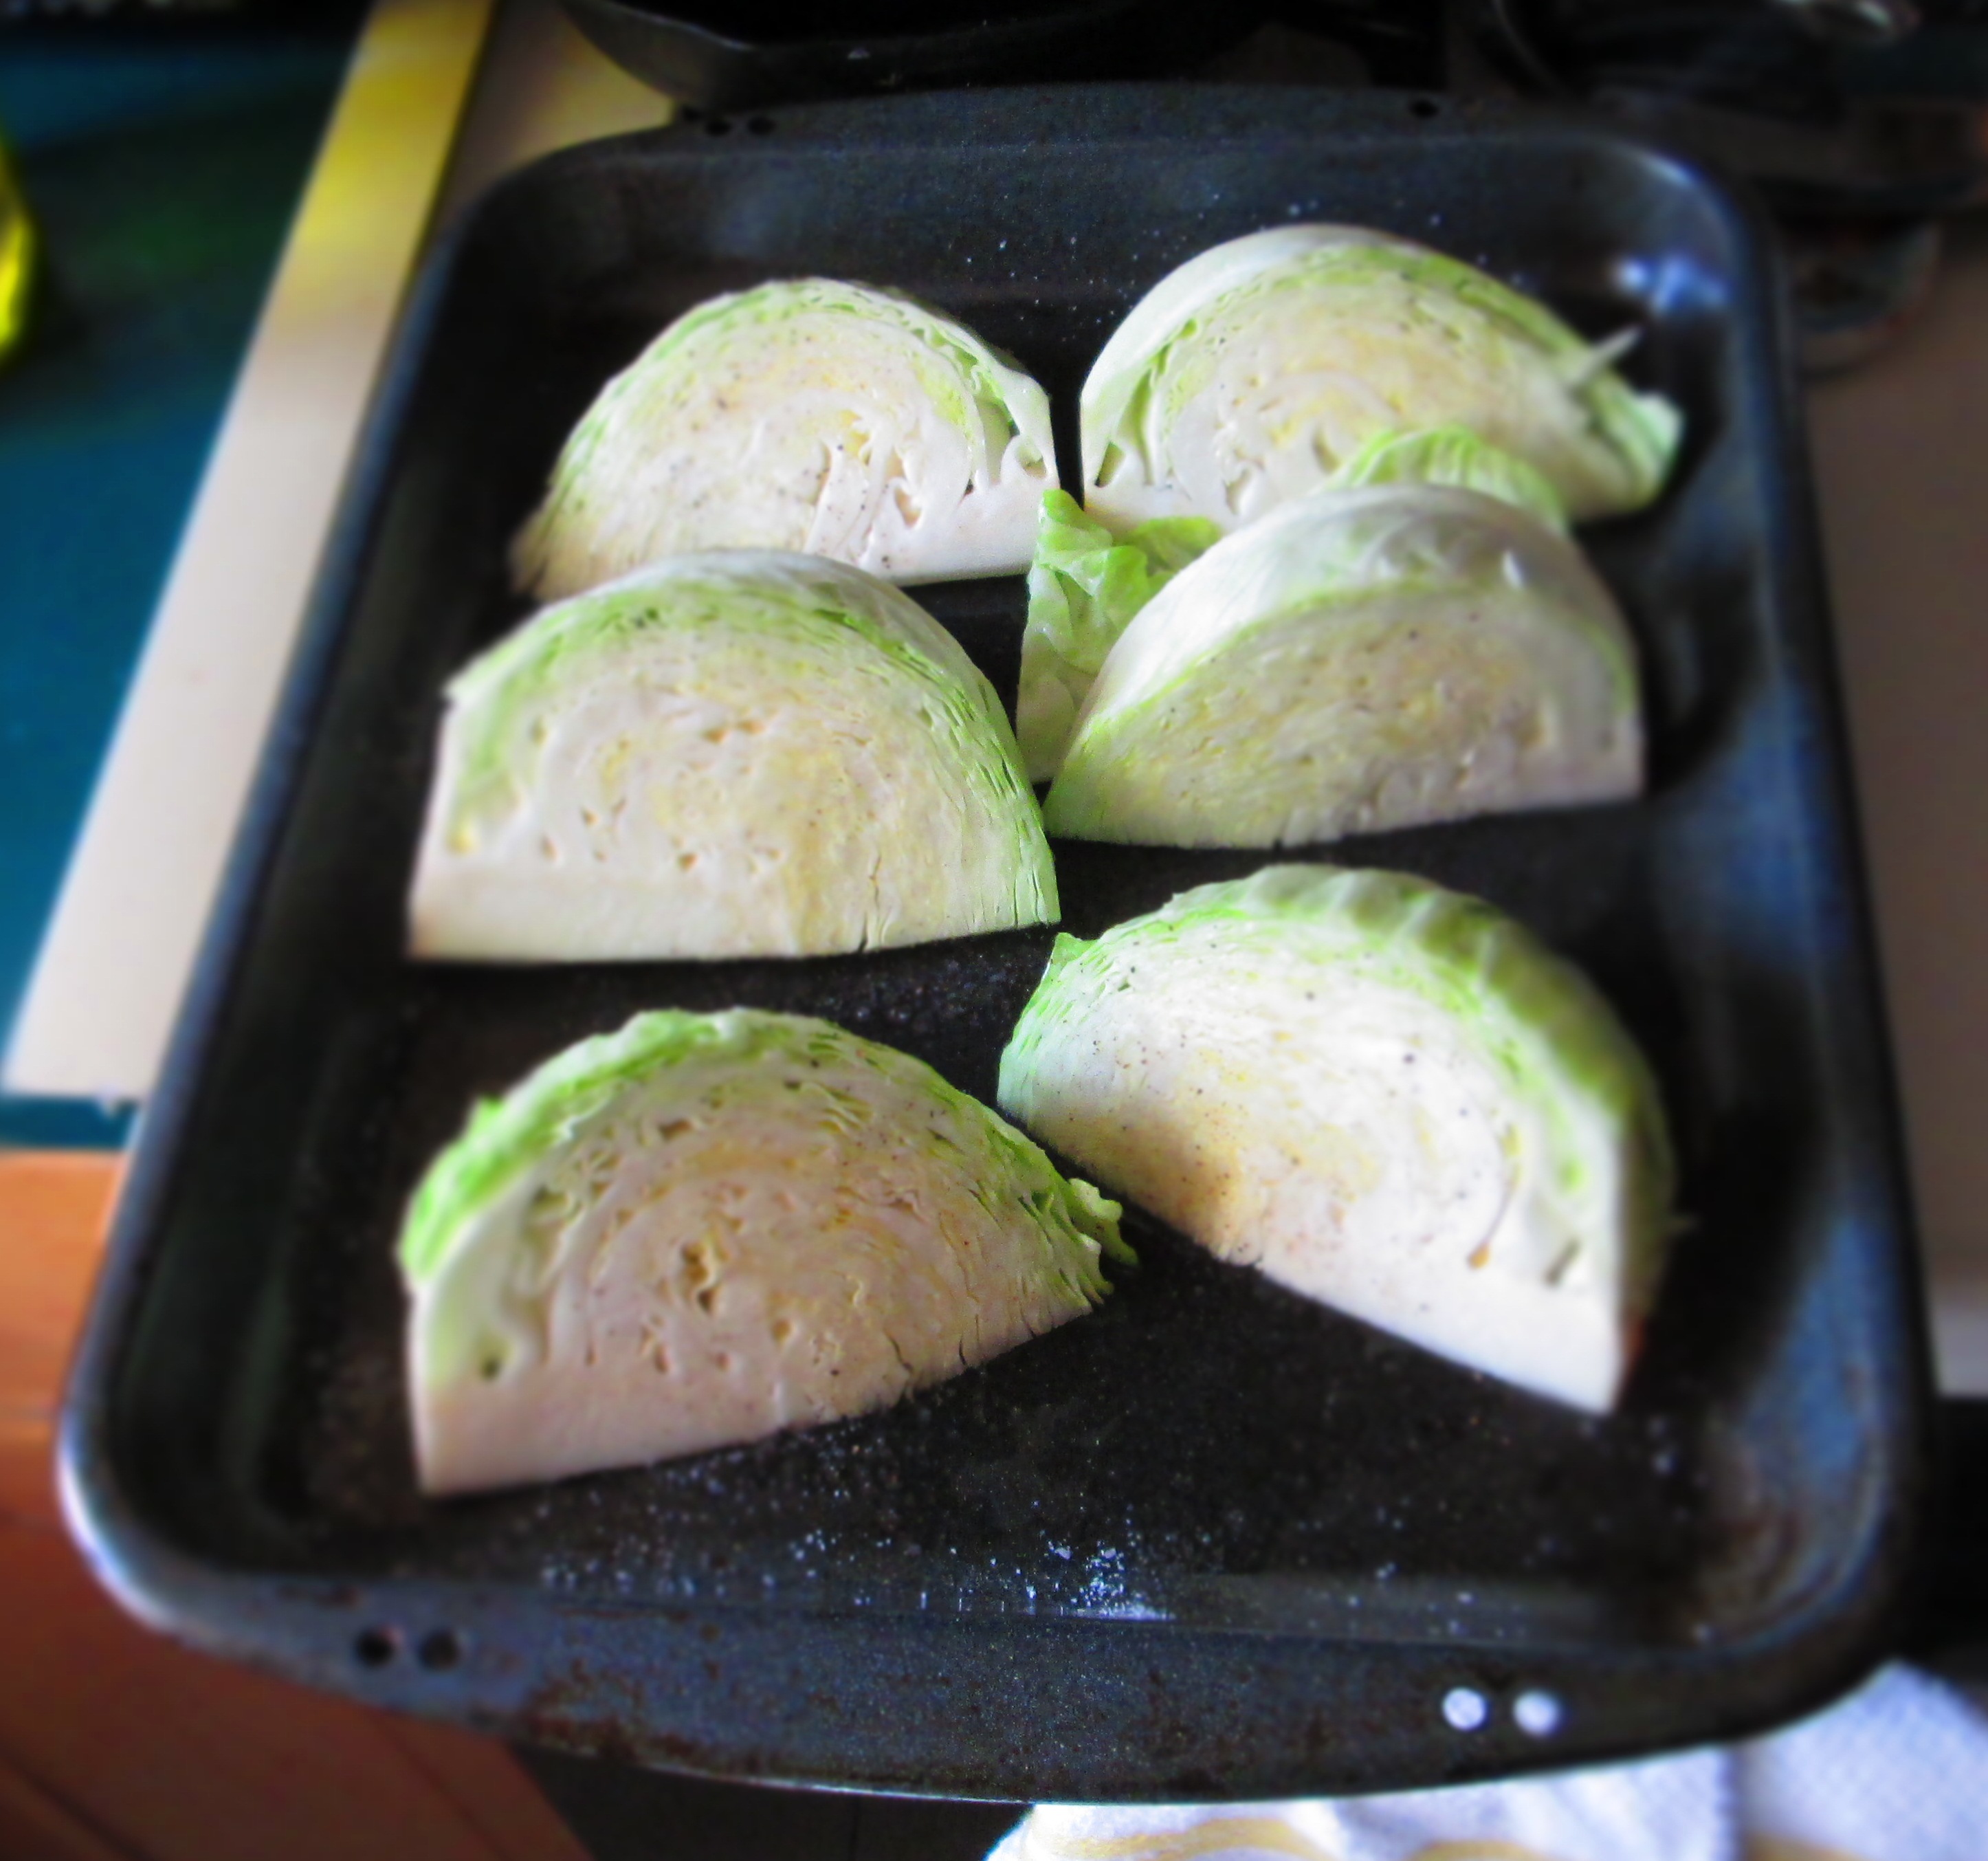
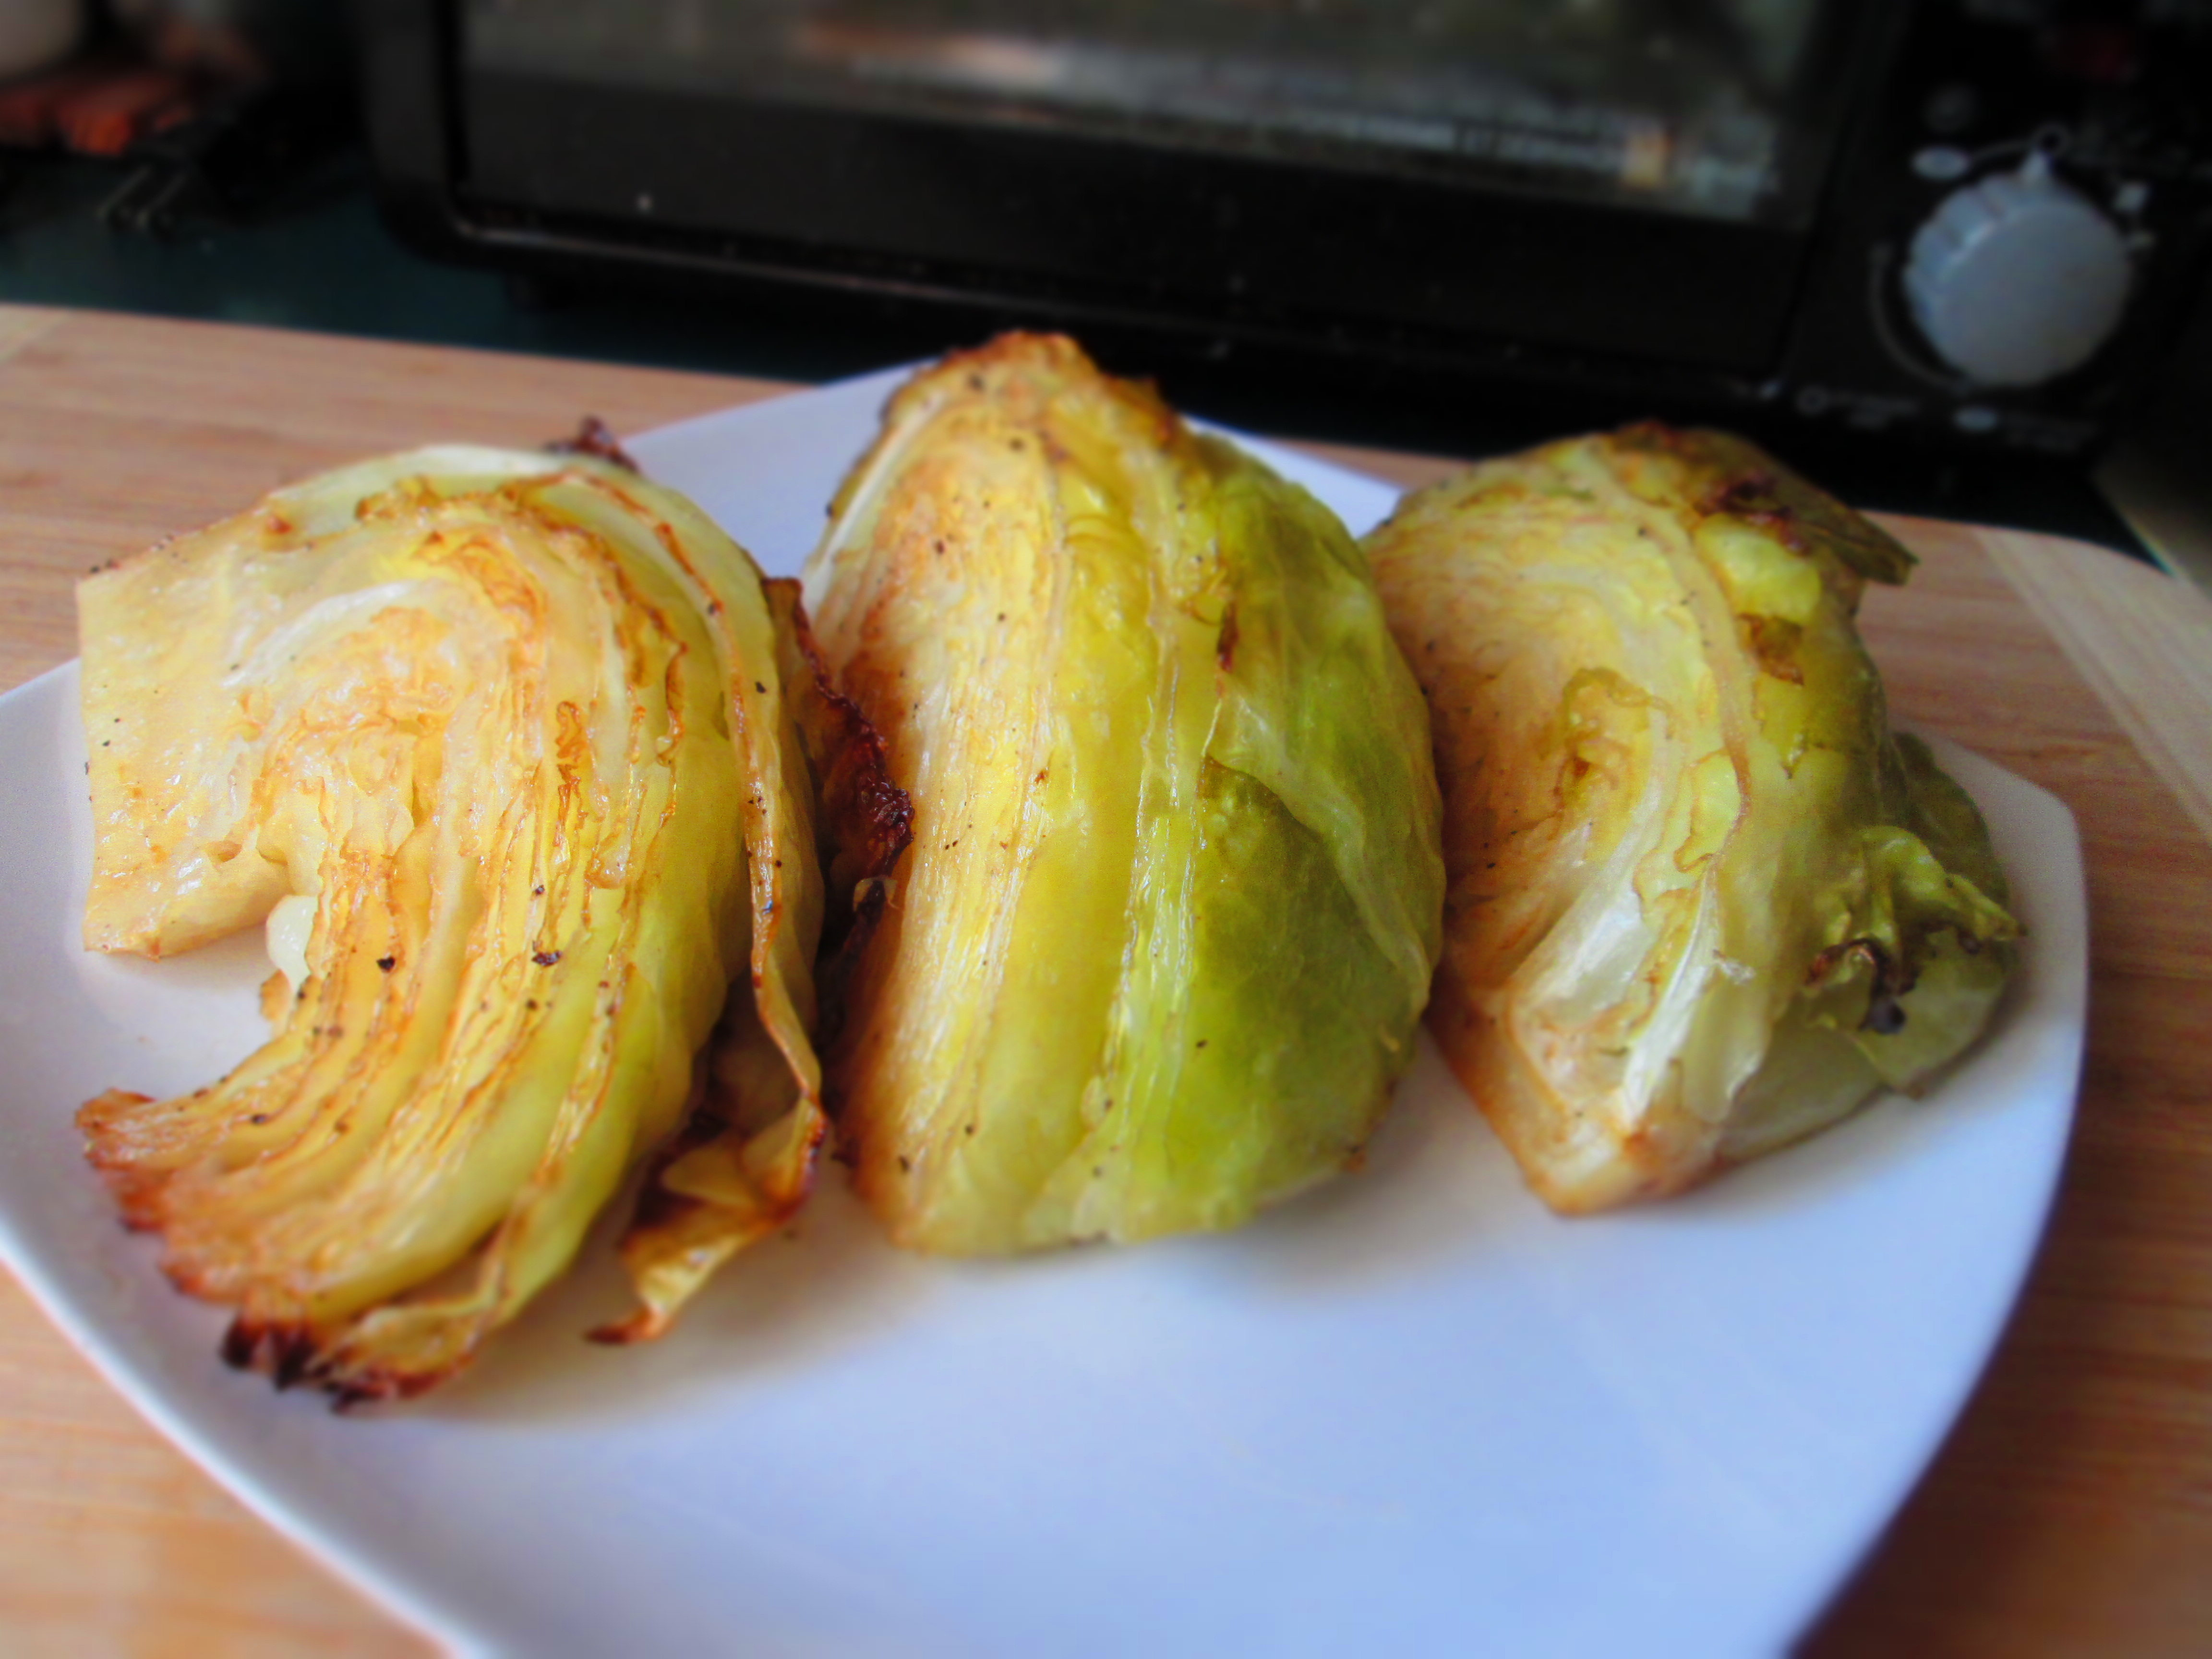
And that’s when it hit me. Roast it. I cut it up, coated the pieces with olive oil, salt, and pepper. Then I roasted them at 350 F. The result? Delicious. The cabbage was tender, toasty brown, and so flavorful. I ate it all week long.
Here’s what I did. Give it a try.
Roasted Cabbage
Preheat the oven to 350 degrees.
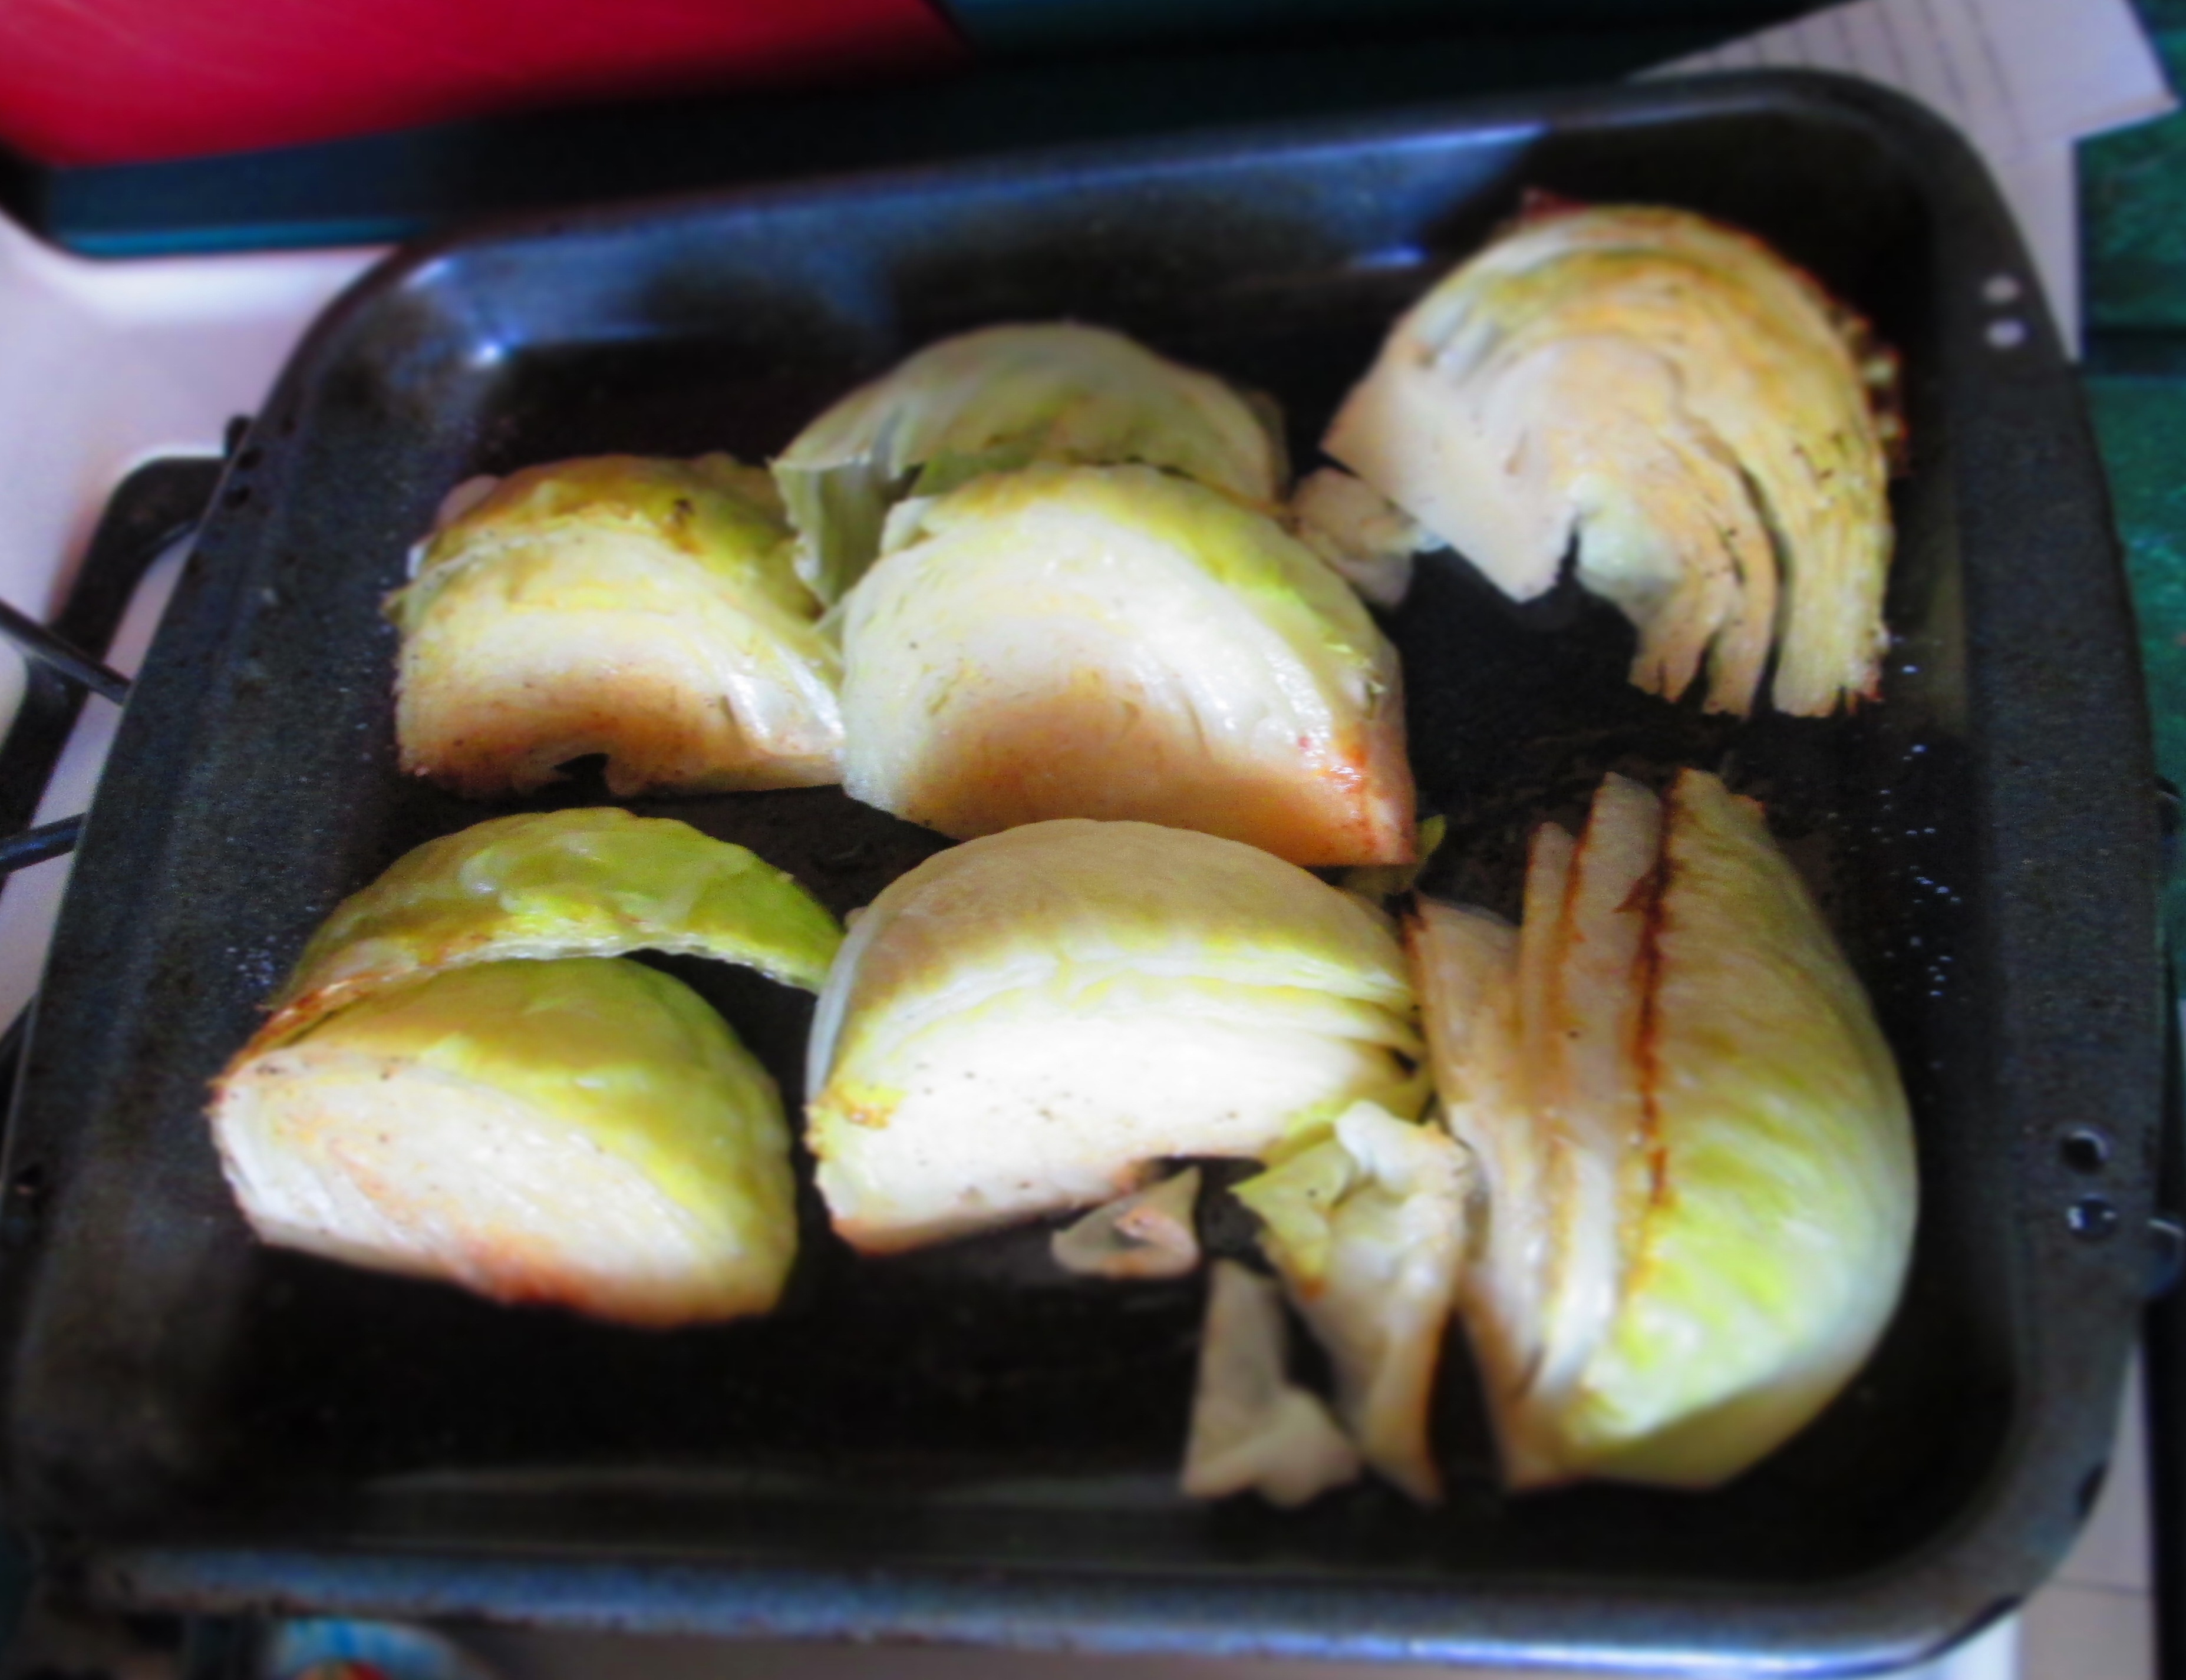
Cut the cabbage in half through the core, then each half in thirds. (If you have a particularly large cabbage, you may want to cut the pieces even further.)Lay the pieces a baking sheet. Pour ¼ cup olive oil over the pieces and use your hands to coat them thoroughly. Sprinkle them with salt and pepper.Cover with foil and bake for 15 minutes.Turn the pieces over and cover again with foil. Bake another 15 minutes.Uncover the pan and roast 10 to 15 minutes, or until tender (it will depend on the size of your pieces).
What is rice-cake pudding? you ask. I’m going to tell you.
I recently found in an Asian market another product that I had never seen before: rice cakes. Not the round disks of puffed rice that dieters have been munching on for decades, but flattened oval, kind of paddle-shaped, disks made from pounded sticky rice. Of course, I bought some.I had absolutely no idea at the time what I was supposed to do with these, so I looked around a bit. I saw a few recipes where the rice cakes are sautéed or stir fried with other vegetables, and that’s something that I’m going to try. But according to the package, they can be fried for a popped rick cake snack, to which you can add “highly tasteful or plain ingredients” for “indeed a favourable dish either for entertainment or for home meal.”Well, how could I not give it a try? I fried a small batch in oil and, as you can see in the photo below, they do puff up. I fried them until they were golden brown, at which point they are quite crisp but hard. Not unpleasantly hard—some people like that, including me. The ones that were more lightly fried had a flakier texture. A sprinkle of sea salt over the top and that was it.
So there you have it for fried rice cakes—a lighter fry for flaky/crispy, a longer fry for crunchy/crispy. (Make sure you dry the rice cakes before putting them in the oil. See note below about soaking.)But what I really wanted to try was rice pudding. Would it taste or be anything like regular rice pudding? I made mine with coconut milk and I can honestly say that it came out pretty darn good. What made it truly different from regular rice pudding, though, was the texture. Because the rice is in the form of these paddles that retain their shape, you have something that requires chewing, not just a mashing, as with regular rice pudding. I’m very much about texture where food is concerned, so I enjoyed this more than I normally enjoy rice pudding (never one of my favorite desserts).
If rice pudding is not usually your thing, whether because of the texture or because it’s a “milky” dish (another reason why I don’t usually care for it), try my recipe below. You might just like it.
So this is my coconut rice-cake pudding. It’s vegan, gluten free, and dairy free. Give it a go, and let me know what you think. Enjoy!
Coconut Rice-Cake Pudding
Note that the rice cakes have to soak in water a minimum of 12 hours or overnight before using them in any recipe.
Makes 2 servings.
2 ounces (about 2 cups) rice cakes
1 cinnamon stick
2 cups coconut milk
½ cup coconut water or plain water
¼- 1/3 cup sugar (based on your sweetness preference)
½ teaspoon kosher salt
½ teaspoon vanilla extract
Garnish: Cinnamon and coconut flakes
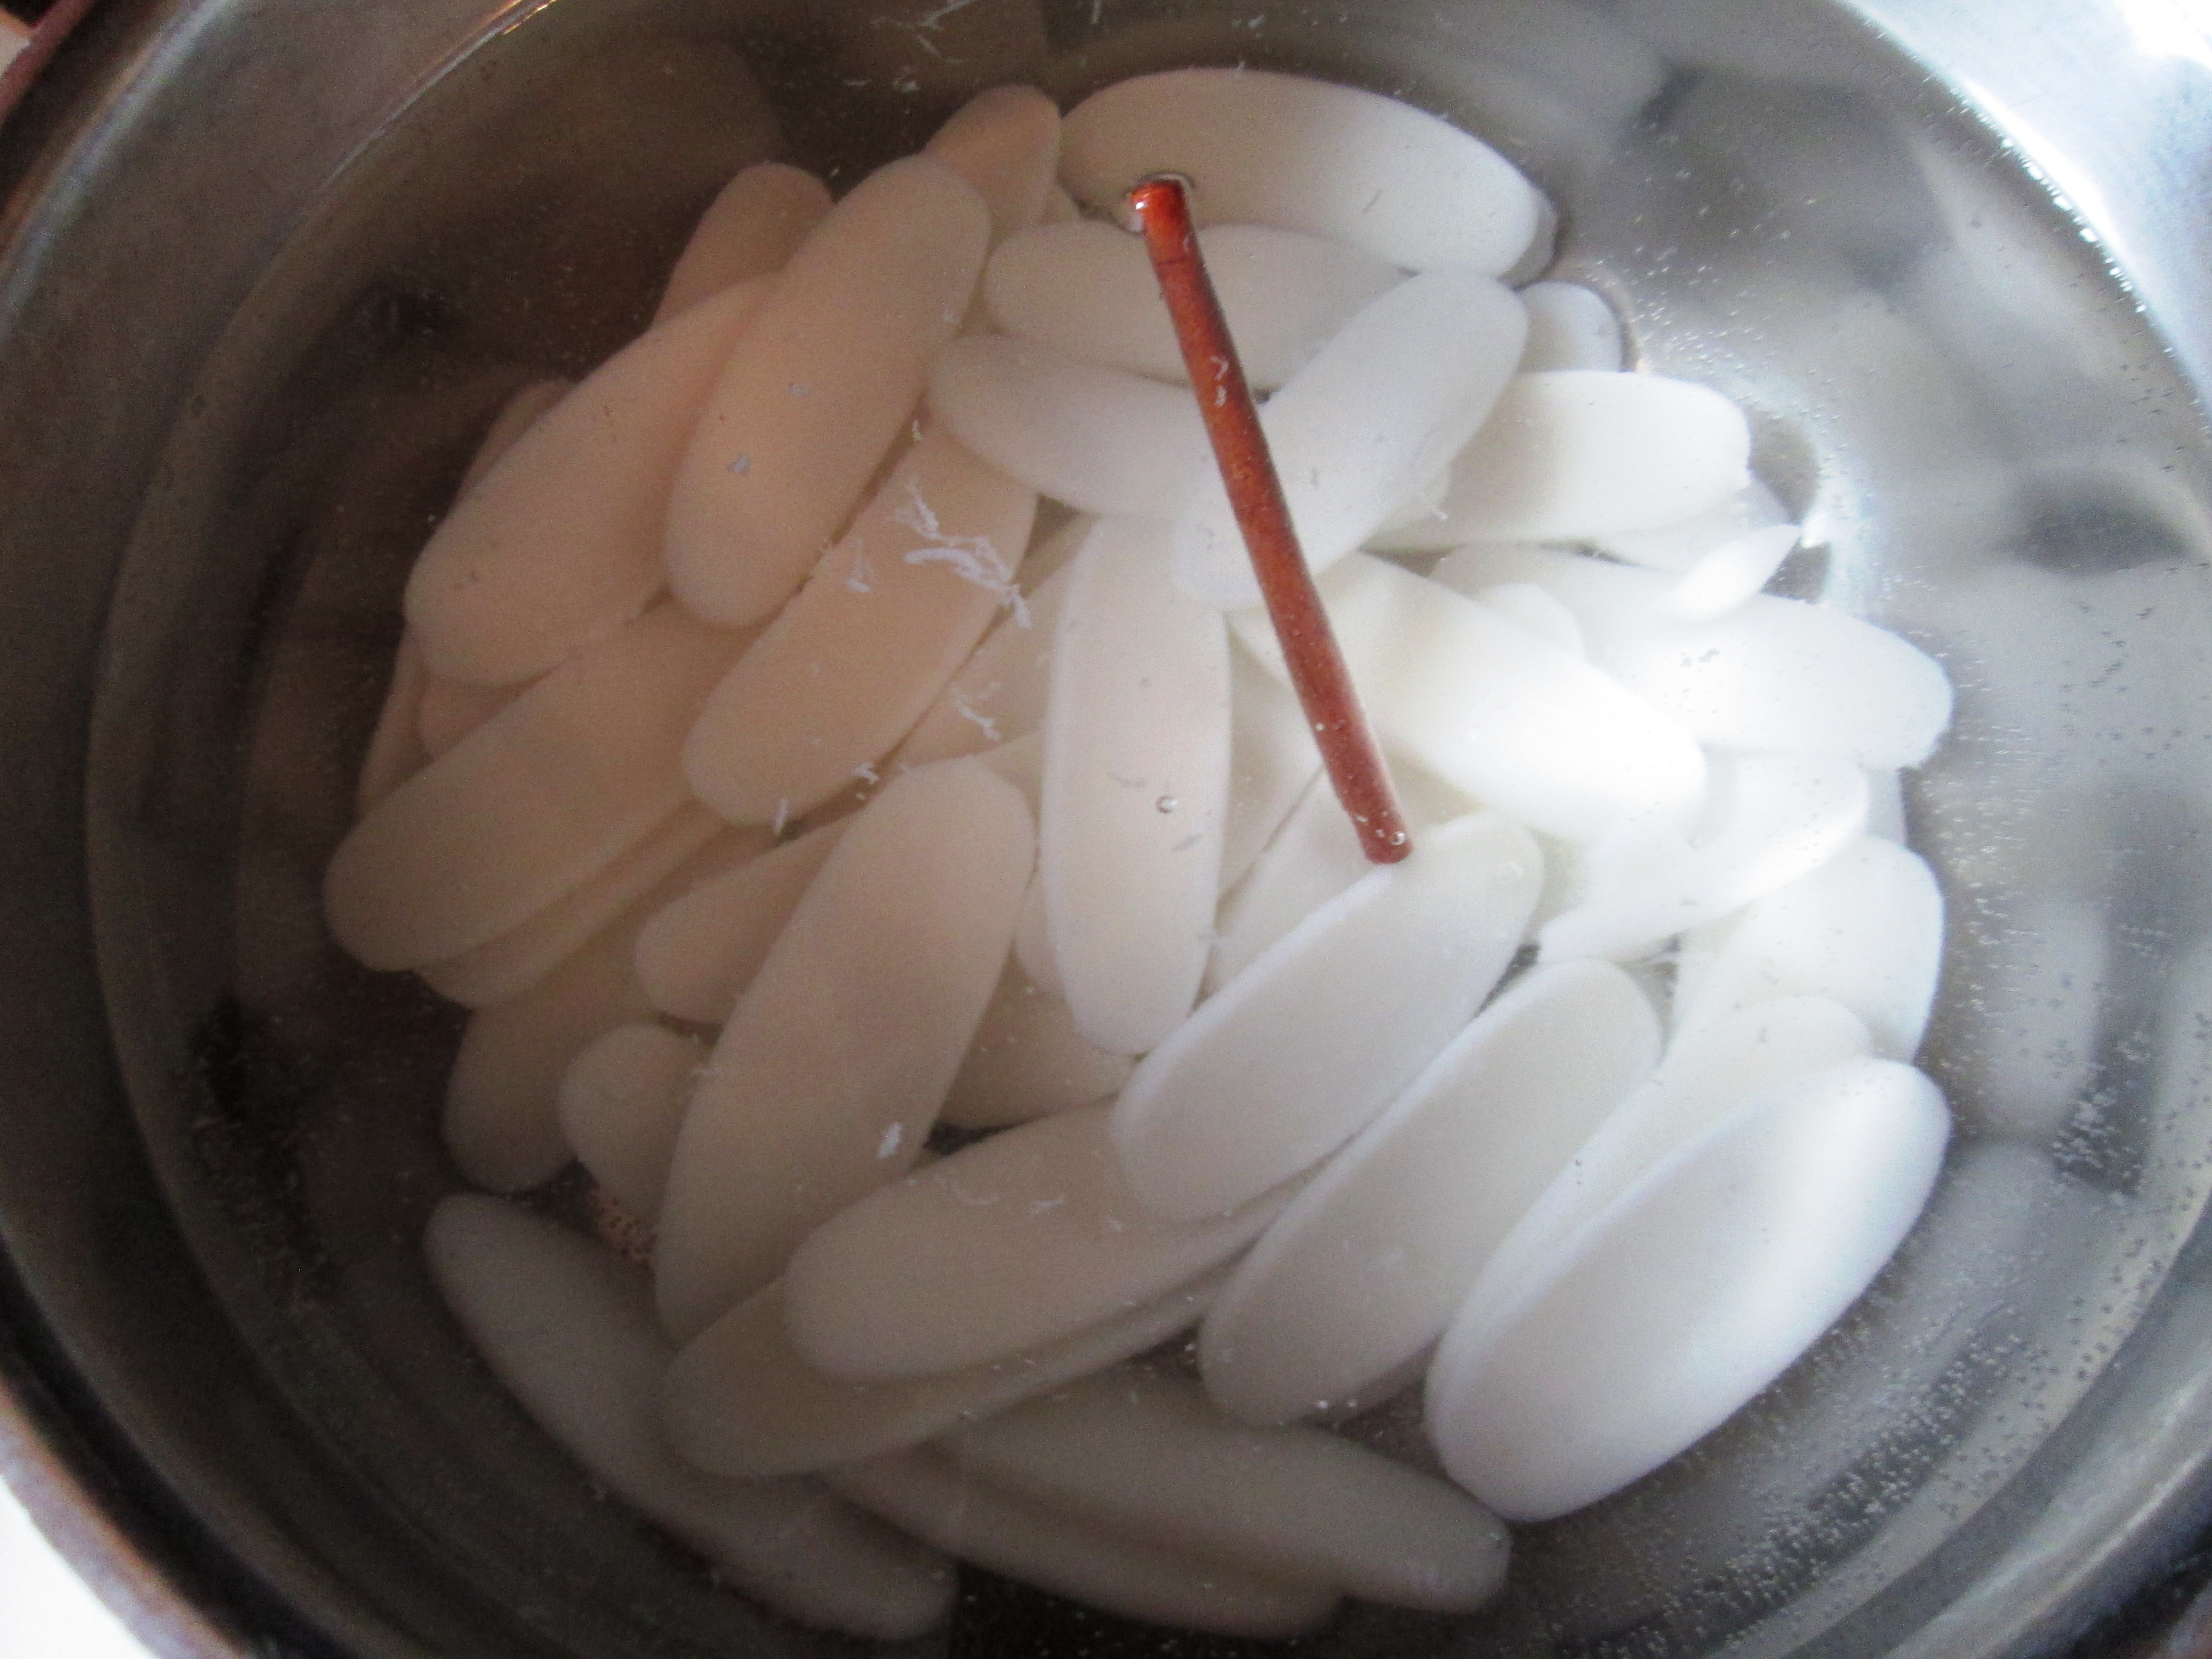
Place the rice cakes in a bowl with enough water to cover by about an inch for a small amount or 2 inches for an entire bag. Cover and let soak in refrigerator at least 12 hours or overnight.
Rice cakes after soaking overnight
Drain the rice cakes and place them, along with the cinnamon stick, in a medium saucepan with water to cover. Bring to a boil; lower the heat to low and simmer 5 minutes.Drain and return the rice cakes and cinnamon to the pot. Add the coconut milk, coconut water, sugar, salt, and vanilla. Bring to a boil; lower heat to low and simmer, partially covered, until thick and creamy, about 45 to 55 minutes. Stir frequently, especially in the last 15 minutes of cooking.
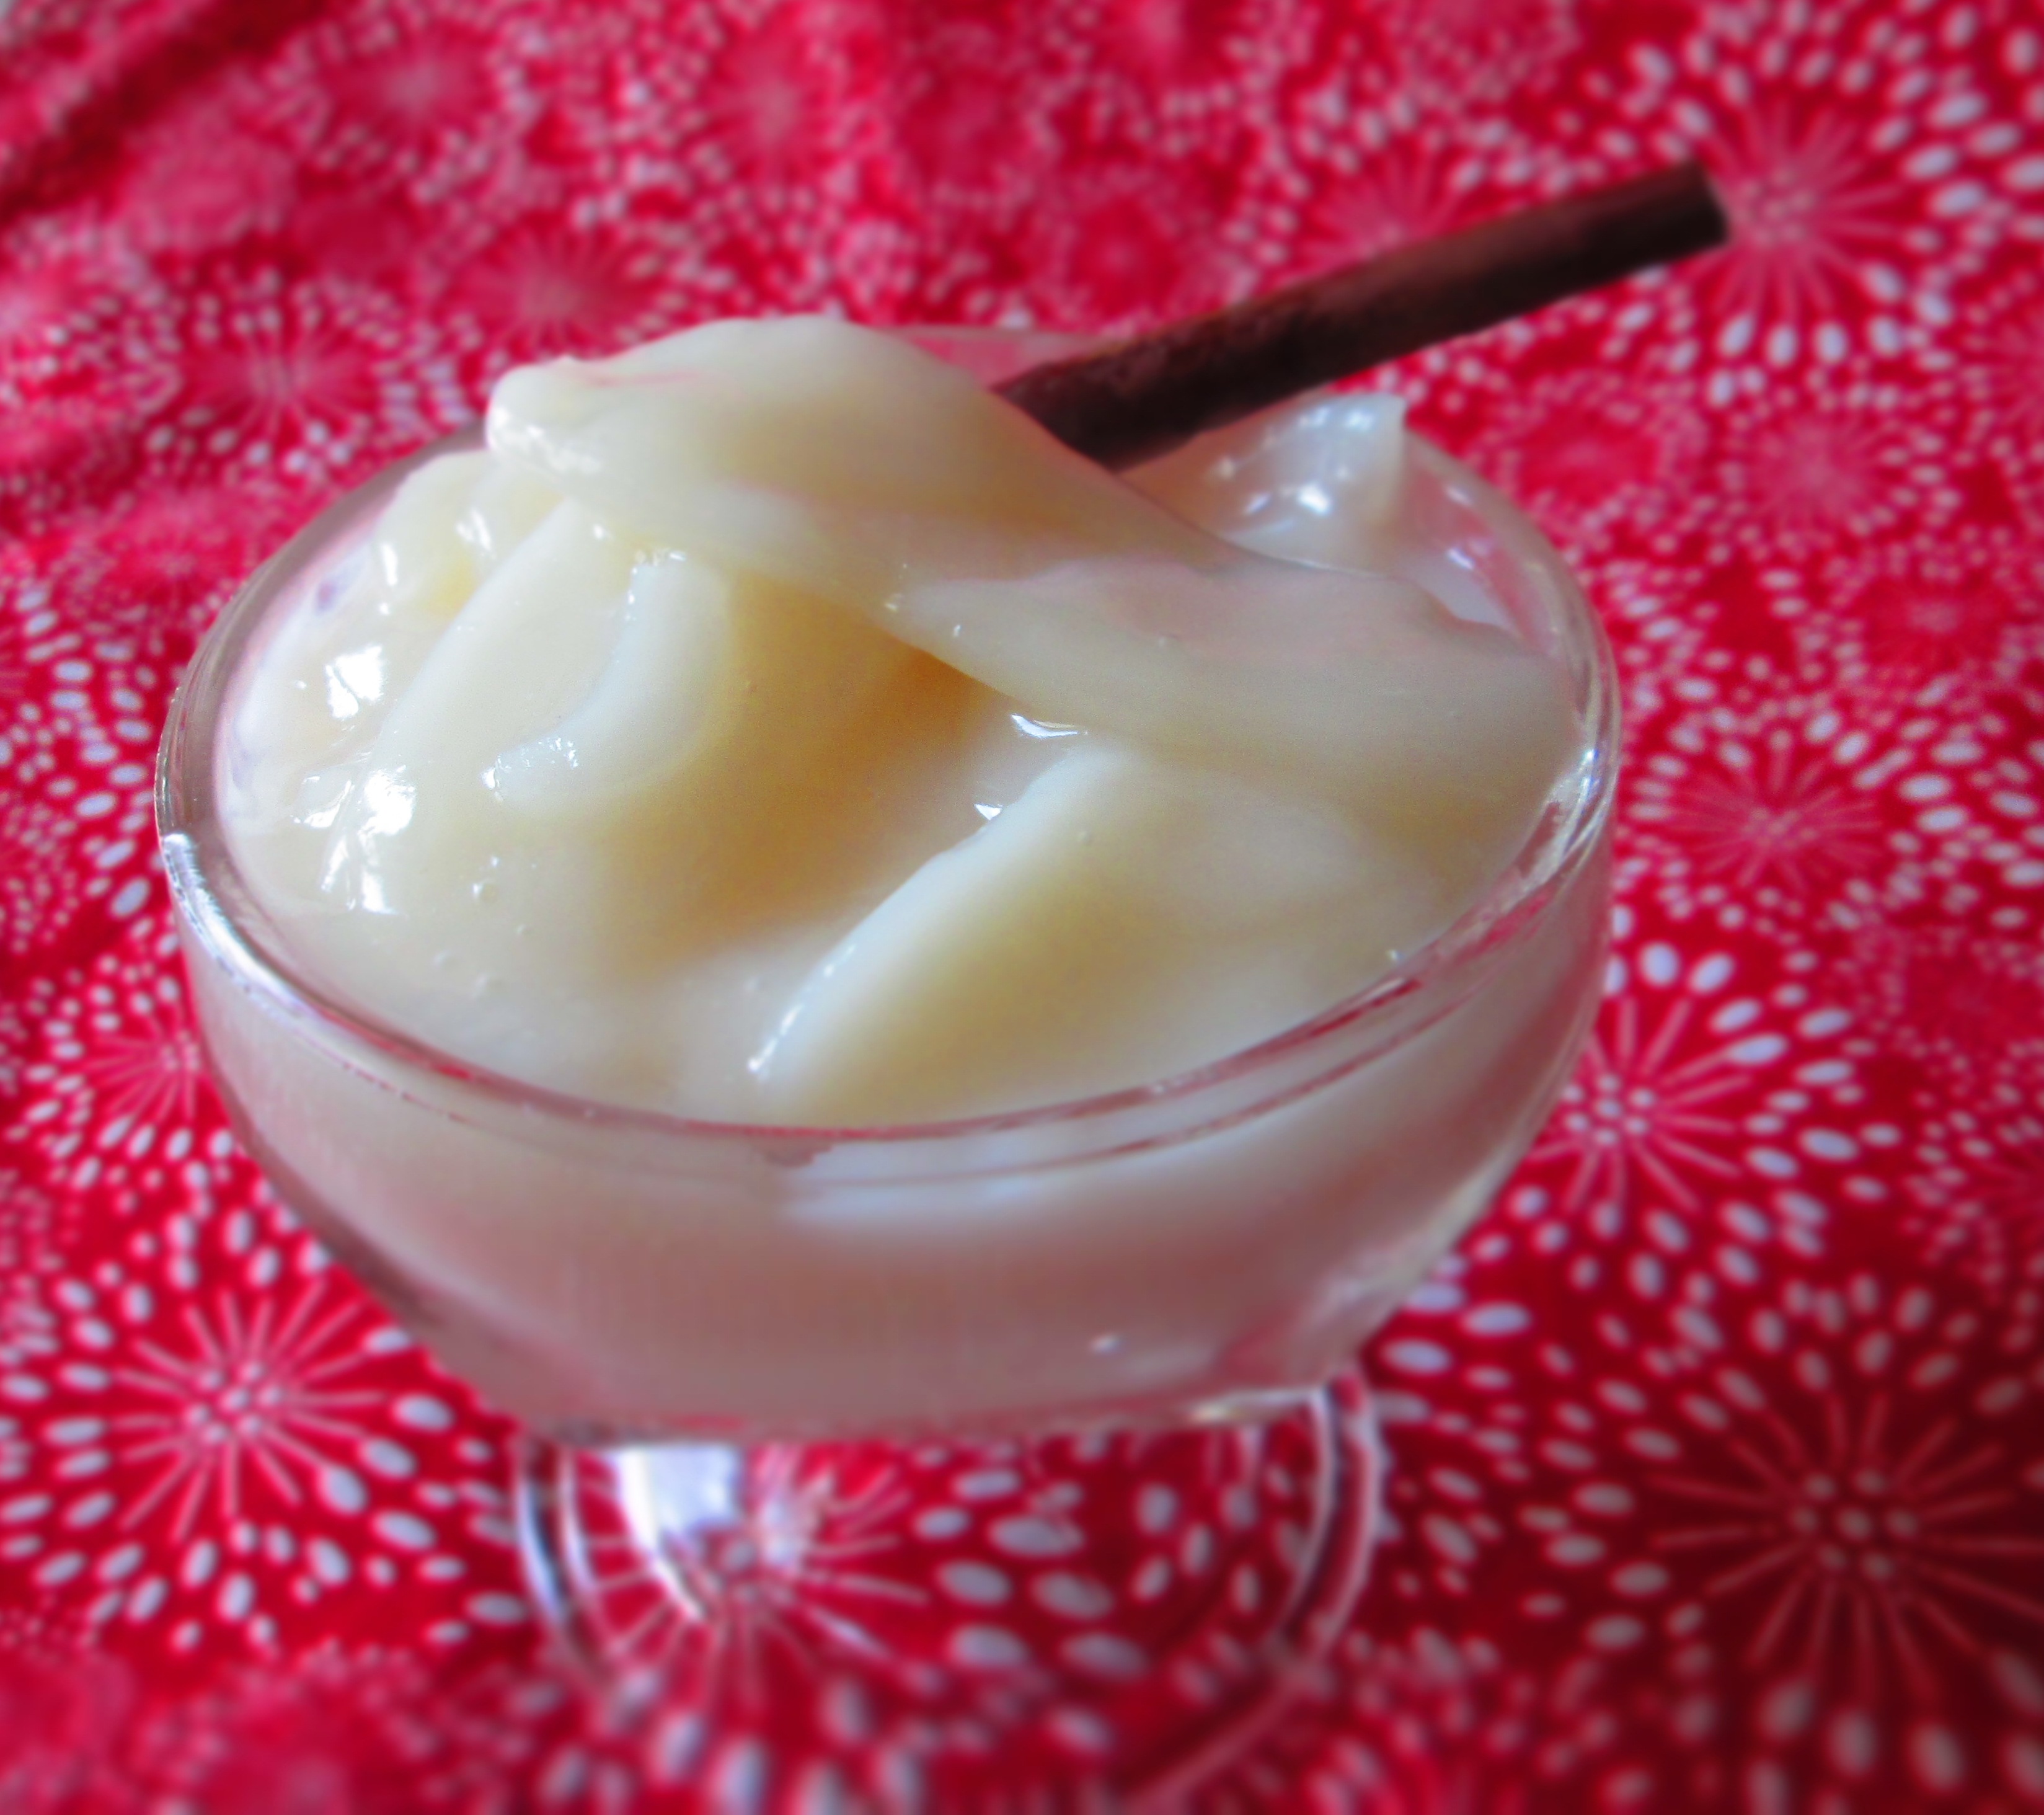
Divide the pudding between 2 pudding dishes and garnish with cinnamon and/or coconut flakes.
(I left my pudding unadorned in the photos so that you can see how the rice cakes retained their shape.)

 Oh, my peeps, do I have a great recipe for you this week. I saw these beautiful Mexican guavas at the store and picked up a carton. I’m a big fan of guava and knew that I could do quite a few things with them.
 open, I was surprised to find that they were white guavas rather than the pink ones that we most often think of. They’re delicious, just not as pretty. But that’s okay.
 Continue reading