Miz Chef

Cooking Up a Healthy Life


5 Comments

Coconut Rice-Cake Pudding

IMG_5017What is rice-cake pudding? you ask. I’m going to tell you.

I recently found in an Asian market another product that I had never seen before: rice cakes. Not the round disks of puffed rice that dieters have been munching on for decades, but flattened oval, kind of paddle-shaped, disks made from pounded sticky rice. Of course, I bought some.IMG_4999I had absolutely no idea at the time what I was supposed to do with these, so I looked around a bit. I saw a few recipes where the rice cakes are sautéed or stir fried with other vegetables, and that’s something that I’m going to try. But according to the package, they can be fried for a popped rick cake snack, to which you can add “highly tasteful or plain ingredients” for “indeed a favourable dish either for entertainment or for home meal.”IMG_5001Well, how could I not give it a try? I fried a small batch in oil and, as you can see in the photo below, they do puff up. I fried them until they were golden brown, at which point they are quite crisp but hard. Not unpleasantly hard—some people like that, including me. The ones that were more lightly fried had a flakier texture. A sprinkle of sea salt over the top and that was it.

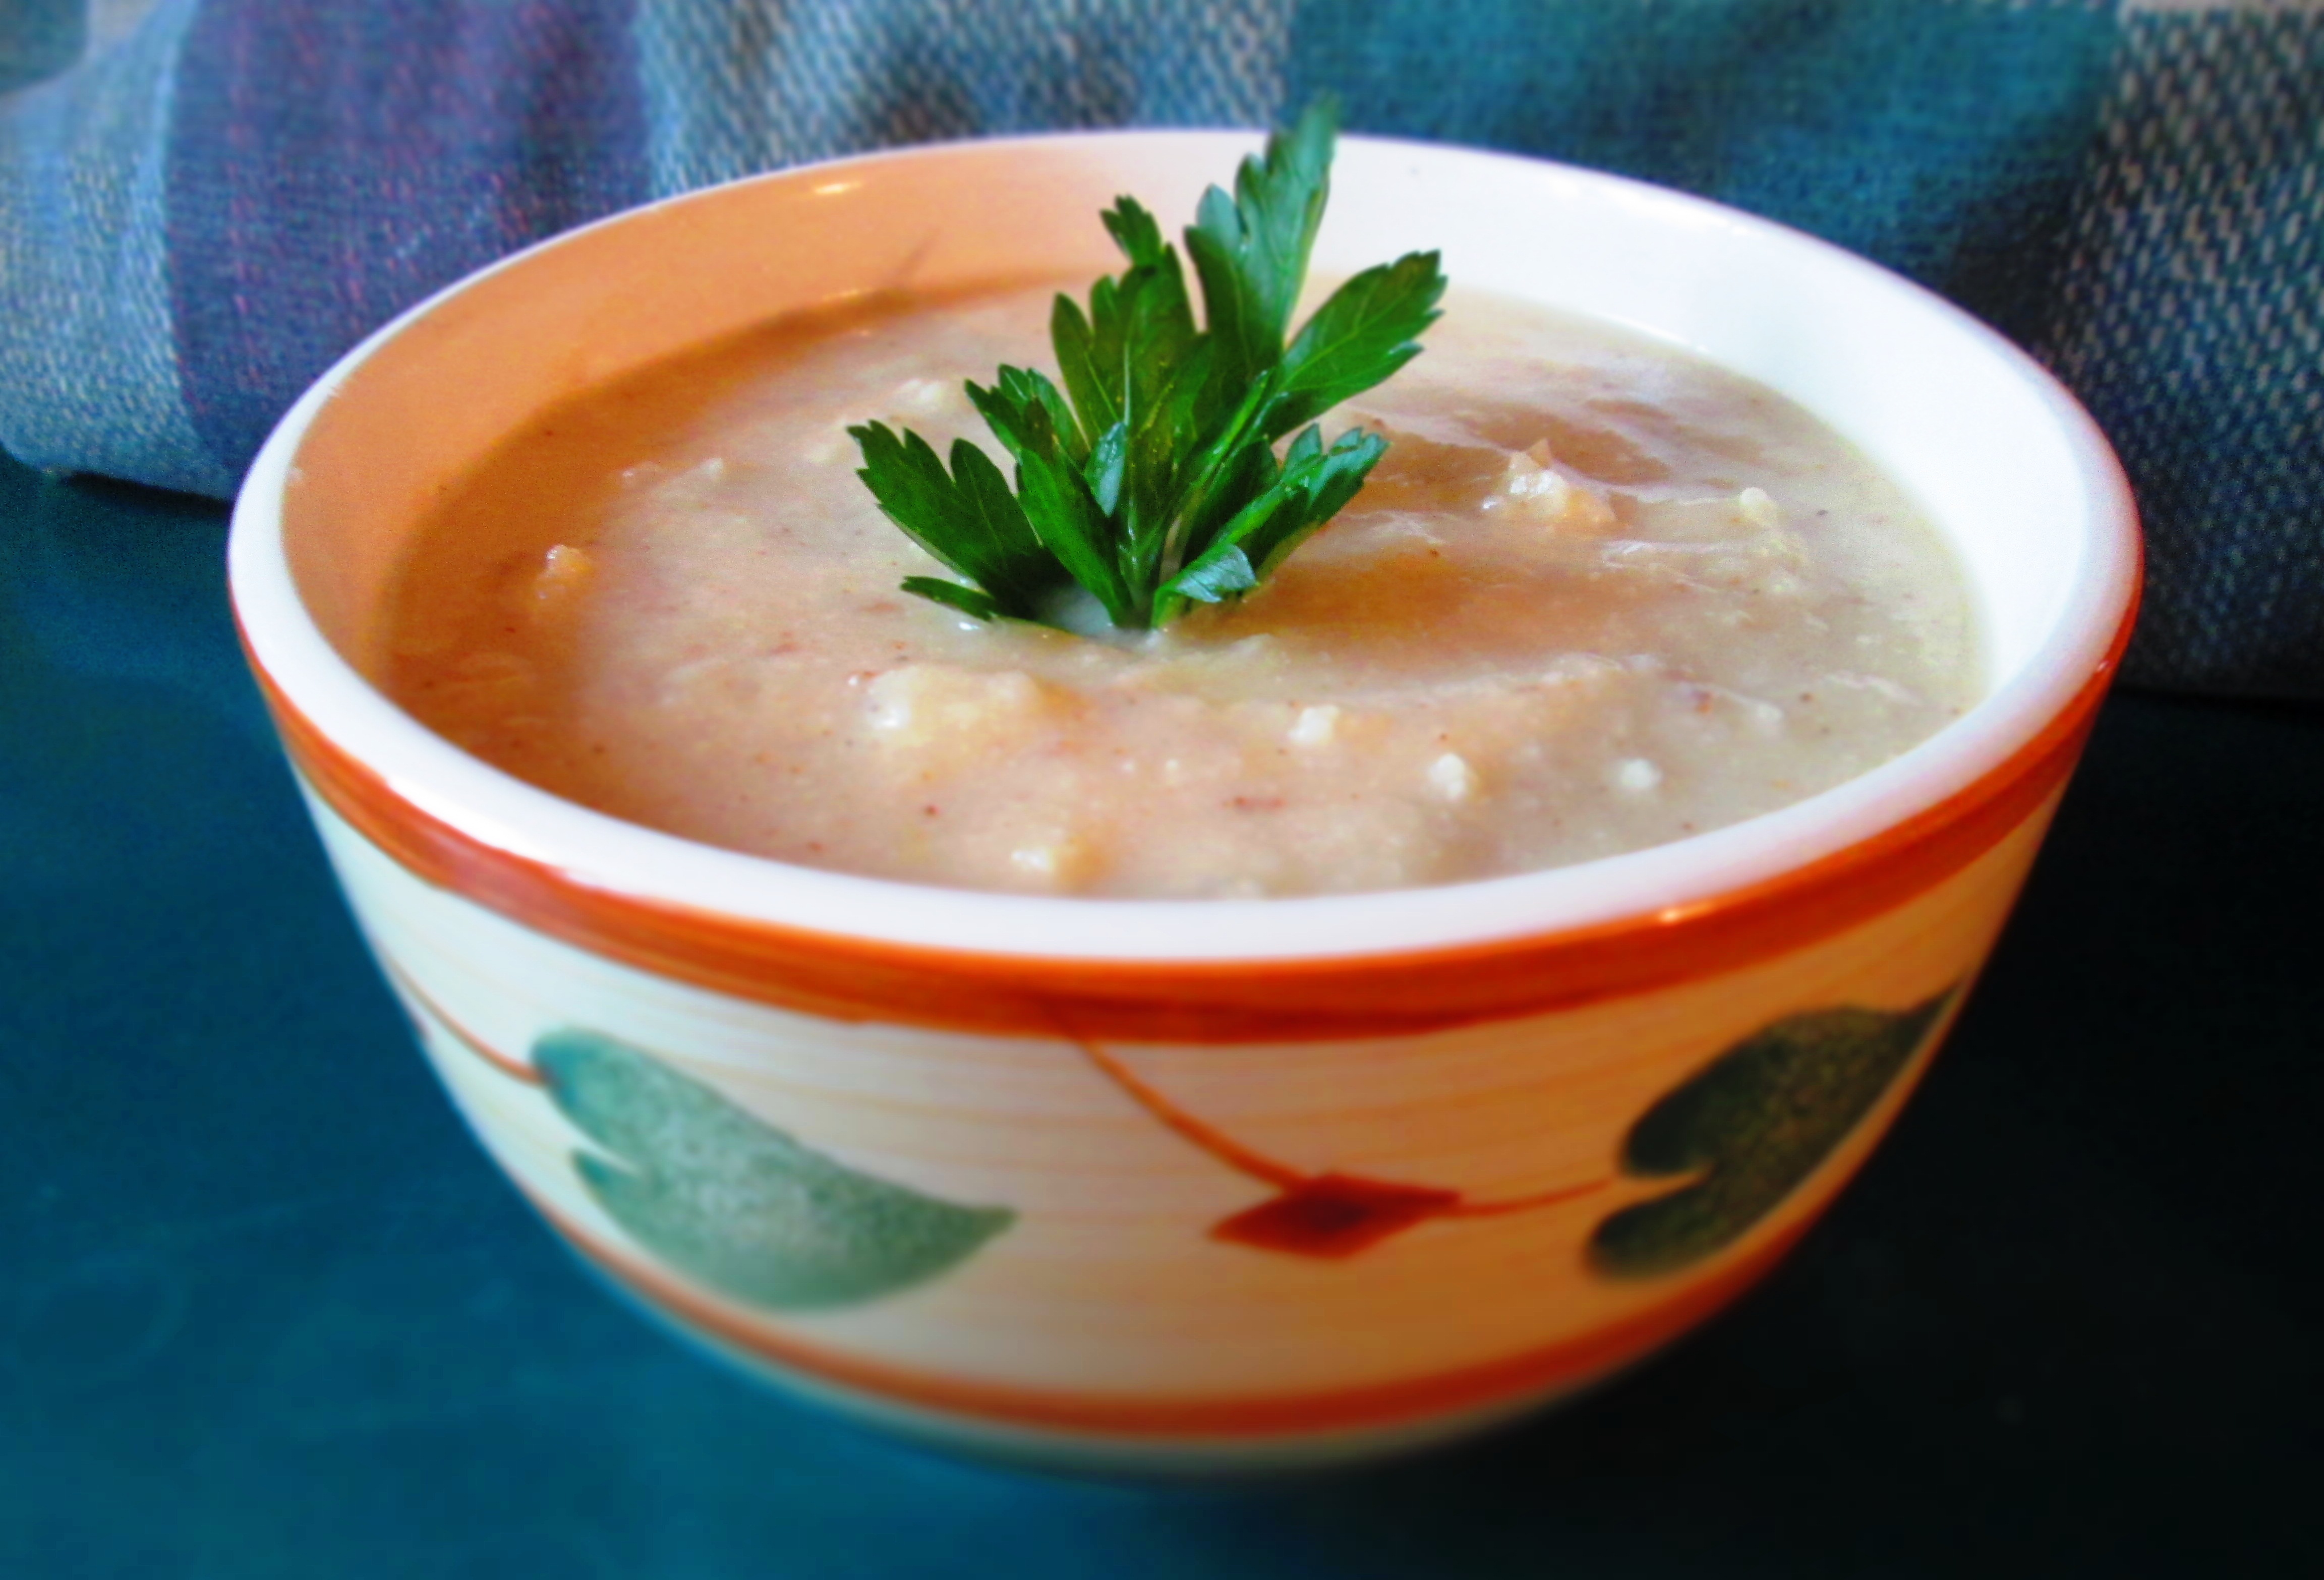
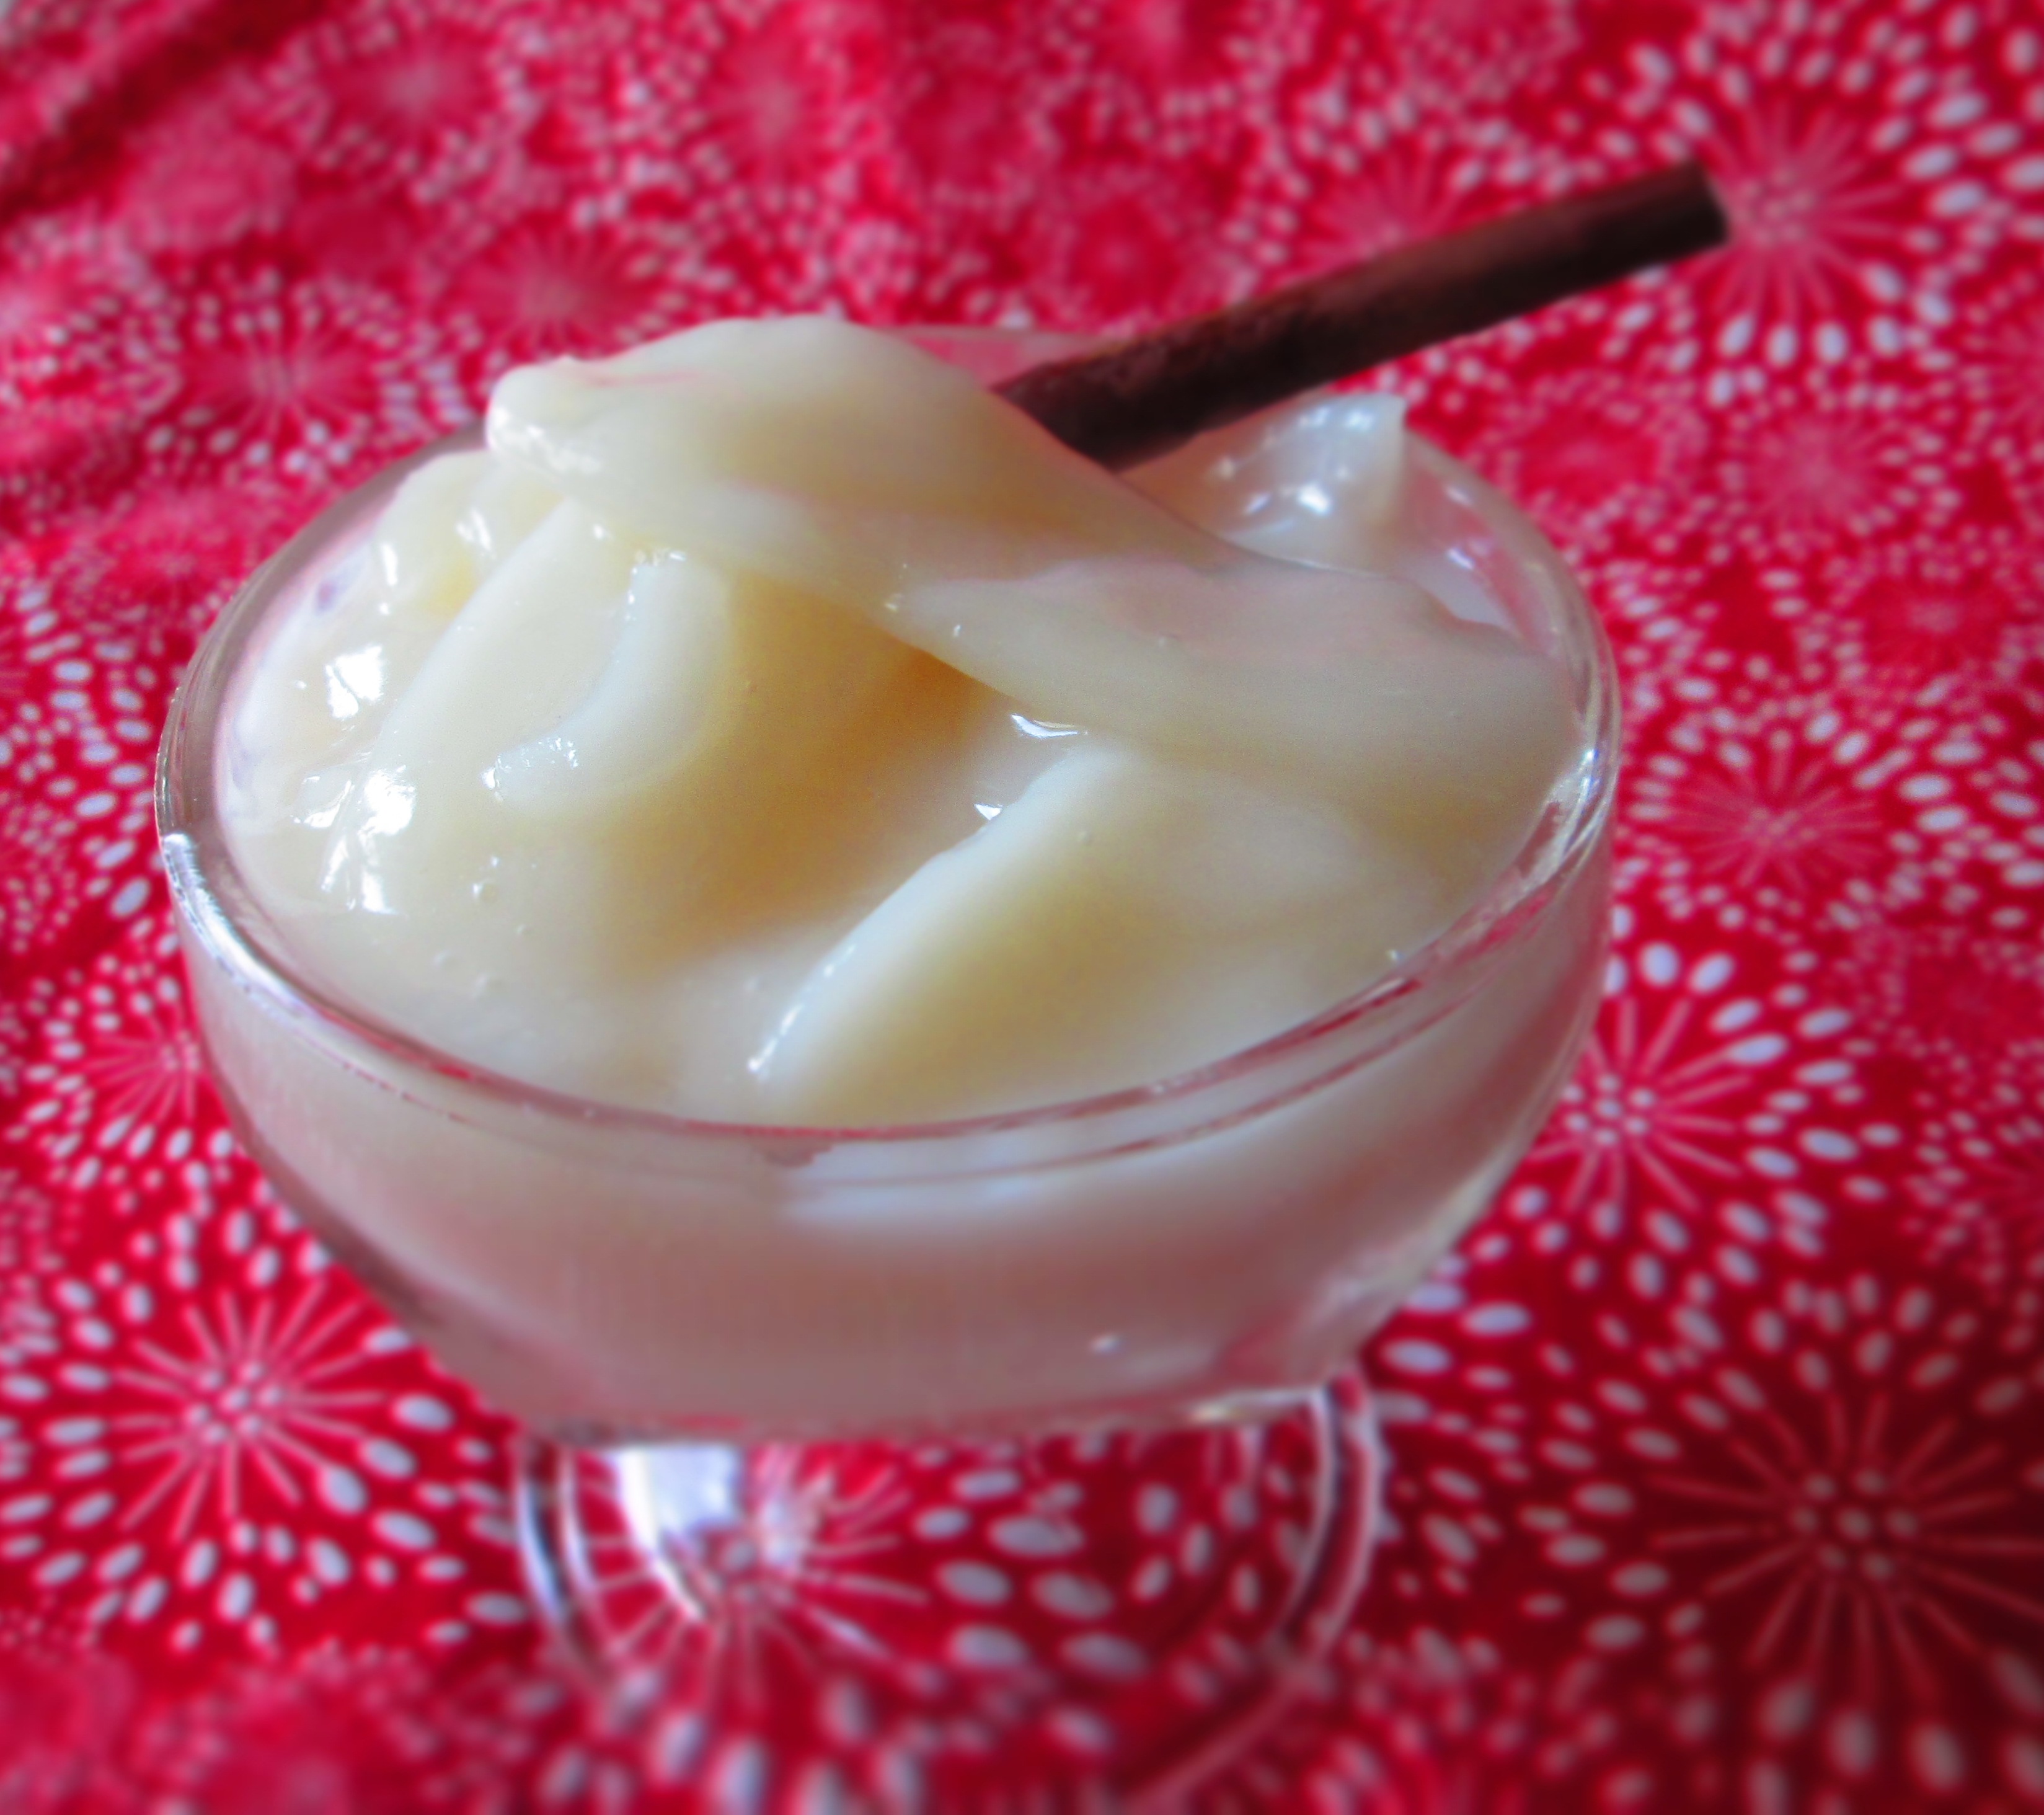
So there you have it for fried rice cakes—a lighter fry for flaky/crispy, a longer fry for crunchy/crispy. (Make sure you dry the rice cakes before putting them in the oil. See note below about soaking.)IMG_5007But what I really wanted to try was rice pudding. Would it taste or be anything like regular rice pudding? I made mine with coconut milk and I can honestly say that it came out pretty darn good. What made it truly different from regular rice pudding, though, was the texture. Because the rice is in the form of these paddles that retain their shape, you have something that requires chewing, not just a mashing, as with regular rice pudding. I’m very much about texture where food is concerned, so I enjoyed this more than I normally enjoy rice pudding (never one of my favorite desserts).

If rice pudding is not usually your thing, whether because of the texture or because it’s a “milky” dish (another reason why I don’t usually care for it), try my recipe below. You might just like it.

So this is my coconut rice-cake pudding. It’s vegan, gluten free, and dairy free. Give it a go, and let me know what you think. Enjoy!

Coconut Rice-Cake Pudding

Note that the rice cakes have to soak in water a minimum of 12 hours or overnight before using them in any recipe.

Makes 2 servings.

2 ounces (about 2 cups) rice cakes
1 cinnamon stick
2 cups coconut milk
½ cup coconut water or plain water
¼- 1/3 cup sugar (based on your sweetness preference)
½ teaspoon kosher salt
½ teaspoon vanilla extract
Garnish: Cinnamon and coconut flakes

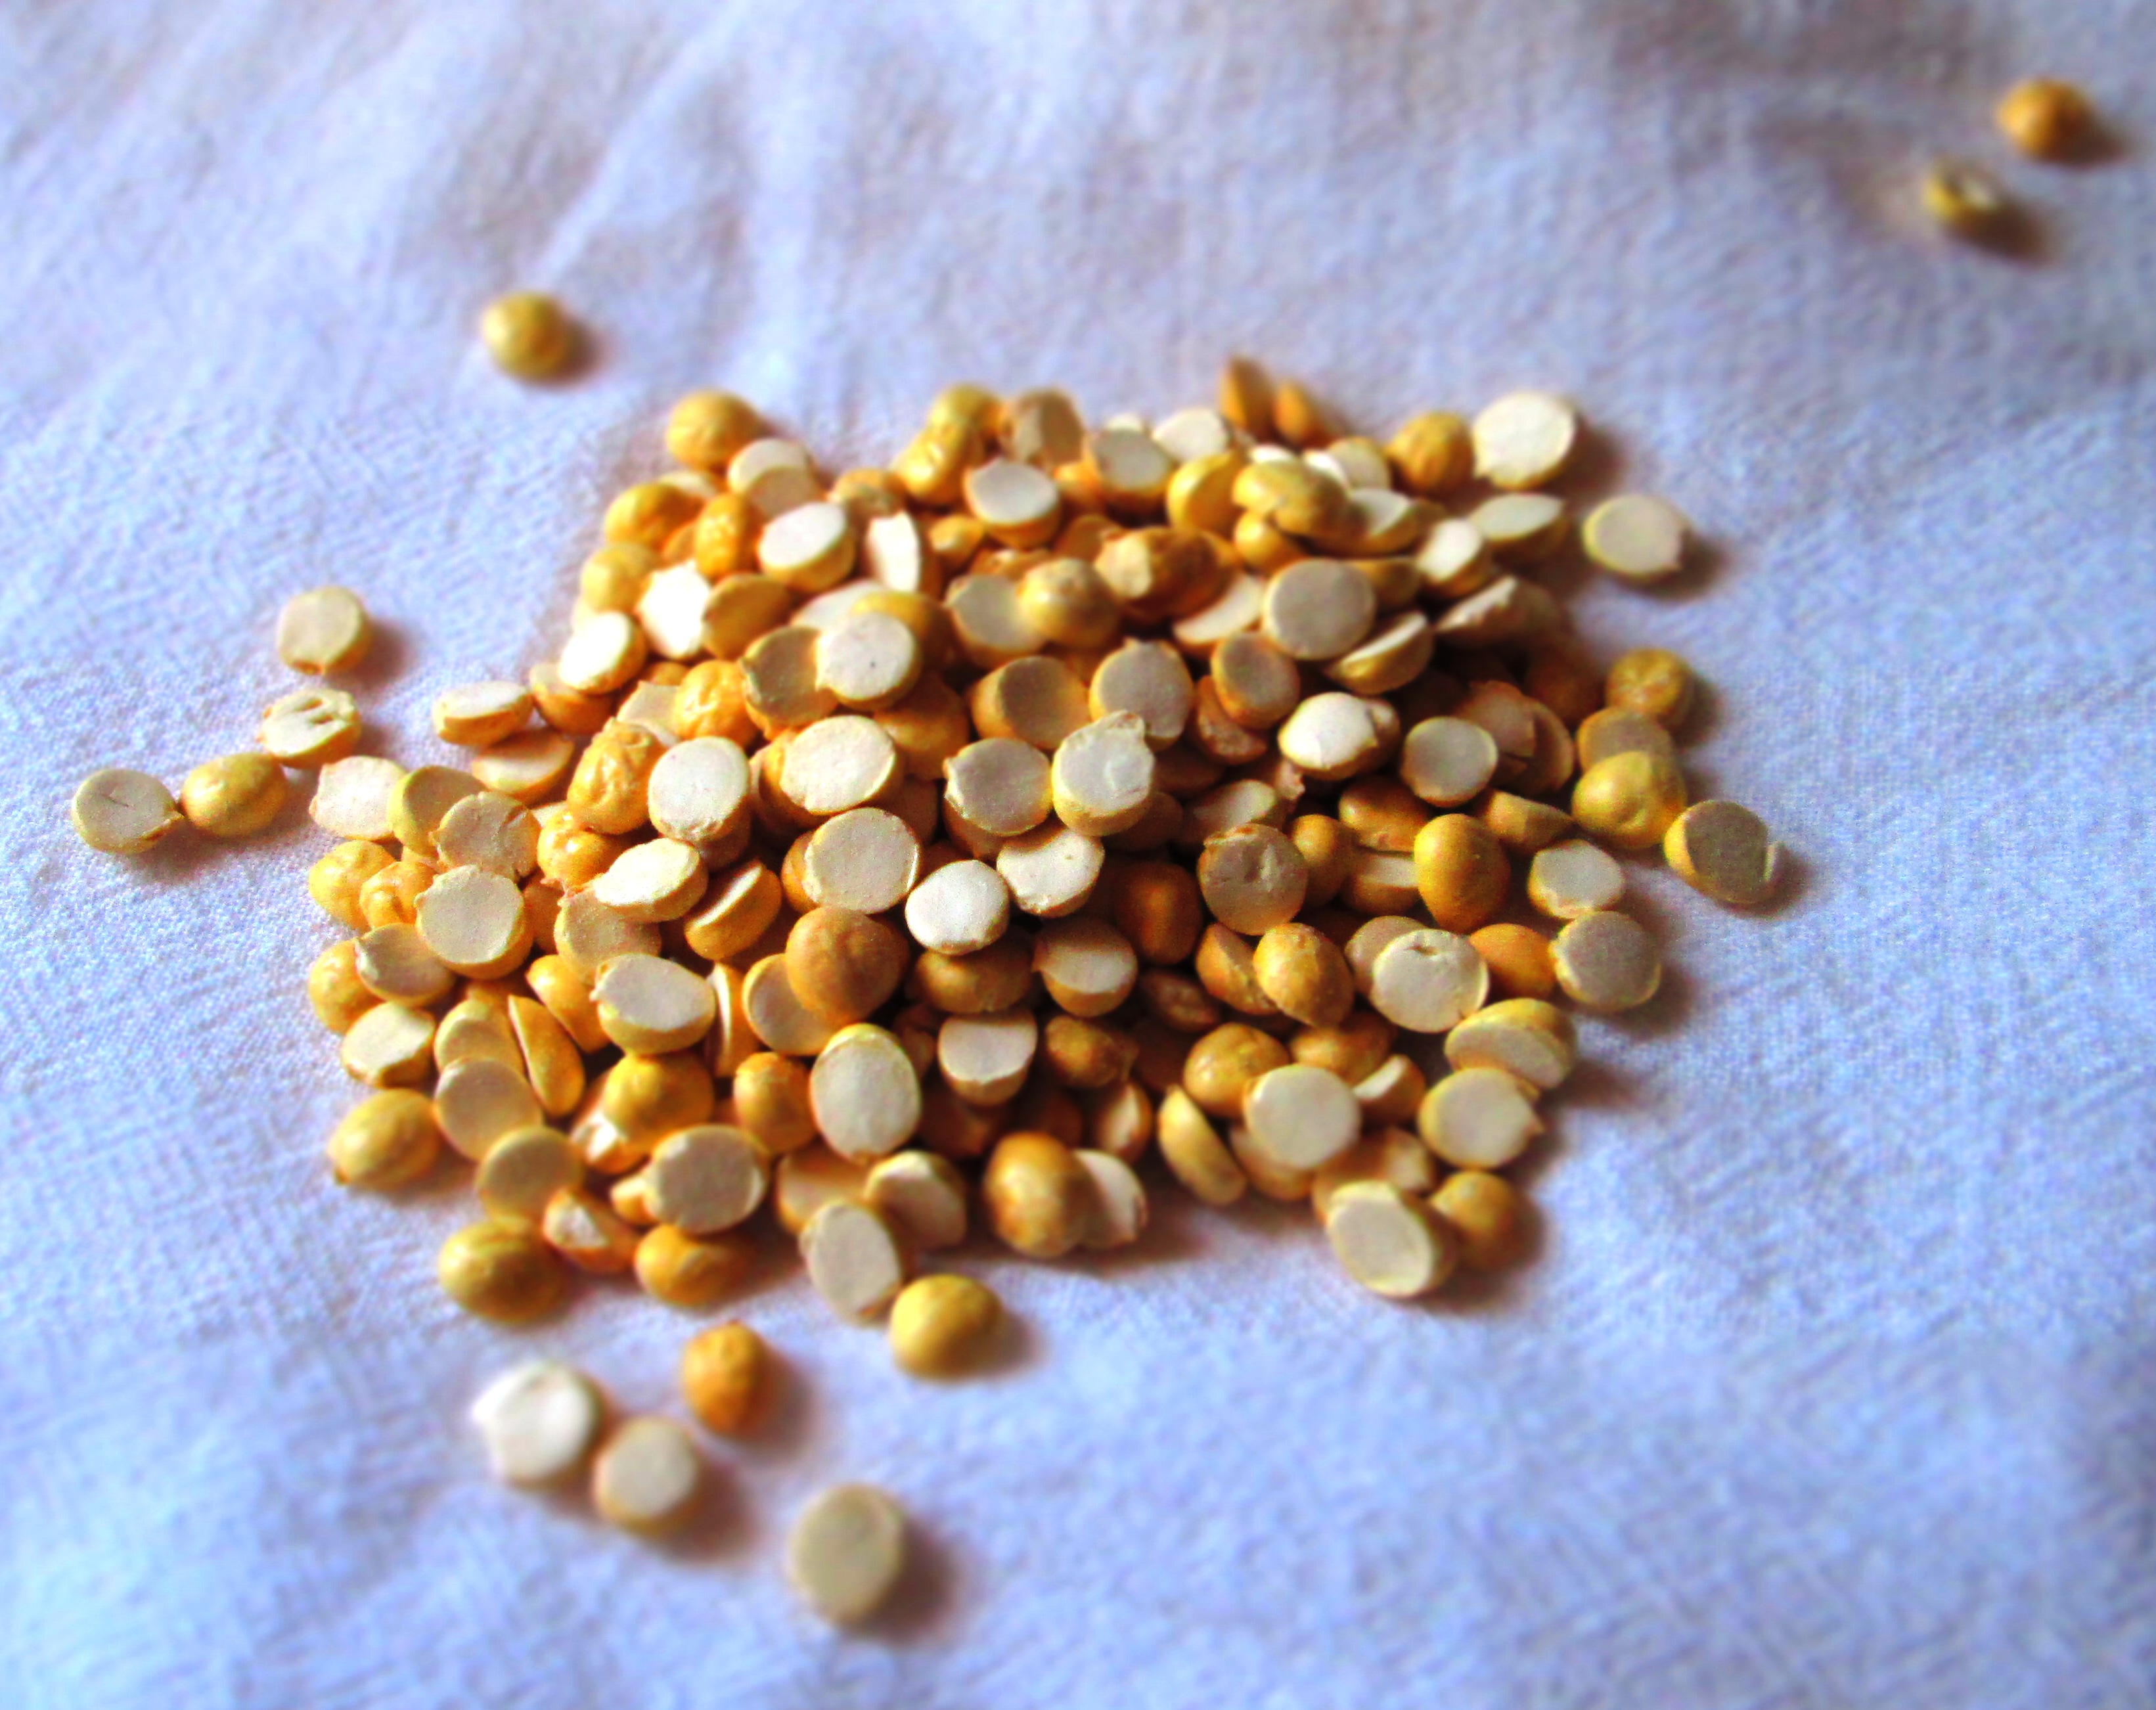
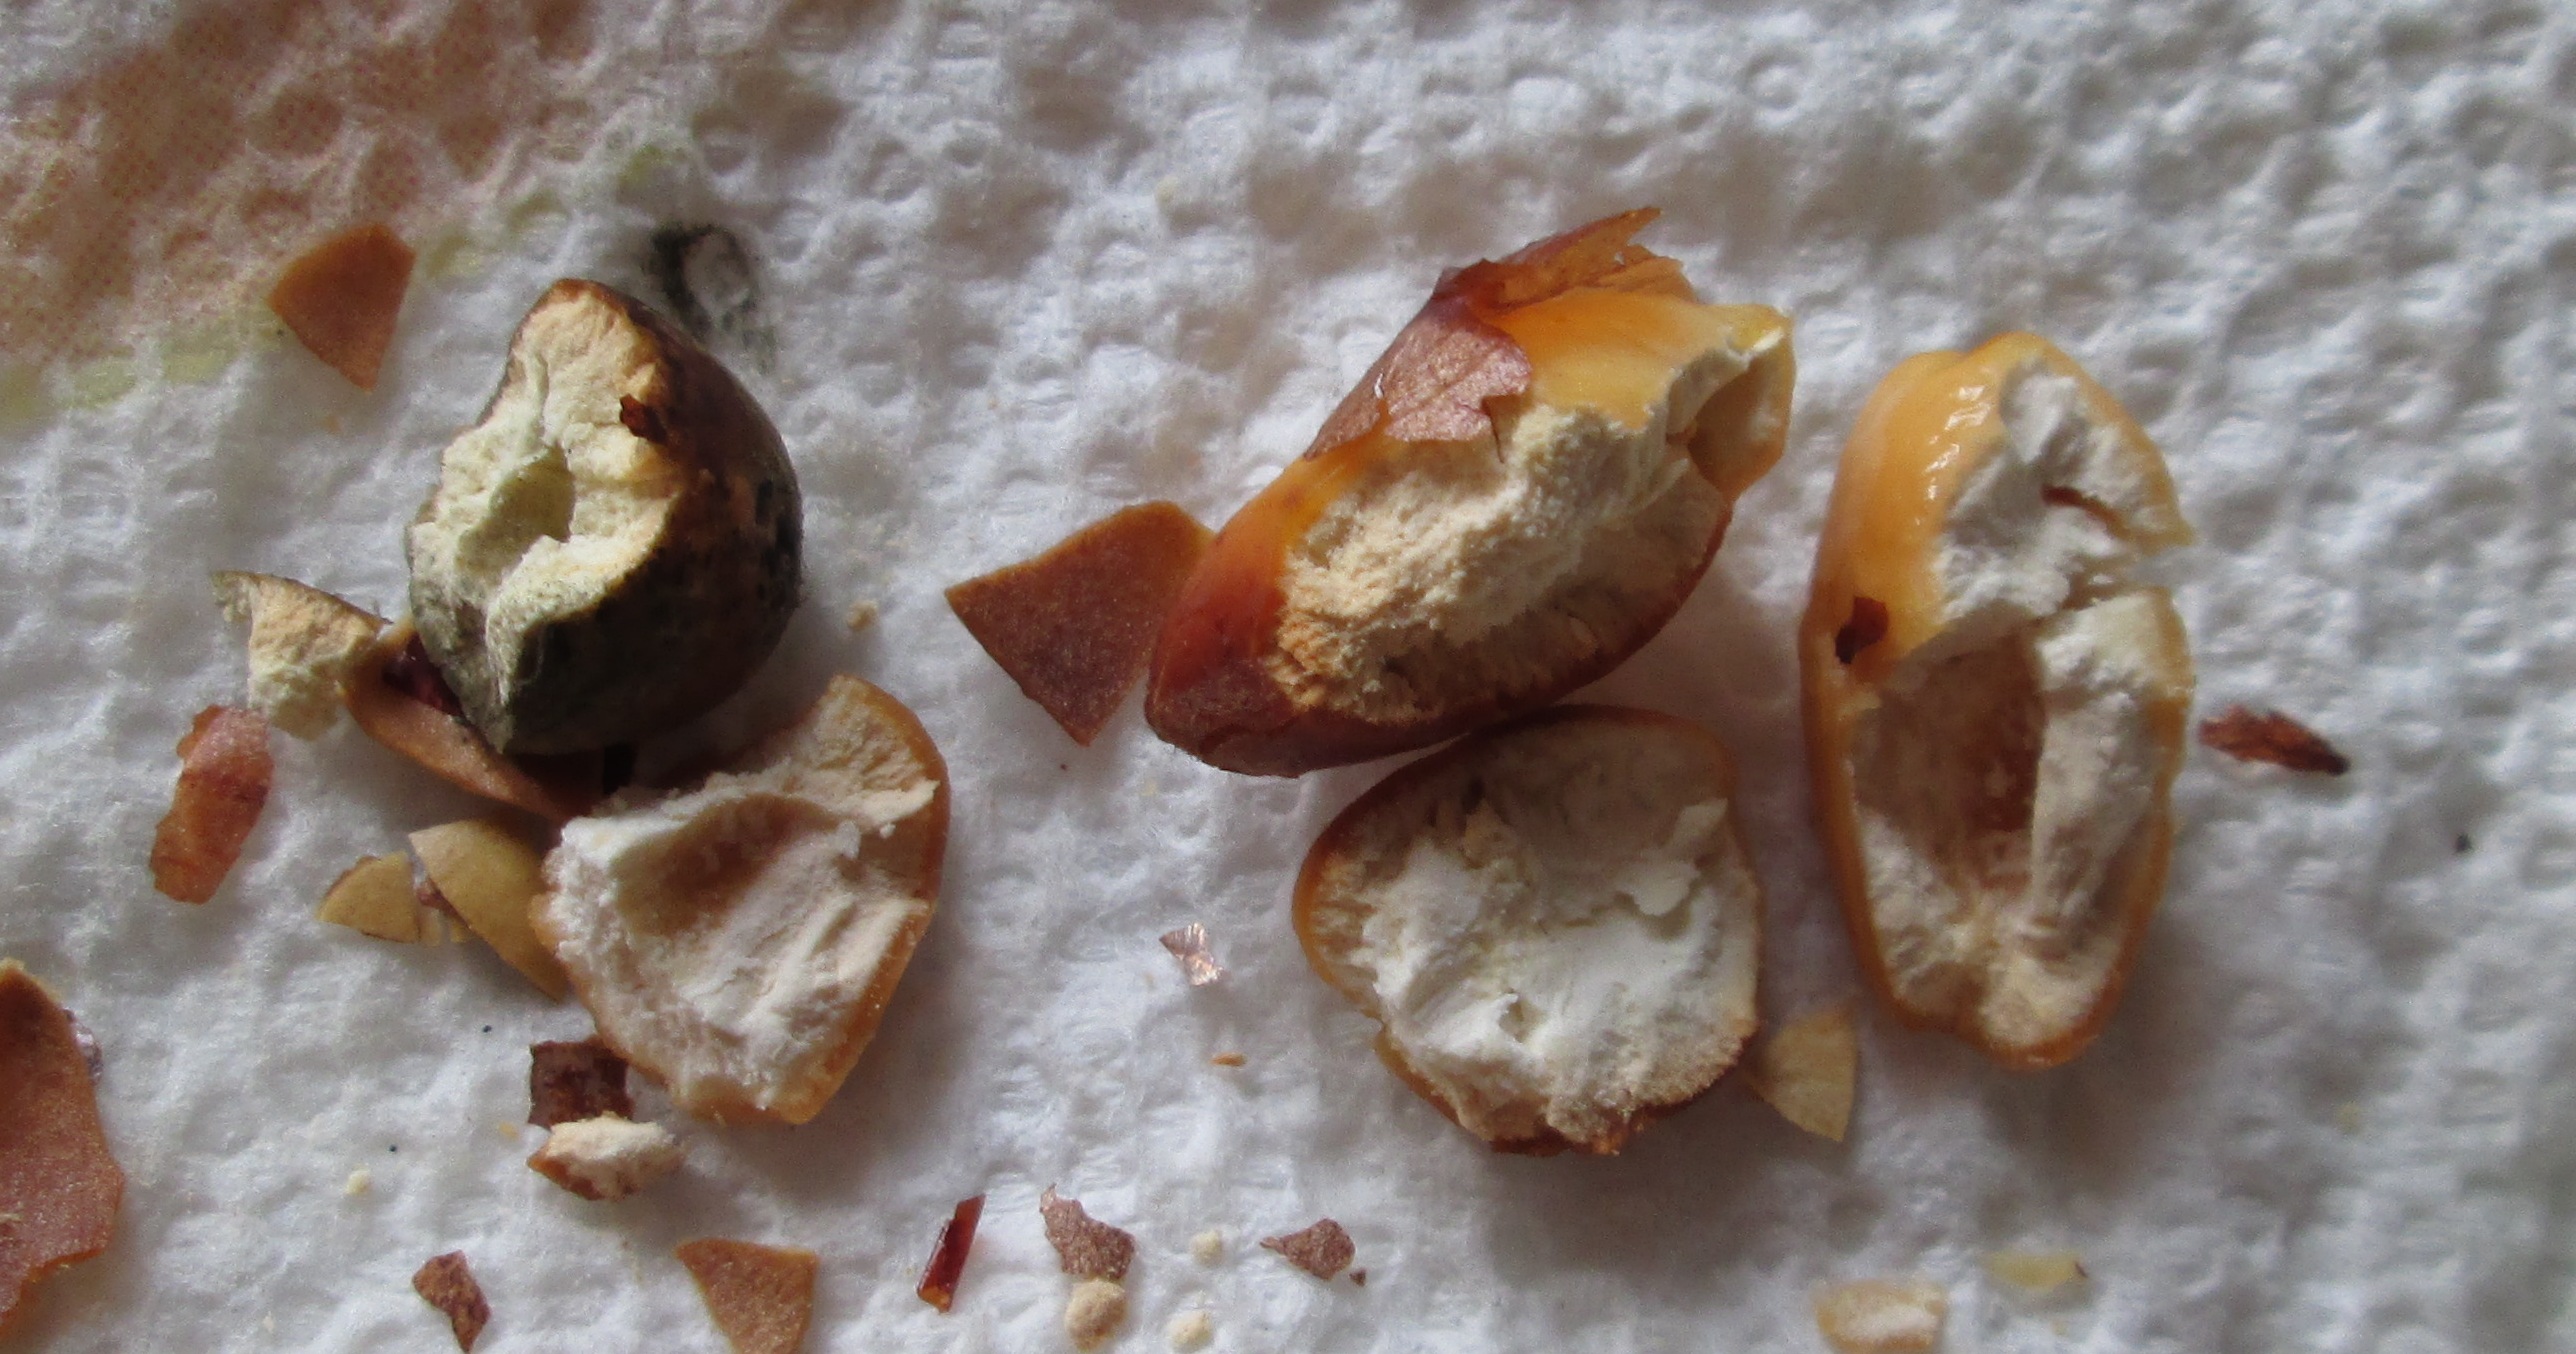
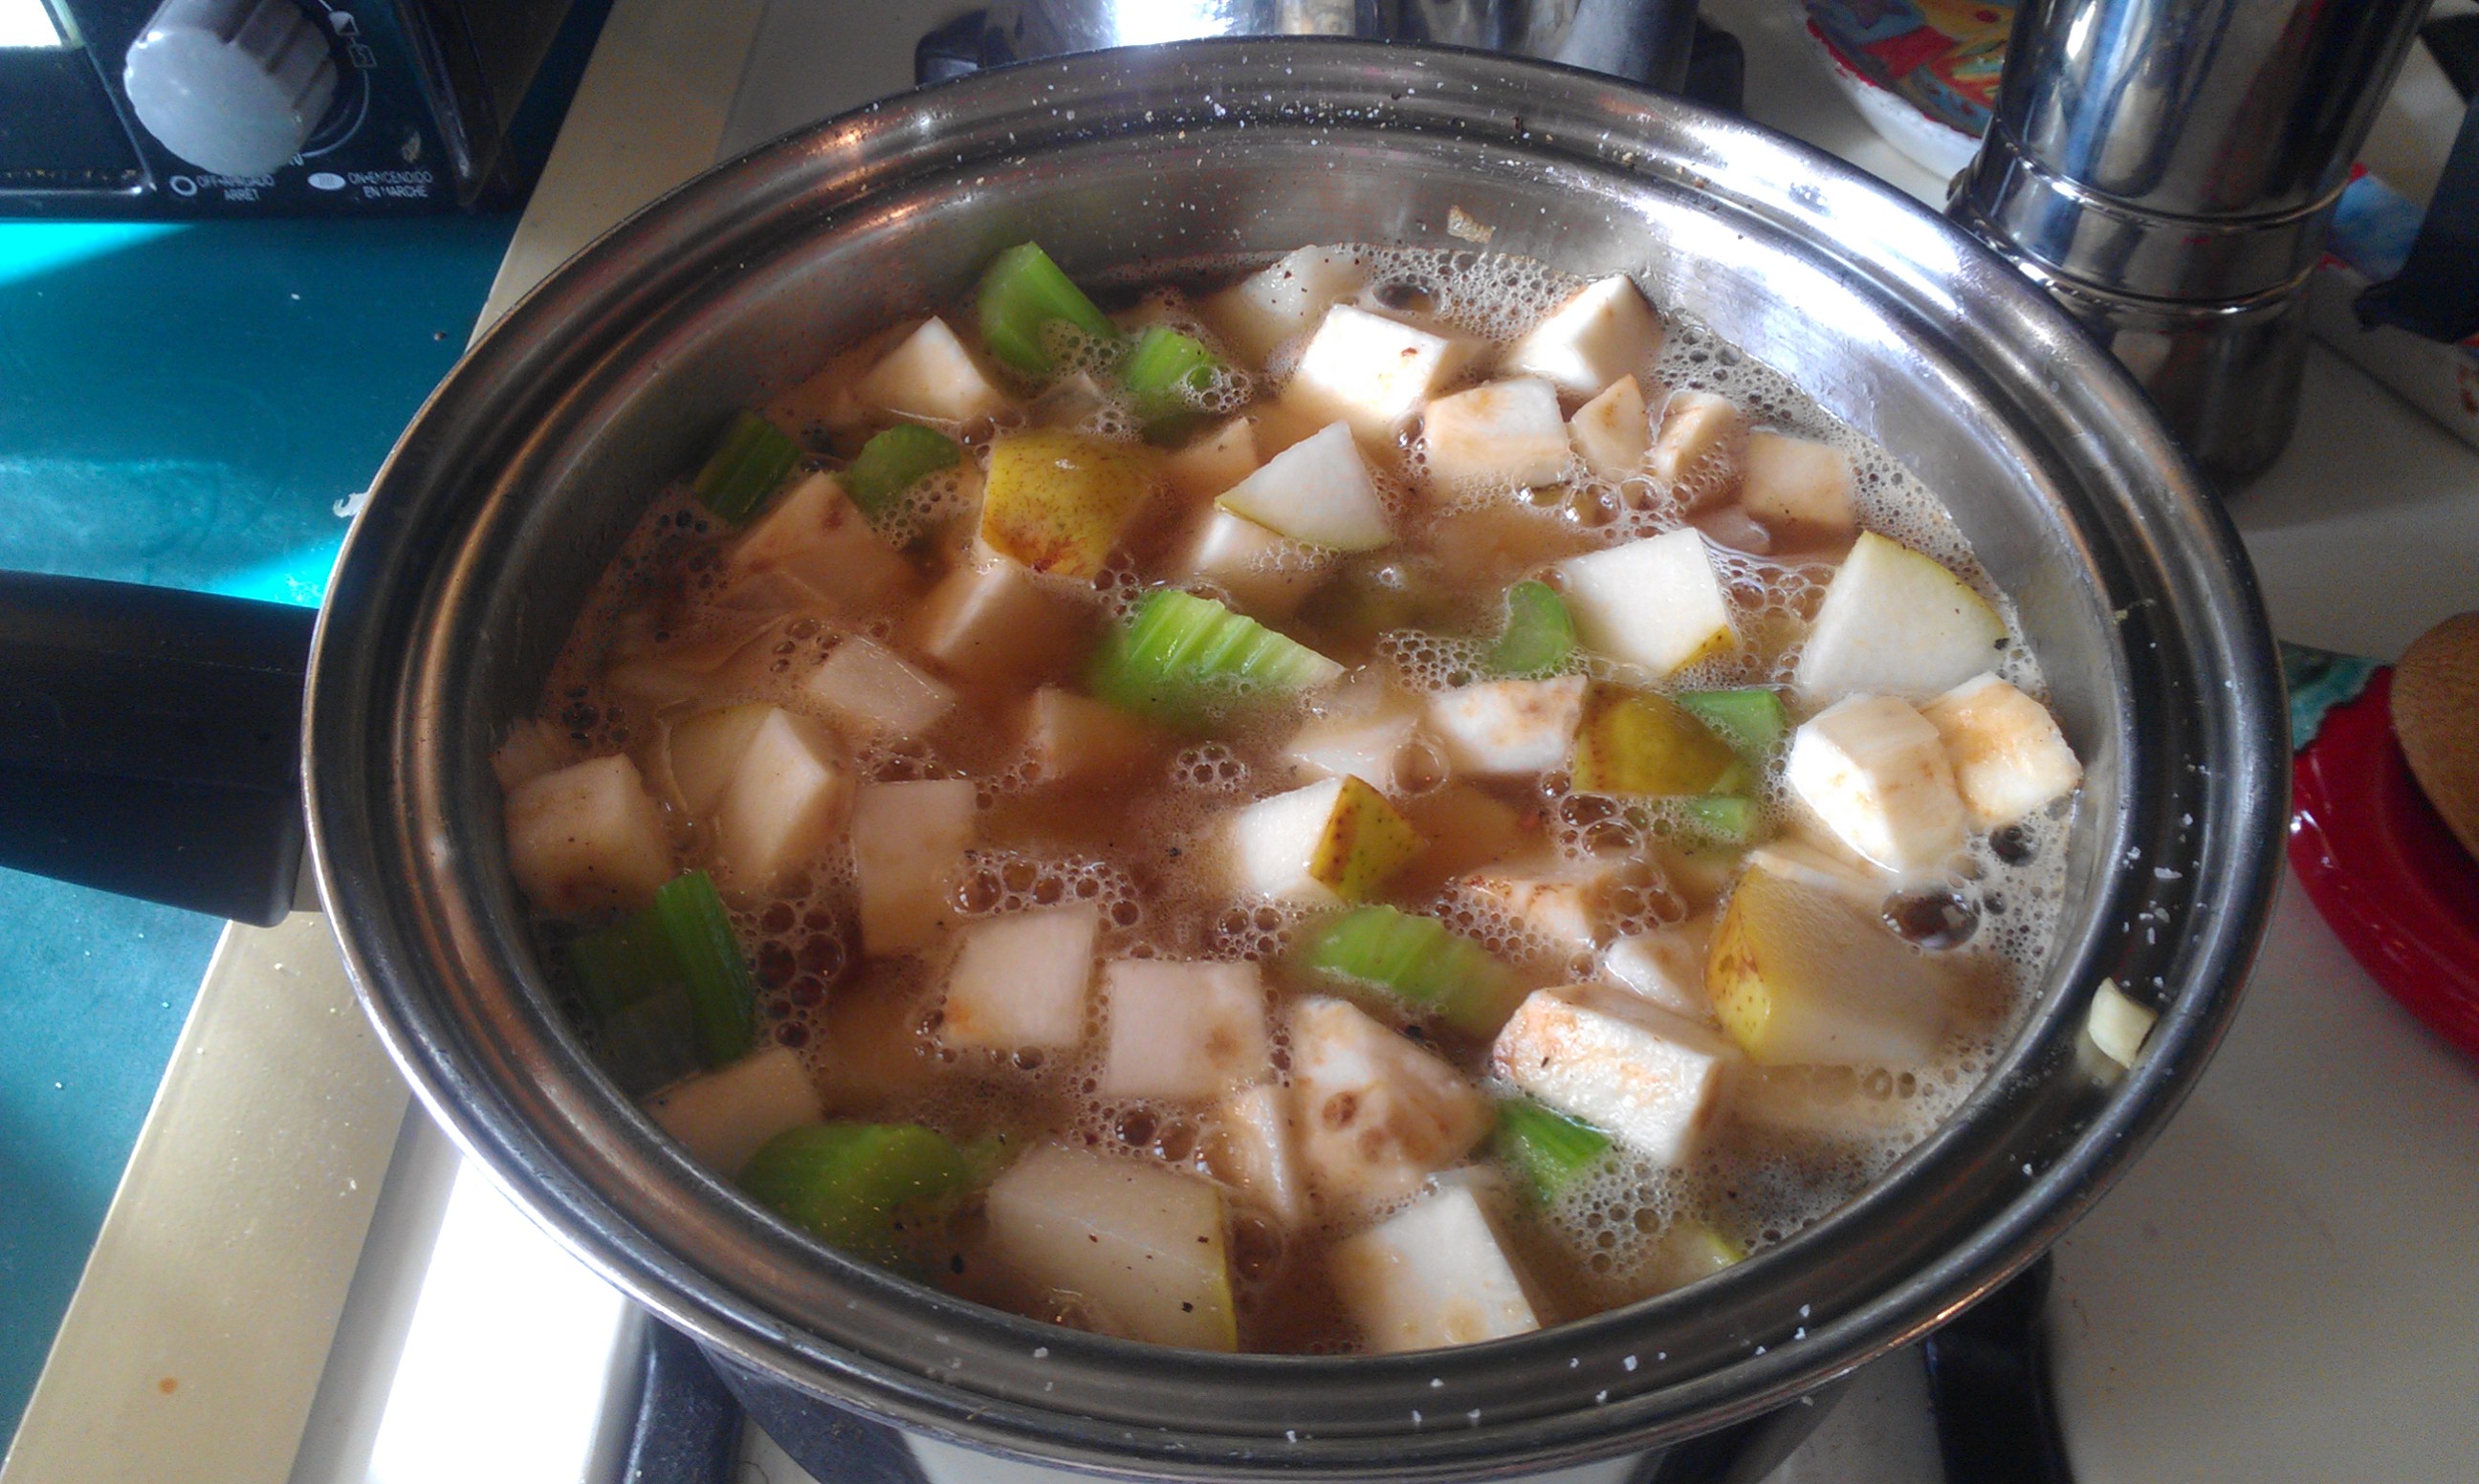
Place the rice cakes in a bowl with enough water to cover by about an inch for a small amount or 2 inches for an entire bag. Cover and let soak in refrigerator at least 12 hours or overnight.

IMG_5003

Rice cakes after soaking overnight

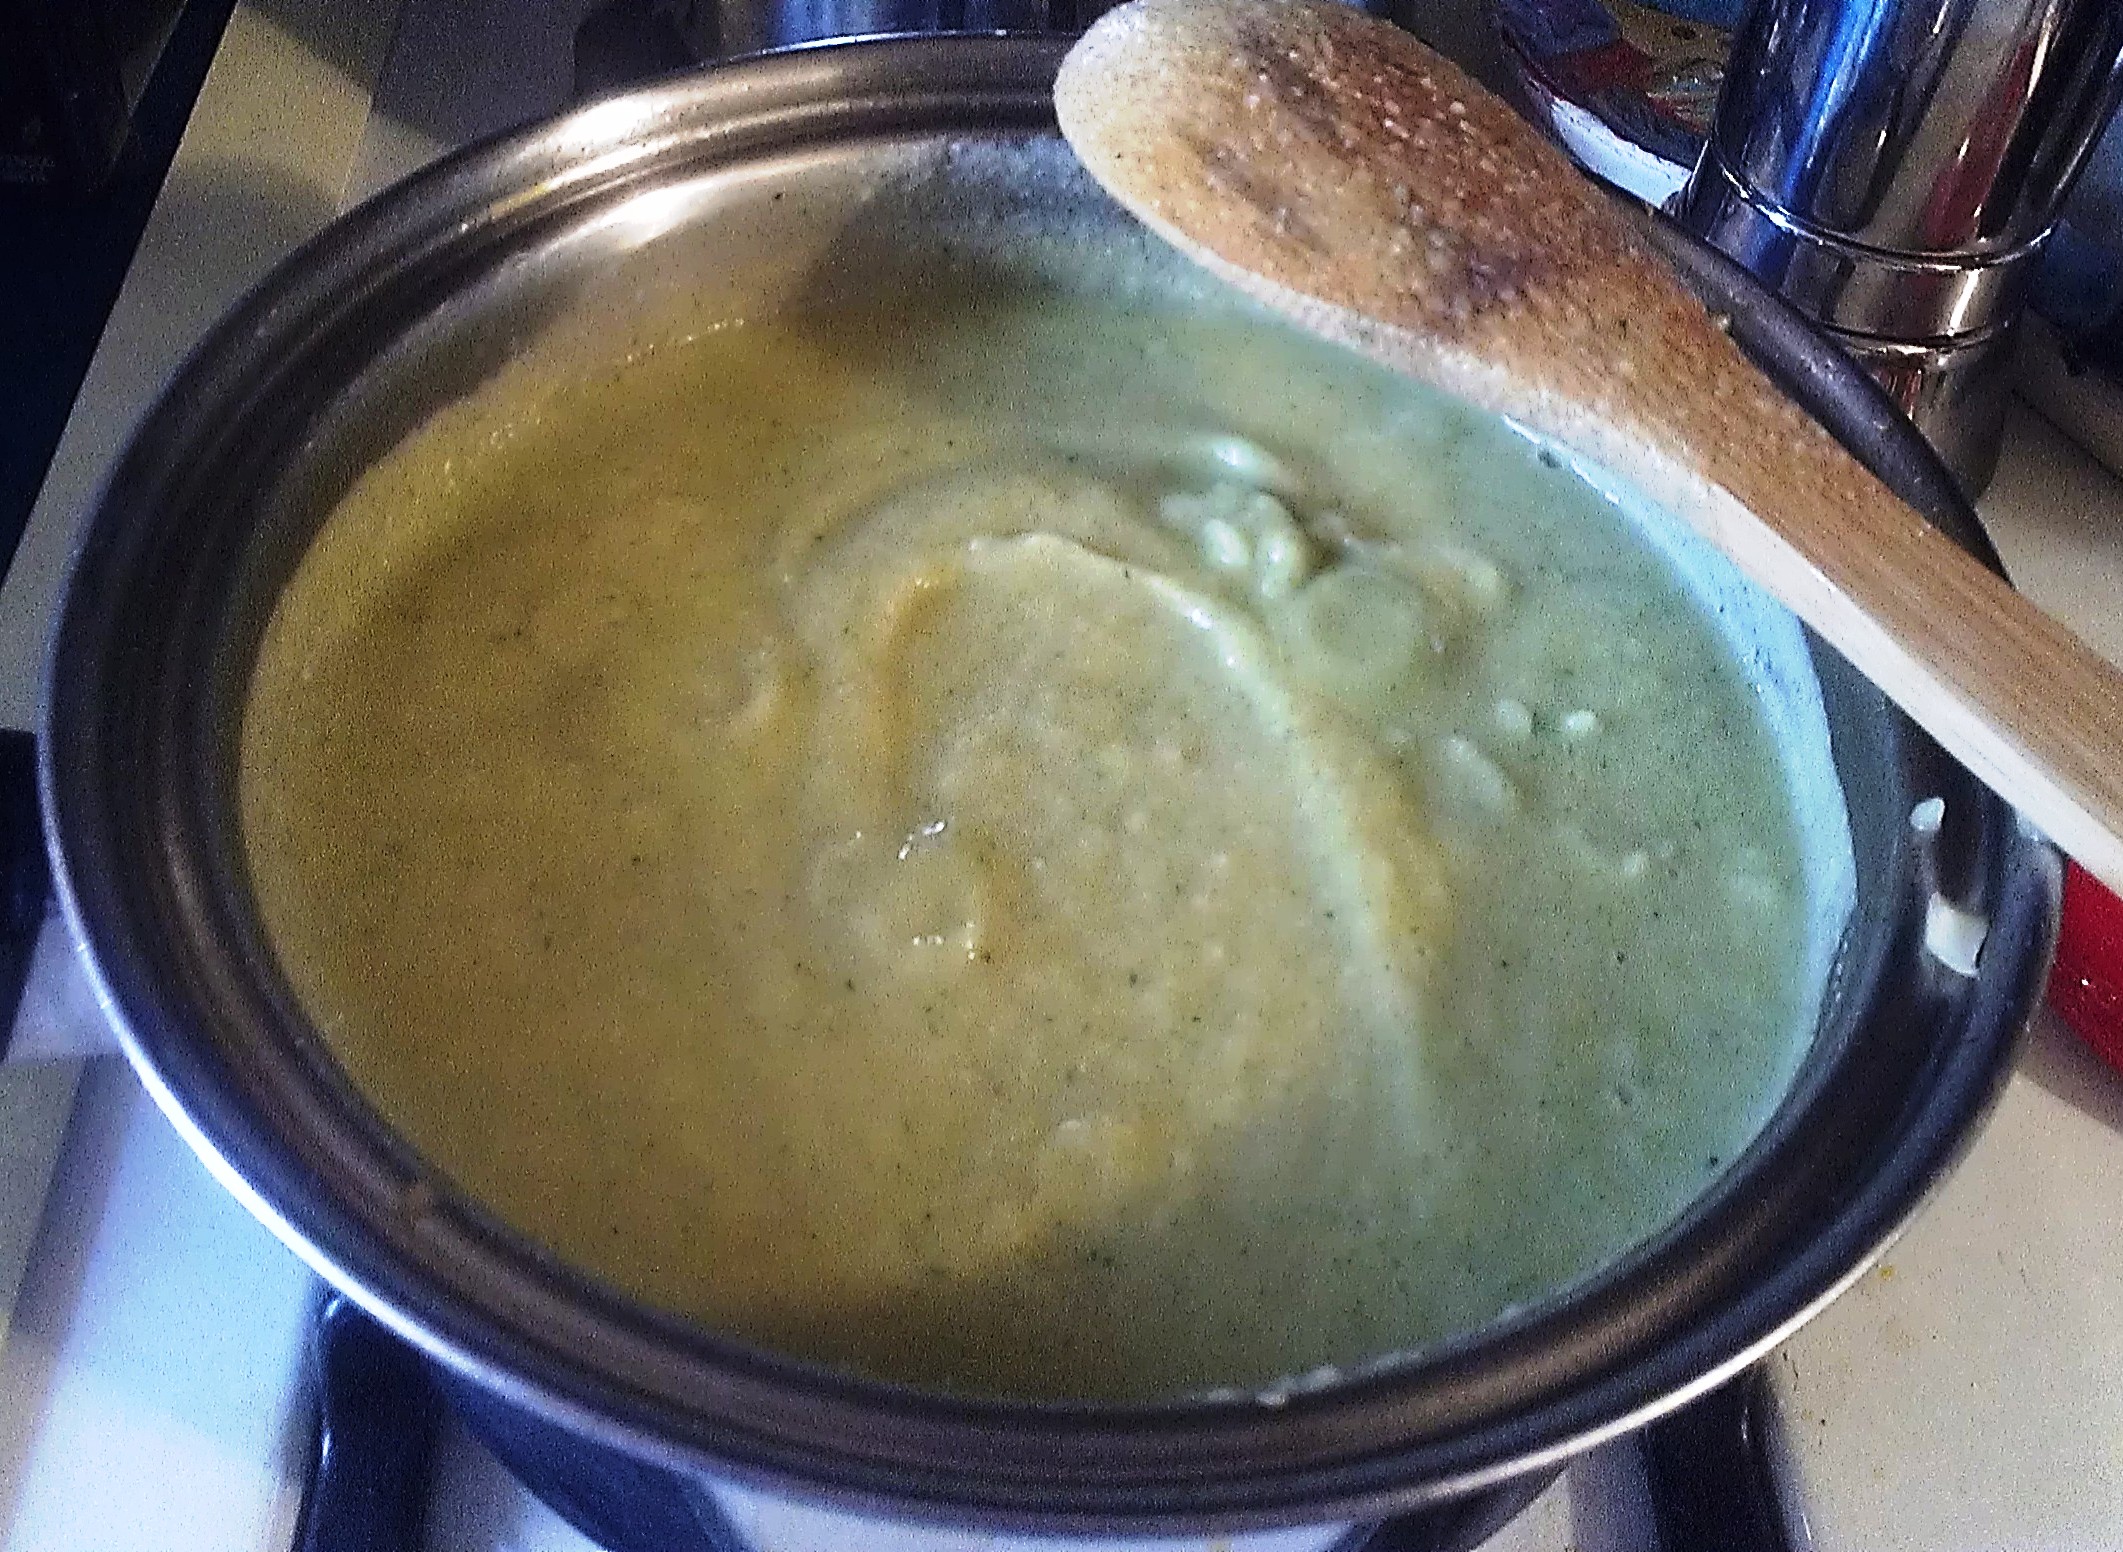
Drain the rice cakes and place them, along with the cinnamon stick, in a medium saucepan with water to cover. Bring to a boil; lower the heat to low and simmer 5 minutes.IMG_5012
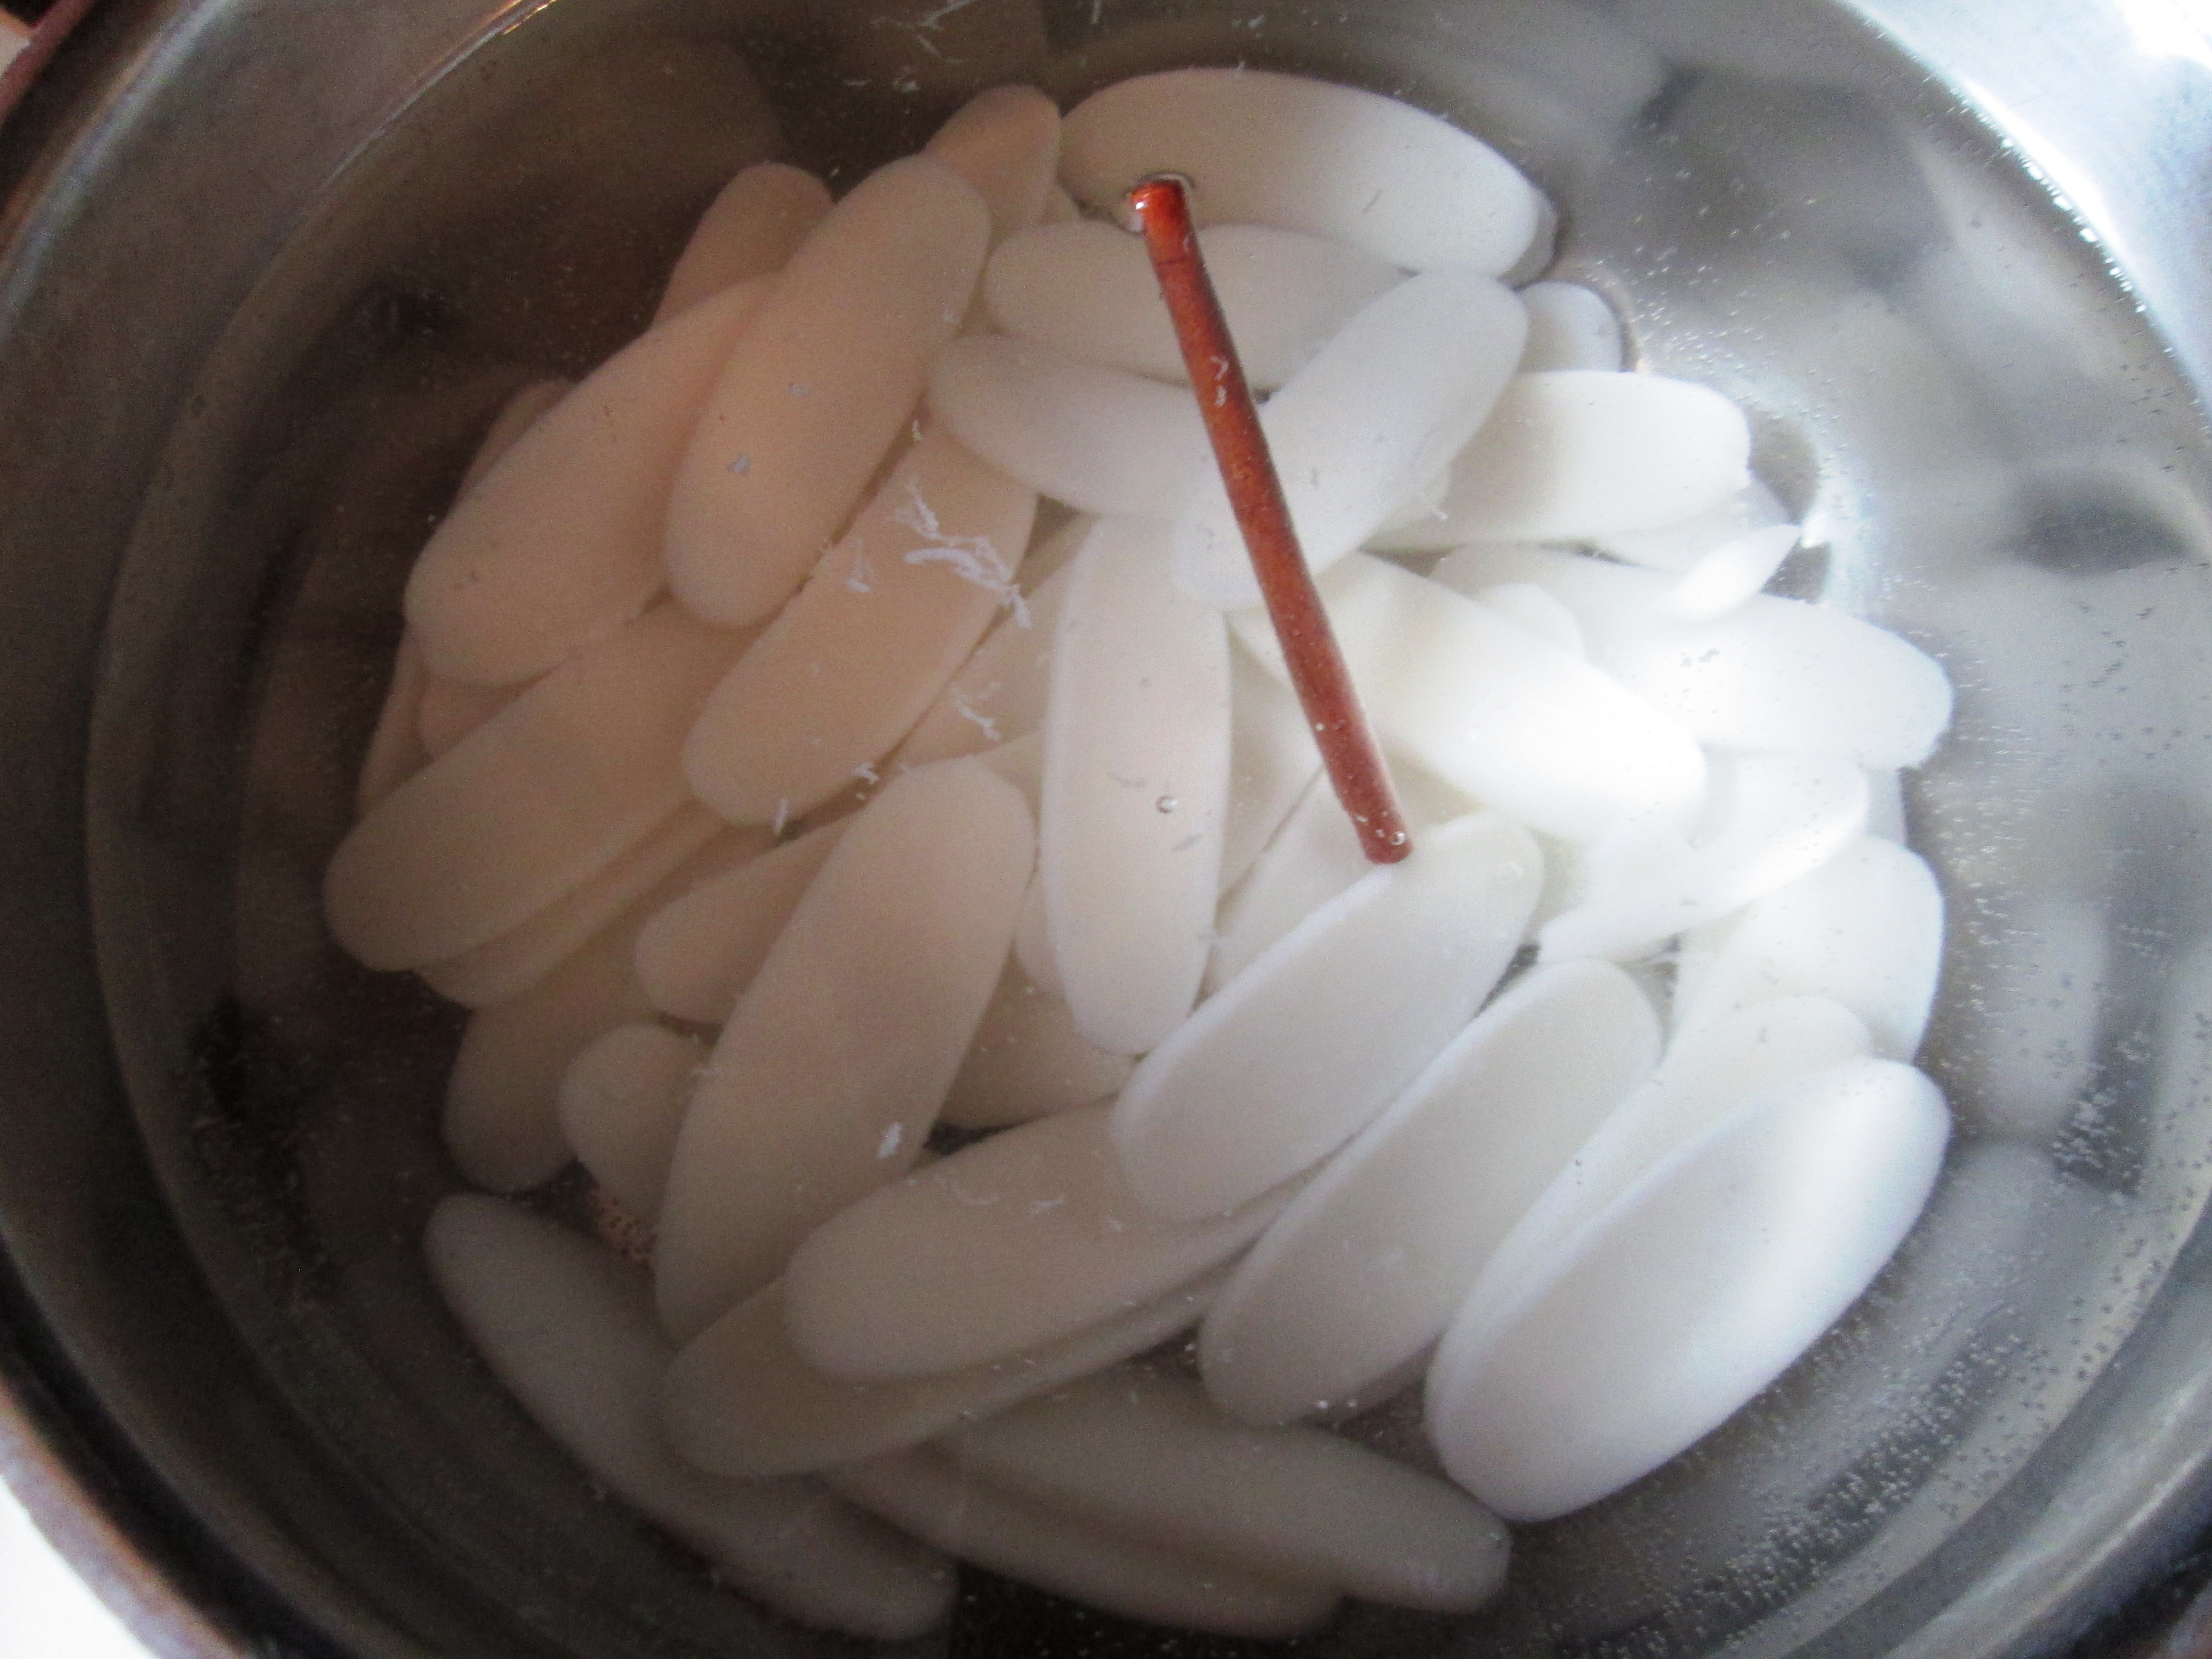
Drain and return the rice cakes and cinnamon to the pot. Add the coconut milk, coconut water, sugar, salt, and vanilla. Bring to a boil; lower heat to low and simmer, partially covered, until thick and creamy, about 45 to 55 minutes. Stir frequently, especially in the last 15 minutes of cooking.

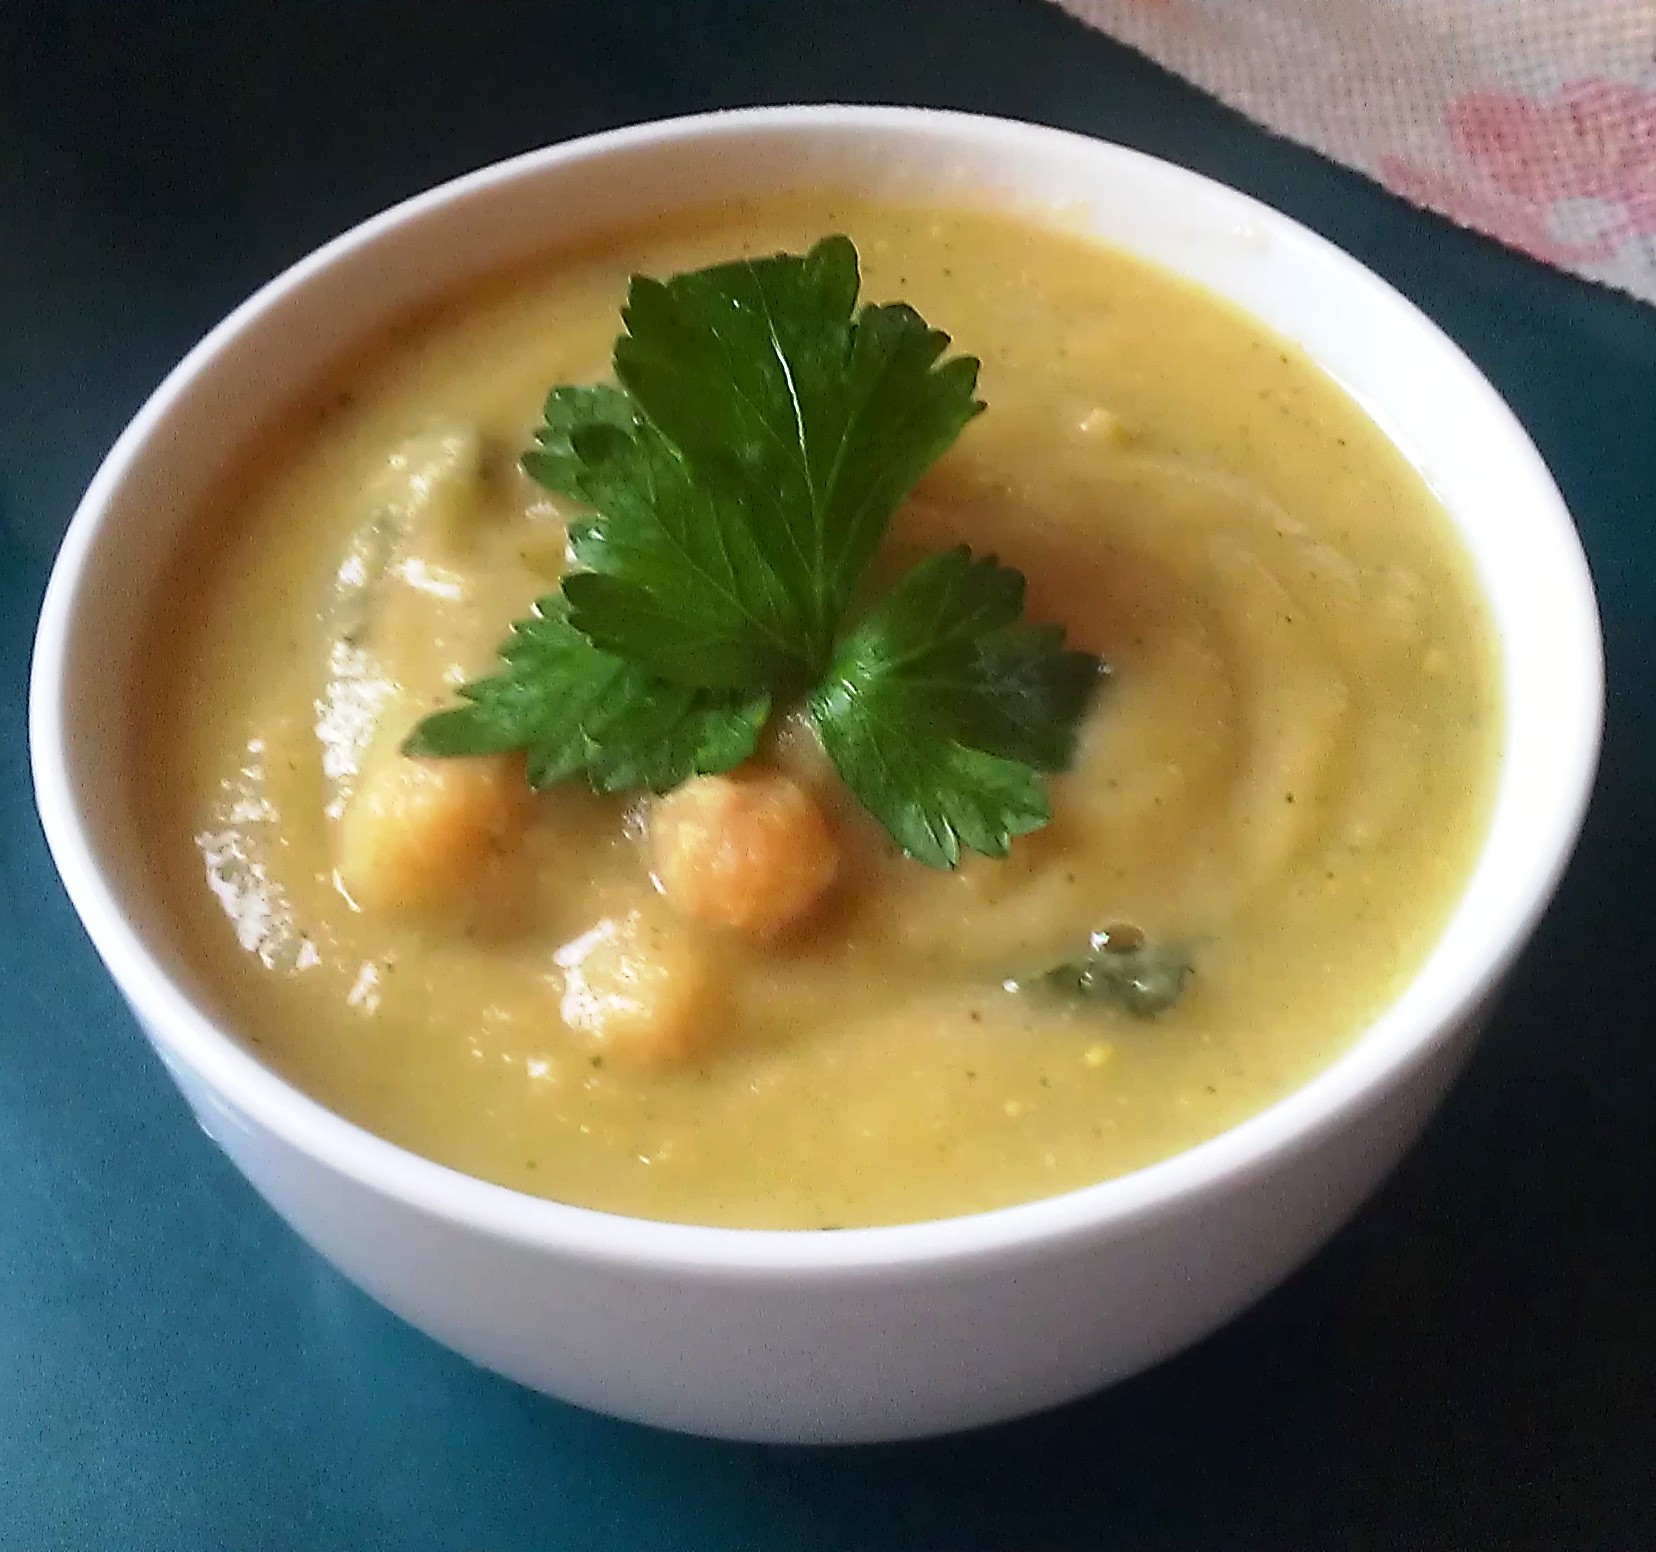
Divide the pudding between 2 pudding dishes and garnish with cinnamon and/or coconut flakes.

(I left my pudding unadorned in the photos so that you can see how the rice cakes retained their shape.)IMG_5024


2 Comments

Bok Choy 2 Ways

IMG_4972Bok choy is part of the brassica family, also commonly called cruciferous vegetables. Other members of the brassica family are broccoli, cauliflower, cabbage, and Brussels sprouts. Cruciferous vegetables are known for their many health advantages, such as fighting cancer, heart disease, osteoporosis, strokes, and bad cholesterol. They are high in soluble fiber, antioxidants (vitamin C and beta-carotene), and the B vitamins.

Most Americans are familiar with bok choy as a vegetable in their stir fries. But it’s also great as a side dish on its own. Here are two very simple and quick ways to prepare bok choy to have with rice or noodles or on the side of just about any entrée.

There are many different types of Asian cabbages, and in an Asian market, you will find many different kinds side by side. All of them can be prepared in these two ways.

For 1 pound bok choy, wash thoroughly (grit gets trapped inside the leaves).

Recipes make approximately 6 servings. Enjoy!

SteamedIMG_4968

Bring about 1 to 2 inches of water to a boil in the bottom of a steamer pot. Place bok choy in the steamer rack. Lower the heat to medium-low and simmer until bok choy is tender when pierced with a fork, about 10 minutes.Transfer to a serving plate. Sprinkle with salt and pepper, as desired. Drizzle with 1 tablespoon toasted sesame oil. Serve hot.IMG_4977

Roasted

Preheat oven to 350 degrees. F.

Thoroughly dry bok choy on kitchen towels. Place bok choy in a roasting pan. Pour about ½ cup olive oil over them, 2 teaspoons kosher salt, and freshly ground black pepper to taste. Mix everything together with your hands, making sure that all bok choy leaves are coated with oil. Spread them out as evenly as possible in the baking pan.IMG_4974

Roast until they’re tender and begins to brown, about 10 to 15 minutes. Turn them over and roast another 5 minutes to brown other side. Transfer to a serving platter. Serve hot. IMG_4981


2 Comments

Split Chickpea Soup

IMG_4715So, I was perusing the bean shelves in my favorite Indian market and found roasted split chickpeas (chana dalia). I’d never seen them before and wondered if they could be cooked just like split green peas. I bought a package and this recipe is the result of my experimentation.IMG_4693The resulting soup is very thick—not just in the viscosity of the soup but the pureed chickpeas themselves leave a thickness on the tongue. Unlike pureed split pea soup, it has a somewhat grainy—but not unpleasant—texture, and the flavor is intensely nutty.IMG_4690

Continue reading


Leave a comment

Sorghum Pilaf

IMG_4640

Sorghum is technically a grass (but for culinary purposes is classified as a grain) that is native to Africa, and was introduced to to the U.S. in the 1800s. It’s always been an important food crop around the world, but in the U.S., it’s been used primarily as animal feed. The exception to this is in the U.S. South, where sorghum molasses is a traditional sweetener, used much in the same way as honey or maple syrup. However, with the rising interest in gluten-free and ancient grains, sorghum is becoming more and more popular as human food in the U.S.IMG_4625

The great thing about sorghum, apart from the fact that it’s gluten free, is that it doesn’t have an outer shell that has to be removed to make it edible. That means that it’s a whole food, and that means that it’s healthy and just plain awesome.
Continue reading


Leave a comment

Creamy Roasted Cauliflower Bisque

IMG_4620

I had no plans for cauliflower over the course of my very busy weekend, but when I saw big, beautiful heads of cauliflower in the store the other day, I couldn’t resist buying one.

It’s cold, snowy, wintry weather, and days like this just scream soup, and what I wanted was a creamy bisque. But before I get to my recipe, let’s talk a bit about this wonderful cruciferous vegetable.

Cauliflower is part of the Brassicaceae family and is related to cabbage, broccoli, Brussels sprouts, bok choi, collard greens, and some other leafy green vegetables. In my cookbook, Vegetarian Italian: Traditions, Volume 1, I talk a little bit about the history of cauliflower and its health benefits:
Continue reading


Leave a comment

Cooking with Cambrays

IMG_4422

Cambray onions, also known as spring onions, are related to scallions. In fact, they look like a cross between scallions and Texas onions—long green stems with big round bulbs.

I’d seen them before but had never purchased them, so when I saw them this past week, I grabbed a few. I learned that they are a popular onion in Latin cuisine (in which they are referred to as cebollitas de Cambray or cebolla Cambray), and almost always appear on mixed grill platters.

They can be used in many types of preparations, from salads to onion tarts to tacos. Being that this was the first time I was eating them (to my knowledge, anyway), I did what I often do with a new-to-me vegetables—I roasted them. I like to do this because it allows me to sample the new vegetable in its basic form with no added ingredients, besides olive oil, salt, and pepper. Plus, once you’ve grilled a vegetable, you can then add it into many other dishes.

So, I roasted the Cambrays until they were caramelized and tasted one by itself. It was sweet and creamy and I could imagine throwing them, cut up, into a dish of pasta or adding them to a stew or chili. I put a few pieces on some flat bread, drizzled some extra virgin olive oil over it, sprinkled a little more salt and pepper, and finished it with some grated Parmigiano-Reggiano. Very simple and very good.

IMG_4430Roasted Cambray Onions

Several Cambray onions
1/4 cup olive oil
1 teaspoon sea salt
Freshly ground black pepper

Preheat oven to 350 degrees.

Trim onions by slicing off roots and removing outer layers that look brown or funky.

Lay onions on a baking sheet. Drizzle oil over onions and rub them to coat with oil. Sprinkle on salt and pepper.IMG_4423Roast about 15 minutes; turn them over and roast another 10 minutes, or until both sides are golden brown.IMG_4427


Leave a comment

Pan-Fried Indian Eggplant

IMG_3981

Simple ingredients call for simple preparations. I could have turned  this beautiful Indian eggplant I found into so many wonderful dishes: ratatouille, vegetable chili, eggplant lasagna, pasta with roasted eggplant, etc., etc.

Instead, I wanted to keep this pretty vegetable pretty by just pan frying it. It’s the easiest thing in the world. Have this on the side with a protein or other vegetables, over rice, tossed with pasta, or (like I did) on homemade pizza.

Pan-Fried Indian Eggplant

1 1/2 lbs. Indian (or baby or Japanese) eggplant
1/4 cup oil (olive, sunflower, grapeseed)
1/2 teaspoon sea salt
Freshly ground black pepper

IMG_3984Slice the eggplant into 1/4-inch-thick rounds. Heat half the oil in a frying pan. Add some of the eggplant (don’t crowd the pan). Cook, turning them over once, until browned on both sides. Transfer to paper towels.

Repeat with remaining eggplant, adding more oil to the pan as needed (eggplant soaks up oil quickly). Sprinkle the salt over the eggplant. Enjoy!


IMG_3987


2 Comments

My Exploding Nuts (Ginkgo, that is)

IMG_4028

I went to an Asian market the other day with a list in hand. I had specific things that I needed to buy and a short amount of time in which to shop, and I wasn’t looking for anything unusual or new, the way I usually do. I had grabbed my items and was just about to head to the check-out lines when something caught my eye. They were in the refrigerated case, where Asian markets generally keep the more perishable produce, such as mushrooms, water chestnuts, chili peppers, and a host of other delicate items.IMG_4016

Tucked between packages of freeze-dried ginkgo nuts and little cartons of quail eggs and 100-year-old duck eggs were small red mesh bags with these little white things in them. Curiosity got to me and I picked one up. They looked like pistachio nuts. I looked at the sign, which read, “Ginkgo nuts.”

Interesting. I’d had the freeze-dried ones before in a a stir fry, but I’d never seen the raw, unshelled nuts before. So, yes, I bought them.IMAG2360

Ginkgo trees are the oldest living trees on earth, unchanged for more than 200 million years. Evidence shows that Chinese began cultivating it more than 1,000 years ago. Last week, I unknowingly encountered a ginkgo tree. Because it’s, its leaves were turning yellow from the top down. I thought it was so pretty that I took a photo of it, but when I got near it, I was repelled by an odor of urine. I thought, “Great, some asshole ruined the beauty of this tree by peeing on it.” I posted it on Facebook and was told by one of my former NGI classmates that this was a gingko tree and the smell is natural. It’s believed that this odor was attractive to animals at some point.

What a coincidence that I would buy ginkgo nuts the same week. I asked my friend at work how to use them and she told me that I should boil them, shell them, and peel off the skin that’s on each one. While I trusted her advice, I wondered if there were any other methods. I read that another common way to prepare them is pan frying. I decided to try both. I put half in a pot of water and boiled them for about 15 minutes, and pan fried the other half in a little bit of sunflower oil.

After placing them both on the stove, I went into the other room to check on an email. There I was, scrolling through my mail, when I hear this loud POP. As I walked back into the kitchen, there was another big POP. I had a suspicion about what was happening, so I cautiously approached the stove and sure enough, those suckers were popping right out of the pan and shooting across the room. They had become oily little projectiles and little pieces of shell landed on my counter and floor like shrapnel. I shielded my face as I approached the stove because I didn’t want to become a casualty of detonating ginkgo nuts. At arm’s length, I turned off the flame and moved the pan to the back at a safe distance. The whole thing was rather ridiculous, but I pictured getting a sharp piece of shell in my eye and wasn’t thrilled by the thought. In fact, I did get a shot of hot oil right near my eye.

IMG_4023IMG_4027While both methods turned out perfectly fine ginkgo nuts, there were a few differences. The fried ones came out with a nice golden yellow color, while the boiled ones had a smooth creamy look to them. (Pictured above, on the left are the boiled nuts; on the right are the pan fried nuts.) That one is a personal choice. However, I don’t think anyone would argue that struggling to peel skin from a nut is not a fun task. The skins, for the most part, slid off the pan fried nuts, while they stuck a little to the boiled ones. I mean, it wasn’t as difficult as removing skin from, say, hazelnuts or Brazil nuts, but I did struggle a tiny bit. A few came out looking like plaster, crumbling into dust—I assumed those were rotten. IMG_4025

To avoid the missile launch from your frying pan, I think timing the cooking would help. I had them in there for approximately 8 to 10 minutes before they started exploding, so maybe keeping them in the pan for about 5 minutes would do the trick. And cracking them first would probably prevent the fireworks, too.

I also discovered that the pan fried nuts were less bitter than the boiled nuts. So if you’re going to eat them out of hand, I suggest pan frying them. Ultimately, they just tasted better.

All of this pertains to ginkgo nuts that have been removed from the fruit. If you have access to the fruit, handle them carefully. The fruit contains urushiol, the same element that’s found in poison ivy, and may cause a skin reaction. Also, your hands will smell like cheese, I’ve been told. You should wear gloves and remove the flesh from around the nuts. The upside is that ginkgo nuts are known to stimulate the brain, staving off memory loss and Alzheimer’s Disease. They’re also used in Chinese culture to help with breathing/lung problems, such as asthma and bronchitis. Chinese also believe them to be aphrodisiacs.

Whether you boil or fry them, whack them gently with a mallet (or meat tenderizer or blade of a knife, or whatever you’ve got handy). Or you can crack each one with a nut cracker. Don’t whack or crack them too hard as the nuts are rather delicate. Sprinkle them with a little sea salt and enjoy. Or add them to stir fries, soups and stews, or just about anything you would add nuts to.

The medical warnings about ginkgo nuts is that adults shouldn’t have more than 8 in one day and children should have a maximum of 5. And word on the street is that if you are allergic to cashews or mangoes, you should avoid them altogether.

Anyway, that’s the story of my exploding nuts. So, just let my stupid experience be your guide when trying this Asian specialty. Here’s hoping your nuts don’t explode.

IMG_4028

Ginkgo Nuts for Snacking

1 small bag ginkgo nuts
1 teaspoon cooking oil
Sea salt

Rinse nuts under running water.

If frying:
Lay the nuts out on paper towels to dry.
Heat the oil in a small frying pan. Add the nuts and cook, stirring occasionally, for about 5 minutes. Remove from heat and let cool until you can handle them.

If boiling:
Place nuts in a small pot and cover with water. Bring to a boil and cook about 10 minutes. Drain and let cool.

Lay the nuts on a dish towel. Gently whack the nuts with a mallet (or other object) so that crack. Remove the shells and skins (a paper towel may help you rub the skins off more easily).

Sprinkle with salt and enjoy (in moderation!).


Leave a comment

Celeriac Bisque with Mustard Greens and Chick Peas


IMAG2345

This week’s catch at the farmer’s market was a nice big knob of celeriac and red mustard greens.IMAG2330

I’ve had celeriac (also known as celery root and knob celery) before, and I’ve really enjoyed it. It has a great celery flavor to it, but a little sweeter and more intense. It also has parsley notes, and that’s because it’s part of the parsley family, and not the root of the celery plant.  Like other root vegetables, it has a long shelf life (6 to 8 months in a cool place).

Celeriac is not a beauty queen, and many Americans have no clue what it is or what to do with it, but it’s a flavorful addition to anything. You can cut them up and roast them. You can add them to chilis and stews. Or you can do what many chefs do with them, and what I’ve done for the recipe below: make a bisque. It’s wonderfully creamy when pureed and combined with either apples or pears, it has a rich, complex flavor.

They’re good for you, too. Celeriac contains antioxidants, and is very a good source of vitamin K, phosphorus, iron, calcium, copper (good for the immune system, prevents anemia, and required for bone metabolism), and manganese. And it contains some B-complex vitamins, such as pyridoxine, pantothenic acid, niacin, riboflavin, and thiamin, and some vitamin C.IMAG2335

The red mustard greens are new to me, though. They are Chinese in origin, but are also cultivated in Japan. They’re lovely to look at and just as nutritious as other mustard greens, all part of the Brassica family, along with broccoli, cauliflower, cabbage, turnips, etc.

Celeriac is not found everywhere simply because they are an unfamiliar item for many people. But most larger stores, like supermarkets, carry a few, as do gourmet stores, and, of course, farmer’s markets. Enjoy!

Celeriac Bisque with Mustard Greens and Chick Peas

1 tablespoon olive oil
1 small yellow onion, coarsely chopped
2 large garlic cloves, chopped
2 lb. celeriac (celery root), peeled and diced
3 small celery ribs, coarsely chopped
2 medium apples or Bartlett pears, peeled, cored, and chopped
¼ teaspoon sea salt
4 cups vegetable broth
¼ cup fresh Italian parsley
Freshly ground pepper to taste
8 oz. mustard greens (or other greens), washed and chopped
2 cups cooked chick peas
Garnish: chopped fresh parsley (optional)

IMAG2336

Heat oil in a medium-large sauce pan. Saute onion and garlic until translucent. Add celeriac, celery, apples or pears, and salt and saute another 5 minutes.

IMAG2337

Pour in broth and bring to a boil; lower heat and simmer until vegetables are tender when pierced with a fork.

IMAG2339

Transfer to a blender; add parsley and puree (the soup is hot so be careful to hold the lip of the blender with a hand towel.

IMAG2340

Pour back into pot. (Alternatively, you can add parsley to pot and use a stick blender).

IMAG2341


Add fresh pepper, mustard greens, and chick peas. Cook another 5 minutes. Check for seasoning and serve. Sprinkle parsley on top for garnish.IMAG2342

IMAG2343

Makes 4 servings.

IMAG2344


Leave a comment

Tempeh Chili Casserole with Beet Greens

IMG_3757I get into these moods when I crave to make a pot of chili. The thing about chili is that there’s no way to make just a little. Just by its very nature, chili is a big-pot deal. I usually put a lot of it in the freezer and it really comes in handy to have.

This week, though, I did something a little different. I picked up a bunch of beets at the Greenmarket and it had some beautiful leaves attached. Normally, I would sauté the greens in garlic and olive oil (my favorite and go-to way to cook greens), but I wanted to do something different with those, too.

So, I decided to do a casserole, or what Italians call a timbale—a dish that is formed in some sort of mold shape. I used the beet leaves to wrap the chili in a small casserole dish (a 40-year-old cornflower Corningware!), added some cheese, and voilà.

My chili has tempeh in it for extra protein and texture. Tempeh adds a meatiness to chili that makes it appealing to meat-lovers as well. You can either dice, chop, or crumble it, according to your preference. Crumbling it gives it a chopped-meat texture, but I prefer a small dice. It’s important to drain the chili before putting it into the casserole; otherwise, there will be too much liquid. Also, I used homemade corn stock (which I also keep in the freezer), which gave it a fabulous flavor, but any vegetable stock will do.

Enjoy!

Tempeh Chili Casserole with Beet Greens

Makes 4 to 6 servings.

Chili

2 teaspoons olive oil
8 oz. tempeh, chopped
1 medium onion, chopped
Salt
3 large garlic cloves, minced
1 tablespoon tomato paste
1 medium red pepper, chopped
1 medium green pepper, chopped
1 small jalapeno, minced
1 medium carrot, chopped
1 tablespoon chili powder
1 teaspoon cumin
1 (15-oz) can plum tomatoes, chopped
2 cups cooked kidney beans
1 cup corn (preferably organic)
1 cup broth
1/4 cup chopped cilantro

Casserole

Greens from one bunch beets
Olive oil

IMG_3570

Make the chili. Heat the oil in a larger pot. Add the tempeh and sauté, stirring often, until browned on all sides. Remove with a slotted spoon and set aside.IMG_3572IMG_3579Add the onions and a pinch of salt and sauté until soft and translucent (if the pot is completely dry, add a bit more oil). Add the garlic and sauté a minute.

IMG_3574

Make a space in the pot and add the tomato paste. Begin stirring it in until it’s incorporated into the onions.

IMG_3578IMG_3581

Add the red, green, and jalapeno peppers and carrots and continue sautéing until soft.

IMG_3582

Stir in the tempeh, chili powder, and cumin and cook another 2 minutes, stirring frequently. Add the tomatoes, beans, corn, and broth and bring to a boil. Lower the heat and simmer, partially covered, about 30 minutes or until thickened. Stir in cilantro.

IMG_3587

Take about 3 cups and set aside. Store the rest in the refrigerator or freezer.

Place the 3 cups chili in a strainer set over a bowl and let drain for at least half an hour. Stir occasionally.

IMG_3602

Meanwhile, place the beet greens in a large bowl filled with cold water. Swish them around then let sit for 15 minutes. Scoop the leaves out and transfer to another bowl or a clean towel. Pour out the water and rinse out the bowl. Place the leaves back in and fill with water again and let sit another 15 minutes. Scoop them out and lay out on a clean cloth or paper towels. Pat them dry. Pick out the largest ones.

IMG_3608

Brush the inside of a 1- or 1½-quart casserole dish with oil. Line it with beet greens so that the greens hang out over the edges. Fill with drained chili. You may have to hold the leaves in place with one hand while you scoop with the other.

IMG_3612

Cover the top with cheese.

IMG_3616

With your fingertips, oil the leaves. This is important to do because otherwise the leaves will dry out and get crispy in the oven. Fold the leaves over to cover the top. If necessary, lay additional leaves across the top of the cheese (make sure those are oiled as well). If the leaves don’t want to stay down, insert toothpicks where needed.

IMG_3620

Cover the top with lid or aluminum foil and bake 20 minutes. Remove foil and bake another 20 minutes or until liquid had dried up. Remove toothpicks.

IMG_3743

Serve in casserole dish and scoop out, or invert onto a platter.

IMG_3748IMG_3750